Home>Technology>Smart Home Devices>How To Connect Ricoh Printer To Wireless Network
Smart Home Devices
How To Connect Ricoh Printer To Wireless Network
Modified: August 28, 2024
Learn how to easily connect your Ricoh printer to your wireless network for seamless printing from your smart home devices. Simplify your printing setup today!
(Many of the links in this article redirect to a specific reviewed product. Your purchase of these products through affiliate links helps to generate commission for Storables.com, at no extra cost. Learn more)
Introduction
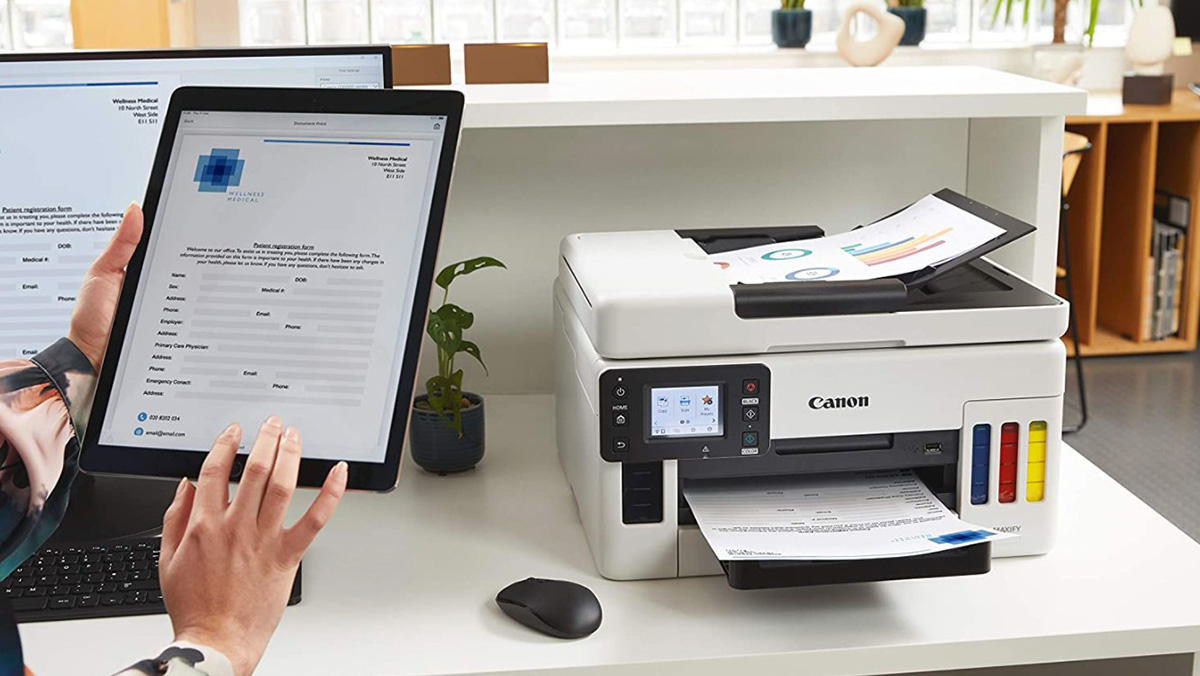
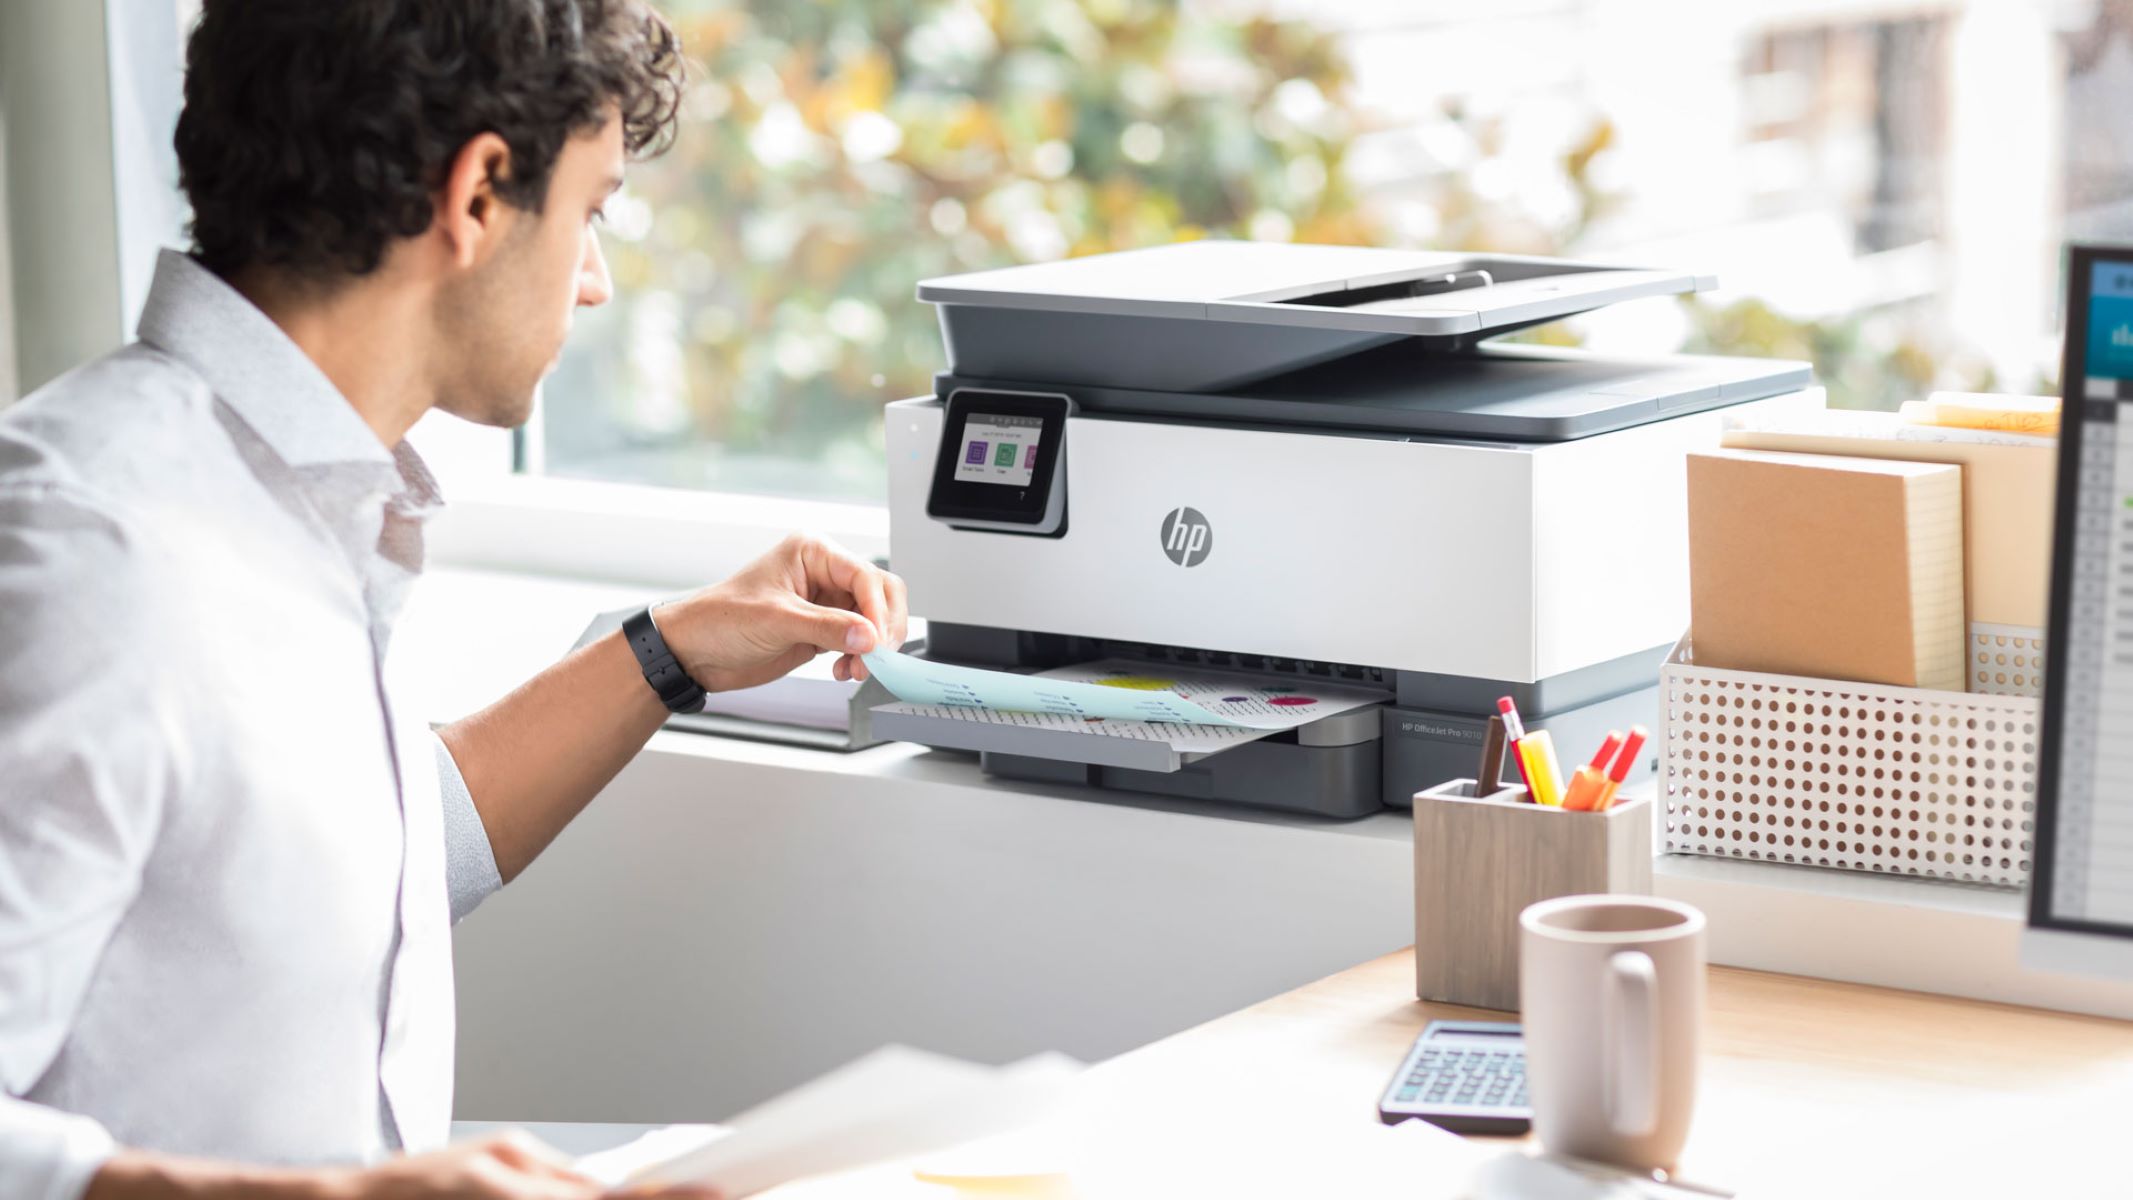
In today's fast-paced digital world, the convenience and efficiency of wireless technology have revolutionized the way we interact with devices. This is particularly evident in the realm of printing, where wireless connectivity offers unparalleled flexibility and convenience. Connecting your Ricoh printer to a wireless network unlocks a myriad of benefits, allowing you to print seamlessly from multiple devices without the constraints of physical cables.
In this comprehensive guide, we will walk you through the step-by-step process of connecting your Ricoh printer to a wireless network. Whether you're a tech-savvy enthusiast or a newcomer to the world of wireless printing, this article will equip you with the knowledge and confidence to seamlessly integrate your Ricoh printer into your wireless ecosystem.
By following the detailed instructions and insightful tips provided in this guide, you will gain a deeper understanding of the wireless connectivity features of your Ricoh printer. This knowledge will empower you to harness the full potential of your printer, enabling effortless printing from a diverse array of devices, including laptops, smartphones, and tablets.
Embark on this journey with us as we delve into the intricacies of wireless connectivity and unravel the seamless integration of your Ricoh printer into your wireless network. Let's embark on this enlightening expedition, where the convergence of technology and convenience awaits.
Key Takeaways:
- Connecting your Ricoh printer to a wireless network unlocks the convenience of printing from multiple devices without cables. Ensure to check and configure the printer’s wireless settings for a smooth setup.
- Access the printer’s web interface to input the wireless network details accurately. Once connected, conduct thorough testing to validate the stability and functionality of the wireless connection for seamless printing.
Read more: How To Connect Ricoh Printer To Wi-Fi
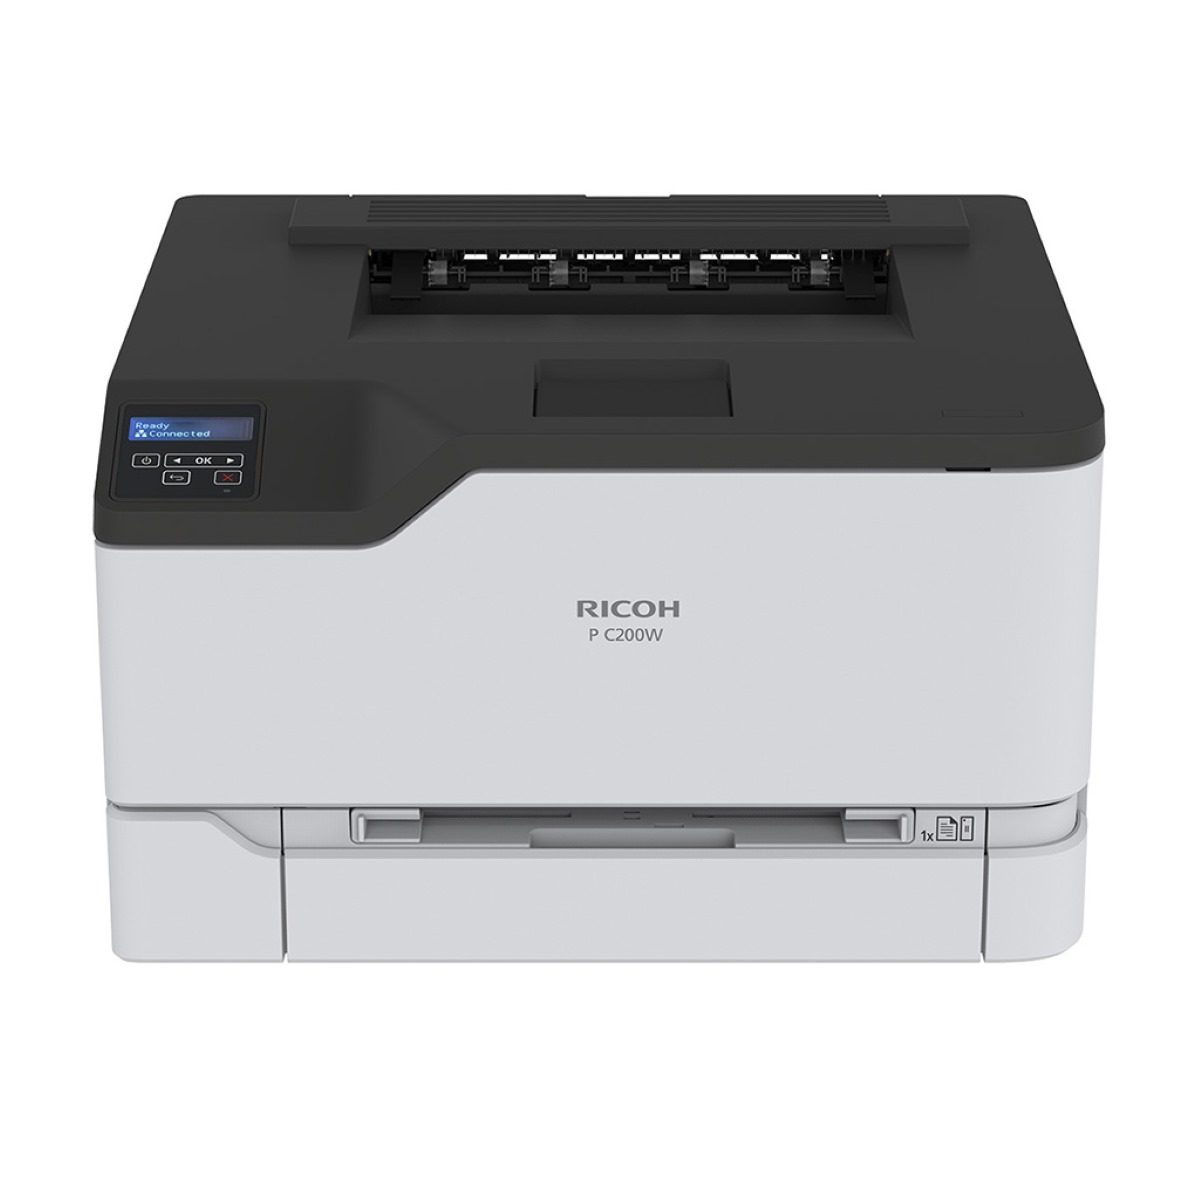
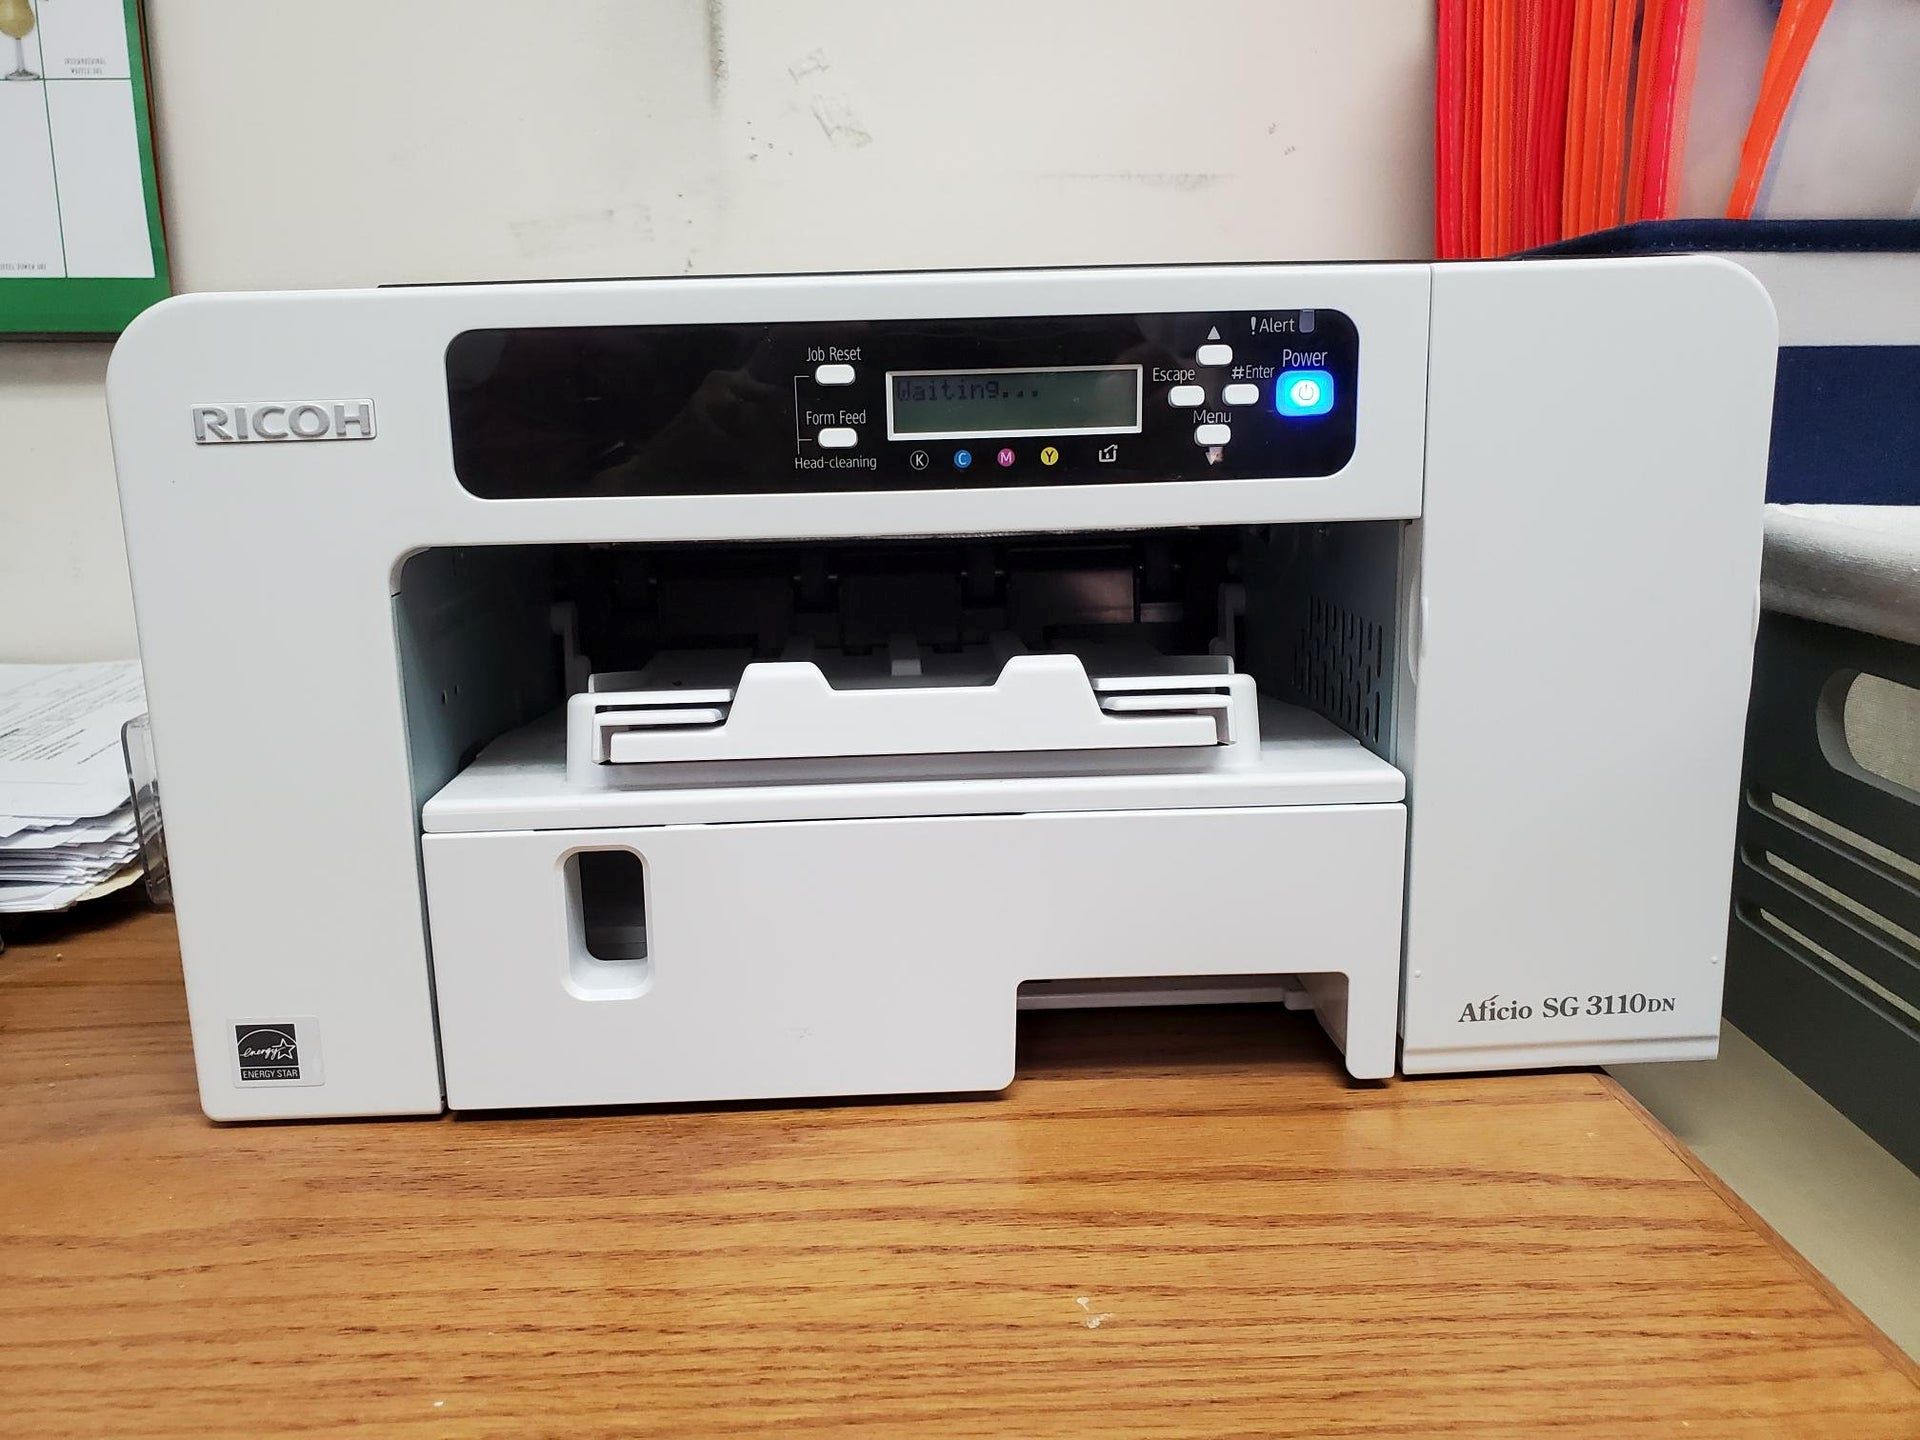
Step 1: Check the Wireless Settings on the Ricoh Printer
Before embarking on the process of connecting your Ricoh printer to a wireless network, it is essential to ensure that the printer’s wireless settings are configured appropriately. This preliminary step lays the foundation for a smooth and successful wireless connectivity setup.
Begin by navigating to the control panel of your Ricoh printer. Depending on the specific model, the location and interface of the control panel may vary. Once you have accessed the control panel, locate the “Menu” or “Settings” option. Within the menu, there should be a section dedicated to wireless or network settings.
Within the wireless settings menu, verify that the wireless functionality is enabled. This typically involves checking for an option such as “Wireless LAN,” “Wi-Fi,” or “Network Settings.” Ensure that the wireless feature is turned on to enable the printer to detect and connect to available wireless networks.
Additionally, take note of the printer’s network name (SSID) and password. These details are crucial for establishing a secure and seamless connection to your wireless network. If the SSID and password are not readily available, you may need to access the router’s settings to retrieve this information.
It is also advisable to confirm that the printer is within range of the wireless signal. Position the printer in close proximity to the wireless router to optimize signal strength and minimize potential connectivity issues.
By meticulously reviewing and configuring the wireless settings on your Ricoh printer, you are laying a solid groundwork for the subsequent steps in the wireless connectivity setup. This proactive approach sets the stage for a seamless and efficient integration of your printer into the wireless network, paving the way for effortless printing from an array of connected devices.
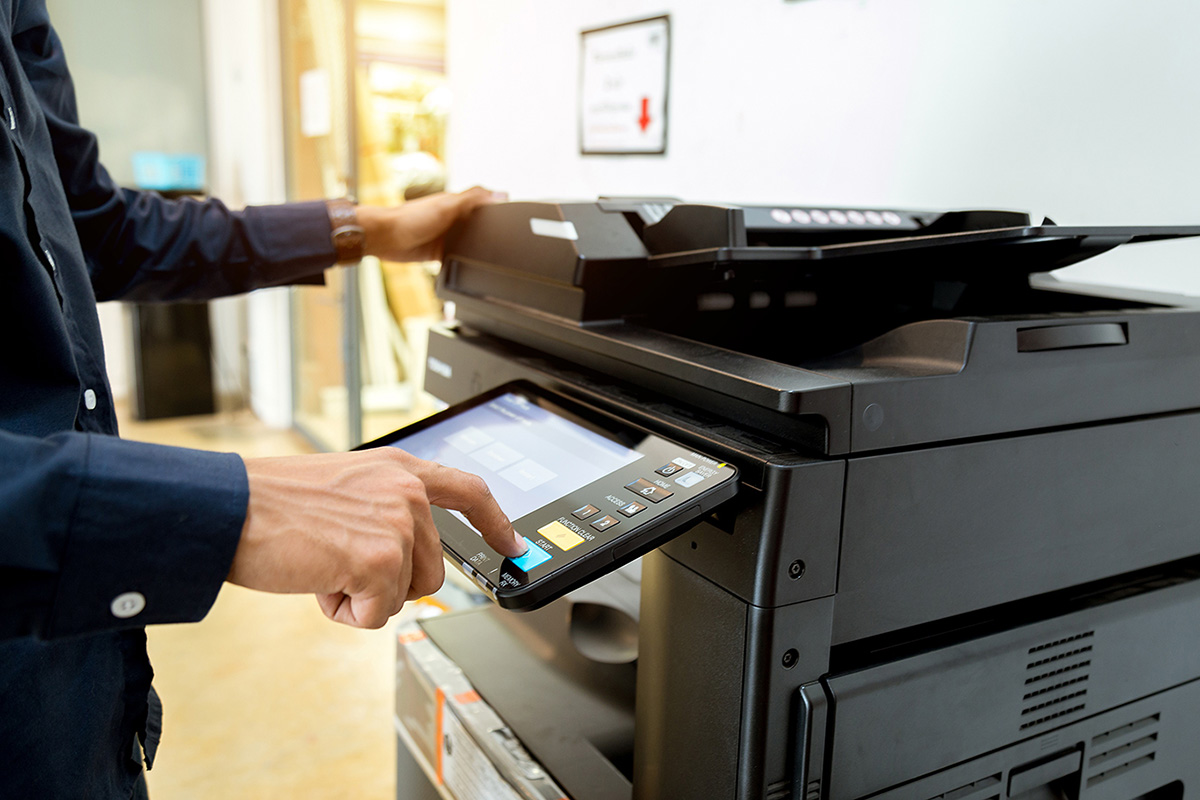
Step 2: Access the Printer’s Web Interface
Accessing the web interface of your Ricoh printer is a pivotal step in the process of connecting it to a wireless network. The web interface provides a user-friendly platform through which you can configure and customize various settings, including wireless network connectivity.
To begin, ensure that your Ricoh printer is powered on and connected to the same network to which you intend to connect it wirelessly. Once this is confirmed, proceed to open a web browser on a computer or device that is also connected to the same network.
Next, enter the IP address of the Ricoh printer into the address bar of the web browser. The IP address can typically be found within the printer’s settings or network configuration menu. Alternatively, you can print a network configuration page from the printer to obtain the IP address.
Upon entering the IP address into the web browser, you will be directed to the web interface of the Ricoh printer. This intuitive interface provides access to a wealth of settings and options, empowering you to tailor the printer’s configurations to suit your specific requirements.
Within the web interface, navigate to the wireless or network settings section. Here, you will find a range of options related to wireless connectivity, including the ability to search for available wireless networks and input the necessary credentials to establish a connection.
It is important to approach the web interface with a methodical mindset, carefully reviewing each setting and option related to wireless connectivity. Take the time to input the correct SSID and password for your wireless network, ensuring accuracy to facilitate a seamless connection.
By accessing the printer’s web interface, you are granted the freedom to fine-tune the wireless settings with precision and ease. This level of control empowers you to optimize the printer’s wireless connectivity, setting the stage for a seamless integration into your wireless network.
Step 3: Configure the Wireless Network Settings
Configuring the wireless network settings on your Ricoh printer is a pivotal stage in the process of establishing seamless wireless connectivity. This step involves inputting the essential details of your wireless network, such as the SSID and password, to enable the printer to securely connect to the designated network.
Within the web interface of the Ricoh printer, navigate to the wireless network settings section. Here, you will encounter a series of fields prompting you to input the necessary information to initiate the wireless connection process.
Begin by selecting the option to search for available wireless networks. This action prompts the printer to scan for nearby wireless networks, displaying a list of detected networks within the web interface. Locate and select your specific wireless network from the list.
Once you have identified your wireless network, proceed to input the SSID, or network name, into the designated field. Ensure that the SSID is entered accurately, as any discrepancies may hinder the printer’s ability to connect to the network.
Subsequently, input the password associated with your wireless network into the corresponding field. Exercise caution and precision when entering the password to avoid any errors that could impede the connectivity process.
After inputting the SSID and password, review the settings to confirm their accuracy. This verification step is crucial, as it mitigates the risk of connectivity issues arising from incorrect network details.
Once the wireless network settings have been meticulously configured and verified, proceed to save the changes within the web interface. This action solidifies the inputted information, enabling the printer to utilize the provided details to establish a secure and stable connection to the wireless network.
By methodically configuring the wireless network settings within the web interface of your Ricoh printer, you are actively facilitating the seamless integration of the printer into your wireless ecosystem. This meticulous approach sets the stage for a robust and reliable wireless connection, empowering you to print effortlessly from a diverse range of connected devices.
Make sure your Ricoh printer is turned on and within range of your wireless network. Access the printer’s menu and select the wireless LAN setup option. Follow the on-screen instructions to connect to your wireless network by entering the network name and password.
Step 4: Connect the Ricoh Printer to the Wireless Network
Connecting your Ricoh printer to the wireless network marks a pivotal juncture in the wireless setup process, culminating in the establishment of a robust and seamless connection that enables effortless printing from a multitude of devices.
Upon completing the configuration of the wireless network settings within the printer’s web interface, proceed to initiate the connection process. Ensure that the printer is powered on and within range of the wireless signal emitted by your designated network.
With the wireless network settings accurately configured, the Ricoh printer is primed to establish a connection with the designated wireless network. This process typically involves the printer scanning for available networks and subsequently attempting to connect to the specified network using the provided SSID and password.
Observe the printer as it undertakes the connection process, remaining attentive to any prompts or indicators displayed on the printer’s control panel. Depending on the model of the Ricoh printer, the connection process may vary in terms of the displayed prompts and status indicators.
Upon successful connection to the wireless network, the printer will display a confirmation message or indicator signifying the establishment of the wireless connection. This confirmation heralds the seamless integration of the Ricoh printer into your wireless network, paving the way for a streamlined printing experience.
Following the successful connection, it is advisable to print a test page from a connected device to verify the printer’s functionality within the wireless network. This test print serves as a practical validation of the printer’s seamless integration, ensuring that it can receive and process print jobs from connected devices effectively.
By successfully connecting your Ricoh printer to the wireless network, you have unlocked a realm of printing convenience and flexibility. The seamless integration of the printer into the wireless ecosystem empowers you to print effortlessly from an array of devices, transcending the limitations imposed by traditional wired connections.
Read more: How To Turn On Ricoh Printer
Step 5: Test the Connection
After connecting your Ricoh printer to the wireless network, it is imperative to conduct a comprehensive test to validate the stability and functionality of the wireless connection. This pivotal step ensures that the printer is seamlessly integrated into the wireless ecosystem, capable of receiving and processing print jobs from a diverse array of connected devices.
To initiate the testing process, select a document or image from a connected device, such as a computer or smartphone, and proceed to send a print job to the Ricoh printer. Ensure that the selected document is compatible with the printer’s specifications and that the printer is designated as the intended printing device within the device’s settings.
Observe the printer as it receives the print job, remaining attentive to any indicators or status messages displayed on the printer’s control panel. This observation enables you to ascertain the printer’s responsiveness and capability to process print jobs wirelessly.
Upon receiving the print job, the Ricoh printer should proceed to process and print the document or image, demonstrating its seamless integration into the wireless network. Monitor the printing process to ensure that the document is reproduced accurately and efficiently, reflecting the stability and reliability of the wireless connection.
Following the successful completion of the test print, inspect the printed output to verify its quality and fidelity to the original document. This examination encompasses aspects such as clarity, color accuracy, and overall print quality, serving as a tangible validation of the printer’s performance within the wireless network.
Additionally, consider conducting multiple test prints using diverse documents and file types to comprehensively evaluate the printer’s wireless functionality. This multi-faceted testing approach provides a holistic assessment of the printer’s capability to handle a spectrum of print jobs wirelessly.
By meticulously testing the wireless connection of your Ricoh printer, you are affirming its seamless integration into your wireless network, thereby harnessing the full potential of wireless printing convenience. This comprehensive validation process instills confidence in the printer’s wireless functionality, ensuring a reliable and efficient printing experience across an array of connected devices.
Conclusion
Embarking on the journey to connect your Ricoh printer to a wireless network has unveiled a realm of unparalleled convenience and flexibility, empowering you to print effortlessly from an array of connected devices. By meticulously navigating through the step-by-step process outlined in this guide, you have embarked on a transformative expedition, culminating in the seamless integration of your Ricoh printer into your wireless ecosystem.
From the initial scrutiny of the printer’s wireless settings to the meticulous configuration of the wireless network details within the web interface, each step has contributed to the solid foundation of a robust and reliable wireless connection. Your proactive approach and attention to detail have laid the groundwork for a seamless printing experience, transcending the constraints of traditional wired connections.
As you successfully connected your Ricoh printer to the wireless network and conducted comprehensive testing to validate the stability and functionality of the wireless connection, you have cemented the printer’s position as a versatile and indispensable asset within your wireless ecosystem. The printer stands poised to effortlessly receive and process print jobs from a diverse range of connected devices, embodying the convergence of technology and convenience.
Armed with the knowledge and confidence garnered from this comprehensive guide, you are equipped to harness the full potential of wireless printing, embracing a future where the boundaries of printing convenience are transcended. The seamless integration of your Ricoh printer into the wireless network heralds a new era of printing flexibility, where the convenience of wireless connectivity converges with the reliability of Ricoh’s printing prowess.
As you venture forth into this wireless printing frontier, may the insights and guidance gleaned from this journey serve as a steadfast companion, empowering you to navigate the ever-expanding landscape of wireless technology with confidence and proficiency.
Embrace the boundless possibilities that wireless printing affords, and revel in the seamless synergy between your Ricoh printer and the wireless network, where the convergence of technology and convenience awaits.
Frequently Asked Questions about How To Connect Ricoh Printer To Wireless Network
Was this page helpful?
At Storables.com, we guarantee accurate and reliable information. Our content, validated by Expert Board Contributors, is crafted following stringent Editorial Policies. We're committed to providing you with well-researched, expert-backed insights for all your informational needs.


0 thoughts on “How To Connect Ricoh Printer To Wireless Network”