Home>Technology>Smart Home Devices>How To Make A Copy On HP Printer
Smart Home Devices
How To Make A Copy On HP Printer
Modified: August 28, 2024
Learn how to make a copy on your HP printer with our easy step-by-step guide. Improve your smart home devices experience today!
(Many of the links in this article redirect to a specific reviewed product. Your purchase of these products through affiliate links helps to generate commission for Storables.com, at no extra cost. Learn more)
Introduction
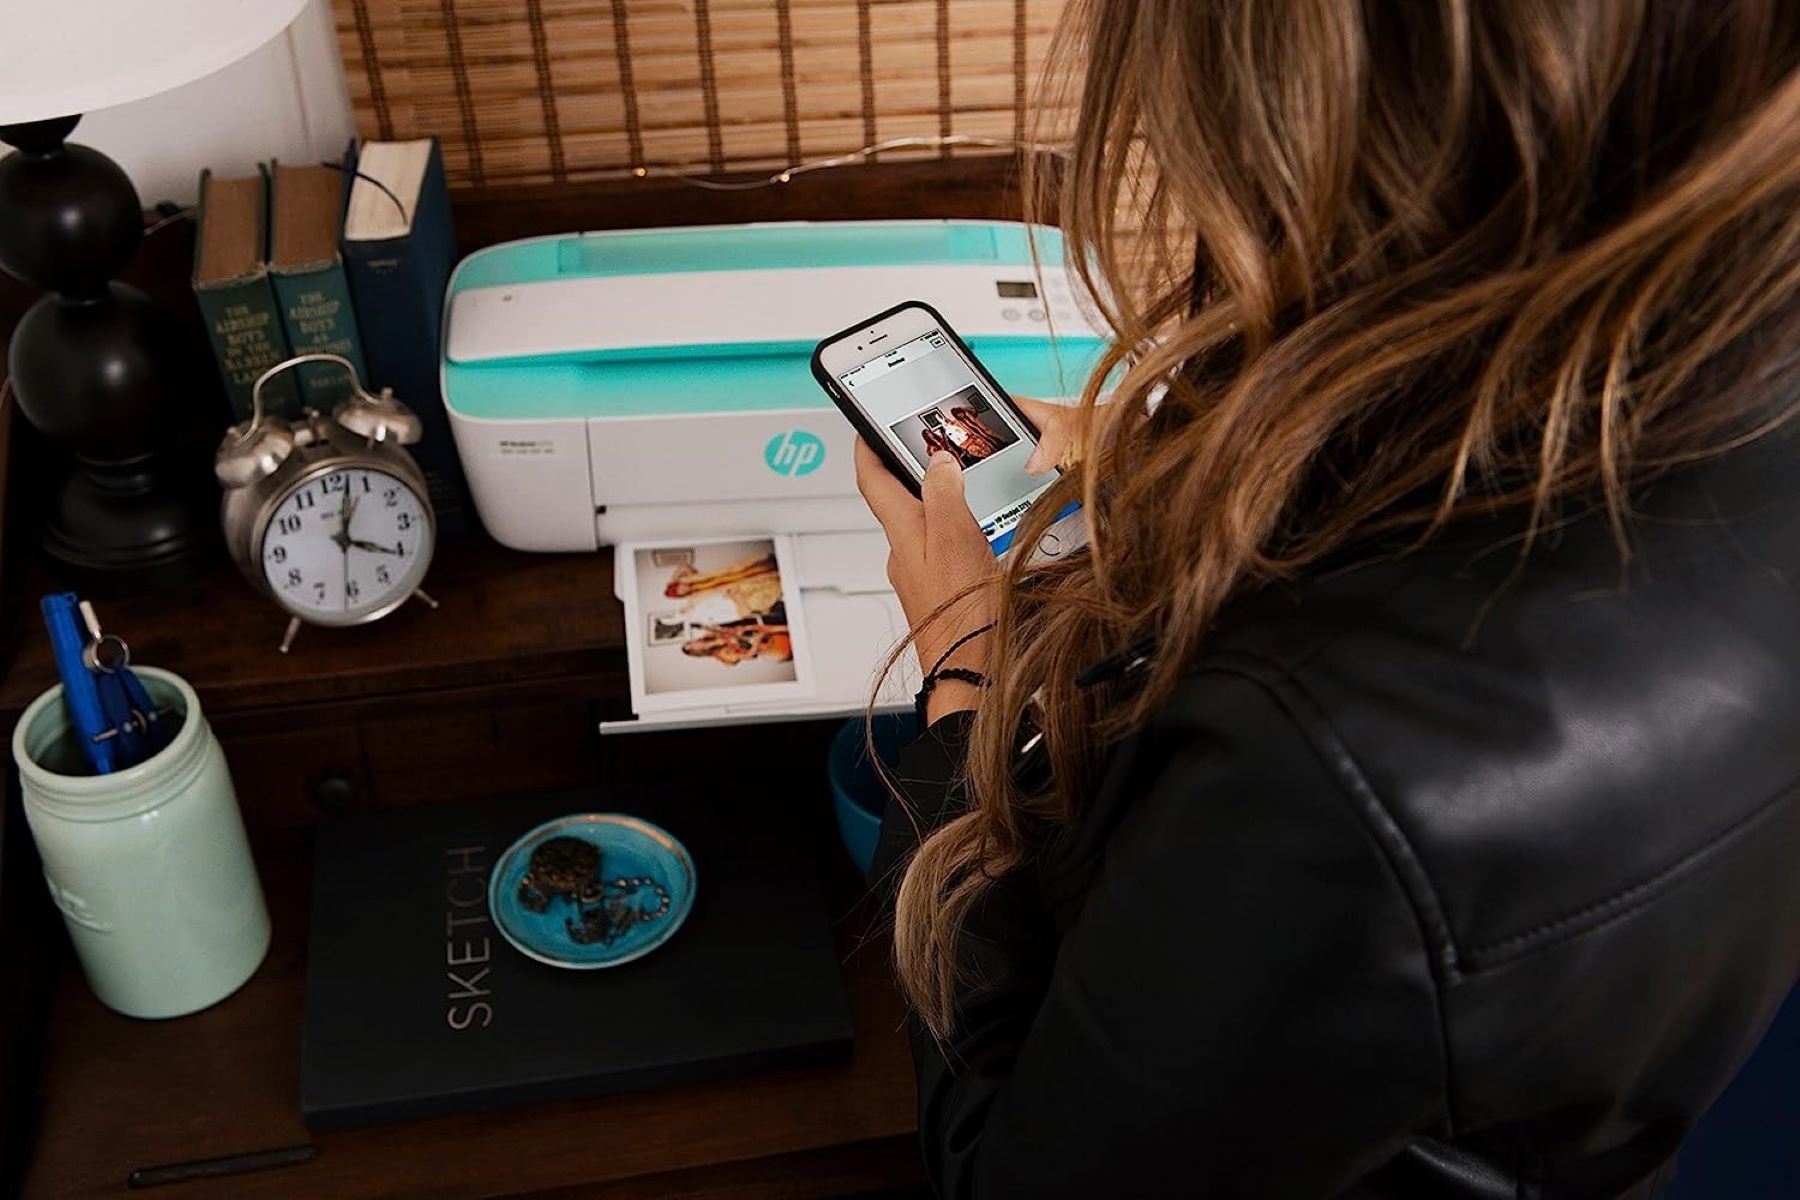
Welcome to the world of convenient printing and copying with HP printers! Whether you're a student preparing study materials, a professional organizing documents, or a family member reproducing memorable photos, the ability to make copies with your HP printer is a valuable feature. This article will guide you through the simple and efficient process of making copies on an HP printer, ensuring that you can effortlessly replicate your documents and images with the touch of a button.
HP printers are renowned for their user-friendly interfaces and advanced capabilities, making them a popular choice for both home and office use. With the ability to produce high-quality copies in a matter of moments, HP printers offer a seamless copying experience that can streamline your daily tasks. By following the straightforward steps outlined in this guide, you'll be able to harness the power of your HP printer to reproduce documents with precision and clarity.
Whether you're new to using an HP printer or are seeking a refresher on the copy-making process, this article is designed to provide clear and concise instructions that will empower you to make copies effortlessly. From loading the paper to adjusting the copy settings, each step is carefully explained to ensure that you can achieve optimal results with your HP printer. Let's embark on this journey to discover the simplicity and convenience of making copies on an HP printer.
Key Takeaways:
- Making copies on an HP printer is easy! Just turn on the printer, load the paper, place the document on the scanner, select copy options, adjust settings, and start the copy process for precise and clear reproductions.
- HP printers offer a seamless copying experience with user-friendly features. From loading paper to adjusting settings, follow the simple steps to effortlessly replicate documents and images with precision.
Read more: How To Make A Copy On A Printer
Step 1: Turn on the HP Printer
Before initiating the copy process, it is essential to ensure that your HP printer is powered on and ready to fulfill your copying needs. The first step involves turning on the printer and allowing it to initialize, ensuring that all systems are operational for a seamless copying experience.
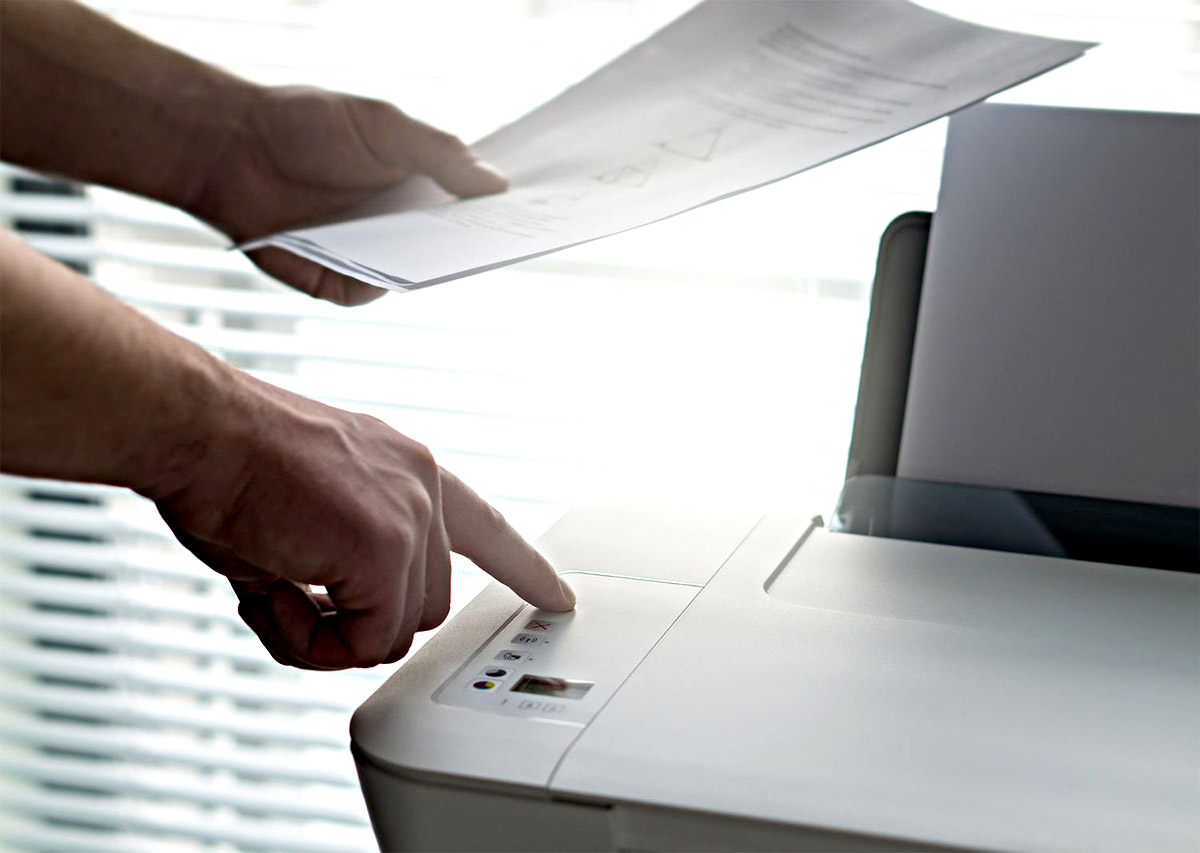
To begin, locate the power button on your HP printer. This button is typically situated on the front panel or control panel of the printer and is easily identifiable by the power symbol. Press the power button to activate the printer, allowing it to undergo its startup routine. Depending on the model of your HP printer, you may observe indicator lights or a display screen illuminating as the printer powers up.
As the printer initializes, you may hear mechanical noises as the internal components engage and prepare for operation. This is a normal part of the startup process and indicates that the printer is coming online. Once the printer has completed its startup sequence, it will be ready to accept commands and perform printing and copying tasks.
By ensuring that your HP printer is powered on and fully operational, you set the stage for a successful copying process. With the printer primed and prepared, you can proceed to the next steps of loading the paper and positioning your document for copying, confident in the knowledge that your HP printer is ready to fulfill your copying needs with efficiency and precision.
Step 2: Load the Paper
Once your HP printer is powered on and ready, the next step in the copying process is to load the paper into the printer’s input tray. Properly loading the paper ensures that the printer can accurately reproduce your documents or images, providing you with high-quality copies.
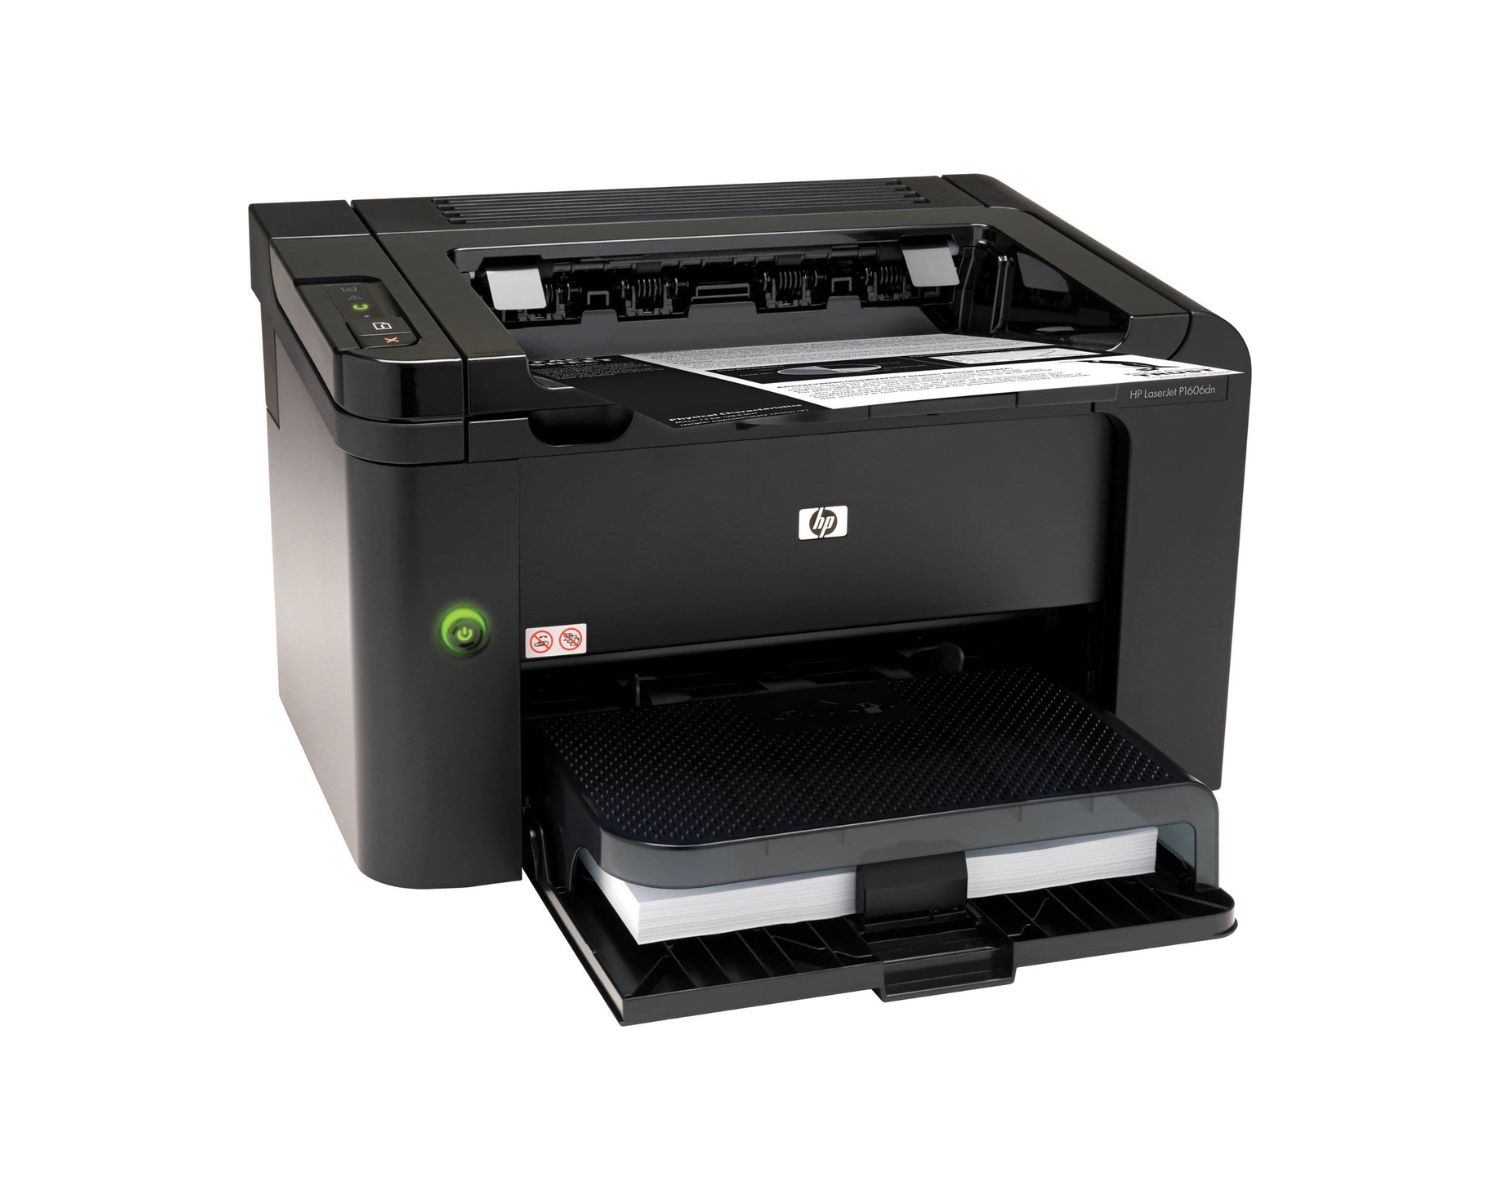
Begin by locating the input tray of your HP printer. The input tray is typically situated at the base or front of the printer and is designed to hold the paper securely during the printing and copying processes. Pull out the input tray and adjust the paper guides to accommodate the size of the paper you intend to use for the copies.
With the paper guides set to the appropriate width, take a stack of plain, white paper – ensuring that the paper is free from wrinkles or damage – and align it neatly. Insert the stack of paper into the input tray, ensuring that it rests securely against the paper guides. It’s important to avoid overfilling the input tray, as this can lead to paper jams and inconsistent feeding during the copying process.
Once the paper is loaded into the input tray, gently adjust the paper guides to snugly fit against the edges of the paper stack. This ensures that the paper is properly aligned and prevents misfeeds or skewed copies. With the paper securely loaded and the guides adjusted, you have successfully prepared the printer for the copying process, laying the foundation for precise and reliable copies.
By carefully loading the paper into the input tray of your HP printer, you set the stage for a seamless copying experience, ensuring that your documents and images are reproduced with clarity and accuracy. With the paper in place, you are now ready to position your document on the scanner and proceed to the next steps of the copying process.
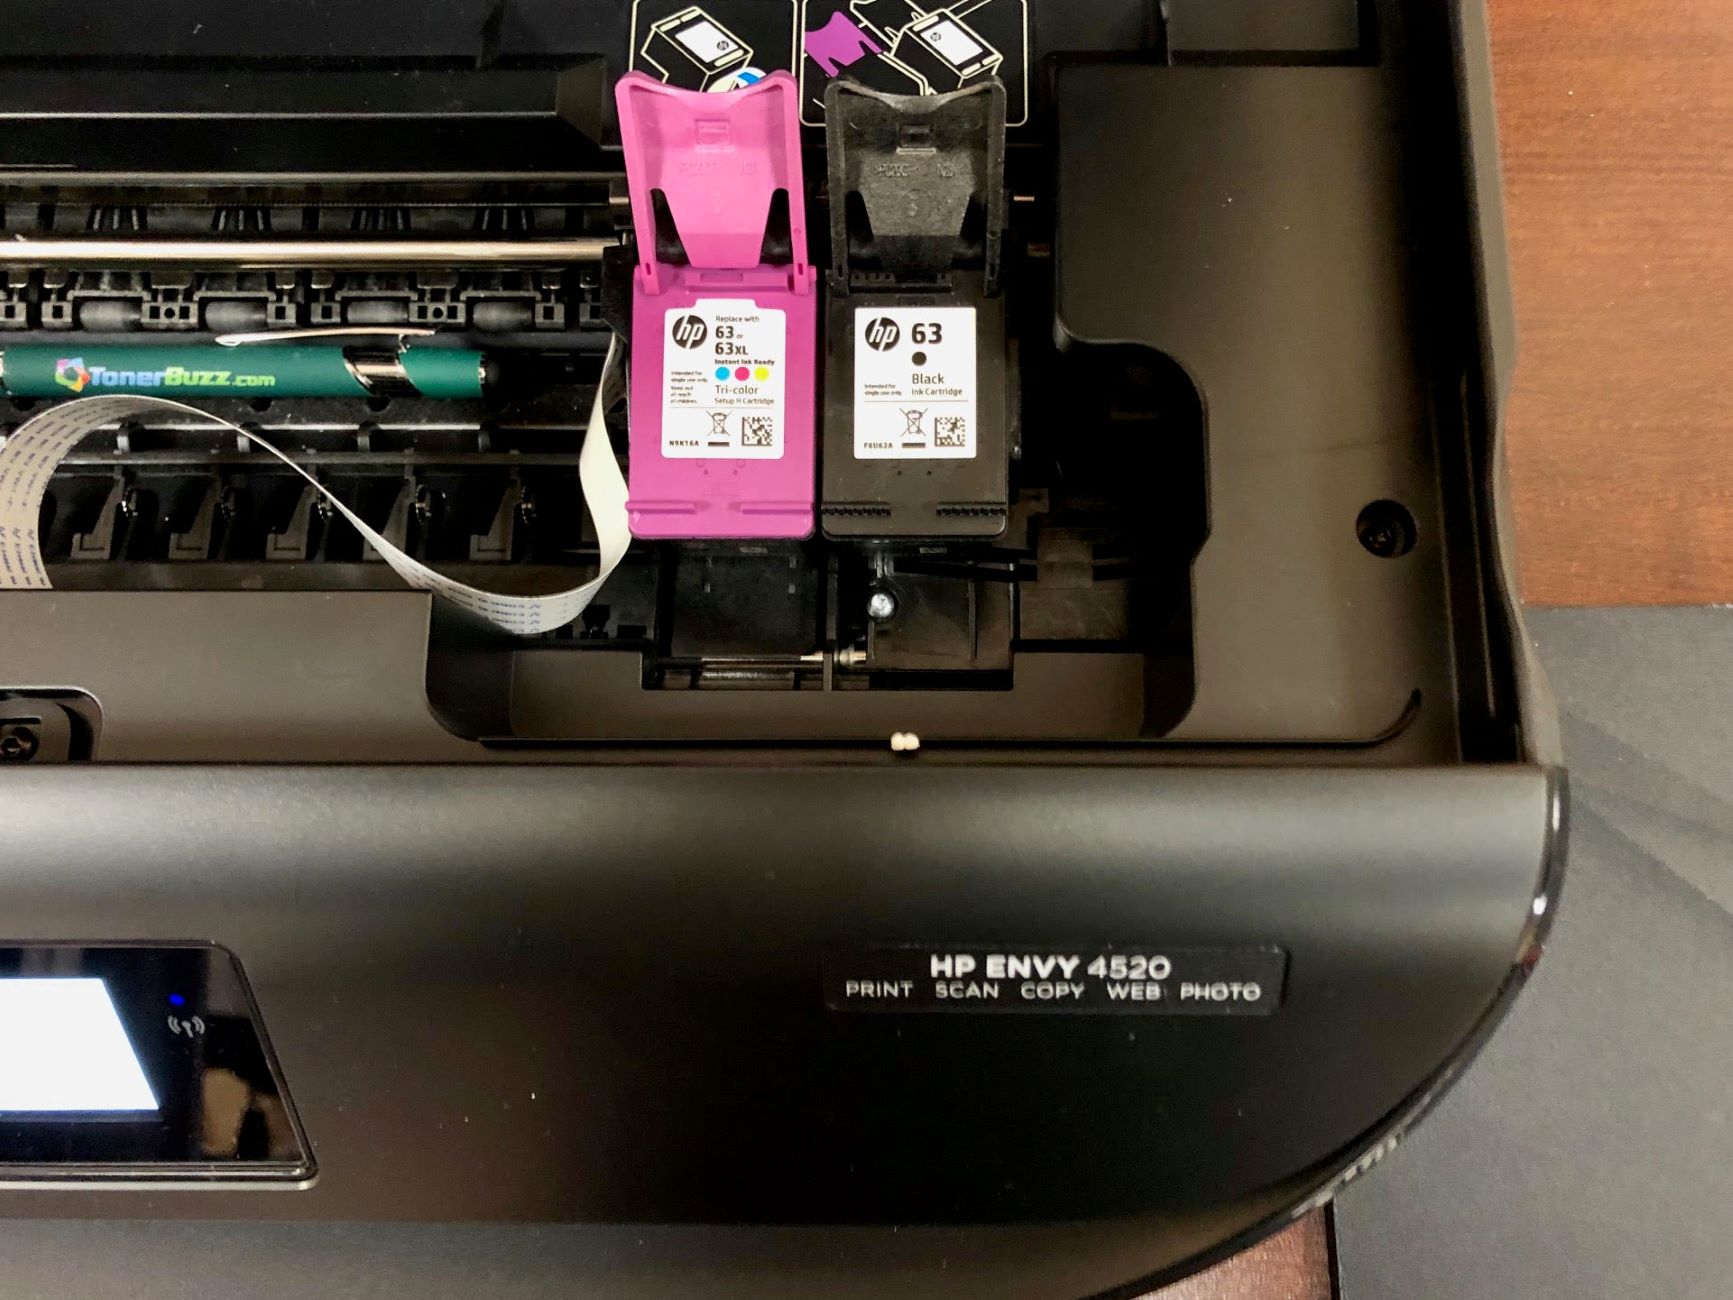
Step 3: Place the Document on the Scanner
With the paper loaded into the input tray, the next crucial step in the copying process is to position the document or image that you wish to replicate onto the scanner bed of your HP printer. Properly placing the document ensures that the printer can capture a clear and accurate image for reproduction, resulting in high-quality copies.
Open the scanner lid of your HP printer to reveal the scanner bed. The scanner bed is the flat glass surface where the document is positioned for scanning and copying. Ensure that the scanner bed is clean and free from any dust or debris that could affect the quality of the copy.
Take the document or image that you wish to copy and place it face down on the scanner bed. It’s important to position the document in a manner that aligns with the guidelines or markers present on the scanner bed, ensuring that it is placed squarely and uniformly for an optimal scanning process. If your HP printer features an automatic document feeder (ADF), you can utilize this feature for multi-page documents, allowing the printer to sequentially scan each page for copying.
Once the document is positioned on the scanner bed, carefully lower the scanner lid to secure the document in place. Ensure that the lid is closed gently to prevent shifting or displacement of the document. By securely positioning the document on the scanner bed, you have set the stage for the printer to capture a clear and precise image for replication, ensuring that your copies faithfully reproduce the original document or image.
With the document in place on the scanner bed, you are now ready to proceed to the next steps of selecting the copy options on your HP printer and adjusting the settings to tailor the copying process to your specific requirements. By following these steps, you can harness the full potential of your HP printer to create accurate and detailed copies with ease.
To make a copy on an HP printer, place the document face-down on the scanner glass, select the number of copies, and press the copy button on the printer.
Step 4: Select Copy Option on the Printer
After positioning the document on the scanner bed, the next step in the copying process involves selecting the copy option on your HP printer. This step allows you to indicate to the printer that you intend to create copies and provides you with the opportunity to customize the copying settings to suit your specific requirements.
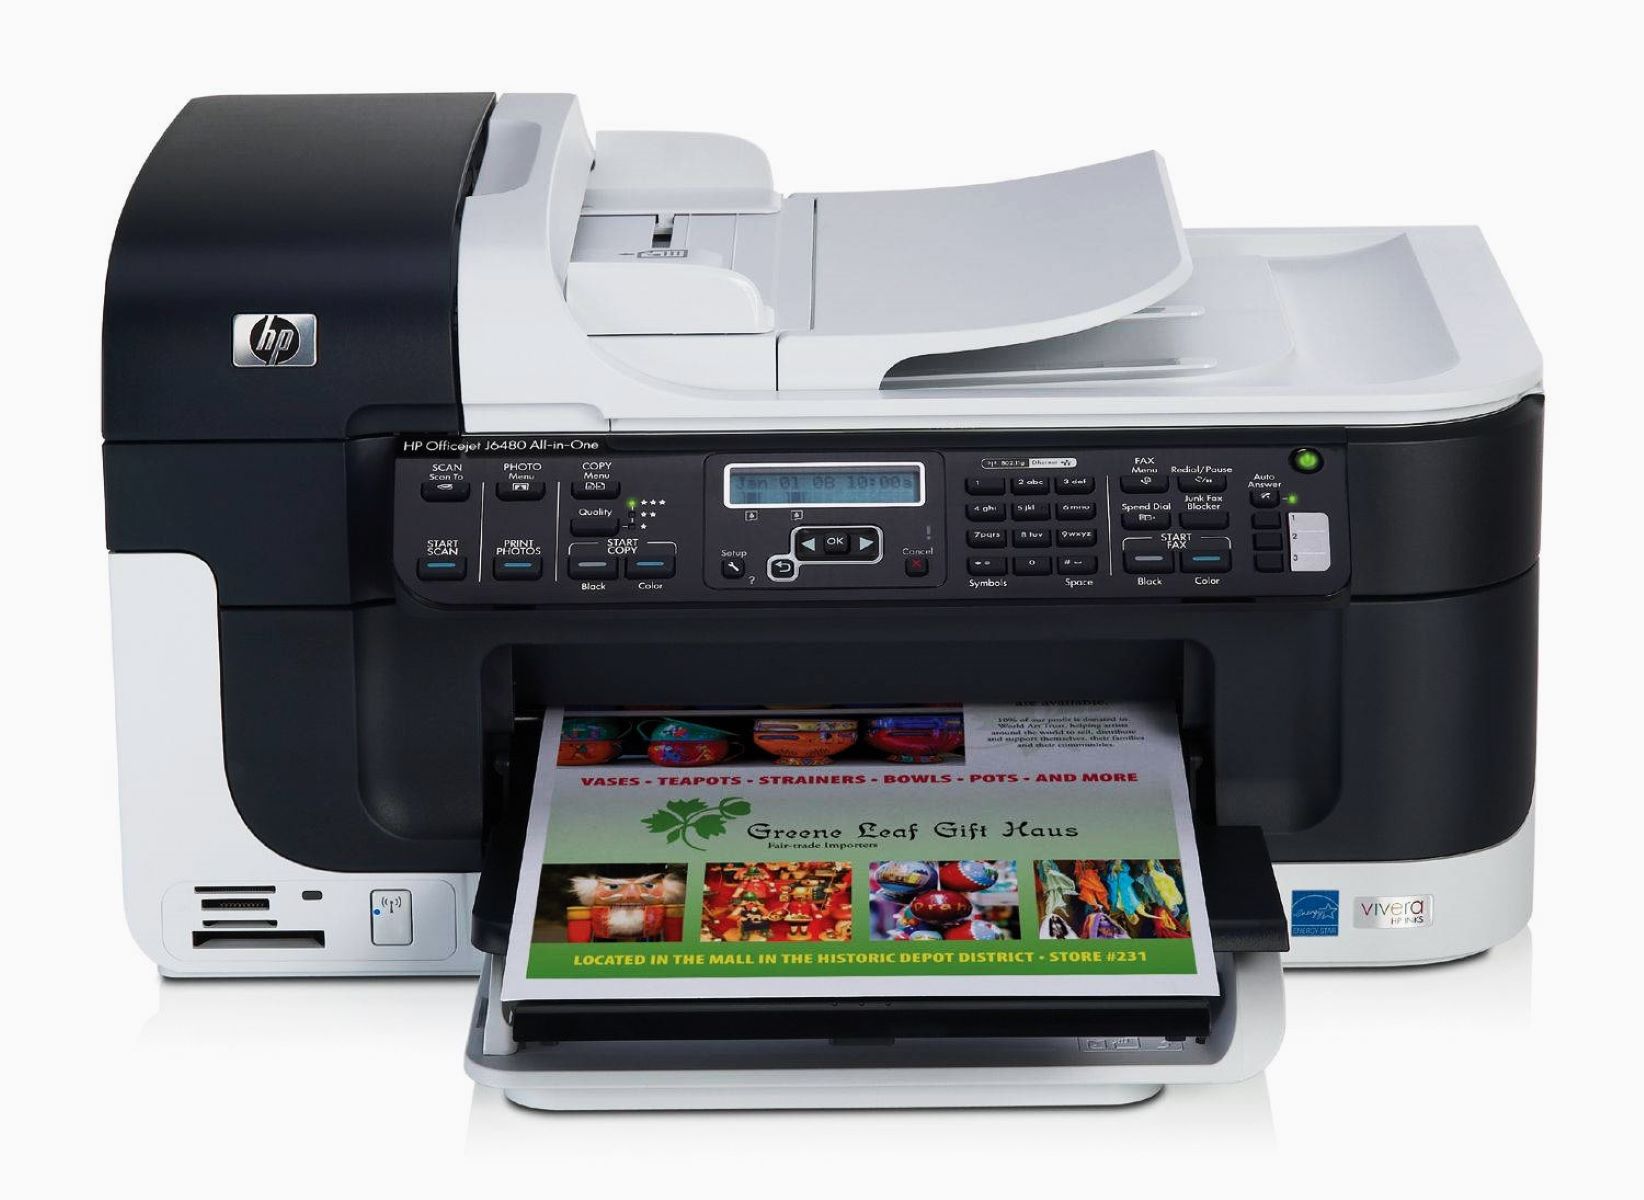
Begin by accessing the control panel or display screen of your HP printer. Depending on the model of your printer, you will find a dedicated button or menu option for copying. Press the “Copy” button or navigate to the copy menu on the display screen to initiate the copying process.
Upon selecting the copy option, your HP printer will present you with a range of settings and options that allow you to tailor the copying process to your preferences. These settings may include the number of copies to be made, the color or monochrome mode, the paper size, and the quality settings. Depending on your specific copying needs, you can adjust these settings to achieve the desired outcome.
If your HP printer features a touchscreen display, you can interact with the on-screen menu to select the desired copy options. Navigate through the menu to access the copy settings and make adjustments as necessary. For printers with physical buttons, use the directional keys and the “OK” or “Enter” button to navigate the copy menu and confirm your selections.
By selecting the copy option on your HP printer and customizing the settings to align with your preferences, you empower the printer to produce copies that meet your exact specifications. Whether you require multiple copies, color reproduction, or specific paper sizes, the copy options on your HP printer allow you to tailor the copying process to your individual needs.
With the copy options selected and the settings adjusted to your satisfaction, you are now prepared to proceed to the next step of adjusting the copy settings, fine-tuning the parameters to ensure that the copies meet your expectations. By navigating through the copy options on your HP printer, you can harness the full capabilities of the printer to create copies that faithfully replicate your original documents and images.
Read more: How To Airprint To HP Printer
Step 5: Adjust Copy Settings
Once you have selected the copy option on your HP printer, the next crucial step in the copying process is to adjust the copy settings to tailor the reproduction to your specific requirements. By fine-tuning the settings, you can ensure that the copies meet your expectations in terms of quality, quantity, and other customizable parameters.
Begin by reviewing the copy settings available on your HP printer. Depending on the model of your printer, you may have the ability to adjust parameters such as the number of copies to be made, the color or monochrome mode, the paper size, the quality settings, and any additional enhancements such as resizing options or borderless copying.
If you require multiple copies of the document or image, specify the desired quantity using the copy settings. This allows you to indicate the exact number of copies that you wish to produce, streamlining the copying process and ensuring that you have an ample supply of reproductions for your needs.
For documents or images that require color reproduction, ensure that the copy settings reflect your preference for color or monochrome copying. By selecting the appropriate mode, you can achieve accurate color replication or opt for black-and-white copies, depending on the nature of the original document or image.
Additionally, review the paper size settings to ensure that the copies are produced on the correct paper size. Whether you require standard letter-size copies, legal-size reproductions, or custom paper sizes, adjusting the paper size settings allows you to accommodate the specific dimensions of your document or image.
Furthermore, consider the quality settings available on your HP printer. Depending on the model, you may have the option to adjust the copy quality to optimize the sharpness, contrast, and overall visual appeal of the reproductions. Fine-tuning the quality settings ensures that the copies faithfully replicate the details and nuances of the original document or image.
By carefully adjusting the copy settings on your HP printer, you can tailor the copying process to your precise requirements, ensuring that the reproductions meet your expectations in terms of quantity, color accuracy, paper size, and overall quality. With the settings fine-tuned, you are now prepared to initiate the copying process and witness your HP printer in action, faithfully reproducing your documents and images with precision and clarity.
Step 6: Start the Copy Process
With the copy options selected and the settings adjusted to your preferences, you are now ready to initiate the copy process on your HP printer. This final step brings together all the preparations and customizations, allowing you to witness your HP printer in action as it faithfully reproduces your documents and images with precision and clarity.
After confirming the copy settings, place your hand on the “Start” button or equivalent control on your HP printer. This button is typically located on the control panel or display screen and is designated for commencing the copying process. Gently press the “Start” button to signal to the printer that you are ready to begin copying.
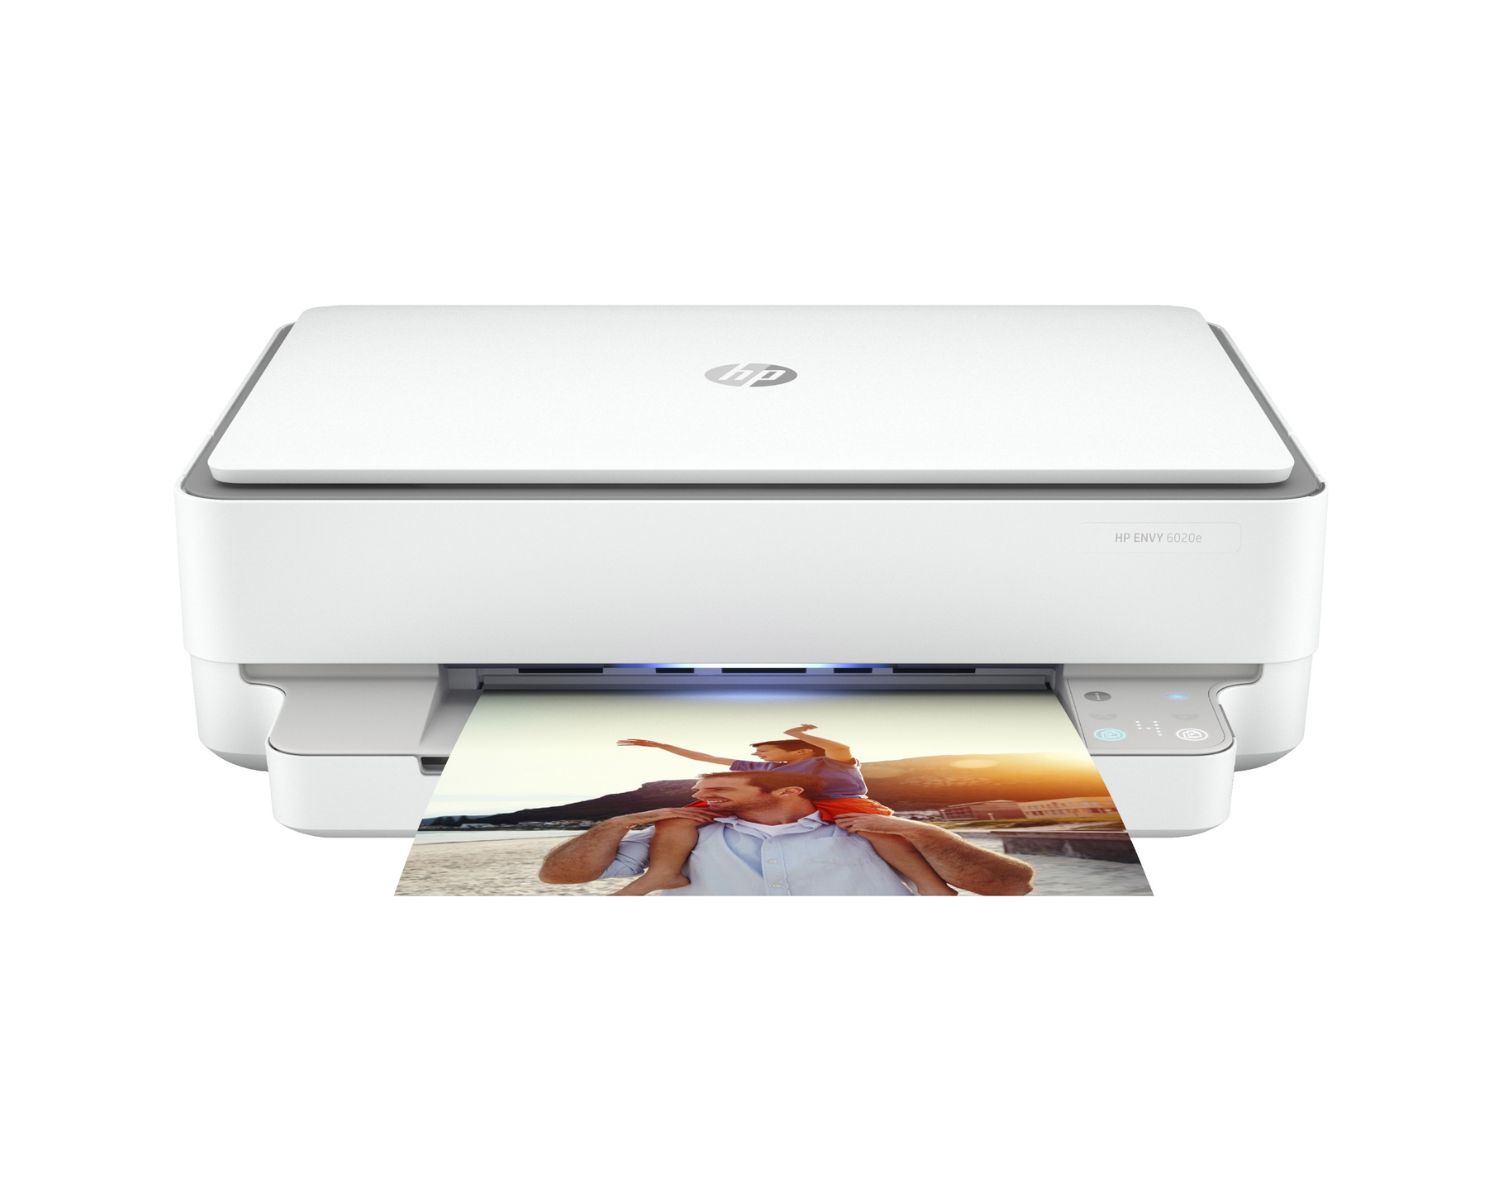
As you initiate the copy process, observe the printer as it springs into action. Depending on the model of your HP printer, you may hear the scanner mechanism engage as it captures the image of the document, followed by the printer swiftly reproducing the copies with precision. Witness the seamless operation of your HP printer as it faithfully replicates your documents and images, providing you with high-quality copies in a matter of moments.
Throughout the copying process, monitor the printer to ensure that the reproductions are being produced accurately and consistently. If you have selected multiple copies, observe as the printer efficiently generates each copy, maintaining the quality and fidelity of the original document or image with each reproduction.
Once the copying process is complete, retrieve the copies from the output tray of your HP printer. Handle the copies carefully, ensuring that they are stacked neatly and free from any smudges or marks. As you examine the copies, appreciate the precision and clarity with which your HP printer has faithfully reproduced your documents and images, demonstrating its capabilities in the realm of copying.
By successfully initiating the copy process on your HP printer, you have harnessed the full potential of the printer to create accurate and detailed copies with ease. Whether you require single-page documents, multi-page reports, or vibrant photo reproductions, your HP printer stands ready to fulfill your copying needs with efficiency and reliability, empowering you to replicate your materials with confidence and convenience.
Conclusion
Congratulations! You have successfully navigated the process of making copies on your HP printer, harnessing the user-friendly features and advanced capabilities of your printer to replicate your documents and images with precision and clarity. By following the straightforward steps outlined in this guide, you have unlocked the full potential of your HP printer to streamline your copying tasks and enhance your productivity.
From the initial step of turning on the printer to the final act of initiating the copy process, each stage of the copying process has been carefully explained, empowering you to make copies effortlessly and efficiently. By loading the paper, positioning your documents on the scanner, and customizing the copy settings, you have tailored the copying process to your specific requirements, ensuring that the reproductions meet your expectations in terms of quality, quantity, and visual appeal.
As you witnessed your HP printer in action, faithfully reproducing your documents and images, you experienced the seamless operation and reliable performance that are synonymous with HP printers. The precision and clarity with which your printer has replicated your materials underscore its value as a versatile and indispensable tool for both personal and professional use.
With the knowledge and confidence gained from this guide, you are well-equipped to make copies on your HP printer whenever the need arises. Whether you are duplicating important documents, archiving cherished memories, or preparing materials for distribution, your HP printer stands ready to fulfill your copying needs with efficiency and precision.
As you continue to explore the capabilities of your HP printer, remember that the copy-making process is just one of the many features that contribute to its multifunctional prowess. From printing and scanning to wireless connectivity and advanced print management, your HP printer offers a comprehensive suite of tools to support your diverse needs and elevate your printing experience.
Thank you for embarking on this journey to discover the simplicity and convenience of making copies on an HP printer. With your newfound expertise, you are poised to maximize the potential of your HP printer and integrate its copying capabilities seamlessly into your daily routines, enhancing your efficiency and productivity in the realm of printing and document management.
Ready to step up your office tech game now that you've got the basics down on your HP printer? Dive into our next piece where we dive into the world of multifunction printers, which seamlessly integrate printing, scanning, copying, and even faxing into one sleek device. Find out how these all-in-one solutions can revolutionize your workflow and save valuable space in your office or home setup.
Frequently Asked Questions about How To Make A Copy On HP Printer
Was this page helpful?
At Storables.com, we guarantee accurate and reliable information. Our content, validated by Expert Board Contributors, is crafted following stringent Editorial Policies. We're committed to providing you with well-researched, expert-backed insights for all your informational needs.

0 thoughts on “How To Make A Copy On HP Printer”