Home>Technology>Smart Home Devices>How Do You Enlarge A Copy On A Canon Printer?
Smart Home Devices
How Do You Enlarge A Copy On A Canon Printer?
Modified: August 17, 2024
Learn how to enlarge a copy on a Canon printer with our smart home devices guide. Discover easy steps to maximize your printing experience.
(Many of the links in this article redirect to a specific reviewed product. Your purchase of these products through affiliate links helps to generate commission for Storables.com, at no extra cost. Learn more)
Introduction
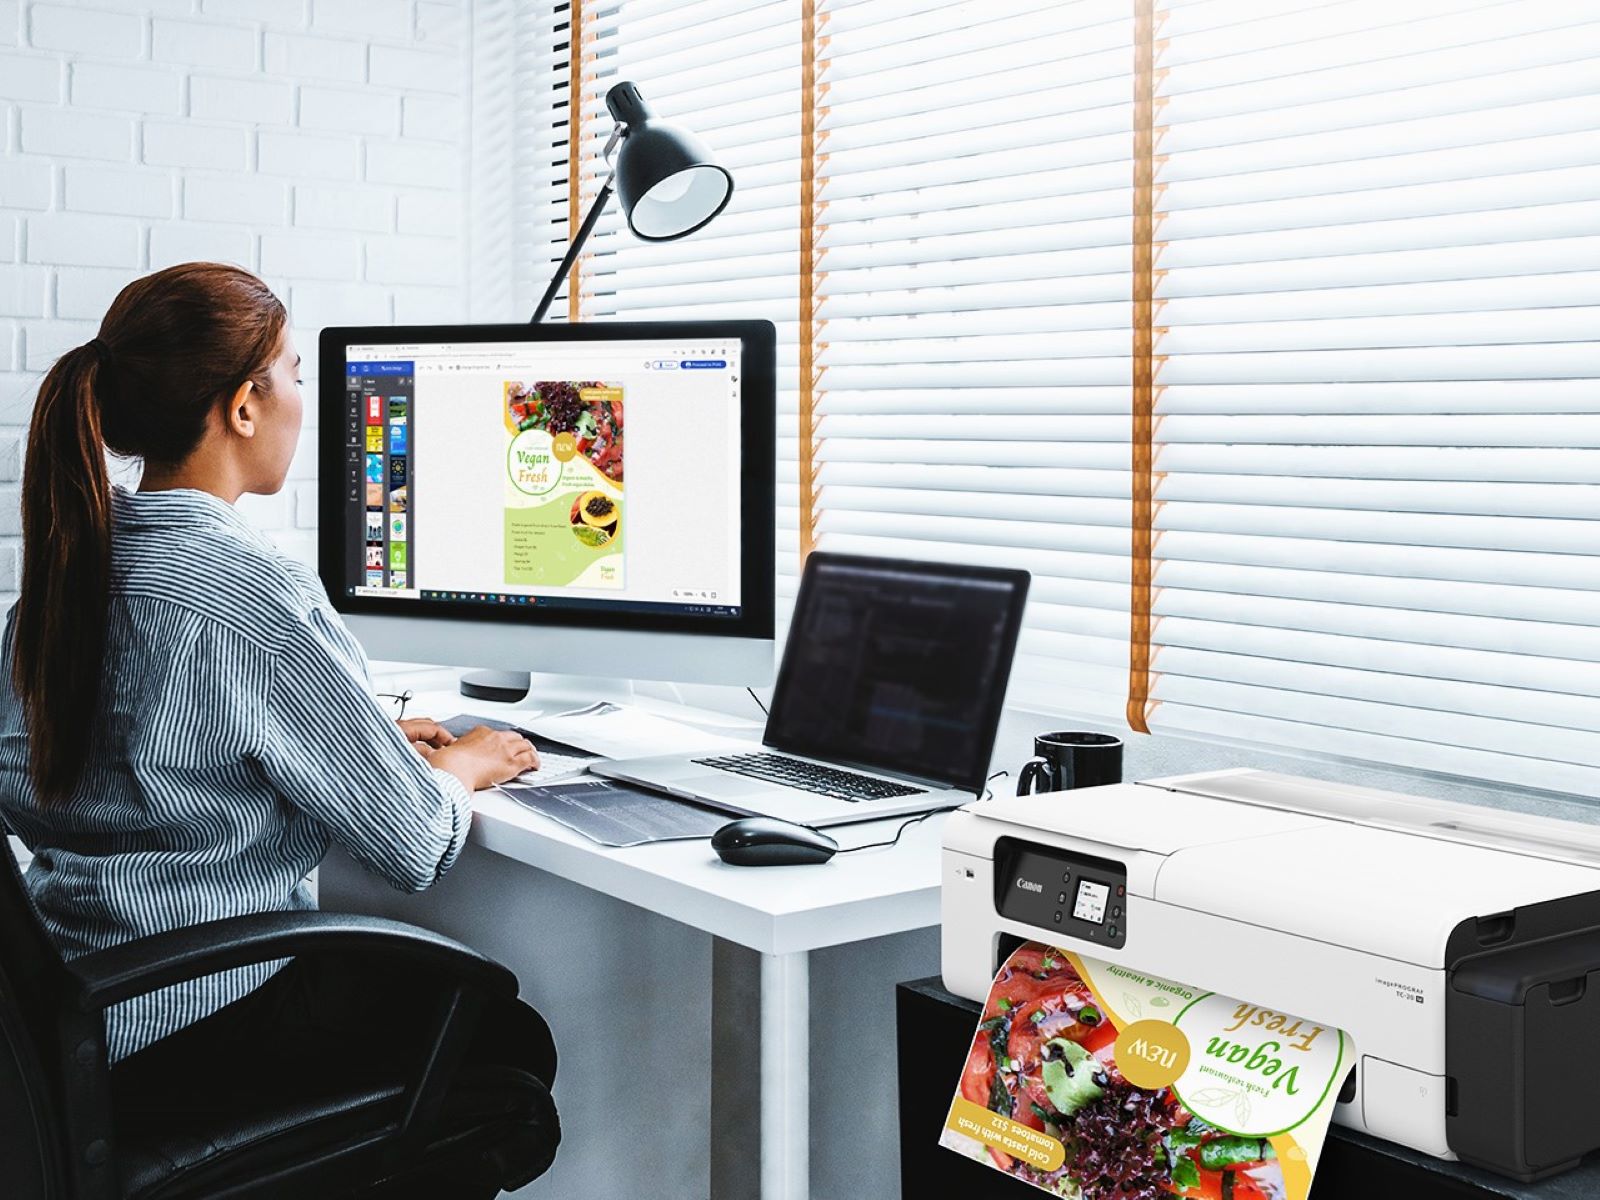
In today's fast-paced world, the need for efficient and versatile printing solutions has become increasingly vital. Canon, a renowned leader in imaging and printing technology, offers a wide range of printers designed to meet various needs, from home use to professional settings. One of the common tasks users often encounter is enlarging a copy. Whether it's for creating a poster-size print for a school project or enlarging an important document for better readability, knowing how to enlarge a copy on a Canon printer can be a valuable skill.
Understanding the process of enlarging a copy on a Canon printer involves delving into the printer's settings and features to ensure the desired output meets the specific requirements. From adjusting the settings to initiating the printing process, every step plays a crucial role in achieving a high-quality enlarged copy.
In this comprehensive guide, we will explore the intricacies of enlarging a copy on a Canon printer, providing valuable insights into the process and empowering users to make the most of their printing experience. Whether you're a student, a professional, or a home user seeking to enlarge copies for personal projects, this guide will equip you with the knowledge and confidence to navigate the enlargement process seamlessly. Let's embark on this enlightening journey to uncover the art of enlarging copies with a Canon printer.
Key Takeaways:
- Enlarging a copy on a Canon printer involves adjusting settings like paper size, scaling options, and quality settings to achieve the desired size and clarity for the enlarged output.
- Understanding the specific features and settings of your Canon printer is crucial for maximizing the potential of the enlargement process and producing visually striking enlarged copies.
Read more: How To Make A Copy On A Printer
Understanding the Canon Printer
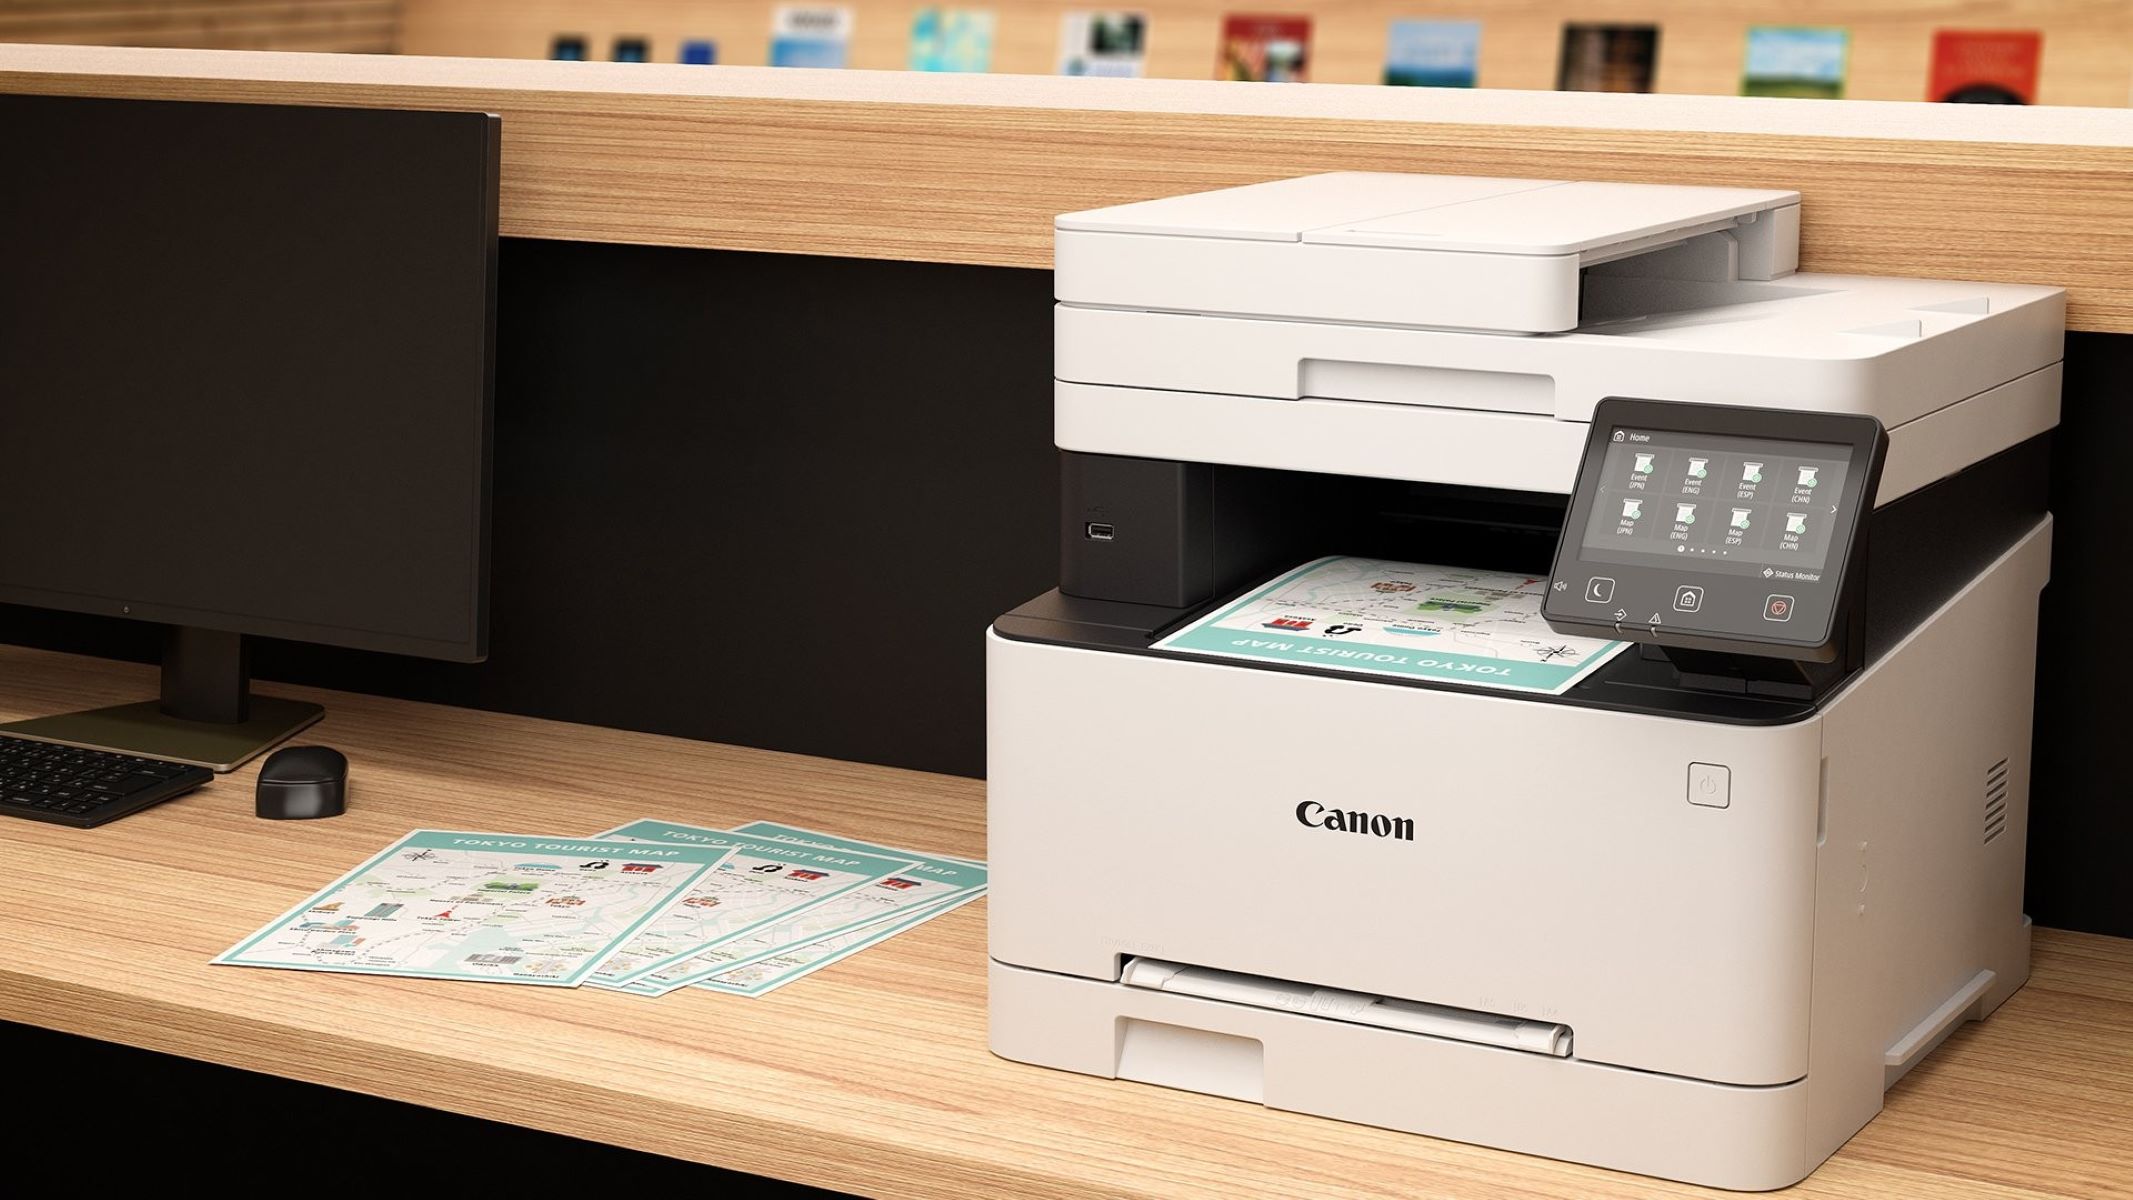
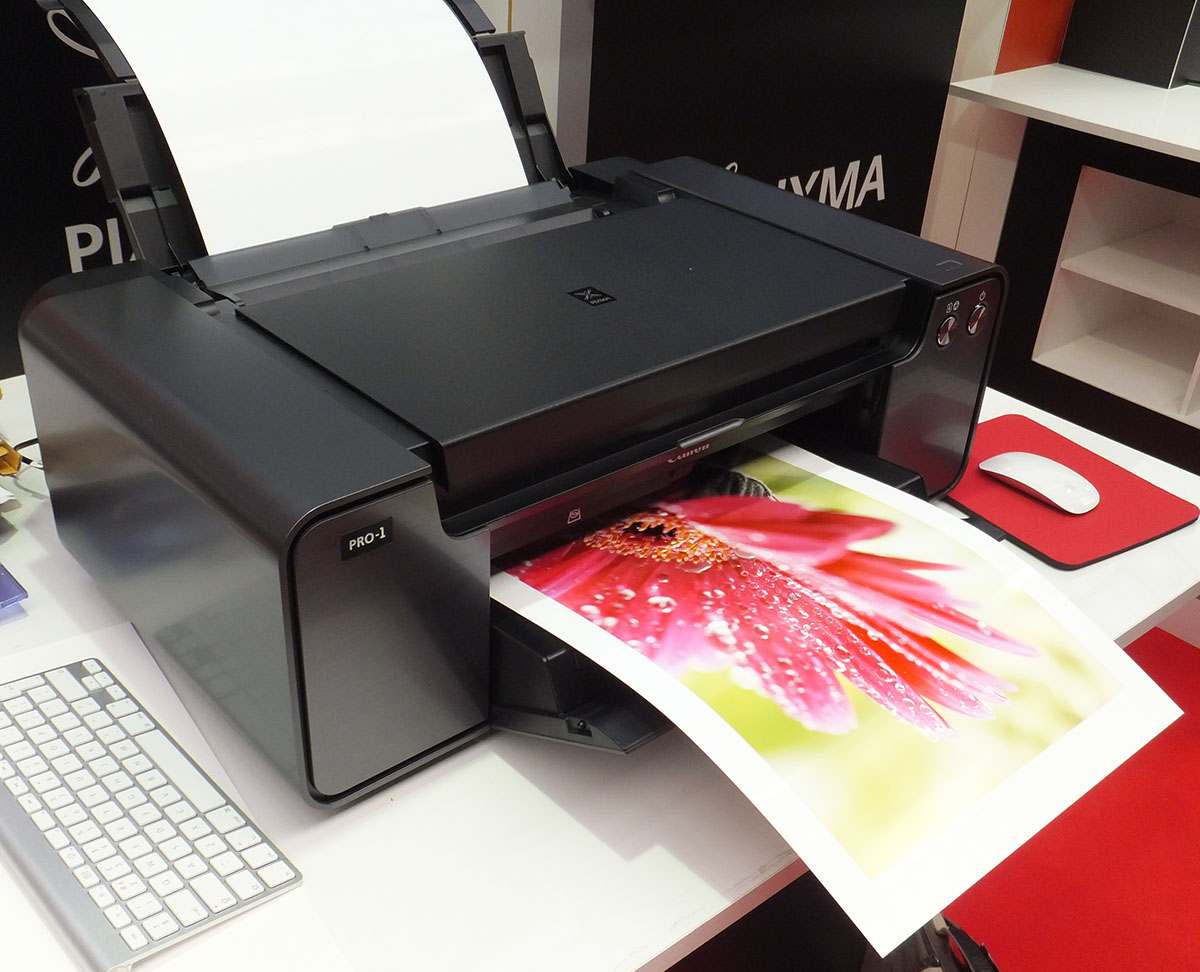
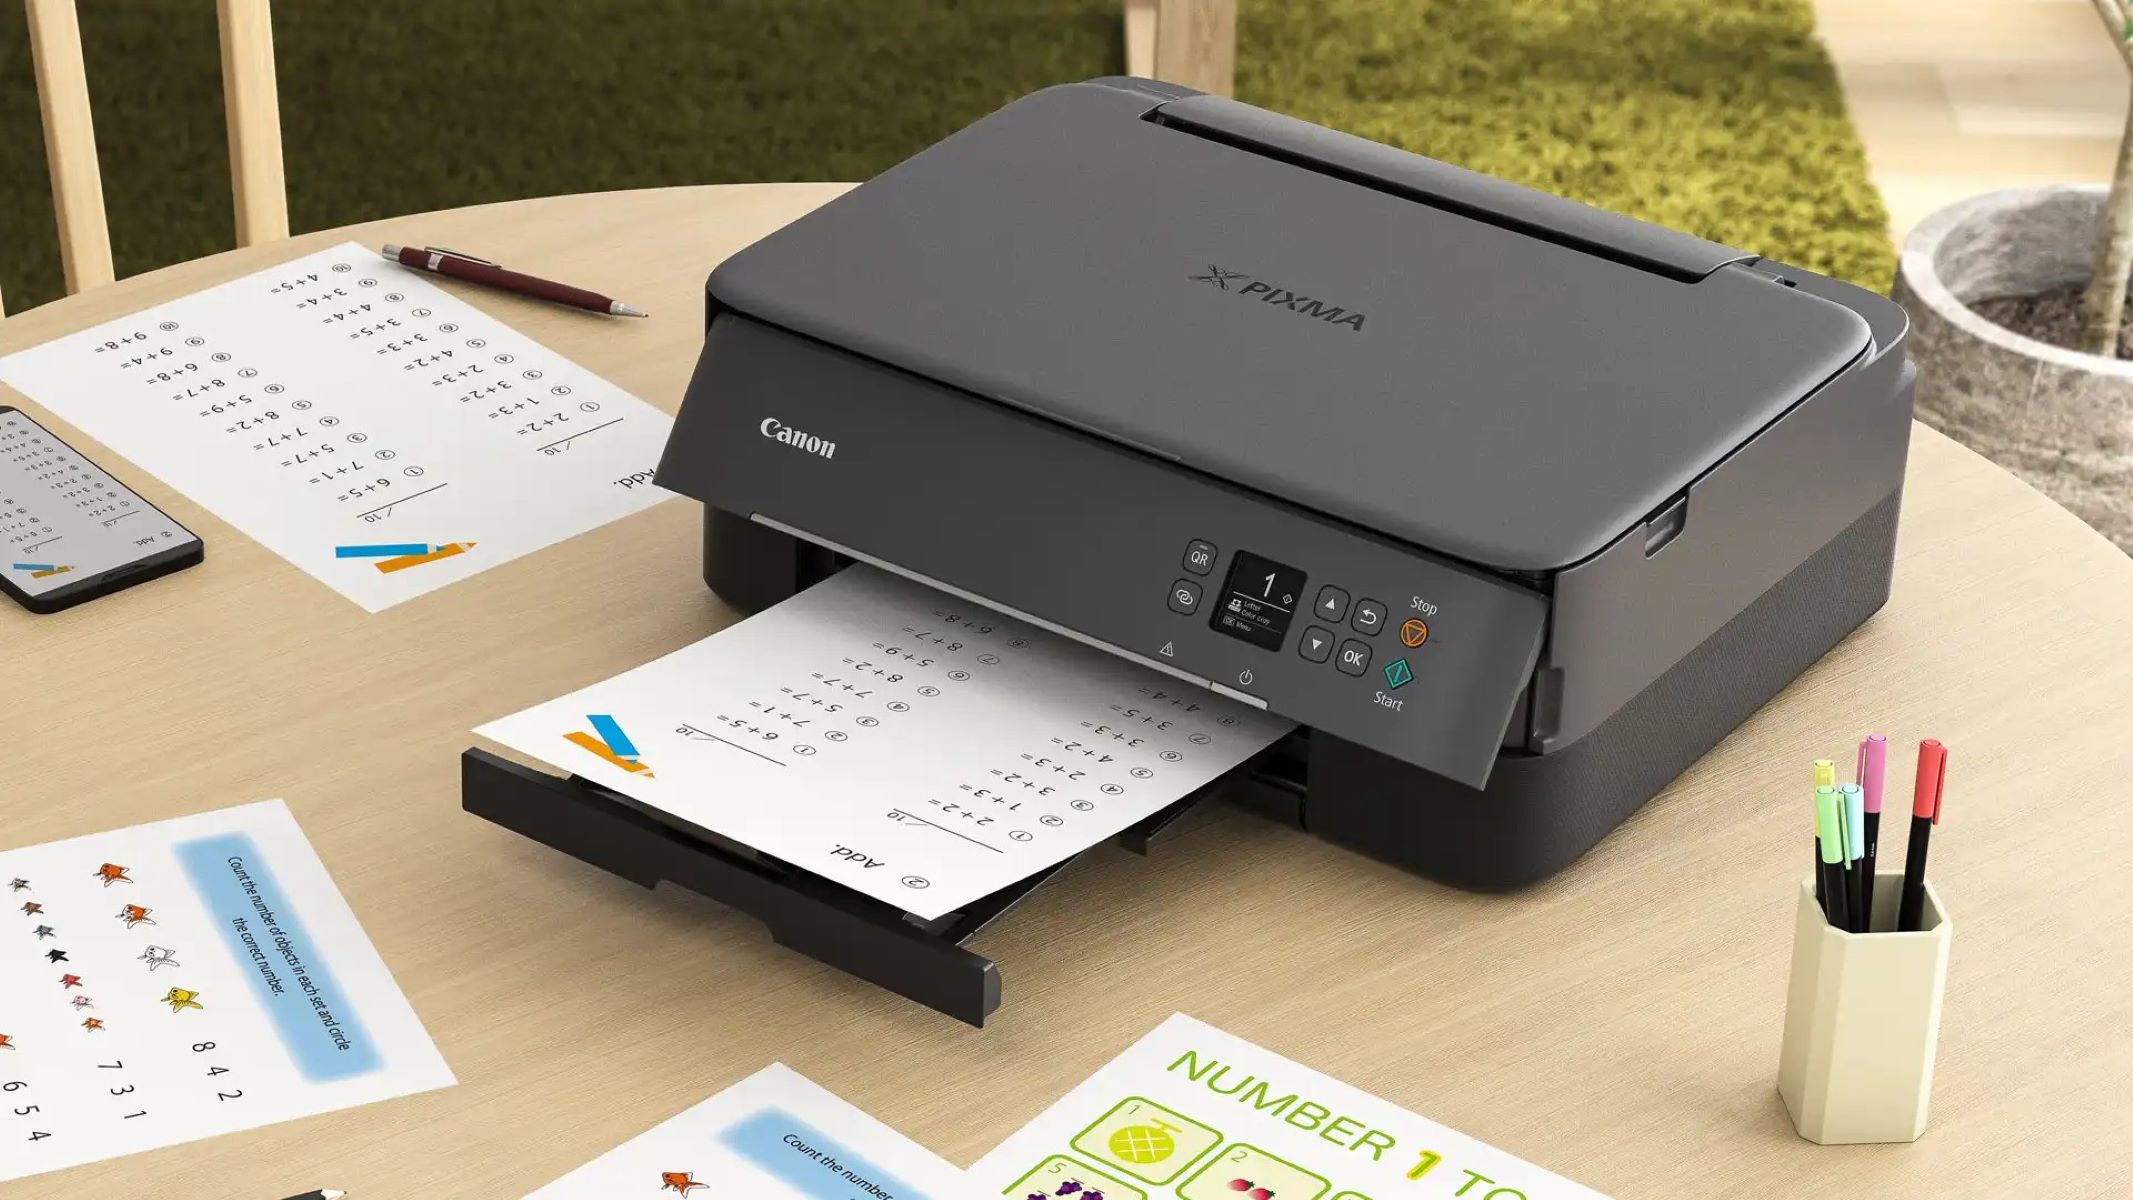
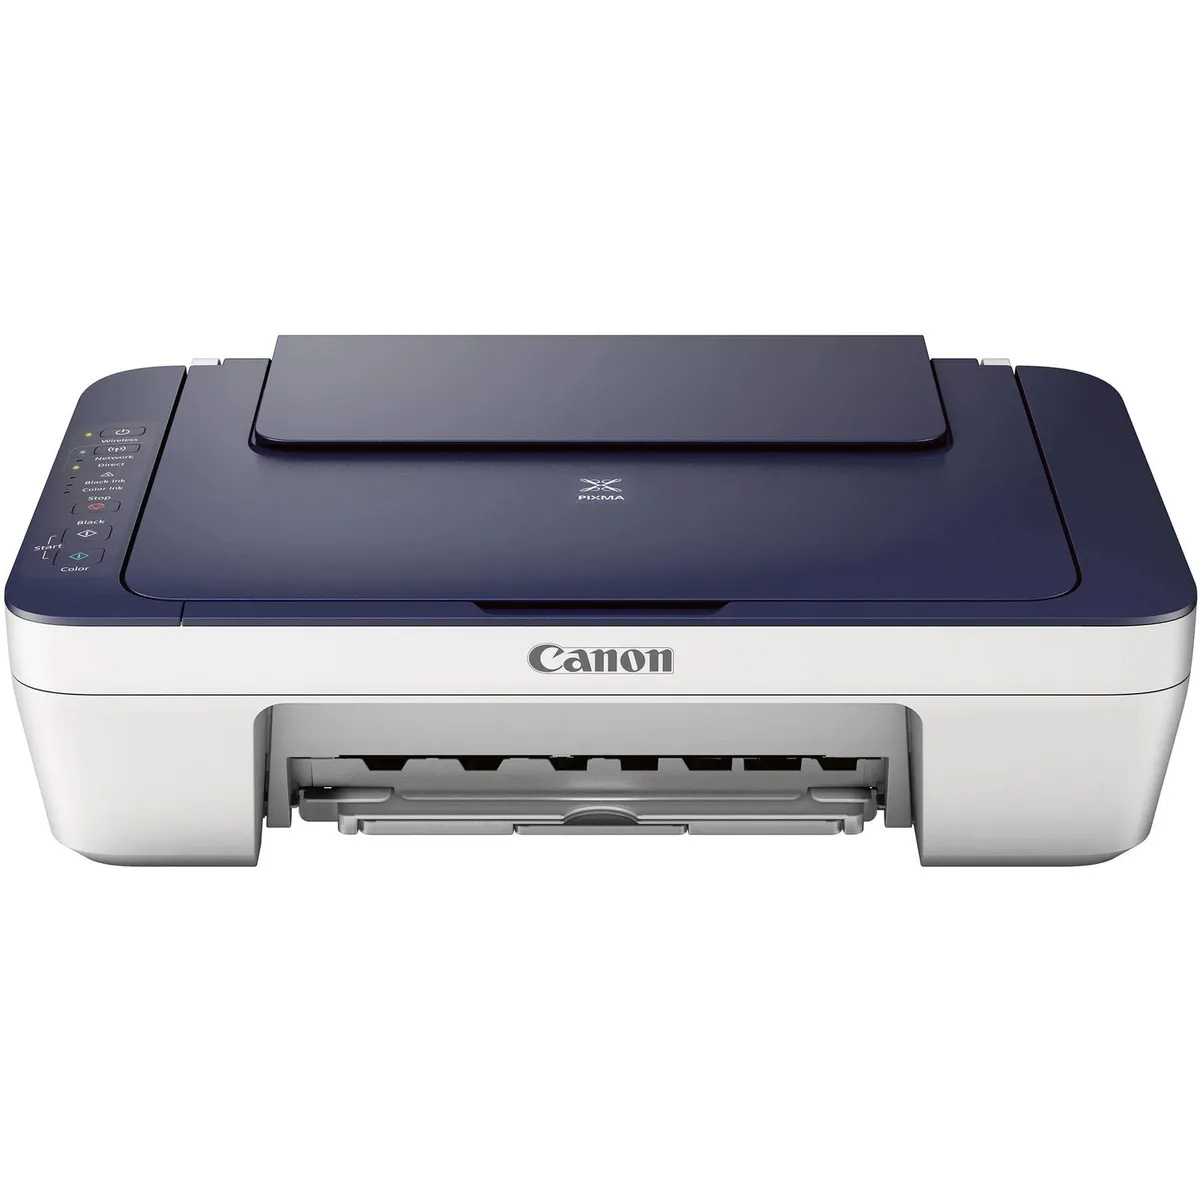
Before delving into the process of enlarging a copy, it’s essential to grasp the fundamental features and capabilities of a Canon printer. Canon printers are renowned for their exceptional print quality, user-friendly interfaces, and diverse functionality. Whether you own an inkjet or laser printer from Canon’s extensive lineup, these devices are equipped with advanced technology to deliver impressive results across various printing tasks.
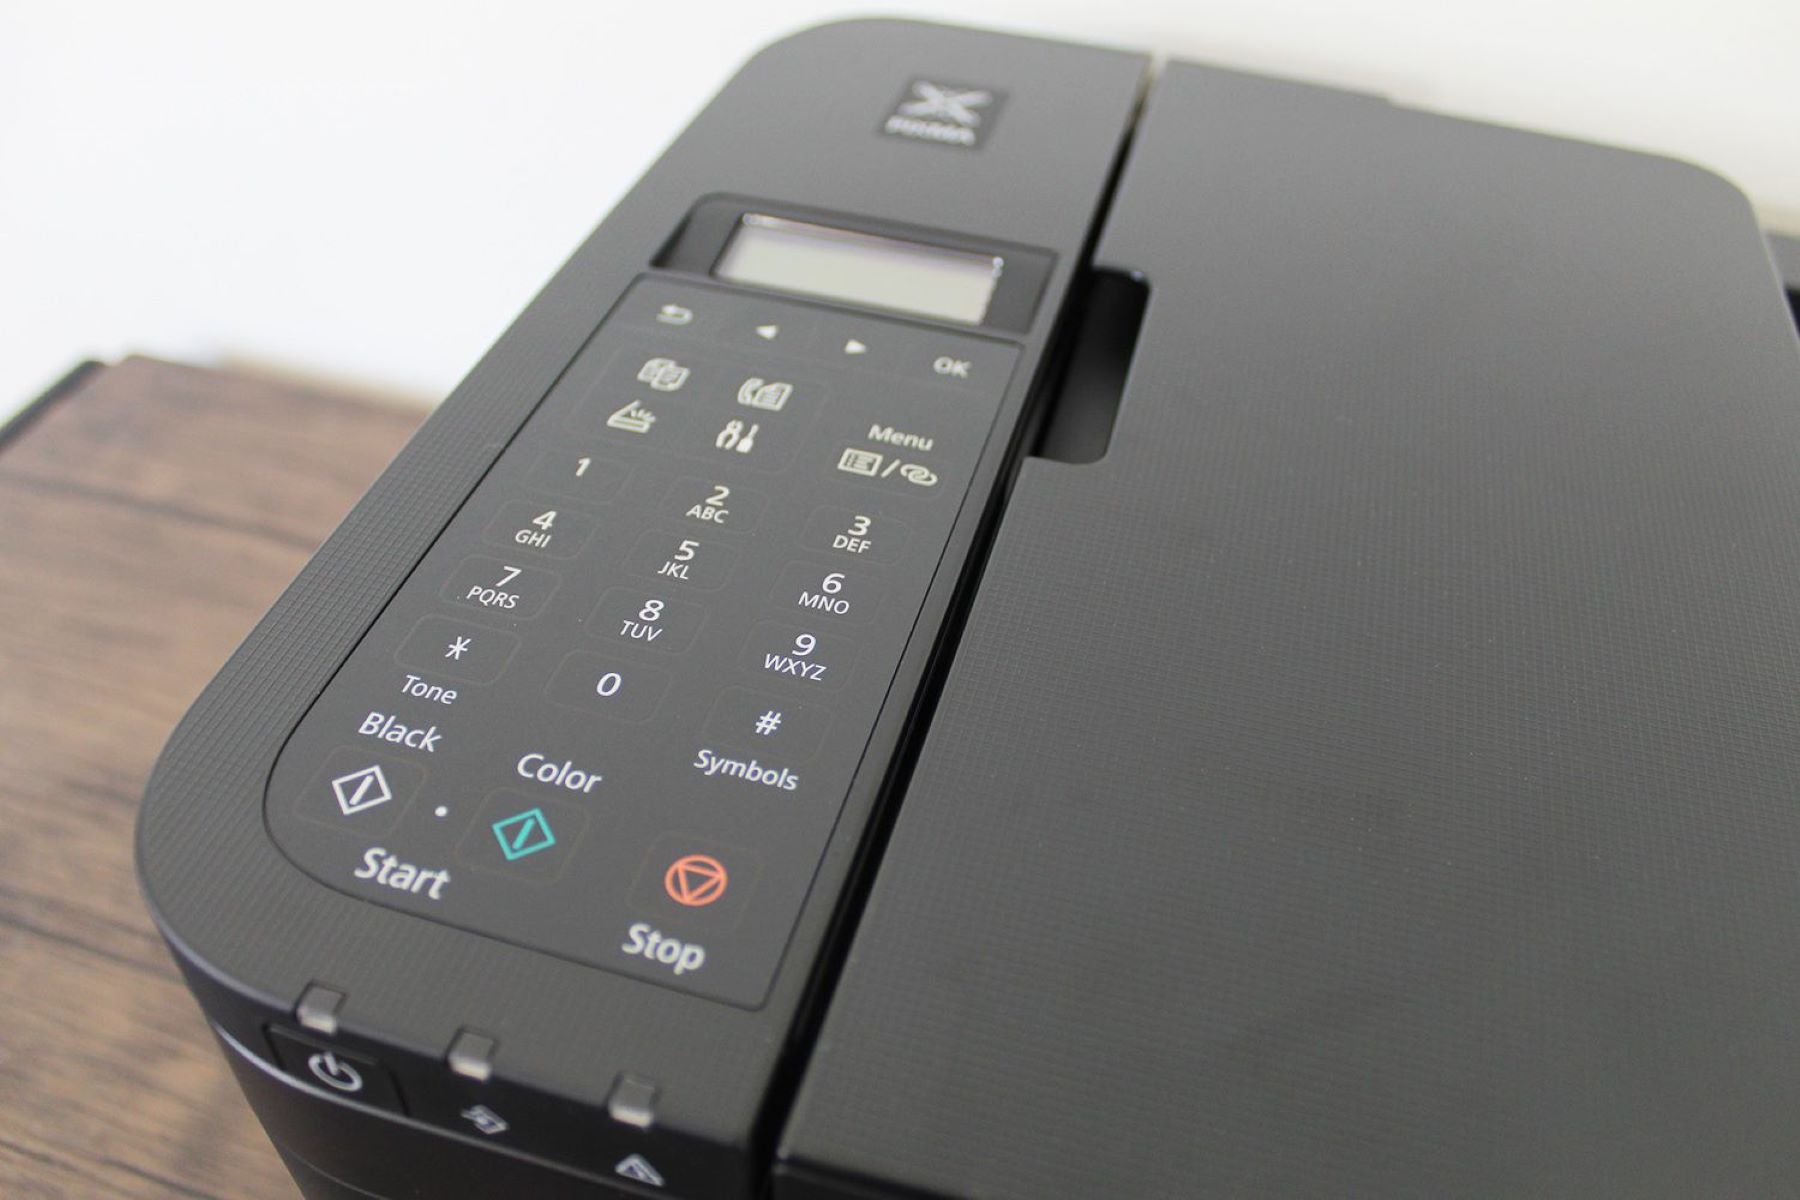
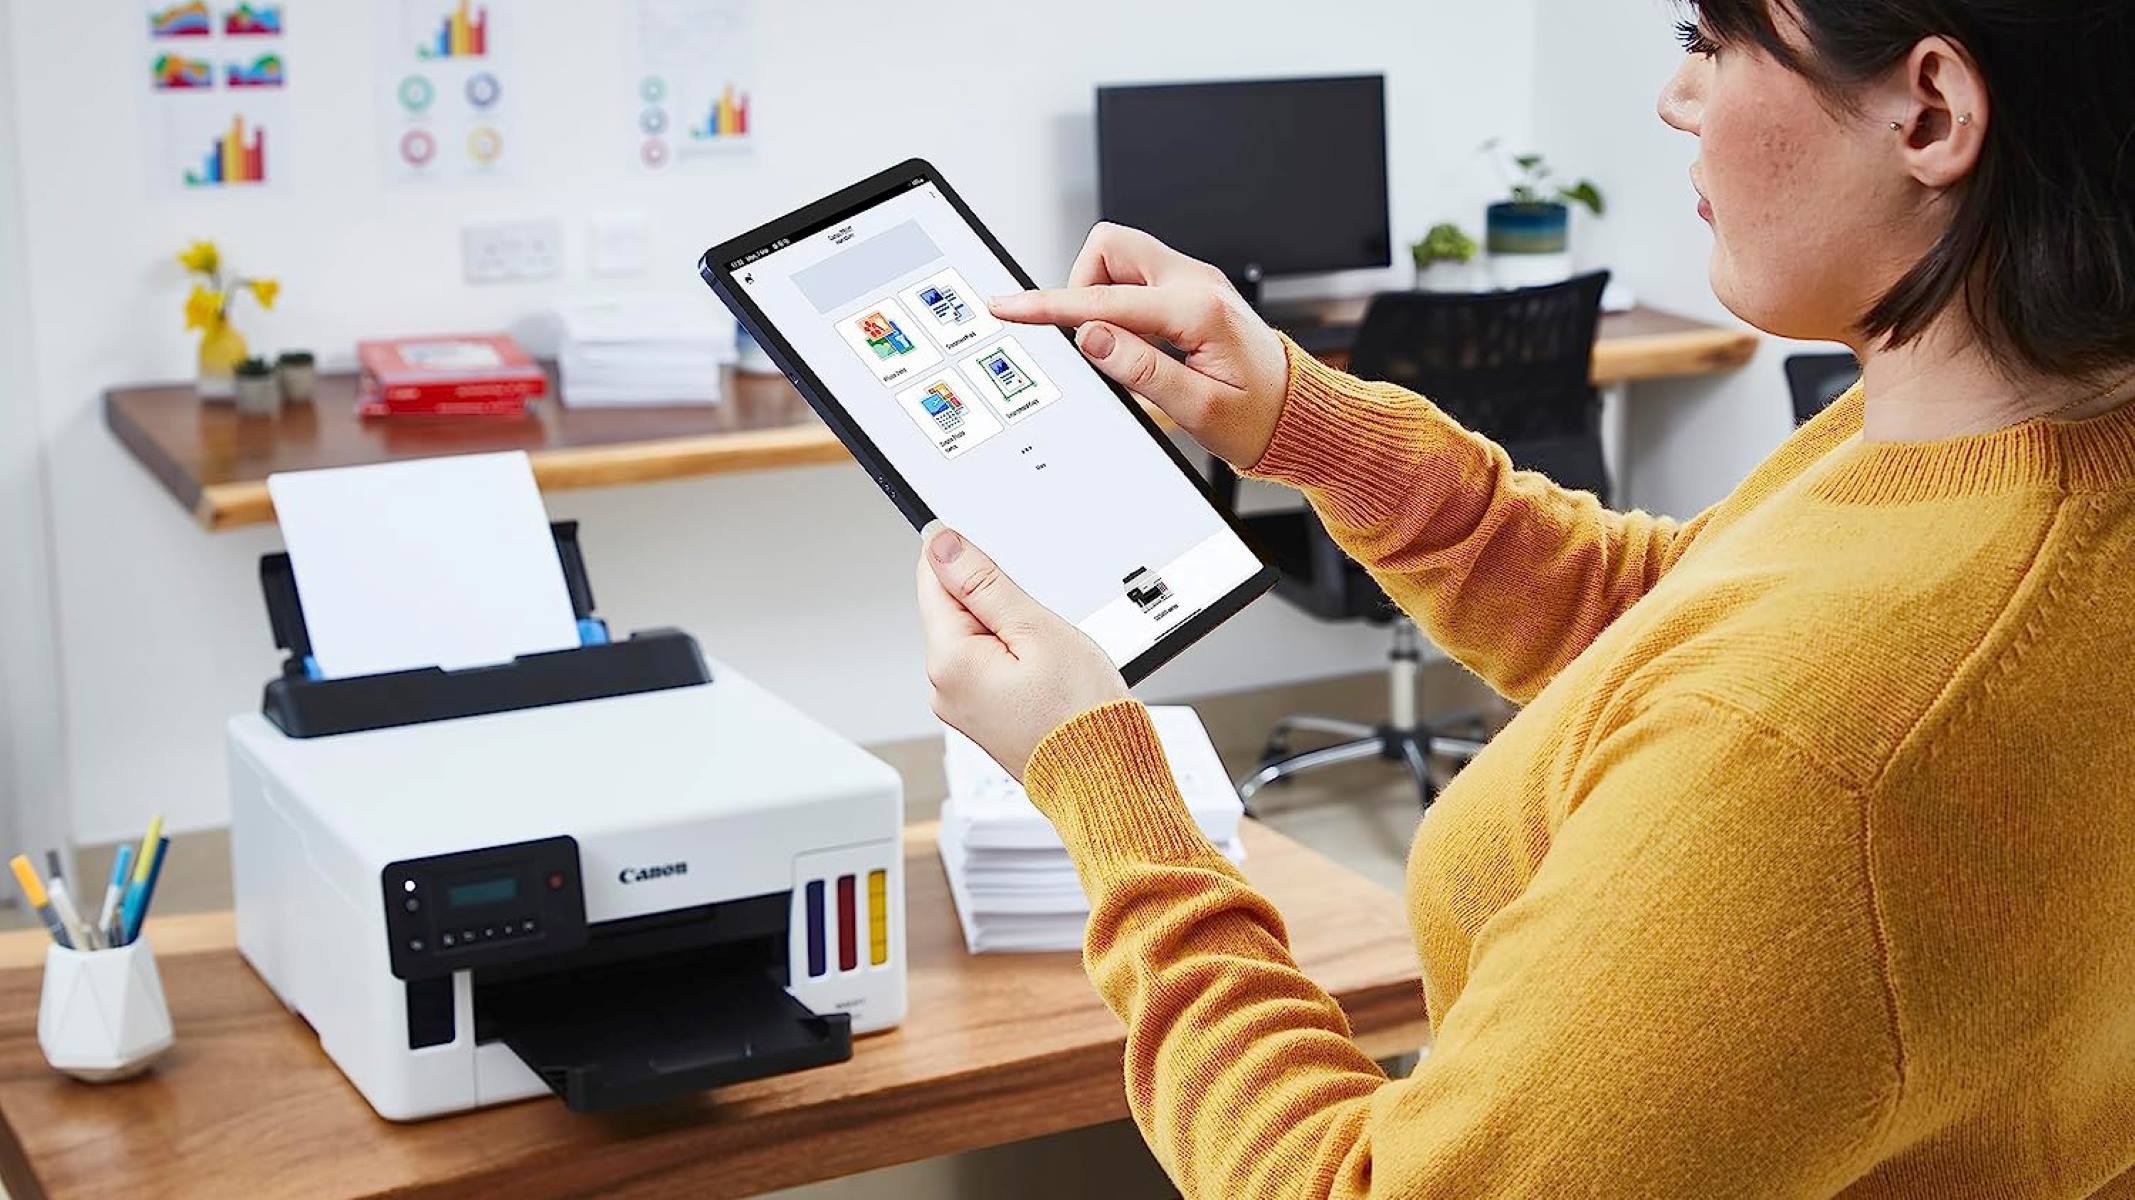
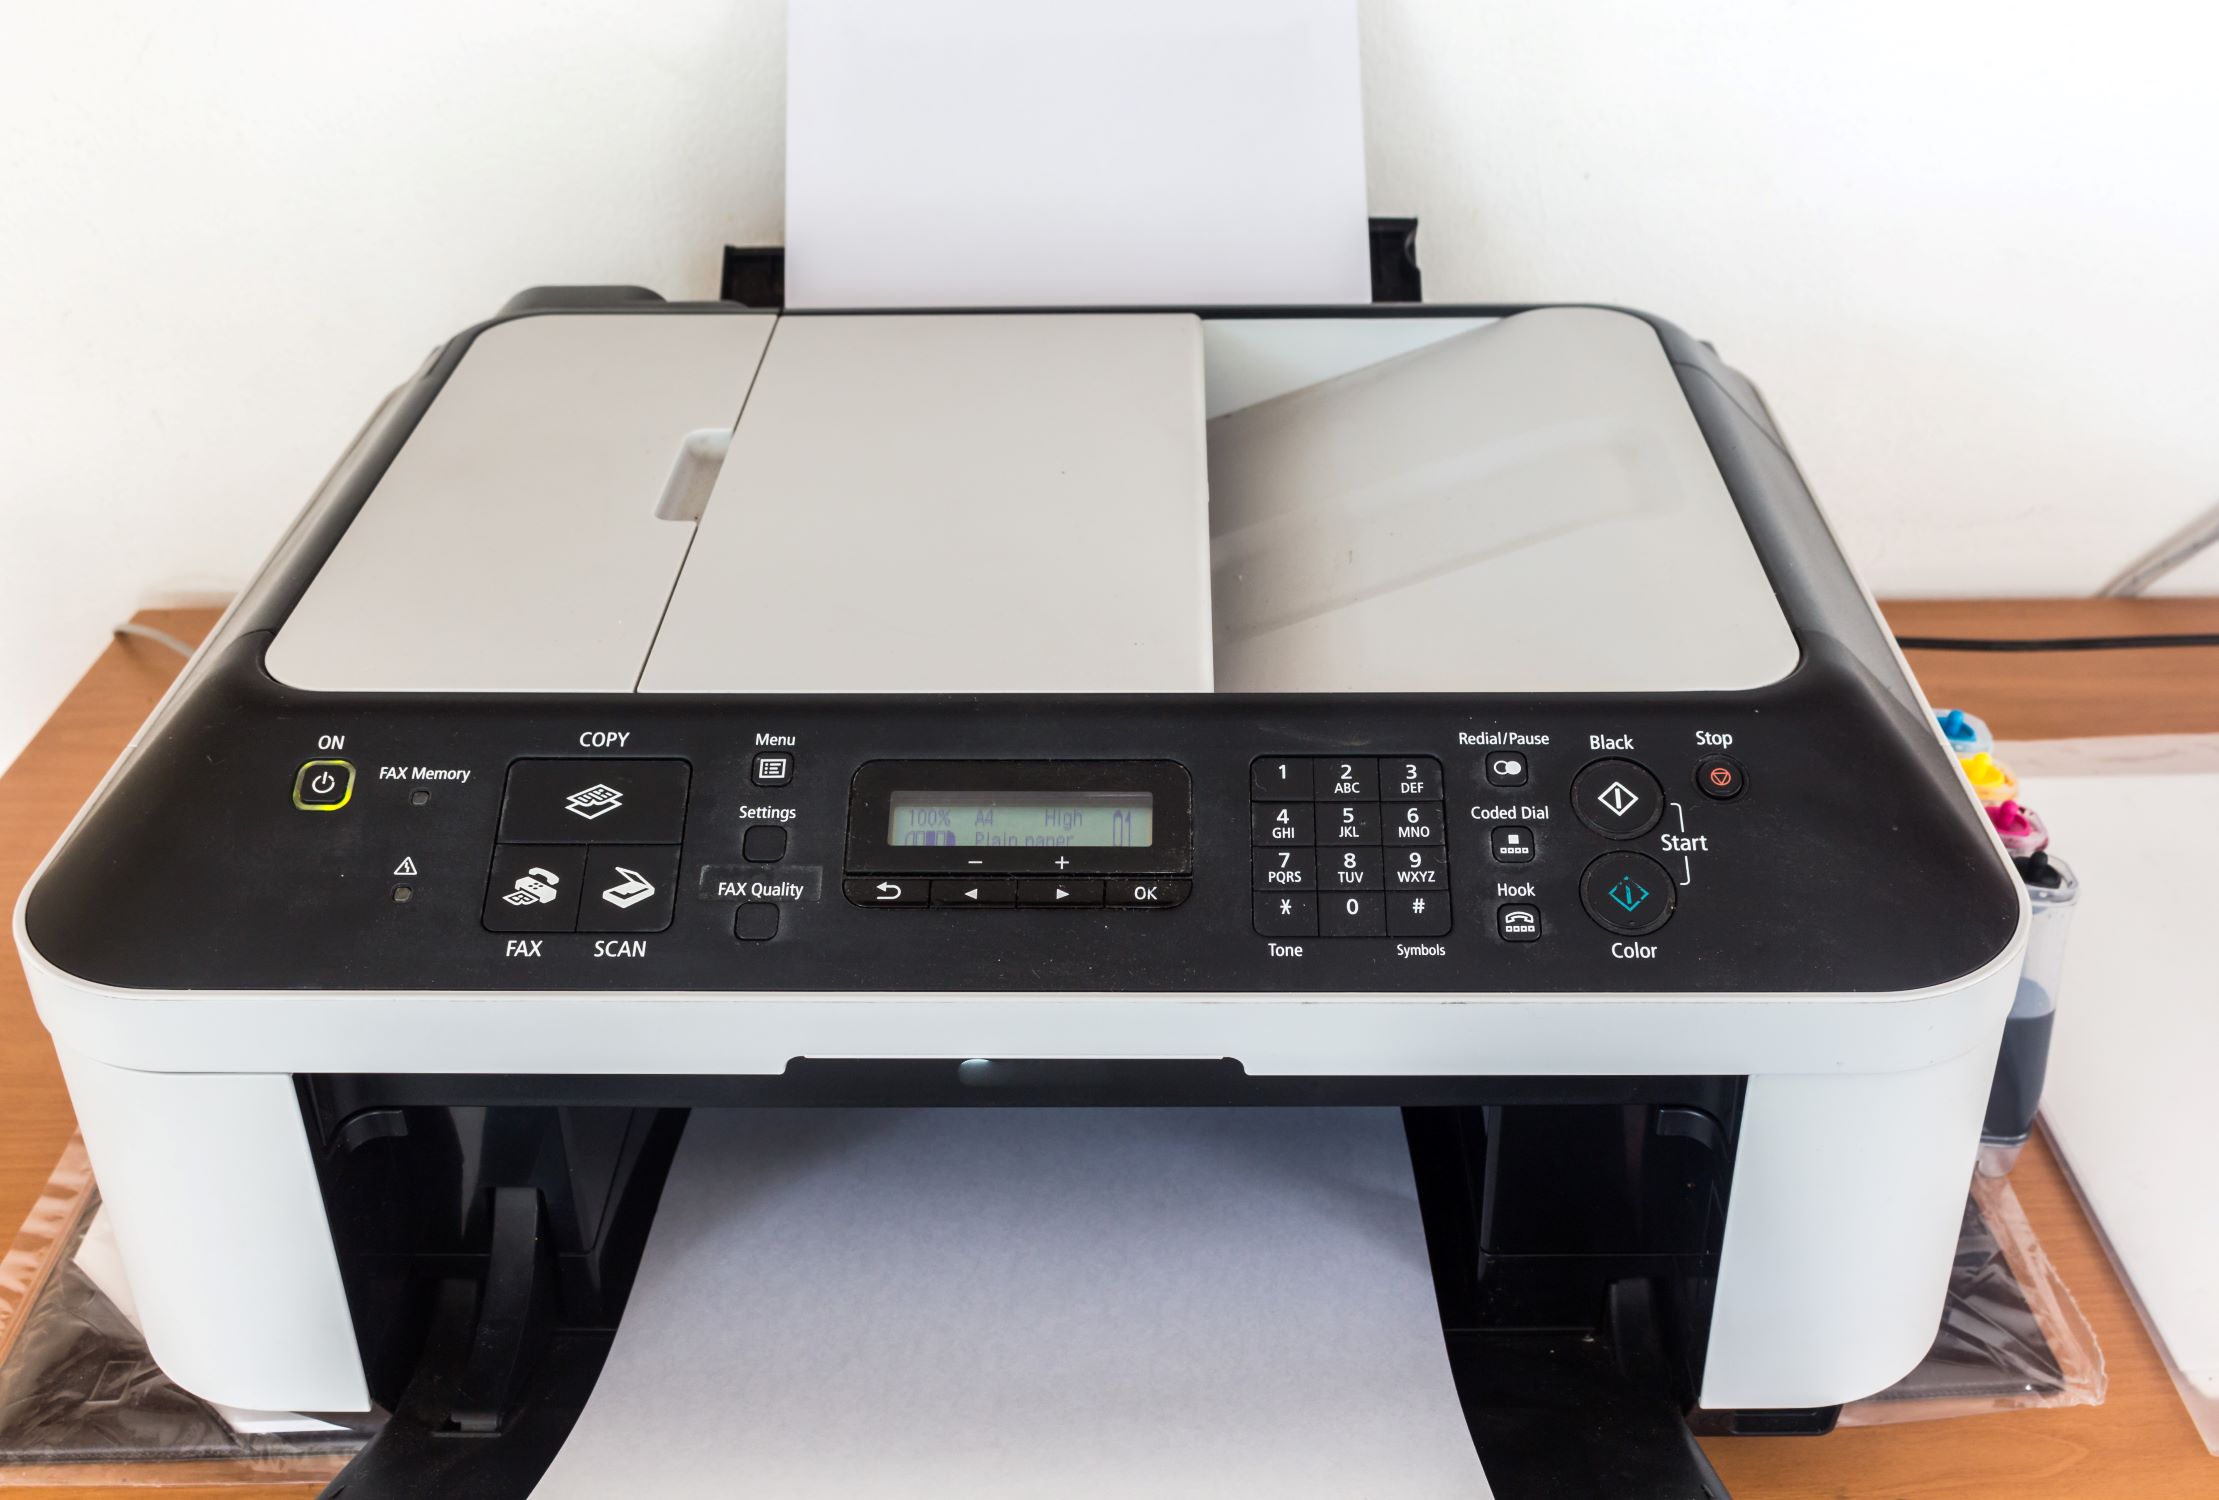
Canon printers are designed to accommodate a wide range of paper sizes, from standard letter and legal sizes to larger formats, making them versatile for different printing needs. Additionally, the printers are equipped with intuitive control panels or responsive touchscreens, allowing users to navigate through settings and options with ease. The connectivity options, including Wi-Fi and mobile printing capabilities, further enhance the convenience and accessibility of Canon printers.
Understanding the specific model of your Canon printer is crucial, as different models may offer unique features and settings for enlarging copies. Some Canon printers are equipped with advanced resizing options, while others may require manual adjustments to achieve the desired enlargement. Familiarizing yourself with the capabilities of your Canon printer will empower you to leverage its full potential for various printing tasks, including the enlargement of copies.
Moreover, Canon printers are known for their efficient ink or toner usage, contributing to cost-effective printing solutions without compromising on quality. Whether you’re printing vibrant images or crisp text documents, Canon printers are engineered to deliver exceptional results, ensuring that the enlarged copies maintain clarity and sharpness.
By gaining a deeper understanding of the Canon printer’s features, paper handling capabilities, and resizing options, users can approach the process of enlarging copies with confidence, knowing that the printer is equipped to meet their specific requirements. Now that we’ve familiarized ourselves with the Canon printer’s capabilities, let’s proceed to explore the steps involved in enlarging a copy on a Canon printer.
Enlarging a Copy on a Canon Printer
Enlarging a copy on a Canon printer involves a series of steps aimed at adjusting the settings to achieve the desired size and clarity for the enlarged output. Whether you’re enlarging a document, a photograph, or a graphic design, the process remains consistent, albeit with variations in specific settings based on the content being enlarged.
Firstly, it’s important to identify the original document or image that you intend to enlarge. This could be a digital file on your computer, a physical document, or a photo from your camera or mobile device. Once you have the source material ready, the next step is to ensure that your Canon printer is capable of producing the desired enlargement. Most Canon printers offer resizing options that allow users to scale up the content while maintaining optimal print quality.
For documents or images stored digitally, you can utilize the printing software or application that accompanies your Canon printer to initiate the enlargement process. This software typically provides options for resizing the content, allowing you to input the specific dimensions or percentage increase for the enlargement. If you’re working with a physical document or photograph, you may need to scan the content using the Canon printer’s scanning functionality before proceeding with the enlargement.
It’s worth noting that the process of enlarging a copy on a Canon printer may vary slightly based on the model and features of the printer. Some Canon printers offer preset enlargement options, such as “Poster” or “Enlarge Document,” which streamline the process by automatically adjusting the settings for optimal enlargement. Alternatively, users can manually input the desired dimensions or percentage increase to customize the enlargement according to their specific requirements.
Understanding the content’s original dimensions and the desired enlarged dimensions is crucial for achieving the desired output. Whether you’re enlarging a document by 200% for improved readability or creating a poster-size print of a photograph, precision in resizing the content is key to ensuring the clarity and visual appeal of the enlarged copy.
Now that we’ve explored the foundational aspects of the enlargement process, let’s delve into the specific settings and adjustments involved in resizing the content on a Canon printer to produce a high-quality enlarged copy.
To enlarge a copy on a Canon printer, select the “Enlarge” option in the printer settings before printing. You can usually find this option in the print settings menu on your computer.
Adjusting Settings for Enlargement
When it comes to enlarging a copy on a Canon printer, the ability to adjust the settings with precision is essential for achieving the desired enlargement while maintaining optimal print quality. Canon printers offer a range of settings and options that empower users to customize the enlargement process according to their specific preferences and requirements.
Upon initiating the printing process for the enlargement, users are presented with a series of settings that directly impact the output’s size, clarity, and overall appearance. These settings may include but are not limited to:
- Paper Size: Selecting the appropriate paper size is crucial when enlarging a copy. Canon printers support various paper sizes, including standard letter, legal, tabloid, and custom sizes. Choosing the correct paper size ensures that the enlarged content fits seamlessly onto the paper, eliminating any cropping or resizing issues.
- Scaling Options: Canon printers provide scaling options that enable users to specify the percentage increase or specific dimensions for the enlargement. Whether it’s a 150% increase for a document or custom dimensions for a poster-size print, the scaling options allow for precise adjustments to achieve the desired enlargement.
- Quality Settings: Adjusting the print quality settings ensures that the enlarged copy maintains clarity and sharpness. Canon printers offer various quality settings, such as standard, high, or best quality, allowing users to prioritize print resolution based on the content being enlarged.
- Layout and Orientation: Customizing the layout and orientation settings is vital for ensuring that the enlarged content is positioned correctly on the paper. Whether it’s a landscape or portrait orientation, users can adjust the settings to align the content according to their preferences.
Furthermore, Canon printers often feature advanced settings for color management, borderless printing, and image enhancement, providing users with additional tools to optimize the visual impact of the enlarged copy. These settings contribute to the overall aesthetic appeal of the enlarged content, making it suitable for various purposes, including presentations, displays, and framing.
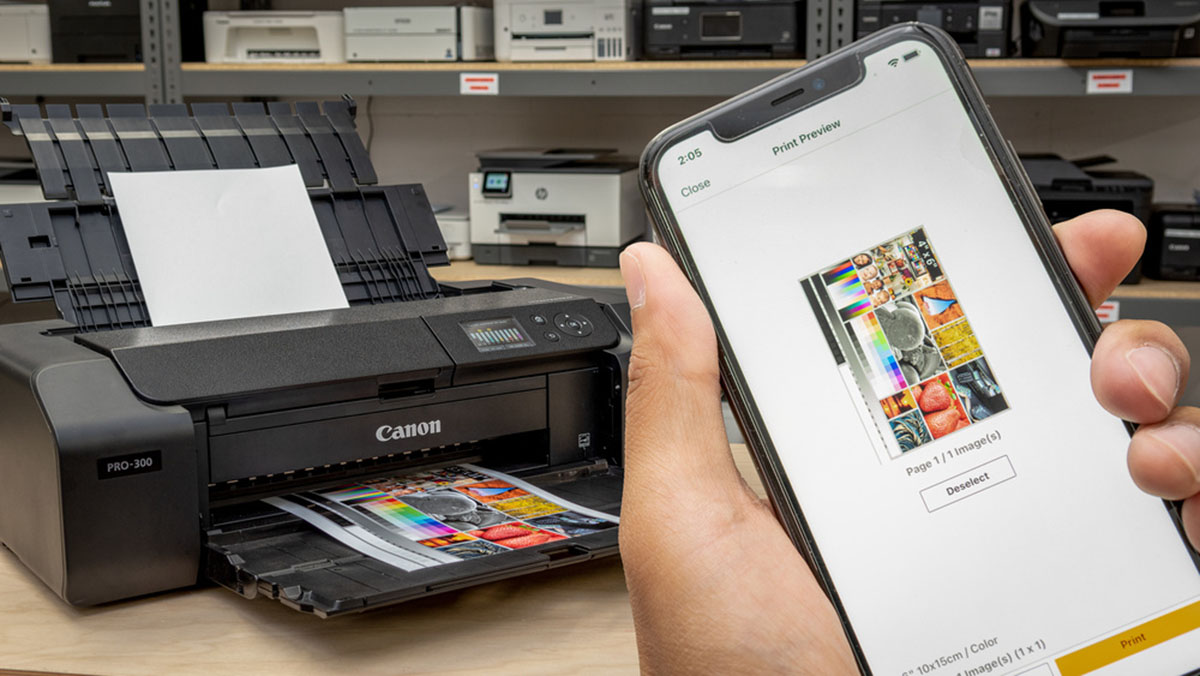
It’s important to note that familiarizing yourself with the specific settings and options available on your Canon printer is crucial for maximizing the potential of the enlargement process. Whether you’re using the printer’s control panel, a desktop printing application, or a mobile printing solution, understanding how to navigate and adjust the settings ensures that the enlarged copy meets your expectations.
By carefully adjusting the settings for enlargement, users can tailor the printing process to suit the unique characteristics of the content, resulting in a visually striking and professionally rendered enlarged copy. With the settings in place, the next step is to initiate the printing process to bring the enlarged content to life.
Printing the Enlarged Copy
Once the settings for the enlargement have been adjusted to precision, the final step in the process involves printing the enlarged copy using your Canon printer. This pivotal stage brings the meticulously resized content to life, transforming the digital or physical source material into a visually captivating and impactful printout.
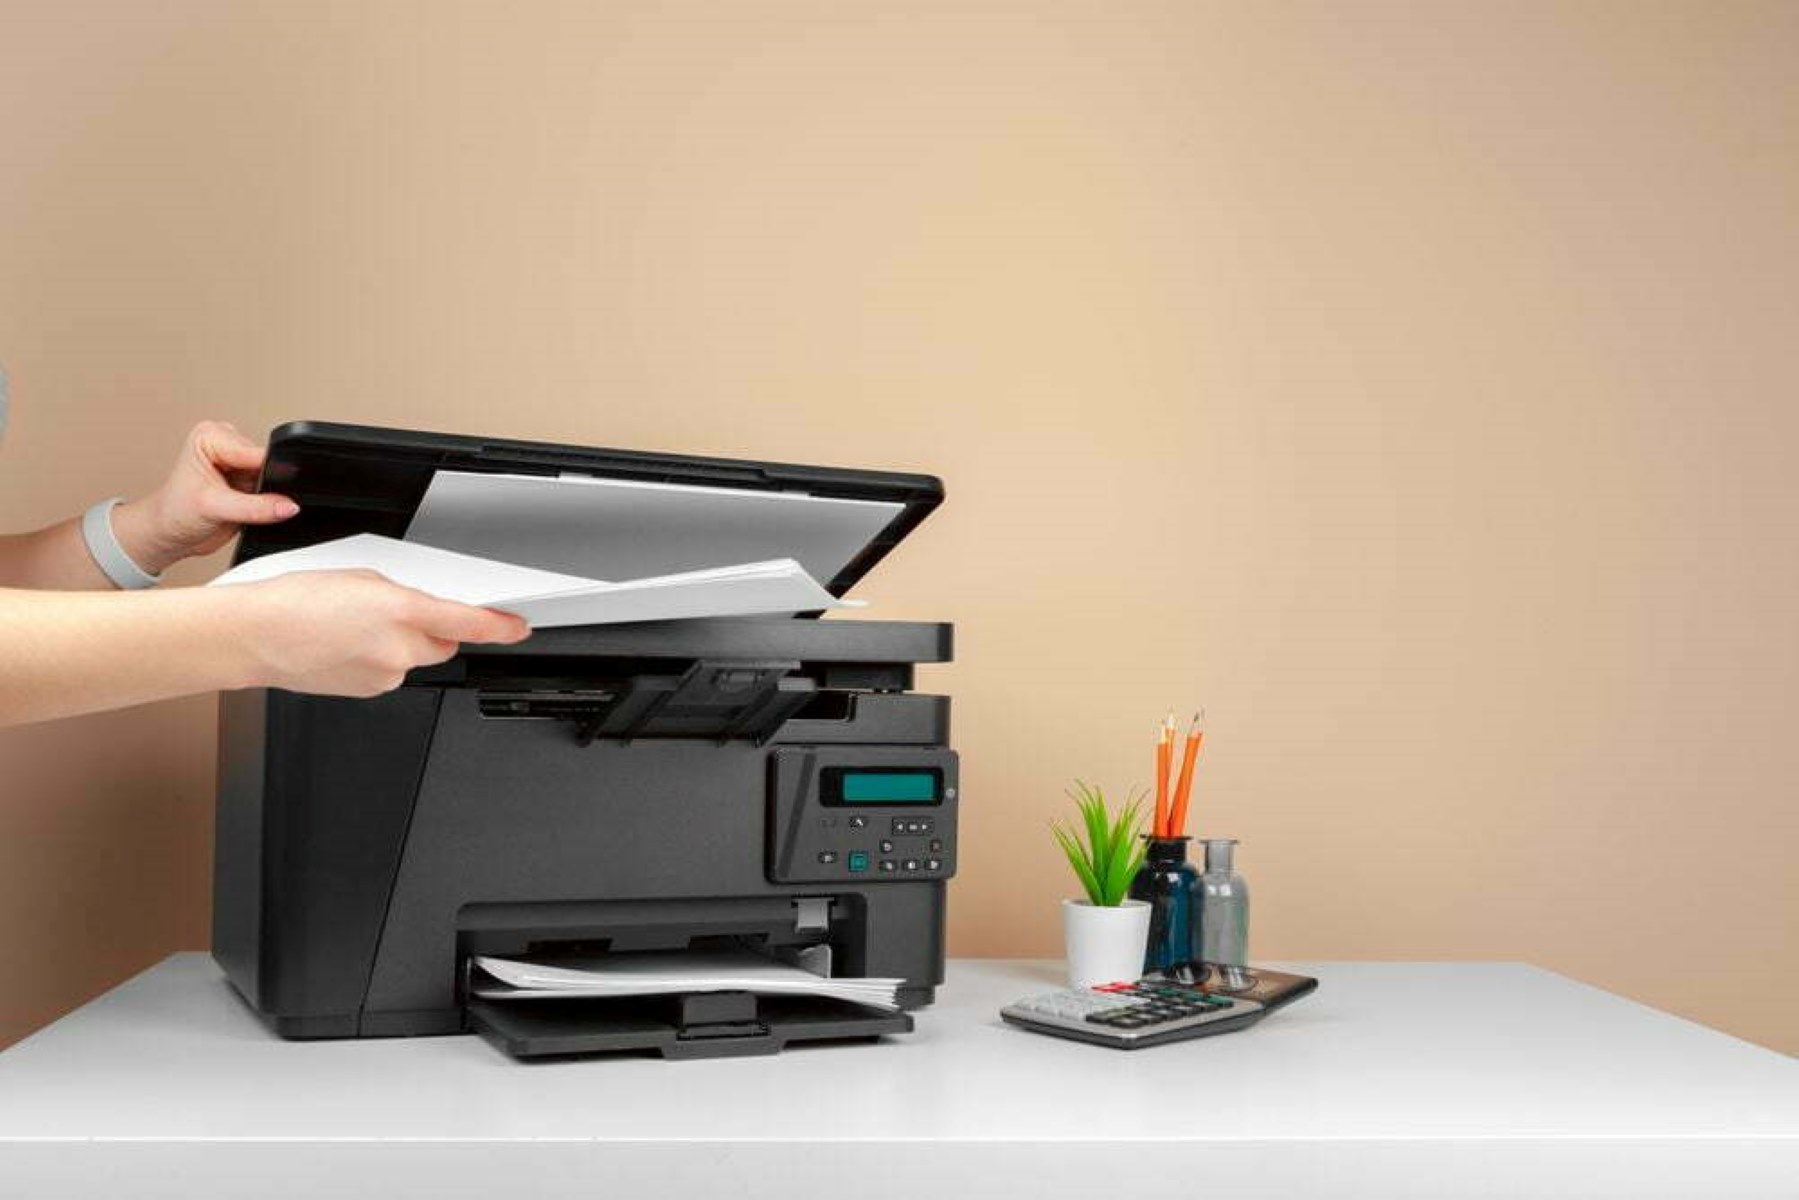
Before initiating the printing process, it’s essential to ensure that the Canon printer is loaded with the appropriate paper size and type to accommodate the enlarged content. Whether you’re using standard letter-sized paper, glossy photo paper, or specialized media for posters, the correct paper selection ensures that the enlarged copy is reproduced with accuracy and finesse.
After confirming the paper settings, users can proceed to initiate the printing process, either through the printer’s control panel or the accompanying printing software on their computer. The printing software provides a seamless interface for specifying the print settings, including the paper size, scaling options, print quality, and layout preferences, ensuring that the printer produces the enlarged copy as intended.
As the Canon printer springs into action, meticulously transferring the enlarged content onto the chosen paper, users can witness the transformation of the digital or physical source material into a tangible and visually striking printout. The precision in resizing, coupled with the printer’s advanced technology, culminates in a high-quality enlarged copy that retains the clarity, detail, and vibrancy of the original content.
Throughout the printing process, users can monitor the progress and make any necessary adjustments to the settings, ensuring that the enlarged copy meets their expectations in terms of size, color accuracy, and overall presentation. Canon printers are engineered to deliver consistent and reliable results, making the printing of enlarged copies a seamless and gratifying experience.
Upon completion of the printing process, users can retrieve the freshly printed enlarged copy from the output tray of the Canon printer, ready to be showcased, shared, or utilized for its intended purpose. Whether it’s a visually captivating poster, a magnified document for enhanced readability, or a larger-than-life photograph, the printed enlarged copy serves as a testament to the meticulous resizing and the printer’s exceptional output quality.
With the enlarged copy in hand, users can appreciate the seamless fusion of advanced technology and precise adjustments, resulting in a visually impactful and professionally rendered printout. The ability to produce stunning enlarged copies with a Canon printer empowers users to bring their creative visions and practical printing needs to fruition with unparalleled precision and finesse.
Read more: How To Make A Copy On HP Printer
Conclusion
Enlarging a copy on a Canon printer is a process that intertwines precision, creativity, and technological prowess, culminating in visually captivating and professionally rendered printouts. By understanding the intricacies of the Canon printer’s features, the process of resizing content, and the adjustments involved in achieving the desired enlargement, users can harness the full potential of their printer to produce stunning enlarged copies for various purposes.
Throughout this enlightening journey, we’ve delved into the foundational aspects of enlarging a copy on a Canon printer, unraveling the steps and settings that contribute to the seamless execution of the enlargement process. From identifying the source material to adjusting the settings with precision and initiating the printing process, each stage plays a pivotal role in ensuring that the enlarged copy meets the user’s expectations in terms of size, clarity, and visual impact.
Canon printers, renowned for their exceptional print quality, diverse functionality, and user-friendly interfaces, serve as reliable companions in the quest to produce stunning enlarged copies. Whether it’s enlarging documents for improved readability, creating poster-size prints for presentations, or magnifying photographs for display, Canon printers empower users to bring their creative and practical visions to life with unparalleled finesse.
As technology continues to evolve, Canon remains at the forefront of innovation, consistently enhancing its printers with advanced features, intuitive controls, and seamless connectivity options. This commitment to excellence ensures that users can navigate the enlargement process with confidence, knowing that their Canon printer is equipped to meet their specific requirements with precision and reliability.
In conclusion, the art of enlarging copies with a Canon printer transcends the realms of printing; it encapsulates the seamless fusion of creativity, technology, and precision, resulting in visually captivating and impactful printouts. Whether for educational, professional, or personal endeavors, the ability to produce stunning enlarged copies empowers users to communicate, showcase, and preserve their content with unrivaled clarity and finesse.
With a deeper understanding of the enlargement process and the capabilities of Canon printers, users are poised to embark on a journey of creative exploration, leveraging the power of precise resizing and advanced printing technology to bring their visions to life in stunning detail and impeccable quality.
Frequently Asked Questions about How Do You Enlarge A Copy On A Canon Printer?
Was this page helpful?
At Storables.com, we guarantee accurate and reliable information. Our content, validated by Expert Board Contributors, is crafted following stringent Editorial Policies. We're committed to providing you with well-researched, expert-backed insights for all your informational needs.
0 thoughts on “How Do You Enlarge A Copy On A Canon Printer?”