Home>Technology>Smart Home Devices>How To Make Iron-On Transfers With A Printer

Smart Home Devices
How To Make Iron-On Transfers With A Printer
Modified: October 18, 2024
Learn how to create custom iron-on transfers using your printer and elevate your smart home devices with personalized designs. Step-by-step guide for creating unique and stylish transfers at home.
(Many of the links in this article redirect to a specific reviewed product. Your purchase of these products through affiliate links helps to generate commission for Storables.com, at no extra cost. Learn more)
Introduction
Welcome to the world of DIY iron-on transfers! Whether you’re looking to personalize a t-shirt, tote bag, or any other fabric item, creating your own iron-on transfers with a printer can add a unique touch to your belongings. This process allows you to unleash your creativity, turning your designs and ideas into wearable or displayable art. In this comprehensive guide, we’ll walk you through the step-by-step process of making iron-on transfers using a printer, from choosing and creating your design to ironing it onto your fabric. With the right materials and a dash of creativity, you can transform plain fabrics into personalized masterpieces.
Key Takeaways:
- Personalization: Transform plain fabric items into unique works of art with custom iron-on transfers, showcasing your favorite quotes, images, or original designs.
- Creativity Unleashed: Unleash your artistic vision on fabric, from personalized gifts to clothing and home decor, using high-quality materials and attention to detail for professional-looking results.
Materials Needed
Before diving into the process of creating iron-on transfers with a printer, it’s essential to gather the necessary materials. Here’s what you’ll need:
- Quality Transfer Paper: Look for transfer paper specifically designed for use with inkjet printers. This paper allows the ink to adhere properly to the fabric when heat is applied.
- Inkjet Printer: Ensure that you have an inkjet printer in good working condition. The quality of the printer and its ink will greatly impact the final result of your iron-on transfer.
- Fabric: Choose the fabric onto which you want to transfer your design. Cotton and cotton-blend fabrics work well for iron-on transfers.
- Iron: A household iron will be used to apply heat and pressure to the transfer paper, adhering the design to the fabric. Make sure the iron is clean and free of any water or steam.
- Hard, Flat Surface: You’ll need a hard, flat surface, such as a table or countertop, for ironing the transfer onto the fabric.
- Scissors: To trim the transfer paper and fabric as needed.
- Design Software (Optional): If you plan to create your own design, you may need access to design software to bring your vision to life before printing.
- Image or Design: Whether it’s a custom design you’ve created or an image you’ve sourced, have your chosen design ready for printing.
- Protective Sheet: A piece of parchment paper or a Teflon sheet can be used to protect the iron and the transfer during the ironing process.
With these materials in hand, you’re ready to embark on the exciting journey of making your own iron-on transfers with a printer. Now, let’s move on to the first step: choosing and creating your design.
Step 1: Choose and Create Your Design
Before diving into the printing process, it’s essential to select or create the design you want to transfer onto your fabric. If you’re feeling artistic, you can craft your own design using digital design software such as Adobe Photoshop, Illustrator, or free platforms like Canva. Alternatively, if you prefer to use existing images, you can explore various websites offering royalty-free graphics and designs.
When choosing or creating your design, keep in mind the following tips:
- Simple and Bold: Opt for designs that are relatively simple and feature bold lines and colors. These types of designs tend to transfer more effectively onto fabric.
- Reversed or Mirrored: If your design includes text or any elements with a specific orientation, ensure that it’s reversed or mirrored before printing. This step is crucial to ensure that the design appears correctly when transferred onto the fabric.
- Size Considerations: Determine the appropriate size for your design based on the item onto which you plan to transfer it. Consider the dimensions of the fabric and the placement of the design.
- Test Print: Before printing on the transfer paper, consider doing a test print on regular paper to assess the colors, size, and overall appearance of the design.
Once you’ve chosen or created your design and made any necessary adjustments, you’re ready to move on to the next step: printing your design onto the transfer paper.
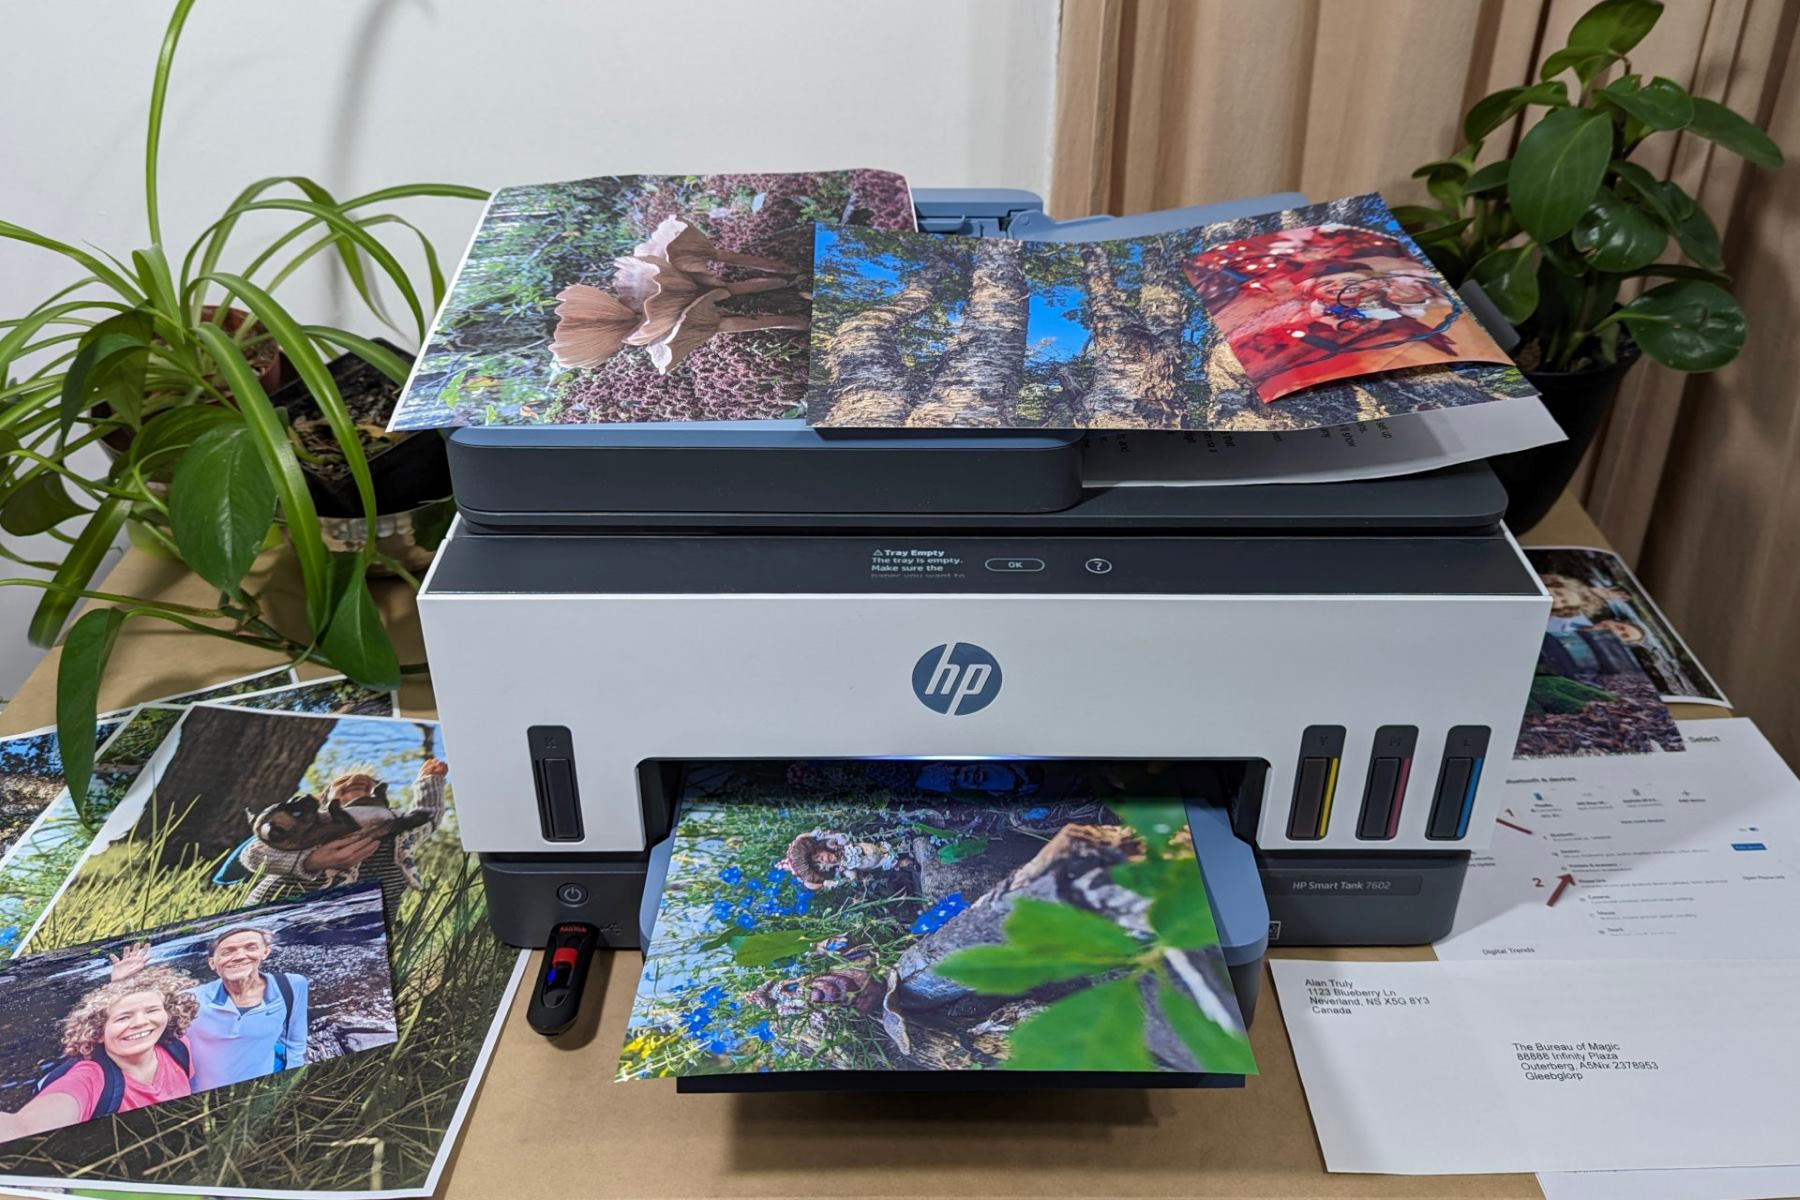
Step 2: Print Your Design
With your design ready to go, it’s time to print it onto the transfer paper. Here’s how to ensure a successful printing process:
- Printer Settings: Set your printer to the highest quality and ensure that it’s using the appropriate settings for printing on transfer paper. Refer to your printer’s manual or the transfer paper packaging for specific recommendations.
- Orientation: Check that your design is positioned correctly on the page and that it’s mirrored or reversed if necessary. This step is crucial for ensuring that the design transfers onto the fabric in the correct orientation.
- Test Print: Consider doing a test print on regular paper before using the transfer paper. This allows you to confirm the colors and overall appearance of the design before committing it to the transfer paper.
- Handling the Paper: Be cautious when handling the transfer paper to avoid smudging the ink. Hold the paper by the edges to prevent fingerprints or smudges from affecting the printed design.
- Allow for Drying: Once the design is printed on the transfer paper, allow it to dry completely before proceeding to the next step. This will prevent the ink from smudging during the transfer process.
After successfully printing your design onto the transfer paper, you’re one step closer to bringing your creation to life on fabric. The next step will involve preparing your fabric for the iron-on transfer process. Let’s move on to step 3: preparing your fabric.
Before printing your iron-on transfer, make sure to mirror the image so it appears correctly when transferred onto fabric. This can usually be done in the printer settings or with image editing software.
Step 3: Prepare Your Fabric
Before applying the iron-on transfer to your fabric, it’s crucial to prepare the fabric to ensure optimal adhesion and a successful transfer. Follow these steps to get your fabric ready:
- Fabric Selection: Choose a fabric that is suitable for iron-on transfers. Cotton and cotton-blend fabrics work well for this purpose, providing a smooth and even surface for the transfer.
- Fabric Washing: If the fabric is new, it’s advisable to wash and thoroughly dry it before applying the transfer. This helps to remove any sizing or residues that could interfere with the transfer process.
- Fabric Ironing: Iron the fabric to remove any wrinkles or creases. Ensure that the fabric is completely smooth before proceeding with the transfer process.
- Fabric Placement: Lay the fabric on a hard, flat surface, such as an ironing board or table, ensuring that it’s free of any wrinkles or folds that could affect the transfer.
By taking the time to properly prepare your fabric, you’ll create an ideal foundation for the iron-on transfer, setting the stage for a successful and professional-looking result. With your fabric ready, it’s time to move on to the exciting process of ironing on your transfer. The next step will guide you through the transfer process, so let’s proceed to step 4: ironing on your transfer.
Read more: What Printer To Use For Heat Transfer Paper
Step 4: Iron On Your Transfer
Now that your fabric is prepped and your design is printed on the transfer paper, it’s time to bring them together through the ironing process. Follow these steps to ensure a successful transfer onto your fabric:
- Surface Protection: Place a hard, flat surface, such as a table or countertop, on which you’ll be ironing the transfer. It’s important to protect the surface from heat and to provide a firm, even base for the ironing process.
- Fabric Positioning: Position the fabric on the protected surface, ensuring that it’s smooth and free of any wrinkles or creases that could affect the transfer.
- Transfer Placement: Carefully position the printed transfer paper with the design facing down onto the fabric in the desired location. Double-check the placement to ensure that the design will appear exactly where you want it on the fabric.
- Ironing Process: With the iron preheated to the appropriate setting for the fabric, press firmly and evenly over the entire surface of the transfer paper. Apply consistent pressure and smooth, slow movements to ensure that the design adheres securely to the fabric.
- Edge Attention: Pay particular attention to the edges of the transfer, ensuring that they receive adequate heat and pressure to prevent peeling or incomplete adhesion.
By following these steps, you’ll effectively transfer your design onto the fabric, creating a personalized and visually appealing result. Once the ironing process is complete, it’s time to move on to the final step: allowing the transfer to cool and peeling off the backing. Let’s proceed to step 5 for the concluding phase of the iron-on transfer process.
Step 5: Let It Cool and Peel
After applying heat and pressure to the transfer paper, it’s crucial to allow the transfer to cool before peeling off the backing. Follow these steps to complete the iron-on transfer process:
- Cooling Period: Once the ironing process is complete, allow the fabric to cool for a few minutes. This cooling period is essential for ensuring that the design sets and adheres properly to the fabric.
- Peeling Technique: After the cooling period, gently peel off the backing paper from the fabric. Take your time with this step to avoid damaging the transferred design. If you notice any areas where the design hasn’t fully adhered, carefully lay the backing paper back down and apply more heat and pressure with the iron.
- Final Inspection: Once the backing paper is removed, take a moment to inspect the transferred design. Ensure that all elements of the design have adhered to the fabric and that there are no areas in need of additional attention.
- Finishing Touches: If the transfer has adhered successfully, consider placing a protective sheet, such as parchment paper or a Teflon sheet, over the design and applying additional heat and pressure for a few seconds. This step can further secure the transfer and enhance its longevity.
With the backing paper removed and the design securely transferred onto the fabric, you’ve successfully completed the iron-on transfer process. Your personalized creation is now ready to be showcased and enjoyed. Whether you’ve adorned a t-shirt, tote bag, or any other fabric item, your iron-on transfer adds a unique touch that reflects your creativity and personal style.
As you embark on future iron-on transfer projects, remember to experiment with different designs, fabric types, and application techniques to further hone your skills and unleash your creativity. With each project, you’ll refine your technique and produce increasingly impressive results.
Now that you’ve mastered the art of making iron-on transfers with a printer, you’re equipped to infuse your fabric items with personalized flair and creativity. Enjoy the process, and revel in the satisfaction of seeing your designs come to life through this engaging and rewarding DIY technique.
Conclusion
Congratulations on completing the journey of creating iron-on transfers with a printer! Through this DIY process, you’ve transformed ordinary fabric items into personalized works of art, showcasing your unique designs and creativity. As you reflect on the experience, consider the following key takeaways:
- Personalization: The ability to create custom iron-on transfers empowers you to infuse your fabric items with a personal touch, whether it’s a favorite quote, a beloved image, or an original design.
- Creativity Unleashed: This DIY technique allows you to unleash your creativity and bring your artistic visions to life on fabric, opening up a world of possibilities for personalized gifts, clothing, and home decor.
- Quality Materials Matter: Using high-quality transfer paper, an inkjet printer, and suitable fabric ensures the best results, producing vibrant and durable iron-on transfers.
- Attention to Detail: From selecting or creating your design to the careful ironing and peeling process, attention to detail is key in achieving professional-looking iron-on transfers.
- Endless Possibilities: The versatility of iron-on transfers enables you to explore a wide range of fabric items for customization, from clothing and accessories to home textiles and beyond.
As you continue to explore the world of DIY crafting and personalization, remember that practice and experimentation are essential for honing your skills and discovering new techniques. Embrace the process, and let your imagination guide you as you embark on future iron-on transfer projects.
With your newfound knowledge and expertise, you’re well-equipped to embark on a multitude of creative endeavors, adding a personalized touch to the fabric items in your life. Whether it’s a thoughtful gift for a loved one or a unique addition to your own wardrobe, your iron-on transfers are sure to make a lasting impression.
Thank you for joining us on this creative journey, and we hope you continue to explore the exciting world of DIY crafting and personalization. With each iron-on transfer project, you have the opportunity to express your individuality and bring your artistic visions to life in vibrant and tangible ways.
Frequently Asked Questions about How To Make Iron-On Transfers With A Printer
Was this page helpful?
At Storables.com, we guarantee accurate and reliable information. Our content, validated by Expert Board Contributors, is crafted following stringent Editorial Policies. We're committed to providing you with well-researched, expert-backed insights for all your informational needs.


0 thoughts on “How To Make Iron-On Transfers With A Printer”