Home>Furniture>Outdoor Furniture>How To Fix Loose Patio Stones
Outdoor Furniture
How To Fix Loose Patio Stones
Modified: March 7, 2024
Learn how to fix loose patio stones easily with these outdoor furniture repair tips. Keep your outdoor space safe and secure with this simple DIY solution.
(Many of the links in this article redirect to a specific reviewed product. Your purchase of these products through affiliate links helps to generate commission for Storables.com, at no extra cost. Learn more)
Introduction
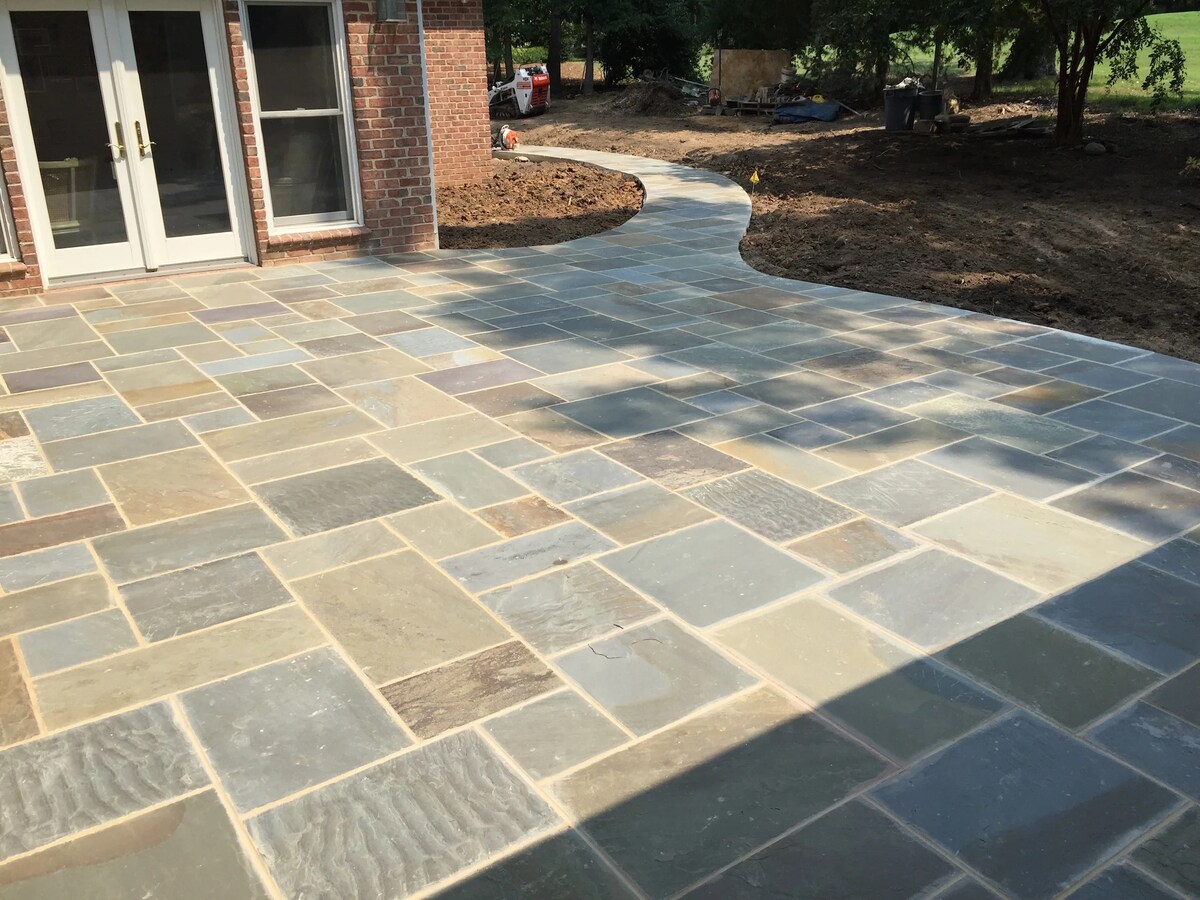
Having a patio in your outdoor space is a wonderful addition that allows you to enjoy the fresh air and relax in the comfort of your own home. However, over time, you may notice that your patio stones start to become loose or uneven, which can pose a safety hazard and diminish the overall aesthetic appeal of your outdoor area. But fear not! In this article, we will guide you through the process of fixing loose patio stones, ensuring that your patio remains stable and beautiful.
A loose patio stone can occur due to a variety of reasons, such as shifting ground, weather changes, or even improper installation. It’s important to address this issue promptly to prevent further damage and potential accidents. Whether you’re a seasoned DIY enthusiast or a novice in home improvement projects, these steps will help you tackle the problem effectively and restore the stability of your patio.
Before we jump into the step-by-step guide, it’s essential to have the necessary tools and materials ready. You will need a rubber mallet, a pry bar, a shovel, a level, sand or gravel for leveling, a weed barrier fabric, and a broom. With these supplies in hand, you’re ready to get started on your patio repair journey!
In the following sections, we will walk you through each step, provide expert tips, and offer valuable insights to ensure your patio repair project is a success. So let’s roll up our sleeves and begin fixing those loose patio stones!
Key Takeaways:
- Don’t let loose patio stones ruin your outdoor oasis! Follow these steps to relevel, secure, and maintain your patio for a safe and beautiful outdoor space.
- Regular maintenance and timely repairs are key to preserving your patio’s longevity. Keep an eye out for loose stones and address them promptly to avoid further damage.
Read more: How To Fix Siding That Is Loose
Step 1: Assess the Problem
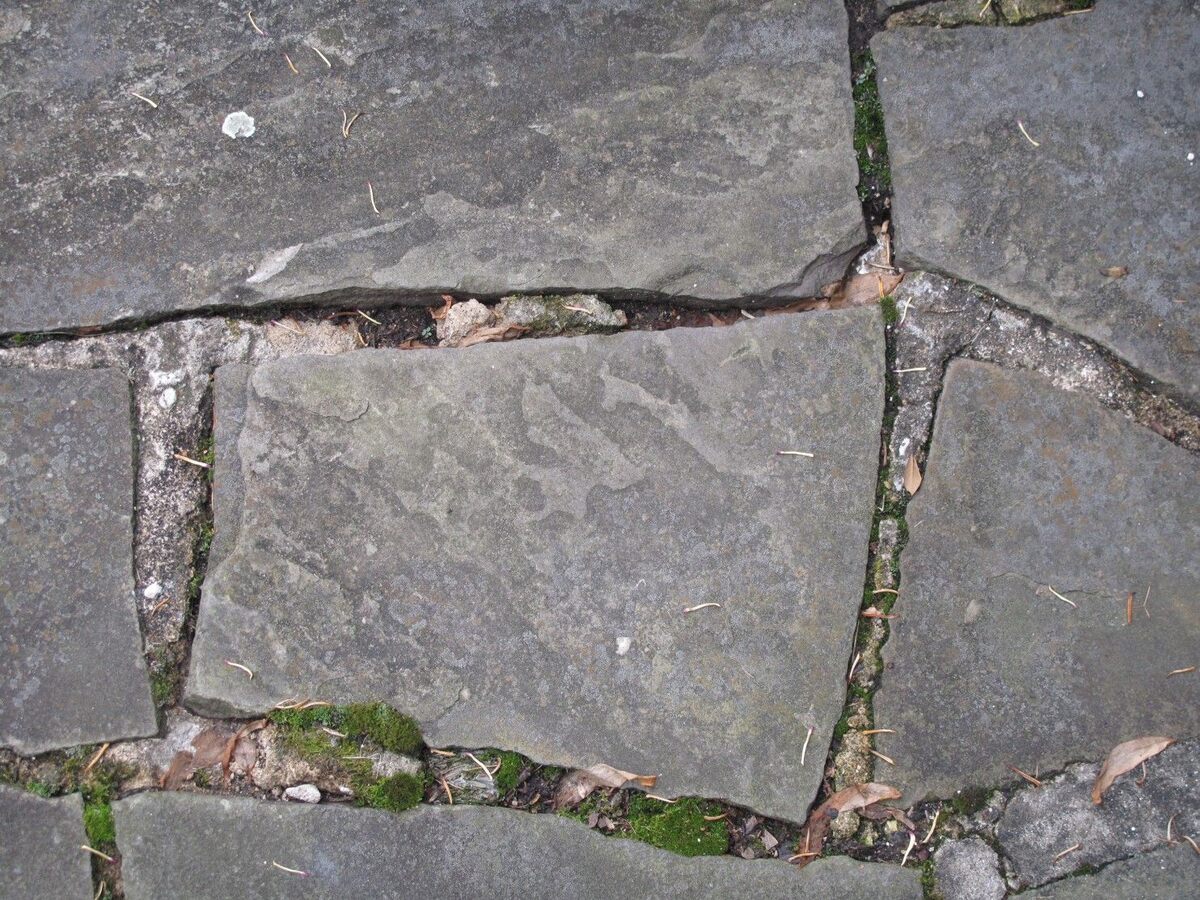
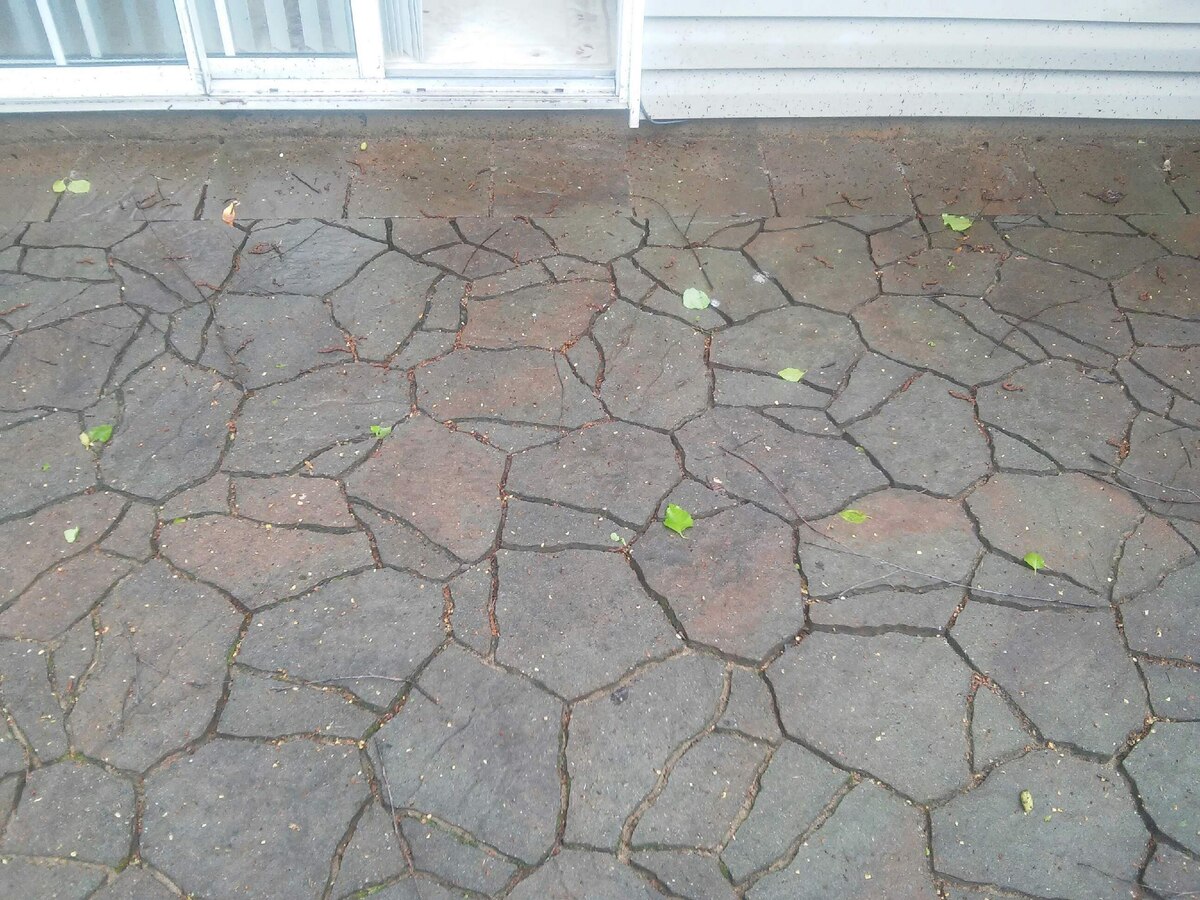
The first step in fixing loose patio stones is to assess the extent of the problem. Take a thorough look at your patio and identify which stones are loose or uneven. Pay attention to any gaps between the stones and observe if they wobble or shift when pressure is applied. This initial assessment will give you a clear understanding of the scope of the repair work that needs to be done.
While inspecting the patio, also keep an eye out for any underlying issues that may have contributed to the loose stones. Look for signs of water damage, such as pooling water or mold growth, as this could indicate drainage problems that need to be addressed. Additionally, check for any vegetation or roots that might be pushing up the stones, causing them to become unstable.
Once you have identified the loose stones and potential underlying issues, it’s time to move on to the next step. But before you start any repairs, it’s crucial to ensure your safety. Wear protective gloves, goggles, and appropriate footwear to protect yourself from injuries during the repair process.
Pro tip: Take pictures of the problem areas before starting the repair work. This will help you track your progress and serve as a reference if you encounter any difficulties along the way.
Now that you have assessed the problem, identified the loose stones, and ensured your safety, you are ready to proceed to the next step: preparing the area for repair.
Step 2: Prepare the Area
Before you can begin releveling and securing the loose patio stones, it is essential to prepare the area for repair. Start by removing any furniture, plants, or obstacles from the patio to create a clear workspace. This will allow you to freely move around and access all the loose stones without any hindrance.
Next, use a broom to sweep away any dirt, debris, or loose particles from the surface of the patio. Clearing the area of any loose materials will ensure a clean and even foundation for your repair work.
If you notice any weeds or vegetation growing between the patio stones, it is important to eliminate them before proceeding. Use a weed killer or pull them out manually to prevent their regrowth and ensure a stable foundation for your patio stones.
Once the patio surface is clear and weed-free, consider laying down a weed barrier fabric. This will further inhibit weed growth and provide an additional layer of stability to your patio. Cut the fabric according to the size of your patio and lay it evenly over the entire area. Use landscaping pins or staples to secure the fabric in place.
As an optional but recommended step, consider applying a layer of sand or gravel over the weed barrier fabric. This will provide extra stability and aid in the leveling process. Spread the sand or gravel evenly across the patio, ensuring that it fills any gaps or uneven areas.
Preparing the area for repair is crucial as it sets the foundation for your patio stone fix. A clean and stable surface will make the subsequent steps more effective and increase the longevity of your patio repair.
Pro tip: Take your time during the preparation phase to ensure that the area is thoroughly cleaned and free from any debris. This will help achieve better results in releveling and securing the loose patio stones.
Now that you have prepared the area, it’s time to move on to the next step: releveling the patio stones.
Step 3: Relevel the Patio Stones
Now that the area is prepared, it’s time to relevel the patio stones. This step involves adjusting the height and position of the loose stones to ensure a level and stable surface for your patio.
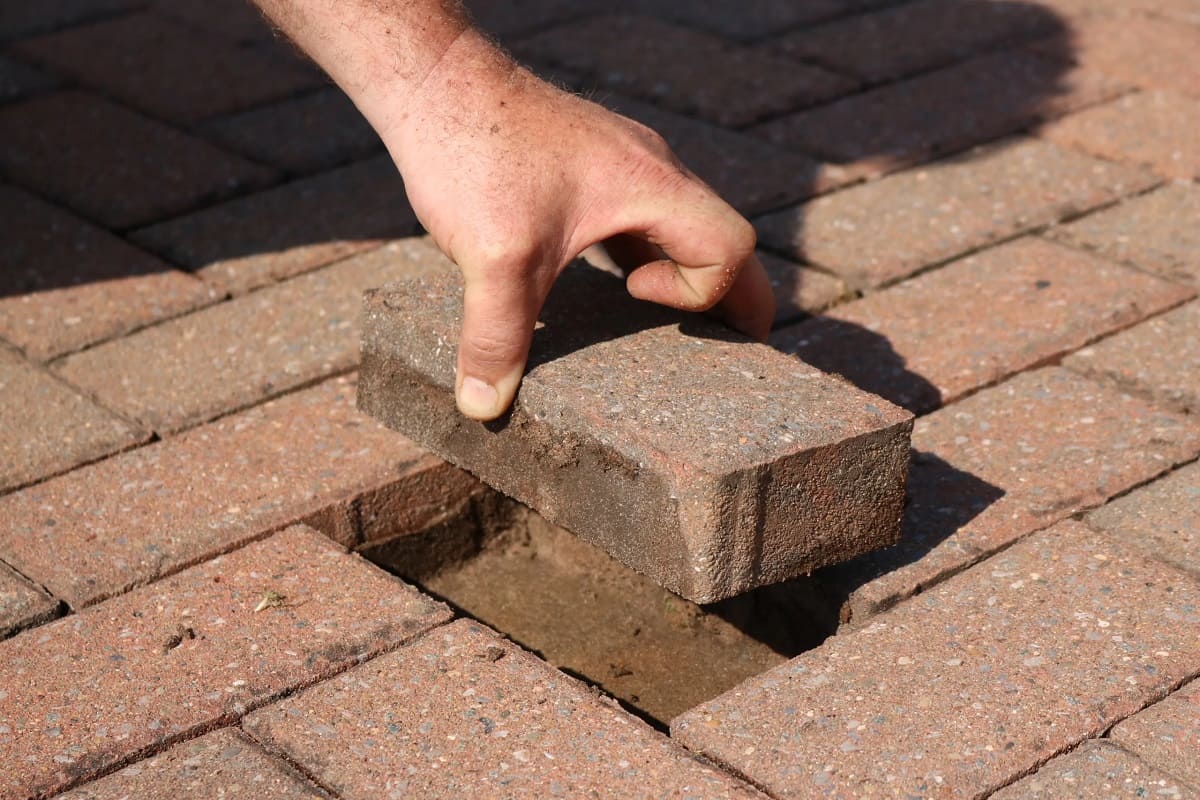
Start by examining each individual loose stone. Using a pry bar or a shovel, carefully lift the stone and set it aside. Take note of the underlying surface and any gaps or unevenness that may have caused the stone to become loose.
To relevel the area underneath the stone, add or remove sand or gravel as needed. Use a level to check the evenness of the surface and make adjustments accordingly. Aim for a level and stable base to ensure the stone sits securely in place.
Once you have re-leveled the area, carefully place the stone back into position. Press down firmly to ensure it is securely seated in the newly leveled surface. If necessary, use a rubber mallet to tap the stone gently into place.
Repeat this process for each loose stone, ensuring that they are all re-leveled and properly seated. Take your time during this step to ensure that each stone is securely positioned and the overall surface is level.
Pro tip: If you encounter any stubborn stones that refuse to stay in place, consider using a polymeric sand or stone adhesive to secure them. These products can provide additional stability and help keep the stones in position.
As you relevel the patio stones, periodically step back and assess the overall appearance and balance of the patio. Ensure that the stones are evenly spaced and maintain a consistent pattern. Making adjustments during this step will help create a visually pleasing and structurally sound patio.
With the patio stones re-leveled and securely in place, you’re ready to move on to the next step: securing the loose stones.
Use a rubber mallet to gently tap the loose patio stones back into place. Fill any gaps with sand or gravel to secure them in position.
Step 4: Secure the Loose Stones
Now that the patio stones are re-leveled, it’s time to secure them in place to prevent future shifting or loosening. This step will provide added stability and ensure that your patio remains safe and durable for years to come.
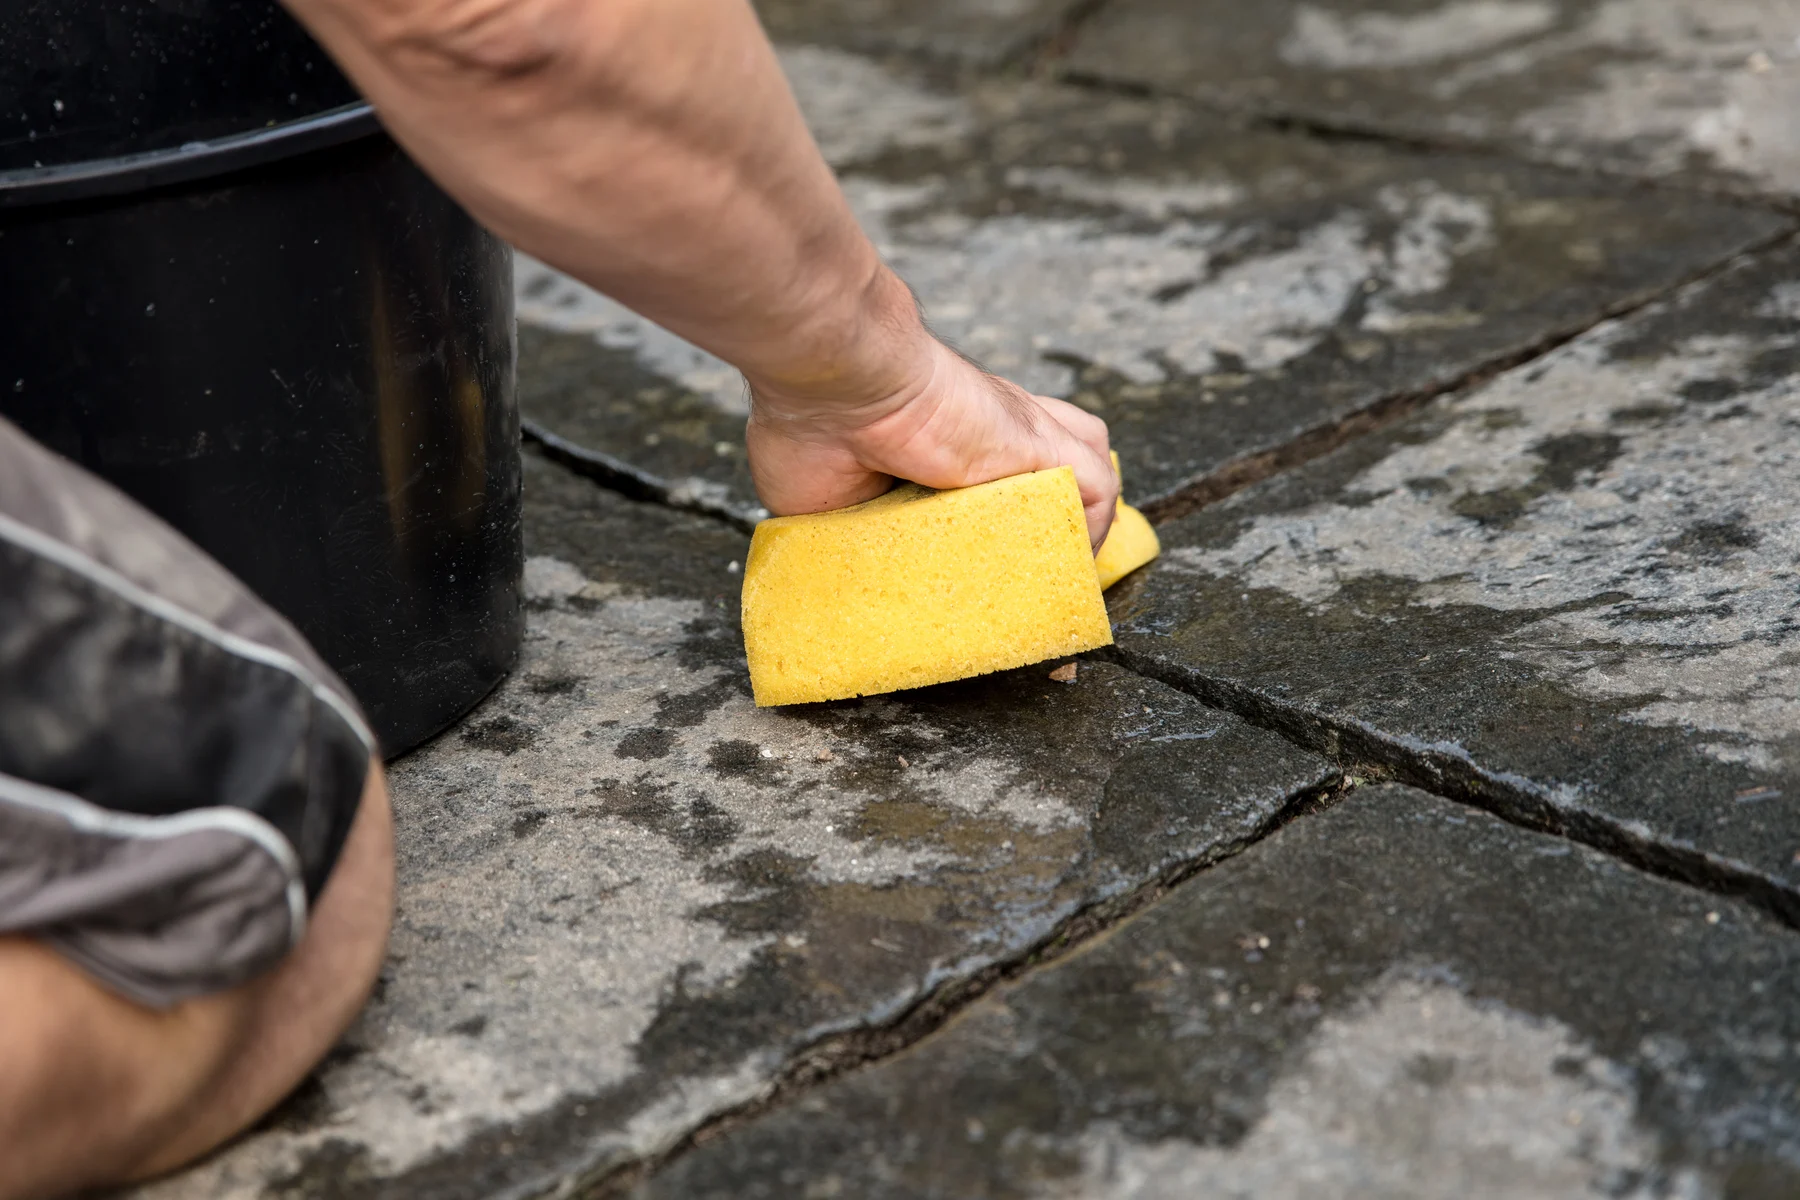
Start by inspecting each stone to identify any gaps or spaces between them. These gaps can cause stones to become loose or shift over time. Use a small trowel or your fingers to fill these gaps with sand or gravel. Work the material into the spaces, ensuring that it is evenly distributed and tightly packed.
As you fill the gaps, gently press down on the stones to encourage them to settle into the material. This will help create a stronger bond between the stones and prevent them from moving or shifting in the future.
For added security, consider using a stone adhesive or polymeric sand. These products can be applied between the patio stones, creating a solid bond that effectively locks them in place. Follow the manufacturer’s instructions for proper application and curing times.
Once you have filled the gaps and applied any necessary adhesive or sand, sweep off any excess material from the surface of the patio. Use a broom or a brush to remove loose particles and create a clean and finished appearance.
Pro tip: If you have larger gaps between the stones, you may need to use mortar or concrete to secure them. Consult with a professional or refer to specific product instructions for proper application and curing.
Securing the loose stones is an important step to ensure the long-term stability and safety of your patio. By filling the gaps and applying adhesive or sand, you can prevent future issues and maintain a solid surface.
Now that the loose stones are secured, it’s time to move on to the next step: filling in the gaps.
Read more: How To Fix A Loose Faucet
Step 5: Fill in the Gaps
Now that the loose stones are secure, it’s time to fill in the gaps between them. Filling in the gaps will not only enhance the appearance of your patio but also prevent weeds or debris from getting lodged between the stones.
Start by inspecting the gaps and determining the appropriate material to use. You can choose between sand, gravel, or polymeric sand depending on your preference and the desired look of your patio.
If you opt for sand or gravel, use a trowel or your fingers to carefully pour the material into the gaps. Ensure that it fills the gaps completely, reaching the same level as the patio stones. Use a broom or a brush to sweep off any excess material from the surface, creating a clean and uniform appearance.
If you choose to use polymeric sand, follow the manufacturer’s instructions for proper application and activation. Typically, you will need to dampen the sand and sweep it into the gaps, ensuring that it fills them evenly. Then, mist the patio with water to activate the sand and allow it to harden and set.
Pro tip: When filling in the gaps, it can be helpful to use a brush or a small dowel to push the material down and ensure a tight fit. This will help eliminate air pockets and create a more secure and visually pleasing finish.
Once you have filled in all the gaps, step back and admire your handiwork. The filled gaps will not only improve the overall appearance of your patio but also provide additional stability and prevent weed growth.
Now that the gaps are filled, it’s time for the final step: adding some finishing touches.
Step 6: Finishing Touches
With the loose stones re-leveled, secured, and the gaps filled, it’s time to add the finishing touches to complete your patio repair project.
Start by cleaning the surface of the patio. Use a broom or a leaf blower to remove any remaining debris, ensuring that the surface is clear and ready to be enjoyed. This will give your patio a fresh and polished look.
If you’ve noticed any cracks or damages on the surface of the patio stones during the repair process, you may consider patching or sealing them. There are various products available in the market that can easily fill in cracks and protect the stones from further damage. Follow the manufacturer’s instructions for proper application and curing.
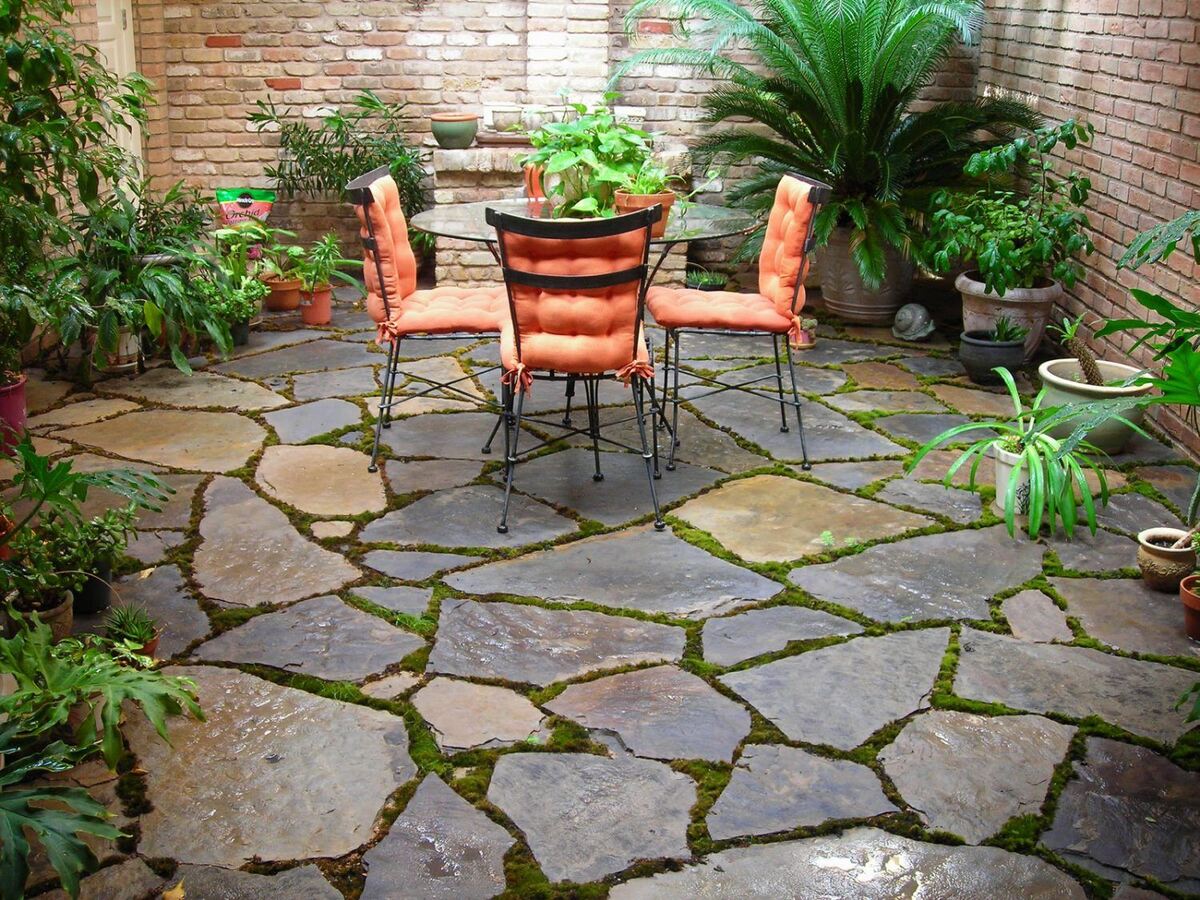
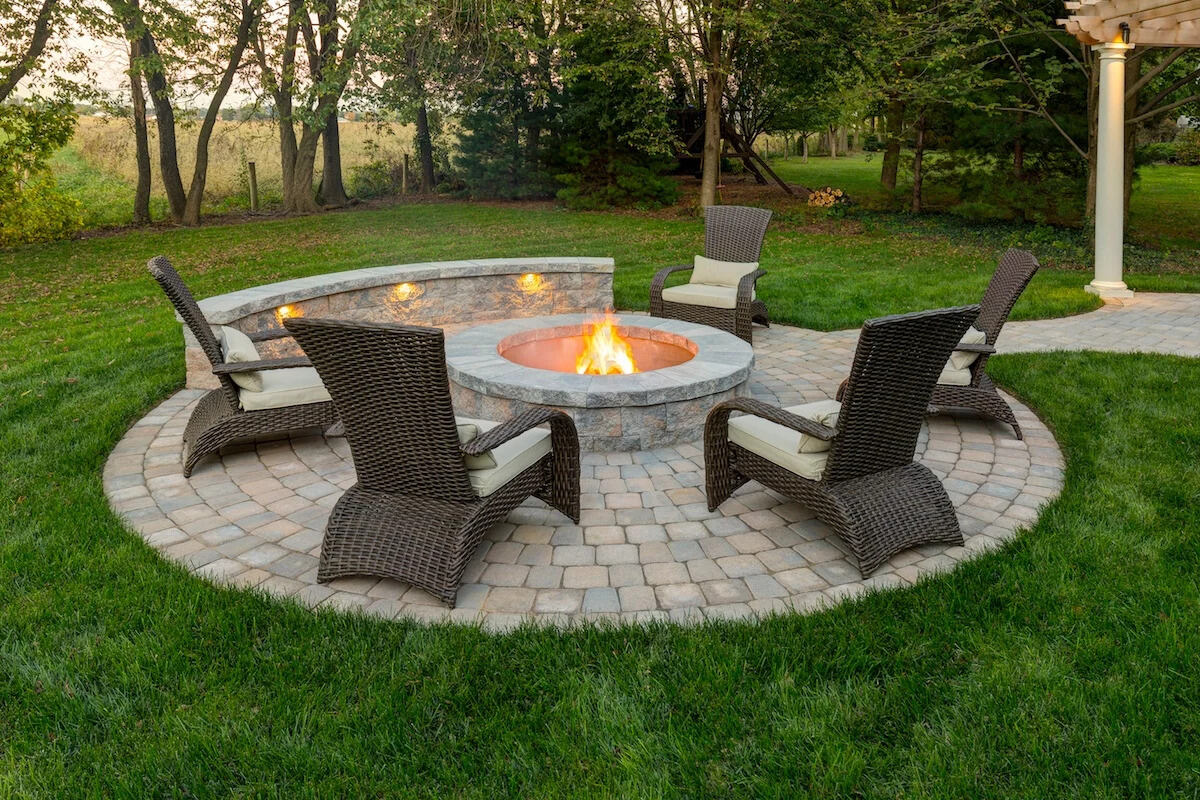
Next, take a moment to inspect the surrounding area for any additional improvements. Consider adding outdoor furniture, potted plants, or other decorative elements to enhance the ambiance and functionality of your outdoor space. This will create an inviting atmosphere where you can relax and enjoy your newly repaired patio.
Lastly, remember to regularly maintain your patio to keep it in optimal condition. Sweep or wash the surface periodically to remove dirt, leaves, or other debris. Trim any overhanging branches or vegetation that may cause damage to the patio stones. By staying proactive in your maintenance efforts, you can extend the lifespan of your patio and prevent future issues.
Pro tip: Consider applying a sealant to the patio stones to protect them from stains, moisture, and UV rays. This will not only preserve their appearance but also prolong their lifespan.
Congratulations! You have successfully completed the process of fixing loose patio stones. By following these steps, you have restored stability, aesthetics, and safety to your outdoor space. Now, it’s time to sit back, relax, and enjoy your beautiful patio!
Remember, the key to maintaining your patio’s longevity is regular inspection and timely repairs. By addressing any loose stones or potential issues early on, you can prevent further damage and ensure a long-lasting and enjoyable outdoor living area.
Conclusion
Fixing loose patio stones is a crucial task to keep your outdoor space safe, functional, and visually appealing. By following the step-by-step guide outlined in this article, you can successfully relevel and secure the loose stones, fill in the gaps, and add the finishing touches that will restore the stability and beauty of your patio.
Remember to begin by assessing the problem and preparing the area before proceeding with releveling the patio stones. Take your time to ensure each stone is properly seated and level, and then secure them in place using sand, gravel, or a stone adhesive.
Next, fill in the gaps between the stones to prevent weed growth and enhance the overall appearance of your patio. Consider adding sand, gravel, or polymeric sand, depending on your preference and desired look.
Finally, add some finishing touches such as cleaning the patio surface, patching any cracks, and maintaining the area regularly. These small tasks can make a big difference in the longevity and enjoyment of your patio.
With a properly repaired and maintained patio, you can now fully enjoy your outdoor space. Whether you’re hosting a barbecue with friends, lounging with a book, or simply basking in the sunshine, your patio will provide a comfortable and inviting environment for all your outdoor activities.
Remember to periodically inspect your patio for any signs of loose stones, gaps, or damages. By addressing these issues promptly, you can avoid more extensive repairs in the future and continue to enjoy your patio for years to come.
So, roll up your sleeves, gather your tools, and embark on your patio repair project. With the knowledge and guidance provided in this article, you have all the necessary tools to fix those loose patio stones and create an outdoor space that is both functional and beautiful.
Frequently Asked Questions about How To Fix Loose Patio Stones
Was this page helpful?
At Storables.com, we guarantee accurate and reliable information. Our content, validated by Expert Board Contributors, is crafted following stringent Editorial Policies. We're committed to providing you with well-researched, expert-backed insights for all your informational needs.


0 thoughts on “How To Fix Loose Patio Stones”