Home>Technology>Smart Home Devices>What To Do When My HP Printer Says Paper Jam But There Is None
Smart Home Devices
What To Do When My HP Printer Says Paper Jam But There Is None
Modified: October 19, 2024
Discover effective solutions for resolving the "paper jam" error on your HP printer, even when there's no paper jam. Get your smart home devices back up and running with these troubleshooting tips.
(Many of the links in this article redirect to a specific reviewed product. Your purchase of these products through affiliate links helps to generate commission for Storables.com, at no extra cost. Learn more)
Introduction
When your HP printer displays an error message indicating a paper jam, but there is no visible obstruction, it can be a perplexing situation. However, there are several troubleshooting steps you can take to address this issue and get your printer back to its normal functioning. This guide will walk you through the potential causes of this error and provide practical solutions to resolve it.
Dealing with a persistent paper jam error can be frustrating, but with a systematic approach, you can often identify and rectify the underlying problem. By following the steps outlined in this article, you can effectively troubleshoot your HP printer and potentially resolve the issue without the need for professional assistance. Let's delve into the various methods to address the "paper jam but there is none" error on your HP printer.
Key Takeaways:
- If your HP printer says there’s a paper jam but you can’t see any paper stuck, try checking for hidden obstructions, resetting the printer, and cleaning the rollers to fix the issue without needing professional help.
- Updating the printer’s firmware and using the right type of paper can also help resolve the “paper jam but there is none” error. If the problem persists, don’t hesitate to contact HP support for expert assistance.
Read more: Why Does My Paper Keep Jamming In My Printer
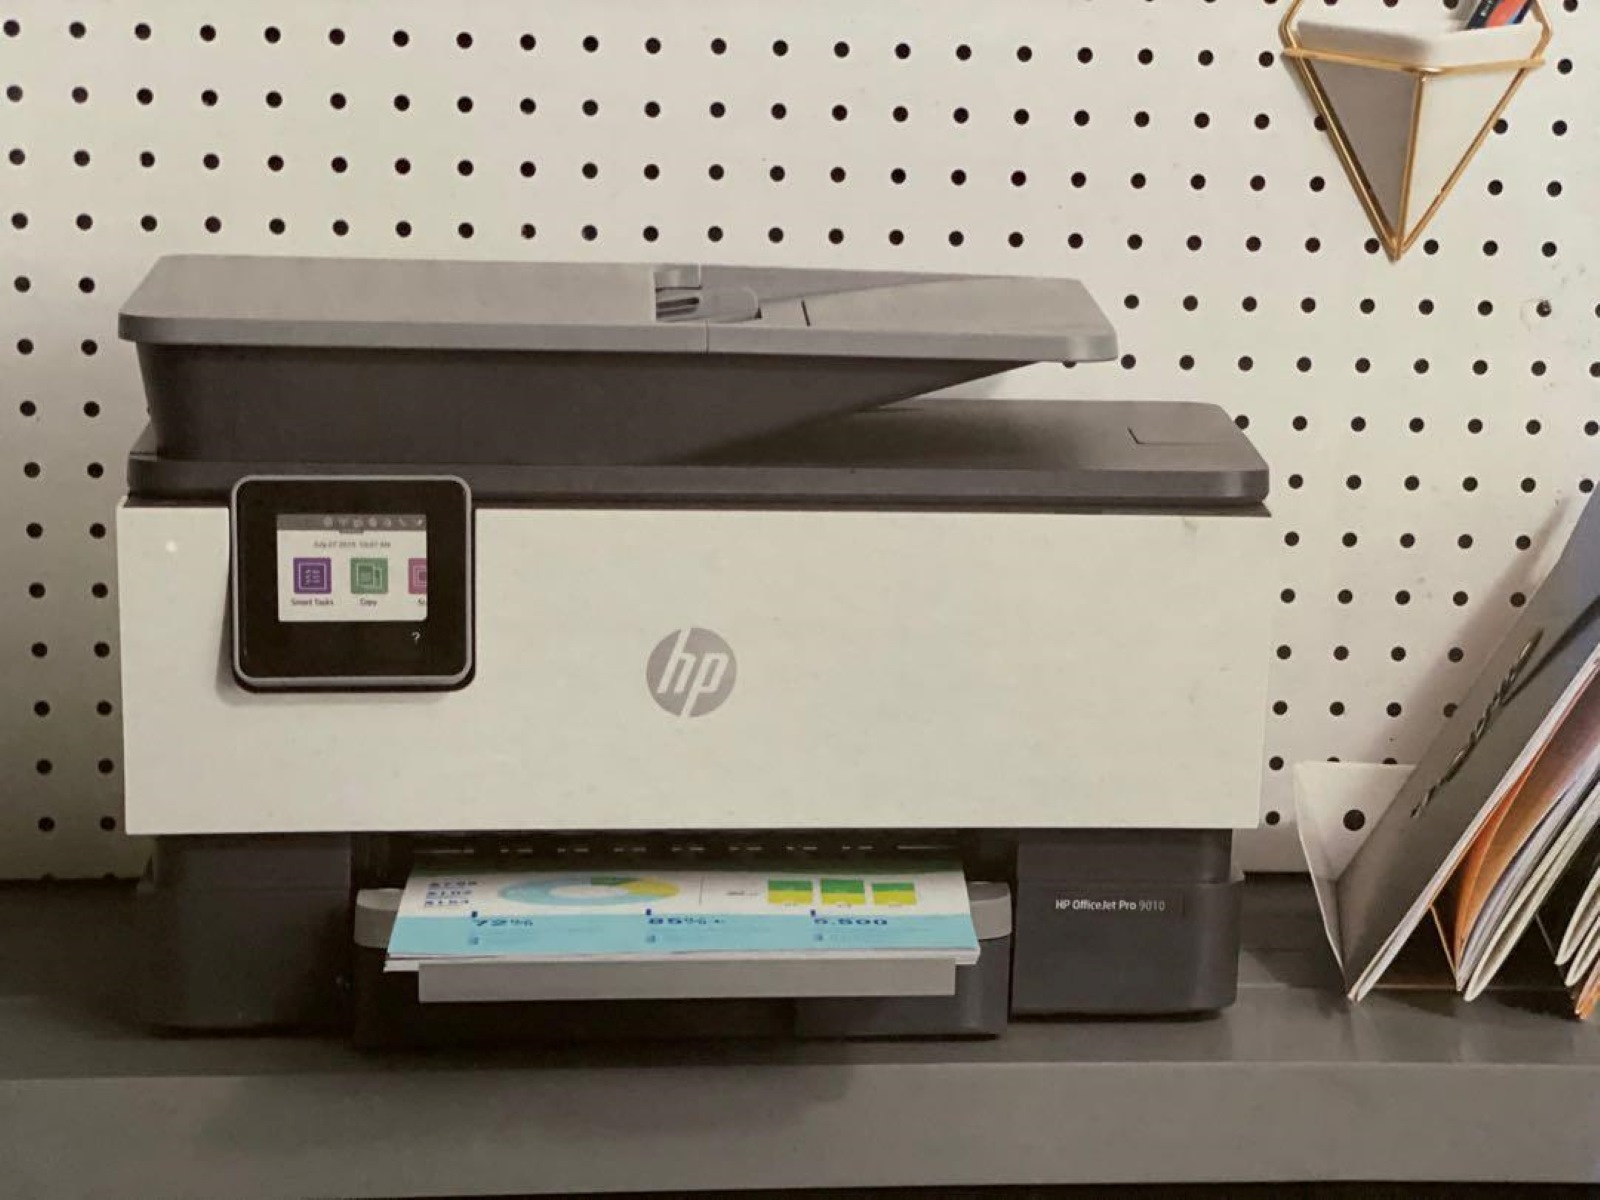
Check for Obstructions
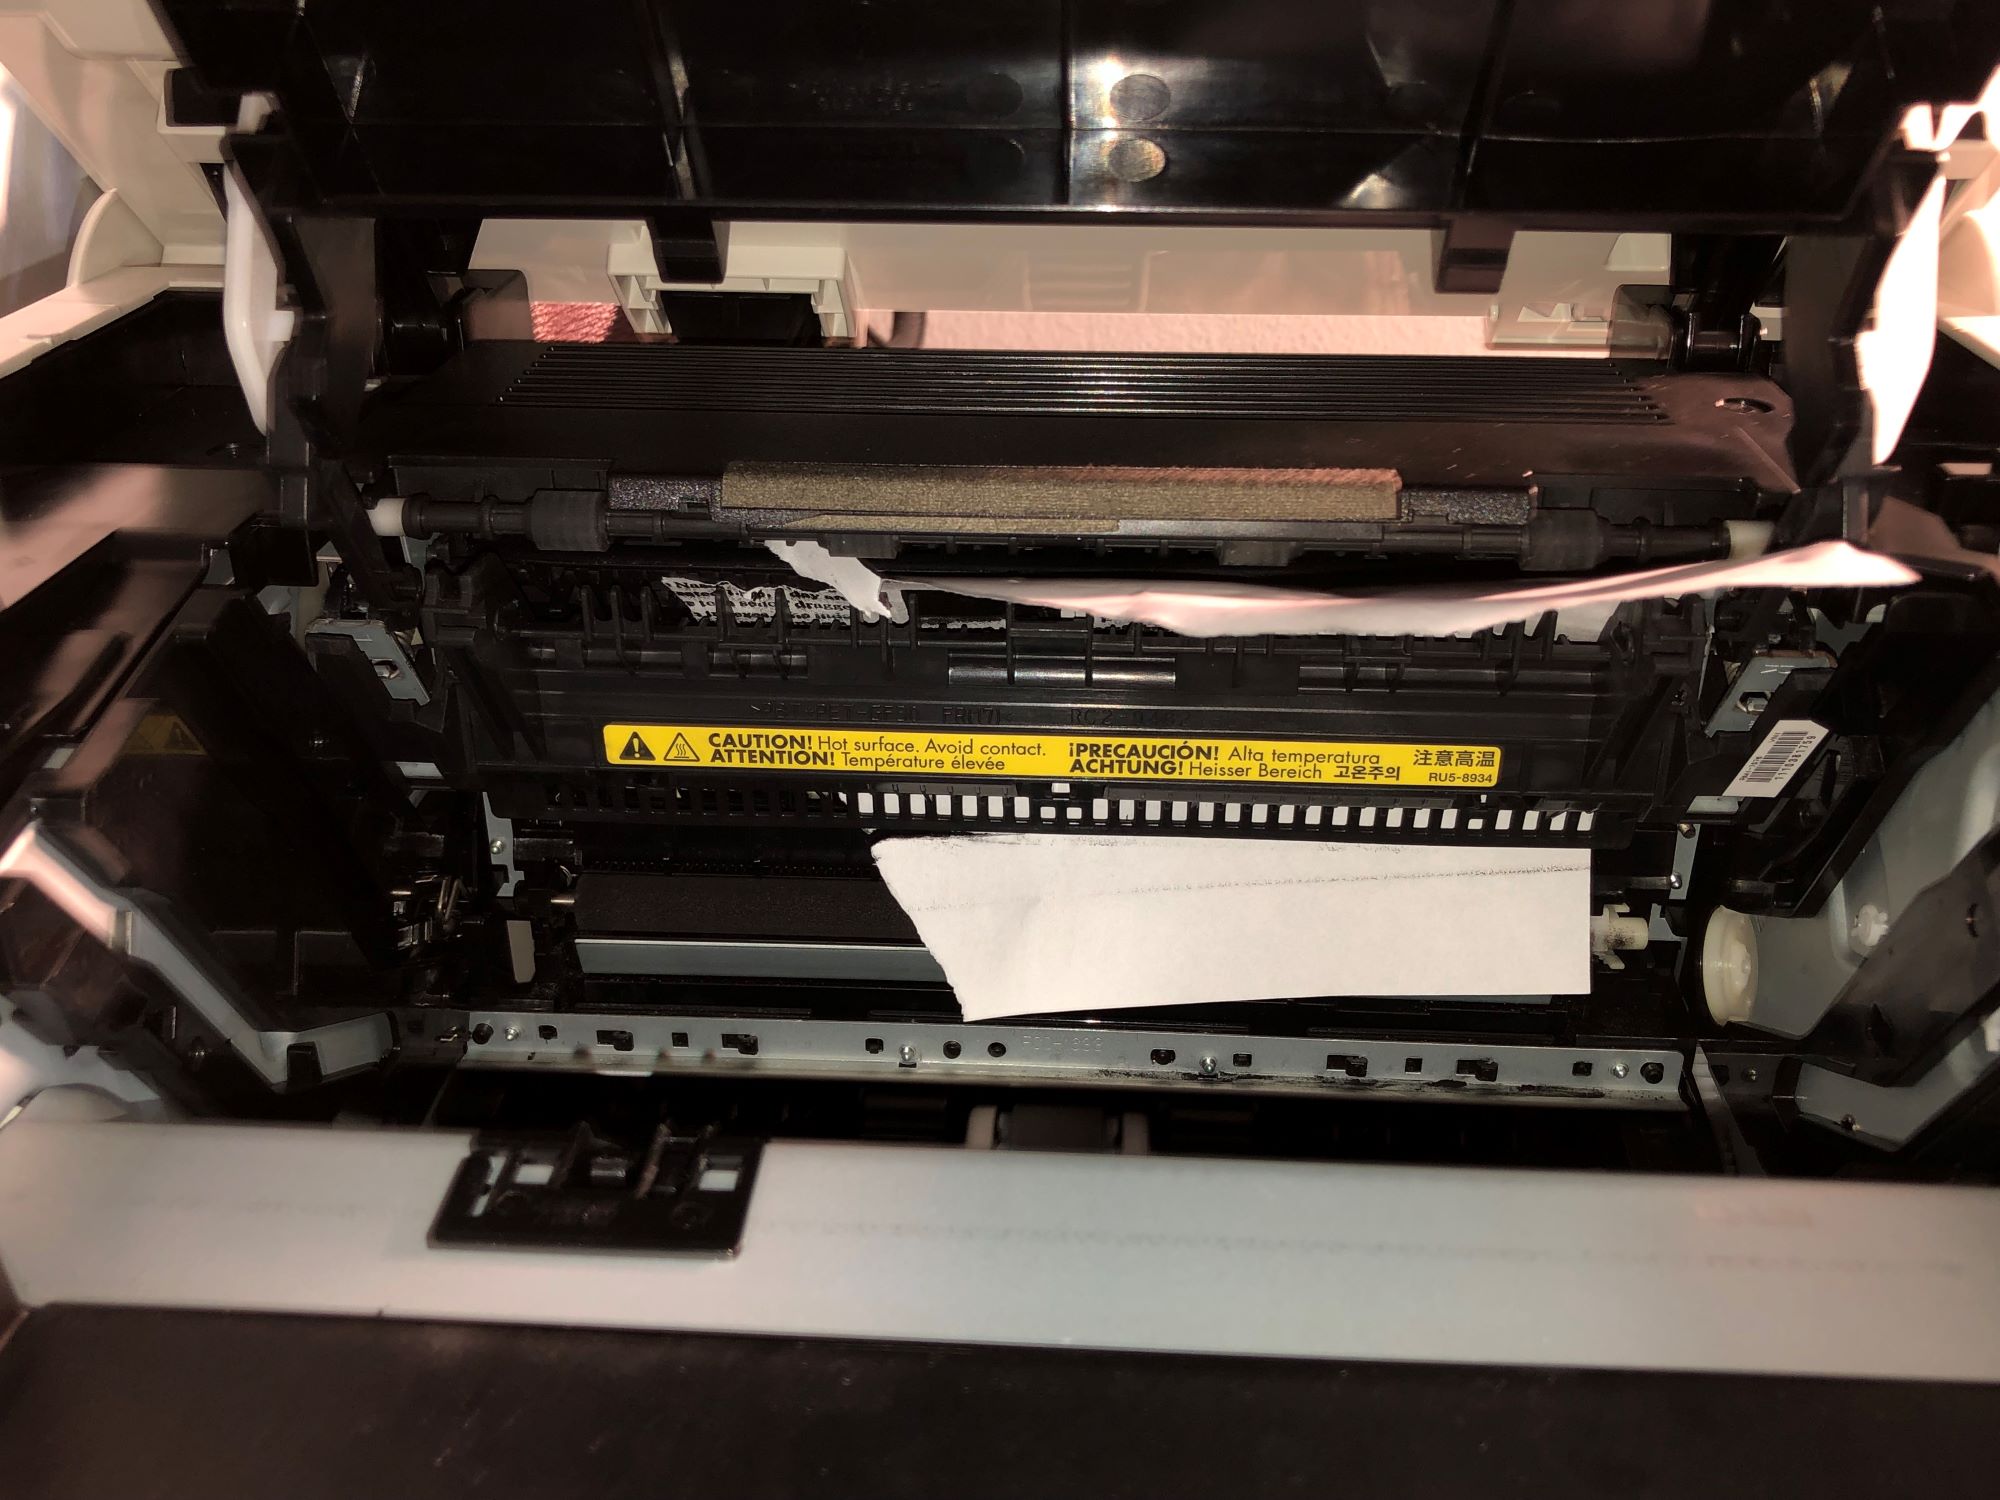
When your HP printer indicates a paper jam but no paper is visibly stuck, the first step is to carefully inspect the printer for any obstructions. Start by opening the printer cover and examining the paper path, including the input and output trays, as well as the toner or ink cartridge area. Look for any torn pieces of paper, debris, or foreign objects that may be causing the error.
It’s essential to perform this inspection with caution, ensuring that the printer is powered off and unplugged to avoid any potential safety hazards. Use a flashlight to illuminate the internal components and examine them closely. Pay attention to any small fragments of paper that may be lodged in the rollers or other mechanisms.
If you locate any foreign objects or debris, carefully remove them using tweezers or a soft, lint-free cloth. Be gentle to avoid causing damage to the printer components. Once you have cleared any obstructions, close the printer cover and power it back on to see if the error message persists.
If the "paper jam" error persists after ensuring that there are no obstructions, proceed to the next troubleshooting steps to further diagnose and resolve the issue.
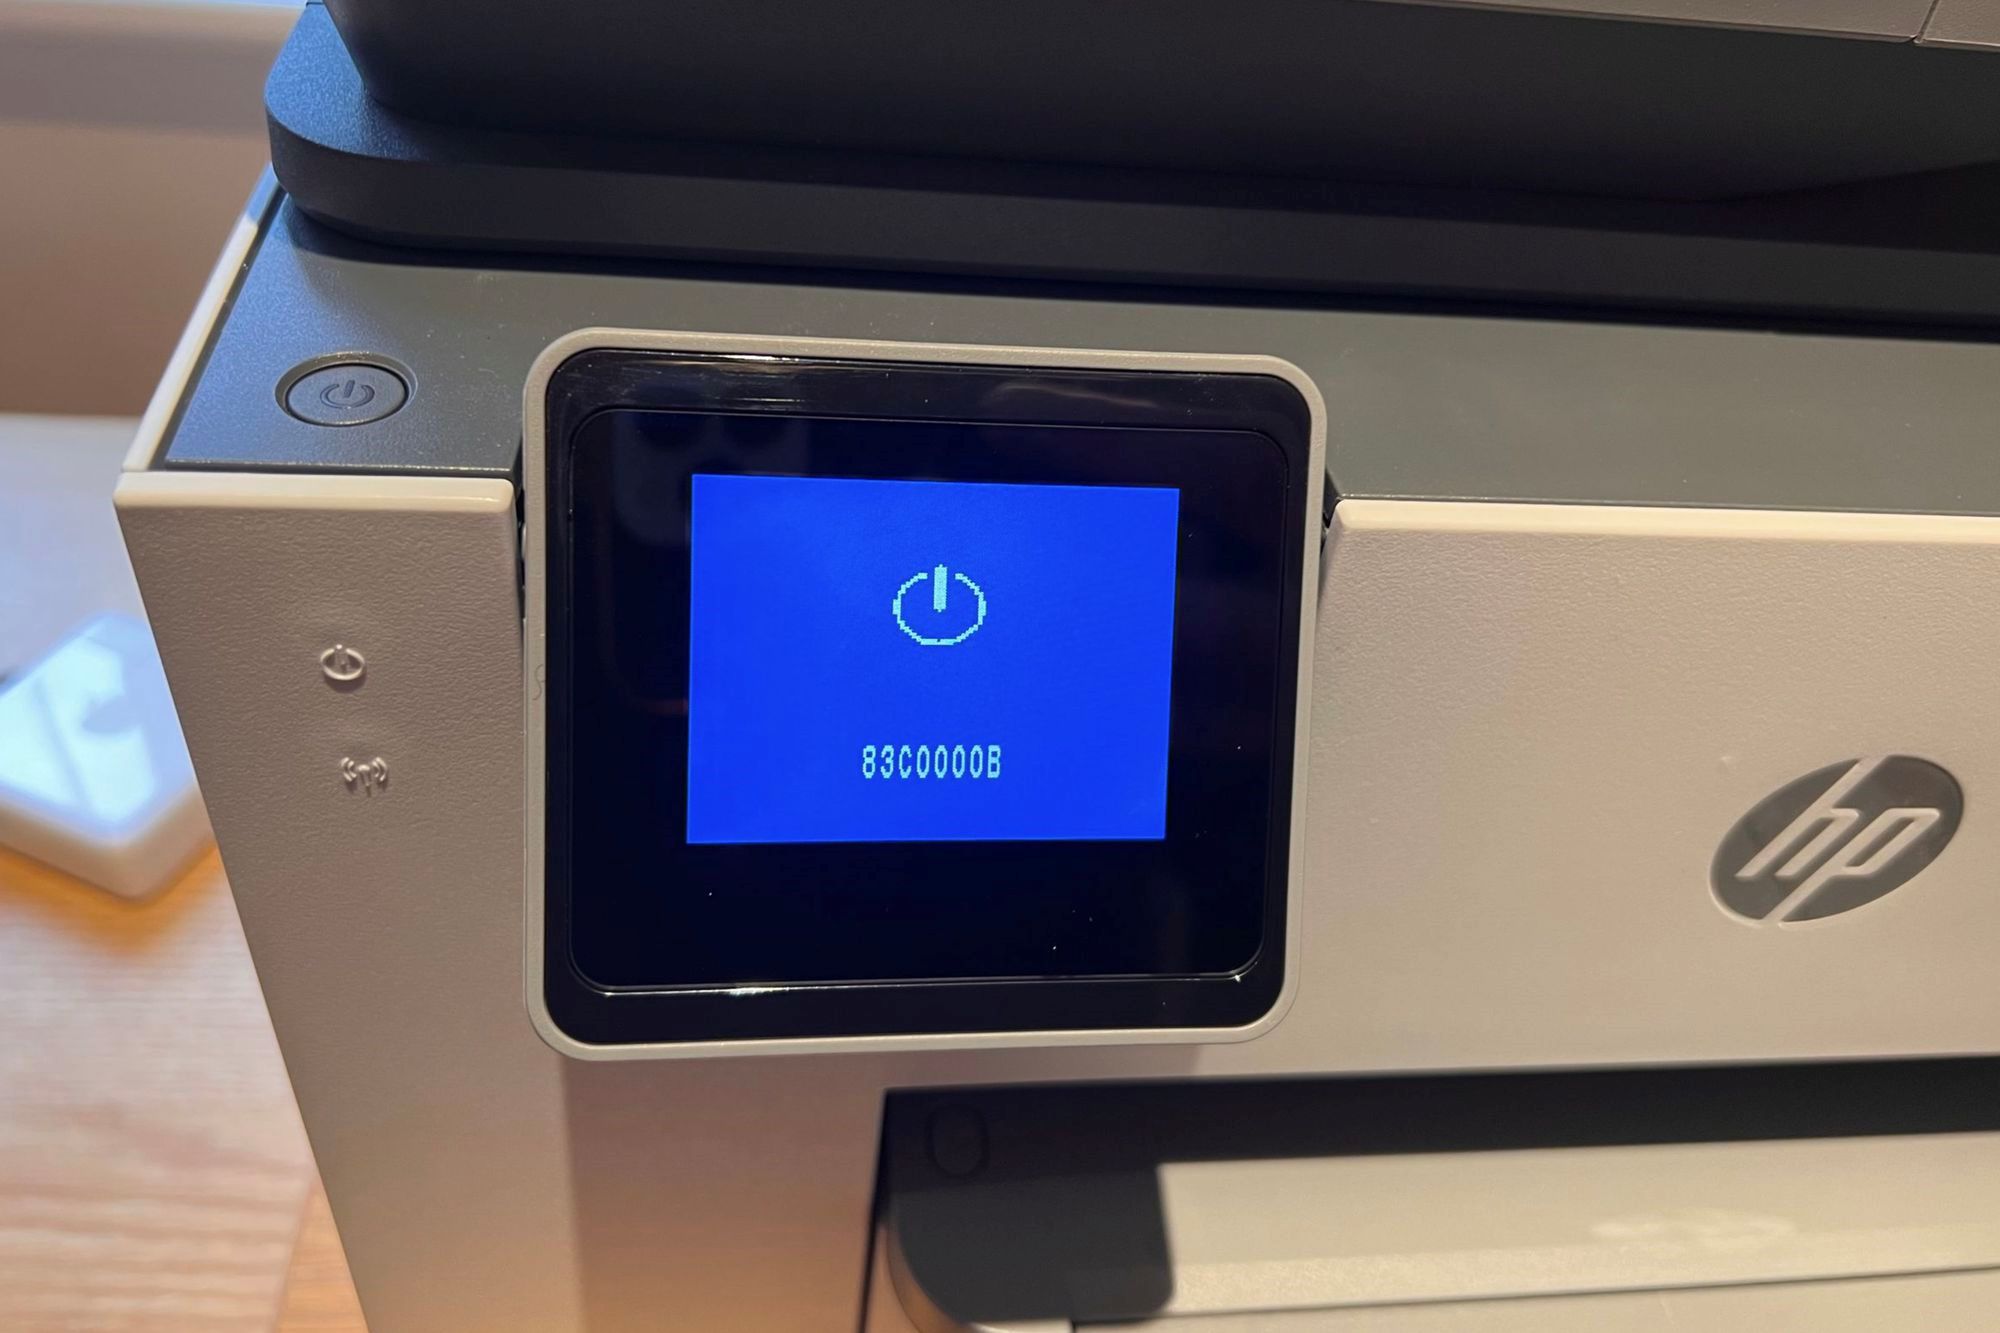
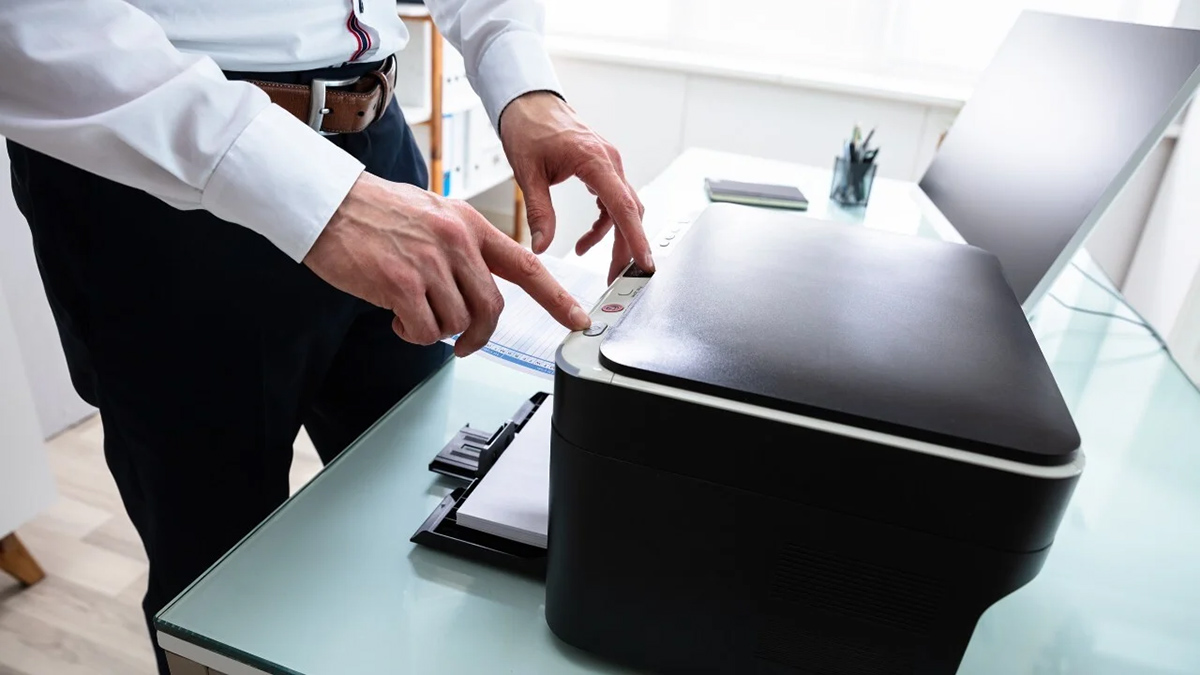
Reset the Printer
If your HP printer continues to display a paper jam error despite the absence of any visible obstructions, performing a reset may help clear the erroneous message and restore normal operation. Resetting the printer can often resolve temporary glitches and errors that may be causing the issue.
To initiate a reset, start by powering off the printer and unplugging it from the electrical outlet. Allow the printer to remain unplugged for at least 60 seconds to ensure that any residual power is discharged and the internal components are fully reset.
After the brief waiting period, plug the printer back into the power source and power it on. Once the printer has restarted, attempt to print a test page or initiate a self-test to check if the "paper jam" error has been cleared. Refer to your printer’s user manual for instructions on initiating a self-test or test page.
If the reset procedure successfully eliminates the error message, you can resume using the printer as usual. However, if the error persists, proceed to the next troubleshooting step to further address the issue.
Clean the Rollers
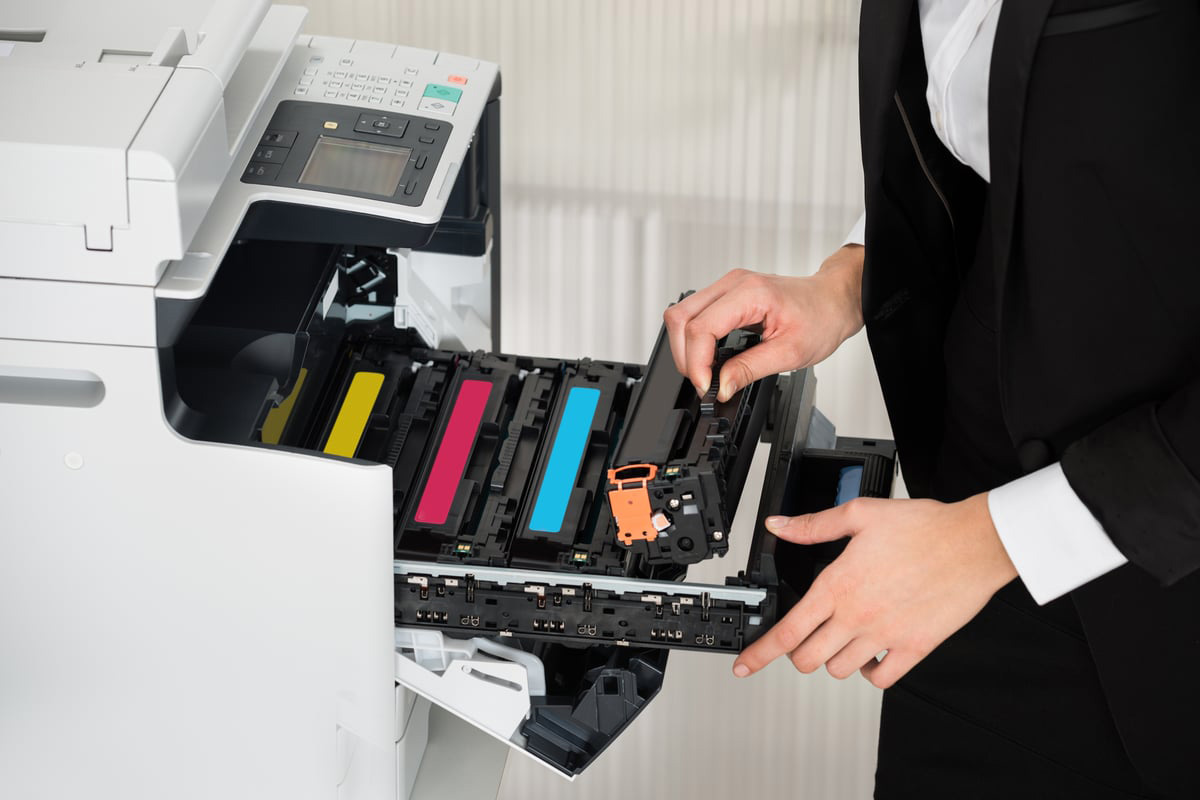
Over time, the rollers inside your HP printer can accumulate dust, paper debris, and other particles, leading to issues such as misfeeds and erroneous paper jam errors. Cleaning the rollers is a crucial maintenance task that can help ensure smooth paper handling and prevent false error messages.
To clean the rollers, start by powering off the printer and unplugging it from the electrical outlet to ensure safety. Open the printer cover and locate the rollers, which are typically rubber or plastic cylindrical components that facilitate the movement of paper through the printer.
Using a soft, lint-free cloth lightly moistened with water, gently wipe the rollers to remove any accumulated debris or residue. Avoid using excess water or harsh cleaning agents, as these can damage the rollers and other internal components. Additionally, consider using specialized cleaning kits designed for printer maintenance, which often include cleaning pads and solutions tailored for printer roller maintenance.
After cleaning the rollers, allow any residual moisture to evaporate before closing the printer cover and powering the printer back on. Once the printer has restarted, attempt to print a test page to see if the "paper jam" error has been resolved. If the error persists, proceed to the next troubleshooting step to further address the issue.
Try resetting the printer by turning it off and unplugging it for a few minutes. Then, carefully check for any small pieces of paper or debris inside the printer. If the issue persists, contact HP support for further assistance.
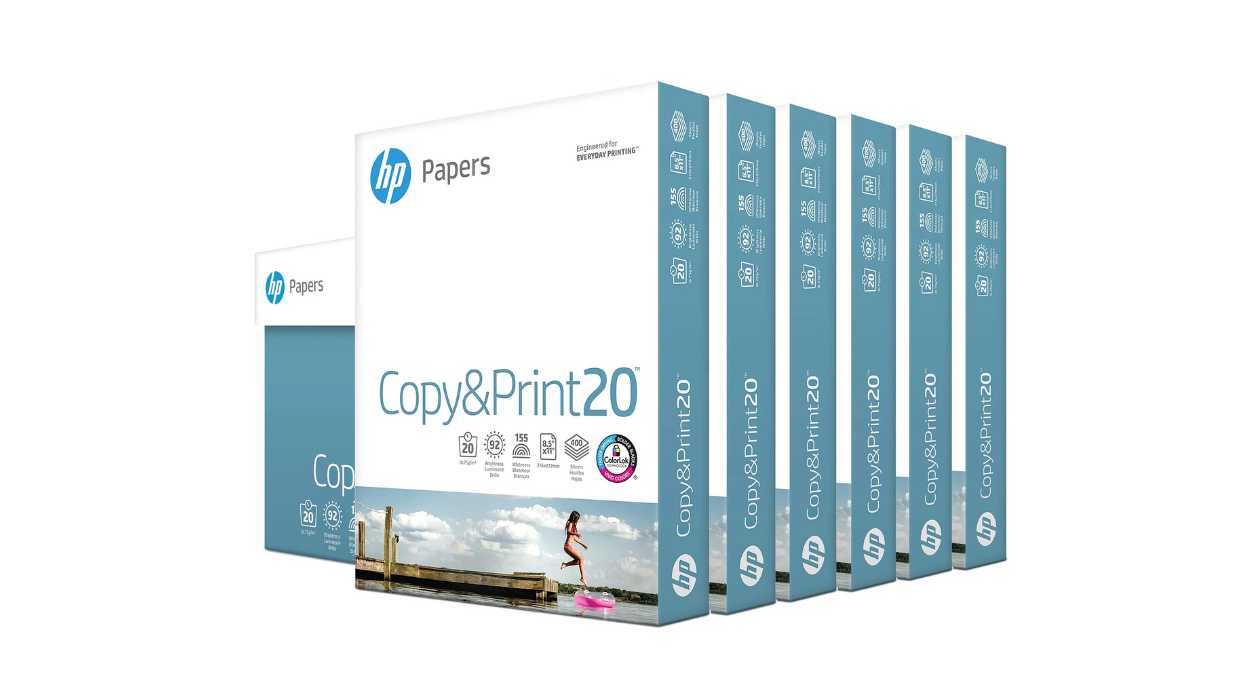
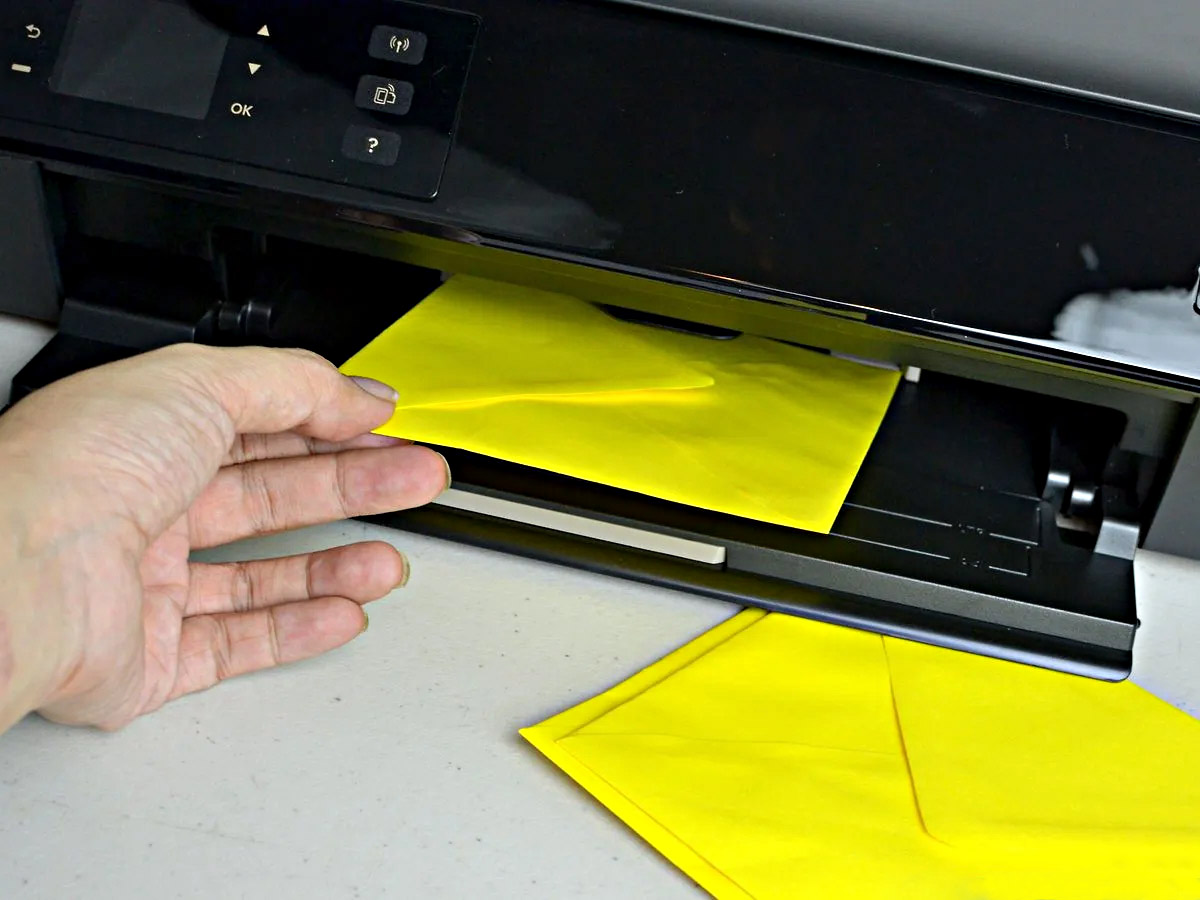
Use a Different Paper Type
Occasionally, the type or condition of the paper being used in your HP printer can contribute to erroneous paper jam errors. In some cases, using a different paper type or ensuring that the paper is properly aligned and in good condition can help alleviate the issue.
Start by verifying that the paper being used is within the recommended specifications for your printer. Refer to the printer’s user manual or the manufacturer’s guidelines to ensure that the paper type, size, and weight are compatible with your specific printer model. Using paper that deviates from the recommended specifications can lead to feeding problems and error messages.
Additionally, inspect the paper stack to ensure that it is not wrinkled, creased, or excessively worn. Straighten out any bent or crumpled sheets, and ensure that the paper is neatly aligned within the input tray. Overfilling the tray can also lead to feeding issues, so it’s important to use an appropriate amount of paper and avoid overloading the tray.
If you have been using a particular type or brand of paper and experiencing persistent paper jam errors, consider switching to a different paper type from a reputable manufacturer. High-quality, well-maintained paper can contribute to smoother printing operations and reduce the likelihood of feeding problems and errors.
After making any necessary adjustments to the paper type and condition, attempt to print a test page to determine if the "paper jam" error has been mitigated. If the error persists, proceed to the next troubleshooting step to further address the issue.
Read more: Why Is My Printer Saying Out Of Paper
Update Printer Firmware
Outdated printer firmware can sometimes contribute to erroneous error messages, including false paper jam indications. Updating the firmware of your HP printer can address software-related issues and introduce improvements that may help resolve persistent errors.
To check for and install firmware updates, access the printer’s control panel or interface, typically accessible through a computer or mobile device connected to the same network as the printer. Navigate to the printer’s settings or maintenance menu to locate the firmware update option. Alternatively, you can visit the official HP support website and search for firmware updates specific to your printer model.
Before initiating the firmware update, ensure that the printer is powered on and connected to the network. Follow the on-screen prompts or instructions provided by the printer interface to download and install the latest firmware version. It’s important to allow the update process to complete without interruption to prevent potential firmware corruption.
After the firmware update is successfully installed, restart the printer and attempt to print a test page to verify if the "paper jam" error has been resolved. Firmware updates can often introduce optimizations and bug fixes that address common printing issues, potentially eliminating false error messages such as paper jams.
If updating the printer firmware resolves the error, you can resume using the printer as usual. However, if the error persists, proceed to the next troubleshooting step to further address the issue.
Contact HP Support
If you have diligently followed the troubleshooting steps outlined in this guide and the "paper jam but there is none" error persists, it may be necessary to seek assistance from HP’s dedicated support team. HP provides comprehensive support services to address technical issues and ensure the optimal performance of their printers.
Before reaching out to HP support, gather relevant information about your printer, including the model number, serial number, and a detailed description of the issue you are experiencing. This information will help the support team understand the specific nature of the problem and provide targeted assistance.
Contacting HP support can be done through various channels, including phone support, online chat, or email correspondence. Visit the official HP support website to explore the available support options and choose the method that best suits your preferences and urgency of the issue.
When engaging with HP support, be prepared to follow any additional troubleshooting steps or provide remote access to your printer for diagnostic purposes. The support team may guide you through advanced troubleshooting procedures or arrange for further assistance, such as a service visit or printer replacement if the issue cannot be resolved through standard troubleshooting.
HP’s support professionals are equipped with the expertise and resources to address complex printer issues, and they are committed to ensuring that you receive prompt and effective assistance. By reaching out to HP support, you can leverage their technical knowledge and resources to resolve the persistent "paper jam" error and restore your printer to normal functionality.
Remember that HP’s support team is dedicated to helping customers overcome technical challenges, and they are well-positioned to provide the guidance and solutions needed to address the specific issue you are facing with your HP printer.
Frequently Asked Questions about What To Do When My HP Printer Says Paper Jam But There Is None
Was this page helpful?
At Storables.com, we guarantee accurate and reliable information. Our content, validated by Expert Board Contributors, is crafted following stringent Editorial Policies. We're committed to providing you with well-researched, expert-backed insights for all your informational needs.


0 thoughts on “What To Do When My HP Printer Says Paper Jam But There Is None”