Home>Technology>Smart Home Devices>How To Remove Print From A 3D Printer
Smart Home Devices
How To Remove Print From A 3D Printer
Modified: August 20, 2024
Learn how to remove print from a 3D printer with our expert tips and tricks. Keep your smart home devices running smoothly with our step-by-step guide.
(Many of the links in this article redirect to a specific reviewed product. Your purchase of these products through affiliate links helps to generate commission for Storables.com, at no extra cost. Learn more)
Introduction
Welcome to the exciting world of 3D printing! Whether you're a seasoned enthusiast or a newcomer to this innovative technology, one of the essential skills you'll need to master is the art of removing prints from your 3D printer's build platform. While this may sound simple, there are several techniques and considerations that can significantly impact the success of this process.
In this comprehensive guide, we'll delve into the intricacies of print removal, providing you with valuable insights, step-by-step instructions, and expert tips to ensure a seamless and efficient experience. By understanding the nuances of print removal, you'll not only safeguard the integrity of your prints but also prolong the lifespan of your 3D printer's build surface.
So, grab your tools and let's embark on a journey to demystify the art of removing prints from a 3D printer. Whether you're working with PLA, ABS, PETG, or other filament types, this guide will equip you with the knowledge and techniques necessary to streamline the print removal process and elevate your 3D printing endeavors to new heights.
Key Takeaways:
- Master the art of 3D print removal by understanding material adhesion, cooling, and build surface dynamics. With patience and the right tools, safeguard your prints and 3D printer’s build platform for a seamless experience.
- Equip yourself with essential tools and materials for efficient print removal. Exercise patience, monitor print cooling, and prioritize regular maintenance to optimize print adhesion and removal. Embrace the art of print removal as an integral part of your 3D printing journey.
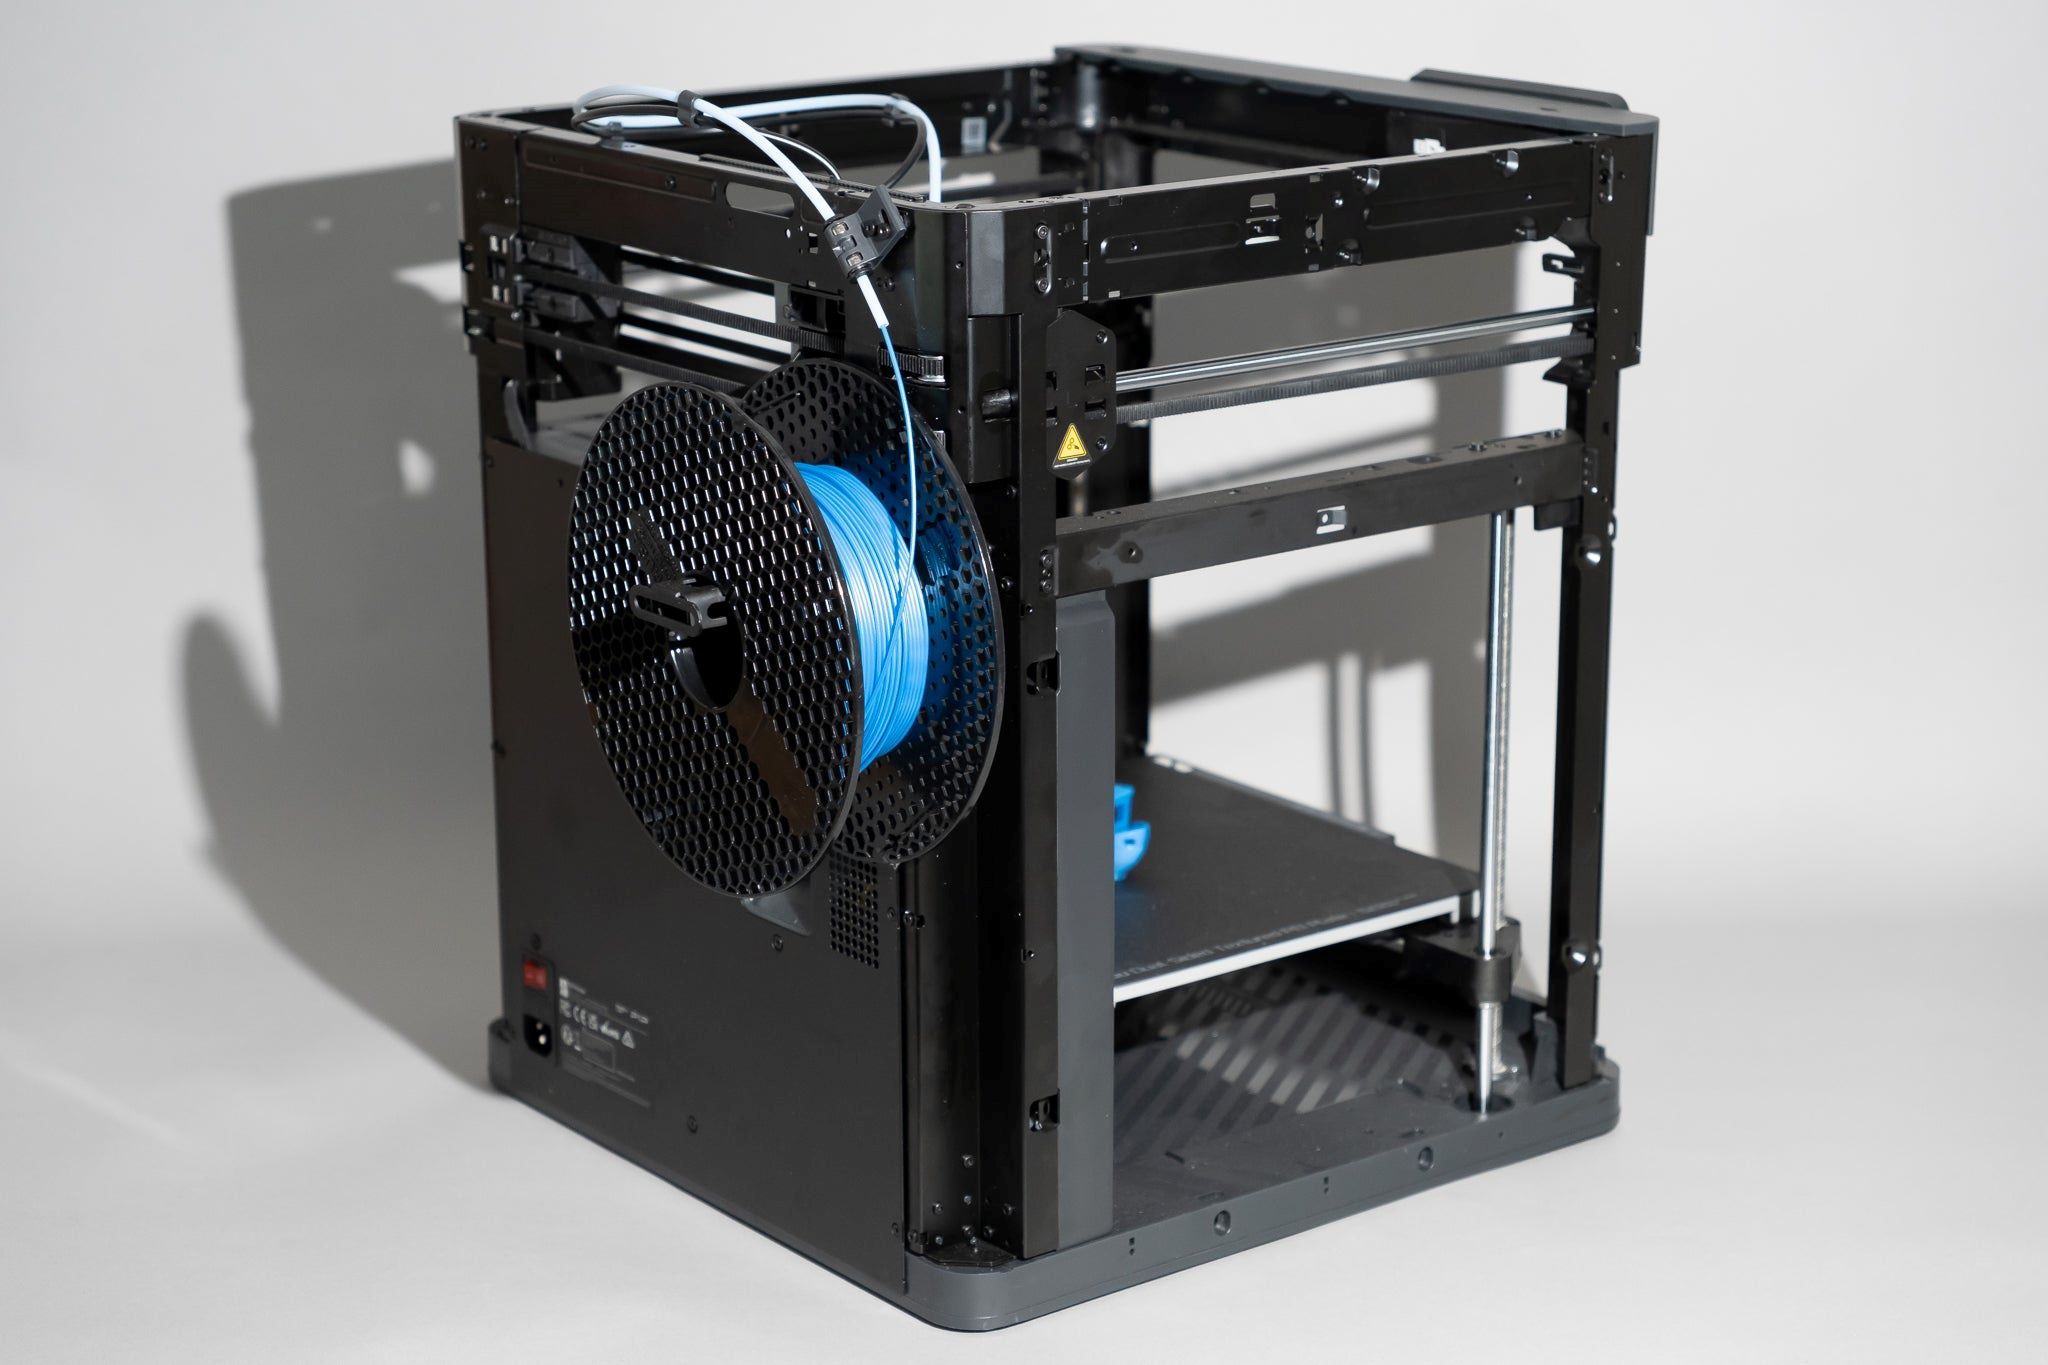
Understanding the Print Removal Process
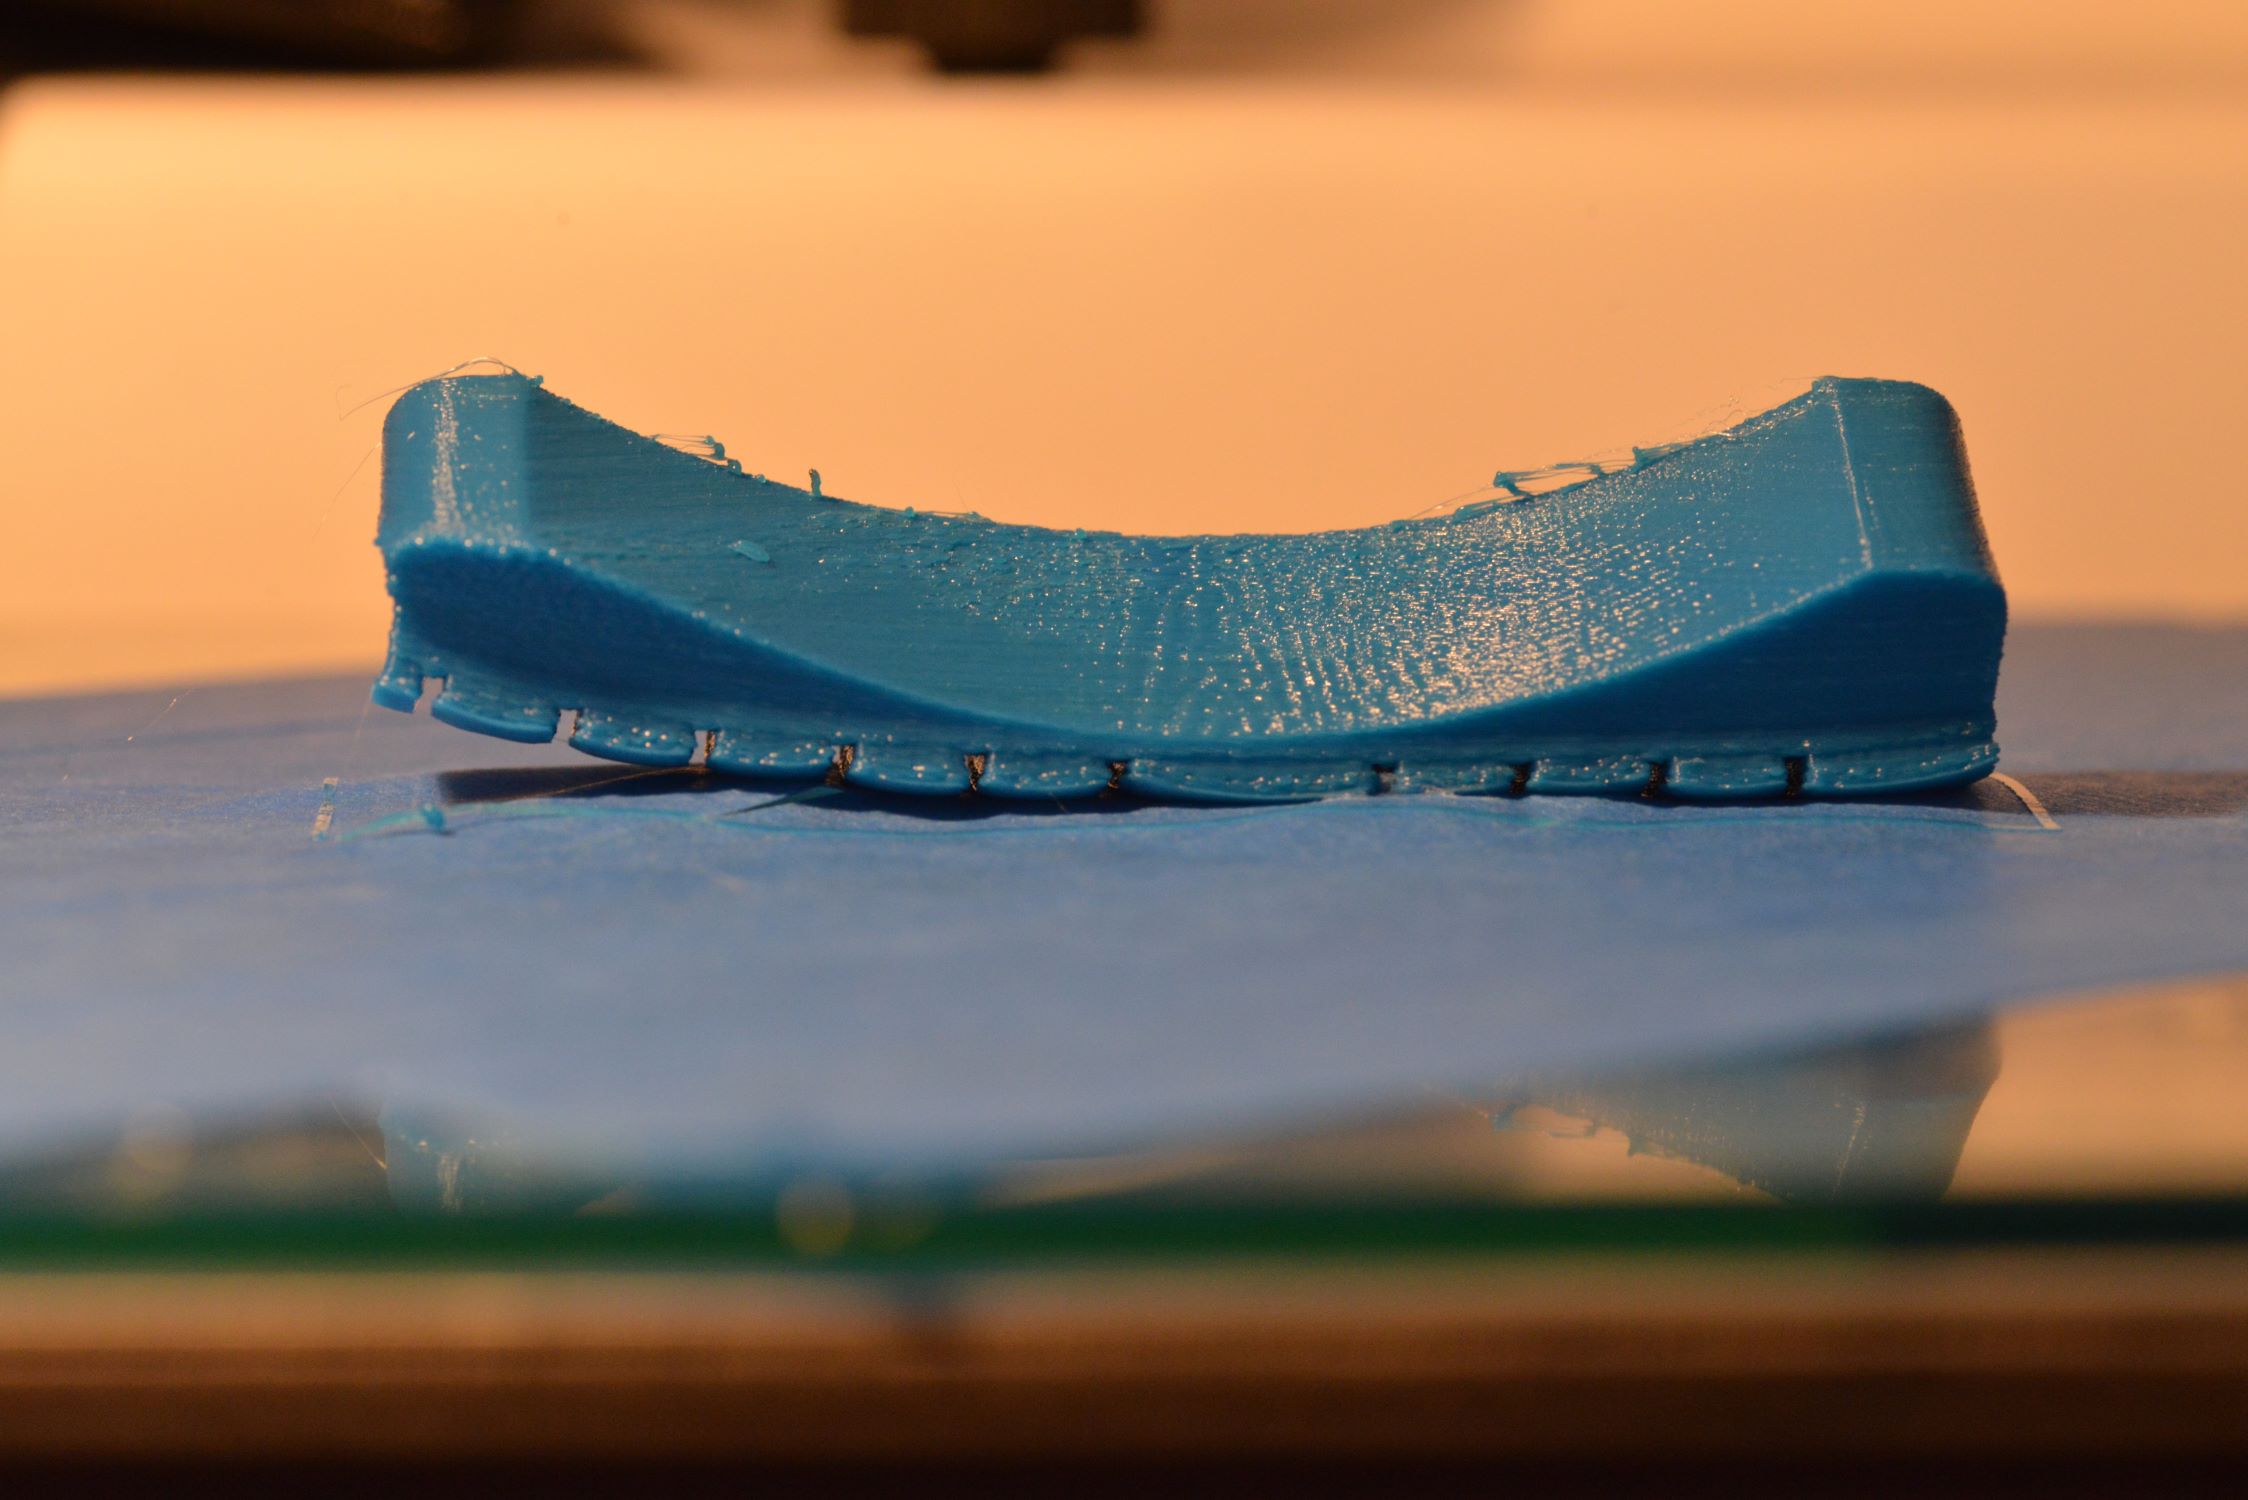
Before diving into the practical aspects of print removal, it's crucial to grasp the underlying dynamics of this process. When a 3D print is completed, it adheres to the build platform through a combination of factors, including material adhesion, cooling, and the type of build surface used. Understanding these elements is pivotal in devising an effective print removal strategy.
Material adhesion plays a fundamental role in securing the print to the build platform during the printing process. Factors such as nozzle temperature, heated bed temperature, and print surface texture influence the adhesion of the printed object. For instance, materials like ABS typically require a heated bed to promote adhesion, while PLA may adhere well to a non-heated surface.
Cooling also influences print adhesion, as the cooling process affects the contraction and solidification of the printed material. Rapid cooling can cause the printed object to contract, enhancing its grip on the build platform. Conversely, gradual cooling may reduce adhesion, making print removal more manageable.
The type of build surface utilized further impacts the print removal process. Common build surfaces include glass, BuildTak, PEI sheets, and specialized 3D printing adhesives. Each surface exhibits distinct adhesion properties and necessitates specific techniques for print removal.
By comprehending these underlying principles, you can tailor your print removal approach to suit the material, build surface, and printing conditions, thereby optimizing the process for successful and damage-free print removal.
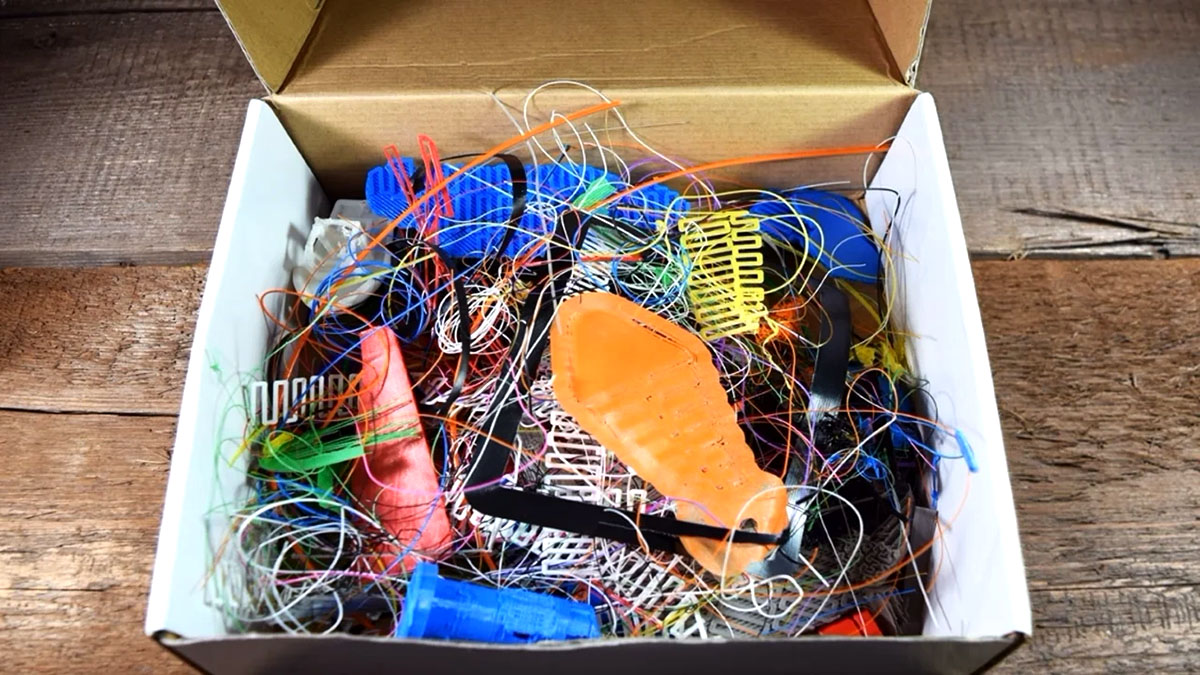
Tools and Materials Required
Equipping yourself with the right tools and materials is essential for a smooth and efficient print removal process. Here's a comprehensive list of items that will aid you in safely and effectively removing prints from your 3D printer's build platform:
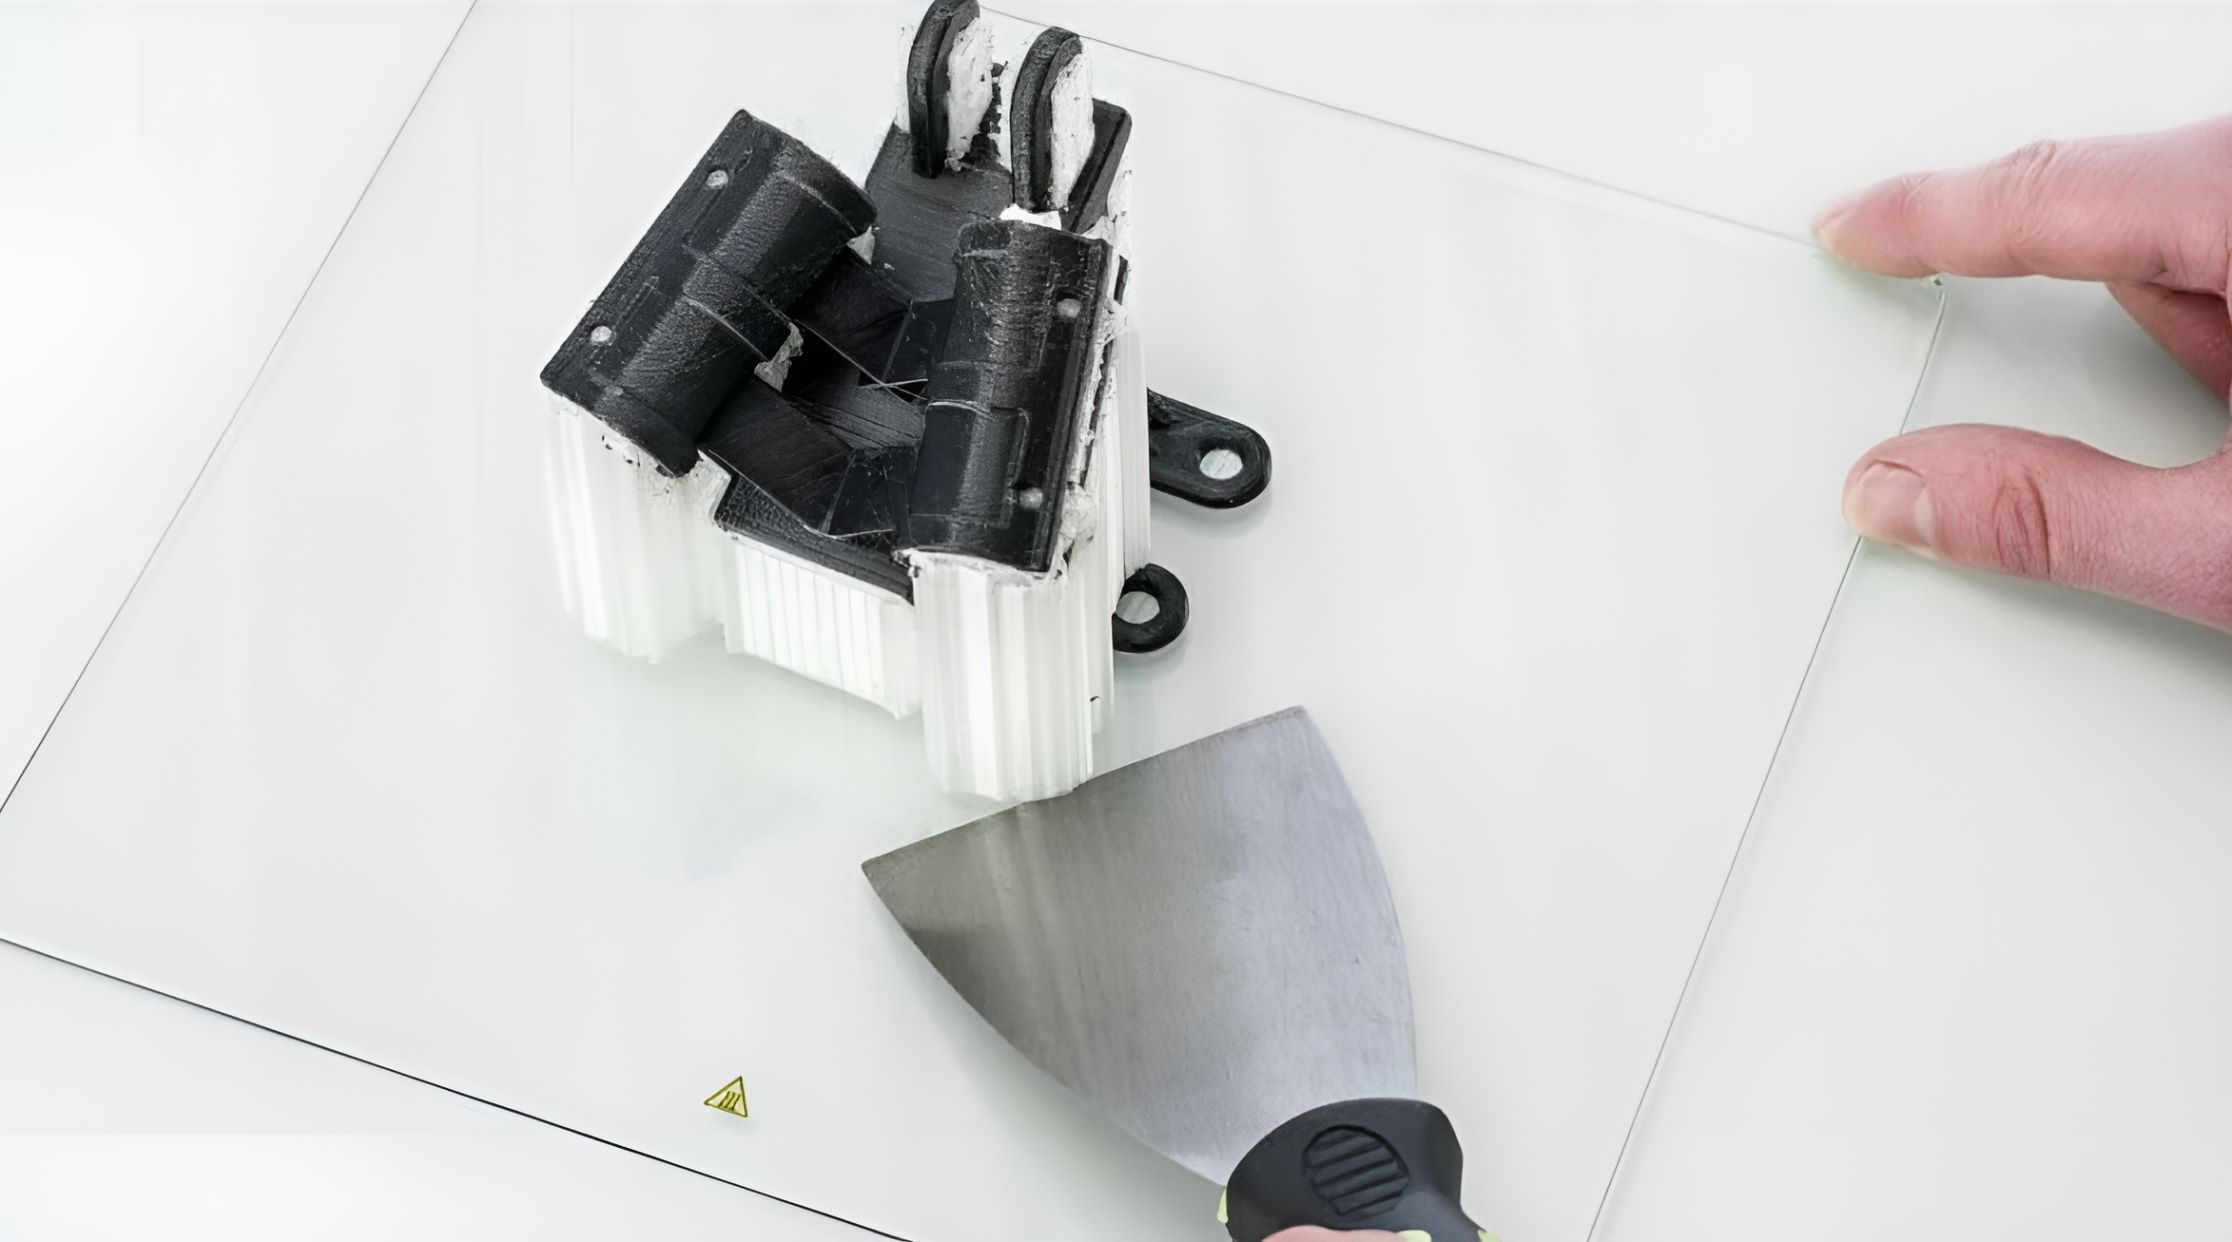
- Putty Knife or Spatula: A sturdy putty knife or spatula is indispensable for gently prying the print from the build platform. Look for a tool with a thin, flexible blade to minimize the risk of damaging the print or the build surface.
- Scraper: A scraper with a beveled edge can assist in dislodging stubborn prints without exerting excessive force. Opt for a scraper made of durable materials, such as hardened steel or plastic, to ensure longevity and effectiveness.
- Isopropyl Alcohol: Isopropyl alcohol, commonly known as rubbing alcohol, is ideal for cleaning the build platform after print removal. It effectively dissolves adhesive residues and maintains the build surface in optimal condition.
- Microfiber Cloth: Use a lint-free microfiber cloth to apply isopropyl alcohol and gently clean the build platform. This helps remove any remaining debris or adhesive remnants, preparing the surface for the next print.
- Protective Gloves: Wearing protective gloves safeguards your hands from sharp edges and residual adhesives during the print removal process. Opt for gloves that provide dexterity and tactile sensitivity while offering adequate protection.
- Safety Glasses: When using tools to remove prints, especially if they involve sharp edges or exertion, wearing safety glasses is crucial to protect your eyes from potential hazards.
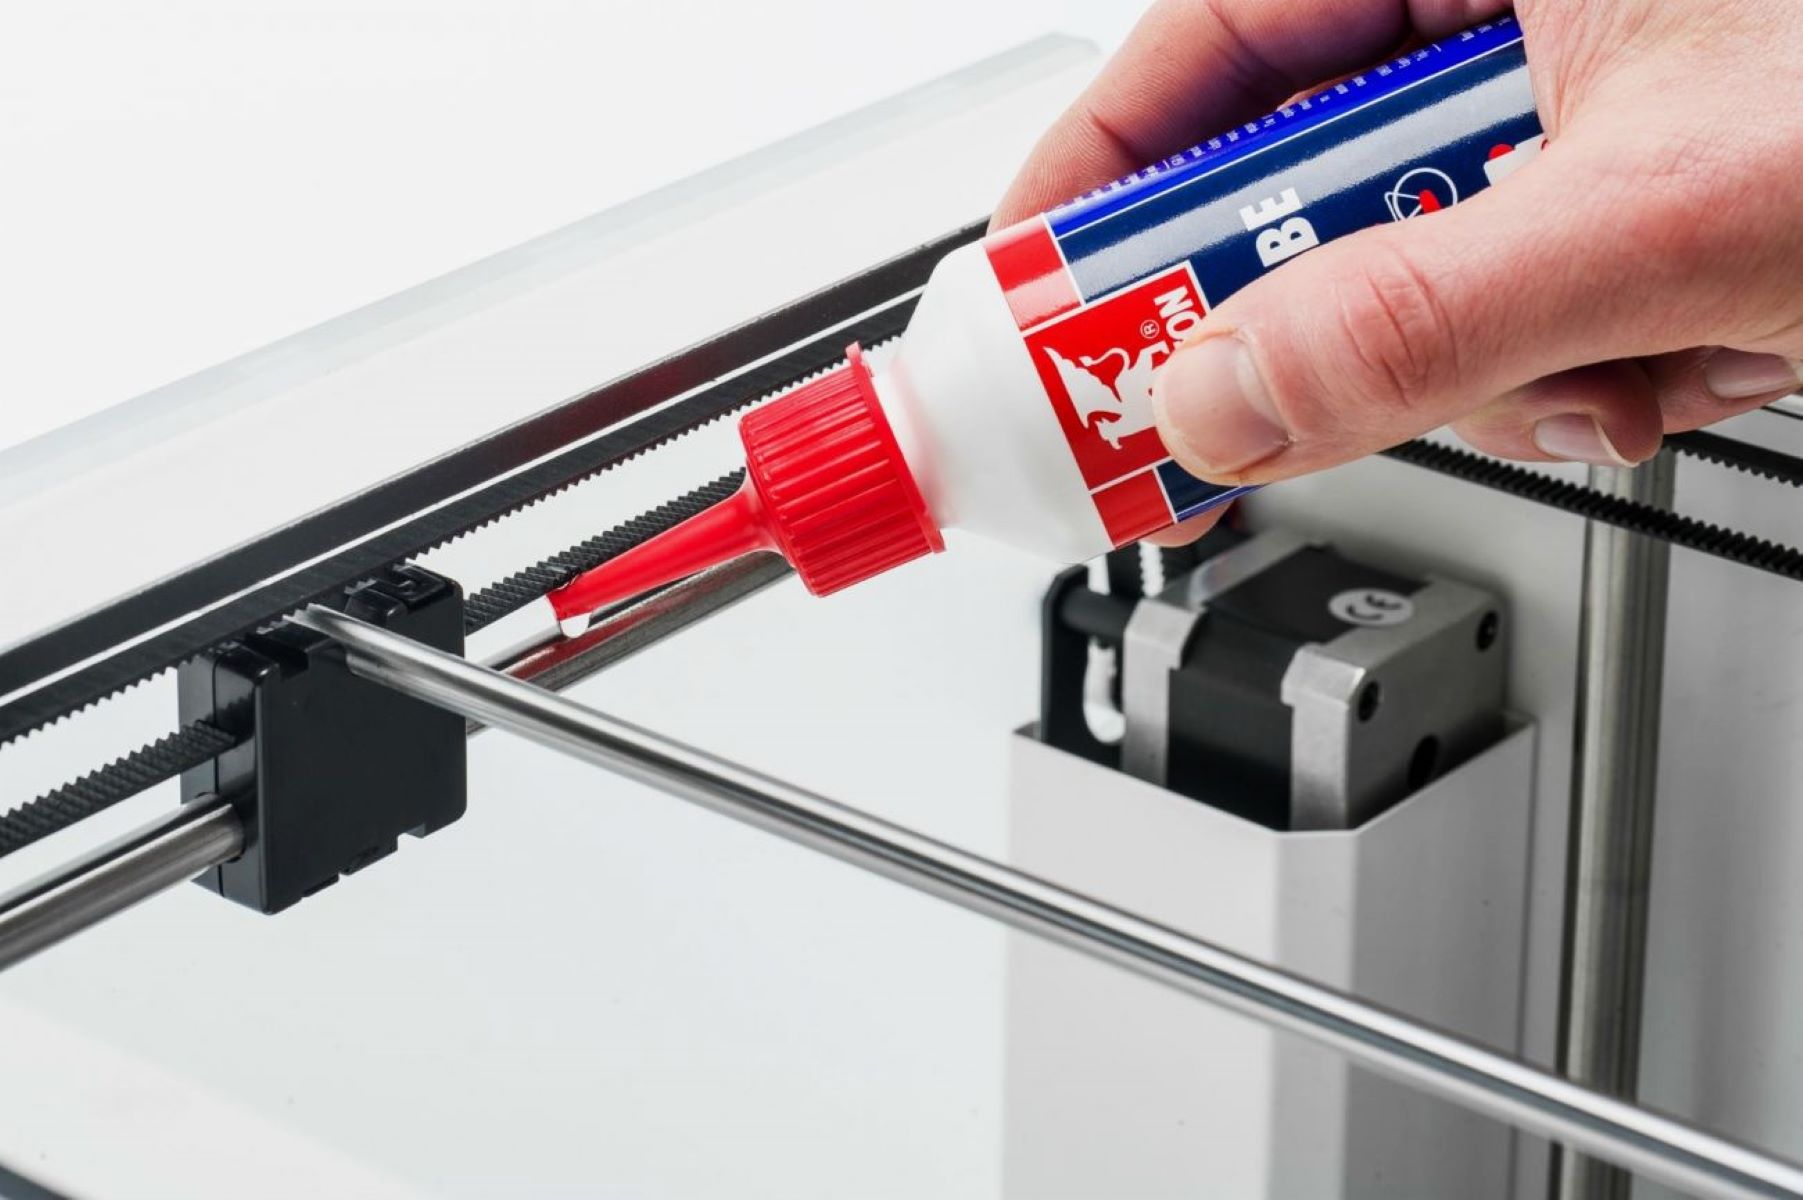
- Adhesion Promoter (Optional): Depending on the type of build surface and printing material, an adhesion promoter, such as a specialized 3D printing adhesive or glue stick, may be beneficial in enhancing print adhesion and facilitating easier removal.
By assembling these essential tools and materials, you'll be well-prepared to navigate the print removal process with confidence and precision, ensuring the integrity of your prints and the longevity of your 3D printer's build platform.
To remove a print from a 3D printer, use a putty knife or scraper to gently pry the print off the build plate. Be careful not to damage the print or the build plate. If the print is stuck, try heating the build plate slightly to help release the print.
Step-by-Step Instructions
Mastering the art of print removal involves a systematic approach and a delicate touch to safeguard both the printed object and the build platform. Follow these step-by-step instructions to execute the print removal process with finesse:
- Cooling Period: Allow the completed print to cool on the build platform for a sufficient duration. This cooling period promotes the solidification of the printed material and reduces the risk of deformation during removal.
- Assess Adhesion: Gently attempt to lift a corner of the print using a putty knife or spatula. If the print resists detachment, refrain from applying excessive force, as this may damage the print or the build surface.
- Gradual Dislodgment: Insert the putty knife or spatula beneath the print and gradually work your way around its perimeter. Exercise patience and employ gentle, steady movements to loosen the print from the build platform.
- Utilize a Scraper: For prints that exhibit stubborn adhesion, employ a scraper with a beveled edge to carefully dislodge the print without compromising its structural integrity or the build surface.
- Clean the Build Platform: Once the print is removed, use isopropyl alcohol and a microfiber cloth to thoroughly clean the build platform. Ensure that any adhesive residues or debris are effectively eliminated, restoring the surface to an optimal condition for future prints.
- Inspect for Damage: Assess the build platform and the removed print for any signs of damage or imperfections. Address any issues promptly to maintain the integrity of both the print surface and the printed object.
- Optional Adhesion Promoter: If utilizing an adhesion promoter, such as a specialized 3D printing adhesive, apply it to the build platform according to the manufacturer’s recommendations before commencing the next print.
By meticulously adhering to these step-by-step instructions, you can navigate the print removal process with precision and care, ensuring the preservation of your prints and the longevity of your 3D printer's build platform.
Tips and Considerations
As you embark on the journey of print removal from your 3D printer, consider the following tips and insights to optimize your experience and achieve exceptional results:
- Patience is Key: Exercise patience during the print removal process, particularly when dealing with prints that exhibit strong adhesion. Rushing the removal can lead to damage and frustration.
- Temperature Adjustment: Experiment with adjusting the nozzle and bed temperatures to optimize print adhesion and facilitate easier removal based on the specific material being used.
- Utilize Angled Tools: When employing a putty knife or spatula, utilize tools with angled or tapered edges to facilitate easier insertion beneath the print and minimize the risk of surface damage.
- Monitor Print Cooling: Pay attention to the cooling duration of the print, as adequate cooling promotes easier detachment from the build platform while minimizing the risk of warping.
- Regular Maintenance: Routinely inspect and maintain the build platform, ensuring it remains clean and free from debris or adhesive residues that could impair print adhesion and removal.
- Consider Build Surface Alternatives: Explore different build surface options, such as specialized adhesives or textured sheets, to enhance print adhesion and simplify the removal process based on your specific printing requirements.
- Protective Measures: Prioritize safety by wearing protective gloves and safety glasses during the print removal process to safeguard against potential injuries from sharp edges or dislodged prints.
- Adhesion Promoter Compatibility: If utilizing an adhesion promoter, ensure compatibility with the build surface and the printing material to maximize its effectiveness without compromising print quality.
By integrating these tips and considerations into your print removal endeavors, you can navigate the process with confidence and finesse, elevating the overall quality of your 3D printing endeavors while preserving the integrity of your equipment and prints.
Read more: How Small Can A 3D Printer Print
Conclusion
Congratulations on mastering the nuances of print removal from your 3D printer! By delving into the intricacies of this essential process, you’ve equipped yourself with the knowledge and techniques necessary to ensure seamless and damage-free print removal.
Understanding the interplay of material adhesion, cooling, and build surface dynamics has empowered you to tailor your print removal approach to suit specific printing conditions and materials. Armed with the right tools and materials, you’re well-prepared to navigate the print removal process with precision and care, safeguarding both your prints and the longevity of your 3D printer’s build platform.
As you embark on your print removal endeavors, remember to exercise patience, monitor print cooling, and prioritize regular maintenance of the build platform to optimize print adhesion and removal. By integrating these insights and tips into your practice, you’ll elevate the overall quality of your 3D printing experiences while nurturing a safe and efficient work environment.
With these foundational skills at your disposal, you’re poised to embark on a journey of creativity and innovation, leveraging the power of 3D printing to bring your ideas to life with precision and artistry. Embrace the art of print removal as an integral part of your 3D printing journey, and revel in the satisfaction of seamlessly transforming digital designs into tangible, three-dimensional marvels.
So, with your newfound expertise and a toolkit of valuable insights, venture forth with confidence and enthusiasm, knowing that you possess the prowess to conquer the art of print removal and unlock the boundless potential of 3D printing.
Frequently Asked Questions about How To Remove Print From A 3D Printer
Was this page helpful?
At Storables.com, we guarantee accurate and reliable information. Our content, validated by Expert Board Contributors, is crafted following stringent Editorial Policies. We're committed to providing you with well-researched, expert-backed insights for all your informational needs.


0 thoughts on “How To Remove Print From A 3D Printer”