Home>Technology>Smart Home Devices>How To Reset A Canon Printer

Smart Home Devices
How To Reset A Canon Printer
Modified: August 18, 2024
Learn how to reset your Canon printer and troubleshoot common issues with smart home devices. Step-by-step guide for easy troubleshooting.
(Many of the links in this article redirect to a specific reviewed product. Your purchase of these products through affiliate links helps to generate commission for Storables.com, at no extra cost. Learn more)
Introduction
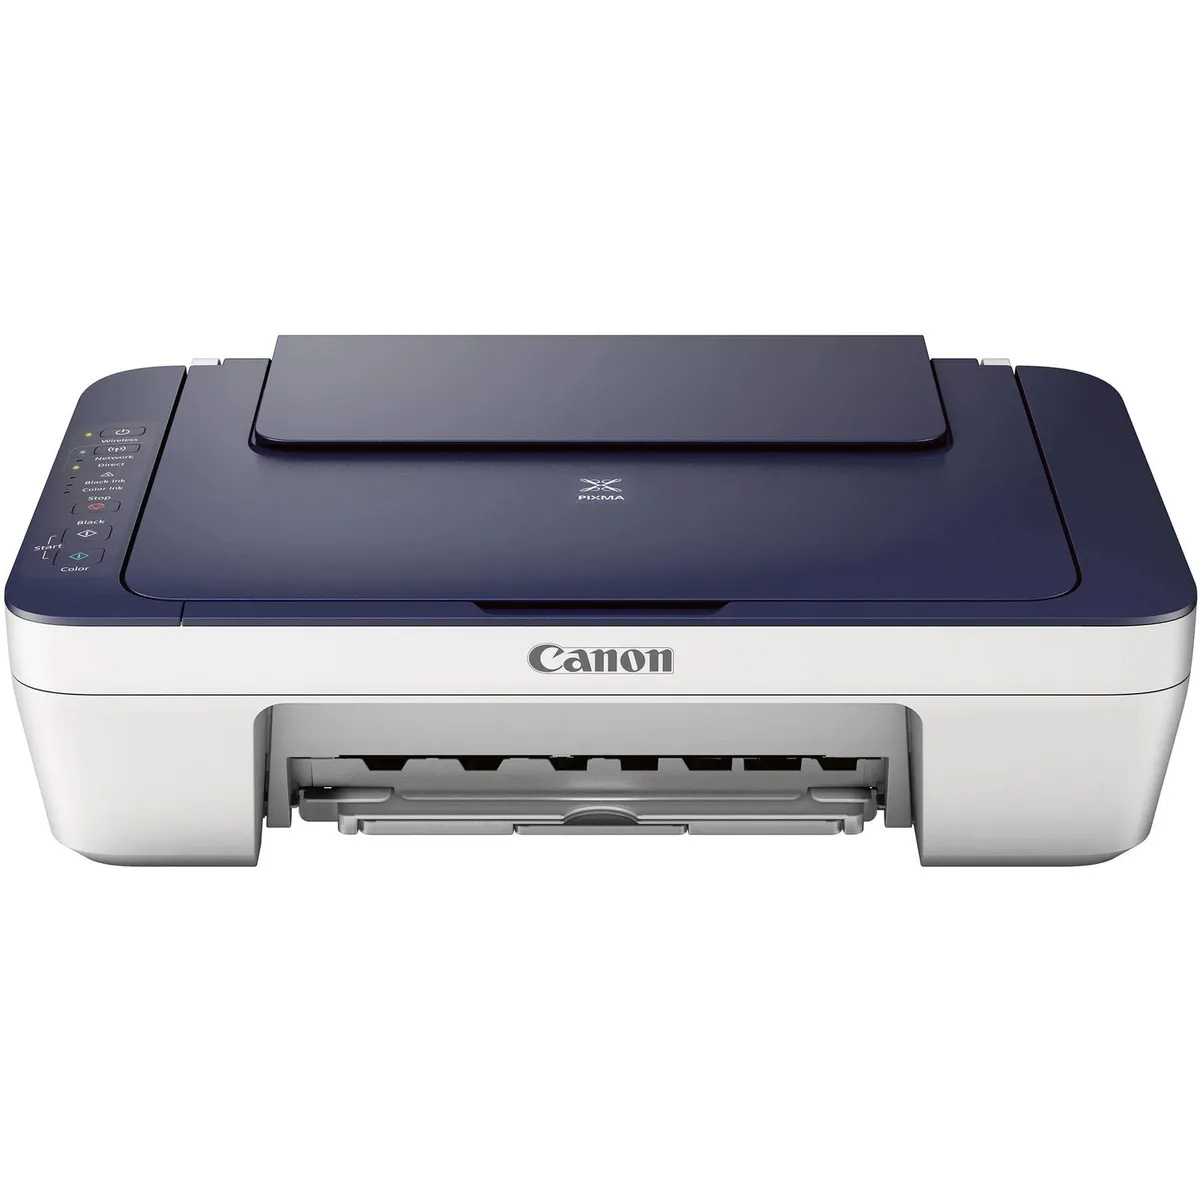
Welcome to the world of Canon printers! These reliable devices have become an essential part of both home and office environments, providing high-quality printing solutions for a wide range of needs. However, like any electronic device, Canon printers may encounter issues that require troubleshooting. One common and effective troubleshooting technique is to perform a reset, which can resolve various problems such as paper jams, connectivity issues, and software glitches.
In this comprehensive guide, we will walk you through the step-by-step process of resetting your Canon printer. Whether you are dealing with error codes, slow printing speeds, or other frustrating issues, a reset can often restore your printer to its optimal functionality. By following the instructions outlined in this article, you will gain the knowledge and confidence to perform a reset on your Canon printer with ease.
So, if you're ready to tackle printer problems head-on and get back to producing crisp documents and vibrant images, let's dive into the simple yet powerful process of resetting your Canon printer.
Key Takeaways:
- Resetting your Canon printer can resolve issues like paper jams and slow printing speeds, ensuring optimal functionality for high-quality prints.
- Following the step-by-step reset process empowers you to troubleshoot and maintain your Canon printer with confidence, enhancing your printing experience.
Read more: How To Reset A Canon Pixma Printer
Step 1: Turn off the Printer
The first step in resetting your Canon printer is to ensure that it is powered off. Locate the power button on the printer and press it to initiate the shutdown process. Allow the printer to power down completely before proceeding to the next step. This ensures that the internal components have a chance to reset and recalibrate, setting the stage for a successful reset process.
Turning off the printer is crucial as it allows any ongoing print jobs or internal processes to come to a halt. This initial step sets the foundation for a clean slate, preparing the printer for the subsequent actions that will lead to a full reset. Additionally, it helps prevent any potential conflicts or errors that may arise if the printer is actively processing tasks during the reset.
Before moving on to the next step, take a moment to double-check that the printer is completely powered off. Look for any indicator lights or display messages that confirm the shutdown status. Once you have confirmed that the printer is turned off, you are ready to proceed to the next step in the reset process.
Step 2: Press and Hold the Power Button
With the printer powered off, the next step in resetting your Canon printer involves pressing and holding the power button. Locate the power button on the printer, typically found on the control panel or near the display screen. Press and hold the power button firmly, ensuring that it remains engaged throughout the next steps of the reset process.
Pressing and holding the power button serves as a manual trigger for initiating the reset sequence within the printer’s internal systems. This action helps discharge any residual power and clears temporary data, preparing the printer for a complete reset. By maintaining continuous pressure on the power button, you are signaling to the printer that it is time to start afresh and recalibrate its internal mechanisms.
During this step, it is important to exercise patience and ensure that the power button remains depressed for the entire duration specified in the subsequent steps. This consistent pressure is essential for triggering the reset process effectively. As you press and hold the power button, you are setting the stage for the printer to undergo a comprehensive reset, paving the way for improved performance and functionality.
Once you have firmly pressed and held the power button, you are ready to proceed to the next step in the reset process, bringing your Canon printer one step closer to a clean slate and optimal operation.
Step 3: Release the Power Button
After holding the power button for the specified duration, it is time to release the button as part of the Canon printer reset process. Carefully let go of the power button, allowing it to return to its original position. This action marks an important transition in the reset sequence, signaling to the printer that the initial reset trigger has been activated and it is now ready to progress to the next stage.
Releasing the power button serves as a pivotal moment in the reset process, as it signifies the completion of the manual input required from the user. By relinquishing pressure on the power button, you are enabling the printer to interpret this action as a signal to proceed with the subsequent steps that are integral to the reset process.
As you release the power button, take a moment to ensure that the button returns to its normal state without any obstructions. This ensures that the printer’s control mechanism is functioning as expected and is ready to respond to the upcoming steps in the reset process.
With the power button now released, the printer is poised to advance to the next stage of the reset process, where further actions will be taken to restore the printer to its optimal state. This pivotal step brings you closer to completing the reset and setting the stage for improved performance and functionality for your Canon printer.
To reset a Canon printer, you can try turning it off and unplugging it for a few minutes, then plugging it back in and turning it on. If that doesn’t work, consult the printer’s manual or contact Canon support for specific reset instructions.
Step 4: Press the Power Button Again
Following the release of the power button, the next step in resetting your Canon printer involves pressing the power button once again. Locate the power button on the printer and press it firmly to initiate the next phase of the reset process. This deliberate action serves as a crucial signal to the printer, prompting it to progress further in the comprehensive reset sequence.
Pressing the power button again serves as a continuation of the manual input required to facilitate the reset process. By engaging the power button for the second time, you are guiding the printer through the necessary steps to recalibrate its internal mechanisms and restore it to optimal functionality. This deliberate action helps synchronize the printer’s components and sets the stage for a successful reset.
As you press the power button again, ensure that the pressure applied is consistent and deliberate, allowing the printer to receive the necessary input to proceed with the reset sequence. This action serves as a pivotal moment in the reset process, signaling to the printer that it is time to progress to the subsequent steps that will culminate in a complete reset.
Once you have pressed the power button again, you are one step closer to completing the reset process for your Canon printer. This deliberate action sets the stage for the printer to undergo the final stages of recalibration, paving the way for improved performance and functionality.
Read more: How To Reset Canon Mx922 Printer
Step 5: Wait for the Printer to Reset
After pressing the power button again, it is essential to allow the printer sufficient time to complete the reset process. During this phase, the printer’s internal mechanisms are recalibrating, clearing temporary data, and restoring default settings to achieve a clean slate. This crucial step requires patience as the printer undergoes the necessary adjustments to return to its optimal functionality.
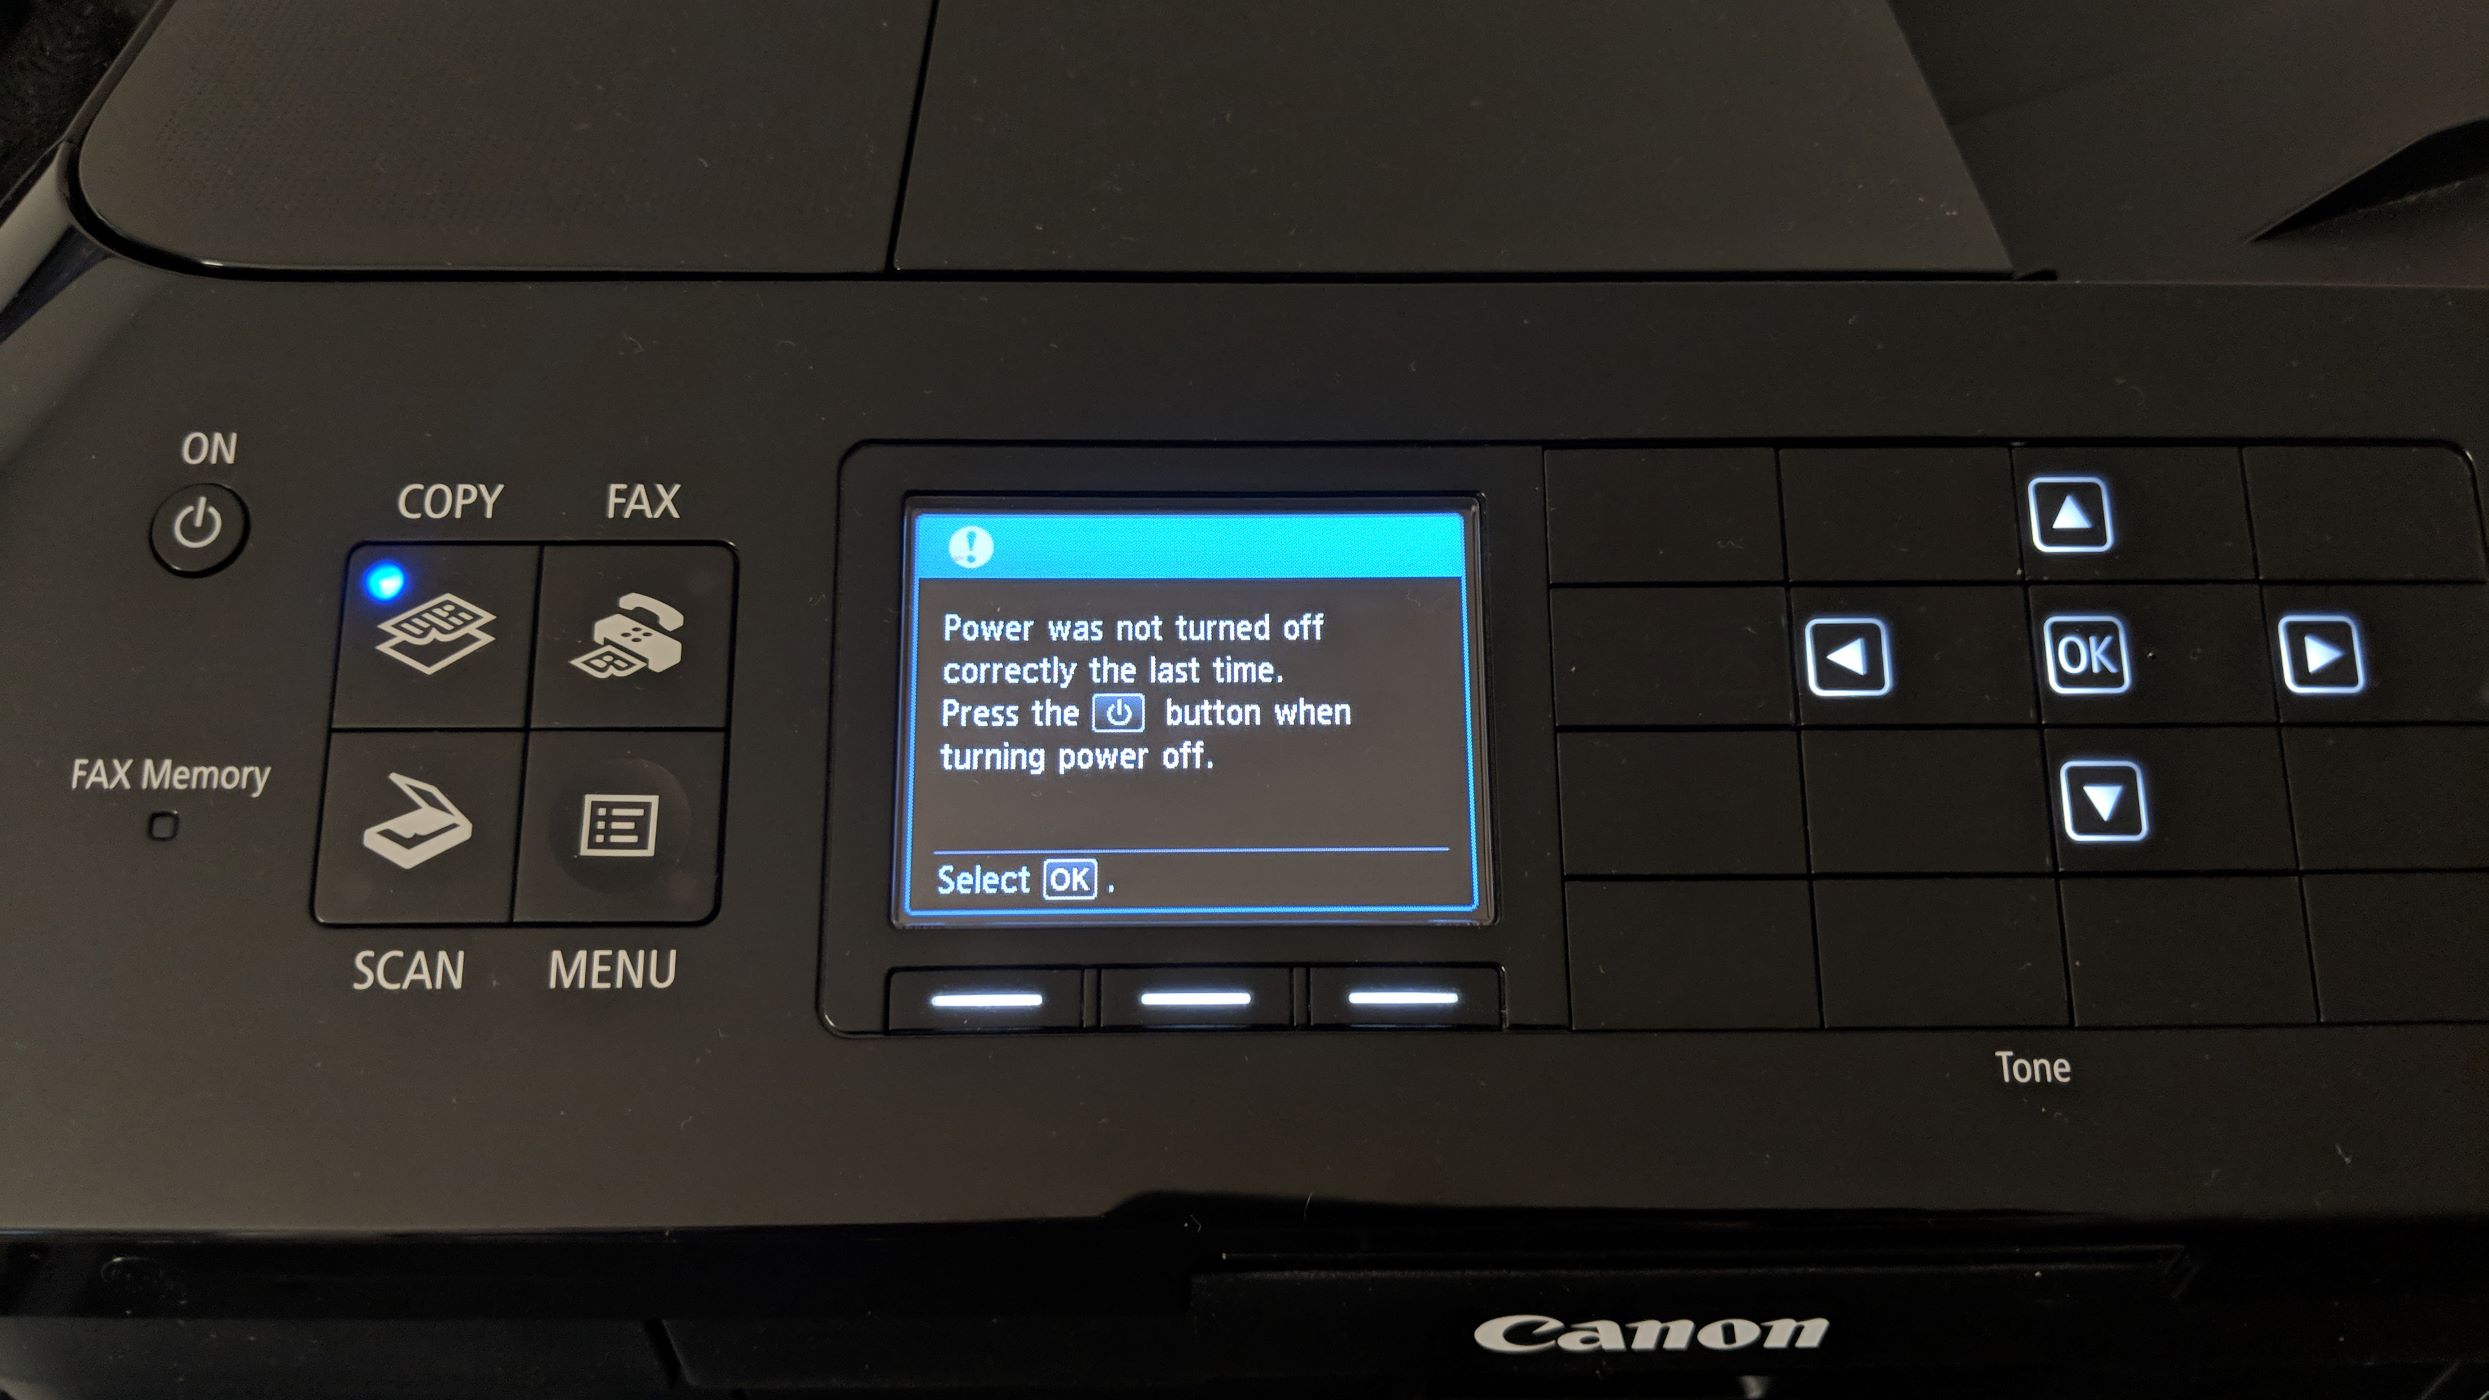
As the printer progresses through the reset process, you may observe indicator lights or display messages that signify the ongoing recalibration. These visual cues are indicative of the printer’s internal operations as it works to restore itself to a pristine state. It is important to refrain from interrupting the process during this phase, allowing the printer to complete the reset uninterrupted.
While the printer is resetting, take this time to prepare for the subsequent steps, such as checking the printer’s connections, ensuring the availability of paper and ink, and reviewing any error messages that may have prompted the reset. This proactive approach allows you to address any underlying issues that may have contributed to the need for a reset, ensuring a smooth transition back to regular printing operations.
Once the printer has completed the reset process, you may notice a confirmation message on the display screen or indicator lights that signify the successful recalibration. At this point, the printer is ready to resume normal operations, free from the issues that prompted the reset. You can now proceed to test the printer’s functionality and verify that it is performing optimally.
By patiently waiting for the printer to reset, you have successfully guided your Canon printer through a comprehensive recalibration process, setting the stage for improved performance and reliability. Your diligence in allowing the printer to complete the reset process ensures that it can now resume its essential role in producing high-quality prints for your diverse needs.
Conclusion
Congratulations! You have successfully navigated through the step-by-step process of resetting your Canon printer, equipping it to overcome various issues and restore optimal functionality. By following these simple yet effective instructions, you have empowered yourself to address common printer-related challenges with confidence and ease.
Performing a reset on your Canon printer serves as a valuable troubleshooting technique, enabling you to address issues such as paper jams, connectivity issues, and software glitches. This proactive approach allows you to restore the printer to its pristine state, ensuring smooth and reliable printing operations for your diverse needs.
As you embark on your printing journey with a freshly reset Canon printer, it is important to stay attuned to any recurring issues and address them promptly to maintain the printer’s optimal performance. Regular maintenance, including cleaning the printer components and updating software as needed, can contribute to a seamless printing experience.
Remember, a well-maintained Canon printer is poised to deliver exceptional print quality and reliable performance, meeting your diverse printing needs with precision and efficiency. By incorporating the knowledge gained from this guide into your printer maintenance routine, you are well-equipped to harness the full potential of your Canon printer for years to come.
Thank you for embarking on this journey to reset your Canon printer. Your dedication to optimizing your printing experience is a testament to your proactive approach to technology, ensuring that your Canon printer remains a steadfast companion in your pursuit of high-quality prints and efficient document management.
As you put your freshly reset Canon printer to work, may it continue to exceed your expectations and serve as a reliable ally in your printing endeavors, producing vibrant images and crisp documents with unparalleled precision and consistency.
Frequently Asked Questions about How To Reset A Canon Printer
Was this page helpful?
At Storables.com, we guarantee accurate and reliable information. Our content, validated by Expert Board Contributors, is crafted following stringent Editorial Policies. We're committed to providing you with well-researched, expert-backed insights for all your informational needs.



0 thoughts on “How To Reset A Canon Printer”