Home>Technology>Smart Home Devices>How To Scan Documents On A Canon Printer
Smart Home Devices
How To Scan Documents On A Canon Printer
Modified: May 6, 2024
Learn how to easily scan documents on your Canon printer and integrate it with your smart home devices. Streamline your scanning process with our step-by-step guide.
(Many of the links in this article redirect to a specific reviewed product. Your purchase of these products through affiliate links helps to generate commission for Storables.com, at no extra cost. Learn more)
Introduction
Read more: How To Scan On Mac With Canon Printer
Introduction
Welcome to the world of smart home devices, where the convenience of modern technology meets the practicalities of everyday life. Canon printers have long been a staple in homes and offices, providing reliable printing solutions for a wide range of needs. But did you know that many Canon printers also offer the functionality to scan documents? This versatile feature can streamline your workflow and reduce the need for additional scanning devices.
In this comprehensive guide, we will delve into the process of scanning documents on a Canon printer, exploring the setup, scanning techniques, adjustment of settings, and the seamless saving and sharing of scanned documents. Whether you are a seasoned Canon printer user or a newcomer to the world of smart home devices, this article will equip you with the knowledge and skills to make the most of your Canon printer's scanning capabilities.
By the time you finish reading this guide, you will have a clear understanding of how to harness the full potential of your Canon printer for document scanning. So, let's embark on this journey together and unlock the power of efficient document management with your Canon printer.
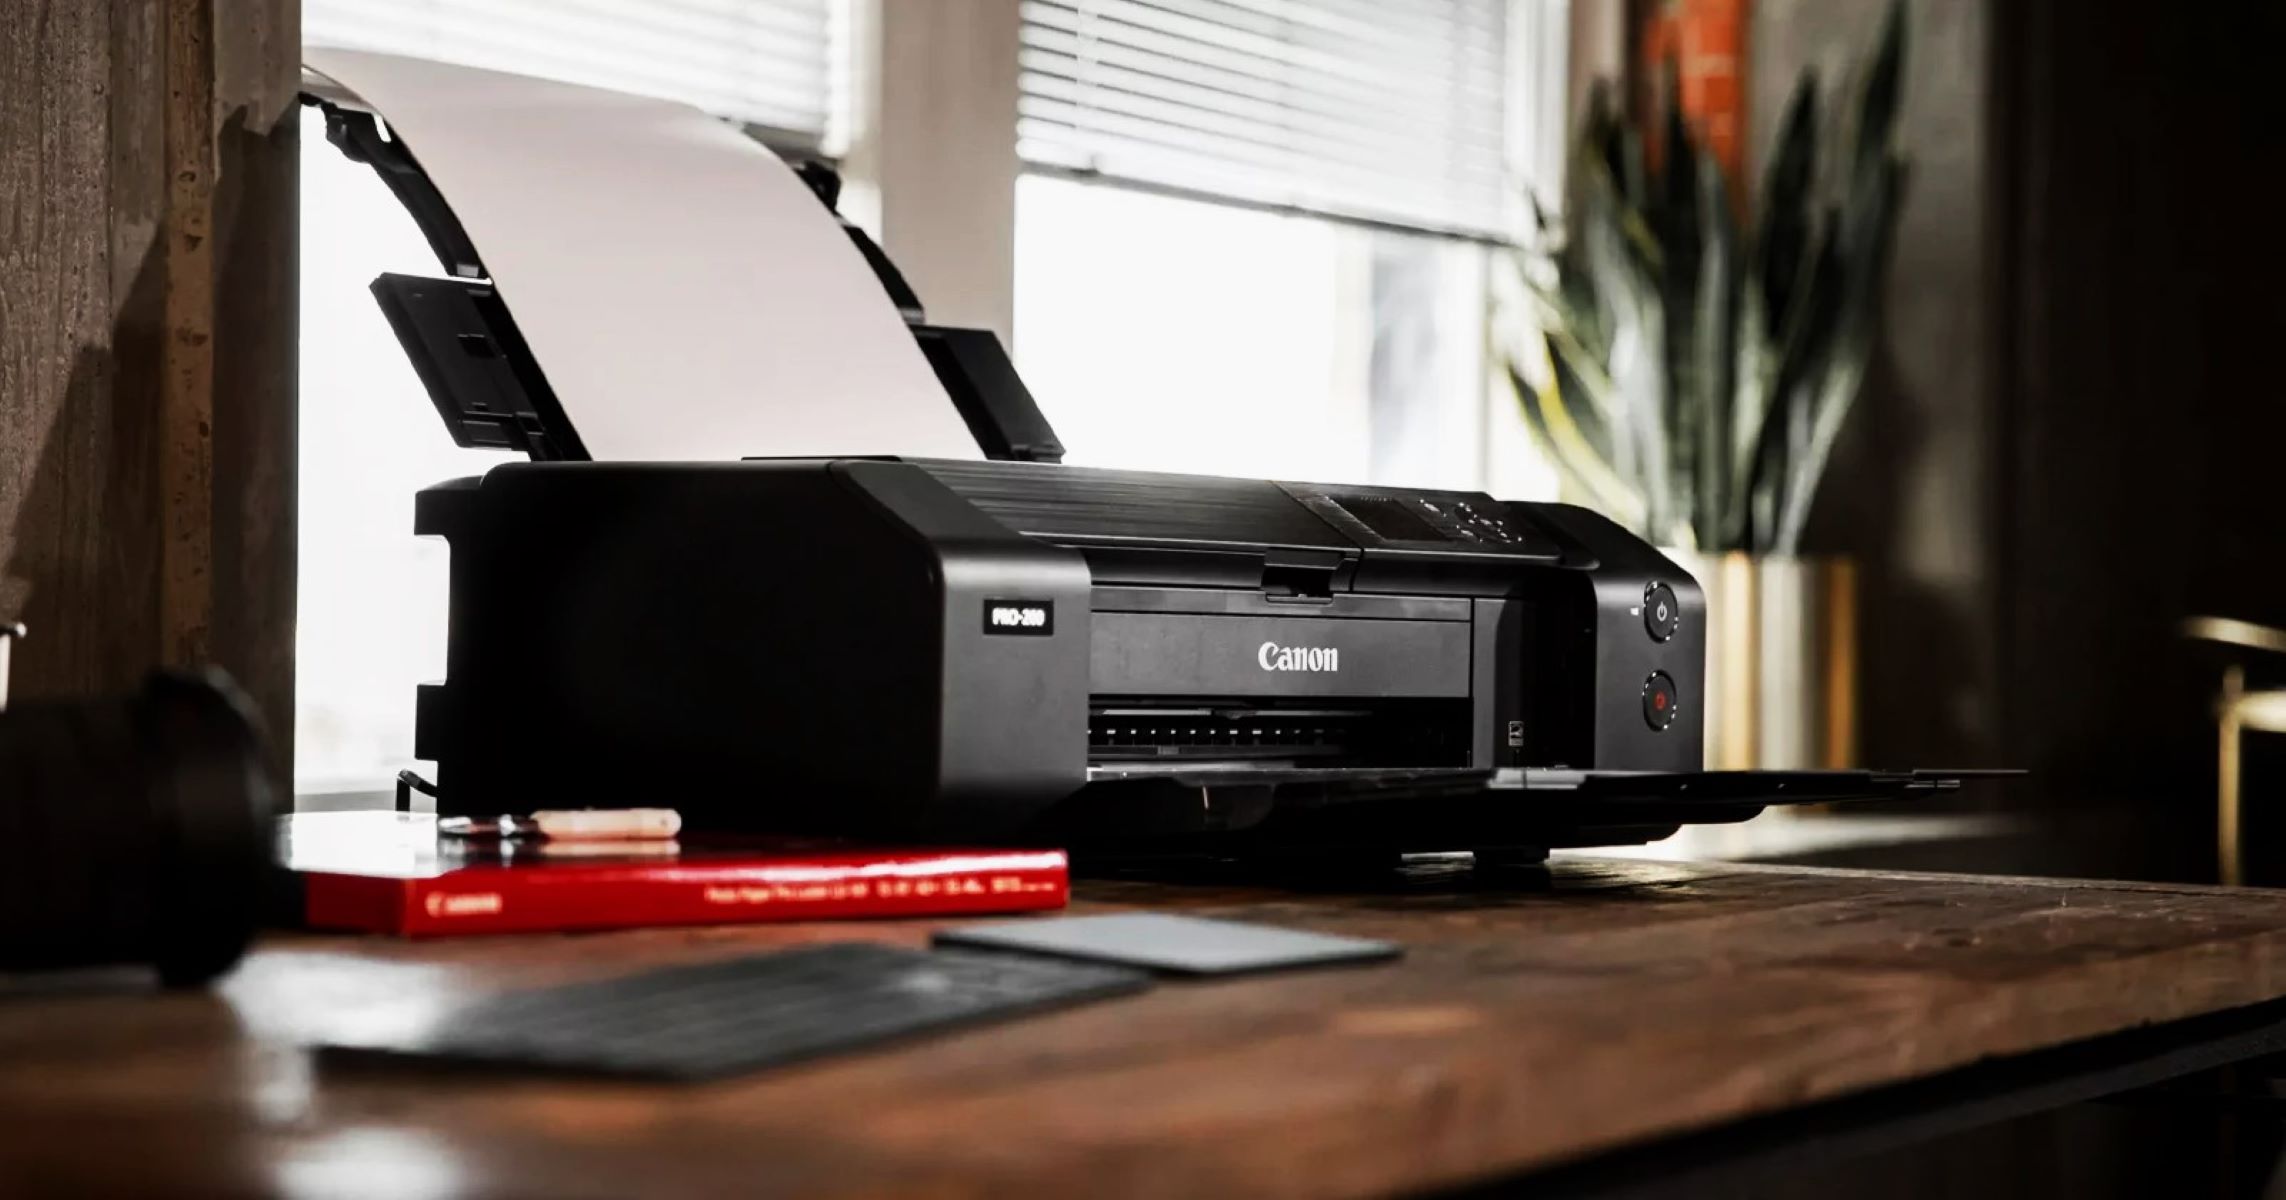
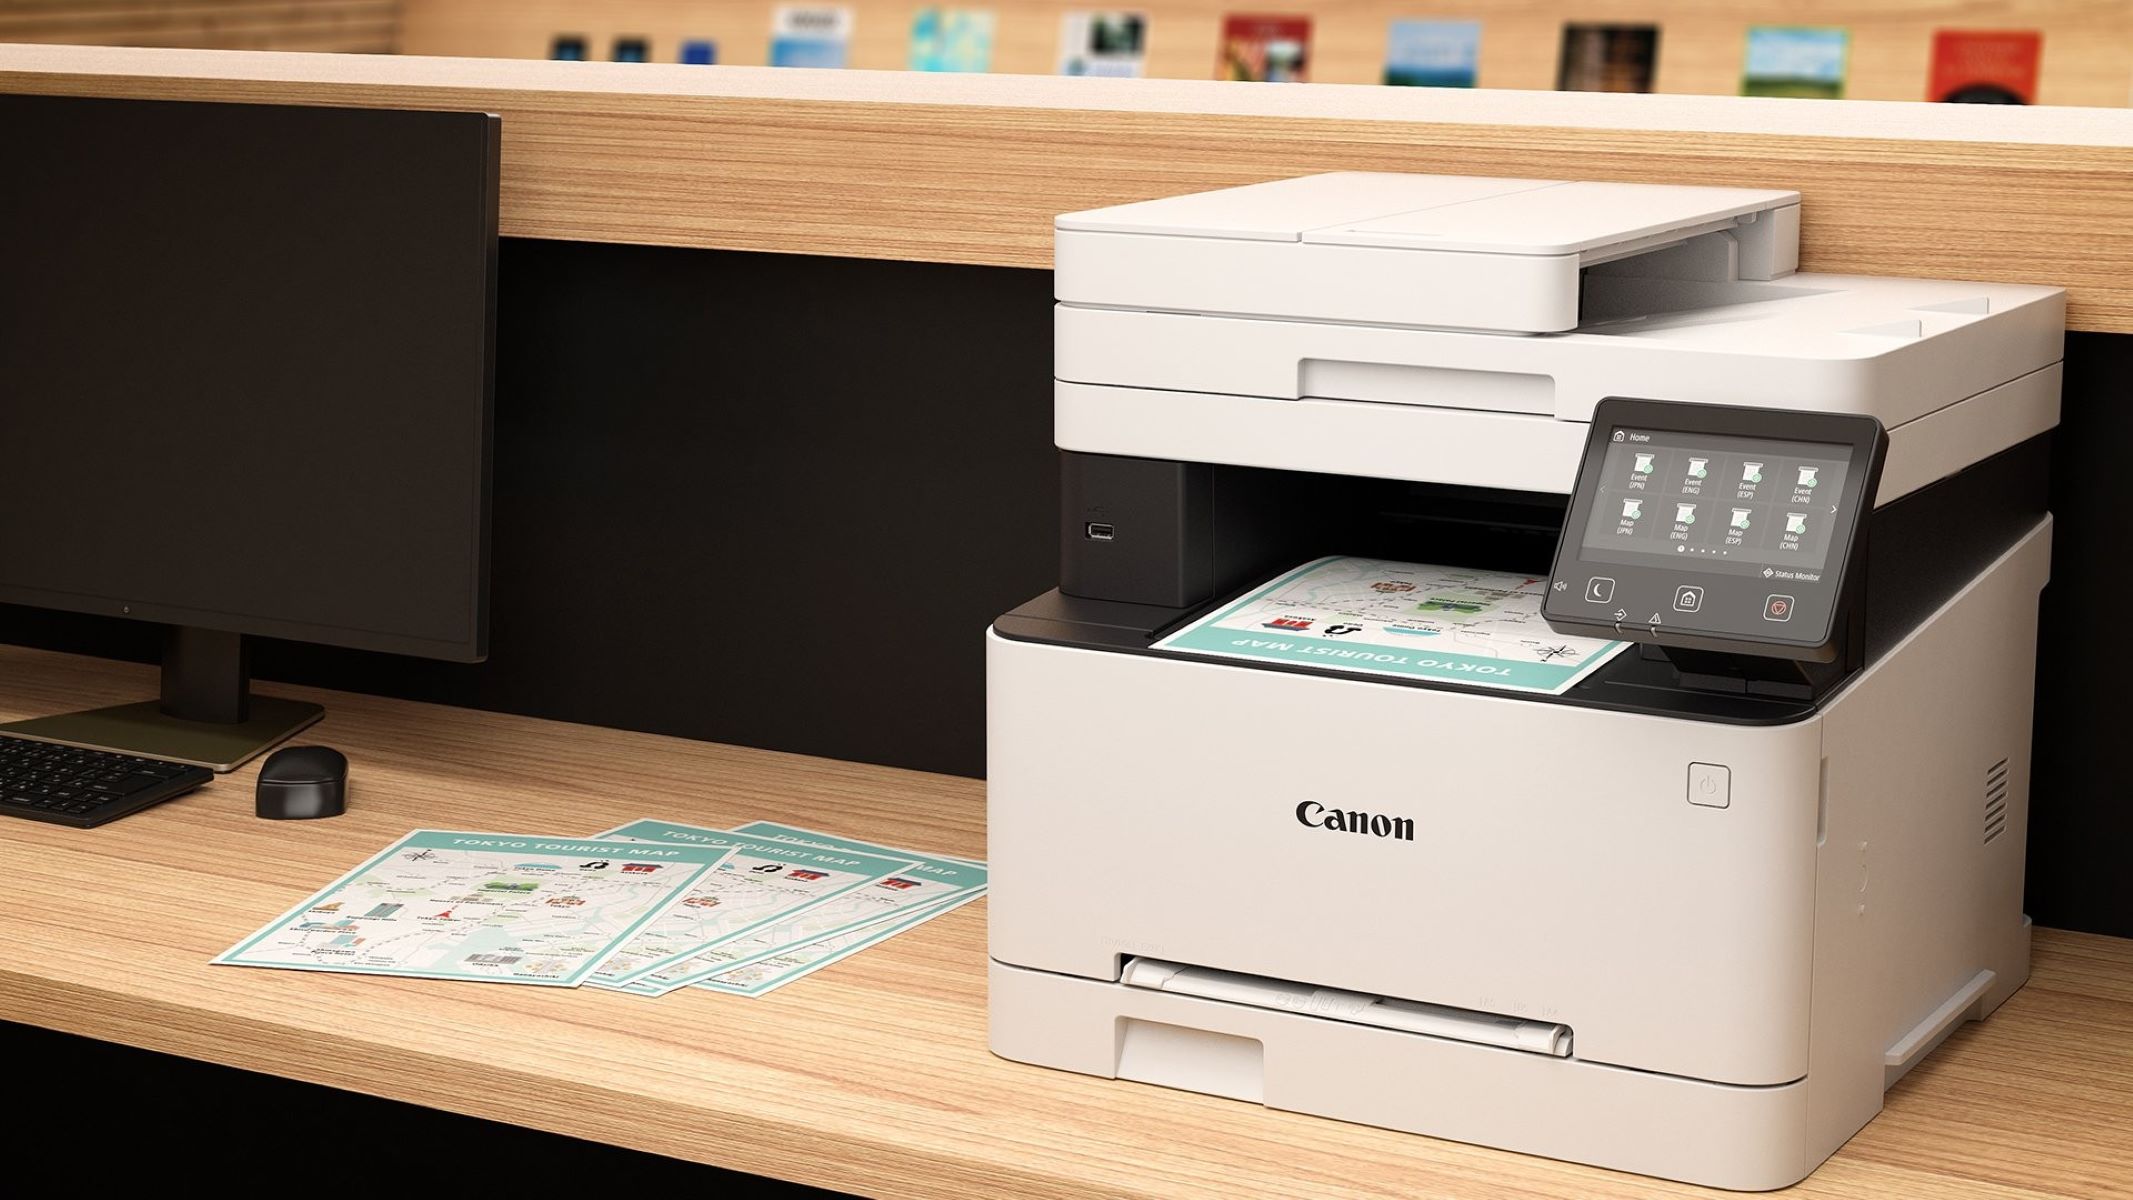
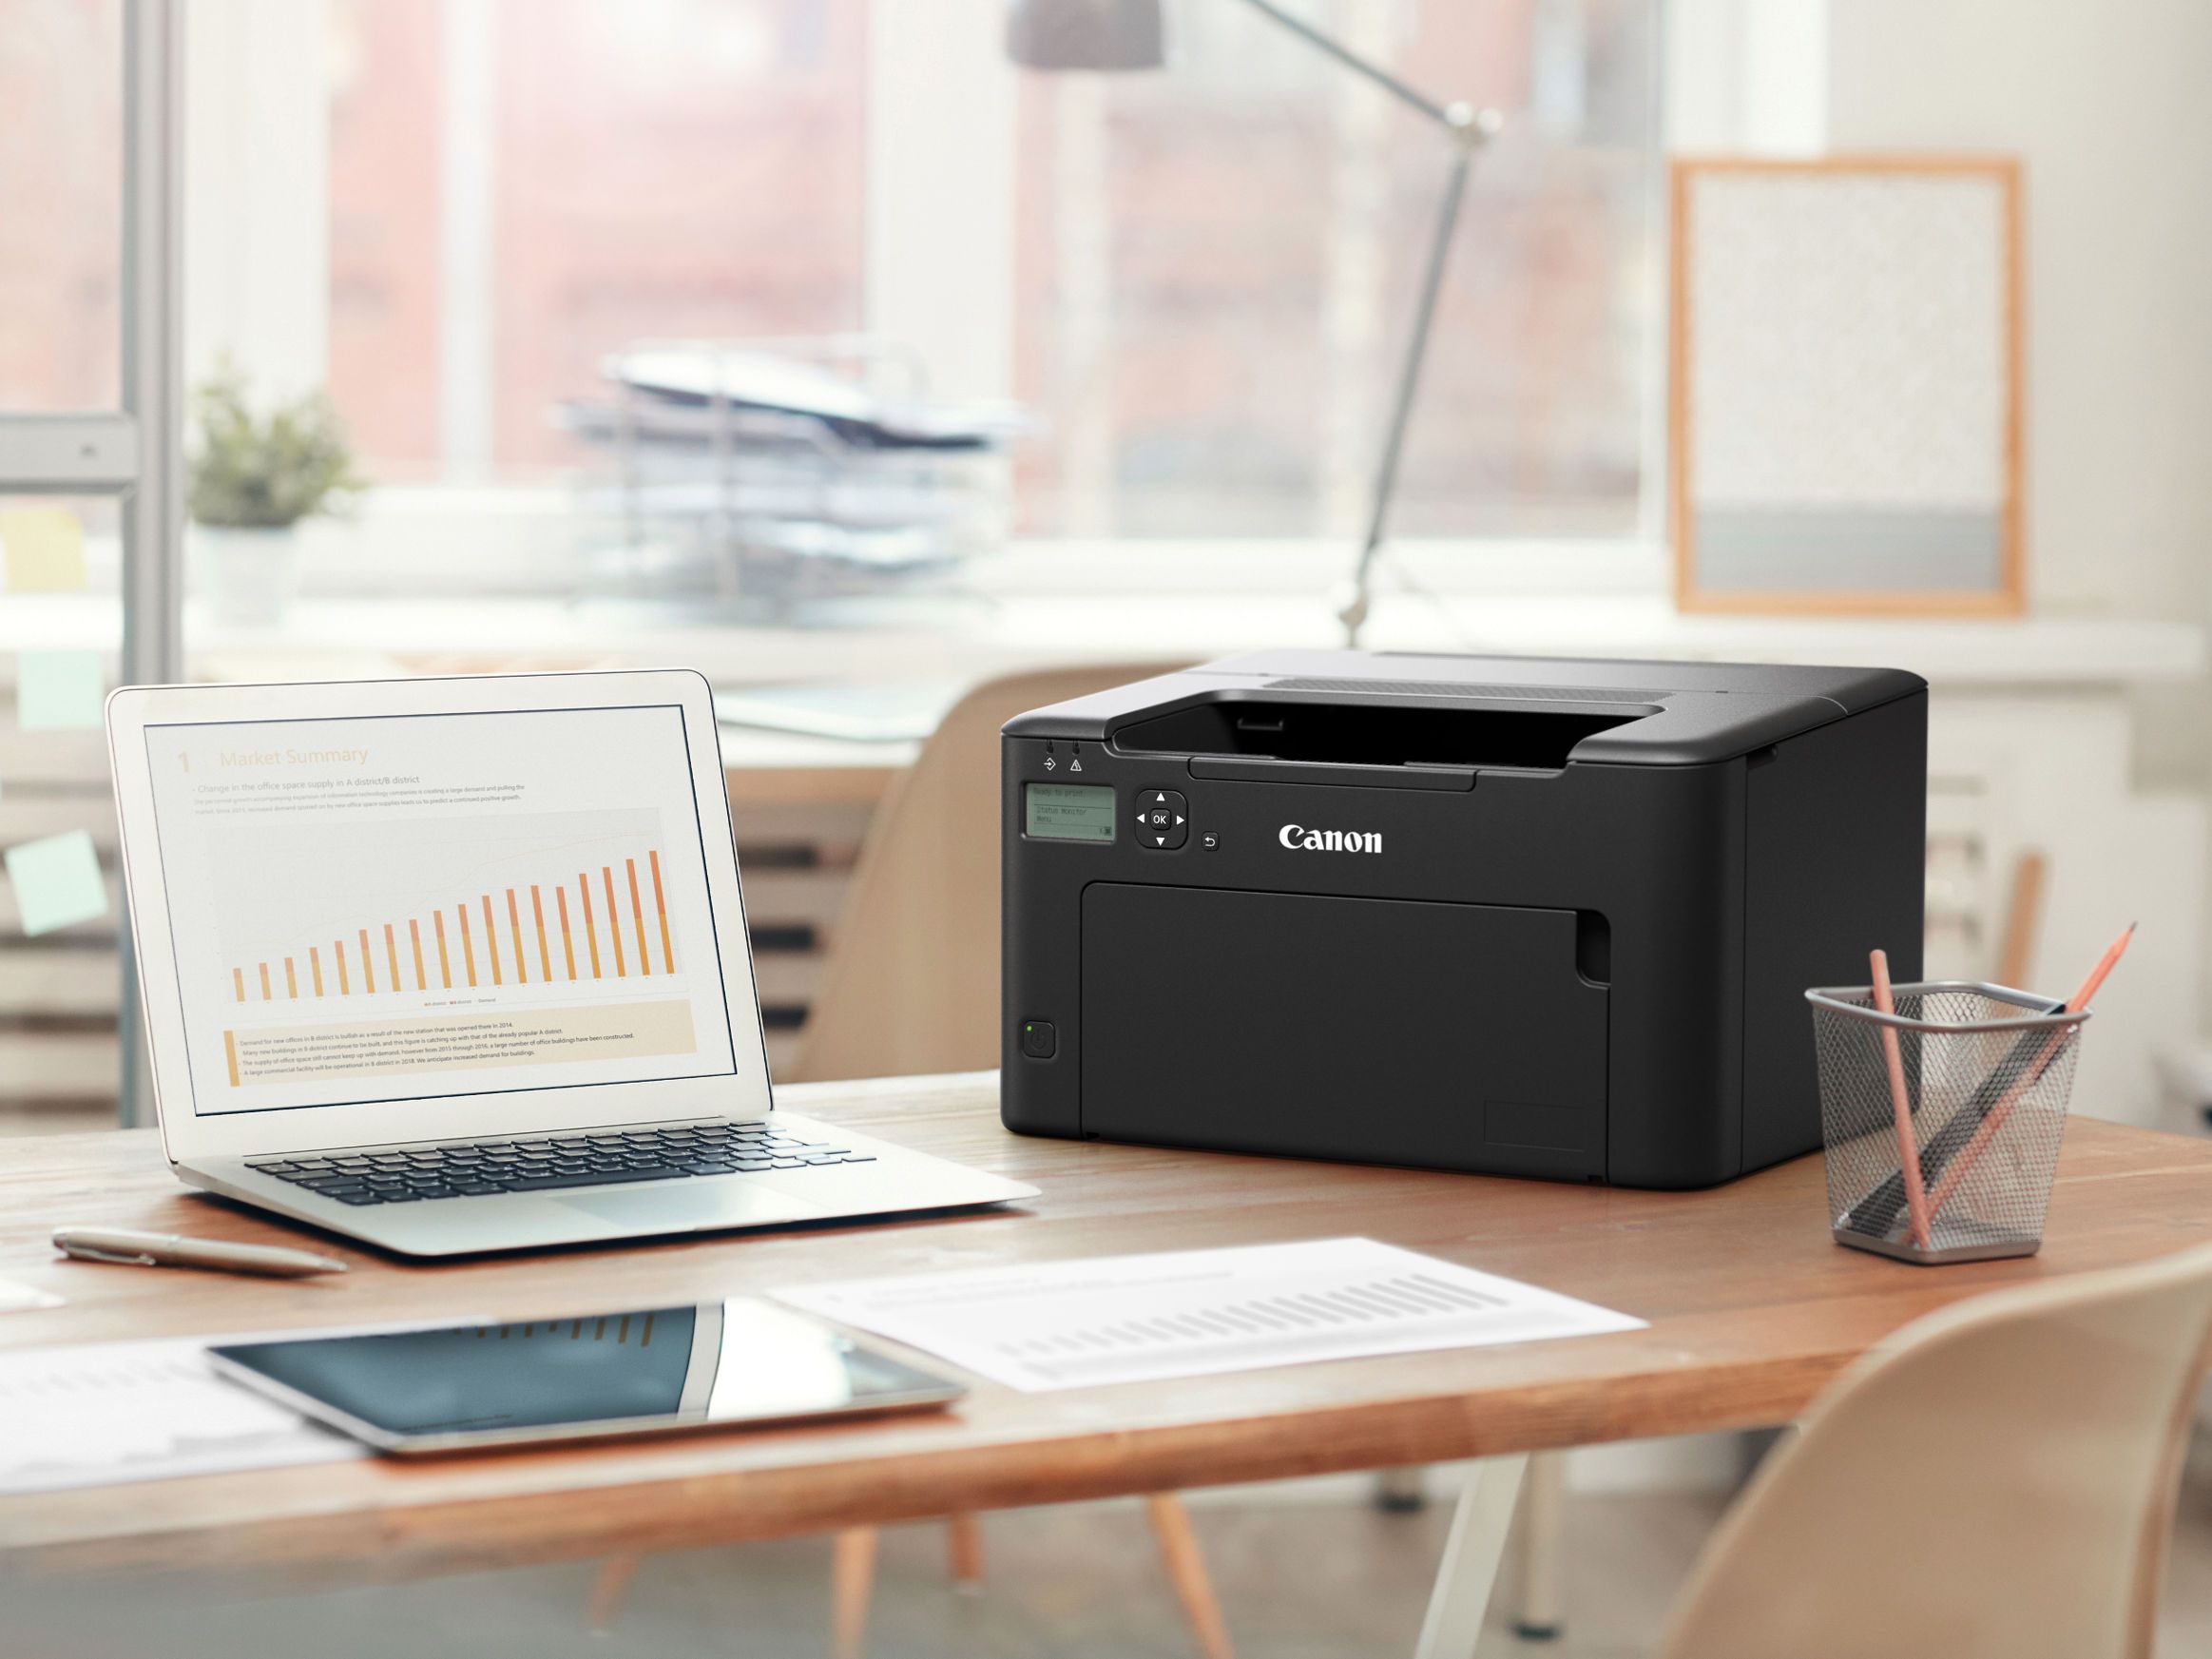
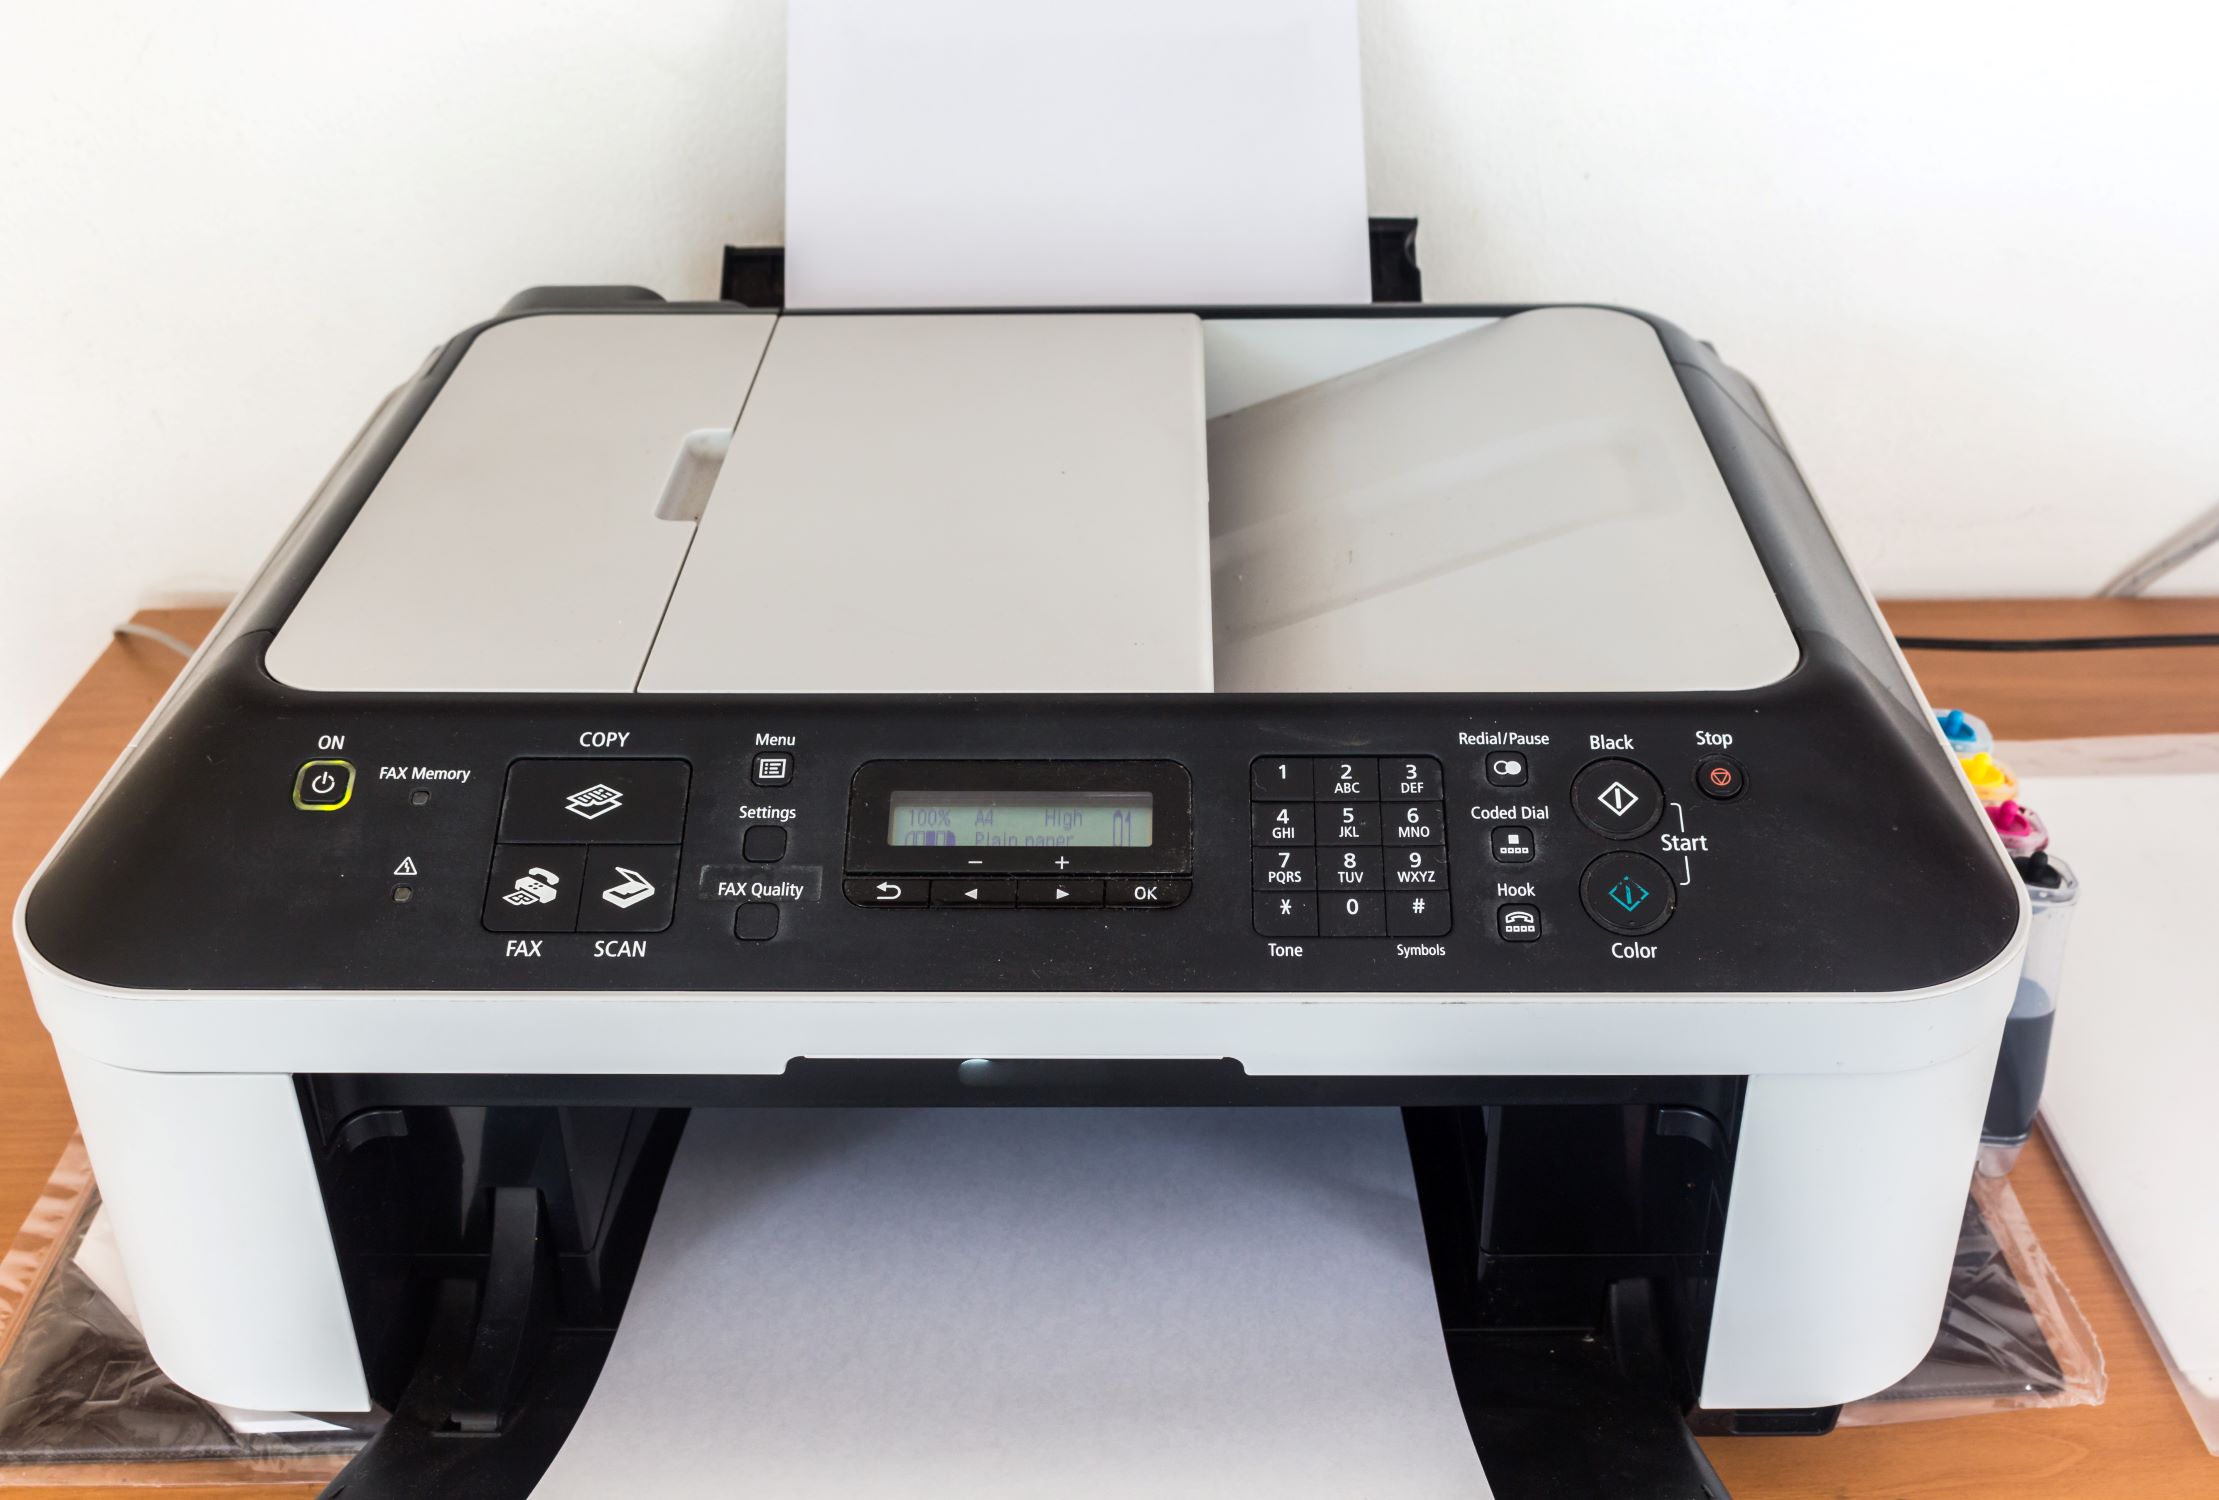
Setting Up Your Canon Printer
Key Takeaways:
- Efficiently scan, adjust, and share documents with your Canon printer by following simple setup steps and utilizing versatile scanning features. Streamline your workflow and digitize physical documents with ease.
- Overcome common scanning issues with troubleshooting tips for your Canon printer. Ensure consistent and reliable performance by addressing connectivity, quality, and software concerns promptly.
Setting Up Your Canon Printer
Before diving into the world of document scanning, it’s crucial to ensure that your Canon printer is properly set up and connected to your computer or network. Follow these steps to prepare your Canon printer for seamless document scanning:
- Unboxing and Assembly: If you’ve recently purchased a new Canon printer, carefully unbox the device and follow the provided instructions to assemble it. Ensure that all components, such as ink cartridges and paper trays, are correctly installed.
- Power and Connectivity: Plug your Canon printer into a power source and turn it on. Depending on the model, connect the printer to your computer via USB or set it up on your local network for wireless printing and scanning.
- Driver Installation: To enable scanning functionality, install the necessary drivers and software for your Canon printer. Visit the official Canon website to download the latest drivers compatible with your operating system.
- Network Configuration: If you opt for wireless scanning, ensure that your Canon printer is connected to the same network as your computer. Follow the printer’s manual or on-screen prompts to configure the network settings.
- Test Printing: Before proceeding to scan documents, perform a test print to verify that your Canon printer is functioning correctly. This step ensures that the printer is ready to execute scanning tasks efficiently.
By meticulously setting up your Canon printer, you pave the way for a smooth and hassle-free scanning experience. Once your printer is primed for action, you can seamlessly transition to the task of scanning documents with confidence and ease.
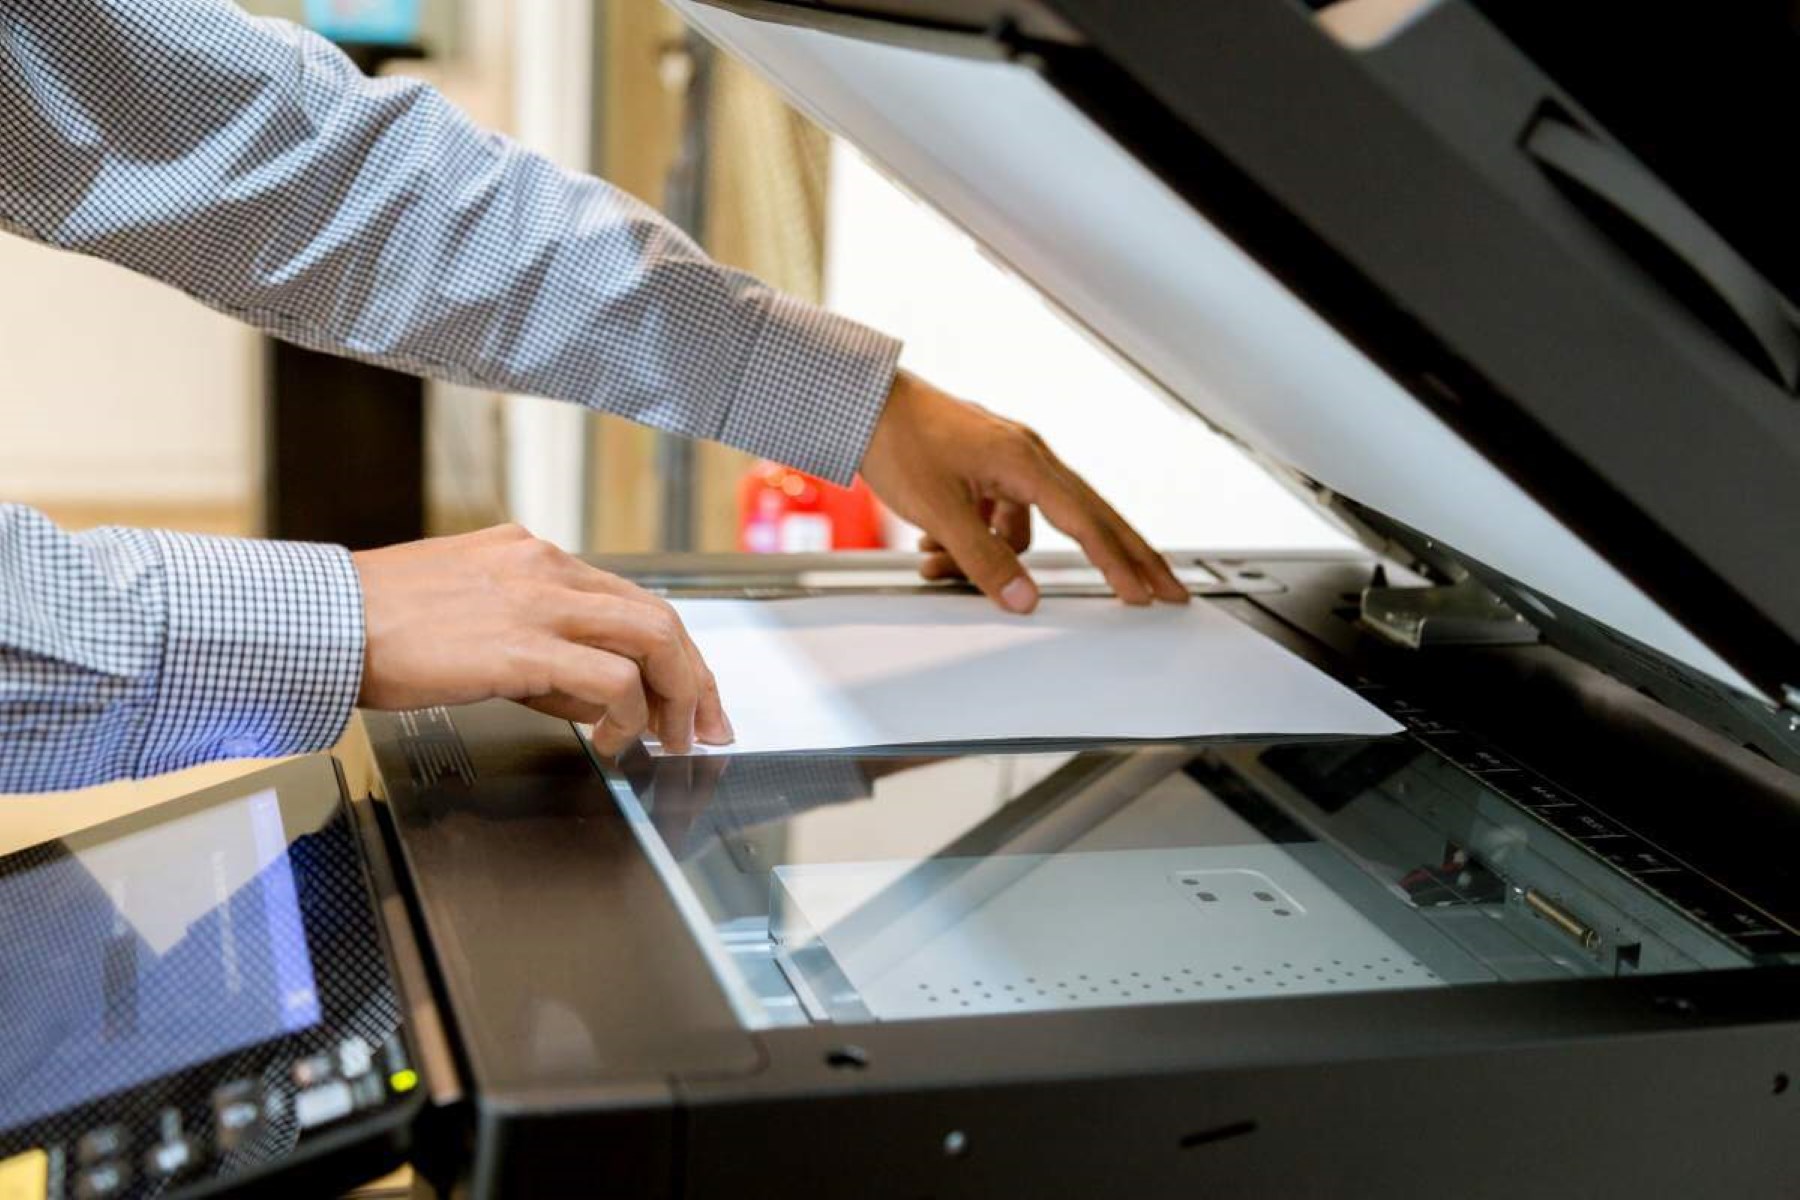
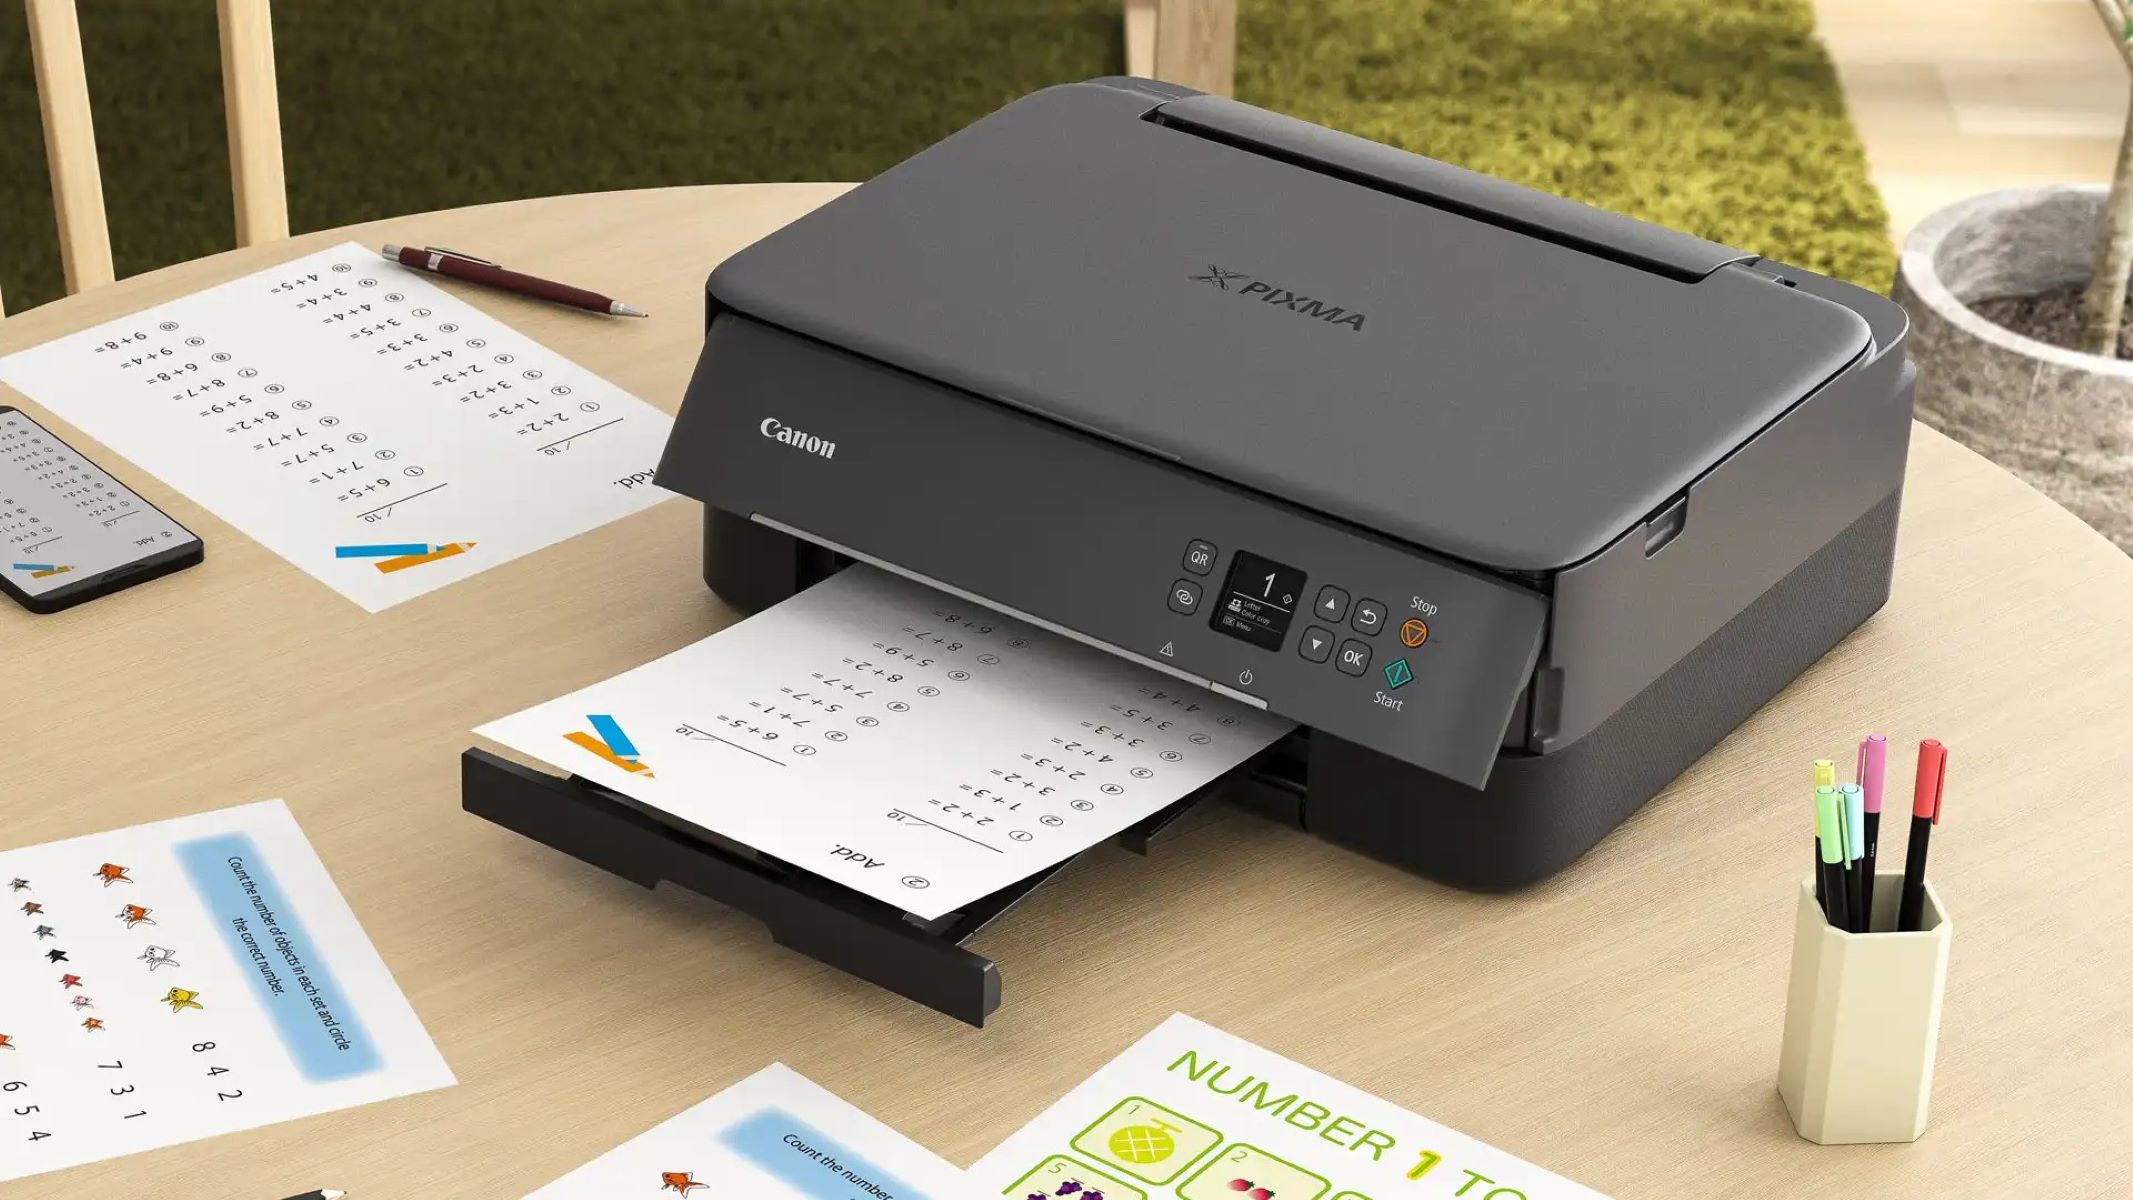
Scanning Documents
Scanning Documents
Now that your Canon printer is ready to go, it’s time to explore the process of scanning documents with precision and efficiency. Whether you need to digitize important paperwork or create electronic copies of essential records, your Canon printer offers a straightforward method for scanning documents. Follow these steps to initiate the scanning process:
- Placement and Alignment: Position the document you wish to scan on the flatbed or in the automatic document feeder (ADF) of your Canon printer. Ensure that the document is neatly aligned and free from any folds or creases to achieve optimal scan quality.
- Initiating the Scan: Using the control panel of your Canon printer or the accompanying scanning software on your computer, select the scanning function. Choose the appropriate settings, such as color mode and resolution, based on the nature of the document being scanned.
- Preview and Adjustment: If your Canon printer offers a preview option, take advantage of it to review the scanned image before finalizing the process. Make any necessary adjustments to the settings to achieve the desired scan quality.
- Execution: Once you are satisfied with the settings and preview, initiate the scanning process. Your Canon printer will diligently capture the document, converting it into a digital format ready for further processing.
By following these steps, you can harness the scanning capabilities of your Canon printer to digitize physical documents with ease. Whether you’re scanning contracts, photographs, or important letters, your Canon printer serves as a reliable tool for transforming hard copies into digital assets.
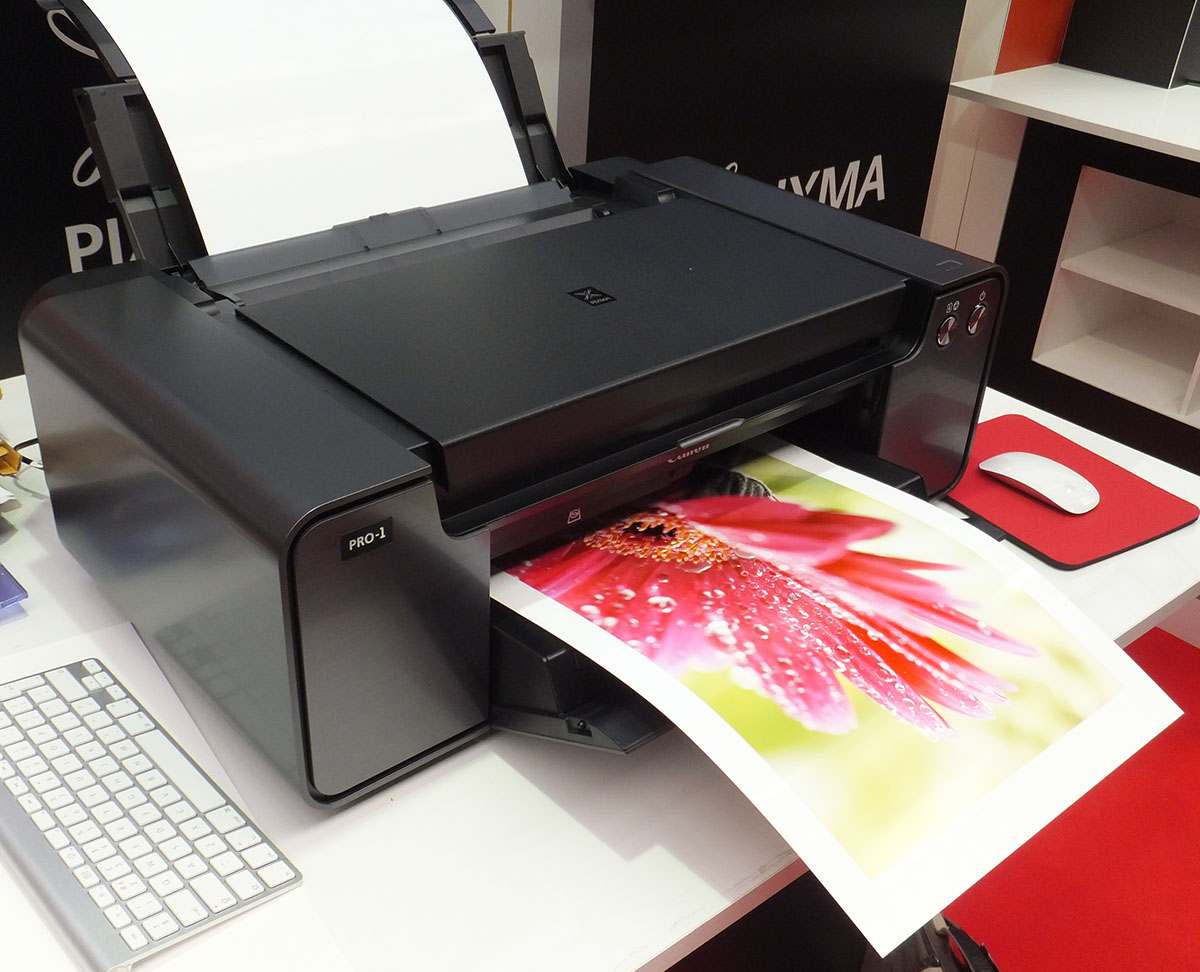
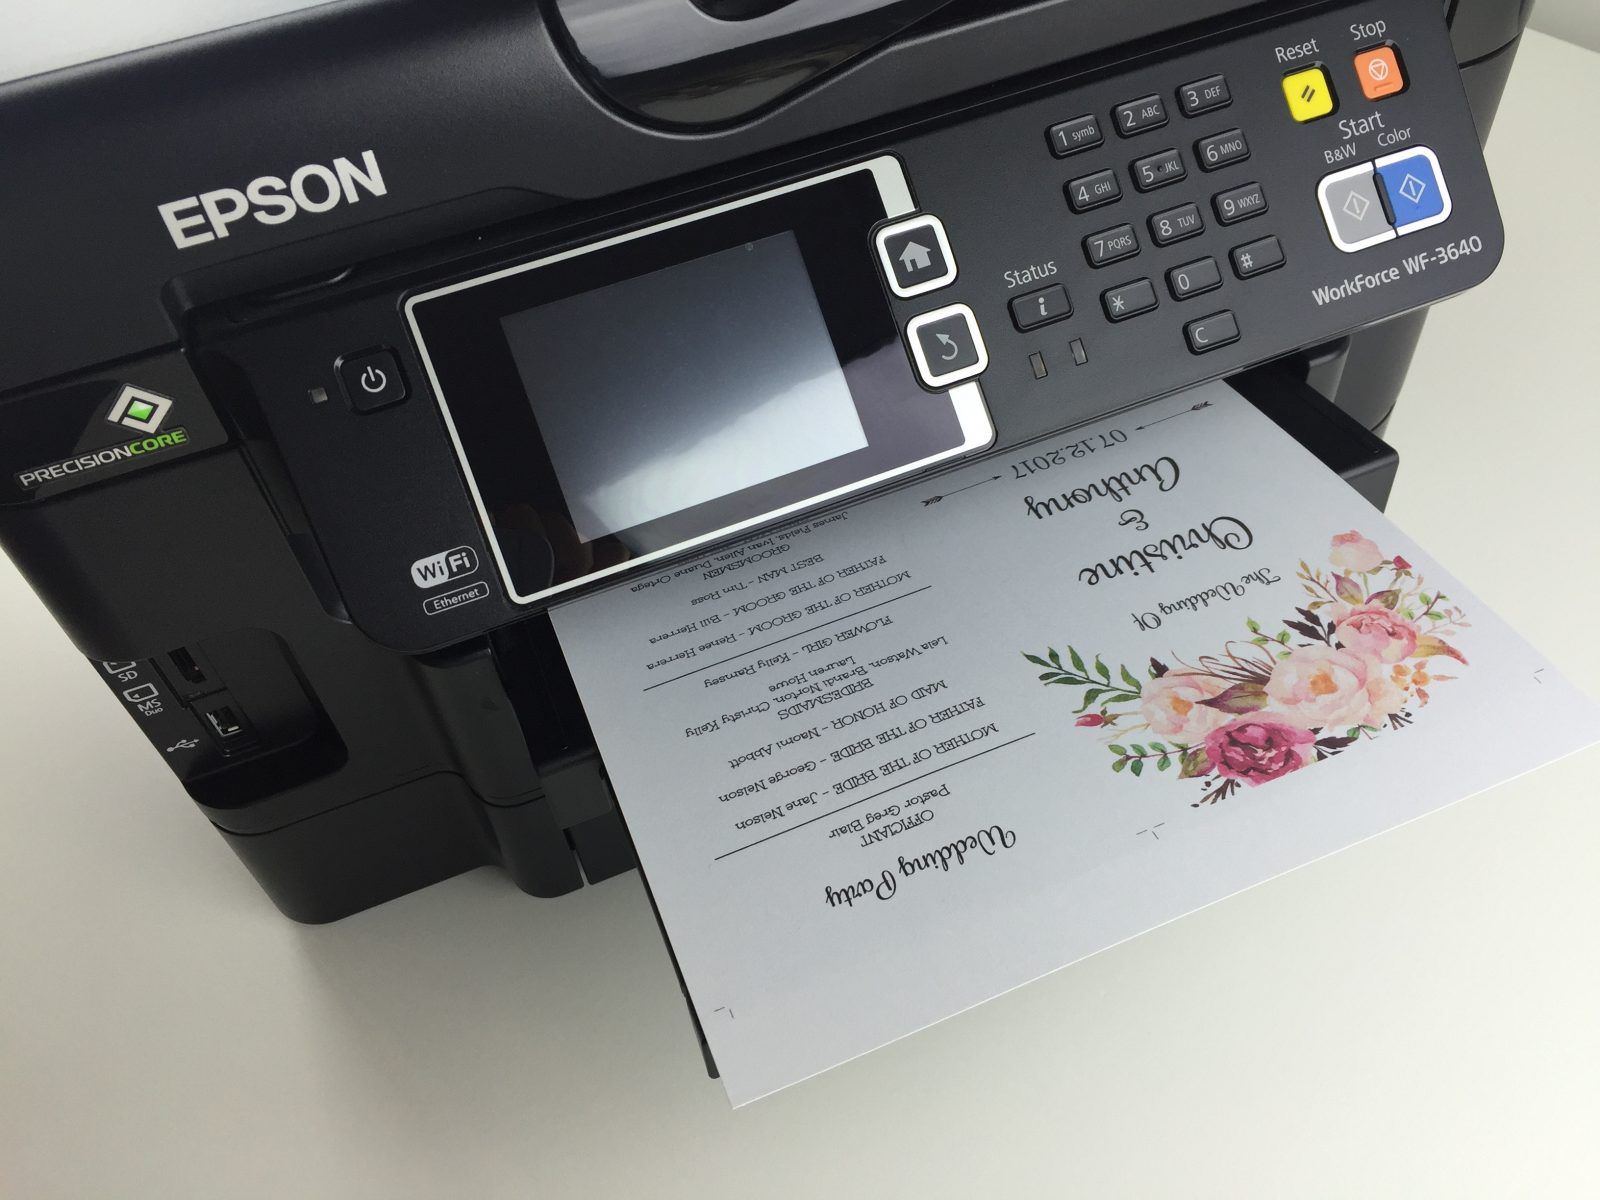
Adjusting Settings
Adjusting Settings
While the default settings on your Canon printer can deliver satisfactory results for most scanning tasks, understanding how to adjust the settings empowers you to tailor the scanning process to meet specific requirements. Whether you seek higher resolution for detailed images or a compressed file size for efficient storage, the ability to tweak scanning settings enhances the versatility of your Canon printer. Here’s how you can adjust settings to optimize the scanning process:
- Resolution and Image Quality: Depending on the nature of the document or image being scanned, adjust the resolution to achieve the desired level of detail. Higher resolutions are ideal for capturing fine details, while lower resolutions can suffice for text-based documents.
- Color Mode: If the document contains color elements, such as photographs or graphics, opt for the color scanning mode. For monochrome documents, switch to grayscale or black-and-white mode to conserve ink and achieve crisp, clear scans.
- File Format: Your Canon printer likely offers various file format options for saving scanned documents, such as PDF, JPEG, or TIFF. Choose the format that best suits your intended use and compatibility requirements.
- Compression and Optimization: When scanning documents intended for digital storage or sharing, consider enabling compression or optimization settings to minimize file size without compromising readability or image quality.
By familiarizing yourself with these settings and their impact on the scanning process, you can adapt the capabilities of your Canon printer to suit a diverse array of document scanning needs. Whether you’re archiving important paperwork or creating digital backups of cherished photographs, the ability to fine-tune scanning settings ensures that your Canon printer remains a versatile and indispensable tool in your home or office.
Saving and Sharing Scanned Documents
Saving and Sharing Scanned Documents
Once you’ve successfully scanned your documents using your Canon printer, the next crucial step is to save and share the digital copies efficiently. Whether you’re creating an electronic archive of essential paperwork or distributing scanned materials to colleagues or clients, your Canon printer offers seamless options for storing and sharing scanned documents. Here’s how you can manage your scanned files with ease:
- File Naming and Organization: When saving scanned documents, adopt a consistent and descriptive naming convention to facilitate easy retrieval. Organize your files into folders based on categories or projects, ensuring that your digital archive remains well-structured and accessible.
- Cloud Integration: Many Canon printers support cloud integration, allowing you to directly save scanned documents to popular cloud storage services such as Google Drive, Dropbox, or Microsoft OneDrive. Embracing cloud storage enhances accessibility and facilitates seamless collaboration across devices and locations.
- Email and Messaging: For immediate sharing of scanned documents, leverage your Canon printer’s capabilities to send scanned files directly via email or messaging platforms. This feature streamlines communication and expedites the dissemination of critical information.
- Optical Character Recognition (OCR): If your Canon printer offers OCR functionality, consider utilizing this feature to convert scanned text into editable and searchable content. OCR enhances the usability of scanned documents by enabling text recognition and manipulation.
By capitalizing on these options for saving and sharing scanned documents, you can seamlessly integrate your Canon printer into your digital workflow, fostering efficient document management and collaboration. Whether you’re archiving business records, sharing family memorabilia, or disseminating important information, your Canon printer serves as a reliable ally in the realm of document digitization and distribution.
Troubleshooting Common Issues
Troubleshooting Common Issues
While Canon printers are renowned for their reliability and user-friendly design, occasional hiccups may arise during the scanning process. Understanding how to troubleshoot common issues empowers you to swiftly address any challenges that may impede your scanning endeavors. Here are some common issues and their troubleshooting steps:
- Communication Errors: If your Canon printer fails to communicate with the scanning software or exhibits connectivity issues, ensure that the printer is properly connected to the network or computer. Restart both the printer and the connected devices to reestablish communication.
- Quality and Alignment: Should your scanned documents exhibit poor quality or misalignment, verify that the documents are correctly positioned on the scanning bed or ADF. Additionally, clean the scanner glass and ensure that the printer’s settings align with the document type being scanned.
- Software and Driver Updates: Periodically check for software updates and driver enhancements for your Canon printer. Outdated software or drivers may lead to compatibility issues or suboptimal performance during the scanning process.
- Network Connectivity: If you encounter challenges with wireless scanning, troubleshoot the network connectivity of your Canon printer. Ensure that the printer is within range of the wireless signal and that the network configuration aligns with your scanning requirements.
By familiarizing yourself with these troubleshooting strategies, you can swiftly overcome common issues that may arise during the scanning process, ensuring that your Canon printer continues to deliver consistent and reliable performance. In the event of persistent or complex issues, referring to the printer’s manual or seeking support from Canon’s customer service can provide additional guidance and resolution.
Now that you've mastered scanning documents with your Canon printer, why not explore the best Canon printers for the upcoming year? If you're considering a device that goes beyond simple printing, our insights on multifunction printers will definitely be of interest. Both articles offer valuable information to enhance your home office setup efficiently.
Frequently Asked Questions about How To Scan Documents On A Canon Printer
Was this page helpful?
At Storables.com, we guarantee accurate and reliable information. Our content, validated by Expert Board Contributors, is crafted following stringent Editorial Policies. We're committed to providing you with well-researched, expert-backed insights for all your informational needs.


0 thoughts on “How To Scan Documents On A Canon Printer”