Home>Technology>Smart Home Devices>How To Scan On Printer And Send To Email
Smart Home Devices
How To Scan On Printer And Send To Email
Published: January 7, 2024
Learn how to easily scan documents on your smart home devices and send them to email with our step-by-step guide. Streamline your workflow today!
(Many of the links in this article redirect to a specific reviewed product. Your purchase of these products through affiliate links helps to generate commission for Storables.com, at no extra cost. Learn more)
**
Introduction
**
In the era of digital transformation, the integration of smart home devices has become increasingly prevalent. Among these devices, smart printers have revolutionized the way we interact with physical documents. Gone are the days of traditional printing and scanning methods; today's smart printers boast advanced features that streamline document management processes. One such feature is the ability to scan documents directly from the printer and send them to an email address. This article will guide you through the process of setting up a smart printer, scanning a document, and seamlessly sending the scanned document to an email recipient. By the end of this comprehensive guide, you will be adept at harnessing the full potential of your smart printer, enhancing your productivity and efficiency in managing documents. Let's embark on this journey to unlock the capabilities of smart home devices and simplify our daily tasks.
**
Key Takeaways:
- Setting up a smart printer for scanning and emailing is easy! Just follow the simple steps to connect it to your network and install the necessary software. This will make managing documents a breeze.
- With a smart printer, you can scan documents and send them via email in a snap. No more hassles with physical documents – just digitize and share seamlessly for enhanced productivity!
Read more: How To Scan To Email From Epson Printer
Setting up the Printer
**
Before delving into the intricacies of scanning and sending documents via email, it is imperative to ensure that your smart printer is properly set up and connected to your network. The initial setup process may vary depending on the model and brand of your printer, but the fundamental steps remain consistent across most devices.
1. Unboxing and Powering On: Upon unboxing your smart printer, carefully remove all packaging materials and place the printer in a well-ventilated area. Connect the power cable to the printer and a power source, then power on the device.
2. Network Connection: Most smart printers support both wired and wireless connectivity. If you prefer a wired connection, use an Ethernet cable to connect the printer to your router or network switch. For wireless connectivity, access the printer's settings menu to connect it to your Wi-Fi network. Follow the on-screen prompts to enter your network credentials and complete the connection process.
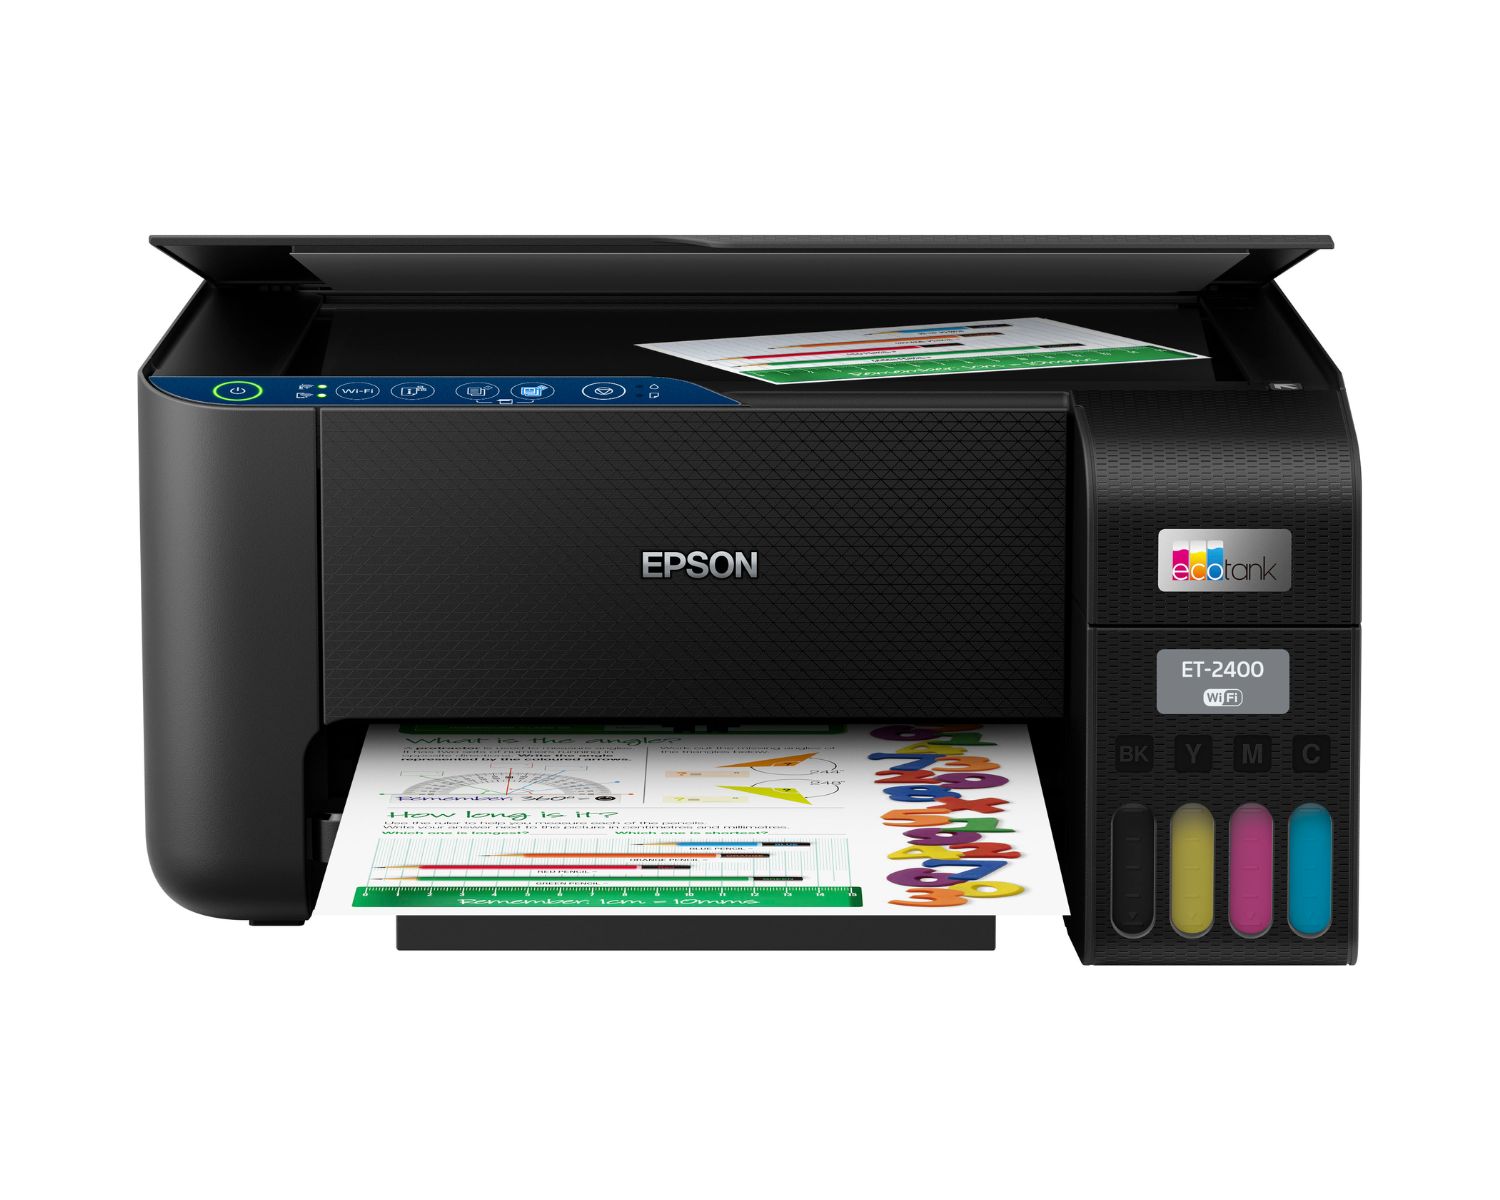
3. Installation of Ink/Toner Cartridges: Depending on whether your printer is an inkjet or laser model, install the corresponding ink or toner cartridges as per the manufacturer's instructions. Ensure that the cartridges are securely inserted and that any protective seals or tapes are removed.
4. Printer Software Installation: To leverage the full functionality of your smart printer, it is essential to install the accompanying software or app on your computer, smartphone, or tablet. Visit the manufacturer's website or app store to download the appropriate software for your device's operating system.
5. Printer Configuration: Once the software is installed, launch the application and follow the on-screen instructions to configure the printer settings, including language preferences, paper size, and default print quality. Additionally, you may be prompted to register the printer with the manufacturer to access firmware updates and additional features.
By meticulously following these steps, you can ensure that your smart printer is seamlessly integrated into your home or office environment, laying the groundwork for efficient document management and the subsequent scanning and emailing processes.
**
Scanning a Document
**
With your smart printer successfully set up and ready for action, the process of scanning a document is remarkably straightforward. Whether you need to digitize a signed contract, capture a cherished photograph, or convert a physical receipt into a digital format, the scanning functionality of your smart printer empowers you to accomplish these tasks with ease.
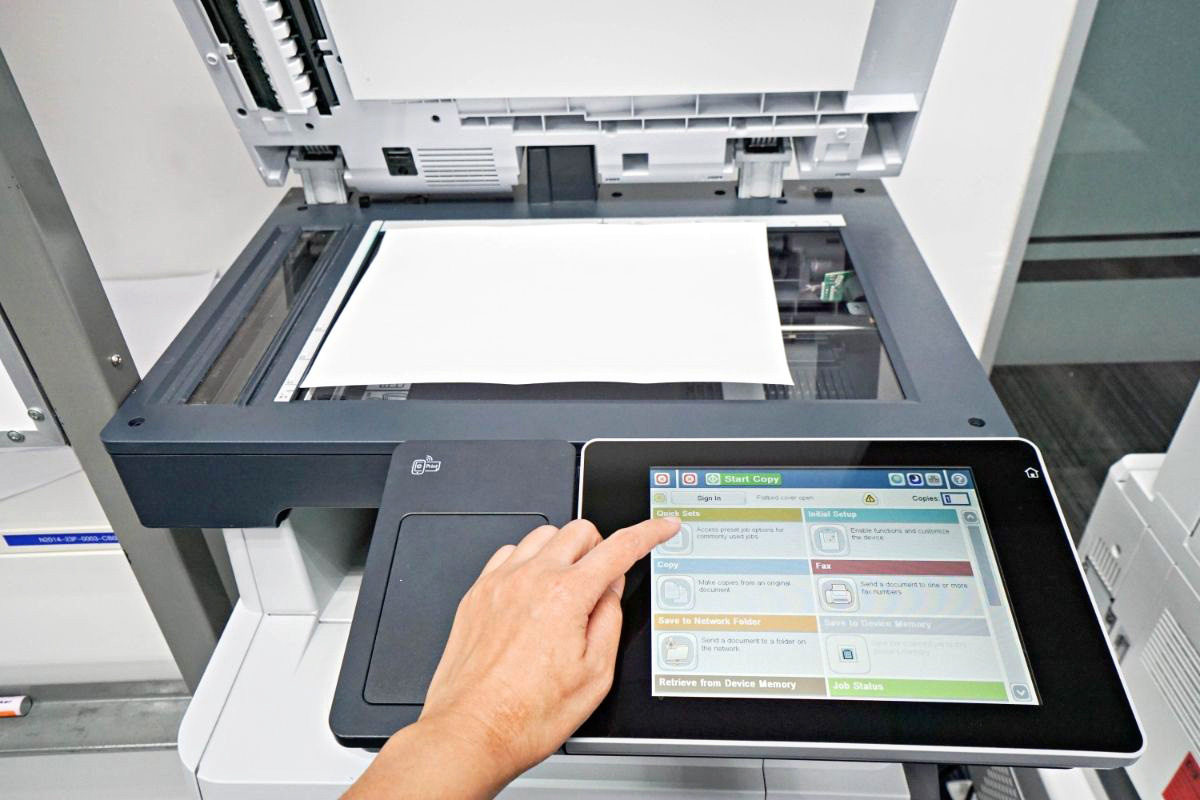
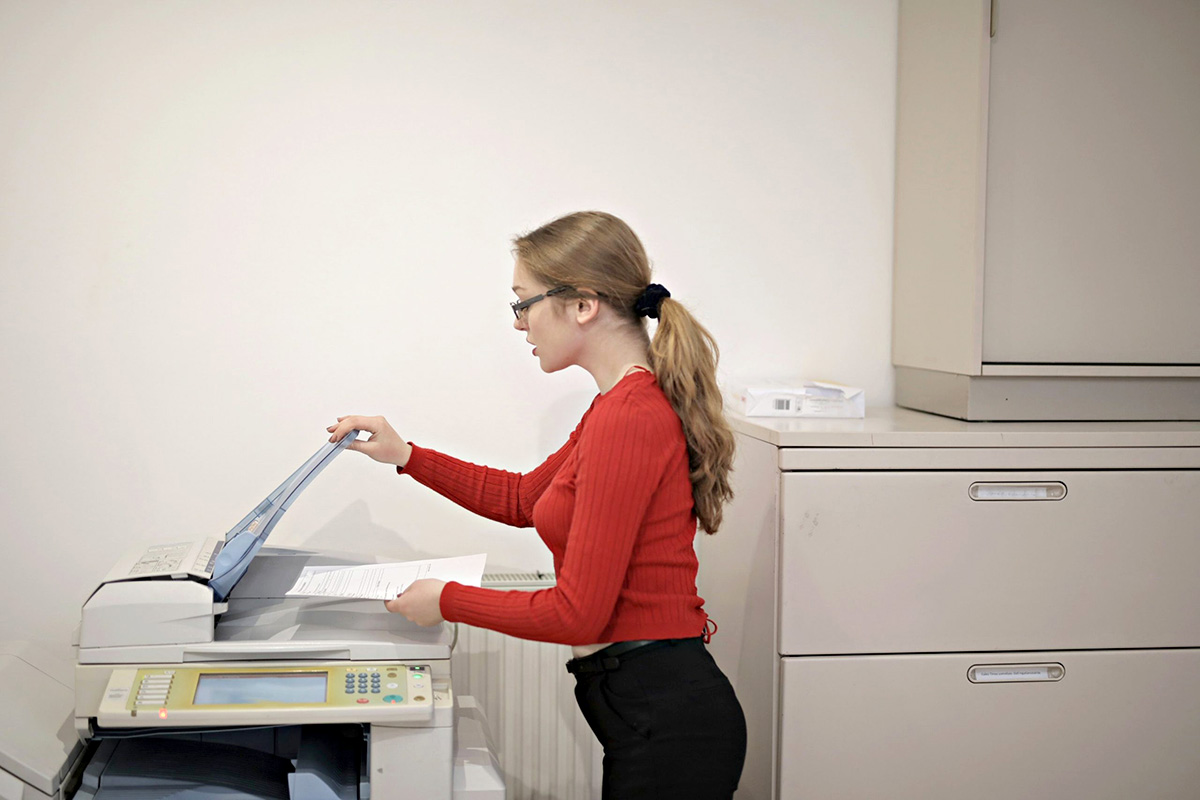
1. Placement and Alignment: Position the document to be scanned on the printer's flatbed or automatic document feeder (ADF), ensuring that it is neatly aligned and free from creases or folds. For optimal results, consider placing the document in the corner of the scanning area to minimize the risk of cropping or distortion.
2. Selecting Scan Settings: Access the printer's control panel or accompanying software on your computer or mobile device to configure the scan settings. Options such as resolution (measured in dots per inch or DPI), color mode (black and white, grayscale, or color), and file format (such as PDF or JPEG) can be adjusted based on the specific requirements of the document being scanned.
3. Initiating the Scan: Once the settings are configured to your preference, initiate the scanning process by pressing the designated scan button on the printer's control panel or within the software interface. Alternatively, some smart printers offer the convenience of initiating scans directly from a mobile app, allowing you to capture documents from your smartphone or tablet.
4. Reviewing the Scanned Document: After the scanning process is complete, review the digital preview of the scanned document to ensure that it meets your expectations in terms of clarity and content. If necessary, you may have the option to make adjustments to the scan settings and re-scan the document to achieve the desired result.
By following these straightforward steps, you can harness the scanning capabilities of your smart printer to effortlessly convert physical documents into digital files, paving the way for seamless document management and sharing.
**
Make sure your printer is connected to the same network as your email. Place the document on the scanner, select “Scan to Email” on the printer, enter the recipient’s email address, and press “Send”. Check your email to confirm the scan was successful.
Sending the Scanned Document to Email
**
Once you have successfully scanned a document using your smart printer, the next logical step is to transmit the digital file to an email recipient. This seamless process eliminates the need for physical media or cumbersome file transfers, allowing you to swiftly share important documents with colleagues, clients, or family members. Let's explore the straightforward process of sending a scanned document to an email address directly from your smart printer.
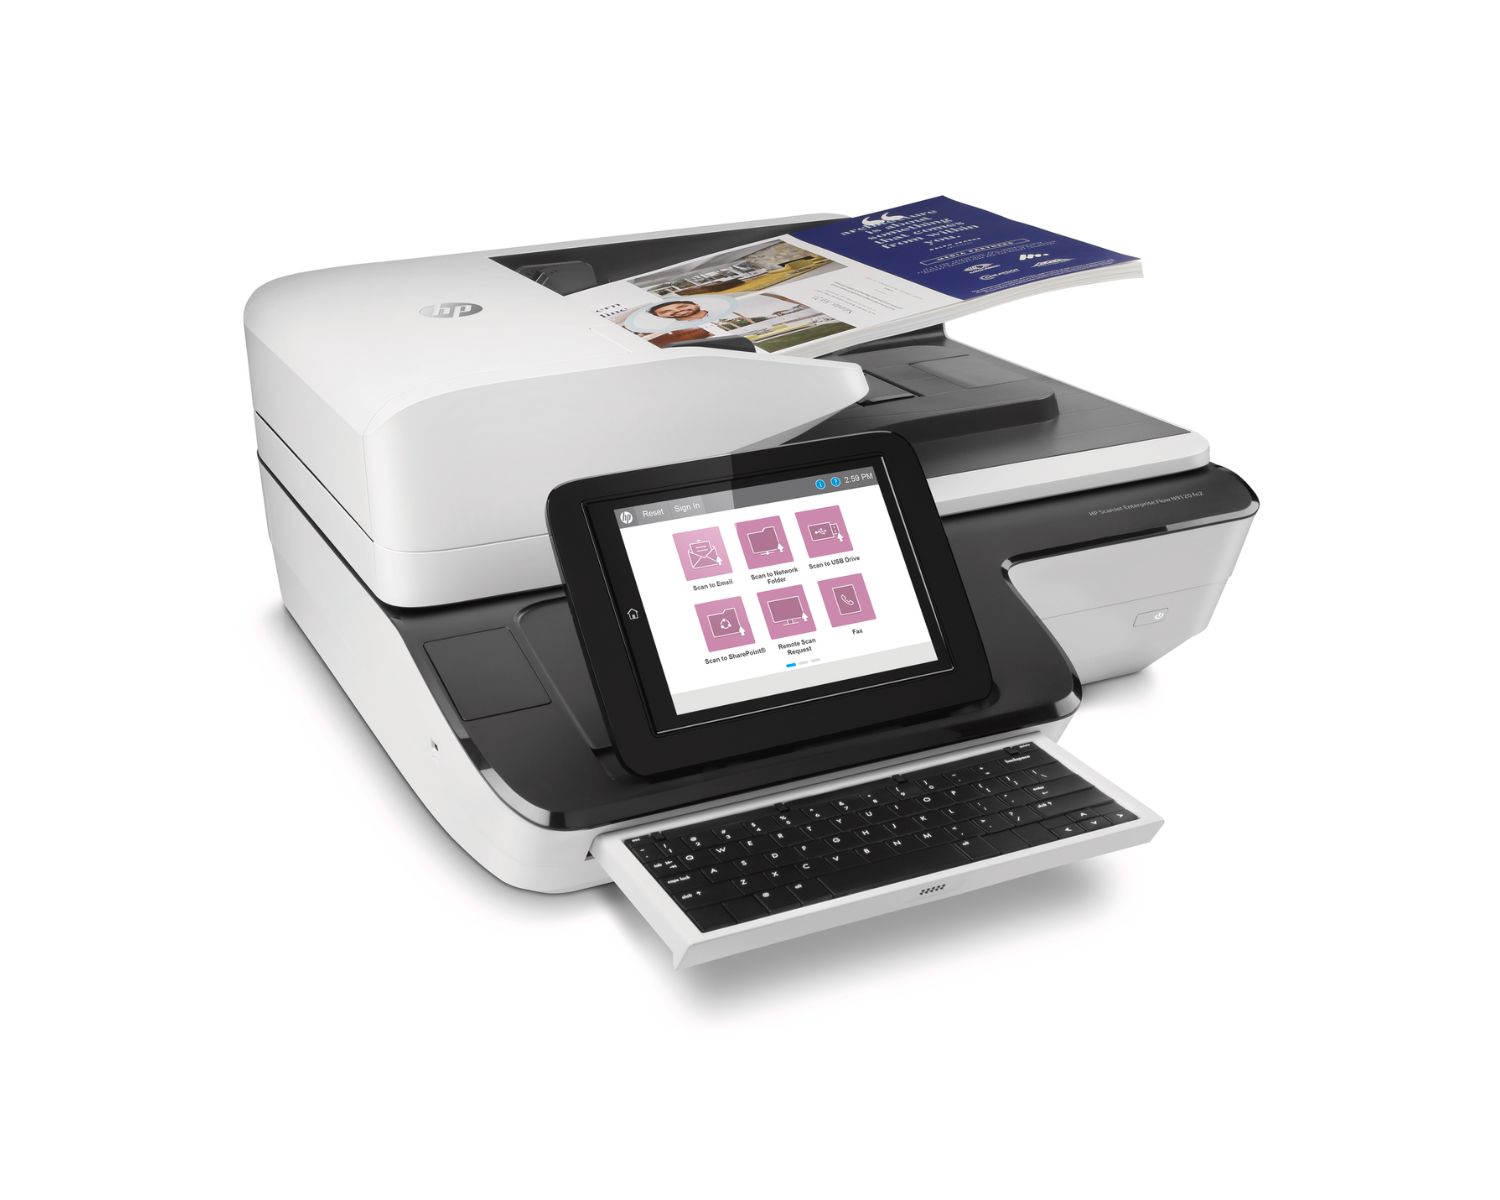
1. Email Configuration: Before initiating the email transmission, ensure that your smart printer is configured with the necessary email settings. Access the printer's control panel or accompanying software to enter the email address of the recipient, the subject line of the email, and any additional message content that you wish to include.
2. Selecting the Scanned Document: Navigate to the location where the scanned document is stored, whether it is within the printer's internal memory, an inserted USB drive, or a connected network folder. Select the desired document from the list of available files, ensuring that it is the correct file intended for transmission.
3. Initiating the Email Transmission: With the recipient's email address entered and the scanned document selected, initiate the email transmission process by pressing the designated send button on the printer's control panel or within the software interface. Some smart printers may prompt you to confirm the transmission before proceeding.
4. Confirmation and Review: Upon successful transmission, the smart printer may display a confirmation message indicating that the email has been sent. Take a moment to review the sent email in your email client's sent items folder to verify that the scanned document has been accurately delivered to the intended recipient.
By seamlessly integrating the scanning and emailing capabilities of your smart printer, you can efficiently digitize and share documents without the need for intermediary devices or complex file transfer procedures. This streamlined process enhances your productivity and communication, exemplifying the remarkable convenience offered by modern smart home devices.
**
Conclusion
**
As we conclude our exploration of scanning documents on a smart printer and sending them to email recipients, it becomes evident that the convergence of technology and convenience has redefined the way we manage and share documents. By leveraging the intuitive capabilities of smart home devices, such as smart printers, individuals and businesses alike can streamline their document management processes and enhance collaboration.
Through the meticulous process of setting up the smart printer, configuring scan settings, and seamlessly transmitting scanned documents via email, users can transcend traditional barriers and embrace a digital-first approach to document management. The ability to effortlessly convert physical documents into digital files and promptly share them with colleagues, clients, or personal contacts underscores the transformative impact of smart printers in modern workflows.
Furthermore, the seamless integration of scanning and emailing functionalities within a single smart printer exemplifies the convergence of traditionally disparate tasks into a cohesive and efficient workflow. This convergence not only saves time and resources but also fosters a heightened sense of agility and responsiveness in managing document-centric tasks.
As we embrace the era of smart home devices and the myriad conveniences they offer, the process of scanning documents on a smart printer and sending them to email recipients stands as a testament to the power of technological innovation in simplifying our daily routines. By harnessing these capabilities, individuals and organizations can elevate their document management practices, unlock new levels of productivity, and embrace a future where the boundaries between physical and digital documents are seamlessly bridged.
In essence, the journey from scanning a physical document to transmitting it via email embodies the essence of modern convenience and efficiency, made possible by the remarkable capabilities of smart printers. As we look ahead, the continued evolution of smart home devices promises to further enrich our lives and workflows, offering unprecedented levels of convenience and empowerment in the digital age.
Frequently Asked Questions about How To Scan On Printer And Send To Email
Was this page helpful?
At Storables.com, we guarantee accurate and reliable information. Our content, validated by Expert Board Contributors, is crafted following stringent Editorial Policies. We're committed to providing you with well-researched, expert-backed insights for all your informational needs.


0 thoughts on “How To Scan On Printer And Send To Email”