Home>Technology>Smart Home Devices>How To Scan And Email A Document From HP Printer
Smart Home Devices
How To Scan And Email A Document From HP Printer
Published: January 20, 2024
Learn how to easily scan and email documents from your HP printer, enhancing your smart home devices setup. Streamline your workflow with these simple steps.
(Many of the links in this article redirect to a specific reviewed product. Your purchase of these products through affiliate links helps to generate commission for Storables.com, at no extra cost. Learn more)
Introduction
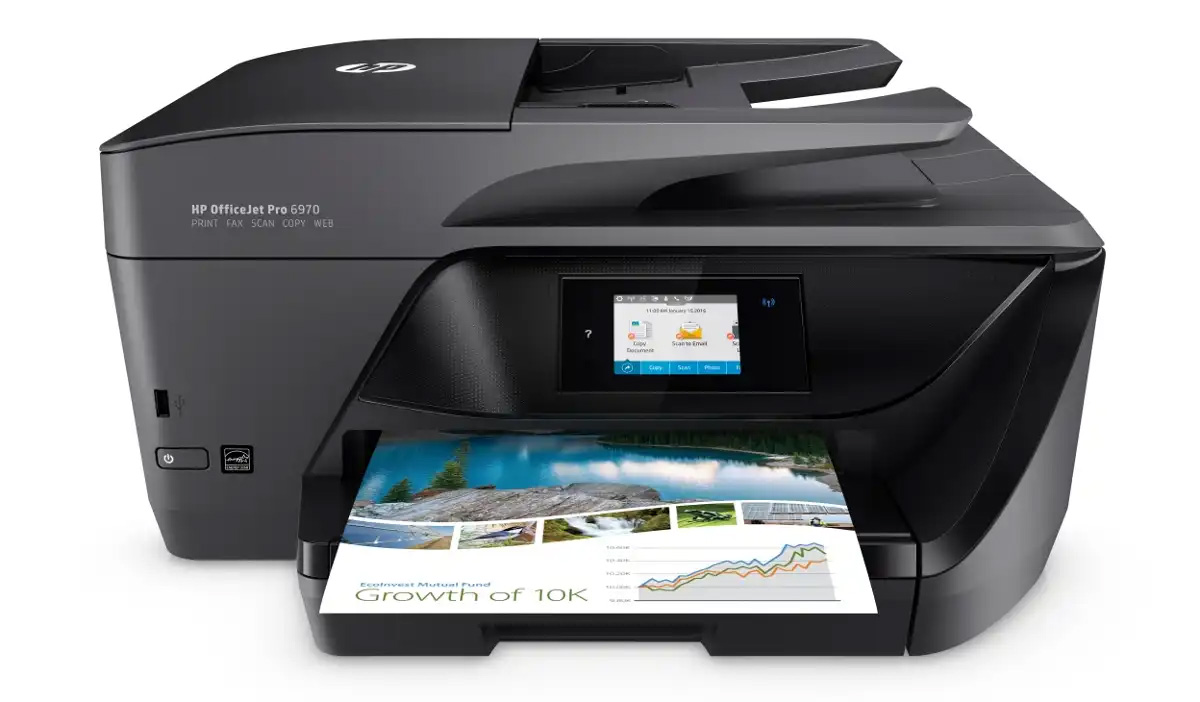
In the era of digitalization, the ability to seamlessly scan and email documents from an HP printer has become an invaluable asset. Whether it's for business or personal use, the convenience and efficiency of this process cannot be overstated. With a few simple steps, you can transform a physical document into a digital file and swiftly dispatch it via email, eliminating the need for physical transportation or postal services.
HP printers are renowned for their user-friendly interfaces and advanced capabilities, making the task of scanning and emailing documents a straightforward endeavor. By following the steps outlined in this guide, you will harness the full potential of your HP printer, streamlining your document management process and enhancing productivity.
So, let's delve into the step-by-step process of setting up your HP printer for document scanning, loading the document, initiating the scan, saving the scanned document, and finally, emailing it directly from the device. Embrace the power of modern technology as we embark on this journey to simplify your document handling tasks.
Key Takeaways:
- Simplify document management by setting up your HP printer for scanning and emailing, ensuring seamless digital transformation and transmission of physical documents.
- Effortlessly scan, save, and email documents directly from your HP printer, streamlining the process and eliminating the need for intermediary devices or manual file transfers.
Read more: How To Scan To Email From Epson Printer
Step 1: Set up the HP Printer
Before diving into the process of scanning and emailing a document, it’s crucial to ensure that your HP printer is properly set up and connected to your computer or network. This foundational step lays the groundwork for seamless document management and transmission. Follow these sub-steps to ensure your HP printer is ready for the task:
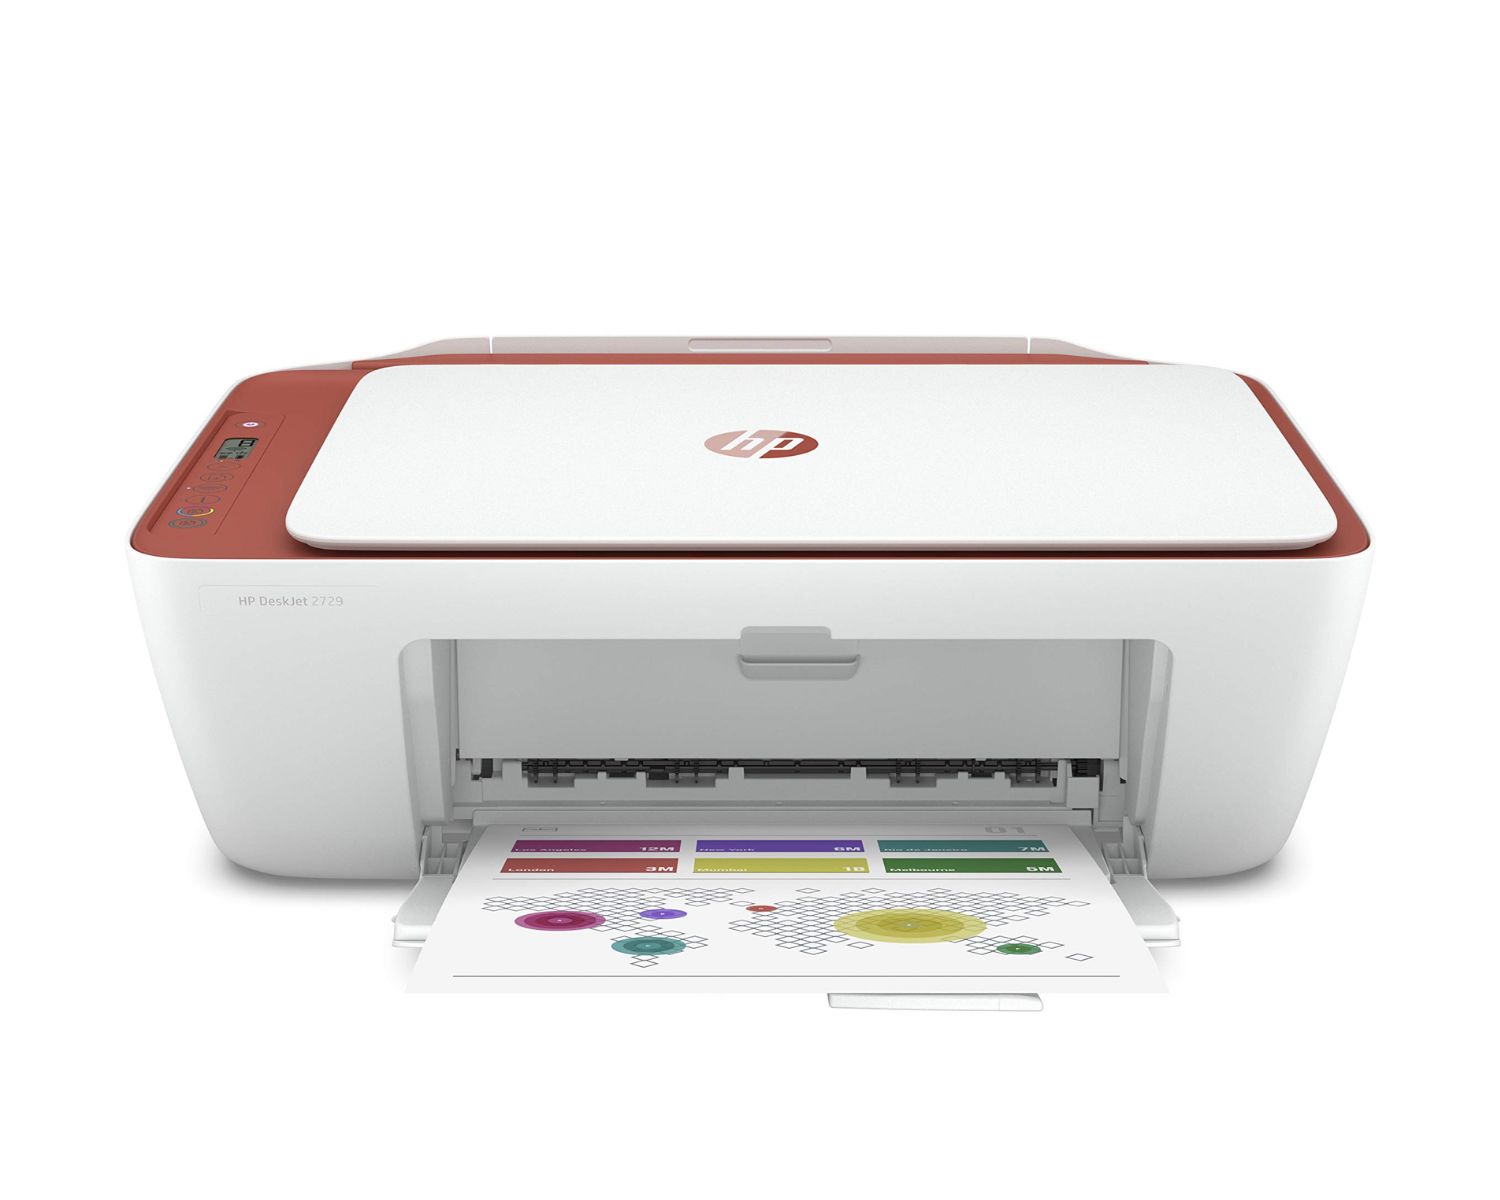
- Unboxing and Setup: If you’ve recently acquired a new HP printer, unbox it carefully and follow the manufacturer’s instructions to set it up. This typically involves connecting the power cable, installing ink or toner cartridges, and initializing the device.
- Connect to Network: For network-enabled HP printers, connect the device to your Wi-Fi network using the printer’s control panel. Alternatively, connect it directly to your computer using a USB cable if it’s a USB-enabled model.
- Install Printer Software: Visit the official HP website to download and install the latest printer software and drivers for your specific model. This software is essential for enabling the scanning and emailing functionalities of the printer.
- Calibrate and Test: Once the printer is set up and connected, run a test print to ensure that it’s functioning properly. Additionally, calibrate the scanner to guarantee optimal scan quality.
By completing these steps, you’ll have your HP printer primed and ready to embark on the document scanning and emailing journey. With the hardware and software components in place, you can proceed to the next steps with confidence, knowing that your HP printer is fully prepared to fulfill your document management needs.
Step 2: Load the Document
Once your HP printer is set up and ready, the next step in the process of scanning and emailing a document is to load the physical document into the device. This step is crucial, as it ensures that the document is positioned correctly for the scanning process. Follow these guidelines to load the document effectively:
- Document Placement: Open the scanner lid of your HP printer to reveal the scanning glass. Carefully place the document face down on the glass, aligning it with the designated markers to ensure proper positioning.
- Adjustment and Alignment: If the document size does not match the default settings of the scanner, adjust the paper guides to align with the edges of the document. This ensures that the entire document is captured during the scanning process, preventing any part of the content from being cut off.
- Close the Lid: Once the document is in position, gently close the scanner lid to secure the document in place. Ensure that the lid is closed properly to maintain even pressure on the document during the scanning process.
- Prepare Additional Pages (If Applicable): If you have multiple pages to scan as part of a single document, ensure that each subsequent page is loaded in the same orientation and alignment as the first page. This consistency is essential for creating a cohesive digital document.
By following these steps, you will have successfully loaded the document into your HP printer, setting the stage for the subsequent scanning process. The careful placement and alignment of the document are pivotal in ensuring the accuracy and quality of the scanned output, laying the groundwork for a seamless transition from physical to digital format.
Make sure your HP printer is connected to your computer and turned on. Place the document on the scanner bed and open the HP scanning software on your computer. Select the option to scan and save the document as a PDF or image file. Then, open your email and attach the scanned document to send.
Step 3: Scan the Document
With the document loaded and positioned within your HP printer, it’s time to initiate the scanning process to convert the physical content into a digital format. The scanning functionality of HP printers is designed to capture precise and high-quality digital replicas of documents, providing a seamless transition from hard copy to digital file. Follow these steps to scan the document effectively:
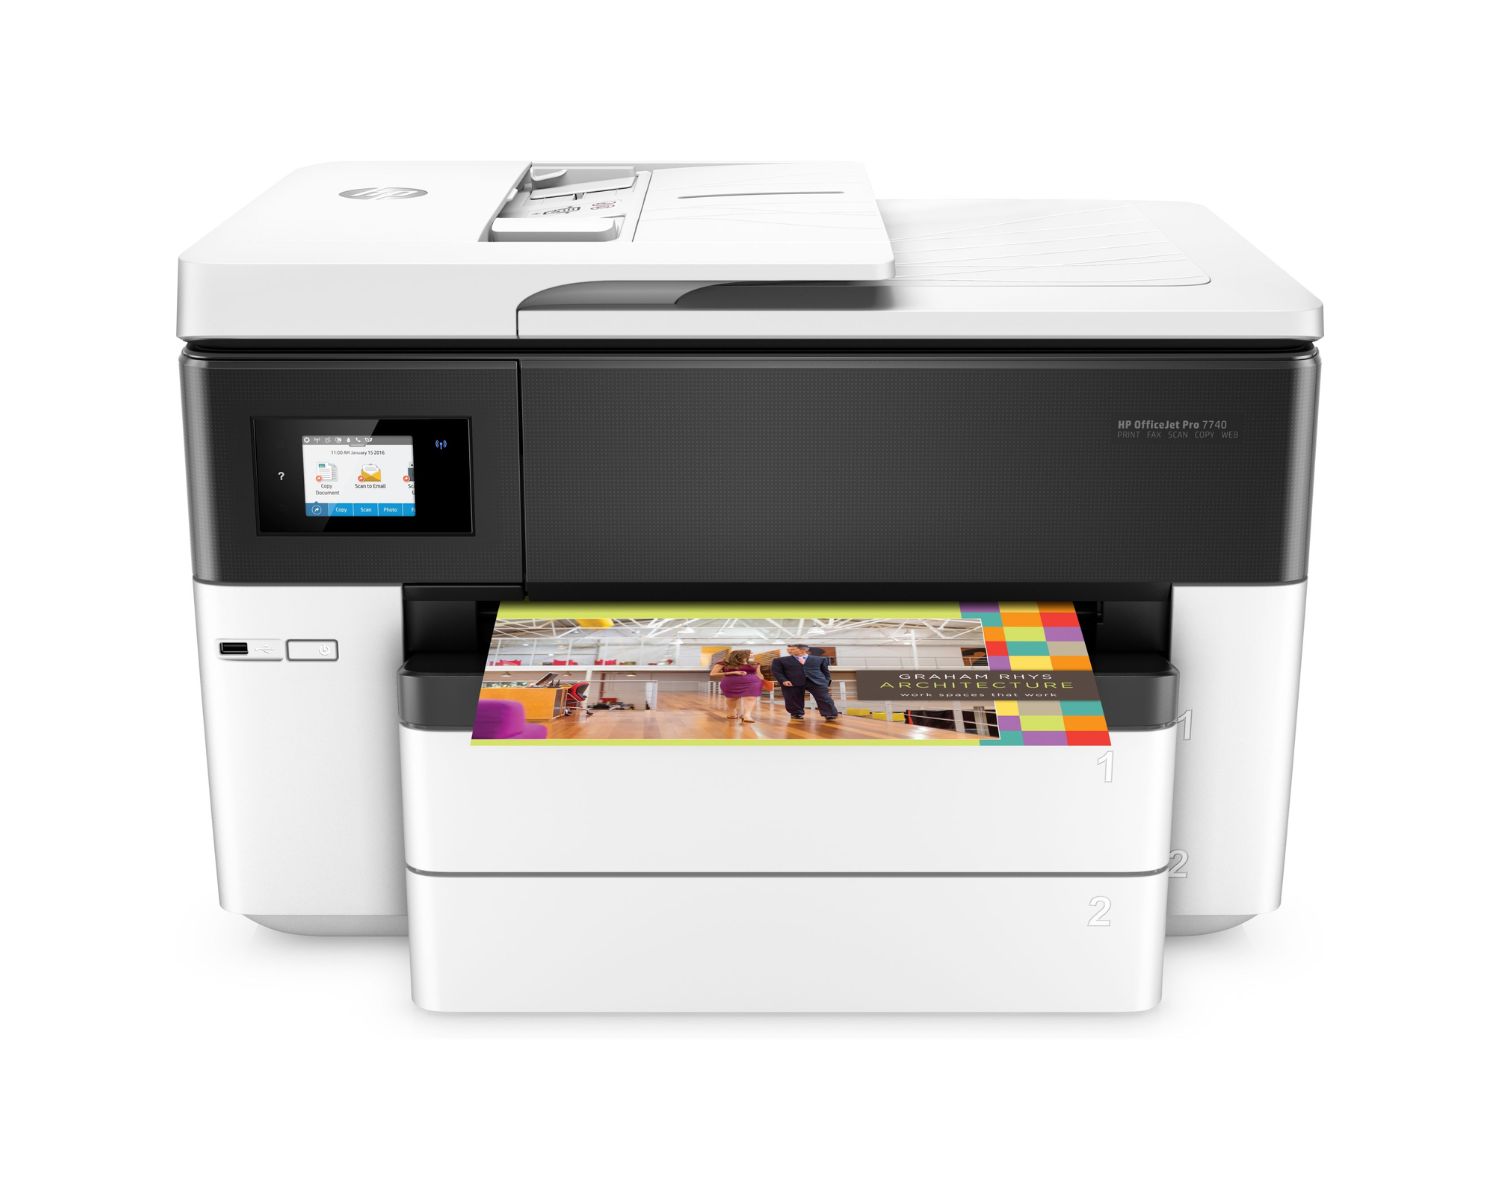
- Access the Scanner: On the control panel of your HP printer, locate the scanning function. This may involve pressing a designated ‘Scan’ button or navigating through the device’s menu to access the scanning options.
- Configure Scan Settings: Depending on your specific requirements, configure the scanning settings such as resolution, color mode, file format, and destination. For standard document scanning, a medium to high resolution (e.g., 300 DPI) in black and white or grayscale mode is often suitable.
- Initiate the Scan: Once the settings are configured, initiate the scanning process by pressing the designated scan button on the control panel. The HP printer will then capture a digital image of the loaded document based on the specified settings.
- Monitor the Progress: Observe the scanning process to ensure that the entire document is captured accurately. If the HP printer supports automatic document feeders (ADF), the scanning of multiple pages can be automated, streamlining the process for multi-page documents.
By following these steps, you will have successfully scanned the loaded document, transforming it into a digital file within your HP printer’s memory. The precision and attention to detail during the scanning process are essential for preserving the integrity of the original document, ensuring that the digital replica faithfully represents the physical content.
Step 4: Save the Scanned Document
After successfully scanning the document, the next crucial step in the process of digitizing and managing your content is to save the scanned document within your HP printer’s storage or connected devices. This step ensures that the digital replica of the document is preserved for future use and can be easily accessed and transmitted as needed. Follow these guidelines to save the scanned document effectively:
- Review the Scan: Before saving the scanned document, take a moment to review the digital replica displayed on the HP printer’s interface. Ensure that the content is captured accurately and clearly, with no distortions or missing sections.
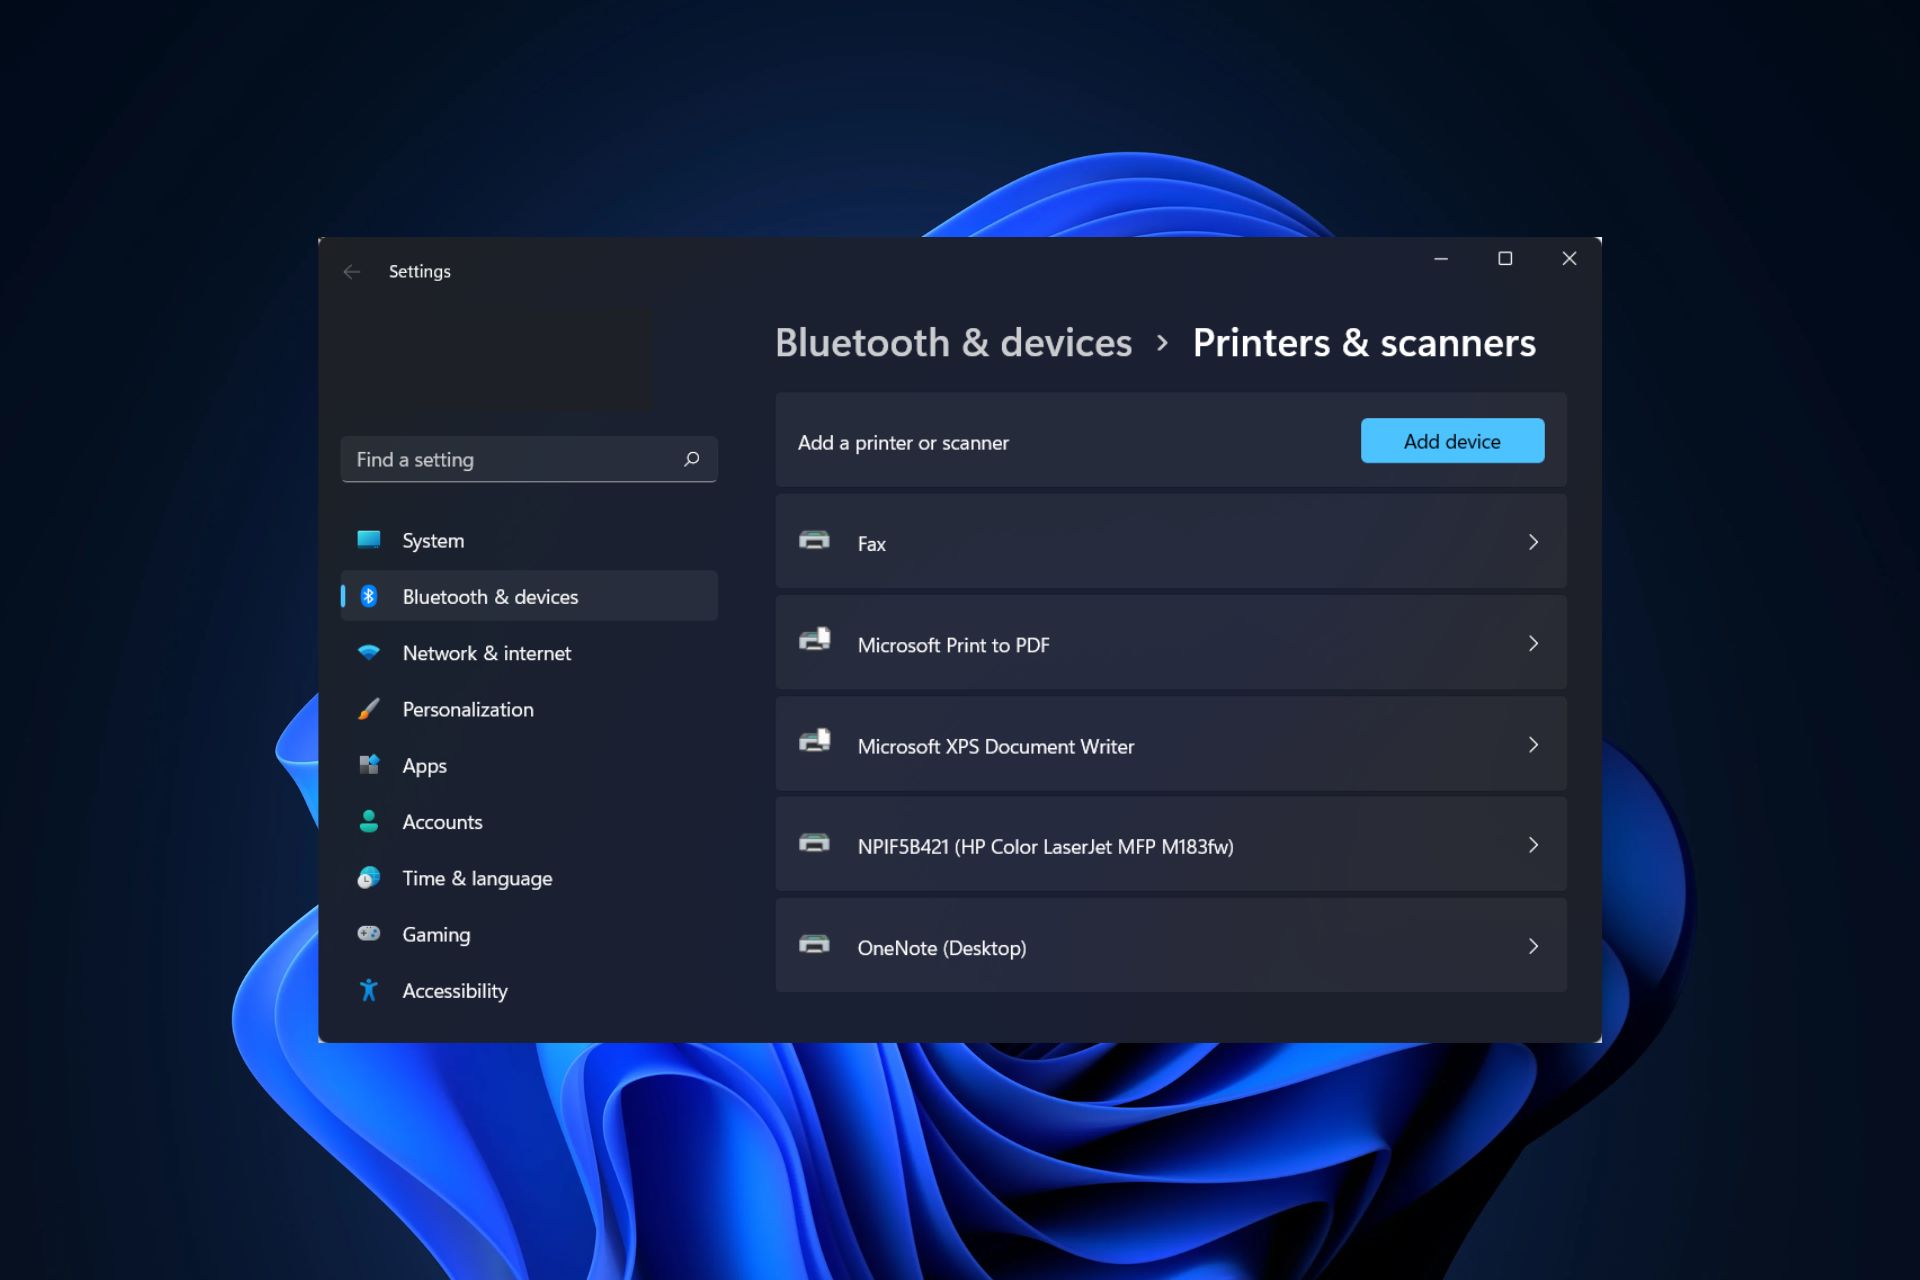
- Select Storage Location: Choose the destination for saving the scanned document. This may include internal memory within the HP printer, a connected USB drive, a network folder, or a computer linked to the printer. Navigate through the options on the control panel to designate the desired storage location.
- Specify File Name and Format: Provide a descriptive file name for the scanned document to facilitate easy identification. Additionally, select the file format for the saved document, such as PDF, JPEG, or TIFF, based on your preferences and intended usage.
- Confirm and Save: Once the storage location, file name, and format are specified, confirm the settings and initiate the saving process. The HP printer will store the scanned document in the designated location, ensuring that it is readily accessible for future tasks.
By following these steps, you will have successfully preserved the scanned document within the storage infrastructure of your HP printer or connected devices. The ability to save the digital replica in a structured and accessible manner enhances the efficiency of document management, empowering you to leverage the digital format for various purposes.
Read more: How To Scan From Printer To Email
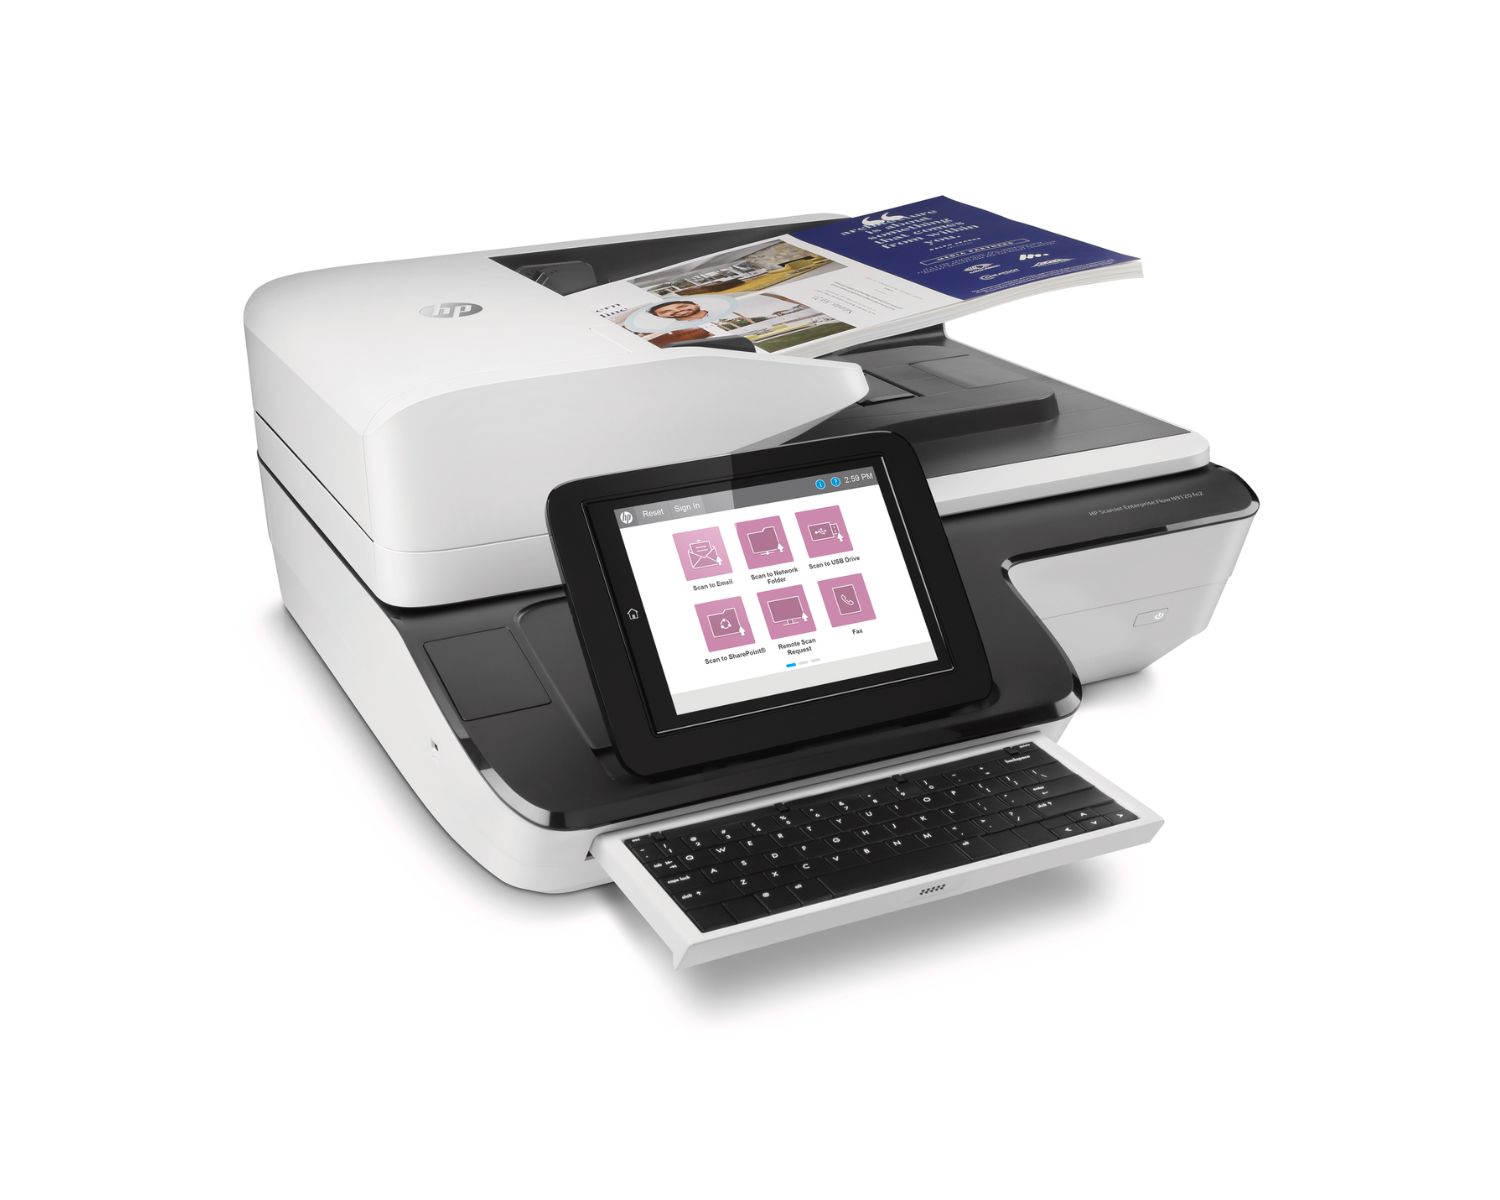
Step 5: Email the Scanned Document
With the document successfully scanned and saved, the final step in the process involves emailing the digital replica directly from your HP printer. This seamless integration of scanning and emailing capabilities streamlines the transmission of documents, eliminating the need for intermediary devices or manual file transfers. Follow these steps to email the scanned document efficiently:
- Access Email Functionality: On the control panel of your HP printer, navigate to the email function or designated application. This may involve selecting the “Email” option from the menu or accessing a dedicated email icon.
- Enter Recipient Details: Specify the email address of the intended recipient or recipients using the on-screen keyboard or input interface. Ensure that the email addresses are accurate to facilitate seamless delivery.
- Attach the Scanned Document: Select the option to attach a file or document, and navigate to the location where the scanned document is saved. Choose the desired document from the storage location to include it as an attachment to the email.
- Compose Message (Optional): If necessary, compose a brief message to accompany the scanned document. This message can provide context, instructions, or any additional information relevant to the document being transmitted.
- Send the Email: Once the recipient details, attached document, and optional message are in place, initiate the sending process. The HP printer will dispatch the email, including the scanned document as an attachment, to the specified recipients.
By following these steps, you will have seamlessly emailed the scanned document directly from your HP printer, leveraging its integrated emailing capabilities. This efficient process eliminates the need to transfer the document to a computer or external device for emailing, streamlining the workflow and expediting the transmission of important documents.
Congratulations! You have successfully completed the process of scanning and emailing a document from your HP printer, harnessing the advanced functionalities of the device to digitize and transmit content with ease.
Frequently Asked Questions about How To Scan And Email A Document From HP Printer
Was this page helpful?
At Storables.com, we guarantee accurate and reliable information. Our content, validated by Expert Board Contributors, is crafted following stringent Editorial Policies. We're committed to providing you with well-researched, expert-backed insights for all your informational needs.


0 thoughts on “How To Scan And Email A Document From HP Printer”