Home>Technology>Smart Home Devices>How To Connect My Wi-Fi Router
Smart Home Devices
How To Connect My Wi-Fi Router
Modified: September 1, 2024
Learn how to connect smart home devices to your Wi-Fi router with our step-by-step guide. Ensure a seamless setup for all your smart devices.
(Many of the links in this article redirect to a specific reviewed product. Your purchase of these products through affiliate links helps to generate commission for Storables.com, at no extra cost. Learn more)
Introduction
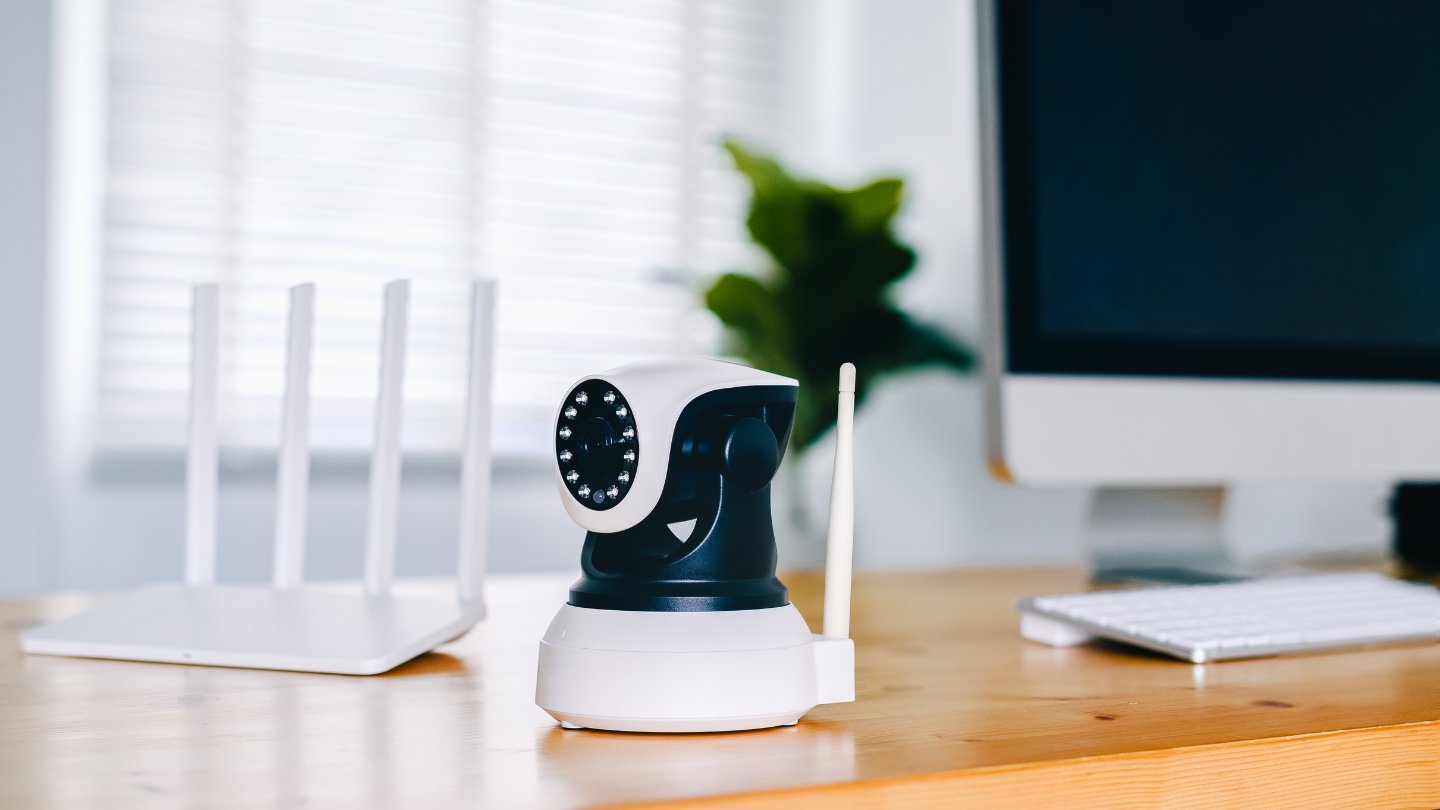
Welcome to the exciting world of smart home devices! In today's digitally connected world, Wi-Fi routers play a crucial role in enabling seamless communication between various smart devices, such as smart speakers, thermostats, cameras, and more. These devices rely on a stable and secure Wi-Fi connection to function effectively, making the setup and configuration of your Wi-Fi router an essential step in creating a connected and convenient living space.
In this comprehensive guide, we will walk you through the process of connecting your Wi-Fi router, from gathering the necessary equipment to configuring your Wi-Fi network settings. By following these step-by-step instructions, you will be able to set up your Wi-Fi router with confidence and ensure that your smart home devices are ready to deliver a seamless and integrated experience.
Whether you are a tech enthusiast diving into the world of smart home automation or a homeowner looking to enhance your living space with cutting-edge technology, understanding how to connect your Wi-Fi router is a fundamental skill. So, let's embark on this journey together and unlock the full potential of your smart home devices!
Key Takeaways:
- Setting up a strong and secure Wi-Fi network is essential for seamless communication between smart home devices, ensuring privacy and optimizing performance for an enhanced living experience.
- Customizing Wi-Fi network settings and connecting devices empowers you to create a well-connected smart home ecosystem, offering convenience, expandability, and endless possibilities for integrating innovative technology.
Read more: How To Connect My IPhone To A Wi-Fi Router
Step 1: Gather Necessary Equipment
Before diving into the process of connecting your Wi-Fi router, it is essential to gather the necessary equipment to ensure a smooth setup experience. Here are the key items you will need:
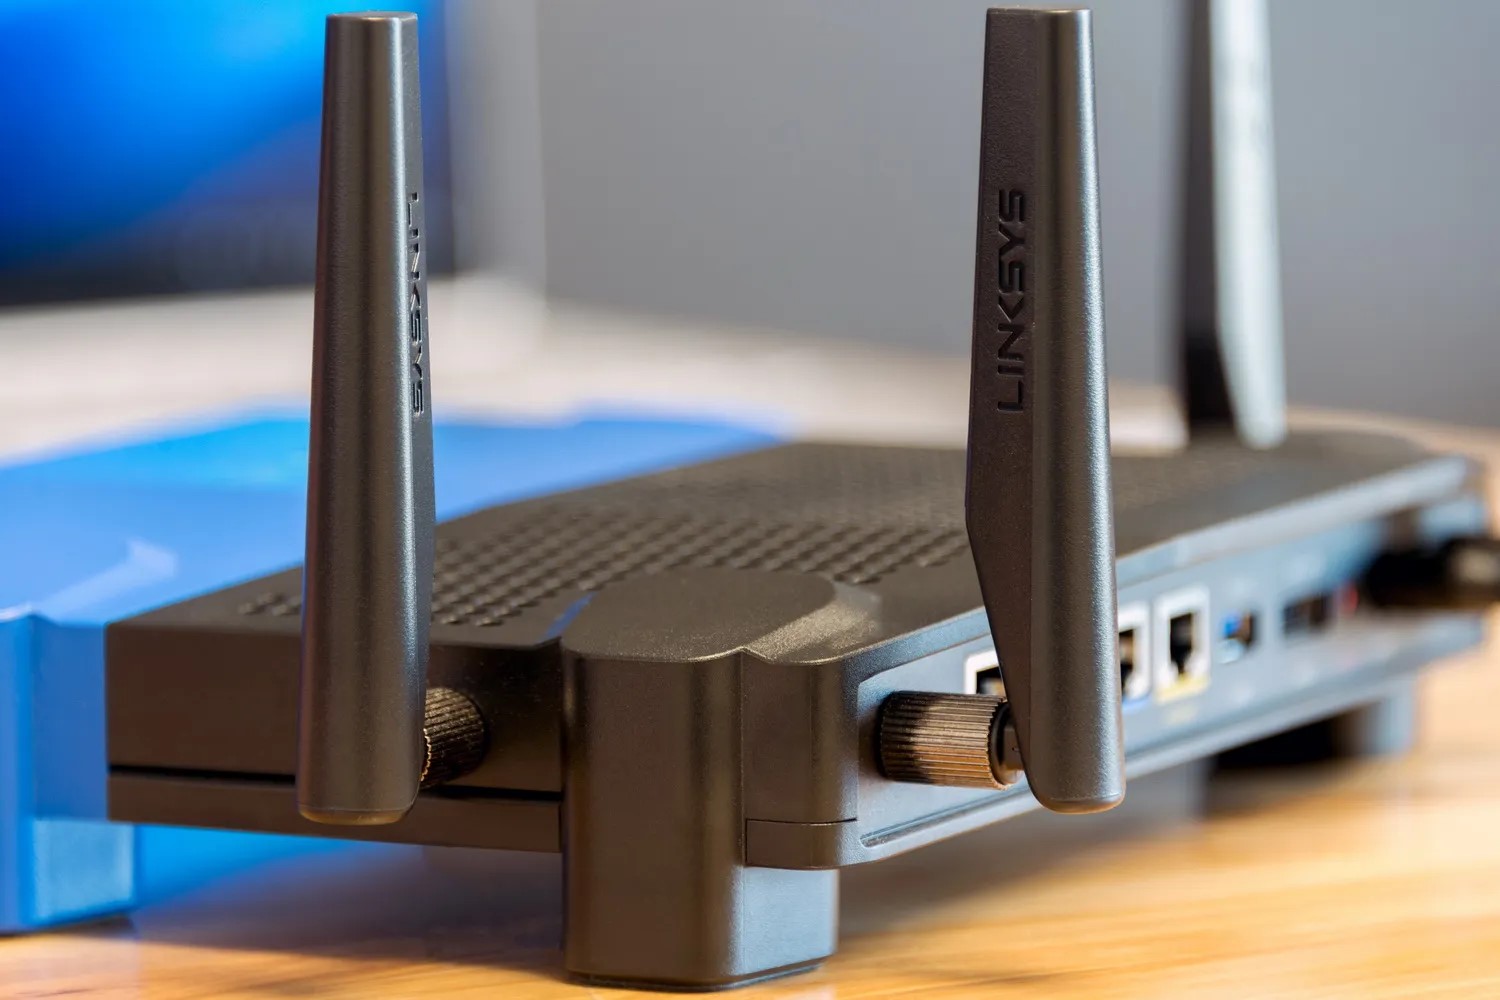
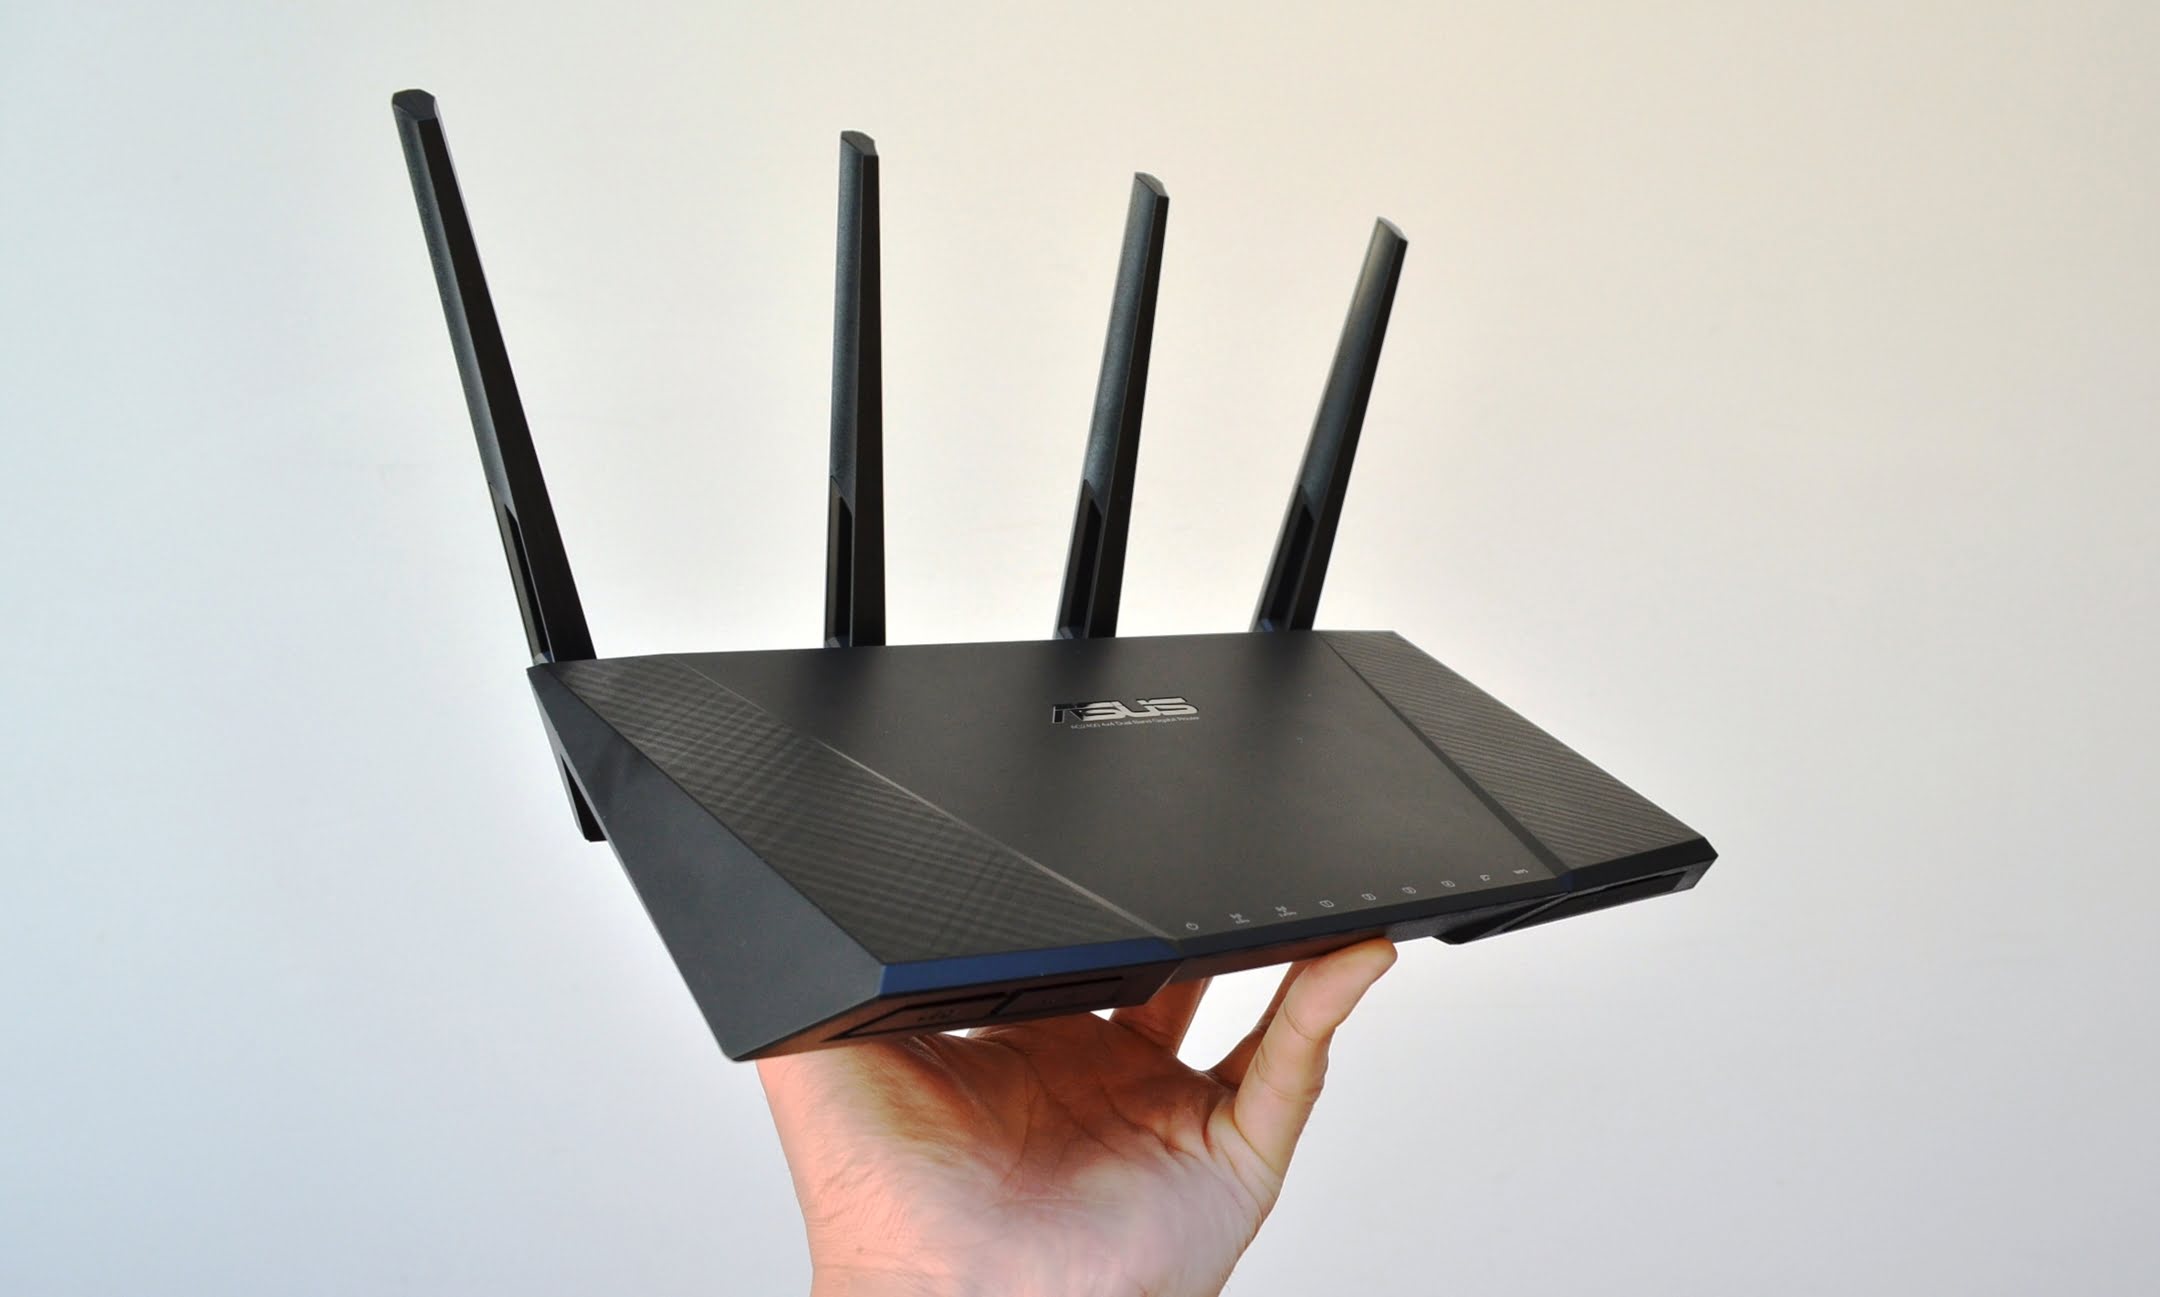
- Wi-Fi Router: Select a high-quality Wi-Fi router that meets your specific needs, such as range, speed, and compatibility with smart home devices. Consider factors like the size of your living space and the number of devices that will be connected to the network.
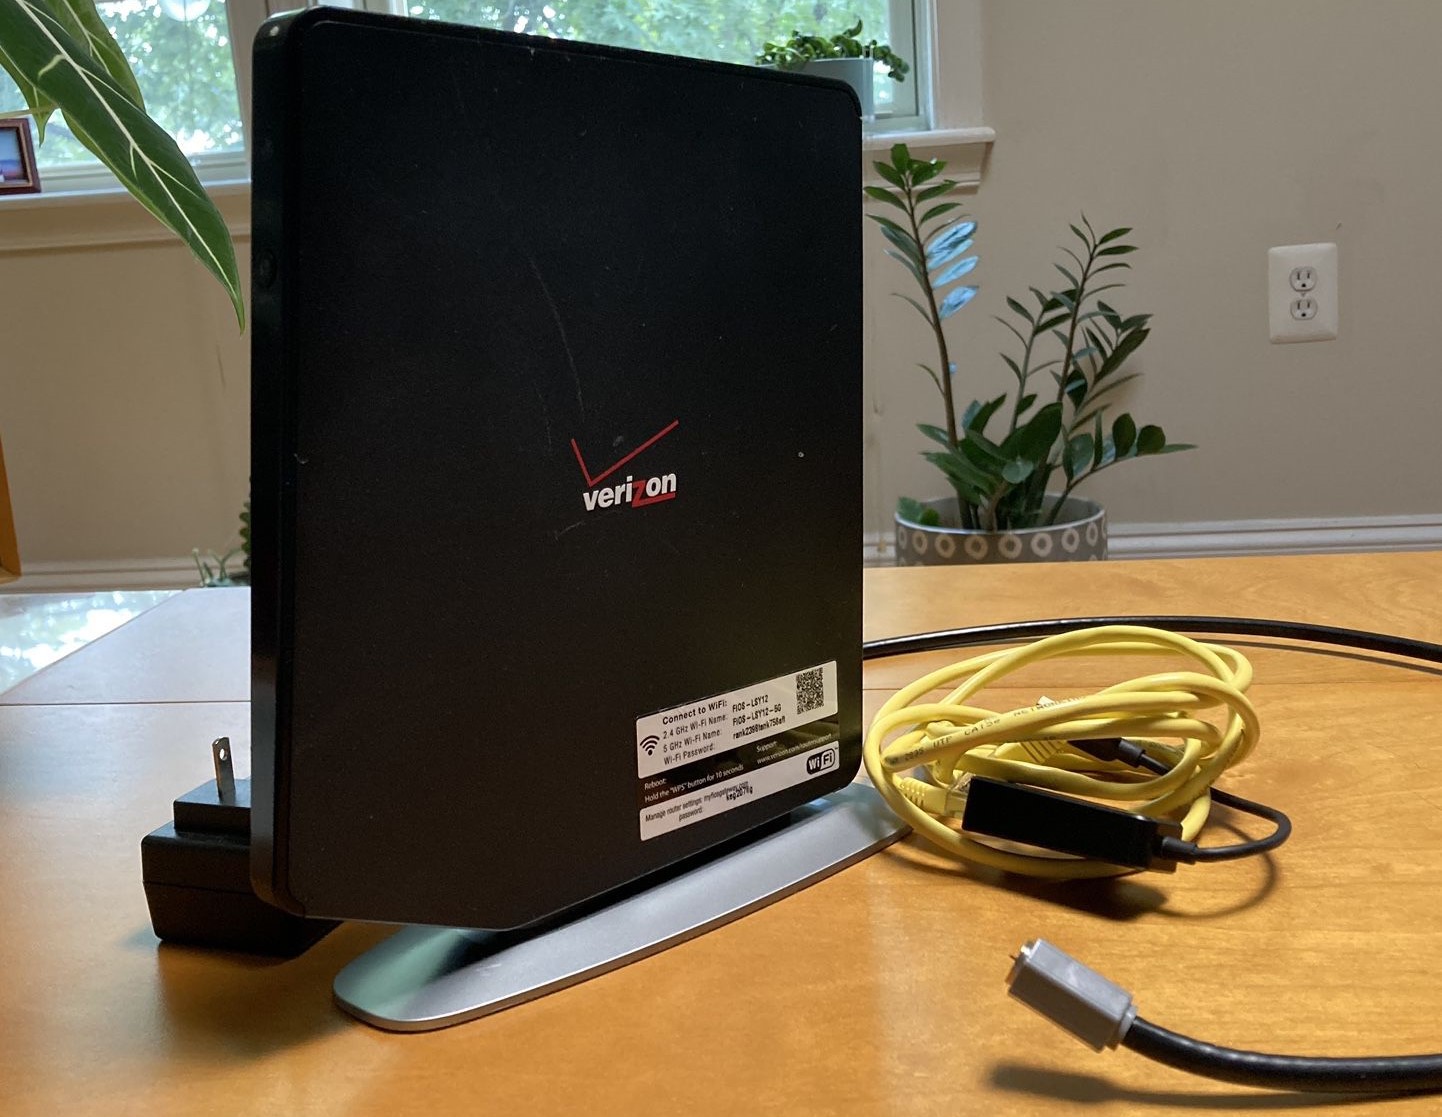
- Modem: Ensure that you have a functioning modem that is compatible with your chosen Wi-Fi router. The modem serves as the bridge between your internet service provider and your router, enabling access to the internet.
- Power Cable: Retrieve the power cable that came with your Wi-Fi router. This cable will be used to provide electrical power to the router.
- Ethernet Cable: Have an Ethernet cable on hand for connecting your router to the modem during the setup process. This cable facilitates the initial configuration and ensures a stable connection between the router and the modem.
- Device for Configuration: Prepare a computer, smartphone, or tablet for accessing the router’s settings. Most modern routers can be configured using a web browser or a dedicated mobile app.
- Documentation: Locate the user manual or setup guide that accompanies your Wi-Fi router. This documentation contains important information about the initial setup process, default login credentials, and troubleshooting tips.
By gathering these essential components, you will be well-equipped to proceed with the setup and configuration of your Wi-Fi router. Having everything readily available will streamline the process and minimize any potential delays or interruptions.
Step 2: Connect the Router to Power
Now that you have gathered the necessary equipment, it’s time to begin the physical setup of your Wi-Fi router. Follow these steps to connect the router to power:
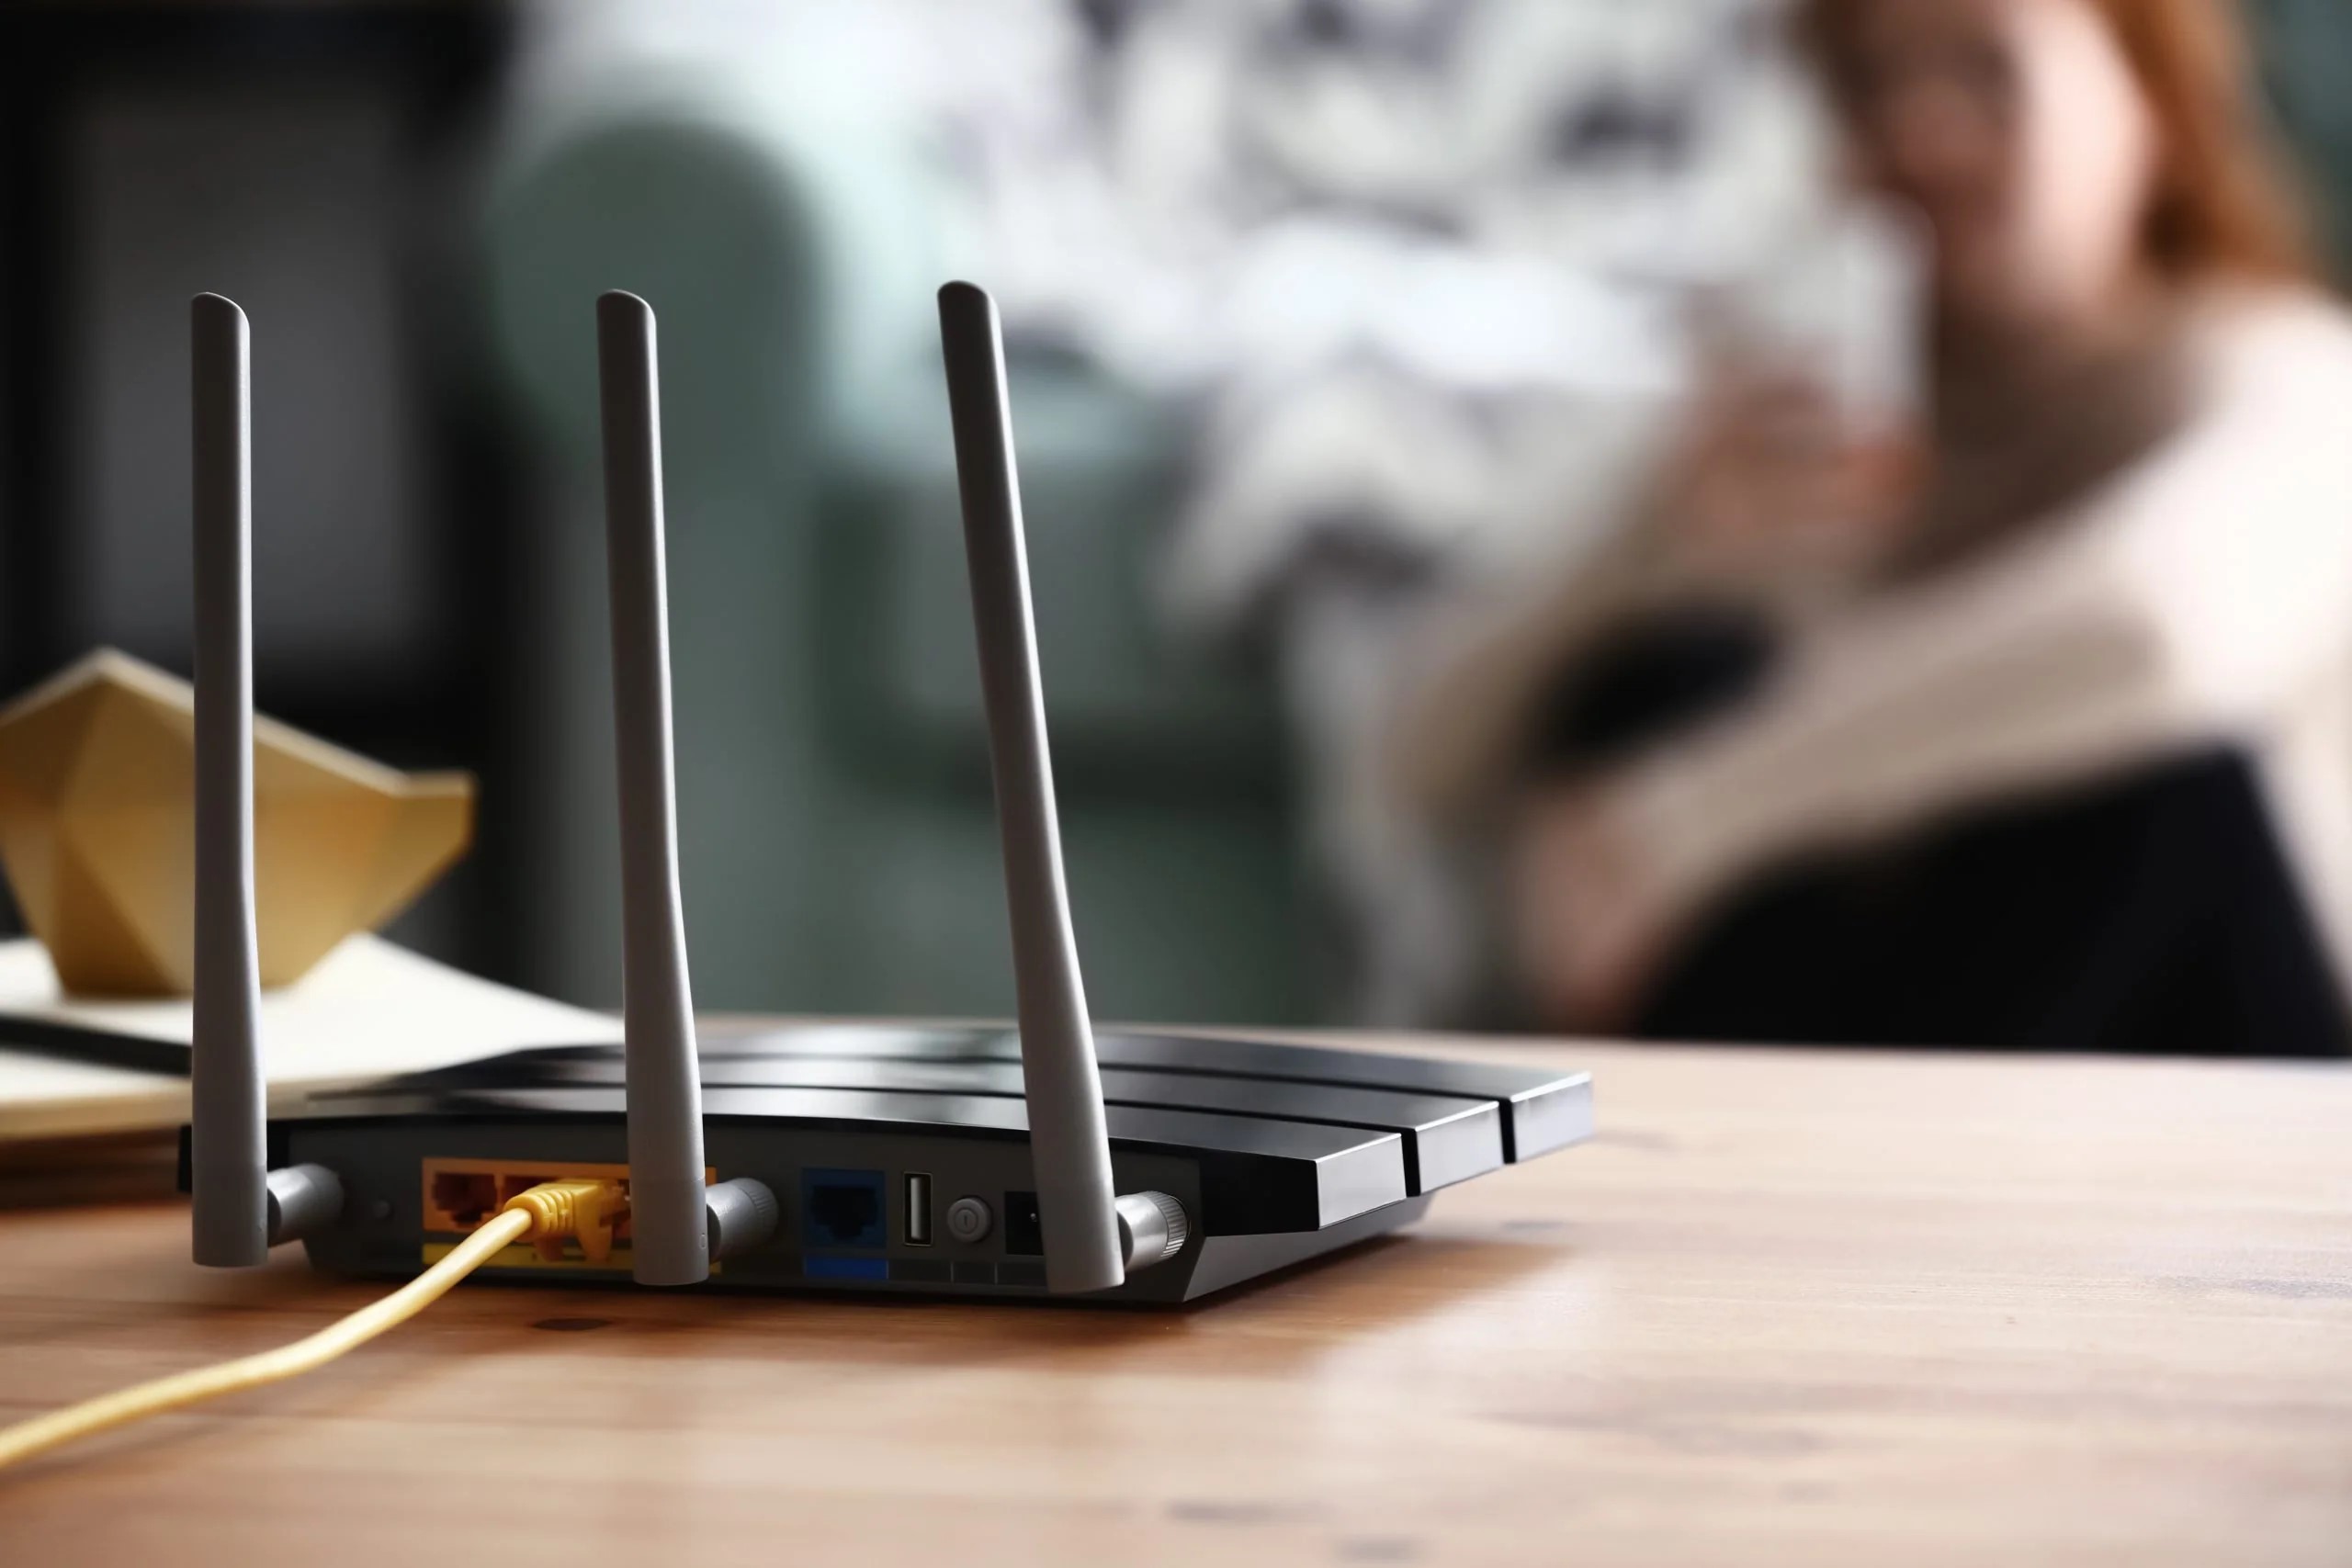
- Choose an Ideal Location: Select a central location within your home to position the Wi-Fi router. Placing the router in a central area helps ensure optimal coverage and connectivity throughout your living space.
- Power Off and Unplug: If you have not already done so, power off your modem and unplug it from the electrical outlet. This precautionary step ensures safety and prevents any potential electrical interference during the setup process.
- Connect the Power Cable: Take the power cable that came with your Wi-Fi router and plug one end into the power port on the router. Then, plug the other end into a nearby electrical outlet. Ensure that the power outlet is easily accessible and not obstructed by furniture or other objects.
- Power On the Router: Once the power cable is securely connected, power on the Wi-Fi router by pressing the power button or flipping the power switch, if applicable. Allow the router a few moments to initialize and establish a stable power connection.
- Indicator Lights: Check the router for indicator lights that signify power and connectivity. Most routers have LED lights that indicate power status, internet connectivity, and Wi-Fi activity. Refer to the router’s documentation to understand the meaning of each indicator light.
By following these steps, you will successfully connect your Wi-Fi router to power, laying the foundation for the subsequent configuration and connection steps. A securely powered router is essential for ensuring that your smart home devices can access a reliable and stable Wi-Fi network.
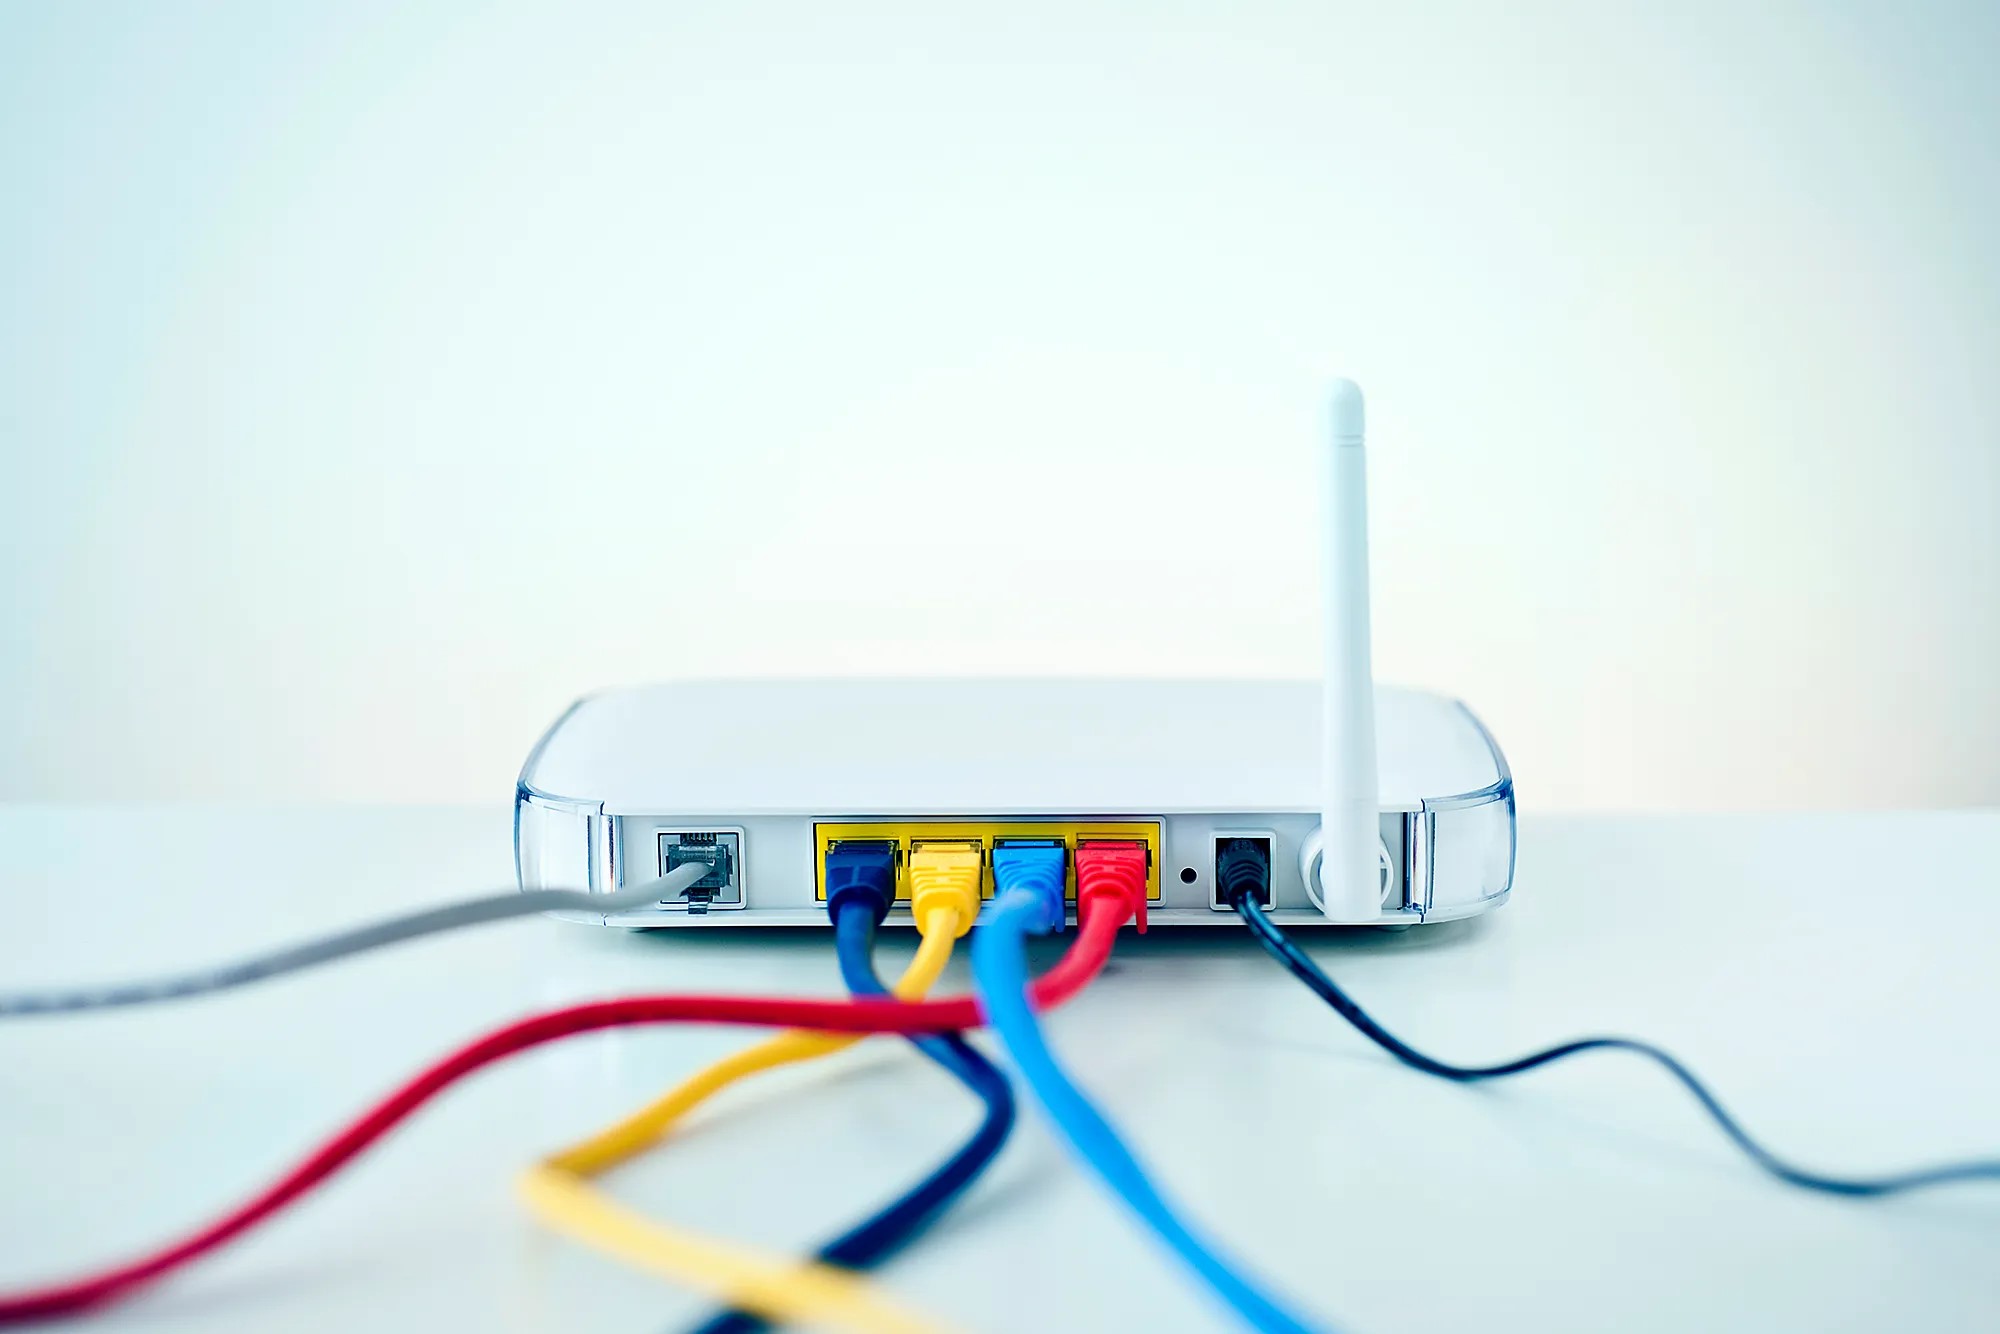
Step 3: Connect the Router to Your Modem
With your Wi-Fi router powered on, the next crucial step is to establish a connection between the router and your modem. This connection enables the router to access the internet and distribute the connection to your smart home devices. Follow these steps to connect the router to your modem:
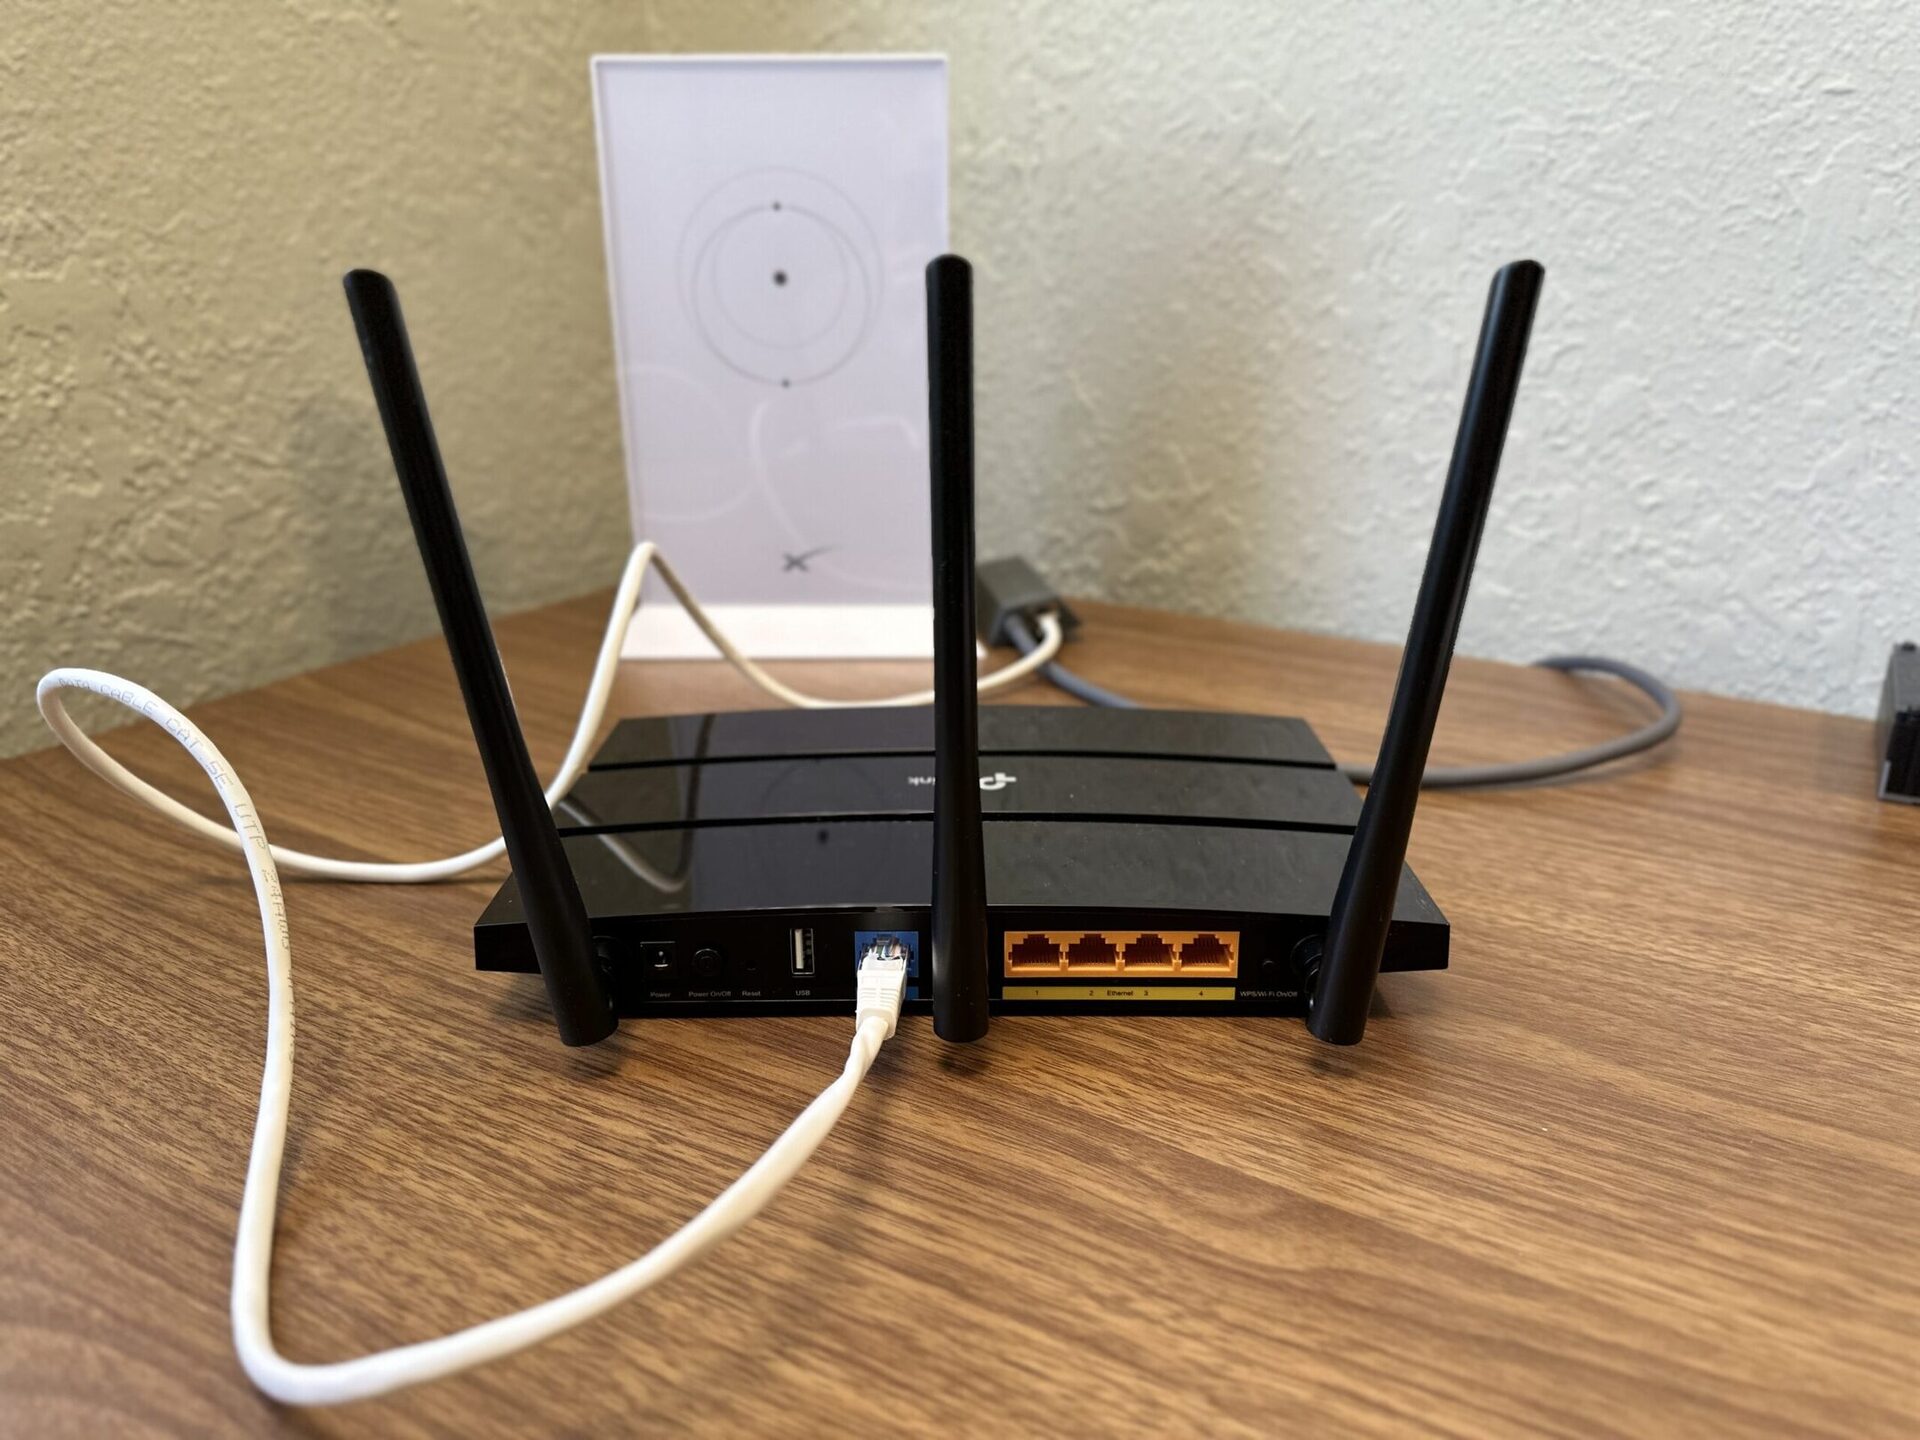
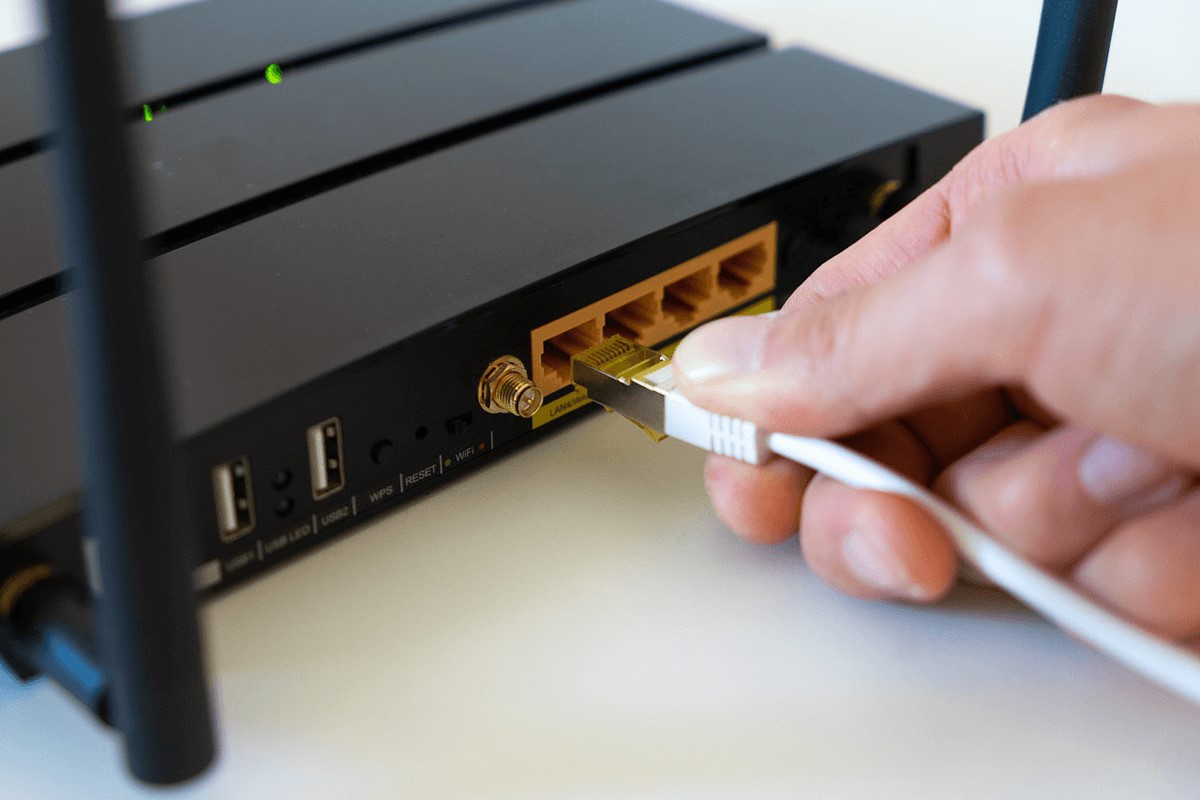
- Locate the Ethernet Port: Identify the Ethernet port on the back of your modem. This port is typically labeled “Ethernet,” “LAN,” or “Internet.” It is the gateway through which the modem communicates with other devices, including your Wi-Fi router.
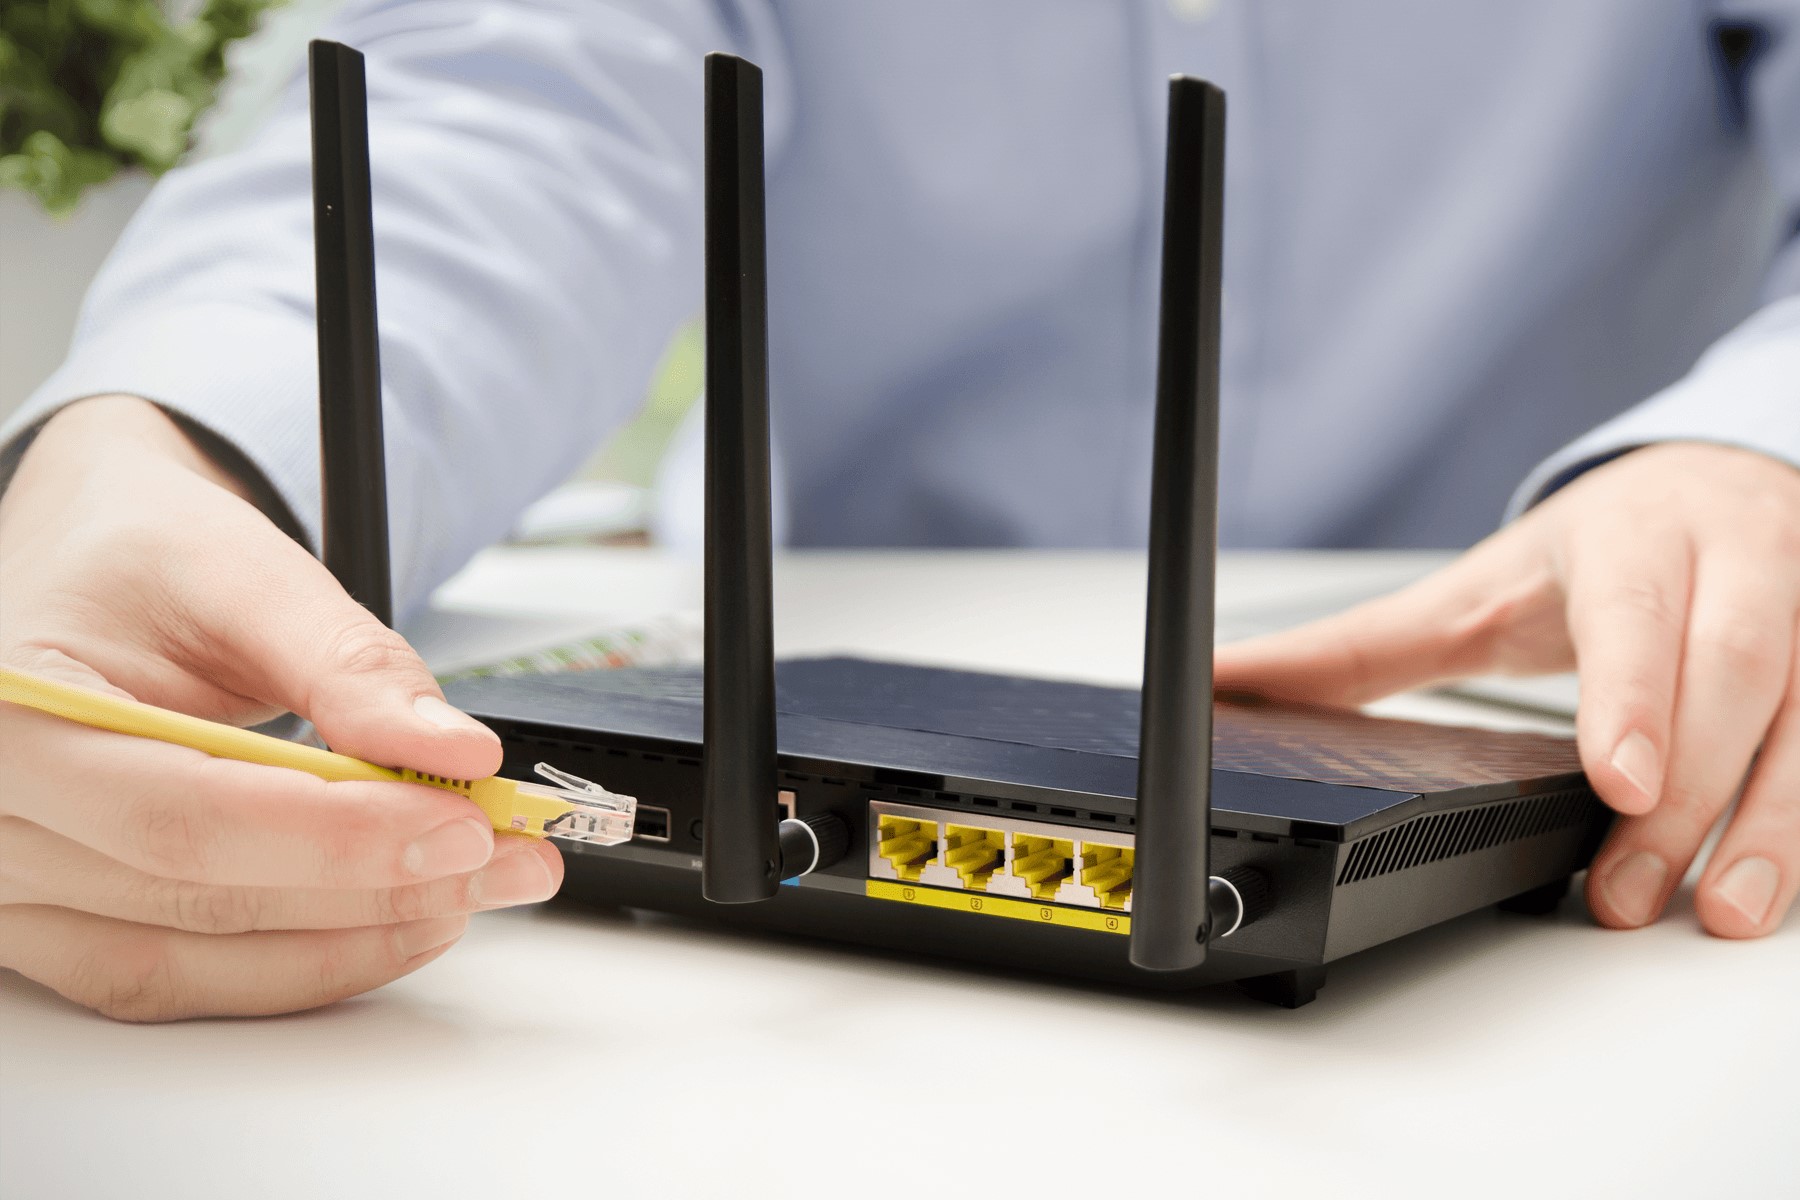
- Use an Ethernet Cable: Take an Ethernet cable and connect one end to the Ethernet port on the modem. Ensure that the connection is secure to prevent any potential signal loss or instability.
- Connect to the Router: Locate the WAN (Wide Area Network) port on your Wi-Fi router. This port is specifically designed to receive the internet signal from the modem. Connect the other end of the Ethernet cable to the WAN port on the router, ensuring a secure and snug fit.
- Power On the Modem: Plug in your modem and power it on. Allow the modem a few moments to establish a connection with your internet service provider and synchronize with the router.
- Router Initialization: Once the modem is powered on and connected to the router, the router will begin initializing the connection. Indicator lights on the router will show the status of the connection establishment process. Refer to the router’s documentation for specific guidance on interpreting the indicator lights.
- Verification: Use the documentation provided with your router to verify that the connection between the router and modem is successful. Some routers have dedicated indicators to confirm a stable connection to the modem.
By completing these steps, you have successfully connected your Wi-Fi router to your modem, establishing the crucial link that allows your smart home devices to access the internet and communicate with each other. This connection forms the backbone of your smart home network and sets the stage for configuring your Wi-Fi network settings.
When connecting your Wi-Fi router, make sure to place it in a central location for better coverage. Also, use a strong, unique password to secure your network.
Step 4: Access the Router’s Settings
With the physical connections in place, it’s time to access the settings of your Wi-Fi router to begin the configuration process. By accessing the router’s settings, you can customize various aspects of your Wi-Fi network, including security settings, network name (SSID), and password. Follow these steps to access the router’s settings:
- Connect to the Router: Using a computer, smartphone, or tablet, connect to the Wi-Fi network broadcast by your router. The default network name (SSID) and password can usually be found on a label on the router or in the accompanying documentation.
- Open a Web Browser: Launch a web browser on your device and enter the default IP address of your router in the address bar. Common router IP addresses include 192.168.0.1, 192.168.1.1, or 192.168.2.1. Refer to the router’s documentation for the specific default IP address.
- Login to the Router: Upon entering the router’s IP address in the web browser, you will be prompted to enter the router’s login credentials. The default username and password are typically provided in the router’s documentation. It is advisable to change these default credentials for enhanced security.
- Access the Settings Interface: After successfully logging in, you will be granted access to the router’s settings interface. This user-friendly interface allows you to configure various aspects of your Wi-Fi network, including security protocols, guest network settings, and device management.
- Explore Configuration Options: Take the time to explore the available configuration options and customize your Wi-Fi network settings according to your preferences. You can set up a strong and unique Wi-Fi password, choose the appropriate security protocol (e.g., WPA2-PSK), and customize the network name to make it easily identifiable.
- Save Your Changes: Once you have configured the desired settings, be sure to save your changes within the router’s settings interface. This ensures that your customizations are applied and that your Wi-Fi network is secured and optimized for your smart home devices.
By accessing the settings of your Wi-Fi router, you have taken a significant step towards creating a personalized and secure Wi-Fi network for your smart home devices. Customizing the network settings according to your preferences enhances the overall connectivity and performance of your smart home ecosystem.
Step 5: Configure Wi-Fi Network Settings
Now that you have accessed the settings interface of your Wi-Fi router, it’s time to delve into the configuration of your Wi-Fi network settings. Customizing these settings allows you to optimize the performance, security, and accessibility of your Wi-Fi network, ensuring a seamless experience for your smart home devices and users. Follow these steps to configure your Wi-Fi network settings:
- Network Name (SSID): Customize the network name (SSID) to make it easily identifiable for your household. Choose a unique and descriptive name that distinguishes your network from others in the vicinity. This personalized SSID enhances the visibility and accessibility of your Wi-Fi network.
- Wi-Fi Password: Set a strong and secure password for your Wi-Fi network. A robust password helps safeguard your network from unauthorized access and ensures the privacy and security of your smart home devices and personal data. Consider using a combination of uppercase and lowercase letters, numbers, and special characters for enhanced security.
- Security Protocol: Select the appropriate security protocol for your Wi-Fi network. WPA2-PSK (Wi-Fi Protected Access 2 – Pre-Shared Key) is a widely recommended security protocol that provides strong encryption to protect your network from potential threats and intrusions.
- Guest Network (Optional): If your router supports guest network functionality, consider enabling this feature to provide visiting guests with a separate and secure Wi-Fi network. Guest networks allow you to control access and protect your primary network while offering convenient connectivity to visitors.
- Band Selection (2.4GHz or 5GHz): If your router supports dual-band Wi-Fi, configure the band selection based on the specific requirements of your smart home devices. The 2.4GHz band provides wider coverage, while the 5GHz band offers faster speeds and is ideal for high-bandwidth activities such as streaming and gaming.
- MAC Address Filtering (Optional): Consider implementing MAC address filtering to enhance the security of your Wi-Fi network. This feature allows you to specify which devices are permitted to connect to your network based on their unique MAC addresses.
By carefully configuring your Wi-Fi network settings, you are creating a tailored and secure environment for your smart home devices to thrive. These personalized settings optimize the performance, security, and accessibility of your Wi-Fi network, ensuring a reliable and seamless connectivity experience for all connected devices.
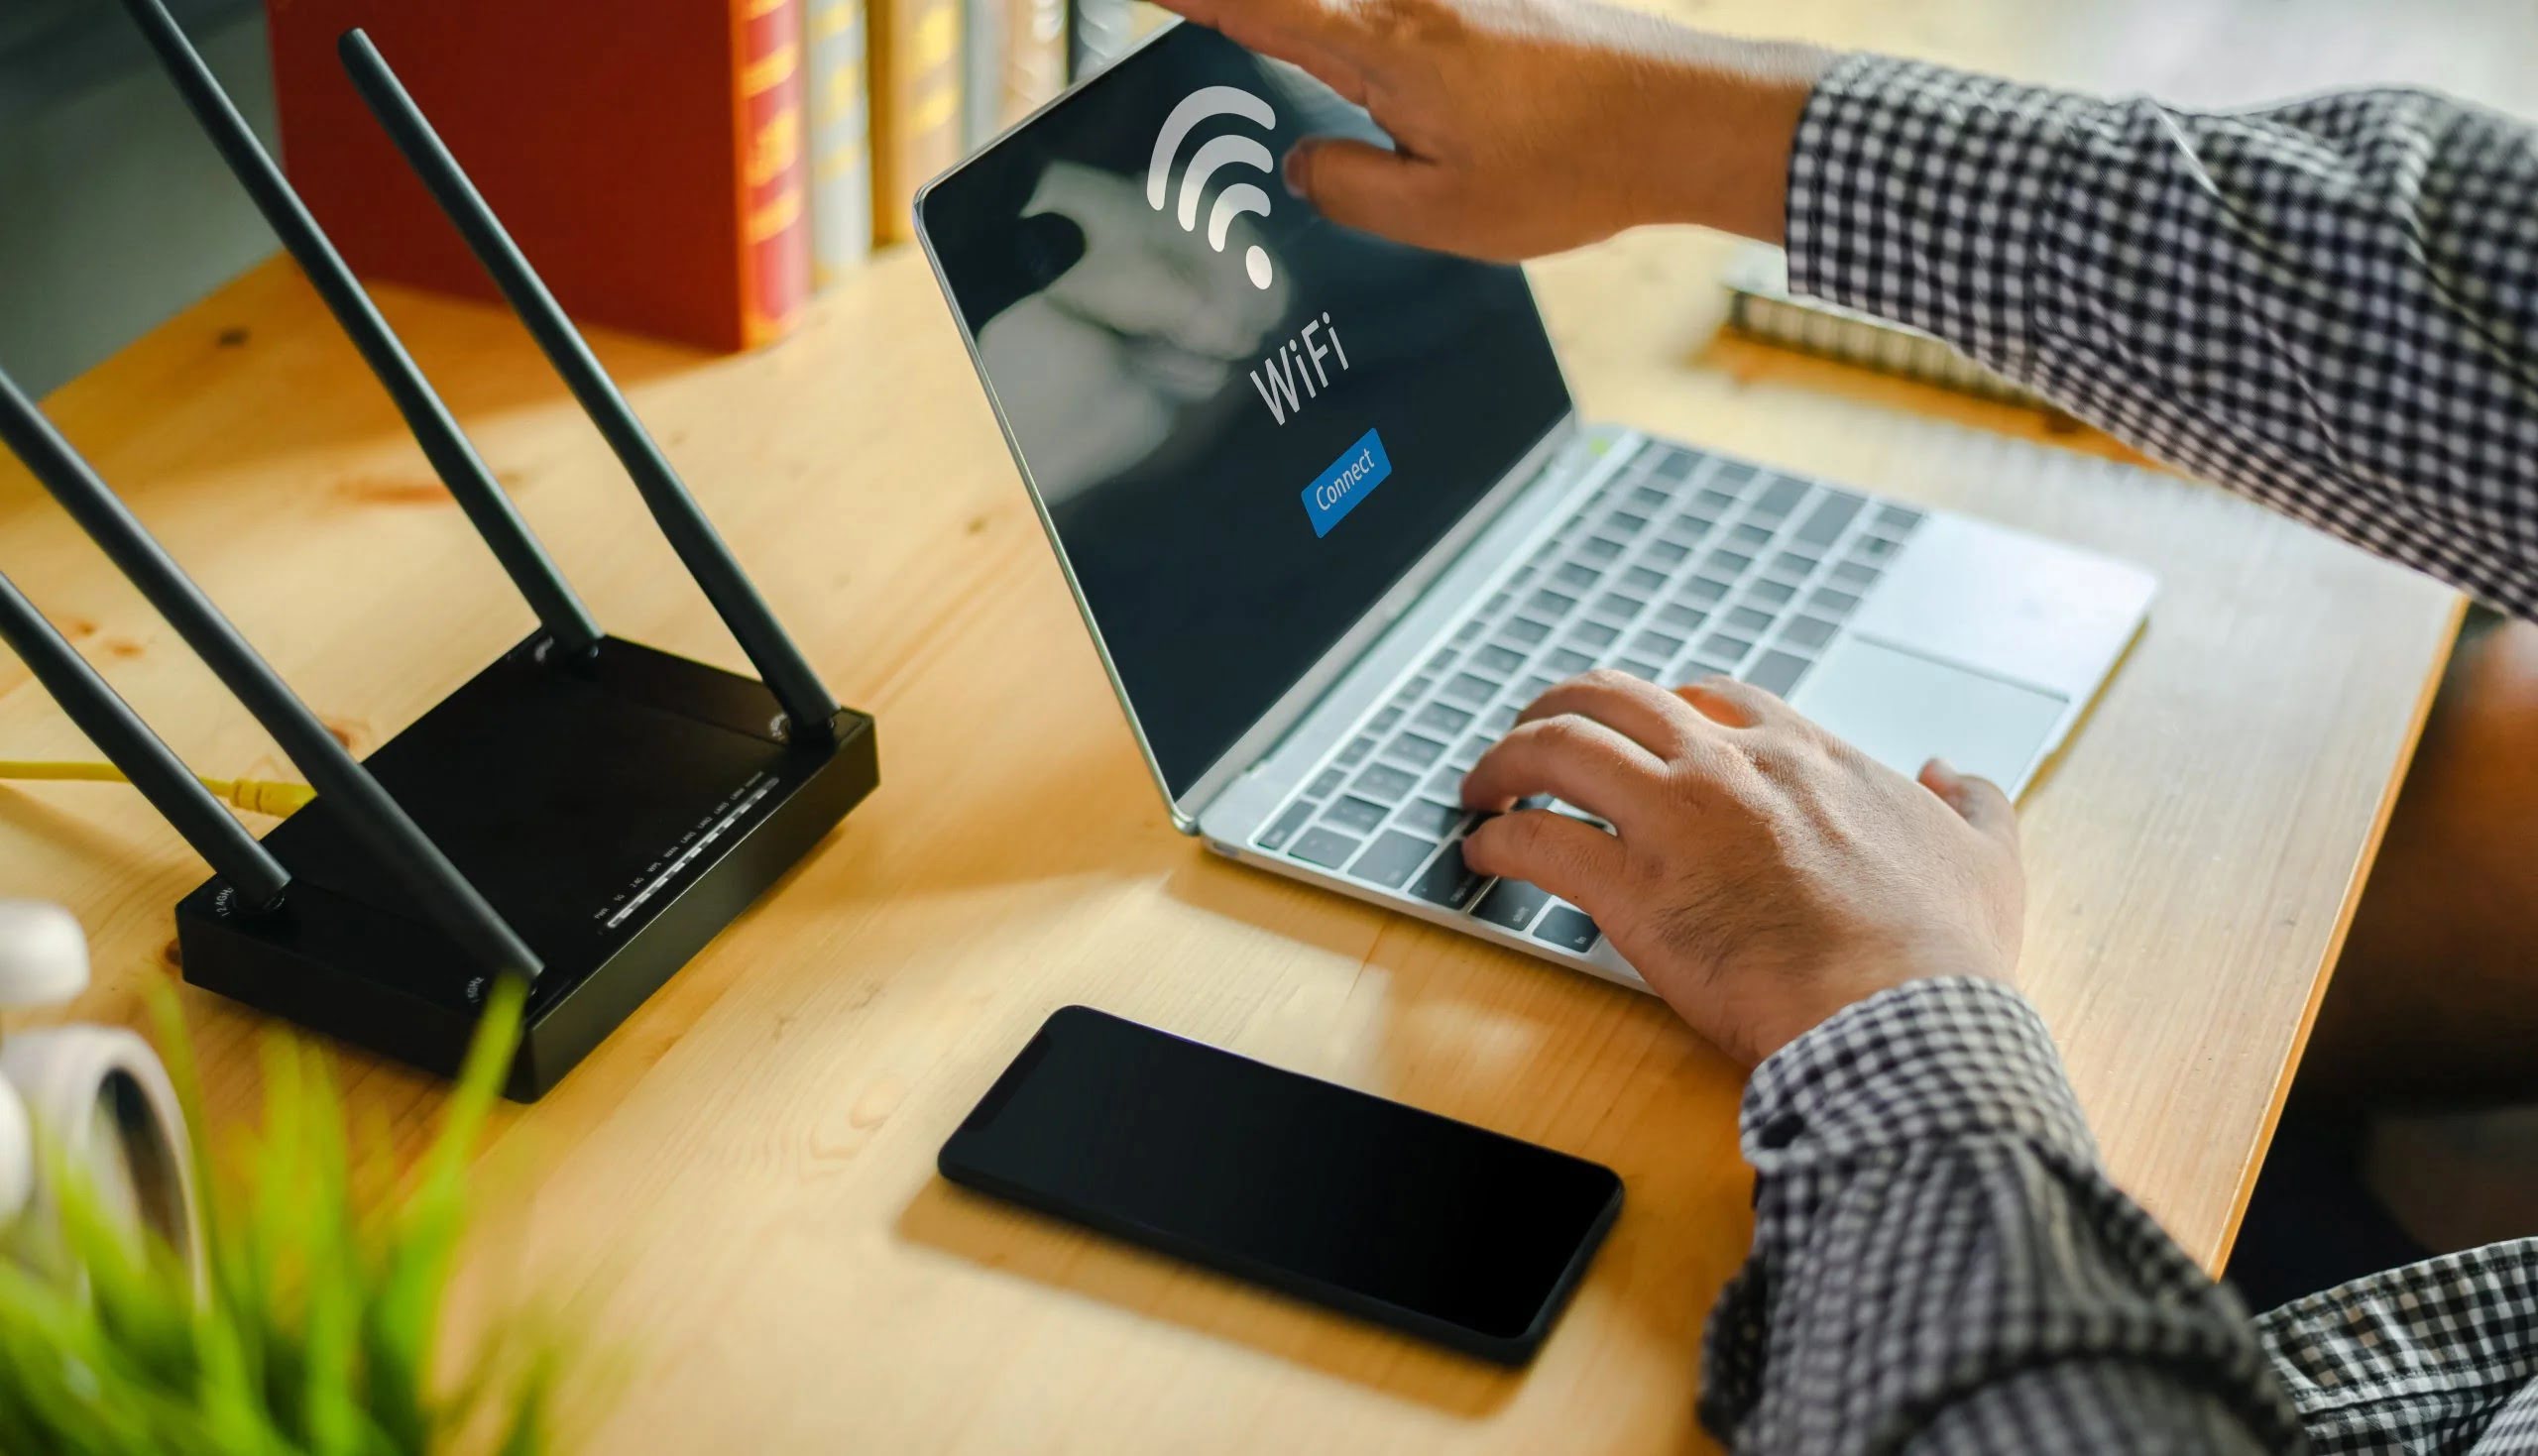
Step 6: Connect Devices to the Wi-Fi Network
With your Wi-Fi network settings configured, it’s time to connect your smart home devices to the network, allowing them to seamlessly communicate and access the internet. Whether it’s a smart speaker, thermostat, camera, or other connected devices, the process of connecting them to your Wi-Fi network is straightforward. Follow these steps to connect your devices to the Wi-Fi network:
- Access Device Settings: Refer to the user manual or setup guide for each smart home device to understand the specific steps for connecting it to a Wi-Fi network. Typically, this involves accessing the device’s settings or control panel.
- Locate Wi-Fi Networks: In the device’s settings, locate the option to connect to a Wi-Fi network. The device will scan for available networks, and your customized SSID should be visible in the list of available networks.
- Enter Wi-Fi Password: Select your personalized Wi-Fi network from the available options and enter the secure password that you configured during the router setup. This password ensures that only authorized devices can connect to your network.
- Complete Connection: Once the correct password is entered, the device will establish a connection to your Wi-Fi network. Depending on the device, you may receive a confirmation message or indicator light to signify a successful connection.
- Verify Connectivity: After connecting the device to your Wi-Fi network, verify that it has successfully accessed the internet and can communicate with other devices on the network. Test the device’s functionality to ensure that it is operating as expected within your smart home ecosystem.
- Repeat for Additional Devices: If you have multiple smart home devices to connect, repeat the above steps for each device, ensuring that they are securely connected to your Wi-Fi network and functioning optimally.
By connecting your smart home devices to the Wi-Fi network, you are integrating them into your connected living space, enabling seamless communication and access to online services. Each device contributes to the overall functionality and convenience of your smart home ecosystem, enriching your daily life with innovative features and capabilities.
Conclusion
Congratulations on successfully connecting your Wi-Fi router and configuring your Wi-Fi network settings! By following the step-by-step process outlined in this guide, you have laid a solid foundation for creating a robust and reliable network environment for your smart home devices. As you embark on this journey of smart home integration, it’s important to remember the following key points:
- Seamless Connectivity: A well-configured Wi-Fi network ensures seamless connectivity for your smart home devices, allowing them to communicate with each other and access online services without interruption.
- Security and Privacy: Customizing your Wi-Fi network settings with a strong password and appropriate security protocols enhances the security and privacy of your network, safeguarding your personal data and connected devices from potential threats.
- Optimized Performance: By strategically configuring your Wi-Fi network, including band selection and guest network options, you can optimize the performance and accessibility of your network to meet the specific needs of your smart home ecosystem.
- Expandability and Flexibility: As you continue to add new smart home devices to your living space, the scalable nature of your Wi-Fi network allows for seamless integration and expansion, accommodating the evolving demands of your connected lifestyle.
- Ongoing Maintenance: Regularly reviewing and updating your Wi-Fi network settings, as well as staying informed about firmware updates for your router, ensures that your network remains secure, efficient, and capable of supporting your smart home devices effectively.
As you enjoy the convenience and innovation that smart home devices bring to your daily life, remember that a well-connected and secure Wi-Fi network forms the backbone of your smart home ecosystem. By mastering the setup and configuration of your Wi-Fi router, you have empowered yourself to create a connected living space that enhances comfort, convenience, and efficiency.
Embrace the possibilities of smart home technology, and continue to explore new ways to integrate innovative devices into your living environment. With a reliable and well-managed Wi-Fi network at the core, your smart home journey is poised for success, offering endless opportunities for enhancing your lifestyle with cutting-edge technology.
Frequently Asked Questions about How To Connect My Wi-Fi Router
Was this page helpful?
At Storables.com, we guarantee accurate and reliable information. Our content, validated by Expert Board Contributors, is crafted following stringent Editorial Policies. We're committed to providing you with well-researched, expert-backed insights for all your informational needs.


0 thoughts on “How To Connect My Wi-Fi Router”