Home>Technology>Smart Home Devices>How To Set Up Virgin Media Wi-Fi Router
Smart Home Devices
How To Set Up Virgin Media Wi-Fi Router
Modified: January 4, 2024
Learn how to set up your Virgin Media Wi-Fi router for seamless connectivity with smart home devices. Follow our step-by-step guide for easy installation and optimization.
(Many of the links in this article redirect to a specific reviewed product. Your purchase of these products through affiliate links helps to generate commission for Storables.com, at no extra cost. Learn more)
Introduction
Setting up a Virgin Media Wi-Fi router is a crucial step in establishing a reliable and high-speed internet connection in your home. Whether you're a tech-savvy individual or a beginner in the realm of networking, this comprehensive guide will walk you through the process in a clear and concise manner. By following these step-by-step instructions, you'll be able to enjoy seamless connectivity for all your smart home devices, streaming services, and online activities.
In this guide, we will cover the unboxing of the Virgin Media Wi-Fi router, connecting it to your modem, accessing the router settings, configuring the Wi-Fi settings, and connecting your devices to the newly established network. By the end of this tutorial, you'll have a fully operational Wi-Fi network that caters to your specific needs and preferences.
So, let's dive in and embark on this journey to transform your living space into a connected and digitally empowered environment. Get ready to unleash the full potential of your Virgin Media Wi-Fi router and elevate your online experience to new heights.
Key Takeaways:
- Setting up a Virgin Media Wi-Fi router is easy! Just unbox, connect to modem, power up, access settings, configure Wi-Fi, and connect devices for seamless internet and smart home device connectivity.
- Customize your Wi-Fi network for optimal performance and security. Set a strong password, configure guest networks, and connect all your devices for a digitally empowered lifestyle.
Read more: How To Set Up A Wi-Fi Router
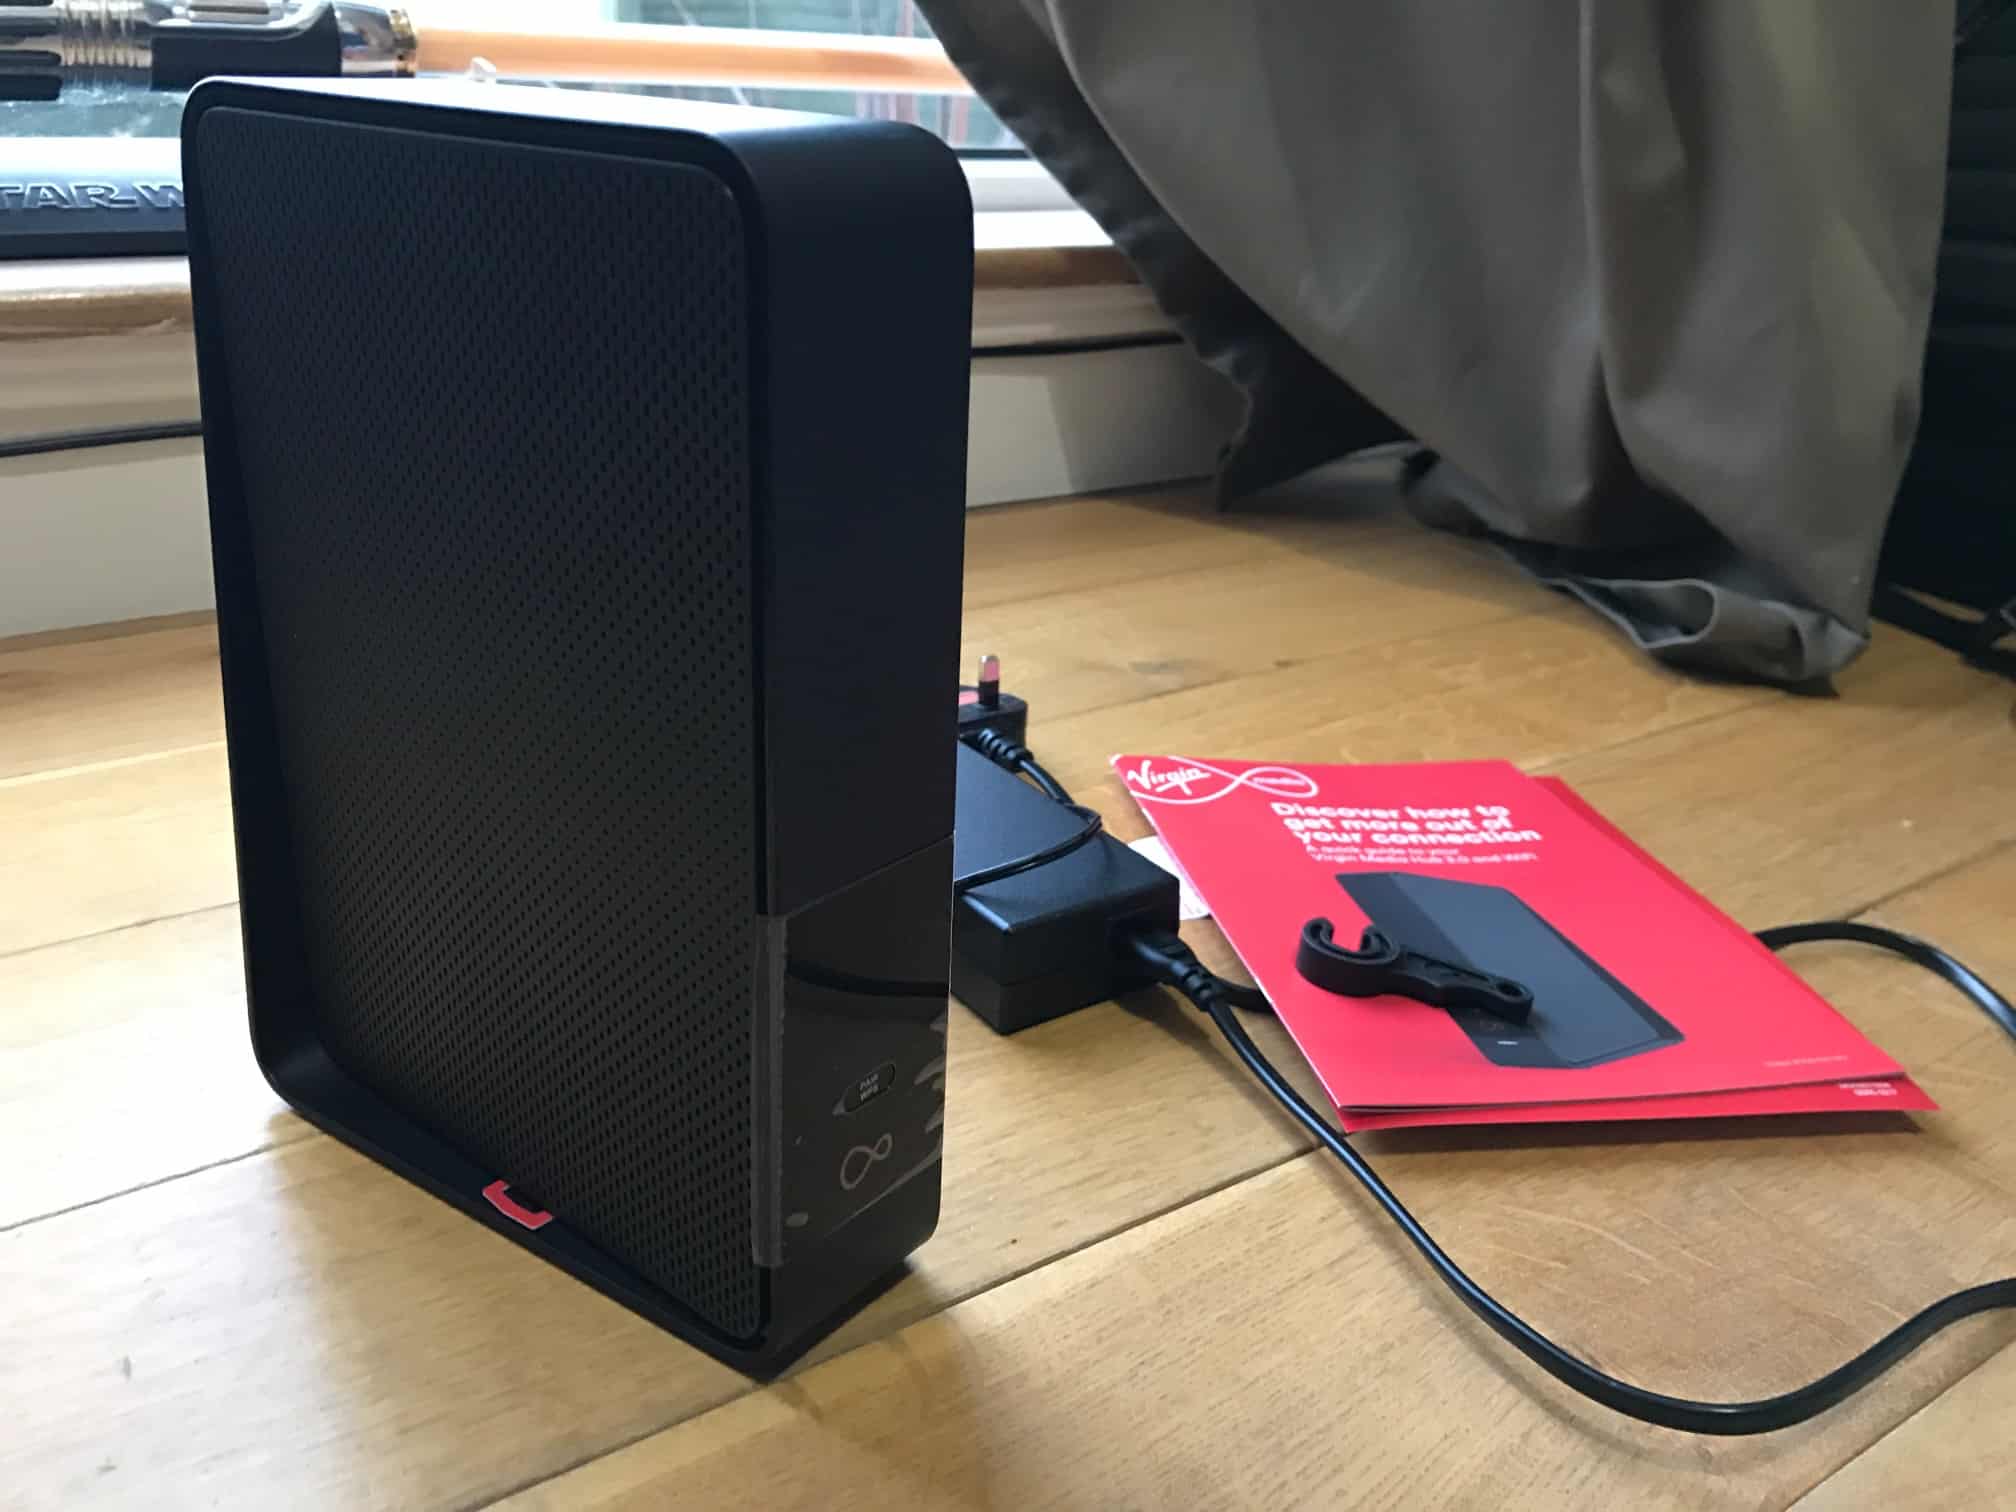
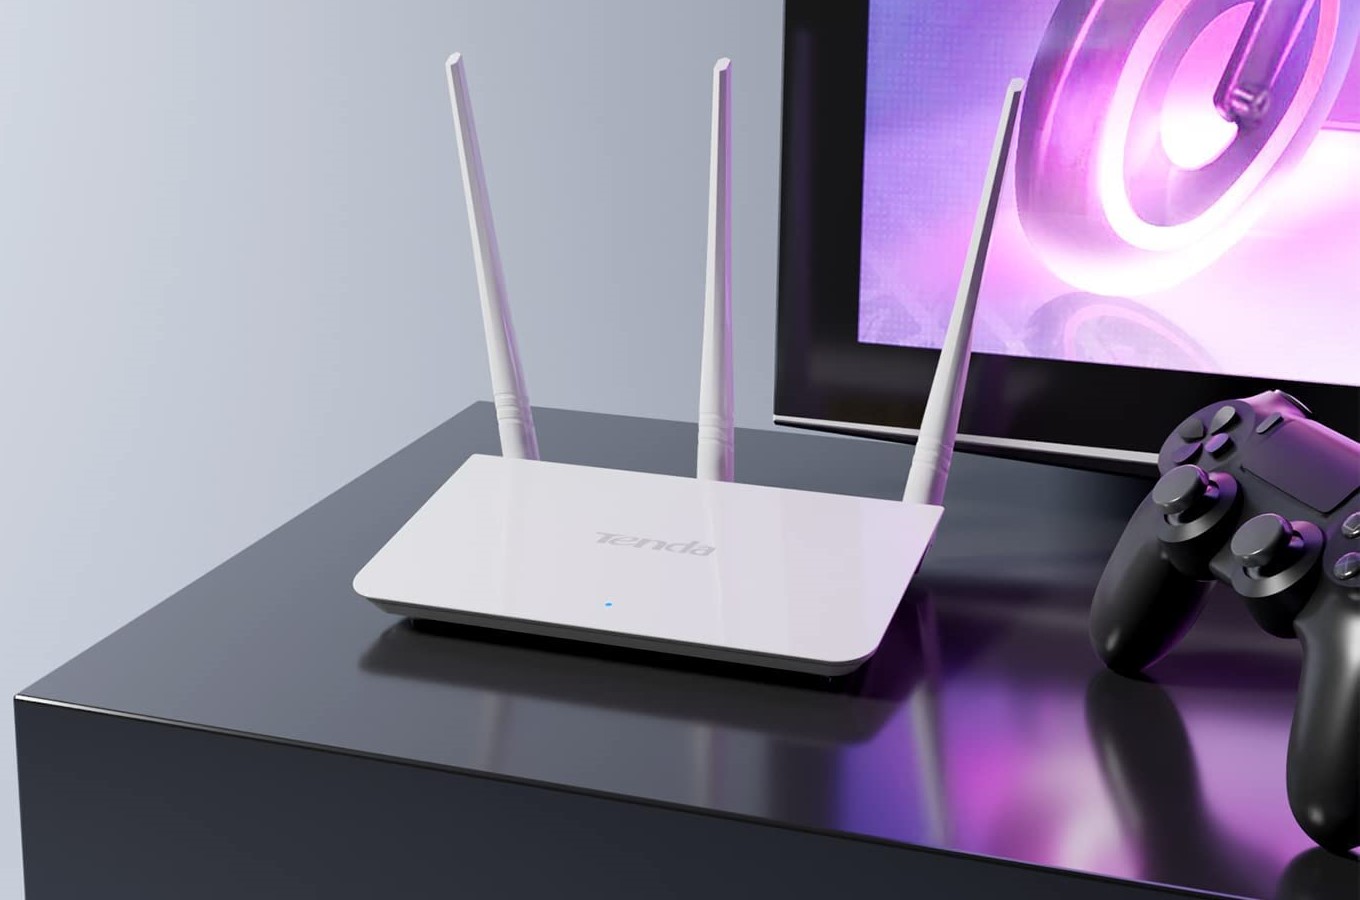
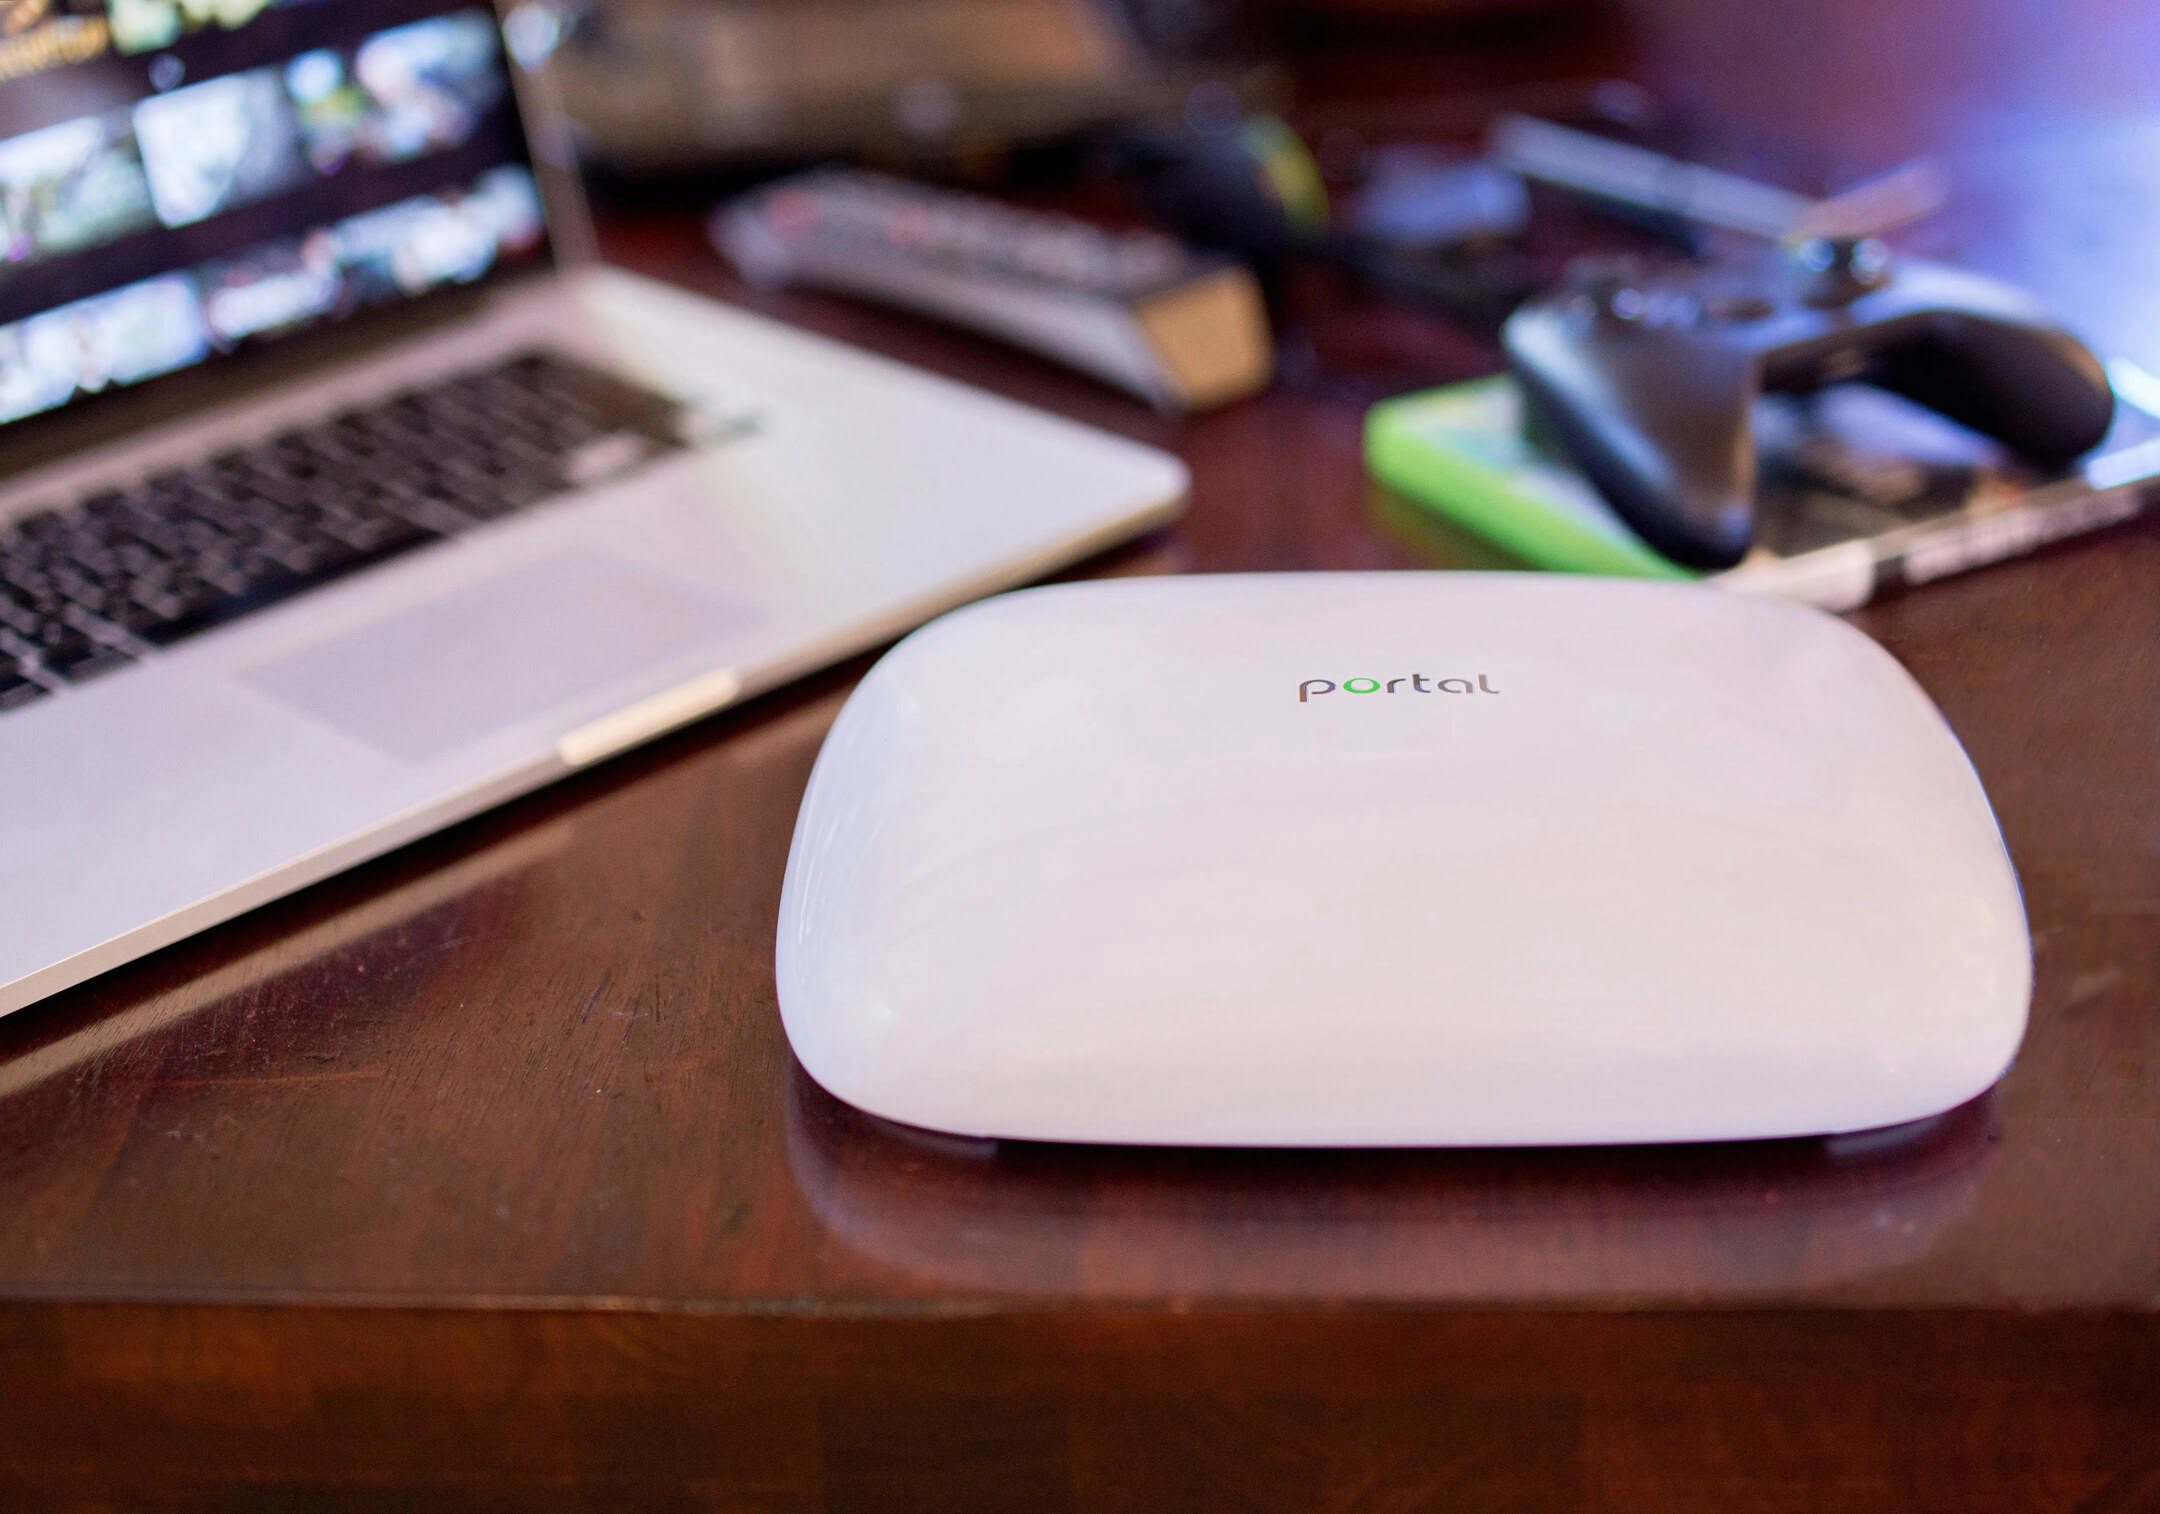
Step 1: Unboxing the Virgin Media Wi-Fi Router
Unboxing the Virgin Media Wi-Fi router is an exciting first step towards enhancing your home network. When you receive your router, carefully open the packaging to reveal the contents inside. Typically, you will find the following items:
- The Virgin Media Wi-Fi router
- Power adapter
- Ethernet cable
- Information and setup guide
Once you have all the components laid out, it’s essential to inspect them for any signs of damage that may have occurred during shipping. Look for any visible dents, scratches, or loose components to ensure that everything is in pristine condition.
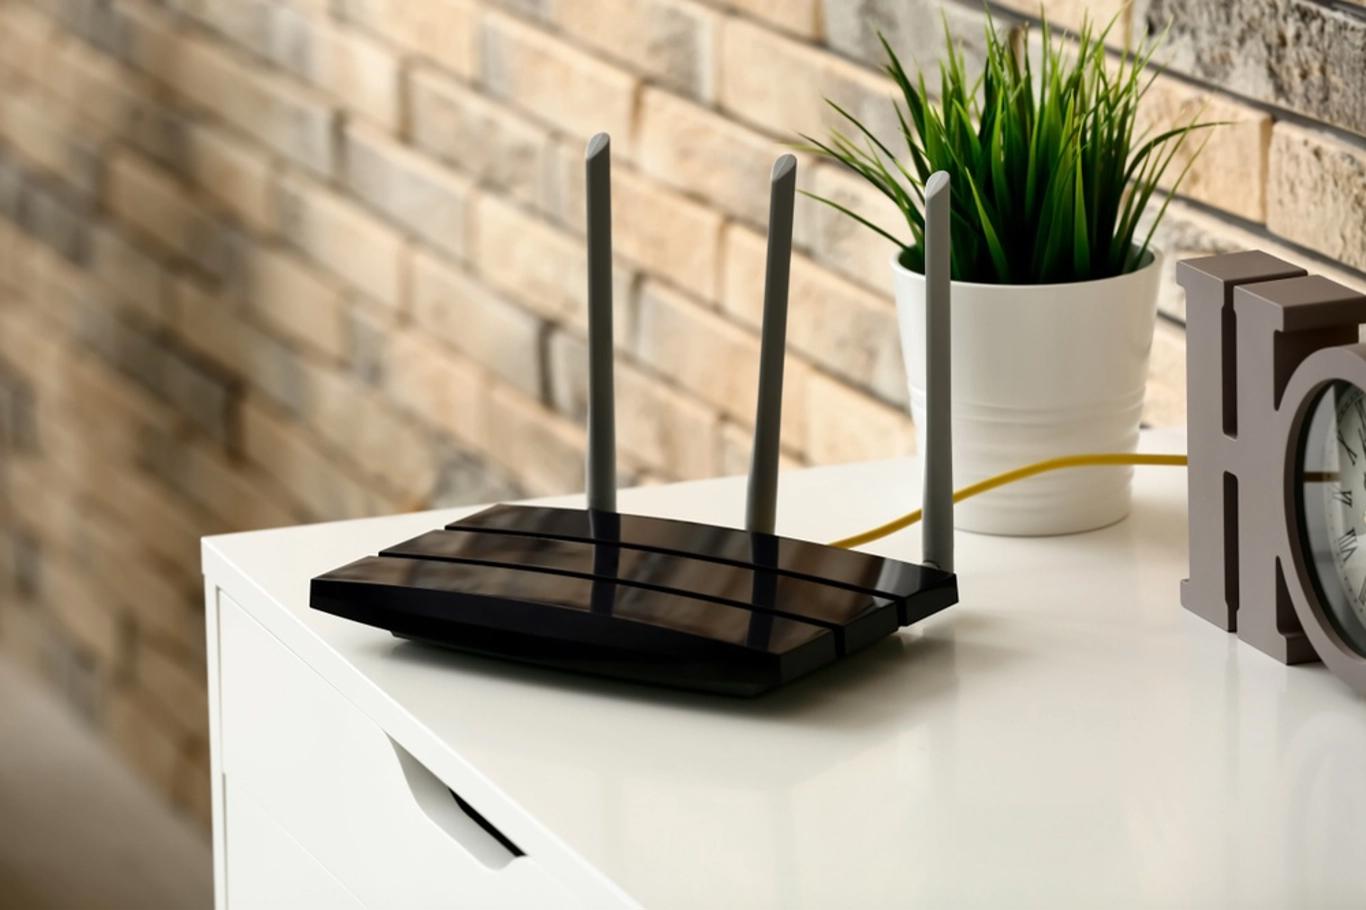
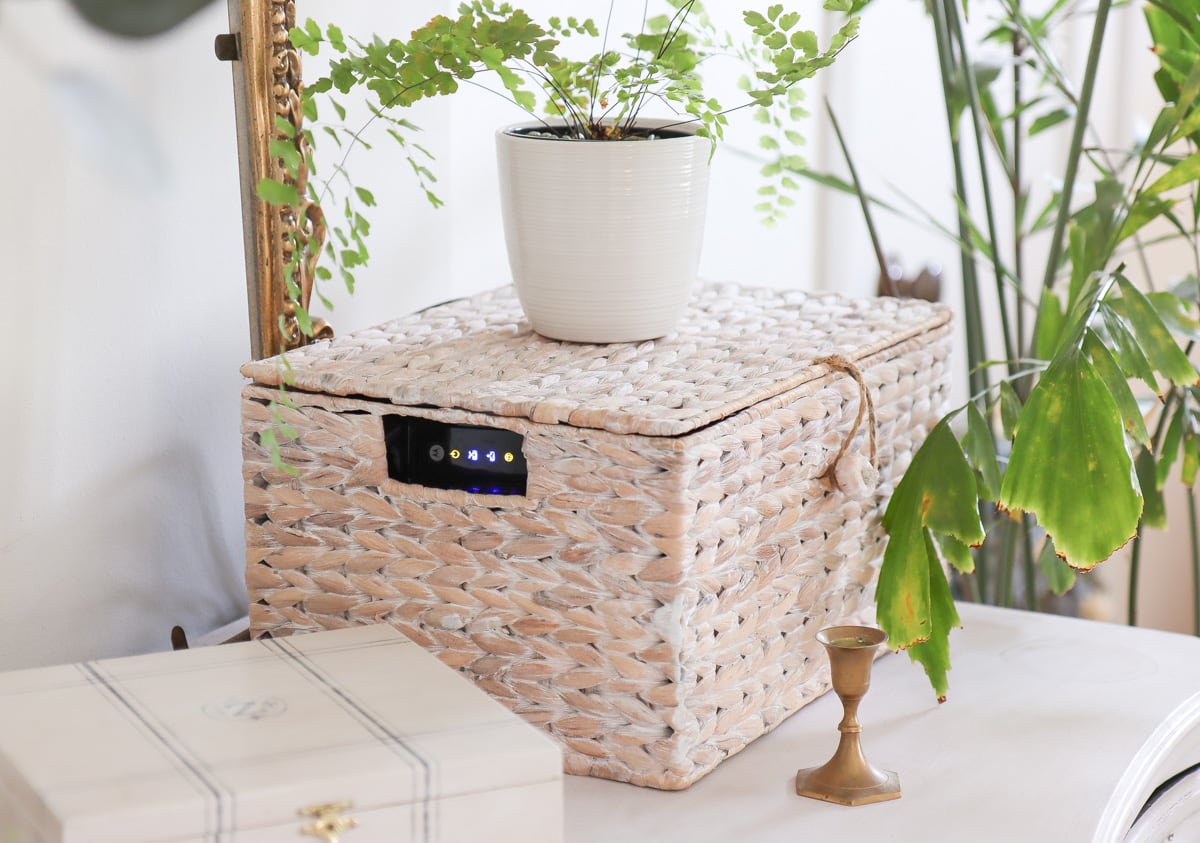
Next, find an optimal location for your router. It’s advisable to place it in a central area of your home to ensure even coverage throughout. Additionally, keep the router away from obstructions such as walls, metal objects, and electronic appliances that may interfere with the Wi-Fi signal.
With the router unboxed and strategically positioned, you’re now prepared to move on to the next step of connecting it to your modem. This pivotal stage sets the foundation for a robust and reliable Wi-Fi network that will cater to your connectivity needs.
By carefully unboxing and preparing the Virgin Media Wi-Fi router, you’re one step closer to experiencing seamless internet connectivity and unlocking the full potential of your smart home devices.
Step 2: Connecting the Router to the Modem
Now that you have unboxed the Virgin Media Wi-Fi router, the next crucial step is to connect it to your modem. This process establishes the link between your internet service provider and your home network, enabling you to access high-speed internet and enjoy uninterrupted connectivity.
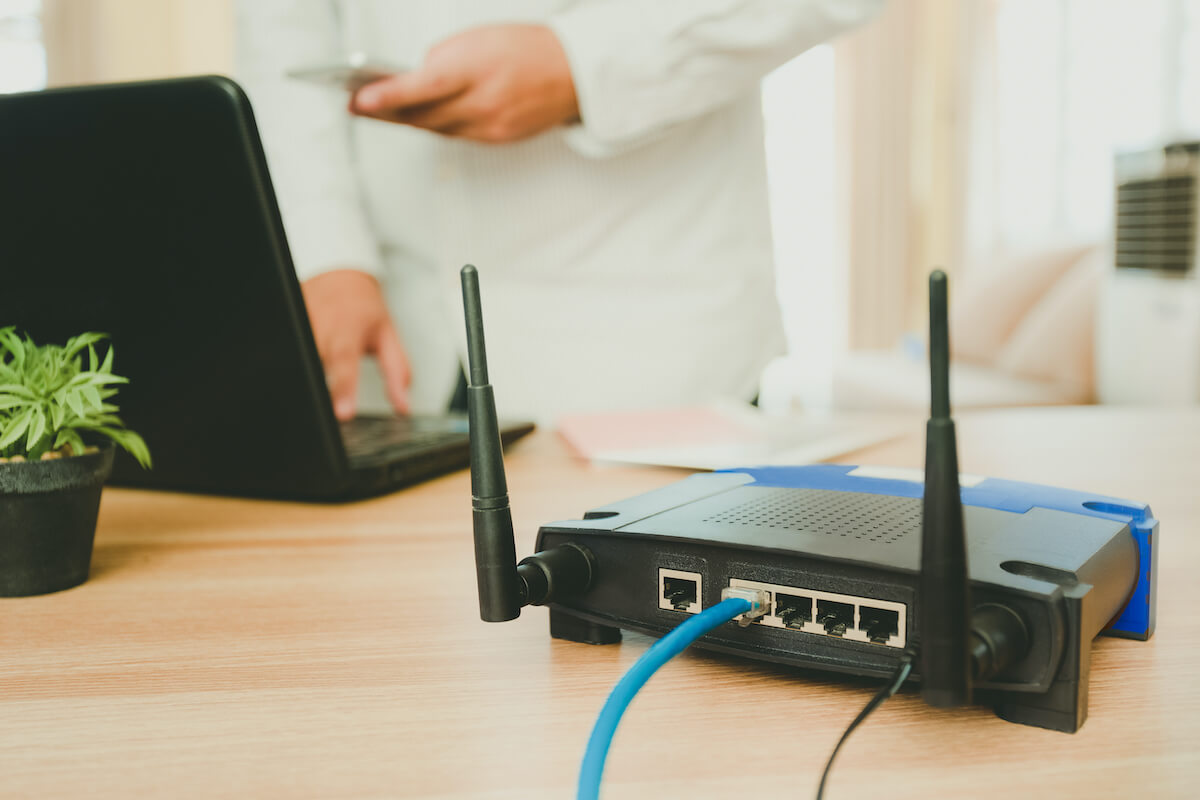
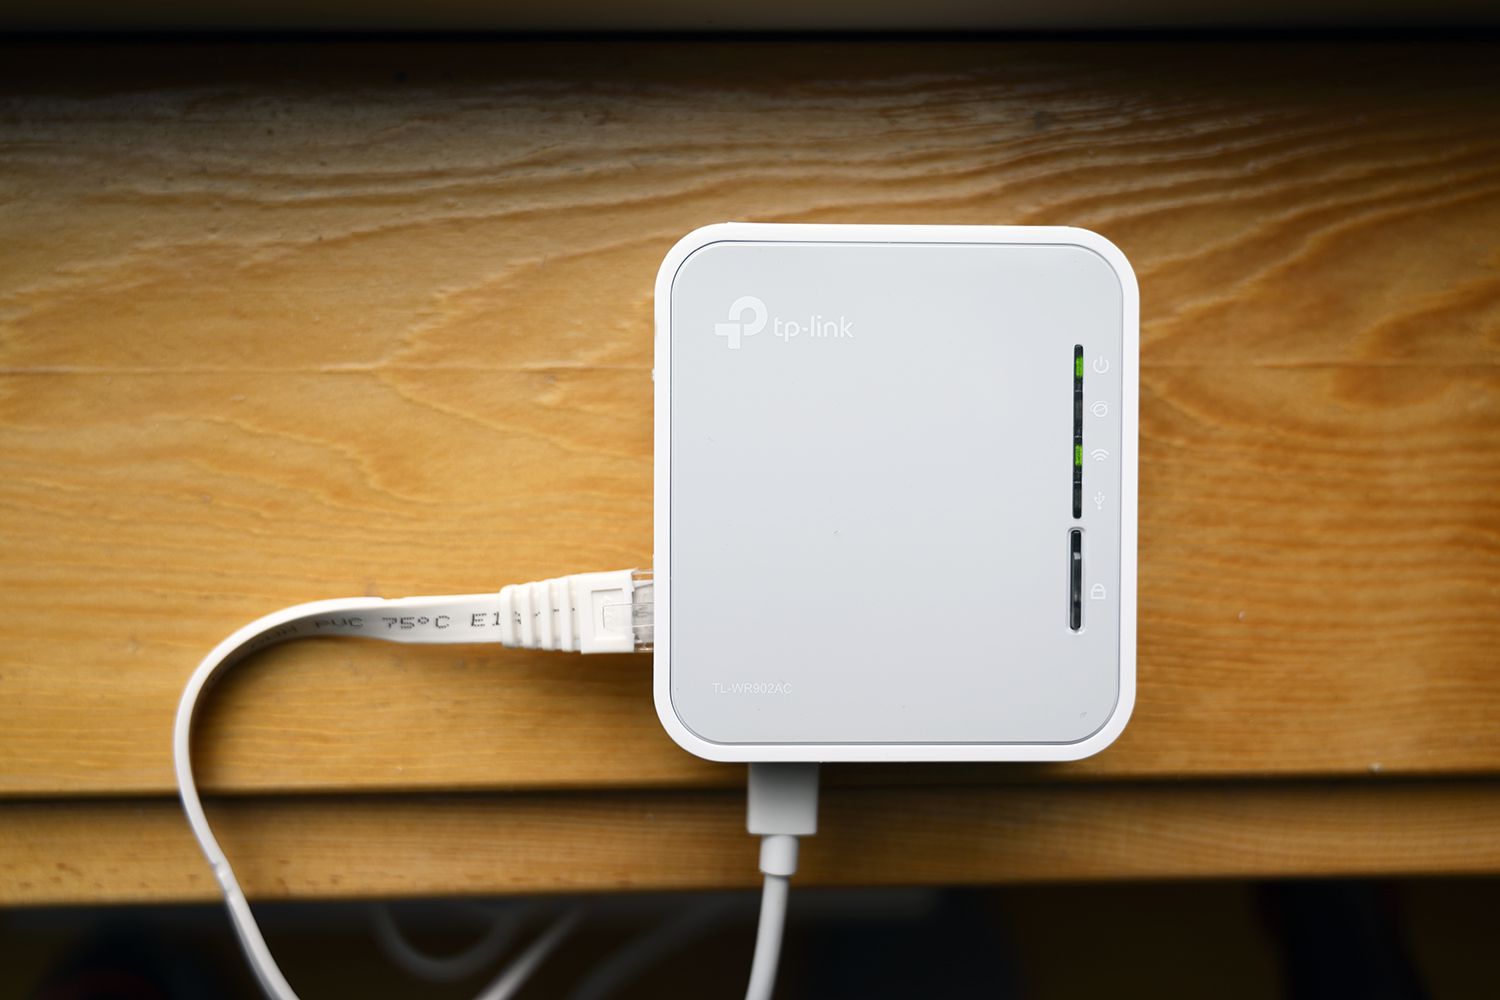
Begin by locating the Ethernet port on your modem. This port is typically labeled “Ethernet,” and it serves as the gateway for transmitting data to and from the modem. Once you’ve identified the Ethernet port, take the Ethernet cable that came with your Virgin Media Wi-Fi router and connect one end to the Ethernet port on the modem.
With the Ethernet cable securely plugged into the modem, locate the corresponding Ethernet port on the back of your Wi-Fi router. Gently insert the other end of the Ethernet cable into this port, ensuring a snug and secure connection. This physical link between the modem and the router forms the backbone of your home network, facilitating the seamless flow of data and ensuring reliable internet access.
After establishing the physical connection between the modem and the router, it’s time to power up the devices and initiate the next phase of the setup process. By connecting the router to the modem, you’re laying the groundwork for a robust and efficient network that will serve as the cornerstone of your digital lifestyle.
With the modem and router now interconnected, you’re ready to proceed to the next step and power up the router, bringing your home network one step closer to full functionality and connectivity.
Step 3: Powering Up the Router
With the Virgin Media Wi-Fi router successfully connected to the modem, the next pivotal step is to power up the router. This process initiates the device’s boot sequence, allowing it to establish a connection to the internet and begin broadcasting a Wi-Fi signal throughout your home.
Start by locating the power adapter that came with your router. Once you’ve found it, connect one end of the power adapter to the designated power input on the router. Ensure that the connection is secure to prevent any power interruptions during the setup process.
After connecting the power adapter to the router, plug the adapter into a power outlet. Once the router is plugged in, locate the power button, typically located on the back or side of the device, and press it to turn the router on. As the router powers up, you may notice indicator lights illuminating on the front panel, signaling that the device is initializing and establishing a connection to the internet.
It’s important to allow the router an adequate amount of time to complete its startup process. During this time, the router will configure its internal settings and establish a connection to the Virgin Media network, preparing to deliver high-speed internet access to your connected devices.
As the router boots up, you’re one step closer to experiencing seamless connectivity and enjoying the benefits of a robust and reliable Wi-Fi network. The successful powering up of the router sets the stage for accessing the router settings and configuring the Wi-Fi network to suit your specific preferences and requirements.
With the router now powered up and initializing, you’re ready to delve into the next phase of the setup process and access the router settings to further customize and optimize your home network.
When setting up your Virgin Media Wi-Fi router, make sure to place it in a central location in your home for the best coverage. Also, use a strong, unique password to secure your network from unauthorized access.
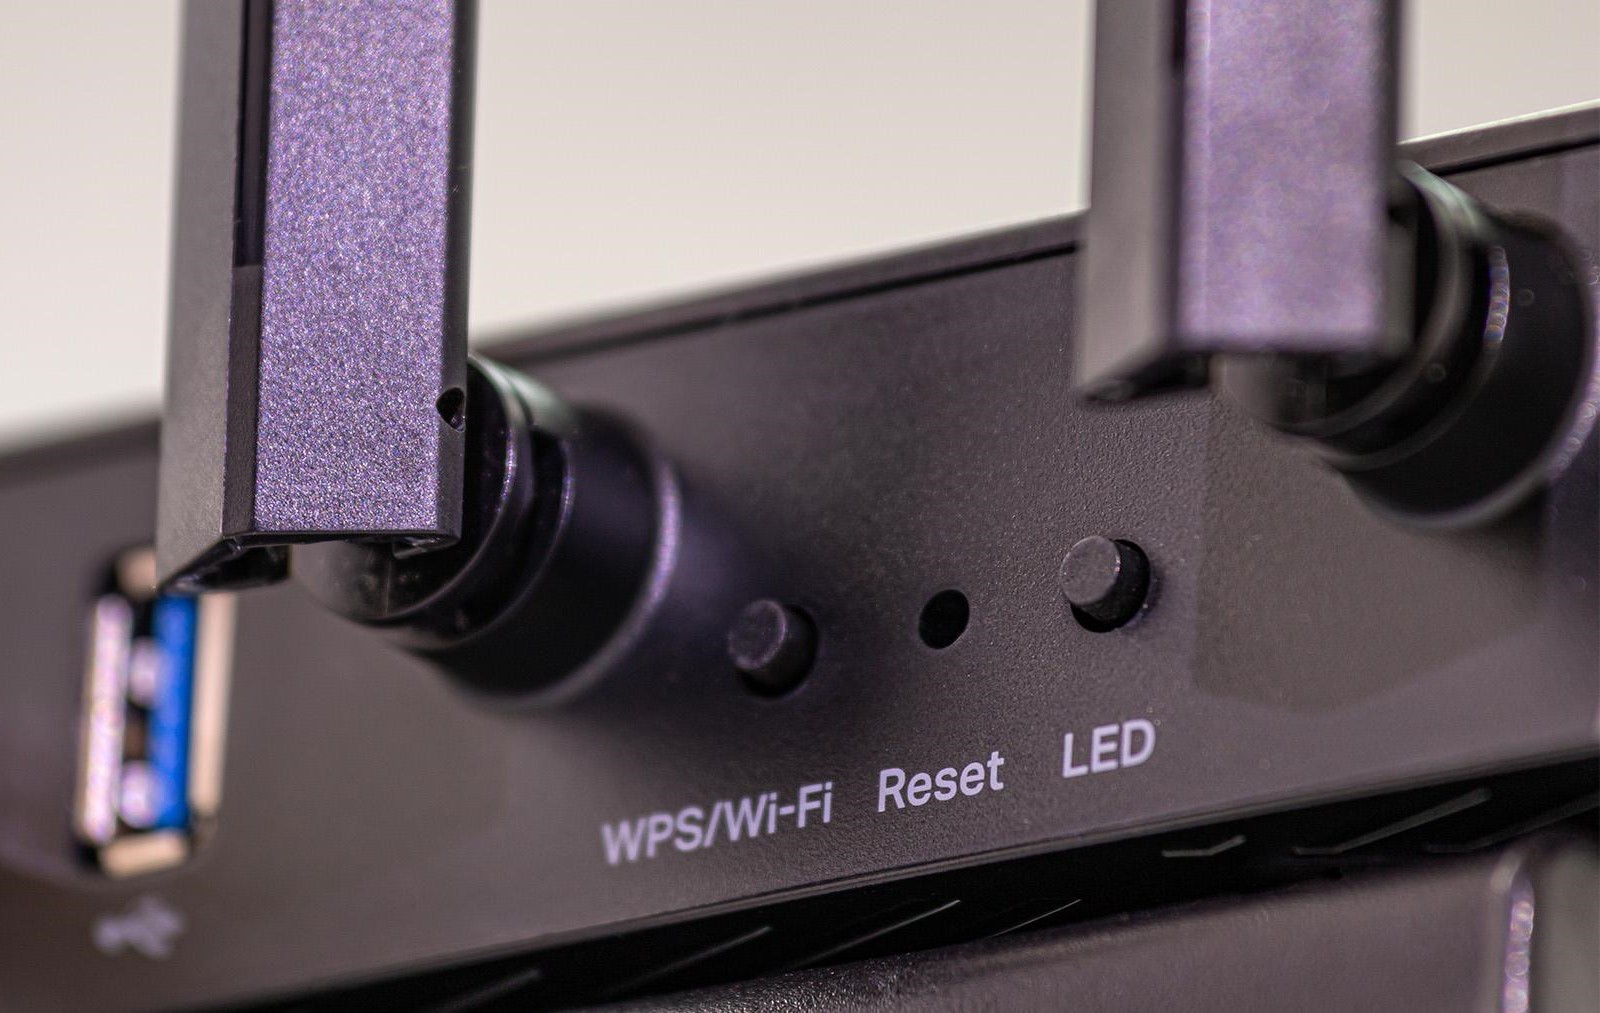
Step 4: Accessing the Router Settings
Now that the Virgin Media Wi-Fi router is powered up and ready, the next crucial step is to access the router settings. By accessing the router’s settings interface, you can configure various parameters to optimize the performance and security of your Wi-Fi network.
Begin by connecting a device, such as a laptop or smartphone, to the router using an Ethernet cable or through the default Wi-Fi network broadcast by the router. Once connected, open a web browser and enter the default IP address of the router in the address bar. The default IP address, along with the login credentials, can typically be found in the router’s user manual or on a sticker attached to the device.
Upon entering the router’s IP address in the web browser, you will be prompted to enter the router’s login credentials. Once authenticated, you will gain access to the router’s settings interface, where you can customize various aspects of the Wi-Fi network, including network name (SSID), security settings, guest network options, and more.
Within the settings interface, you can also configure advanced features such as parental controls, quality of service (QoS) settings, and port forwarding to tailor the network to your specific requirements. Additionally, you can check for firmware updates to ensure that your router is running the latest software, providing enhanced performance and security.
By accessing the router settings, you have the opportunity to fine-tune and optimize your Wi-Fi network, ensuring that it meets the demands of your connected devices and provides a secure and reliable internet connection. With the router settings accessed and configured to your preferences, you’re now prepared to move on to the next step of configuring the Wi-Fi settings.
As you access and customize the router settings, you’re taking proactive steps to create a personalized and secure Wi-Fi network that caters to your specific needs and enhances your overall online experience.
Read more: How To Set Up Xfinity Wi-Fi Router
Step 5: Configuring Wi-Fi Settings
Configuring the Wi-Fi settings on your Virgin Media router is a pivotal step in creating a secure and efficient wireless network that caters to your specific connectivity needs. By customizing the Wi-Fi settings, you can optimize the network’s performance, enhance security, and ensure seamless connectivity for all your devices.
Start by accessing the router settings interface using a web browser, as outlined in the previous step. Once logged in, navigate to the Wi-Fi settings section, where you can customize essential parameters such as the network name (SSID) and the Wi-Fi password. It’s advisable to choose a unique and easily recognizable SSID to distinguish your network from others in the vicinity.
When setting the Wi-Fi password, opt for a strong and secure passphrase that combines uppercase and lowercase letters, numbers, and special characters. A robust Wi-Fi password helps safeguard your network from unauthorized access and potential security threats.
Within the Wi-Fi settings interface, you may also have the option to configure additional features such as guest networks, which allow visitors to connect to a separate Wi-Fi network without accessing your primary network. This feature enhances security and privacy while accommodating guests in your home.
Furthermore, you can explore advanced Wi-Fi settings such as channel selection, bandwidth allocation, and Wi-Fi signal strength adjustments to optimize the network’s performance and minimize interference from neighboring networks.
By customizing the Wi-Fi settings to align with your specific preferences and security requirements, you’re creating a robust and reliable wireless network that forms the backbone of your home connectivity. With the Wi-Fi settings configured, you’re now prepared to proceed to the final step of connecting your devices to the newly established network.
As you tailor the Wi-Fi settings to suit your unique needs, you’re enhancing the overall performance and security of your home network, ensuring a seamless and efficient wireless connectivity experience for all your devices.
Step 6: Connecting Devices to the Wi-Fi Network
With the Wi-Fi settings on your Virgin Media router configured to your preferences, the final step in the setup process is to connect your devices to the newly established Wi-Fi network. By connecting your smartphones, laptops, smart home devices, and other gadgets to the network, you can enjoy seamless internet access and unleash the full potential of your connected ecosystem.
Start by accessing the Wi-Fi settings on your individual devices. This typically involves navigating to the Wi-Fi settings menu and scanning for available networks. Once the network name (SSID) of your Virgin Media Wi-Fi network appears in the list of available networks, select it and enter the Wi-Fi password that you configured during the setup process.
After entering the correct Wi-Fi password, your device will establish a secure connection to the network, granting you access to high-speed internet and a range of online services. Repeat this process for each of your devices, ensuring that they are all connected to the same Wi-Fi network for seamless communication and data sharing.
As your devices successfully connect to the Wi-Fi network, take a moment to test the internet connectivity and verify that each device can access online content and services without any issues. This step ensures that your devices are seamlessly integrated into the network and can leverage the high-speed internet provided by your Virgin Media router.
Once all your devices are connected and operational, you can begin exploring the myriad of possibilities that a robust and reliable Wi-Fi network offers. From streaming high-definition content and gaming online to controlling smart home devices and staying connected with friends and family, your newly established Wi-Fi network forms the cornerstone of your digital lifestyle.
By connecting your devices to the Wi-Fi network, you’re harnessing the power of seamless connectivity and unlocking the full potential of your smart home ecosystem and online activities. With your devices successfully integrated into the network, you can now enjoy the benefits of a high-performance and secure Wi-Fi environment.
Conclusion
Congratulations! You’ve successfully set up your Virgin Media Wi-Fi router and established a robust and reliable home network that caters to your connectivity needs. By following the step-by-step instructions outlined in this guide, you’ve embarked on a journey to transform your living space into a digitally empowered environment, where seamless connectivity and high-speed internet access are the norm.
Throughout the setup process, you unboxed the Virgin Media Wi-Fi router, carefully connected it to your modem, powered it up, accessed the router settings, configured the Wi-Fi settings, and connected your devices to the newly established network. Each step was instrumental in laying the groundwork for a secure, efficient, and high-performance Wi-Fi environment that forms the backbone of your digital lifestyle.
As you navigate the digital landscape with your connected devices, you can now experience the benefits of a well-optimized Wi-Fi network. From streaming your favorite content and engaging in online gaming to managing smart home devices and staying connected with loved ones, your Wi-Fi network serves as the gateway to a world of possibilities.
It’s essential to periodically review and update your router settings, ensuring that your network remains secure and optimized for peak performance. Additionally, staying informed about the latest advancements in networking technology can empower you to make informed decisions about enhancing your home connectivity.
As you continue to explore the boundless potential of your Wi-Fi network, remember that ongoing maintenance and occasional troubleshooting can further optimize your network’s performance. By staying proactive and informed, you can ensure that your Wi-Fi network continues to meet your evolving connectivity needs.
With your Virgin Media Wi-Fi router set up and your devices seamlessly integrated into the network, you’re ready to embrace the countless opportunities that a reliable and high-speed internet connection affords. Whether it’s enriching your entertainment experiences, simplifying daily tasks through smart home integration, or staying connected with the world, your Wi-Fi network is the cornerstone of a connected and empowered lifestyle.
Here’s to a future filled with seamless connectivity, boundless digital experiences, and the endless possibilities that your optimized Wi-Fi network brings to your doorstep.
Frequently Asked Questions about How To Set Up Virgin Media Wi-Fi Router
Was this page helpful?
At Storables.com, we guarantee accurate and reliable information. Our content, validated by Expert Board Contributors, is crafted following stringent Editorial Policies. We're committed to providing you with well-researched, expert-backed insights for all your informational needs.
0 thoughts on “How To Set Up Virgin Media Wi-Fi Router”