Home>Technology>Smart Home Devices>How To Sync A Brother Wireless Printer
Smart Home Devices
How To Sync A Brother Wireless Printer
Modified: August 28, 2024
Learn how to sync your Brother wireless printer with your smart home devices easily. Follow our step-by-step guide for seamless integration.
(Many of the links in this article redirect to a specific reviewed product. Your purchase of these products through affiliate links helps to generate commission for Storables.com, at no extra cost. Learn more)
Introduction
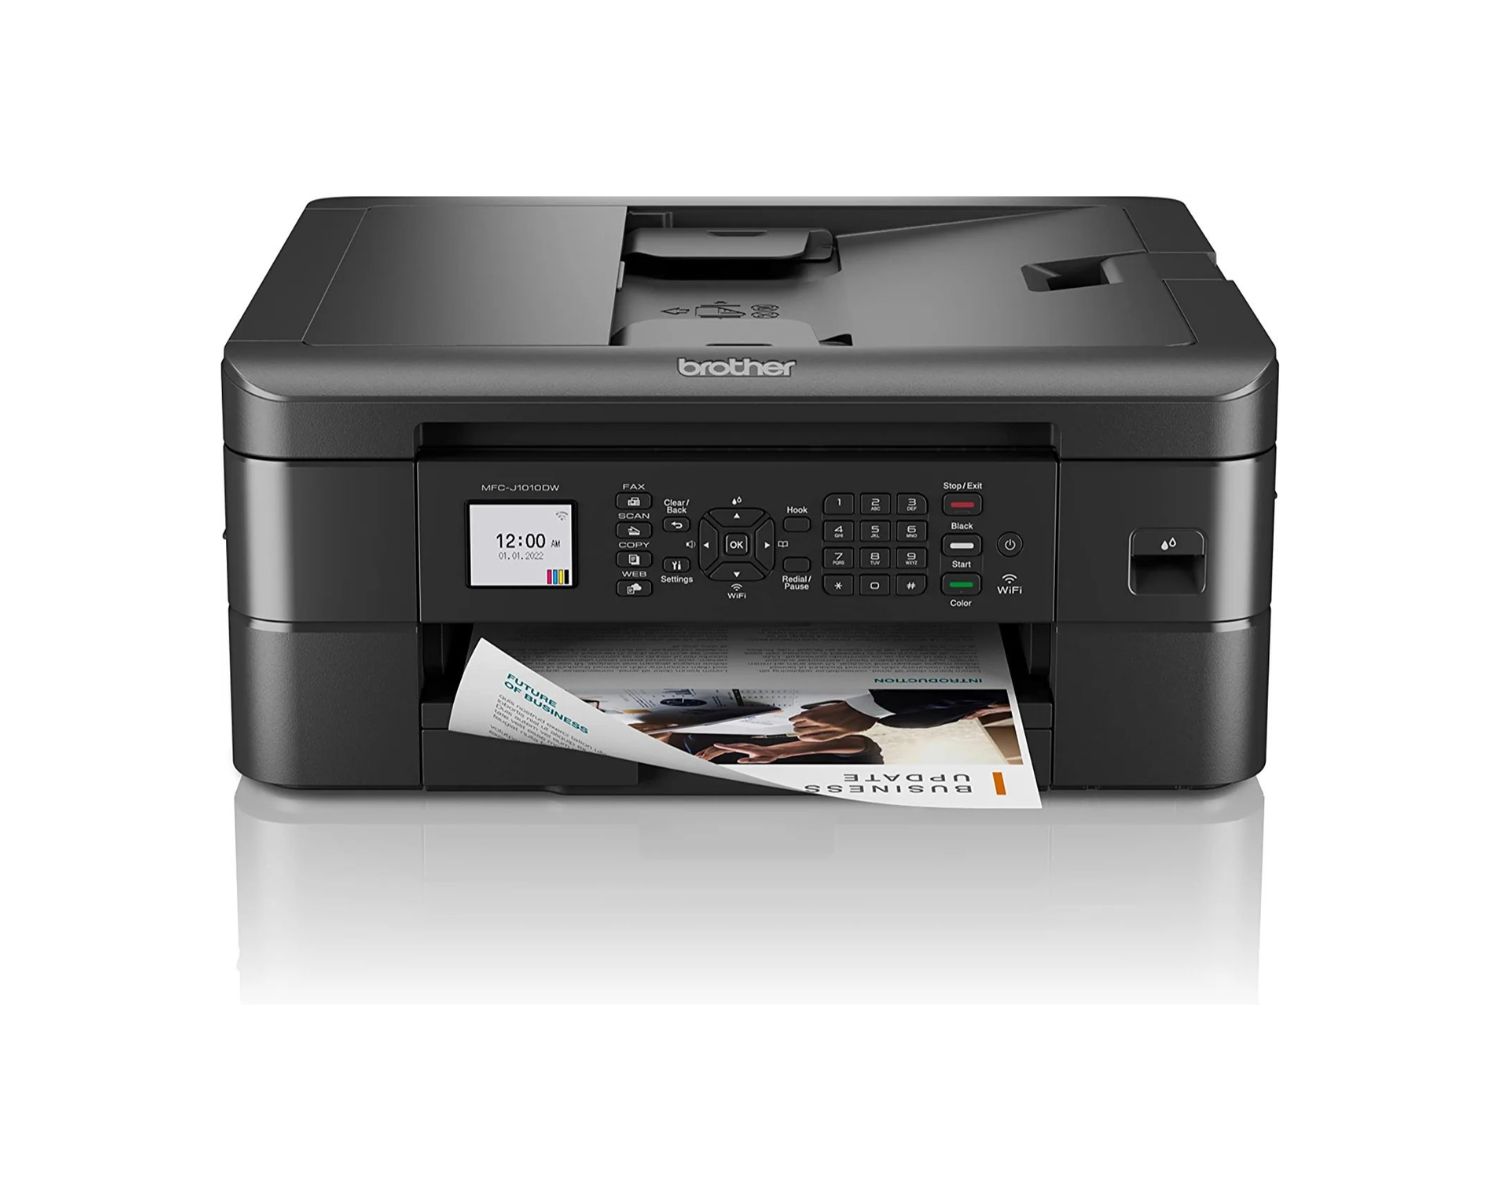
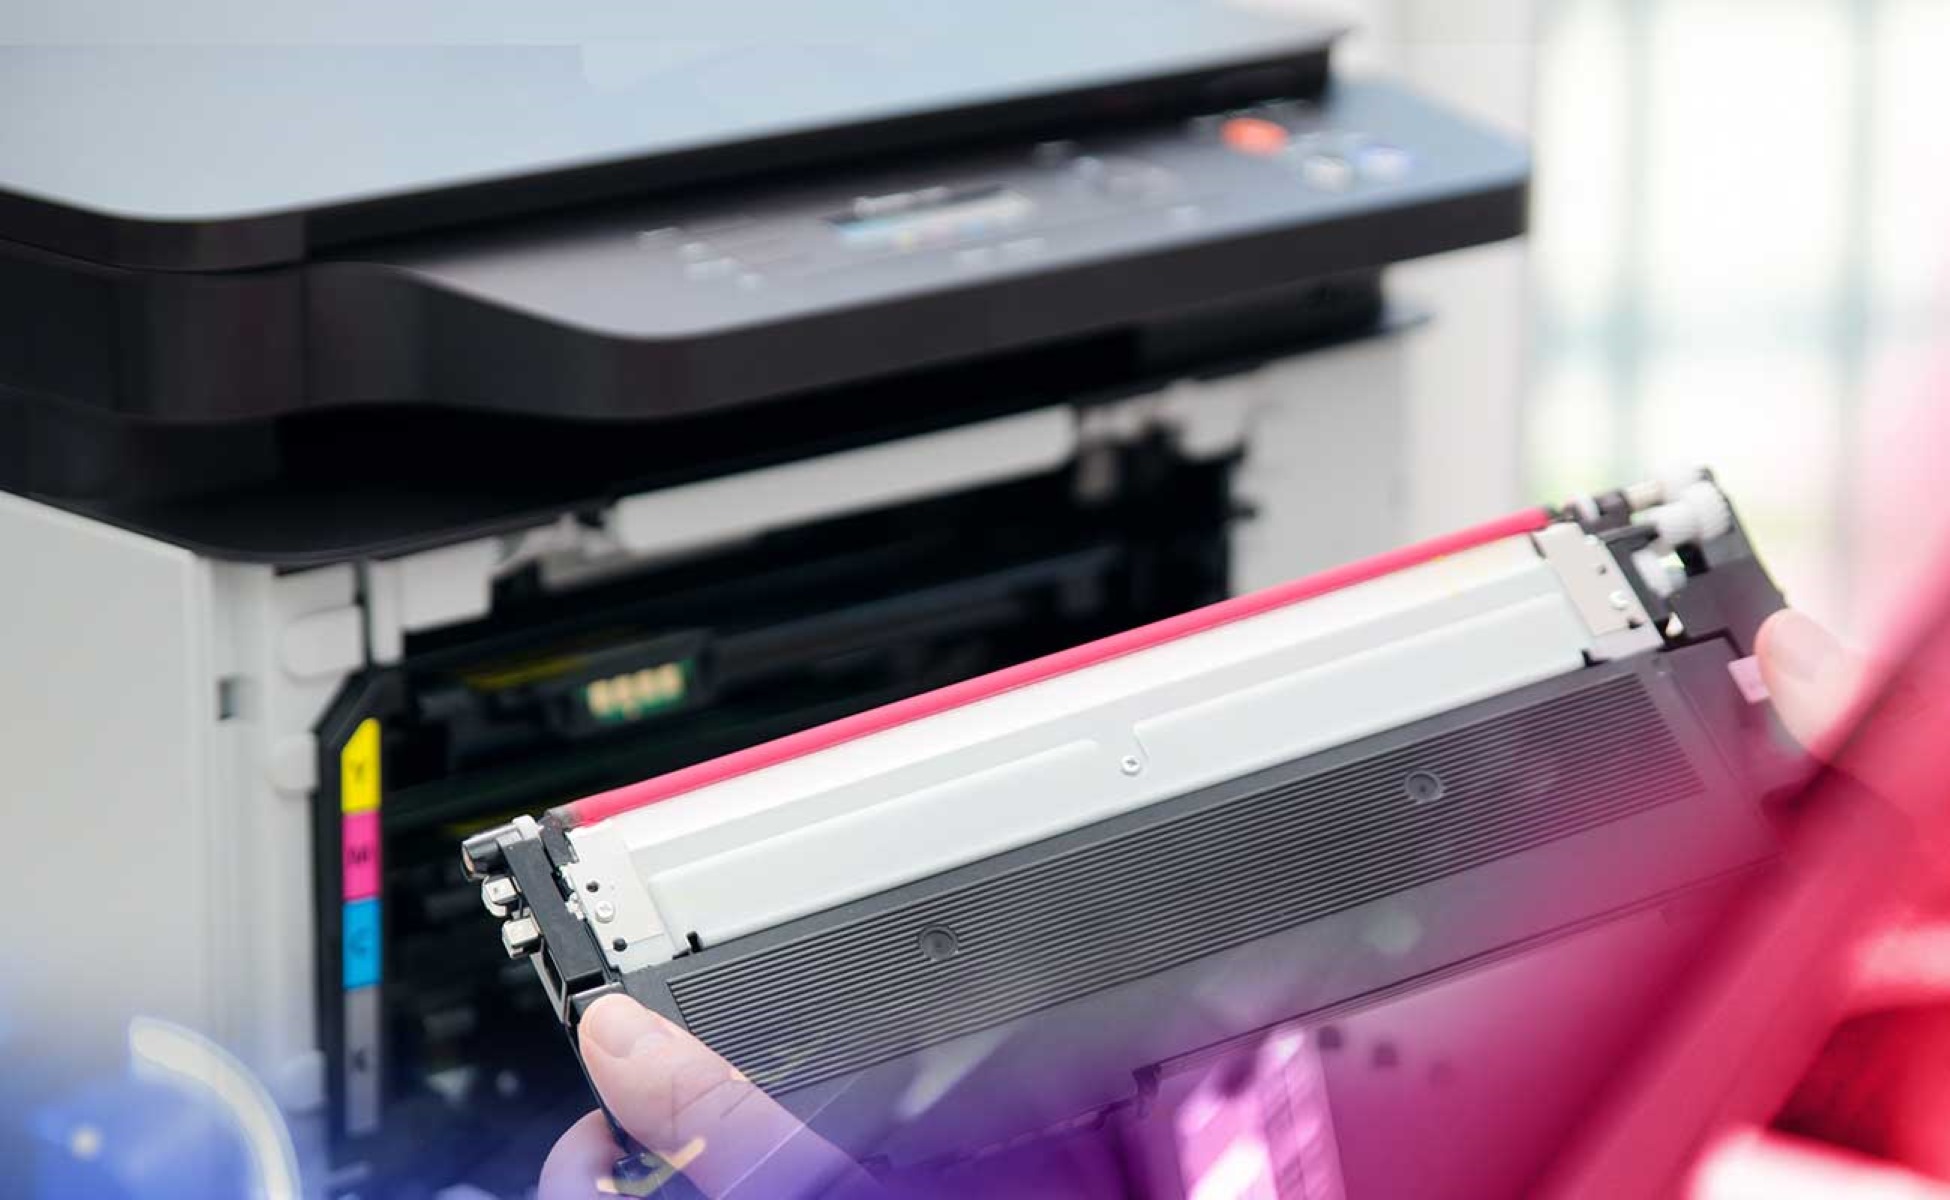
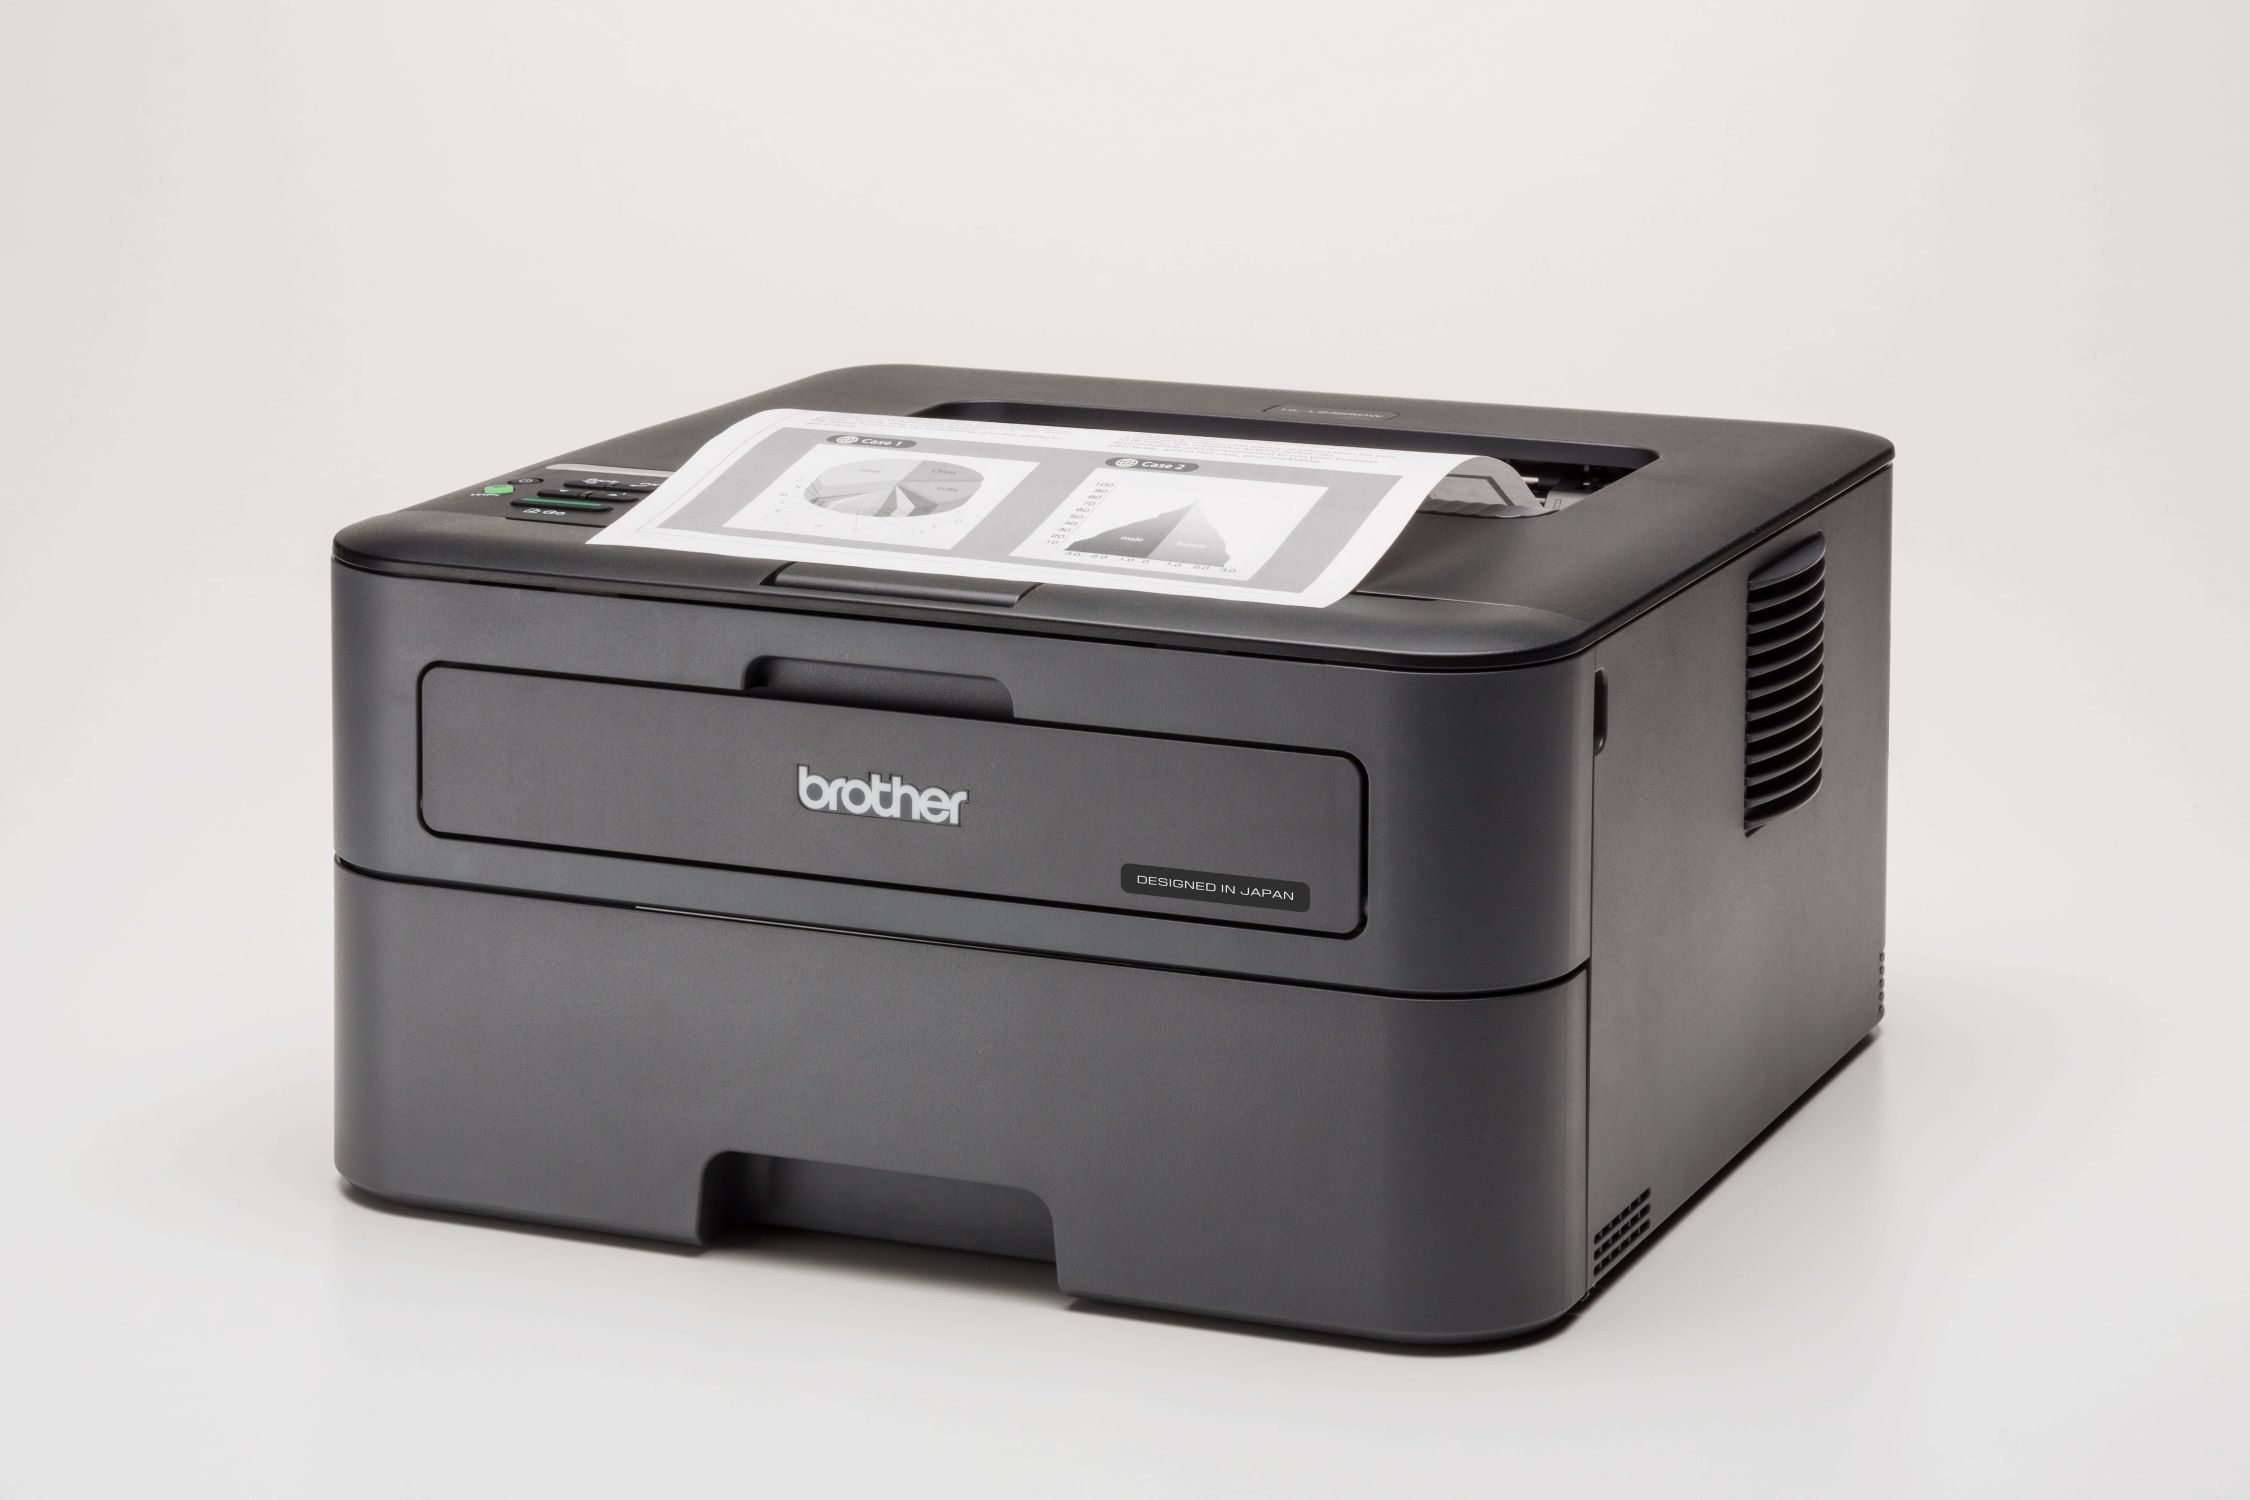
Setting up a Brother wireless printer allows for the convenience of printing from any device connected to your Wi-Fi network. Whether it's a document from your laptop, a photo from your smartphone, or a report from your tablet, a wireless printer offers versatility and ease of use. In this guide, we'll walk you through the simple and straightforward process of syncing your Brother wireless printer to your Wi-Fi network, enabling seamless printing from multiple devices.
With the increasing reliance on digital devices for work, education, and personal use, having a wireless printer at your disposal can significantly enhance productivity and convenience. No longer bound by cables or proximity to the printer, you can effortlessly print from various locations within your home or office. This flexibility eliminates the need to transfer files to a specific computer connected to a traditional wired printer, streamlining the printing process and saving valuable time.
By following the steps outlined in this guide, you'll be able to set up your Brother wireless printer with ease, ensuring that it's ready to fulfill your printing needs. Let's dive into the process of connecting your Brother printer to your Wi-Fi network and adding it to your devices for seamless printing.
Key Takeaways:
- Setting up a Brother wireless printer is easy! Just connect it to your Wi-Fi network, install the printer software, and add the printer to your devices for hassle-free wireless printing from anywhere in your home or office.
- With a Brother wireless printer, you can print from any device on your Wi-Fi network. No more cables or transferring files—just seamless printing for documents, photos, and more, making your printing experience hassle-free and efficient.
Read more: How To Set Up Brother Wireless Printer
Step 1: Connect the Printer to the Wi-Fi Network
Before you can start printing wirelessly, it’s essential to connect your Brother printer to your Wi-Fi network. This process typically involves accessing the printer’s control panel to select your network and enter the password. Here’s a step-by-step guide to help you through the process:
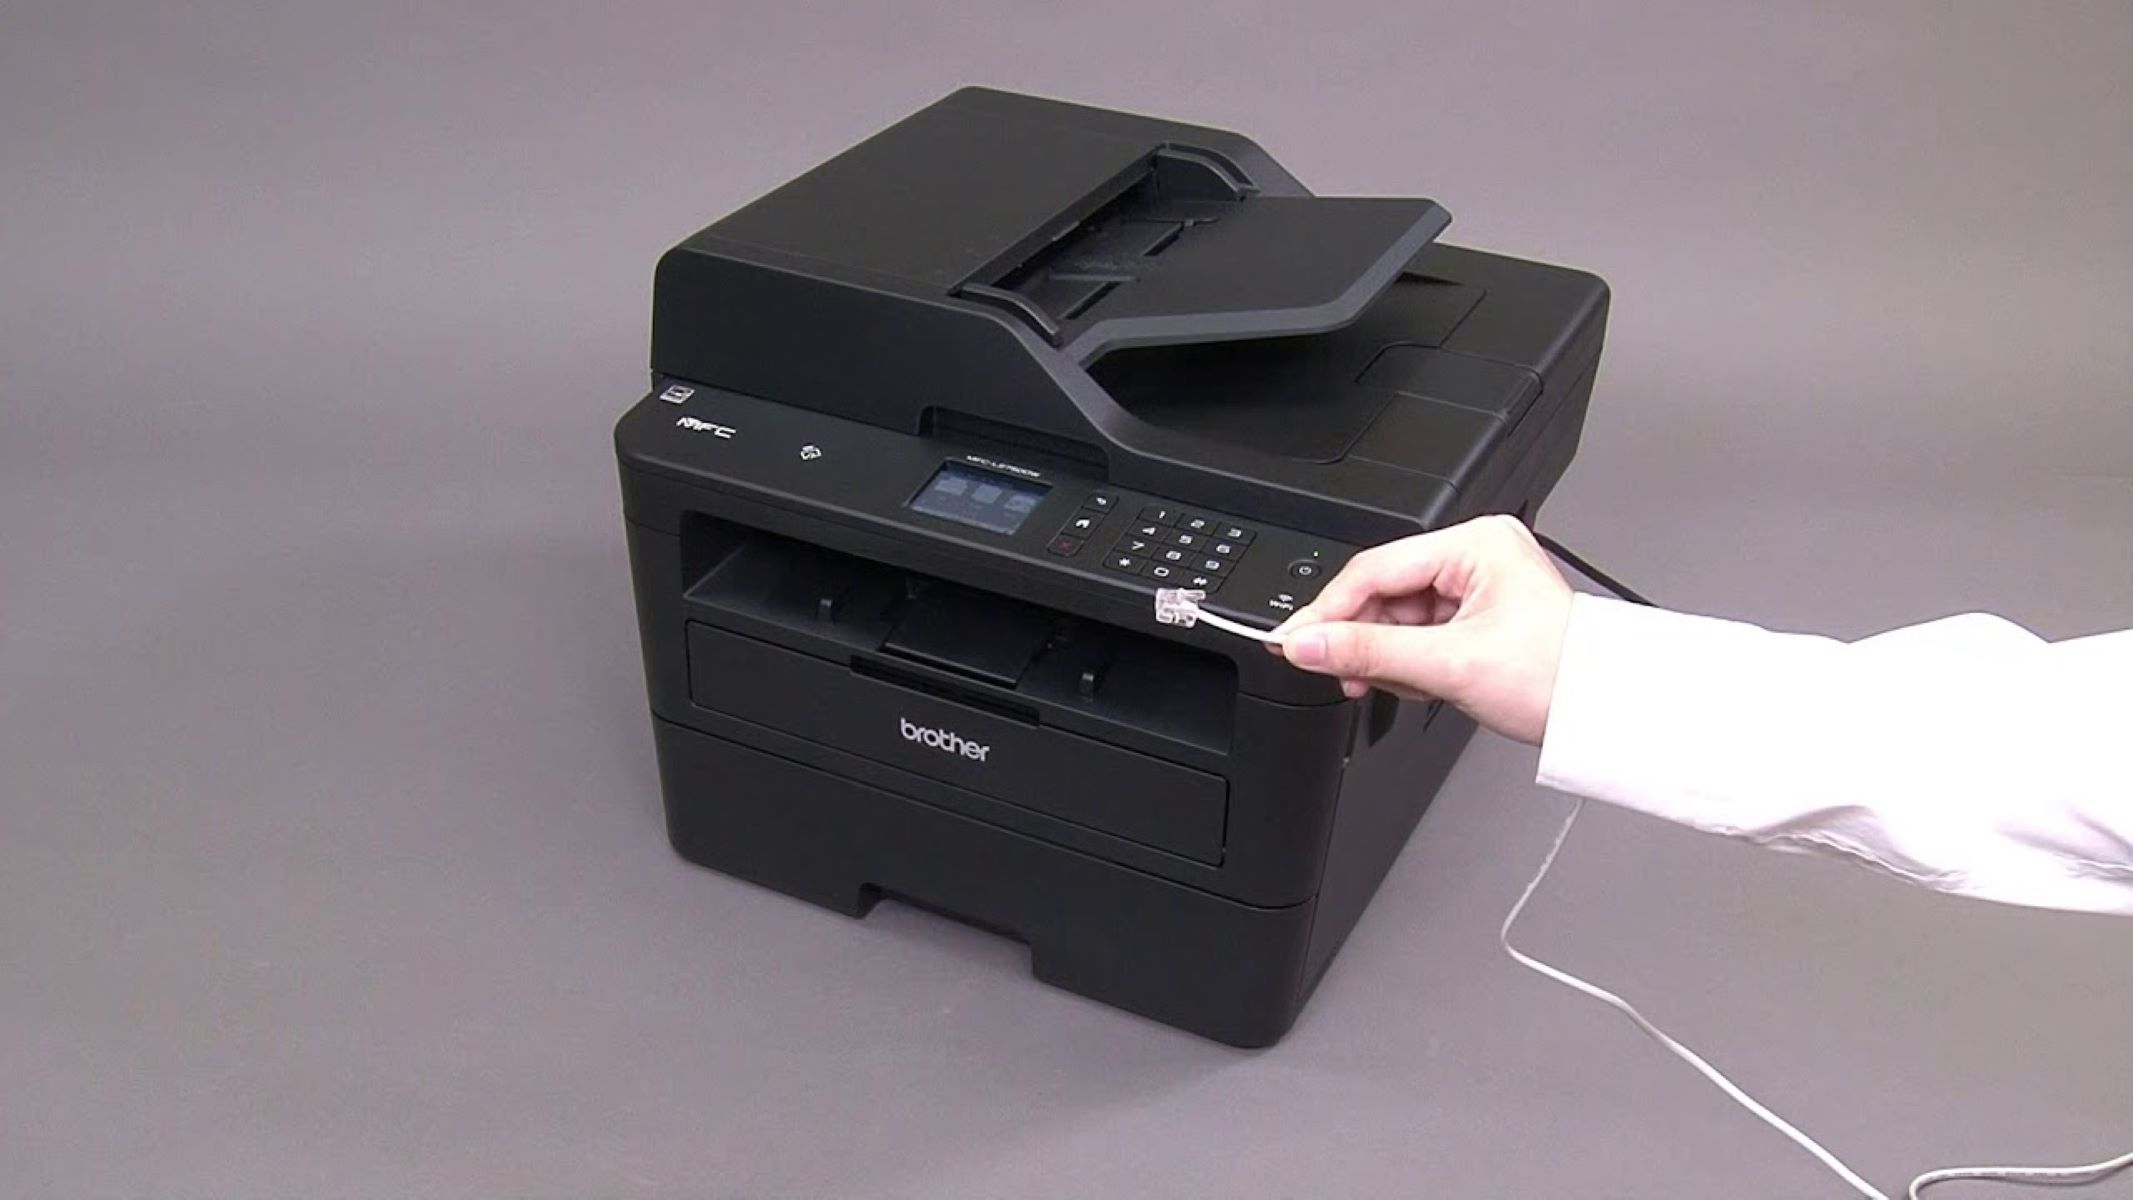
- Access the Control Panel: Begin by powering on your Brother printer and accessing the control panel. Depending on the model, you may need to navigate through the menu to find the network settings.
- Select Your Wi-Fi Network: Once in the network settings, look for the option to choose your Wi-Fi network from the available list. Select your network and proceed to the next step.
- Enter the Wi-Fi Password: After selecting your network, you’ll likely be prompted to enter the password. Use the control panel or the keypad to input the password accurately. Take your time to ensure the correct characters are entered.
- Confirm the Connection: Once the password is entered, the printer will attempt to connect to the Wi-Fi network. This process may take a few moments, and you may see a confirmation message on the control panel when the connection is successful.
After completing these steps, your Brother printer should be successfully connected to your Wi-Fi network, ready to receive print jobs from any device connected to the same network. This seamless connection eliminates the need for direct cable connections and enhances the flexibility of your printing setup.
Step 2: Install the Printer Software
Once your Brother printer is connected to the Wi-Fi network, the next crucial step is to install the necessary printer software on the devices from which you intend to print. By installing the printer software, you enable seamless communication between your devices and the printer, allowing for efficient printing without the need for physical connections. Follow these steps to install the printer software:
- Visit the Brother Support Website: Navigate to the official Brother support website using a web browser on your computer, smartphone, or tablet. Look for the “Support” or “Downloads” section on the website.
- Enter Your Printer Model: In the support or downloads section, enter your specific Brother printer model to access the relevant software and drivers for your device. Ensure that you select the software compatible with the operating system of your device.
- Download and Install the Software: Once you’ve located the appropriate software for your printer model and operating system, download the installation file. Follow the on-screen instructions to install the software on your device.
- Complete the Setup Process: During the installation, you may be prompted to select the connection type. Choose the wireless or Wi-Fi connection option to ensure that the software configures the printer for wireless printing.
- Test the Connection: After the installation is complete, perform a test print from your device to confirm that the printer software is successfully communicating with your Brother printer over the Wi-Fi network.
By installing the printer software on your devices, you establish a seamless link between your devices and the Brother printer, enabling convenient printing from any connected device. This step is crucial in ensuring that your wireless printing setup operates smoothly and efficiently.
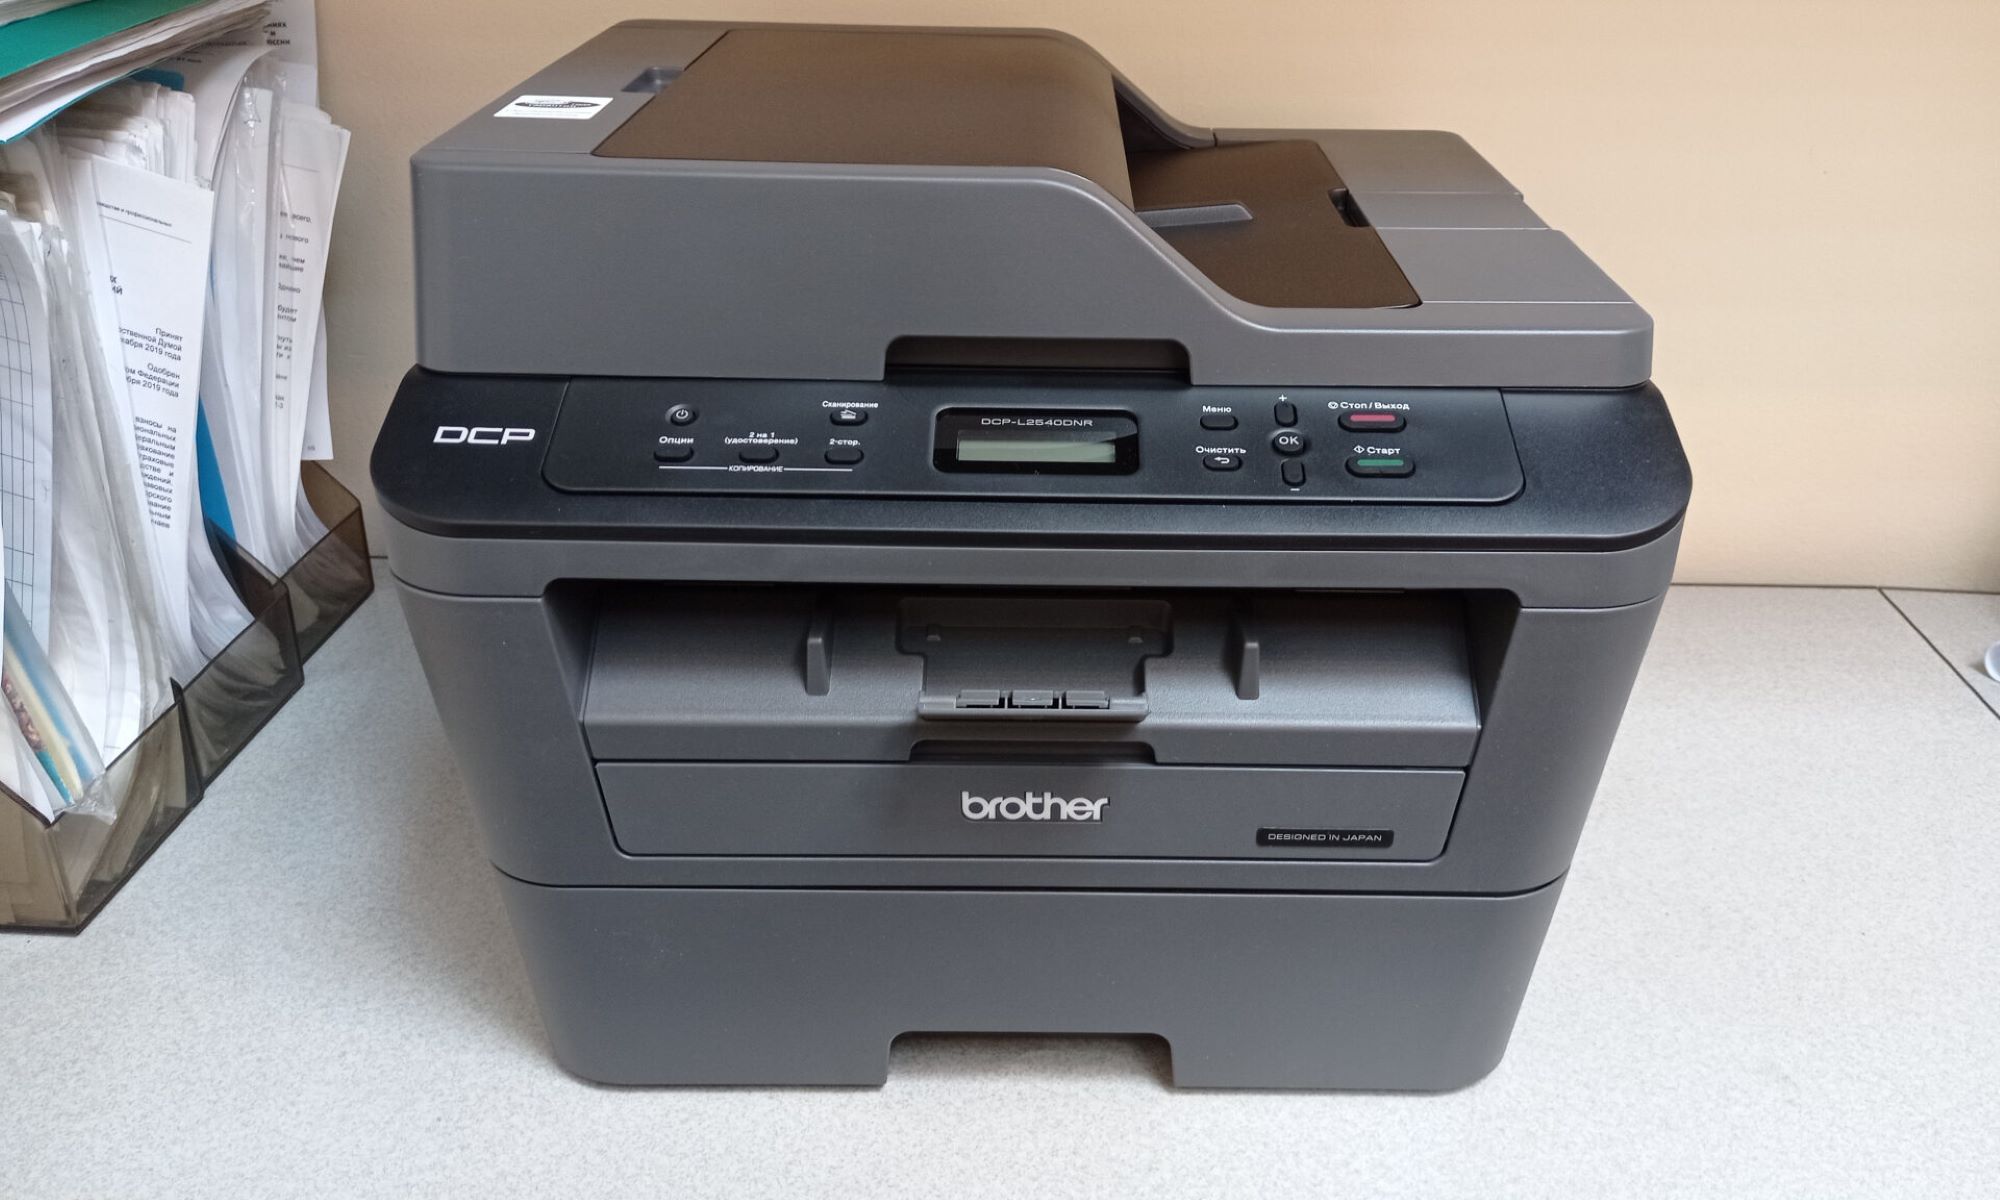
Make sure your Brother printer and wireless router are both turned on. Press the Menu button on the printer, select Network, then WLAN, and choose Setup Wizard. Follow the on-screen instructions to connect to your wireless network.
Step 3: Add the Printer to Your Devices
Once your Brother printer is connected to the Wi-Fi network and the necessary software is installed on your devices, the final step is to add the printer to the list of available devices. This allows your devices to recognize and communicate with the printer, enabling seamless printing from any of your connected devices. Follow these steps to add the printer to your devices:
- Open the Control Panel or Settings: On your computer or device, navigate to the control panel or settings menu where you can manage devices and printers.
- Select “Add a Printer” or “Add a Device”: Look for the option to add a printer or device to your system. This may be located under “Devices,” “Printers & Scanners,” or a similar category, depending on your operating system.
- Locate and Add Your Brother Printer: Your device will search for available printers on the network. When your Brother printer appears in the list of available devices, select it and proceed with the installation process.
- Complete the Installation: Follow the on-screen prompts to complete the installation of the printer on your device. This may involve confirming the installation of the necessary drivers and software for seamless wireless printing.
- Perform a Test Print: After the installation is complete, perform a test print from your device to ensure that it successfully communicates with the Brother printer over the Wi-Fi network.
By adding the printer to your devices, you establish a direct link between your computer, smartphone, or tablet and the Brother printer, allowing for effortless printing from any of your connected devices. This final step completes the seamless integration of your Brother wireless printer into your printing setup, ensuring that you can easily print from any device within your Wi-Fi network.
Conclusion
Setting up a Brother wireless printer to enable seamless printing from multiple devices is a straightforward process that enhances convenience and productivity in both home and office environments. By following the steps outlined in this guide, you can ensure that your Brother printer is effectively synced to your Wi-Fi network and ready to receive print jobs from various devices.
First, connecting the printer to the Wi-Fi network eliminates the need for physical connections, providing the flexibility to print from anywhere within the network’s range. This step simplifies the printing process and enhances the overall usability of the printer.
Installing the necessary printer software on your devices establishes a seamless communication link between your devices and the Brother printer. This software enables efficient wireless printing and ensures that your devices can easily recognize and communicate with the printer over the Wi-Fi network.
Finally, adding the printer to your devices completes the integration of your Brother wireless printer into your printing setup, allowing for effortless printing from any connected device. This step ensures that your devices can seamlessly communicate with the printer, providing a hassle-free printing experience.
By following these steps, you can enjoy the convenience and flexibility of wireless printing, streamlining your printing process and enhancing your overall printing experience. With your Brother wireless printer seamlessly integrated into your network, you can easily print documents, photos, and more from any device, making printing a hassle-free and efficient task.
Embrace the versatility and convenience of wireless printing with your Brother printer, and experience the seamless integration of technology into your daily printing needs.
Frequently Asked Questions about How To Sync A Brother Wireless Printer
Was this page helpful?
At Storables.com, we guarantee accurate and reliable information. Our content, validated by Expert Board Contributors, is crafted following stringent Editorial Policies. We're committed to providing you with well-researched, expert-backed insights for all your informational needs.


0 thoughts on “How To Sync A Brother Wireless Printer”