Home>Technology>Smart Home Devices>How To Set Up Brother Wireless Printer
Smart Home Devices
How To Set Up Brother Wireless Printer
Modified: October 19, 2024
Learn how to easily set up your Brother wireless printer and connect it to your smart home devices. Follow our step-by-step guide for seamless installation.
(Many of the links in this article redirect to a specific reviewed product. Your purchase of these products through affiliate links helps to generate commission for Storables.com, at no extra cost. Learn more)
Introduction
Setting up a Brother wireless printer is a convenient and efficient way to bring your printing tasks into the modern era. By connecting your printer to your wireless network, you can effortlessly print from any device within the network's range, be it a laptop, smartphone, or tablet. This guide will walk you through the process of setting up your Brother wireless printer, ensuring that you can start printing with ease.
Whether you're a tech-savvy individual or someone who is new to the world of wireless printing, this step-by-step guide will provide clear instructions to help you successfully set up your Brother wireless printer. With a little patience and attention to detail, you'll soon be enjoying the convenience and flexibility that a wireless printer offers.
So, let's dive in and get your Brother wireless printer up and running!
Key Takeaways:
- Setting up a Brother wireless printer is easy! Just gather the necessary info, connect the printer to power, install ink cartridges, load paper, install drivers, connect to the wireless network, and test the printer connection.
- Enjoy hassle-free wireless printing with your Brother printer! Follow the simple steps to set it up, connect to your wireless network, and test its functionality. It’s convenient, efficient, and ready for all your printing needs.
Read more: How To Sync A Brother Wireless Printer
Step 1: Gather Required Information
Before embarking on the setup process, it’s essential to gather the necessary information and items to ensure a smooth and hassle-free installation of your Brother wireless printer. Here’s what you’ll need:
- Printer Model: Take note of your Brother printer’s model number. This information is typically located on the front or top of the printer and is crucial for identifying the correct drivers and software.
- Wireless Network Details: Ensure that you have the SSID (network name) and password for your wireless network. This information is vital for connecting your printer to the network.
- Power Source: Identify a suitable power outlet near your desired printer location. Having easy access to a power source will facilitate the setup process.
- Device for Driver Installation: Prepare the device (e.g., computer, laptop, or smartphone) from which you’ll install the printer drivers. Ensure that the device is connected to the same wireless network to which you intend to connect the printer.
By gathering these essential details and items beforehand, you’ll streamline the setup process and minimize potential interruptions. With everything at your fingertips, you’ll be well-prepared to proceed to the next steps of setting up your Brother wireless printer.
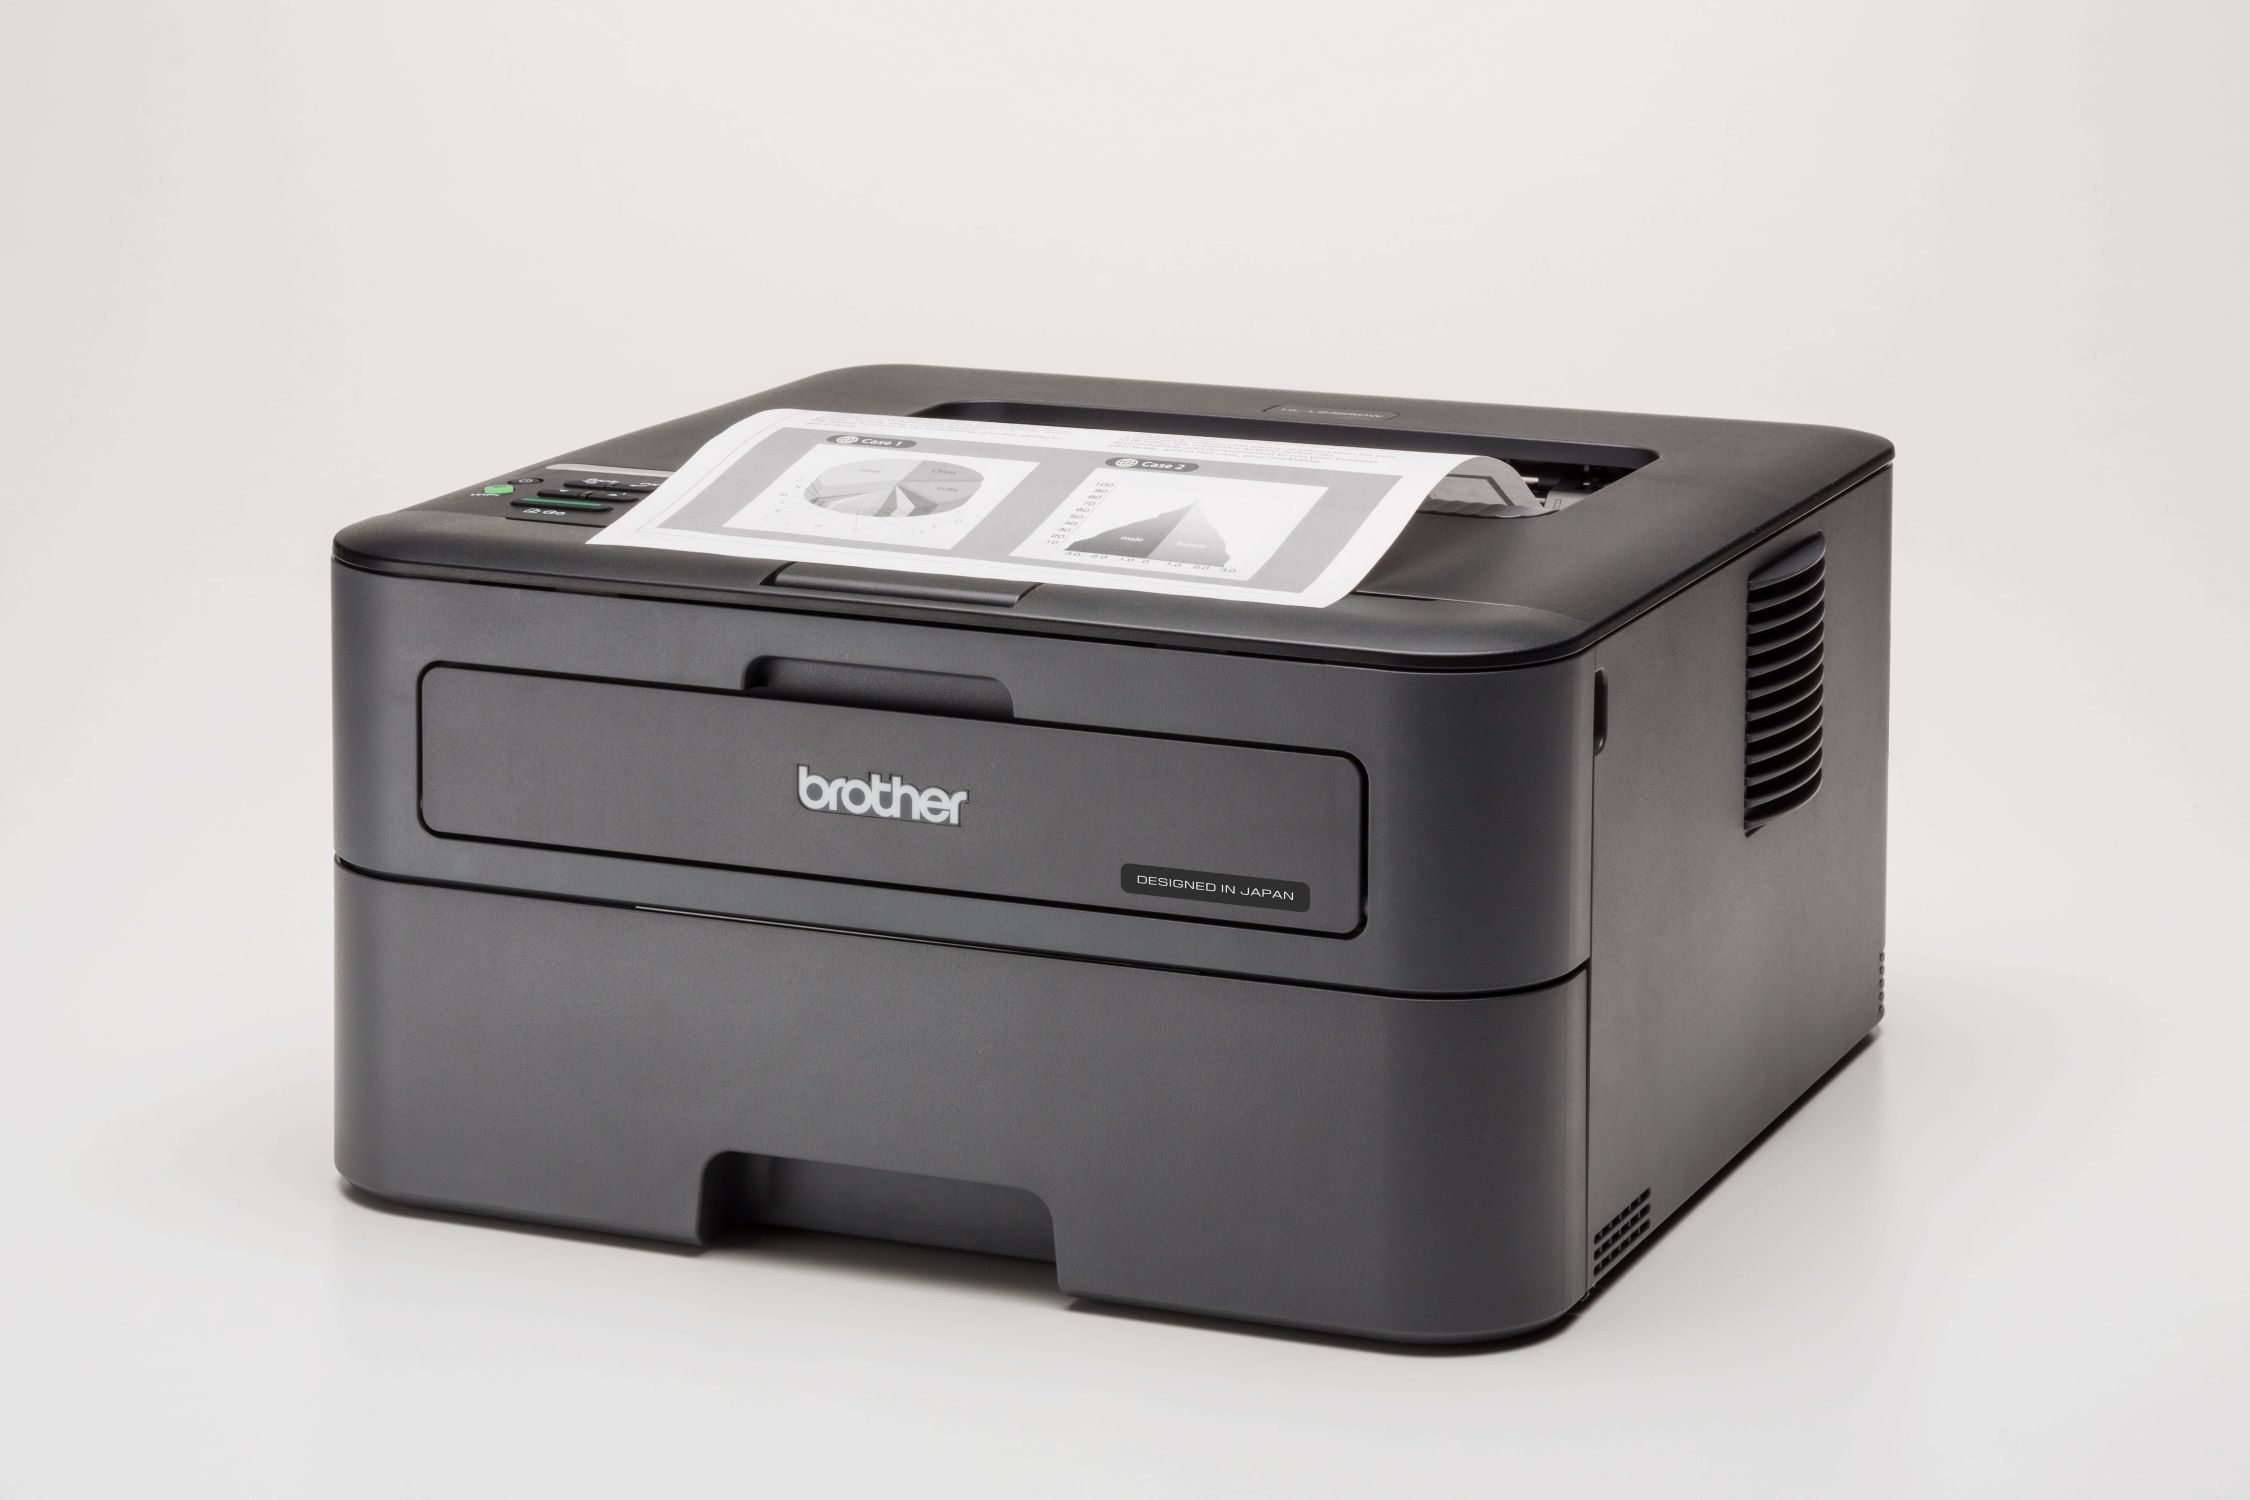
Step 2: Connect the Printer to Power
Once you have gathered the necessary information, it’s time to power up your Brother wireless printer. Follow these simple steps to connect the printer to a power source:
- Unpack the Printer: Carefully unpack the printer from its packaging, ensuring that all protective materials and tapes are removed.
- Placement: Choose a suitable location for your printer near a power outlet. Ensure that there is ample space around the printer for paper loading and maintenance.
- Power Cable: Locate the power cable provided with the printer. Plug one end into the power port on the printer and the other end into a nearby power outlet.
- Power On: Press the power button on the printer to turn it on. The printer will initialize, and you may hear mechanical noises as it prepares for setup.
- Display Check: If your Brother wireless printer has a display screen, ensure that it lights up and displays the initial setup or standby message.
Connecting your printer to a power source is the first step in the physical setup process. Once the printer is powered on, you’re ready to proceed with installing the ink cartridges, loading paper, and connecting the printer to your wireless network, all of which will be covered in the subsequent steps.
With the printer now powered up, you’re one step closer to enjoying the convenience of wireless printing in your home or office.
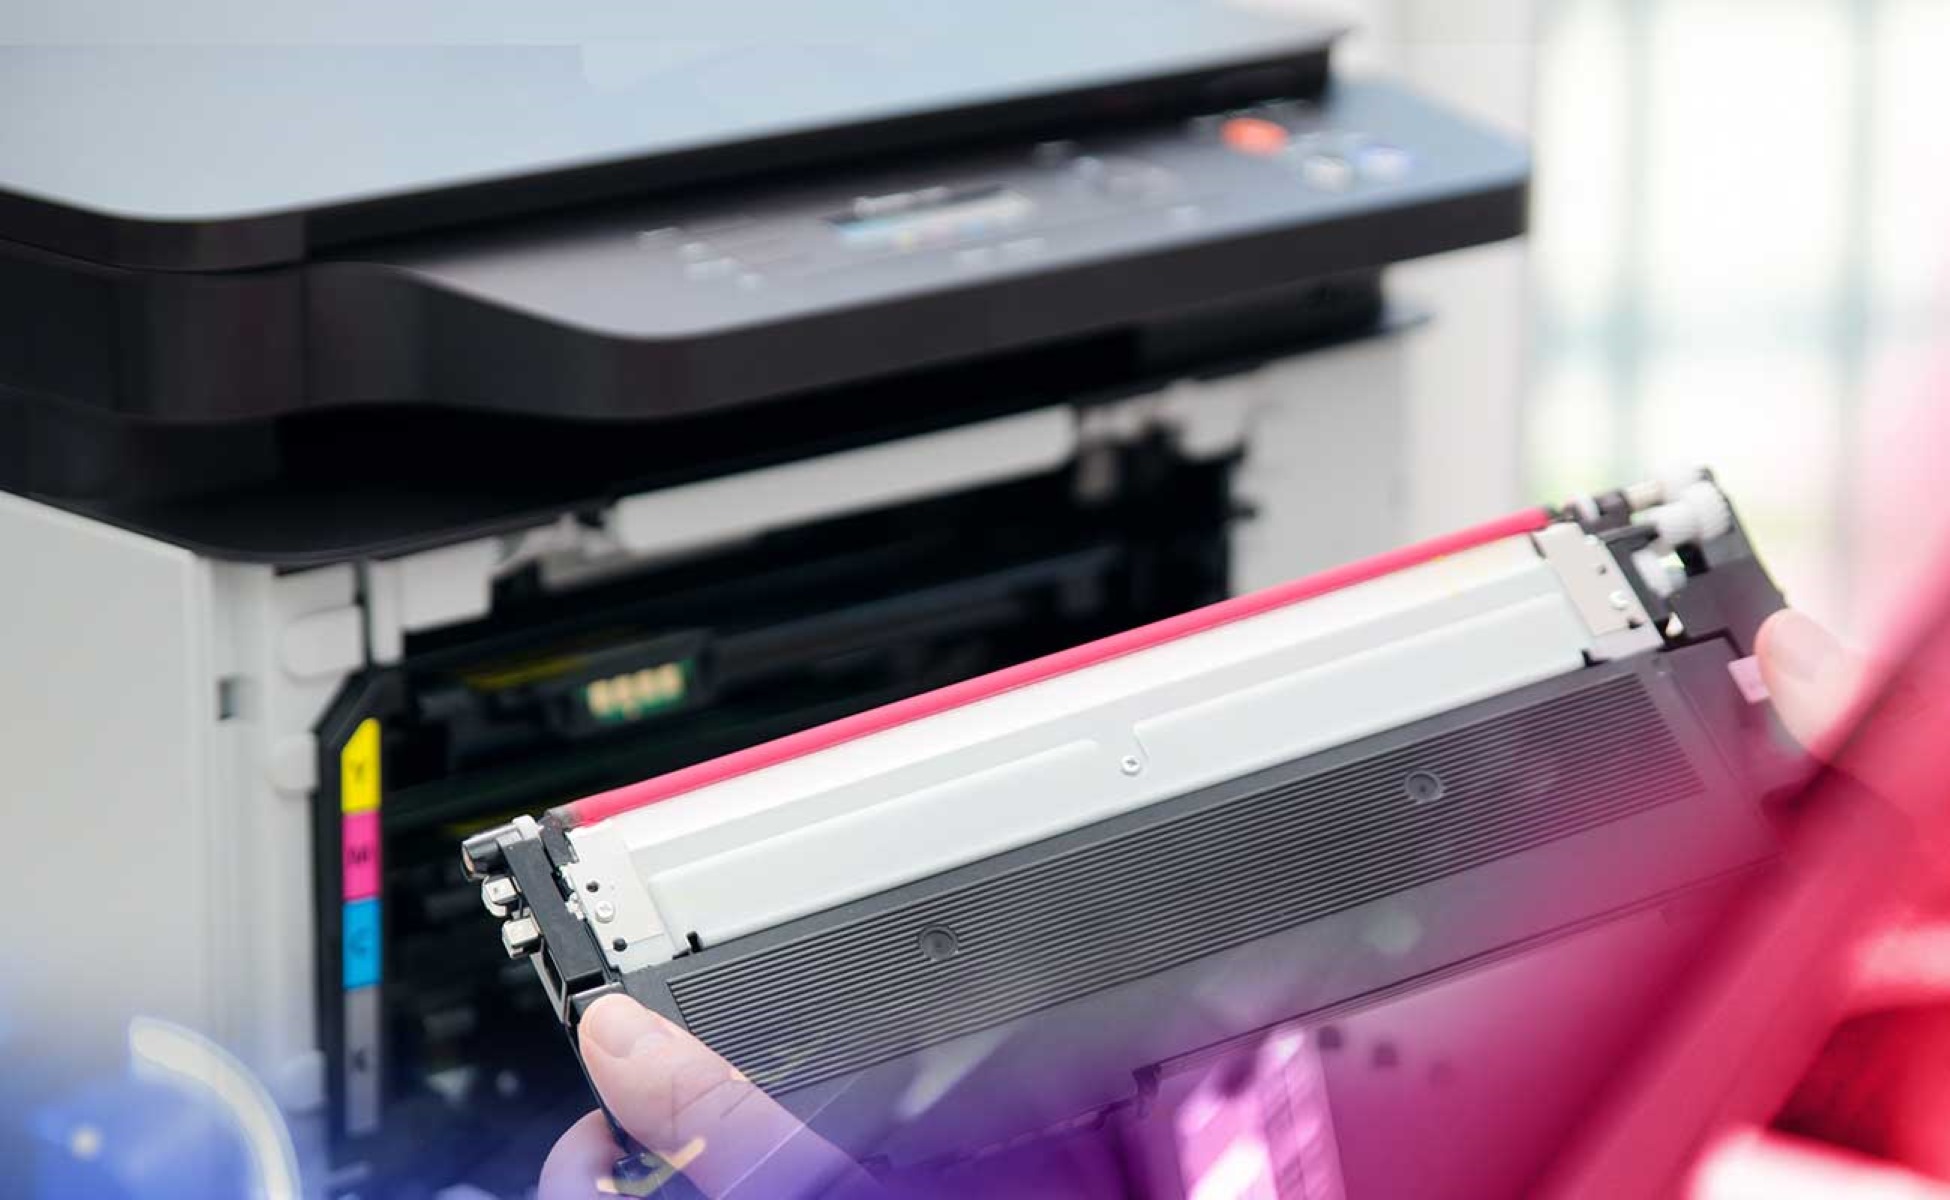
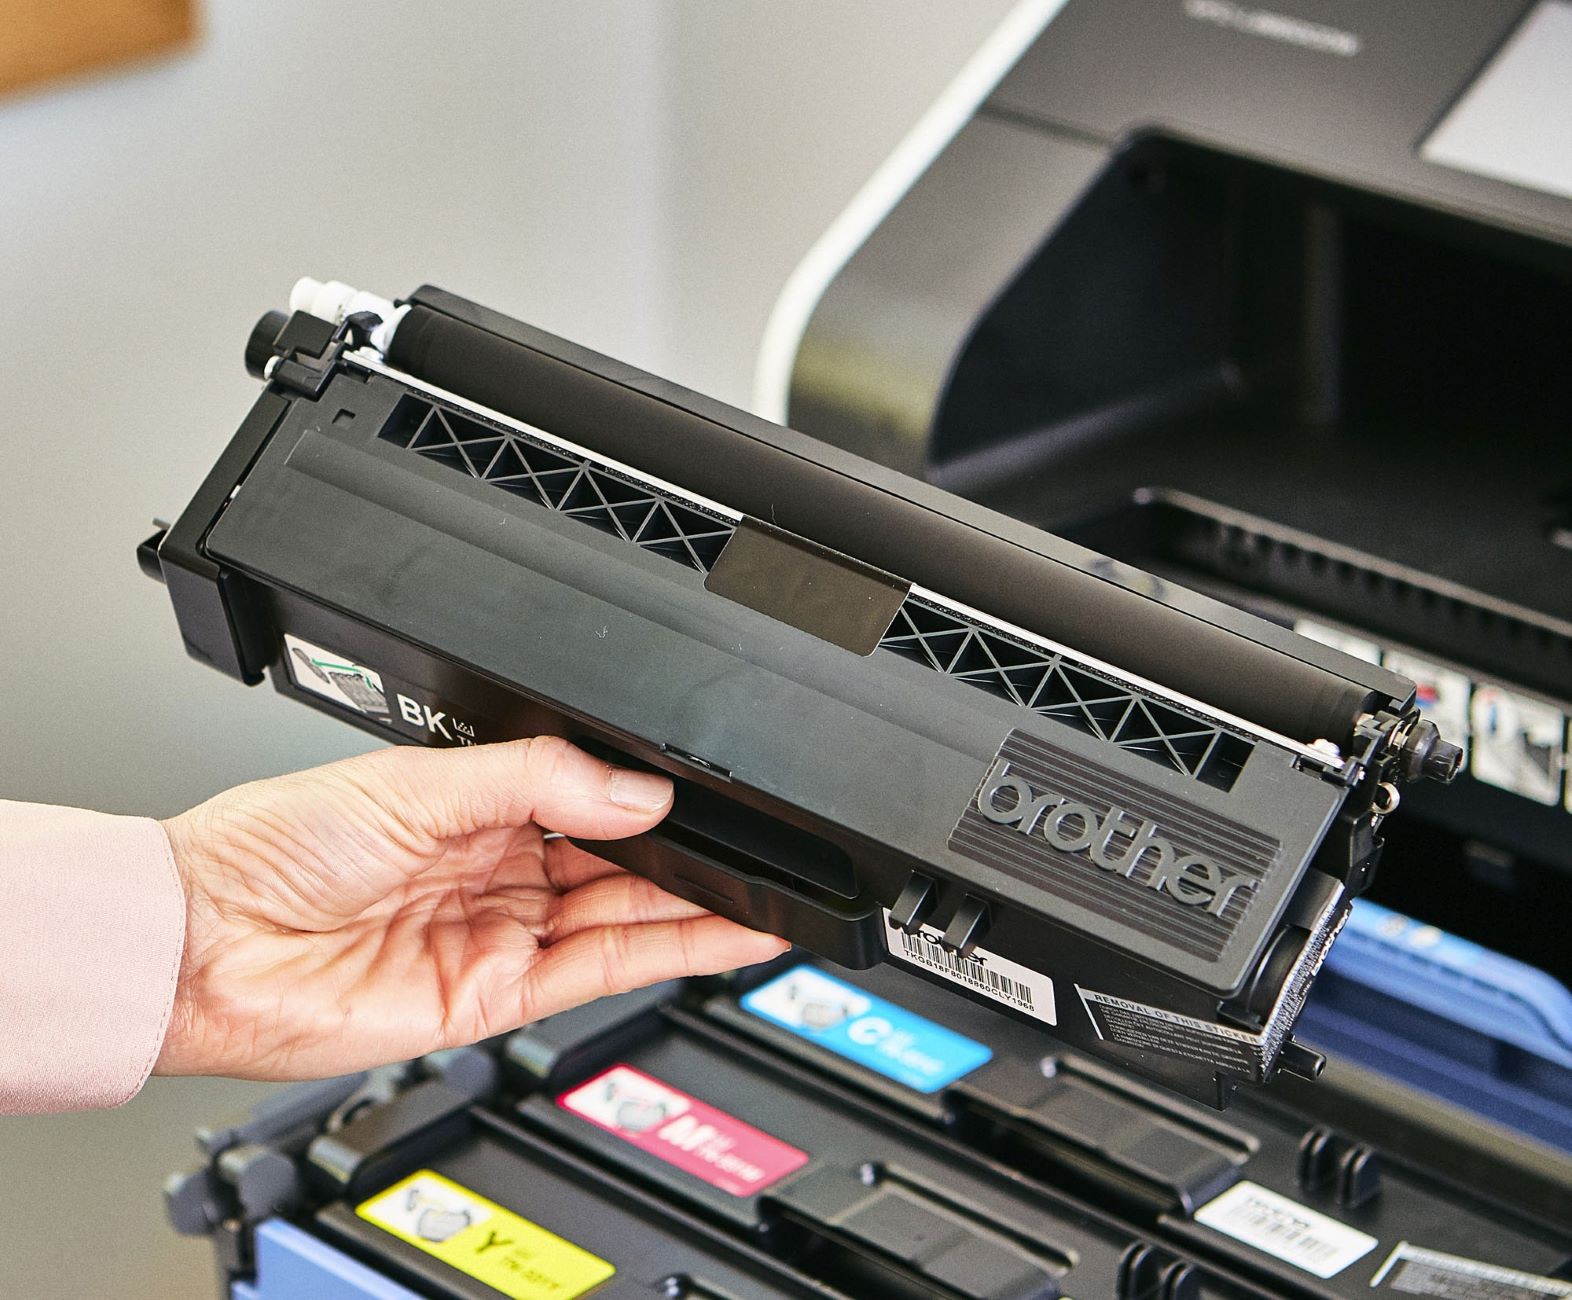
Step 3: Install Ink Cartridges
Installing ink cartridges is a vital step in preparing your Brother wireless printer for high-quality printing. Follow these straightforward instructions to install the ink cartridges:
- Access the Cartridge Area: Open the printer’s top cover or cartridge access door to reveal the cartridge slots. The exact location of the cartridge access may vary depending on your printer model.
- Prepare the Cartridges: Unpack the new ink cartridges from their packaging. Gently shake each cartridge from side to side to distribute the ink evenly.
- Insert the Cartridges: Insert the ink cartridges into their respective slots, ensuring that each cartridge is securely seated. Most Brother printers use a color-coded system to guide cartridge placement.
- Close the Cartridge Cover: Once the cartridges are in place, close the cartridge access door or the top cover of the printer. Ensure that it latches securely to prevent any errors during printing.
- Printer Initialization: After installing the ink cartridges, the printer may initiate an ink charging or calibration process. This is a normal part of the setup and ensures optimal print quality.
By installing the ink cartridges correctly, you’ll be ready to produce vibrant and crisp prints from your Brother wireless printer. The next step involves loading paper into the printer, setting the stage for seamless printing of your documents, photos, and more.
With the ink cartridges in place, your Brother wireless printer is primed to deliver impressive printouts, making it an indispensable tool for your home or office printing needs.
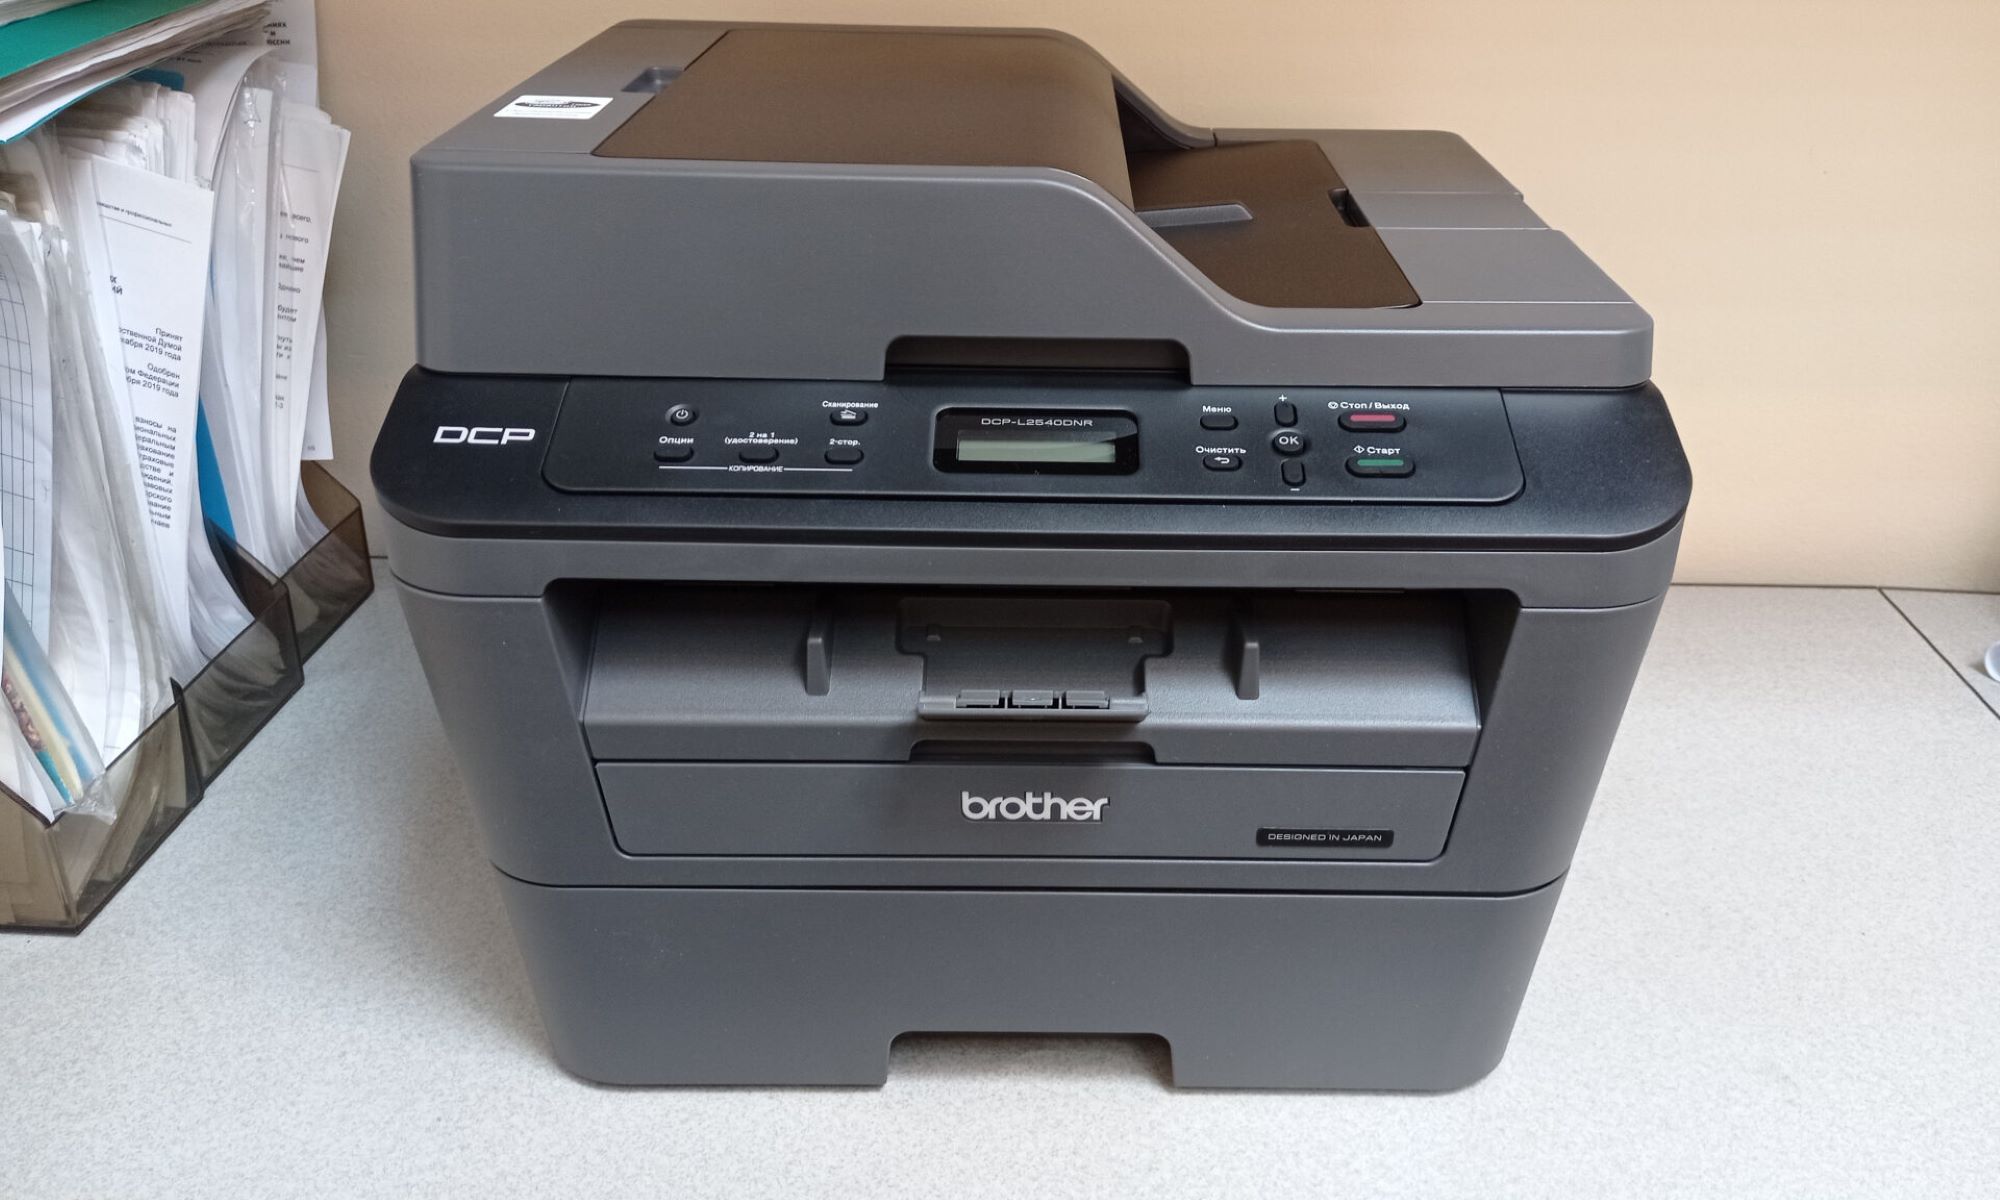
Step 4: Load Paper
Properly loading paper into your Brother wireless printer is crucial for smooth and uninterrupted printing. Follow these simple steps to load paper into the printer’s tray:
- Adjust the Paper Guides: Open the paper input tray and adjust the paper guides to match the size of the paper you’ll be using. Most Brother printers have adjustable guides to accommodate various paper sizes, such as letter, legal, or A4.
- Load the Paper: Place a stack of paper into the tray, ensuring that the stack is neatly aligned and not overloaded. Be mindful of the maximum paper capacity indicated for your specific printer model.
- Align the Paper: Square the stack of paper by gently tapping it on a flat surface. This helps prevent paper jams and ensures smooth feeding into the printer.
- Close the Tray: Once the paper is loaded, gently close the paper input tray, ensuring that it fits securely into place. Avoid forcing the tray to prevent misalignment.
- Verify Paper Type: Before initiating a print job, ensure that the printer settings match the type and size of the loaded paper. This can be adjusted within the printer’s settings or print dialog box on your computer or device.
With the paper properly loaded, your Brother wireless printer is ready to fulfill your printing needs. Whether it’s documents, reports, or creative projects, having paper at the ready ensures that your printer is poised to deliver crisp and professional-looking outputs.
By following these steps, you’ve successfully prepared your Brother wireless printer for paper handling, setting the stage for efficient and hassle-free printing.
Make sure your Brother printer is within range of your wireless network. Use the printer’s control panel to connect to your Wi-Fi network and follow the on-screen instructions. If you encounter any issues, refer to the printer’s manual or Brother’s support website for troubleshooting.
Read more: How To Set Up Airprint On Brother Printer
Step 5: Install Printer Drivers
Installing the correct printer drivers is essential to ensure seamless communication between your devices and the Brother wireless printer. Follow these steps to install the necessary drivers:
- Driver Installation Method: Visit the official Brother website to download the specific drivers for your printer model. Alternatively, you can use the installation CD provided with the printer.
- Download from the Website: If downloading from the website, navigate to the support or downloads section and enter your printer model number. Select the appropriate operating system and download the recommended drivers and software package.
- Run the Installer: Once the driver package is downloaded, run the installer and follow the on-screen instructions to complete the installation. This typically involves agreeing to the license terms and selecting the installation location.
- Connect the Printer: During the installation process, you may be prompted to connect the printer to your computer or device via USB. Follow the instructions to establish the initial connection.
- Wireless Setup: When prompted, choose the wireless setup option and select your wireless network from the list. Enter the network password when prompted to establish the wireless connection between the printer and your network.
- Completion: Once the installation is complete, test the printer by sending a print job from your computer or device. Ensure that the printer responds and produces the desired output.
By installing the correct printer drivers and establishing a wireless connection, you’ve enabled seamless printing from your devices to the Brother wireless printer. This step is crucial for unlocking the full potential of your printer and enjoying its wireless capabilities to the fullest.
With the printer drivers successfully installed, your Brother wireless printer is now ready to serve as a reliable and efficient printing hub for all your digital content.
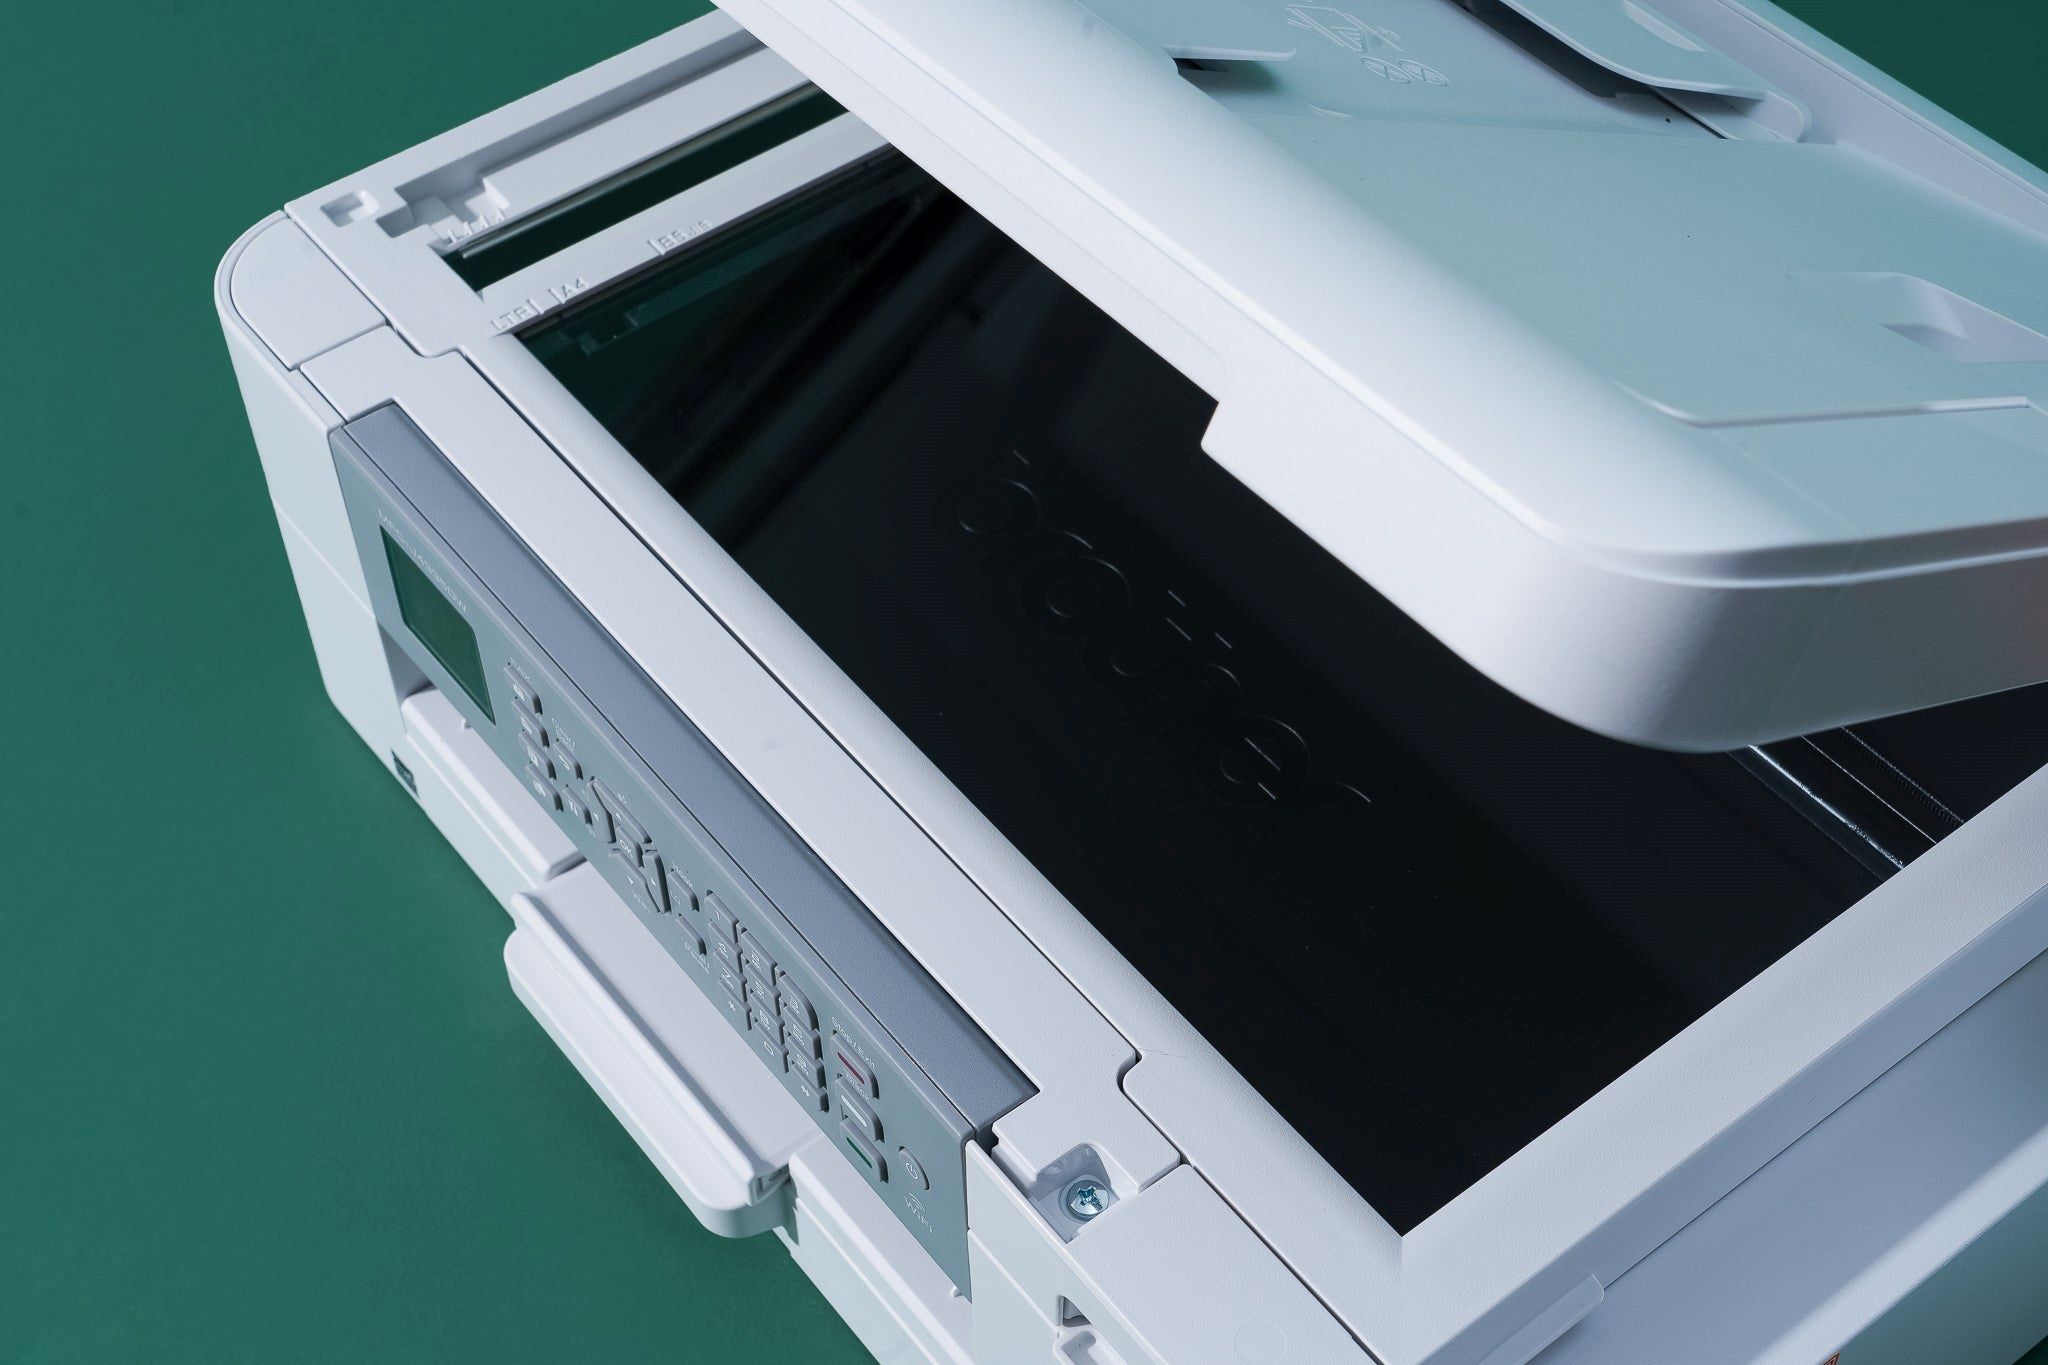
Step 6: Connect to the Wireless Network
Connecting your Brother wireless printer to your home or office wireless network is a pivotal step that enables seamless printing from multiple devices. Follow these steps to establish the wireless connection:
- Printer Menu: On the printer’s control panel, navigate to the “Settings” or “Network” menu. The exact location of these options may vary based on your printer model.
- Wireless Setup Wizard: Locate and select the “Wireless Setup Wizard” or a similar option from the menu. This initiates the printer’s search for available wireless networks.
- Select Your Network: From the list of available networks, choose your wireless network’s SSID (network name). If your network is hidden, you may need to manually enter the network name and password.
- Enter Network Password: If prompted, enter the network password using the printer’s control panel. This password is case-sensitive, so ensure that you enter it accurately.
- Wireless Connection: Once the network password is entered, the printer will attempt to connect to the wireless network. Upon successful connection, the printer’s wireless indicator will display a steady connection status.
- Network Confirmation: Verify that the printer is connected to the wireless network by printing a network configuration report from the printer’s control panel. This report typically includes network details and connection status.
By connecting your Brother wireless printer to the wireless network, you’ve expanded its accessibility and enabled printing from devices across the network. This wireless connectivity empowers you to print from laptops, smartphones, and tablets with ease.
With the wireless network connection established, your Brother printer is now seamlessly integrated into your digital ecosystem, ready to fulfill your printing needs from any connected device.
Step 7: Test the Printer Connection
After completing the setup process for your Brother wireless printer, it’s essential to verify the printer’s connection and functionality. Follow these steps to perform a test and ensure that the printer is ready for seamless printing:
- Print a Test Page: From your computer or device, send a print job to the Brother wireless printer. This can be a simple document or image to initiate a test print.
- Monitor Print Queue: Check the print queue on your computer to ensure that the print job is successfully received by the printer and is in the process of being printed.
- Verify Print Output: Once the print job is processed, retrieve the printed document from the printer’s output tray. Verify that the printout is clear, properly aligned, and free of any defects.
- Wireless Printing: If the test print is successful, attempt printing from other devices connected to the same wireless network. This ensures that the printer is accessible and responsive from multiple sources.
- Mobile Printing: Test the printer’s compatibility with mobile devices by using the manufacturer’s mobile printing app or sending a print job from a smartphone or tablet. Confirm that the printer responds promptly to mobile printing requests.
By conducting a thorough test of the printer connection, you can confidently verify that your Brother wireless printer is fully operational and ready to handle your printing needs. This step ensures that the wireless setup is successful and that the printer seamlessly integrates into your digital environment.
With the printer connection successfully tested, you can now enjoy the convenience of wireless printing, knowing that your Brother printer is primed to deliver high-quality prints from a variety of devices.
Conclusion
Congratulations! You’ve successfully set up your Brother wireless printer, paving the way for convenient and efficient printing from a variety of devices. By following the step-by-step instructions provided in this guide, you’ve empowered your printer to seamlessly integrate into your home or office network, allowing for hassle-free printing from computers, laptops, smartphones, and tablets.
Throughout the setup process, you’ve accomplished the following key tasks:
- Ensured that you have all the necessary information and items at hand, including the printer model, wireless network details, and power source.
- Connected the printer to a power source, initialized it, and installed the ink cartridges to prepare for high-quality printing.
- Loaded paper into the printer’s tray, ensuring that it is properly aligned and ready for various printing tasks.
- Installed the essential printer drivers, enabling seamless communication between your devices and the Brother wireless printer.
- Connected the printer to your wireless network, expanding its accessibility and enabling wireless printing from multiple devices.
- Tested the printer connection by initiating print jobs from various devices, ensuring that the printer is responsive and fully operational.
With these steps completed, your Brother wireless printer is now an indispensable tool for meeting your printing needs, whether it’s documents, reports, photos, or creative projects. Its seamless integration into your wireless network ensures that printing is a hassle-free and enjoyable experience.
As you embark on your printing journey with your newly set up Brother wireless printer, remember to periodically check for firmware updates and maintenance tasks to keep your printer in optimal condition. Additionally, explore the printer’s advanced features and settings to further enhance your printing experience.
Thank you for entrusting this guide to assist you in setting up your Brother wireless printer. Embrace the convenience of wireless printing and enjoy the versatility and reliability that your printer brings to your digital workspace.
Frequently Asked Questions about How To Set Up Brother Wireless Printer
Was this page helpful?
At Storables.com, we guarantee accurate and reliable information. Our content, validated by Expert Board Contributors, is crafted following stringent Editorial Policies. We're committed to providing you with well-researched, expert-backed insights for all your informational needs.

0 thoughts on “How To Set Up Brother Wireless Printer”