Home>Technology>Smart Home Devices>How To Splice 3D Printer Filament
Smart Home Devices
How To Splice 3D Printer Filament
Modified: August 20, 2024
Learn how to splice 3D printer filament with our step-by-step guide. Keep your smart home devices running smoothly with this essential skill.
(Many of the links in this article redirect to a specific reviewed product. Your purchase of these products through affiliate links helps to generate commission for Storables.com, at no extra cost. Learn more)
Introduction
Welcome to the world of 3D printing, where creativity knows no bounds and innovation takes shape layer by layer. As you delve into the realm of 3D printing, you may encounter the need to splice filament, a process that allows you to seamlessly join two pieces of filament together, ensuring uninterrupted printing.
Splicing filament is a valuable skill for 3D printing enthusiasts and professionals alike. Whether you are seeking to optimize material usage, create multi-colored prints, or simply extend the length of your filament, mastering the art of splicing is a game-changer in the 3D printing universe.
In this comprehensive guide, we will walk you through the step-by-step process of splicing 3D printer filament, equipping you with the knowledge and expertise to tackle this task with confidence. From the essential materials needed to the intricacies of the splicing process, we will cover it all, empowering you to elevate your 3D printing capabilities.
So, grab your filament, roll up your sleeves, and get ready to embark on a journey that will elevate your 3D printing prowess. Let's dive into the world of filament splicing and unlock the potential of seamless, uninterrupted 3D printing.
Key Takeaways:
- Mastering the art of splicing 3D printer filament empowers you to create multi-colored prints and extend filament lengths with confidence, unlocking new creative possibilities in 3D printing.
- Meticulous filament splicing ensures reliable and consistent 3D printing experiences, leading to exceptional print quality and seamless printing without interruptions, allowing for continuous innovation and experimentation.
Read more: How To Store 3D Printer Filament
Materials Needed
Before diving into the splicing process, it’s essential to gather the necessary materials to ensure a smooth and successful filament splice. Here’s a list of the materials you’ll need:
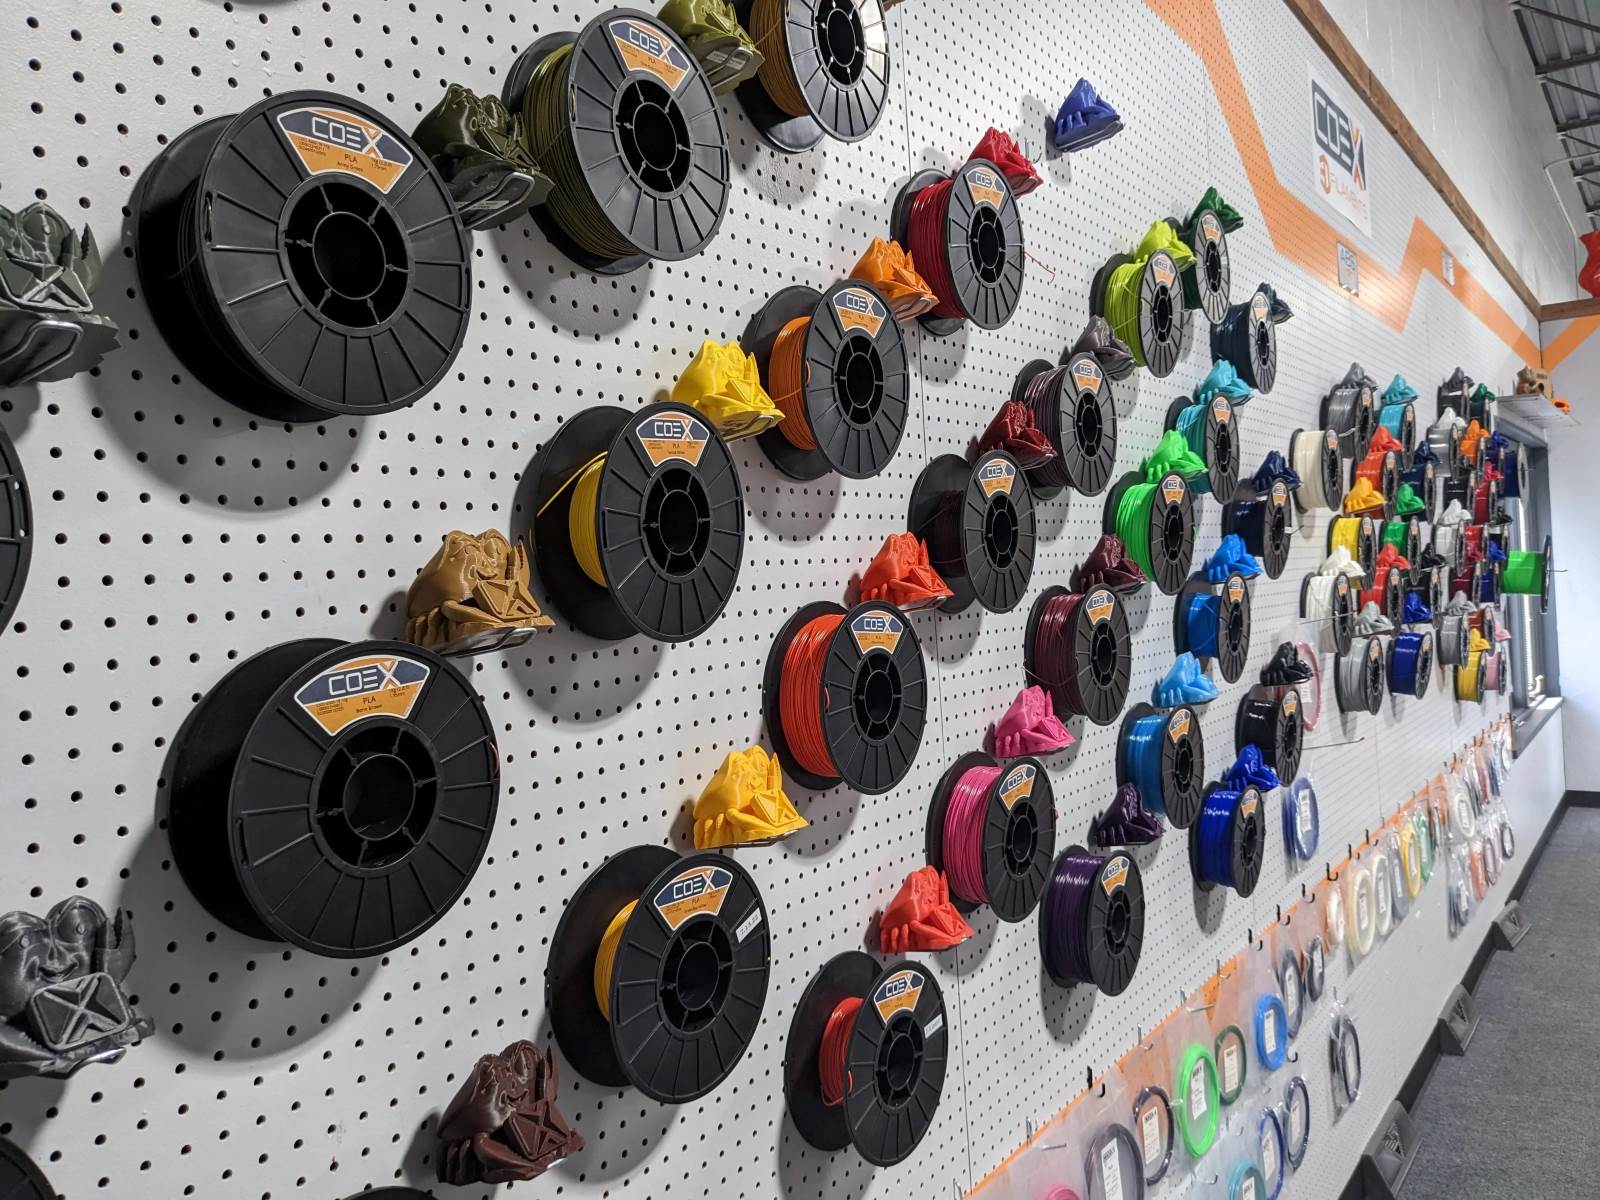
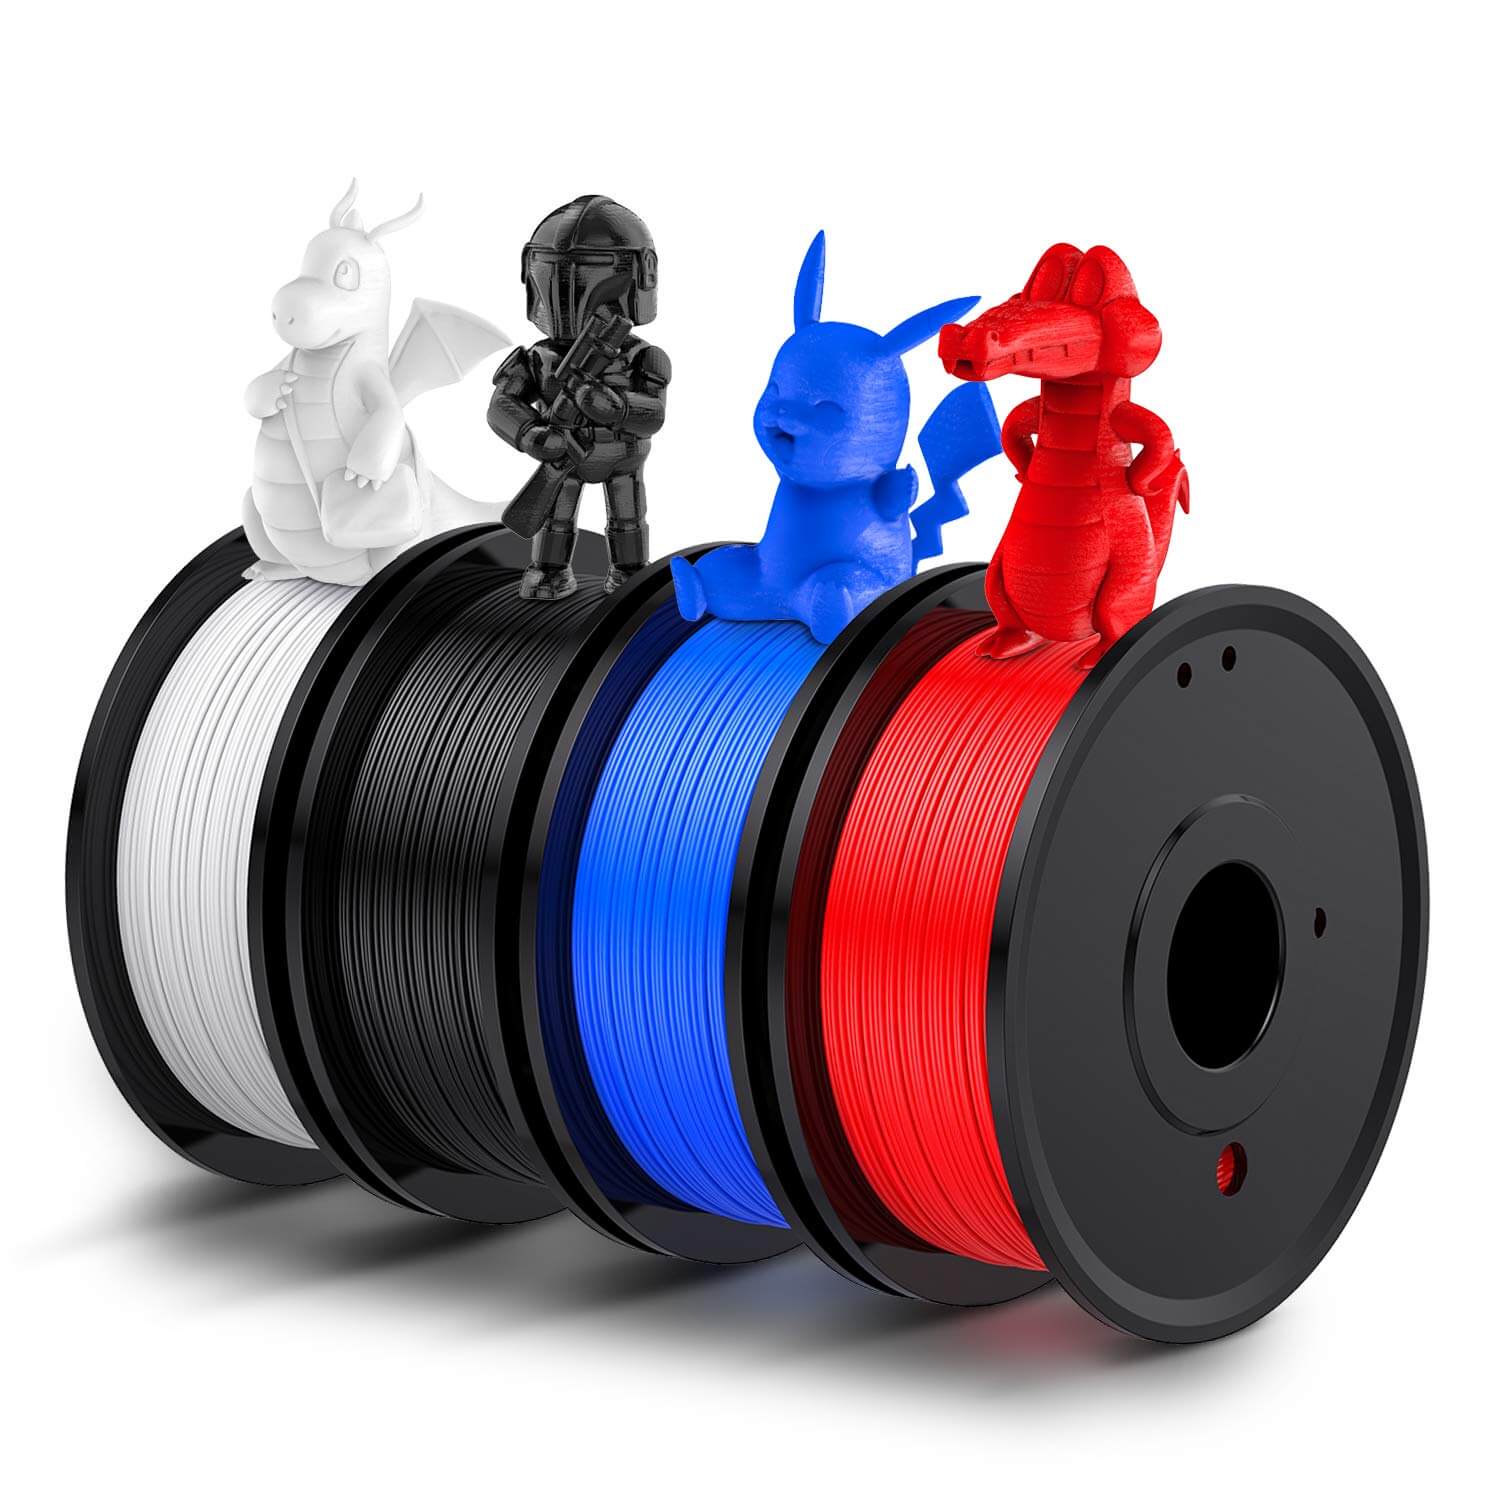
- 3D Printer Filament: The filament you intend to splice, ensuring it is clean and free from dust or debris.
- Splicing Tool: A specialized splicing tool, such as a filament welding pen or a splicing block, designed to facilitate the fusion of filament ends.
- Sharp Cutting Tool: A sharp pair of scissors or a precision cutting tool to cleanly trim the filament ends before splicing.
- Heat Source: A heat gun or a soldering iron to apply heat during the splicing process, enabling the fusion of filament ends.
- Heat-Resistant Surface: A non-flammable, heat-resistant surface to place the splicing tool and filament during the splicing process, ensuring safety and stability.
- Protective Gear: Heat-resistant gloves and safety goggles to protect your hands and eyes from the heat source during splicing.
- Cleaning Supplies: Isopropyl alcohol and lint-free wipes to clean the filament ends before splicing, promoting strong fusion and preventing contamination.
- Calipers or Ruler: Precision measuring tools to ensure accurate alignment and length of the filament ends before splicing.
By assembling these essential materials, you’ll be well-prepared to embark on the filament splicing journey with confidence and precision. Each item plays a crucial role in the splicing process, contributing to the seamless fusion of filament ends and the overall success of your 3D printing endeavors.
Preparation
Before delving into the intricate process of splicing 3D printer filament, it’s crucial to lay the groundwork for a seamless and successful splicing experience. By following these preparatory steps, you’ll set the stage for precise filament fusion and uninterrupted 3D printing.
Step 1: Filament Inspection
Prior to splicing, carefully inspect the filament you intend to use. Ensure that it is free from knots, tangles, or any visible defects that could hinder the splicing process. Additionally, confirm that the filament is clean and devoid of any dust or debris, as cleanliness is paramount for a strong and reliable splice.
Step 2: Workspace Setup
Create a well-organized and clutter-free workspace conducive to the splicing process. Clear any unnecessary items from your work surface and ensure that all essential materials and tools are within easy reach. This will streamline the splicing procedure and minimize the risk of disruptions during the critical fusion moments.
Step 3: Heat Source Preparation
If you’re using a heat gun or soldering iron as the heat source for splicing, ensure that it is in good working condition and set it to the appropriate temperature for the filament material being spliced. This proactive approach will prevent delays and complications during the heating phase of the splicing process.
Step 4: Safety Measures
Prioritize safety by donning heat-resistant gloves and safety goggles to protect your hands and eyes during the splicing process. Additionally, position the heat source and splicing tools on a heat-resistant surface to mitigate the risk of accidental burns or damage to your workspace.
Step 5: Filament Ends Preparation
Using a sharp cutting tool, such as scissors or a precision cutting tool, trim the ends of the filament cleanly and squarely. This step is crucial for achieving a precise and secure splice, as clean filament ends facilitate optimal fusion and minimize the risk of irregularities in the spliced joint.
By meticulously attending to these preparatory steps, you’ll establish an environment primed for successful filament splicing. This proactive approach sets the stage for a smooth and efficient splicing process, laying the foundation for impeccable 3D printing outcomes.
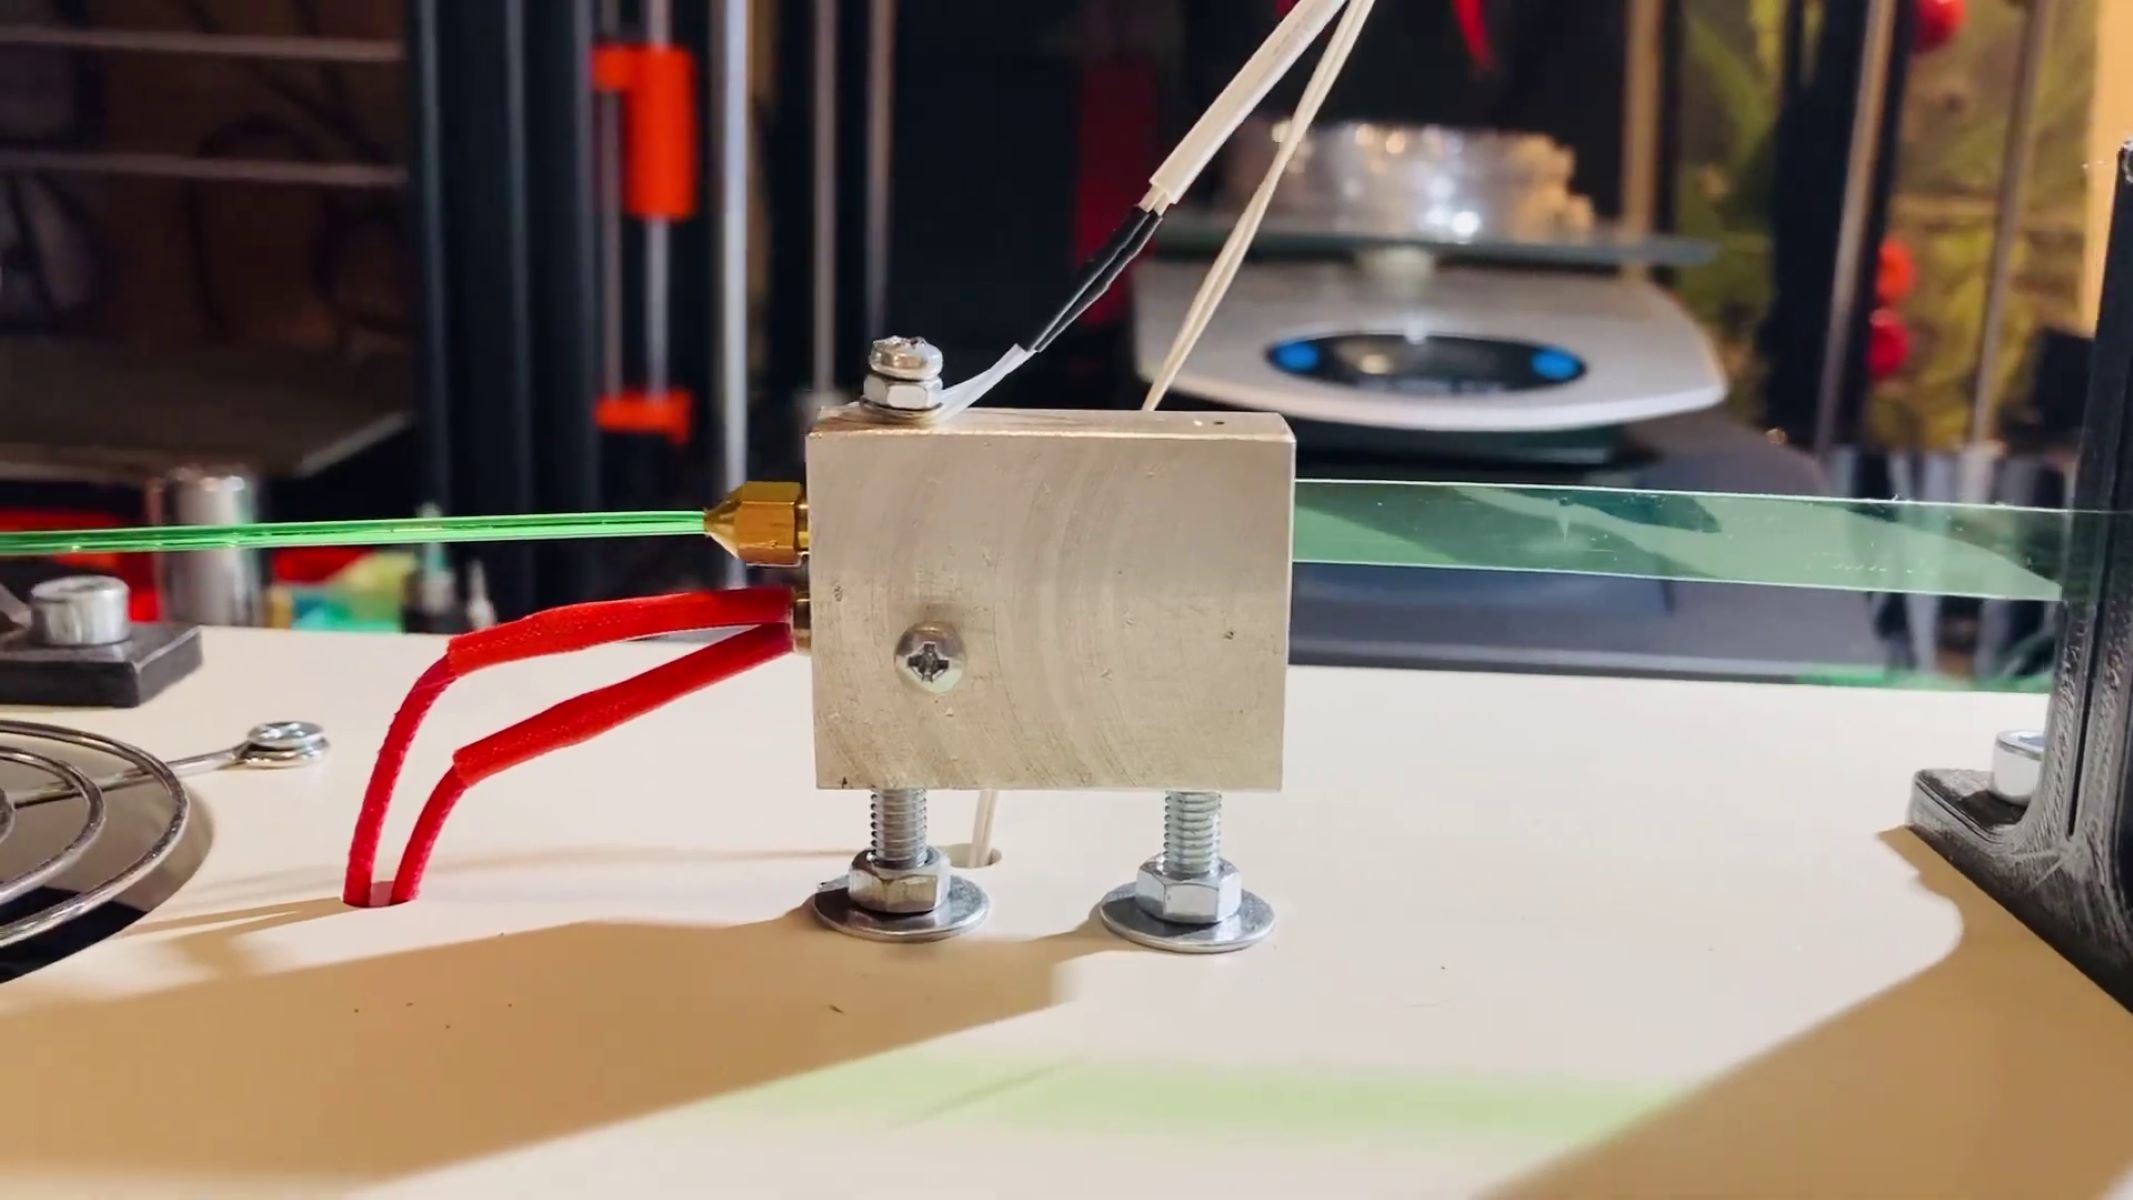
When splicing 3D printer filament, make sure to cut the ends of the filament at a 45-degree angle for a better bond. Use a filament splicer or create a “weld” by heating the ends and pressing them together for a strong connection.
Splicing Process
Now that you’ve diligently prepared your workspace and gathered the essential materials, it’s time to delve into the intricate splicing process. Follow these step-by-step guidelines to seamlessly join two pieces of filament, ensuring a robust and reliable splice for your 3D printing endeavors.
Step 1: Alignment and Measurement
Begin by aligning the ends of the filament pieces to be spliced, ensuring that they are flush and perfectly aligned. Use calipers or a ruler to verify the alignment and measure the length of the filament ends, promoting precision and uniformity in the splicing process.
Step 2: Cleaning and Inspection
Prior to splicing, clean the filament ends with isopropyl alcohol and lint-free wipes to remove any contaminants or residues that could compromise the integrity of the splice. Thoroughly inspect the cleaned ends to confirm that they are pristine and ready for fusion.
Step 3: Fusion Preparation
If using a filament welding pen or splicing block, follow the manufacturer’s instructions to prepare the tool for the splicing process. Ensure that the tool is at the appropriate temperature and ready to facilitate the fusion of filament ends effectively.
Step 4: Fusion Technique
With the filament ends aligned, cleaned, and the splicing tool prepared, bring the ends together within the splicing tool’s fusion zone. Apply gentle pressure to secure the ends in place and activate the fusion mechanism, allowing the tool to meld the filament ends together seamlessly.
Step 5: Cooling and Solidification
After the fusion process, allow the spliced joint to cool and solidify according to the manufacturer’s recommendations. This crucial step ensures the formation of a robust and durable splice, ready to withstand the rigors of 3D printing without compromising structural integrity.
Step 6: Visual and Tactile Inspection
Once the splice has cooled, visually and tactically inspect the joint to ensure a smooth and uniform fusion. Run your fingers along the splice, verifying that it is free from irregularities and exhibits consistent diameter and texture, indicative of a successful fusion.
By meticulously following these steps, you’ll master the art of splicing 3D printer filament, seamlessly joining filament ends to enable uninterrupted 3D printing. The precision and care invested in the splicing process will yield robust and reliable splices, empowering you to unleash your creativity with confidence.
Testing the Splice
After completing the filament splicing process, it’s essential to validate the integrity and strength of the splice through rigorous testing. By subjecting the splice to a series of assessments, you can ascertain its reliability and suitability for 3D printing applications. Here are the key steps to effectively test the splice:
Visual Examination
Begin by visually inspecting the spliced joint, examining it from various angles to identify any irregularities or imperfections. A successful splice should exhibit a smooth and uniform fusion, devoid of bulges, gaps, or inconsistencies. Verify that the diameter and texture of the splice align seamlessly with the original filament, indicative of a robust fusion.
Tensile Strength Test
To assess the tensile strength of the splice, carefully apply gradual tension to the filament, gauging its resistance to separation at the spliced joint. A reliable splice will withstand the applied force, maintaining structural integrity without succumbing to breakage or detachment. This test provides valuable insights into the durability of the splice under tension, a critical factor in 3D printing applications.
Flexural Testing
Subject the spliced filament to flexural testing, evaluating its ability to endure bending and curving without compromising its cohesion. Gently manipulate the filament along its length, observing how it responds to bending forces. A resilient splice will exhibit flexibility and resilience, retaining its integrity even when subjected to bending stress.
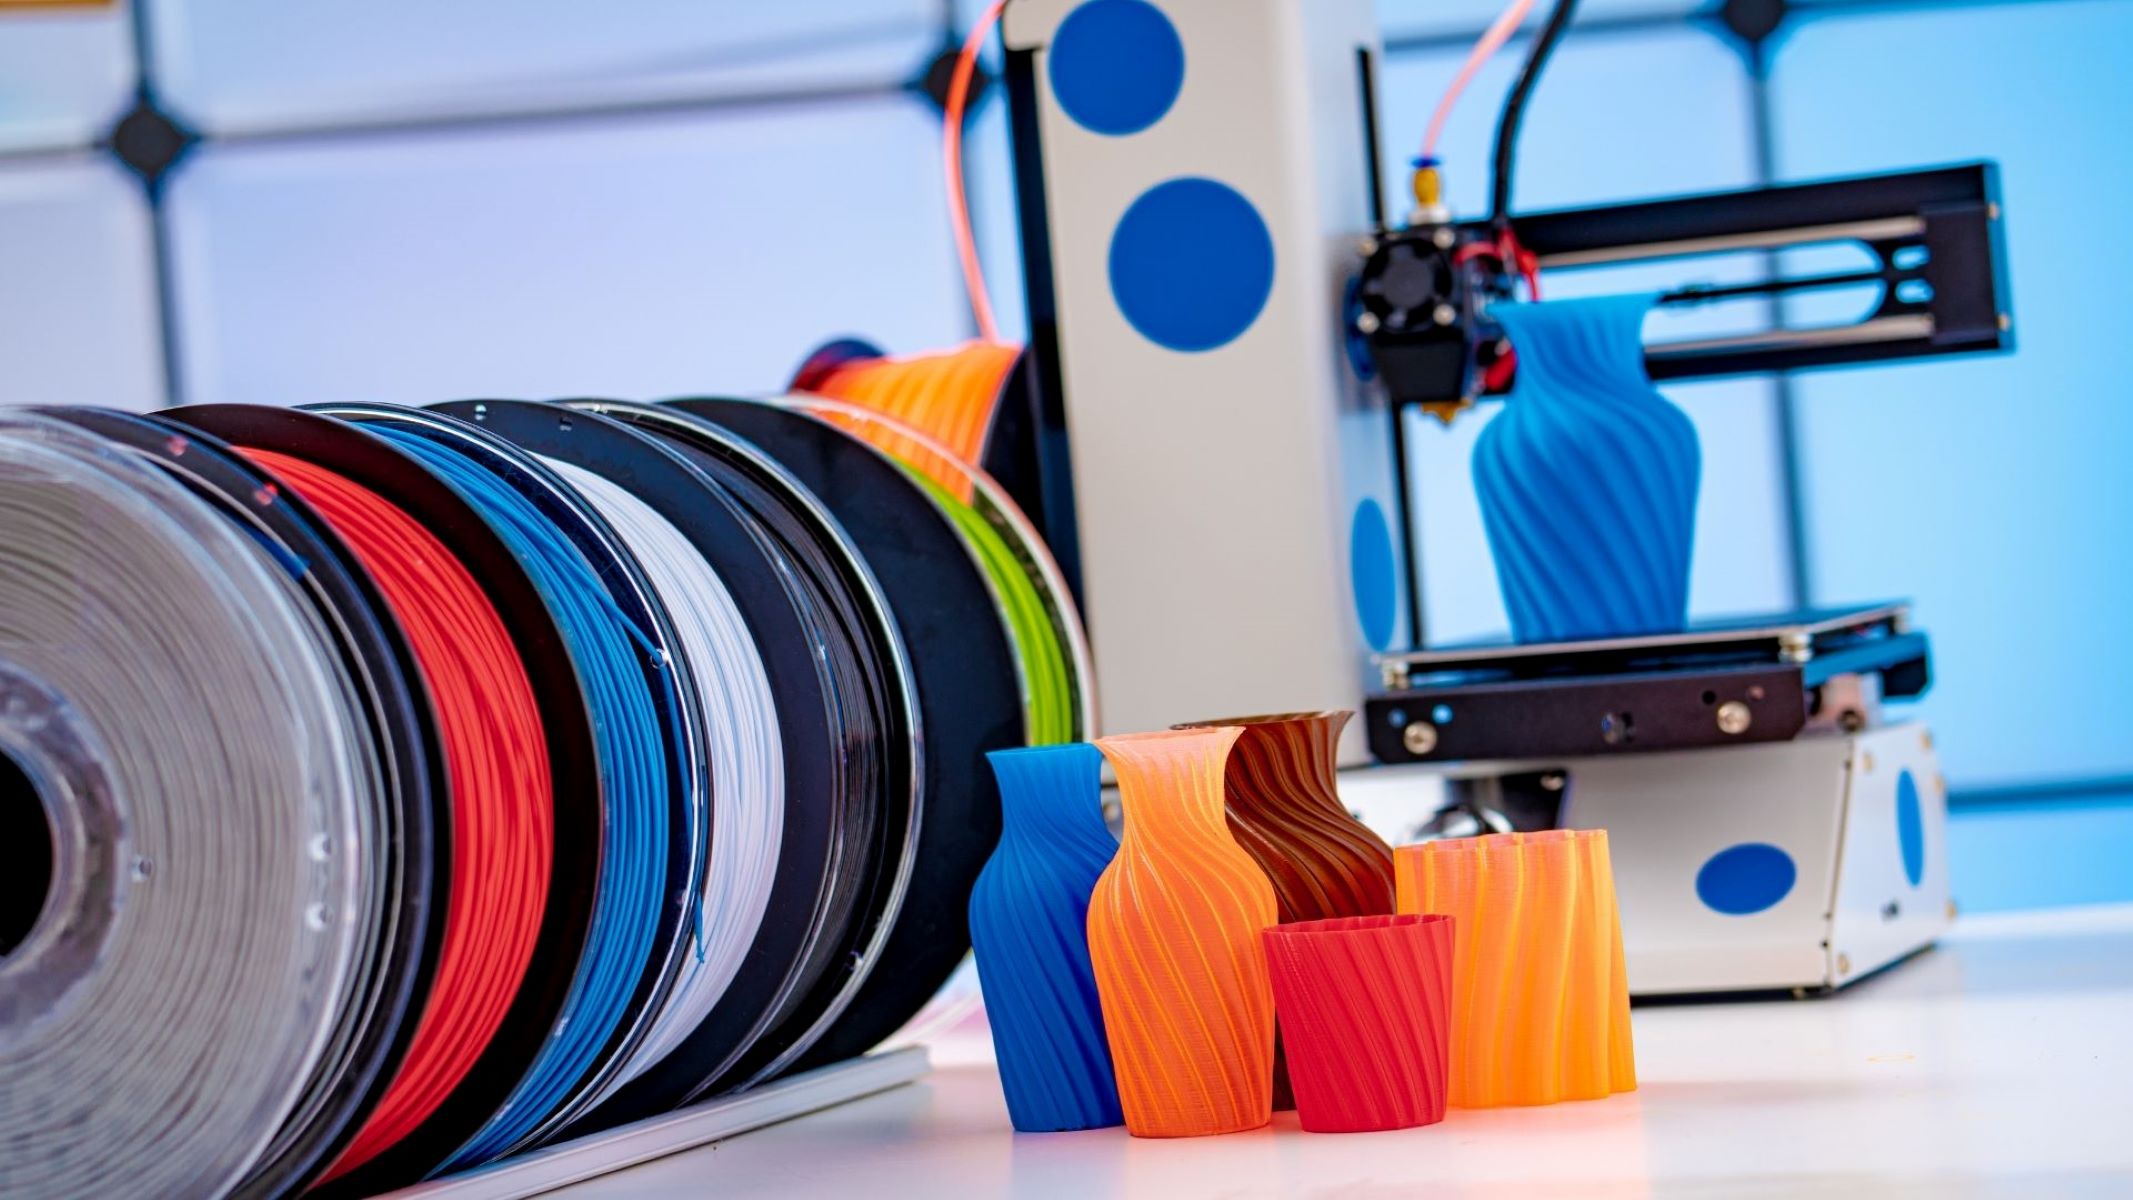
Printing Trials
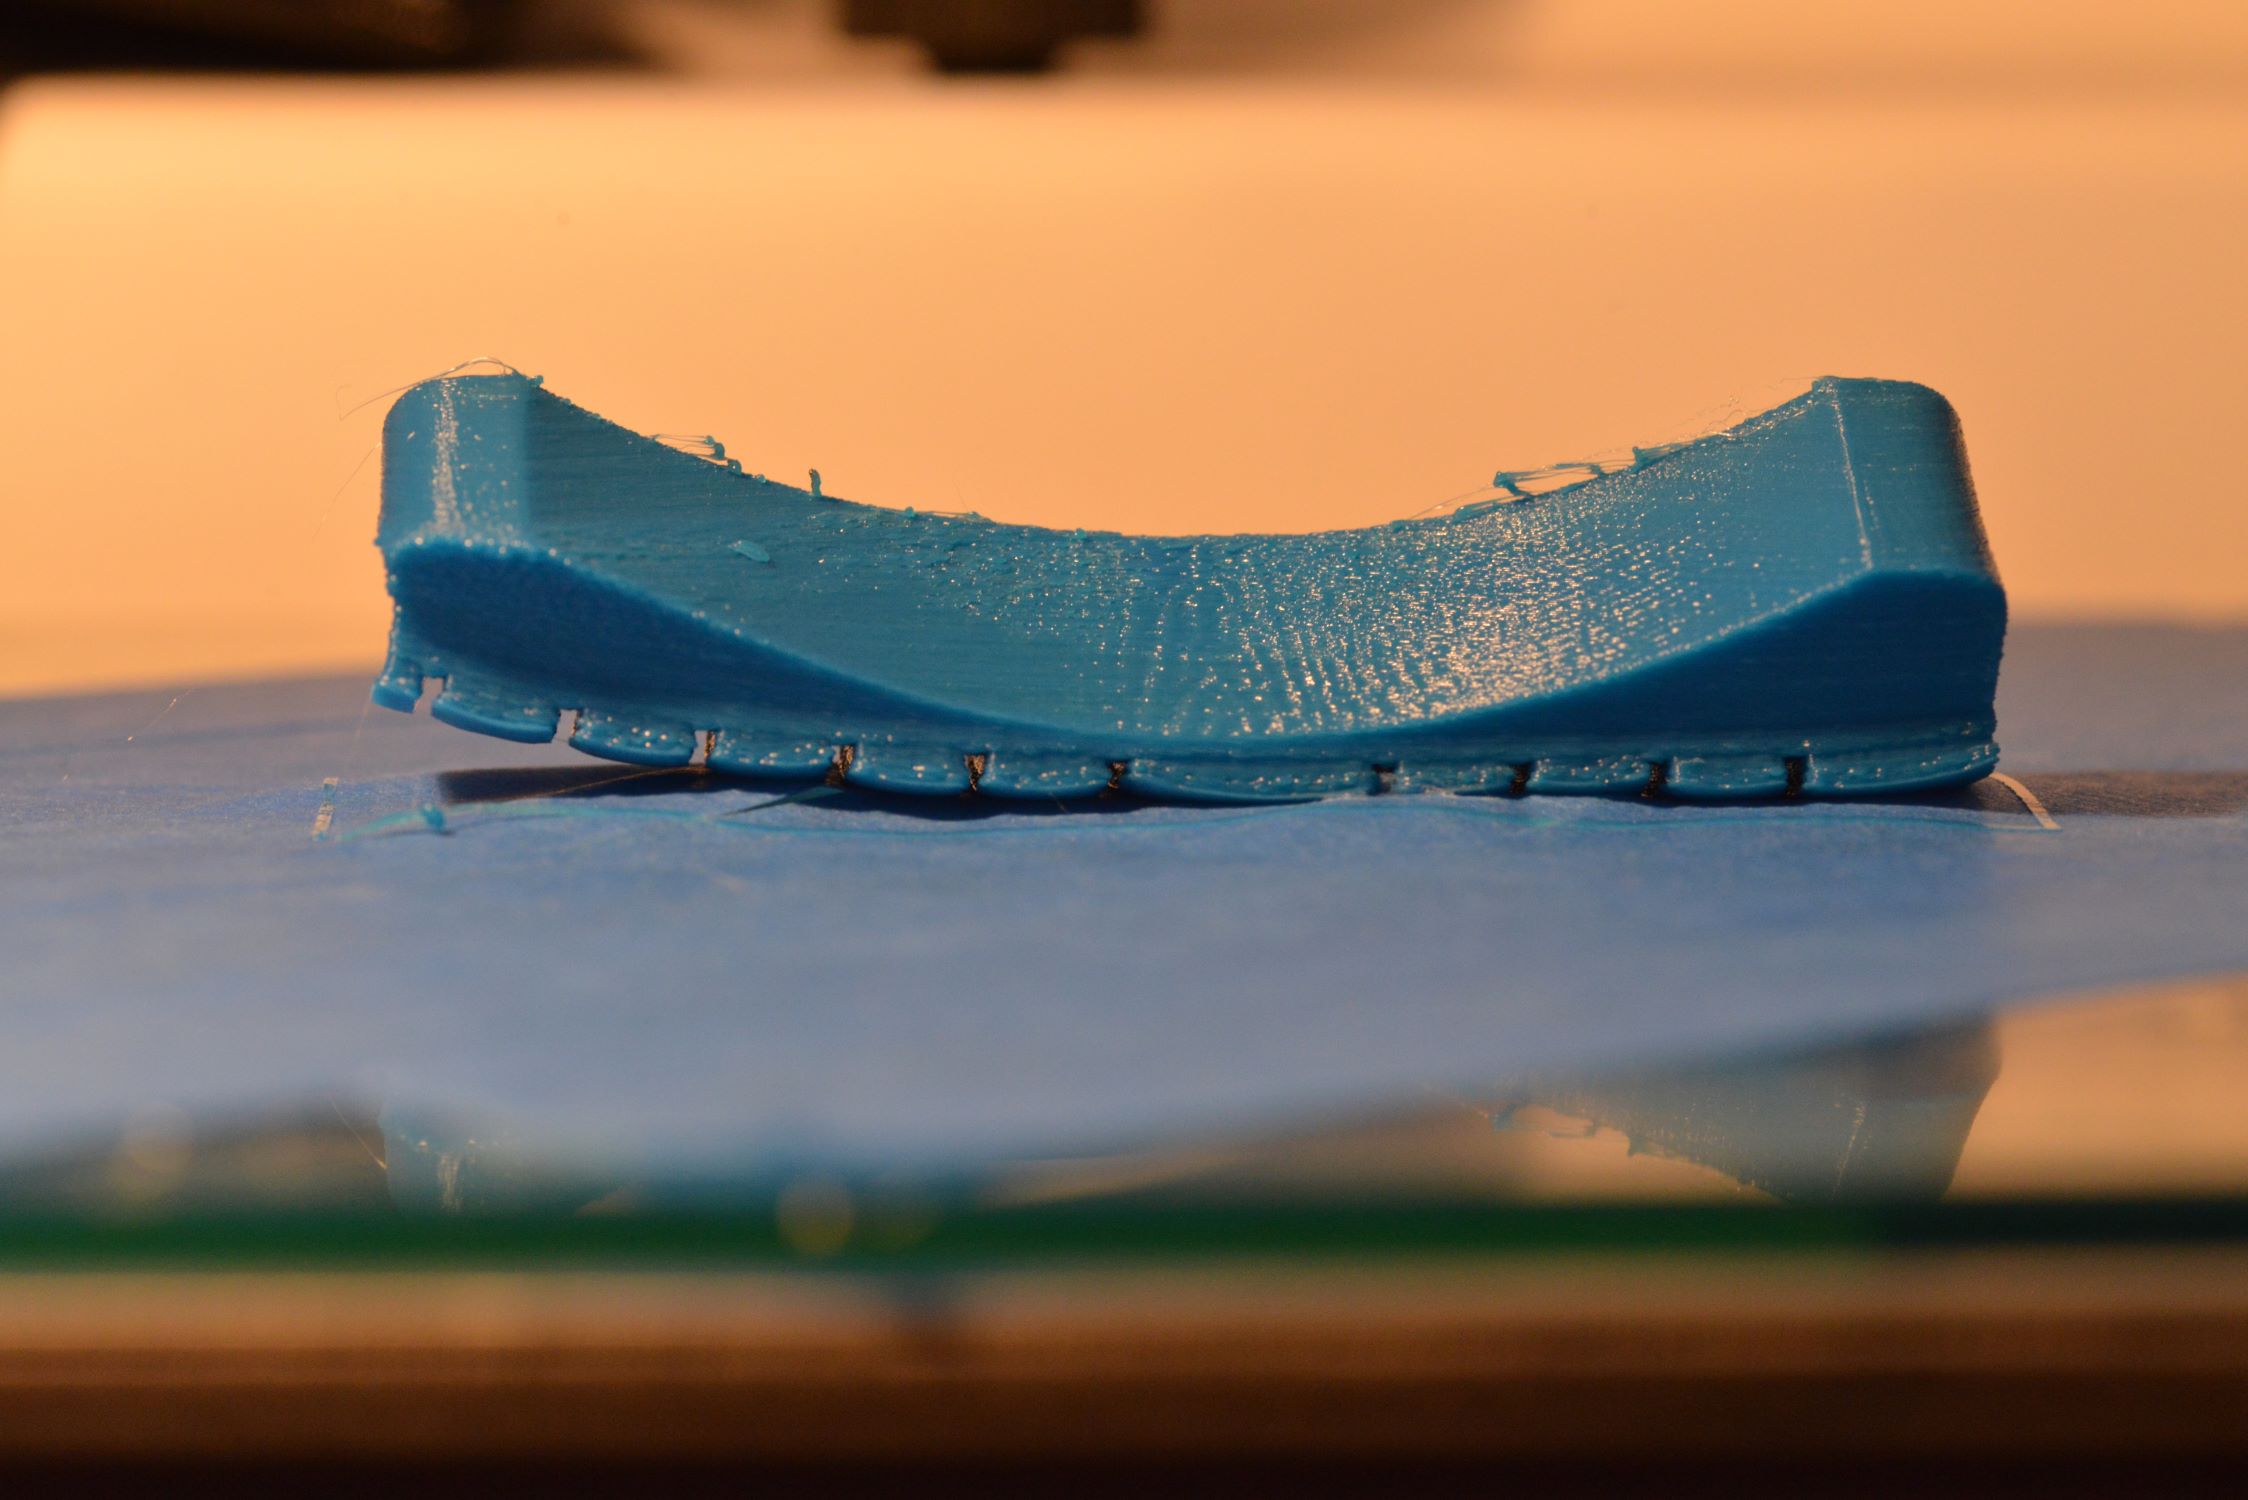
Conduct printing trials using the spliced filament to assess its performance in a real-world 3D printing scenario. Choose a test model or a small-scale print that incorporates various geometries and intricate details to challenge the filament’s extrusion and adhesion capabilities. Monitor the printing process closely, observing the behavior of the splice and evaluating the quality of the printed object. A successful splice will enable seamless printing, yielding high-quality outputs without interruptions or defects.
Post-Printing Evaluation
Inspect the printed objects resulting from the testing trials, scrutinizing them for any anomalies or imperfections attributable to the spliced filament. Verify that the printed layers exhibit uniform consistency and adhesion, indicative of a reliable splice that facilitates uninterrupted 3D printing. Assess the structural integrity and surface finish of the printed objects, confirming the efficacy of the splice in delivering exceptional print quality.
By subjecting the splice to these comprehensive tests, you’ll gain a comprehensive understanding of its strength, durability, and suitability for 3D printing applications. The insights garnered from these assessments will inform your confidence in utilizing the spliced filament for a diverse range of printing projects, unlocking new possibilities for creativity and innovation.
Read more: How To Reuse 3D Printer Filament
Conclusion
Congratulations! You’ve embarked on a transformative journey into the realm of filament splicing, equipping yourself with the knowledge and expertise to seamlessly join 3D printer filament and elevate your printing capabilities. As you reflect on the splicing process and its implications for your 3D printing endeavors, consider the following key takeaways:
Empowerment Through Skill Mastery
By mastering the art of splicing filament, you’ve unlocked a valuable skill that empowers you to optimize material usage, create multi-colored prints, and extend filament lengths with confidence and precision. This newfound proficiency expands your creative horizons, enabling you to realize intricate designs and innovative projects without limitations.
Reliability and Consistency in 3D Printing
The meticulous approach to filament splicing ensures the creation of robust and reliable splices, essential for uninterrupted 3D printing. The fusion of filament ends with precision and care culminates in seamless printing experiences, characterized by consistent extrusion and impeccable print quality. Your commitment to excellence in splicing translates into the consistent delivery of exceptional 3D printed objects.
Innovation Unleashed
As you harness the potential of filament splicing, you open the door to boundless innovation and experimentation in 3D printing. The ability to seamlessly merge filament of varying colors and materials broadens the scope of your creations, allowing you to craft captivating multi-material prints and intricate, multi-hued designs. Your newfound proficiency in splicing serves as a catalyst for innovation, inspiring you to push the boundaries of 3D printing and bring your boldest ideas to life.
Continuous Learning and Refinement
The journey of filament splicing is a testament to the spirit of continuous learning and refinement. As you engage in testing, experimentation, and real-world printing trials, you refine your splicing techniques and deepen your understanding of filament behavior. Each splicing endeavor presents an opportunity for growth and mastery, fostering a dynamic and evolving approach to 3D printing.
With these insights in mind, you stand poised to embark on a 3D printing odyssey marked by seamless splices, exceptional print quality, and unparalleled creative expression. Embrace the art of filament splicing as a cornerstone of your 3D printing prowess, and let it propel you toward new frontiers of innovation and excellence.
Now, armed with the knowledge and expertise gained from this comprehensive guide, you are primed to embark on a 3D printing journey that transcends boundaries and unlocks the full potential of filament splicing. May your future printing endeavors be marked by seamless splices, uninterrupted creativity, and the realization of extraordinary designs.
Frequently Asked Questions about How To Splice 3D Printer Filament
Was this page helpful?
At Storables.com, we guarantee accurate and reliable information. Our content, validated by Expert Board Contributors, is crafted following stringent Editorial Policies. We're committed to providing you with well-researched, expert-backed insights for all your informational needs.


0 thoughts on “How To Splice 3D Printer Filament”