Articles
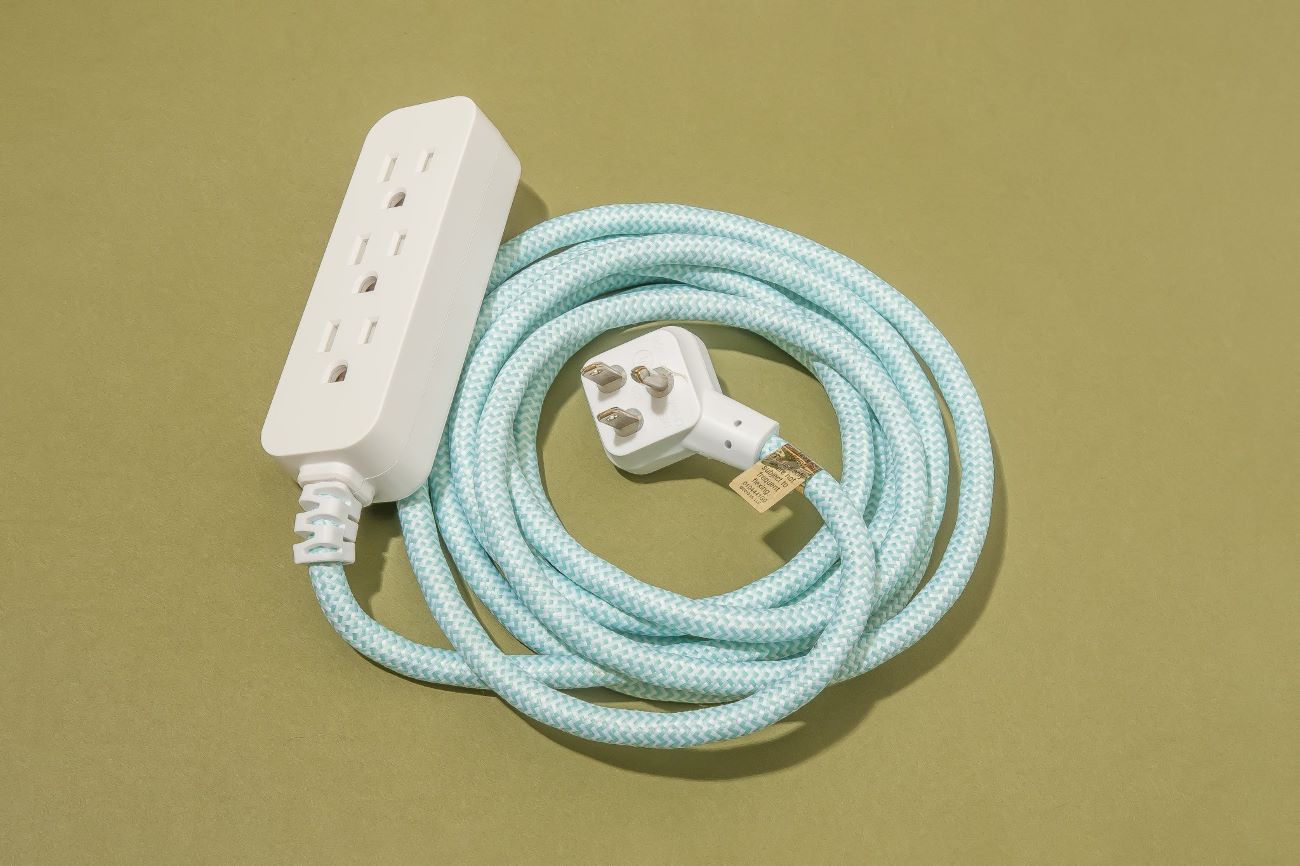
How To Straighten Out Electrical Cord
Modified: August 26, 2024
Learn how to safely straighten out electrical cords with our informative articles. Find useful tips and techniques to prevent tangles and prolong the lifespan of your cords.
(Many of the links in this article redirect to a specific reviewed product. Your purchase of these products through affiliate links helps to generate commission for Storables.com, at no extra cost. Learn more)
Introduction
Welcome to this comprehensive guide on how to straighten out an electrical cord. We’ve all been in situations where our extension cords or power cables become twisted and tangled, making it frustrating to use and potentially hazardous. Whether it’s a result of improper storage or accidental mishandling, a bent or twisted electrical cord can affect its performance and durability.
Straightening out an electrical cord is not only about aesthetics; it is a necessary step to ensure that the cord can function optimally and safely. A bent or twisted cord can have internal damage, such as broken wires or frayed insulation, which can increase the risk of electrical shocks or short circuits. By straightening out the cord, you can ensure a longer lifespan for your electrical appliances and maintain a safer working environment.
In this guide, we will walk you through the step-by-step process of how to straighten out an electrical cord effectively. We’ll provide you with useful tips, techniques, and precautions to follow along the way. Whether you’re dealing with a household extension cord, a power cable for your electronics, or any other type of electrical cord, these methods can be applied universally.
But before we dive into the practical steps, let’s take a moment to gather all the necessary tools and materials you will need for this project.
Key Takeaways:
- Straightening out electrical cords is crucial for improved performance, safety, and longevity of appliances. Follow the step-by-step guide to ensure optimal functionality and a safer working environment.
- Properly securing and testing the straightened cord is essential for maintaining its shape and ensuring safe usage. Regular maintenance and inspections are key to preventing potential hazards.
Why It’s Important
Straightening out an electrical cord may seem like a minor task, but it holds significant importance for a variety of reasons. Let’s explore why it’s crucial to straighten out your electrical cords:
- Improved Performance: A straightened cord ensures proper electrical conductivity, allowing for efficient power transmission. When a cord is bent or twisted, it can disrupt the flow of electricity, leading to reduced performance or even potential damage to your devices.
- Enhanced Safety: Twisted or kinked cords pose a safety hazard, as they can have internal damage like broken wires or frayed insulation. When using an impaired cord, you increase the risk of electrical shocks, short circuits, or even electrical fires. Straightening the cord helps eliminate these risks and promotes a safer environment.
- Prolonged Lifespan: When an electrical cord is bent or twisted, it experiences unnecessary strain on its internal components. Over time, this strain can lead to wire breakage or insulation wear, causing the cord to fail prematurely. By straightening the cord, you can prevent these issues and extend the lifespan of your electrical appliances.
- Easier Cable Management: A straightened cord is easier to manage and organize. It can be neatly coiled or stored, reducing the chances of tangling or knotting. This makes it more convenient to transport and store the cord, saving you time and making it easier to locate when needed.
- Improved Aesthetics: Straightening out an electrical cord enhances its appearance, giving it a cleaner and more professional look. Whether you’re using the cord at home or in a professional setting, a neat and untangled cord adds to the overall visual appeal and creates a sense of order.
By understanding the importance of straightening out electrical cords, you can prioritize this task in your maintenance routine. Investing a few minutes to straighten out a cord can go a long way in ensuring optimal performance, safety, and longevity for your electrical appliances and devices.
Tools and Materials Needed
Before you begin straightening out your electrical cord, it’s important to gather the necessary tools and materials to make the process smooth and efficient. Here’s a list of what you’ll need:
- Electrical Cord: The cord that needs to be straightened.
- Heat Gun or Hair Dryer: A heat gun or hair dryer can be used to soften the cord’s outer insulation, making it more pliable and easier to straighten.
- Gloves: It’s a good idea to wear gloves to protect your hands from excessive heat or any sharp edges on the cord. Additionally, gloves can provide a better grip while handling the cord.
- Clamps or Weights: Utilizing clamps or weights can help keep the cord straight during the repair process. They will hold the cord in place as it cools down, ensuring that it maintains its straightened shape.
- Clean Cloth: A clean cloth can be useful for wiping any debris or dust off the cord before and after straightening it.
- Work Area: Designate a flat and stable surface to work on. This can be a table, countertop, or any other area where you’ll have enough space to lay out the cord and perform the necessary steps.
Once you have gathered these tools and materials, you’re ready to begin straightening out your electrical cord. Ensure that you have a well-ventilated work area and follow the subsequent steps to achieve the desired results.
Please note that the specific tools and materials required may vary depending on the condition of your cord, the level of damage, and personal preferences. It’s always a good idea to assess your cord’s situation and adjust the tools accordingly to ensure a successful straightening process.
Step 1: Assessing the Cord Damage
Before you start straightening out your electrical cord, it’s crucial to assess the extent of the damage. This will help you determine the level of repair required and guide you in taking the appropriate steps. Here’s how you can assess the cord’s condition:
- Inspect for Physical Damage: Examine the cord carefully from end to end. Look for any visible signs of physical damage such as cuts, fraying, or exposed wires. If you notice any significant damage, it may be necessary to consider replacing the cord rather than attempting to straighten it.
- Check for Internal Damage: Bend and flex the cord gently to see if there are any hidden wire breaks or loose connections inside. If the cord feels unusually stiff or makes crackling sounds when moved, it could indicate internal damage. In such cases, it’s recommended to consult a professional or replace the cord altogether.
- Assess the Level of Twisting or Bending: Take note of how severely the cord is twisted or bent. A cord with minor twists or kinks may only require a simple straightening process, while a severely mangled cord may require additional steps or techniques.
By carefully evaluating the condition of your electrical cord, you can determine the best course of action for straightening it. It’s important to prioritize safety and consider replacing a cord if it has significant damage or poses a potential risk.
Once you have assessed the cord’s damage, you’re ready to move on to the next step: preparing the work area. Ensure that you have a clean and well-organized space where you can safely manipulate and straighten the cord.
Step 2: Preparing the Work Area
Preparing the work area is an essential step before you start straightening out your electrical cord. A clean and well-organized space will make the process smoother and help you avoid any unnecessary accidents. Follow these steps to prepare your work area:
- Clean the Surface: Clear the surface where you’ll be working. Remove any clutter, debris, or objects that could interfere with the cord or cause accidents. Wipe down the surface with a clean cloth to ensure it’s free from dust and dirt.
- Create Ample Workspace: Ensure that you have enough space to lay out the cord fully and move around comfortably. Remove any obstacles and make sure you have a clear path to maneuver the cord.
- Secure the Cord: Find a way to secure the cord during the straightening process. You can use clamps or weights to hold the cord in place, preventing it from moving or slipping while you work on it.
- Ensure Proper Ventilation: Working with heat tools like a heat gun or hairdryer can generate fumes or heat. Make sure your work area is well-ventilated to prevent any discomfort or potential hazards. If necessary, open windows or use fans to improve air circulation.
- Wear Protective Gear: It’s important to wear gloves to protect your hands from heat or any sharp edges on the cord. Additionally, if you’re using a heat gun, consider wearing safety goggles to shield your eyes from any potential debris.
Once the work area is prepared, you’re ready to proceed with untangling any knots or tangles in the cord. This will ensure a smooth straightening process and help maintain the integrity of the cord’s structure.
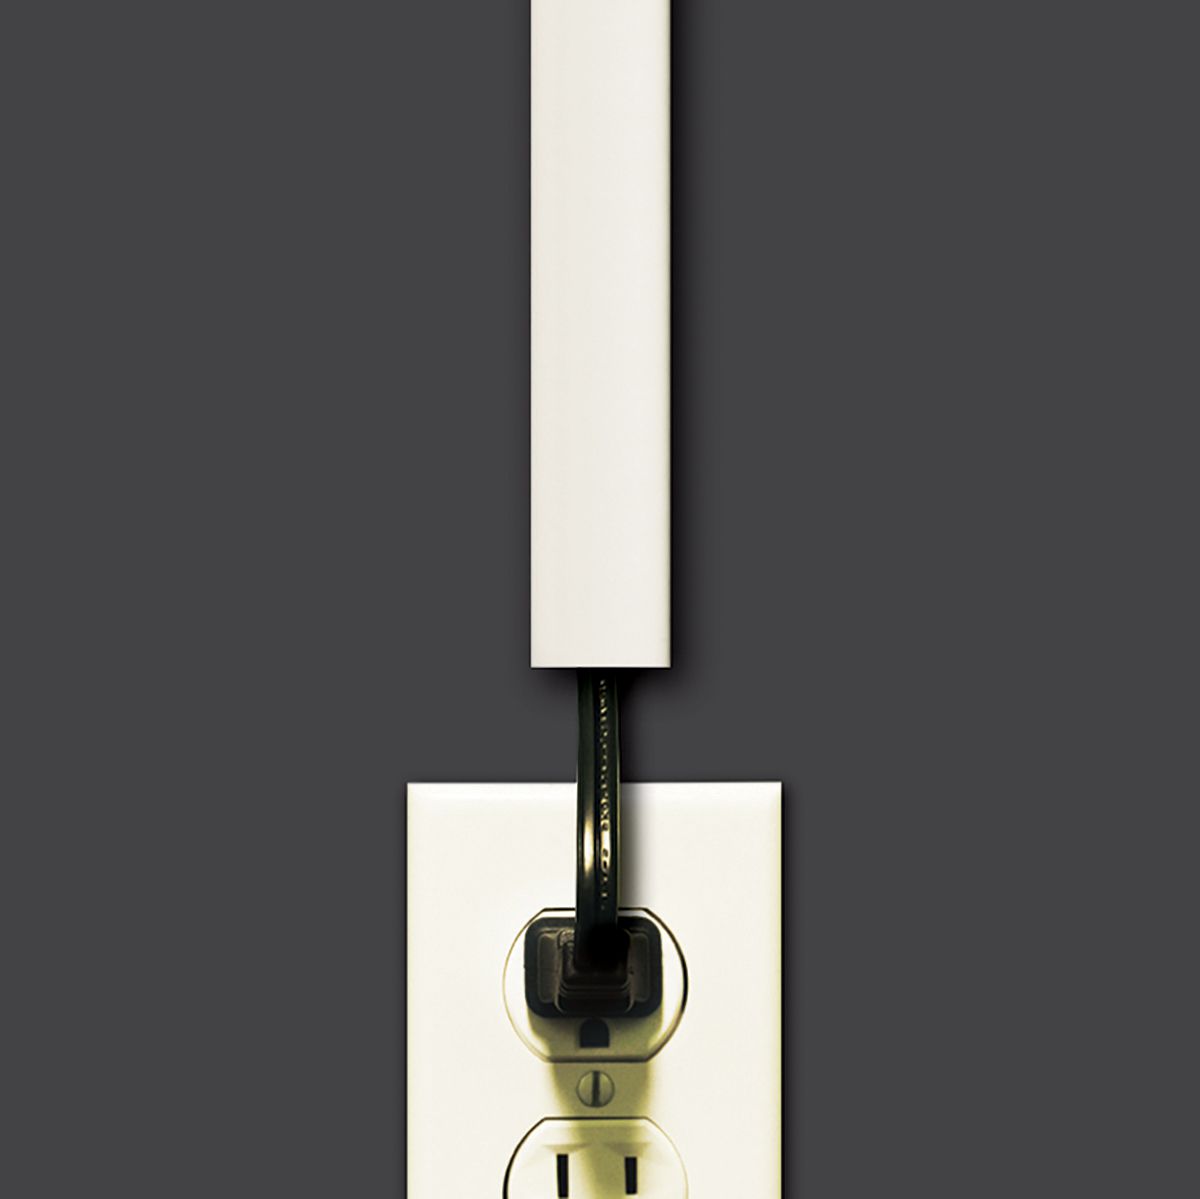
When straightening out an electrical cord, start by unplugging it and then gently untangle any knots or kinks. Avoid pulling too hard to prevent damage to the cord. Straighten it out by running your hands along the length of the cord to smooth out any twists or bends.
Step 3: Untangling any Knots or Tangles
Before you can effectively straighten out your electrical cord, it’s important to remove any knots or tangles that may be present. Untangling the cord will not only make it easier to work with but also prevent any further damage during the straightening process. Follow these steps to untangle knots or tangles:
- Gently Assess the Knots: Carefully examine the cord to identify any knots or tangles. Pay close attention to areas where the cord is tightly twisted or overlapping.
- Loosen the Knots: Start by gently pulling at the cord near the knot to loosen it. Avoid applying excessive force or tugging forcefully, as this can cause further damage to the cord.
- Use Fingers or a Tool: Depending on the severity of the tangles, you can try using your fingers to untangle them. For more stubborn knots, you may need to use a thin, non-metallic tool like a plastic or wooden pick to carefully separate the strands.
- Work from the Base of the Knot: Begin untangling the cord from the base of the knot, slowly working your way towards the end. This method helps prevent further tangling and minimizes the risk of causing additional damage.
- Be Patience and Avoid Pulling: Untangling knots can be a bit time-consuming, so it’s important to be patient. Avoid pulling on the cord forcefully, as it could lead to breaking or damaging the wires inside.
- Regularly Inspect for Damage: While untangling the knots, keep an eye out for any signs of physical damage such as frayed wires or cuts. If you come across such damage, assess whether it’s repairable or if the cord needs to be replaced.
Once you have successfully untangled any knots or tangles in the cord, you’re ready to move on to the next step: straightening the cord itself. Stay tuned for step 4, where we’ll guide you through the process of straightening your electrical cord effectively.
Step 4: Straightening the Cord
Now that you have untangled any knots or tangles in your electrical cord, it’s time to start straightening it out. There are a few different methods you can use to achieve a straightened cord, depending on the level of damage and your preference. Follow these steps to straighten your cord:
- Softening the Outer Insulation: Using a heat gun or a hairdryer on a low heat setting, evenly warm up the outer insulation of the cord. Move the heat source back and forth along the length of the cord, ensuring that you don’t concentrate the heat in one spot for too long.
- Gently Pulling and Straightening: While the outer insulation is warm and pliable, gently pull the cord straight from end to end. Use steady and even pressure, being careful not to stretch or damage the cord. Repeat this process, working in sections, until the entire cord is straightened.
- Applying Light Pressure: As you straighten the cord, apply light pressure with your hands to help mold it into a straight shape. Remember to handle the cord carefully, as it may still be slightly hot from the heat gun or hairdryer.
- Cooling and Setting the Cord: Once the cord is straightened, allow it to cool down and set in the straight position. You can use clamps or weights to hold the cord in place while it cools, ensuring that it maintains its new shape.
- Inspect and Repeat if Desired: After the cord has cooled down, inspect it to ensure that it’s straight and free from any re-tangling. If needed, you can repeat the heating and straightening process for any stubborn areas or if the cord did not initially straighten to your satisfaction.
It’s important to exercise caution when using heat tools and to avoid overheating the cord, as excessive heat can cause damage. Take breaks in between heating sessions to allow the cord to cool down and prevent any potential melting or warping.
With step 4 completed, you’ll now have a straightened cord ready for the next step: securing the straightened cord to maintain its shape. Stay tuned for step 5, where we’ll guide you through the process of securing the straightened cord effectively.
Step 5: Securing the Straightened Cord
Now that you have successfully straightened out your electrical cord, it’s important to secure it to maintain its newly straightened shape. This will help prevent the cord from re-tangling or bending, ensuring that it remains in optimal condition. Here’s how you can secure the straightened cord:
- Inspect the Cord: Carefully examine the cord to ensure that it’s straightened to your satisfaction. Check for any areas that may still have bends or twists and gently readjust them if needed.
- Wrap the Cord: Starting from one end, carefully wrap the cord in a circular motion. Make sure to keep the wraps tight and close together to maintain the straightened shape. Continue wrapping until you reach the other end of the cord.
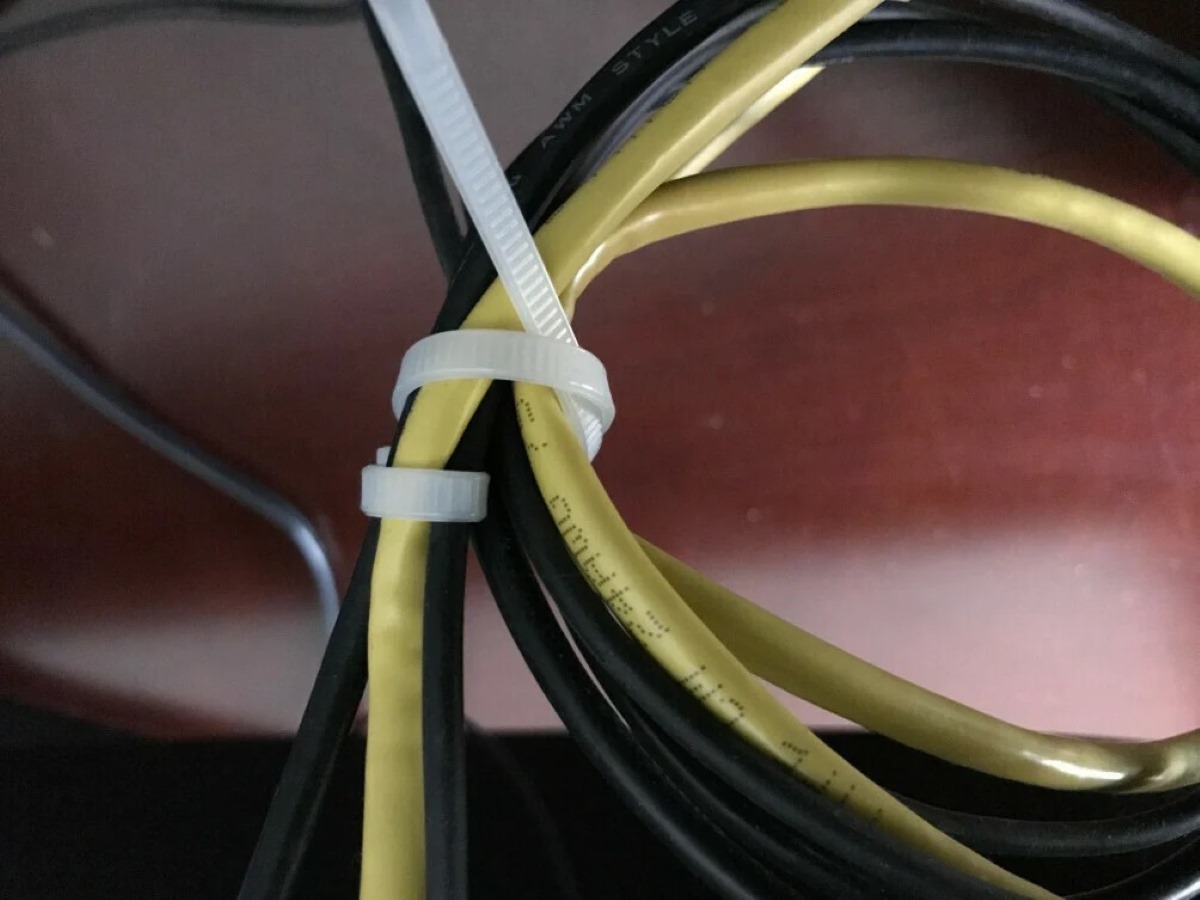
- Use Cable Ties or Velcro Straps: Once the cord is wrapped, secure it in place using cable ties or Velcro straps. These will help keep the cord tightly wound and prevent it from unraveling or becoming tangled in the future.
- Apply Clamps or Weights: Optionally, you can also use clamps or weights to hold the wrapped cord in place. This will provide additional stability and ensure that the cord maintains its straight shape while not in use.
- Store the Cord Properly: Finally, store the secured cord in a designated area where it will be protected from accidental damage and tangling. Hang it on hooks, use cord organizers, or store it in a suitable container to keep it organized and easily accessible when needed.
By following these steps, you can effectively secure your straightened cord and maintain its shape over time. Regularly inspect the cord for any signs of re-tangling or damage, and make adjustments as necessary. Properly securing the cord will help prolong its lifespan and ensure that it remains in optimum working condition for years to come.
With step 5 completed, your straightened cord is now secure and ready for the final step: testing the cord to ensure its functionality. Stay tuned for step 6, where we’ll guide you through the process of testing your electrical cord effectively.
Step 6: Testing the Cord
Now that you’ve straightened and secured your electrical cord, it’s crucial to test its functionality and ensure that it’s safe to use. Testing the cord will help you determine if any damage or issues were resolved during the straightening process. Follow these steps to effectively test your electrical cord:
- Inspect the Cord: Before plugging in the cord, visually inspect it for any signs of physical damage, such as cuts, frayed wires, or exposed insulation. If you notice any issues, discontinue using the cord immediately.
- Connect the Cord: Plug the cord into a power outlet, ensuring that it fits securely and the connection is stable. Be cautious and handle the cord with care while making the connection.
- Power On: Switch on the power to test the functionality of the cord. Check if the connected device or appliance receives power and functions as expected. Monitor the cord closely during the testing process for any signs of heat, unusual sounds, or sparks.
- Flex and Move: Gently flex and move the cord while the device/appliance is powered on. Pay attention to any flickering lights or intermittent power supply, as these can indicate an underlying issue with the cord.
- Monitor for Issues: Observe the cord and connected device/appliance for any signs of overheating, abnormal behavior, or electrical malfunctions. If you notice any problems, immediately unplug the cord and discontinue use.
By thoroughly testing your electrical cord, you can ensure that it’s in proper working condition and safe to use. If any issues arise during the testing process, it’s essential to address them promptly to prevent further damage or potential hazards. In such cases, consult a professional or consider replacing the cord if necessary.
Congratulations! You have successfully straightened, secured, and tested your electrical cord. By following these steps and periodically inspecting and maintaining your cords, you can prolong their lifespan and ensure a safe and efficient power supply for your devices.
With step 6 completed, you’ve completed the entire process of straightening out an electrical cord. By implementing these steps, you can effectively maintain the functionality and safety of your cords, providing peace of mind and a more organized workspace. Remember to practice regular cord maintenance and proper storage to prevent future tangling and damage.
Thank you for following this comprehensive guide. Happy straightening!
Conclusion
In conclusion, straightening out an electrical cord is a simple yet important task that can significantly enhance the performance and safety of your electrical appliances. By following the steps outlined in this guide, you can effectively straighten, secure, and test your cords, ensuring their longevity and preventing potential hazards.
We discussed the importance of straightening electrical cords, including improved performance, enhanced safety, prolonged lifespan, easier cable management, and improved aesthetics. Straightening out the cords not only improves their functionality but also creates a more organized and visually appealing workspace.
In each step, we provided detailed instructions to help you navigate the process easily. Assessing the cord damage, preparing the work area, untangling knots and tangles, straightening the cord using heat, securing the straightened cord, and testing its functionality were all covered. Remember to exercise caution when using heat tools, prioritize safety, and follow proper storage practices to maintain the straightened cords.
Regular maintenance and periodic inspections are key to ensuring the continued performance and safety of your electrical cords. If you notice any signs of physical damage, such as fraying or exposed wires, it’s important to address the issue promptly by repairing or replacing the cord to prevent any potential hazards.
By taking the time to straighten and maintain your electrical cords, you can improve their functionality, prolong their lifespan, and enhance the safety of your work or living space. Remember, safety should always be the top priority when working with electrical cords, so if you’re unsure or uncomfortable handling the repairs yourself, consult a professional.
Thank you for joining us in this comprehensive guide on how to straighten out an electrical cord. We hope this information has been helpful, and we wish you success in your cord straightening endeavors!
Now that you've mastered straightening electrical cords, why stop there? Dive into our guide on cord management to discover innovative ways to keep all types of cables orderly and accessible. For those dealing with cramped spaces, don't miss our organizing tips for maximizing room in small living areas. And if you're feeling handy, check out our practical advice on DIY home improvement projects that can transform your living space without breaking the bank.
Frequently Asked Questions about How To Straighten Out Electrical Cord
Was this page helpful?
At Storables.com, we guarantee accurate and reliable information. Our content, validated by Expert Board Contributors, is crafted following stringent Editorial Policies. We're committed to providing you with well-researched, expert-backed insights for all your informational needs.


0 thoughts on “How To Straighten Out Electrical Cord”