Articles
How To Get An Electrical Cord Through A Wall
Modified: September 2, 2024
Learn how to easily get an electrical cord through a wall with these informative articles. Discover expert tips and tricks for a seamless installation.
(Many of the links in this article redirect to a specific reviewed product. Your purchase of these products through affiliate links helps to generate commission for Storables.com, at no extra cost. Learn more)
Introduction
Getting an electrical cord through a wall can be a daunting task, but with the right tools and a systematic approach, it can be done safely and efficiently. Whether you need to install a new outlet, connect a device in another room, or simply hide unsightly cords, this step-by-step guide will walk you through the process of getting an electrical cord through a wall.
Before diving into the details, it’s important to note that working with electrical components can be dangerous if proper precautions are not taken. Always ensure the power is turned off at the circuit breaker and use insulated tools to minimize the risk of electric shock. If you are uncertain or uncomfortable with any step in this process, it’s best to consult a professional electrician.
Now, let’s get started on how to safely and effectively get an electrical cord through a wall.
Key Takeaways:
- Safely and effectively getting an electrical cord through a wall requires careful planning, precision, and the right tools. Prioritize safety, assess the wall, plan the route, and secure the cord for a successful and tidy installation.
- From assessing the wall to patching the access hole, the process of getting an electrical cord through a wall involves thorough planning, precise execution, and attention to safety. With the right approach and tools, it can be accomplished efficiently and effectively.
Read more: How To Run Electrical Wire Through Walls
Step 1: Assessing the Wall
Before you begin the process of getting an electrical cord through a wall, it’s important to assess the wall to determine the feasibility of the project. This step will help identify any potential obstacles or challenges that may arise during the process.
Start by examining the wall to determine its construction. Is it made of drywall, plaster, or another material? This will influence the tools and techniques you will need to use.
Next, identify any obstacles that may be present within the wall. This includes electrical wires, plumbing pipes, or structural elements. You will need to maneuver around these obstacles to ensure the safe passage of the electrical cord.
Another important consideration is the location of the wall. Is it an exterior or interior wall? Exterior walls tend to have insulation, which can make it more difficult to feed the electrical cord through. Interior walls, on the other hand, may have fewer obstructions and can be easier to work with.
Lastly, consider the length of the electrical cord you will be using. Make sure it is long enough to reach from the power source to the desired location. If it is not long enough, you may need to consider alternative solutions, such as extending the cord or relocating the power source.
By thoroughly assessing the wall and considering these factors, you will have a better understanding of what needs to be done and can plan accordingly for the next steps in the process.
Step 2: Gathering the Necessary Tools
Once you have assessed the wall and determined the feasibility of the project, it’s time to gather the necessary tools for getting the electrical cord through the wall. Having the right tools on hand will make the process smoother and more efficient.
Here are some essential tools you will need:
- A stud finder: This tool will help you locate the studs in the wall, which are important for securing the electrical cord.
- An electric drill: You will need this to create an access hole in the wall for feeding the cord through.
- A keyhole saw or drywall saw: This will be used to cut the access hole in the wall.
- Electrical tape: This will be used to secure and insulate the connections of the electrical cord.
- A fish tape or a wire coat hanger: These tools will help guide the electrical cord through the wall.
- A screwdriver or electric screwdriver: You may need this to remove electrical outlet covers or other fixtures on the wall.
- Safety goggles and gloves: It’s important to protect your eyes and hands while working with power tools and sharp objects.
These tools are the basic necessities for getting an electrical cord through a wall. Depending on the specific circumstances and challenges of your project, you may need additional tools or materials. It’s always a good idea to have a well-equipped toolbox to handle any unforeseen situations.
Prior to starting the project, ensure that all your tools are in good working condition and that you have a clear understanding of how to use them safely. Taking the time to gather the necessary tools will save you time and frustration in the long run.
Step 3: Planning the Route
Before you start cutting into the wall, it’s important to plan the route for the electrical cord. This will ensure that you choose the most convenient and efficient path while avoiding any potential obstacles.
Start by identifying the starting point and the endpoint for the electrical cord. Determine where you want the cord to originate from and where it needs to reach. This could be from an existing outlet to a new location or from one room to another.
Next, consider the path that the cord will need to take. Look for the most direct and accessible route, such as along baseboards or behind furniture. Avoid areas with excessive insulation, plumbing, or other obstacles that may hinder the passage of the cord.
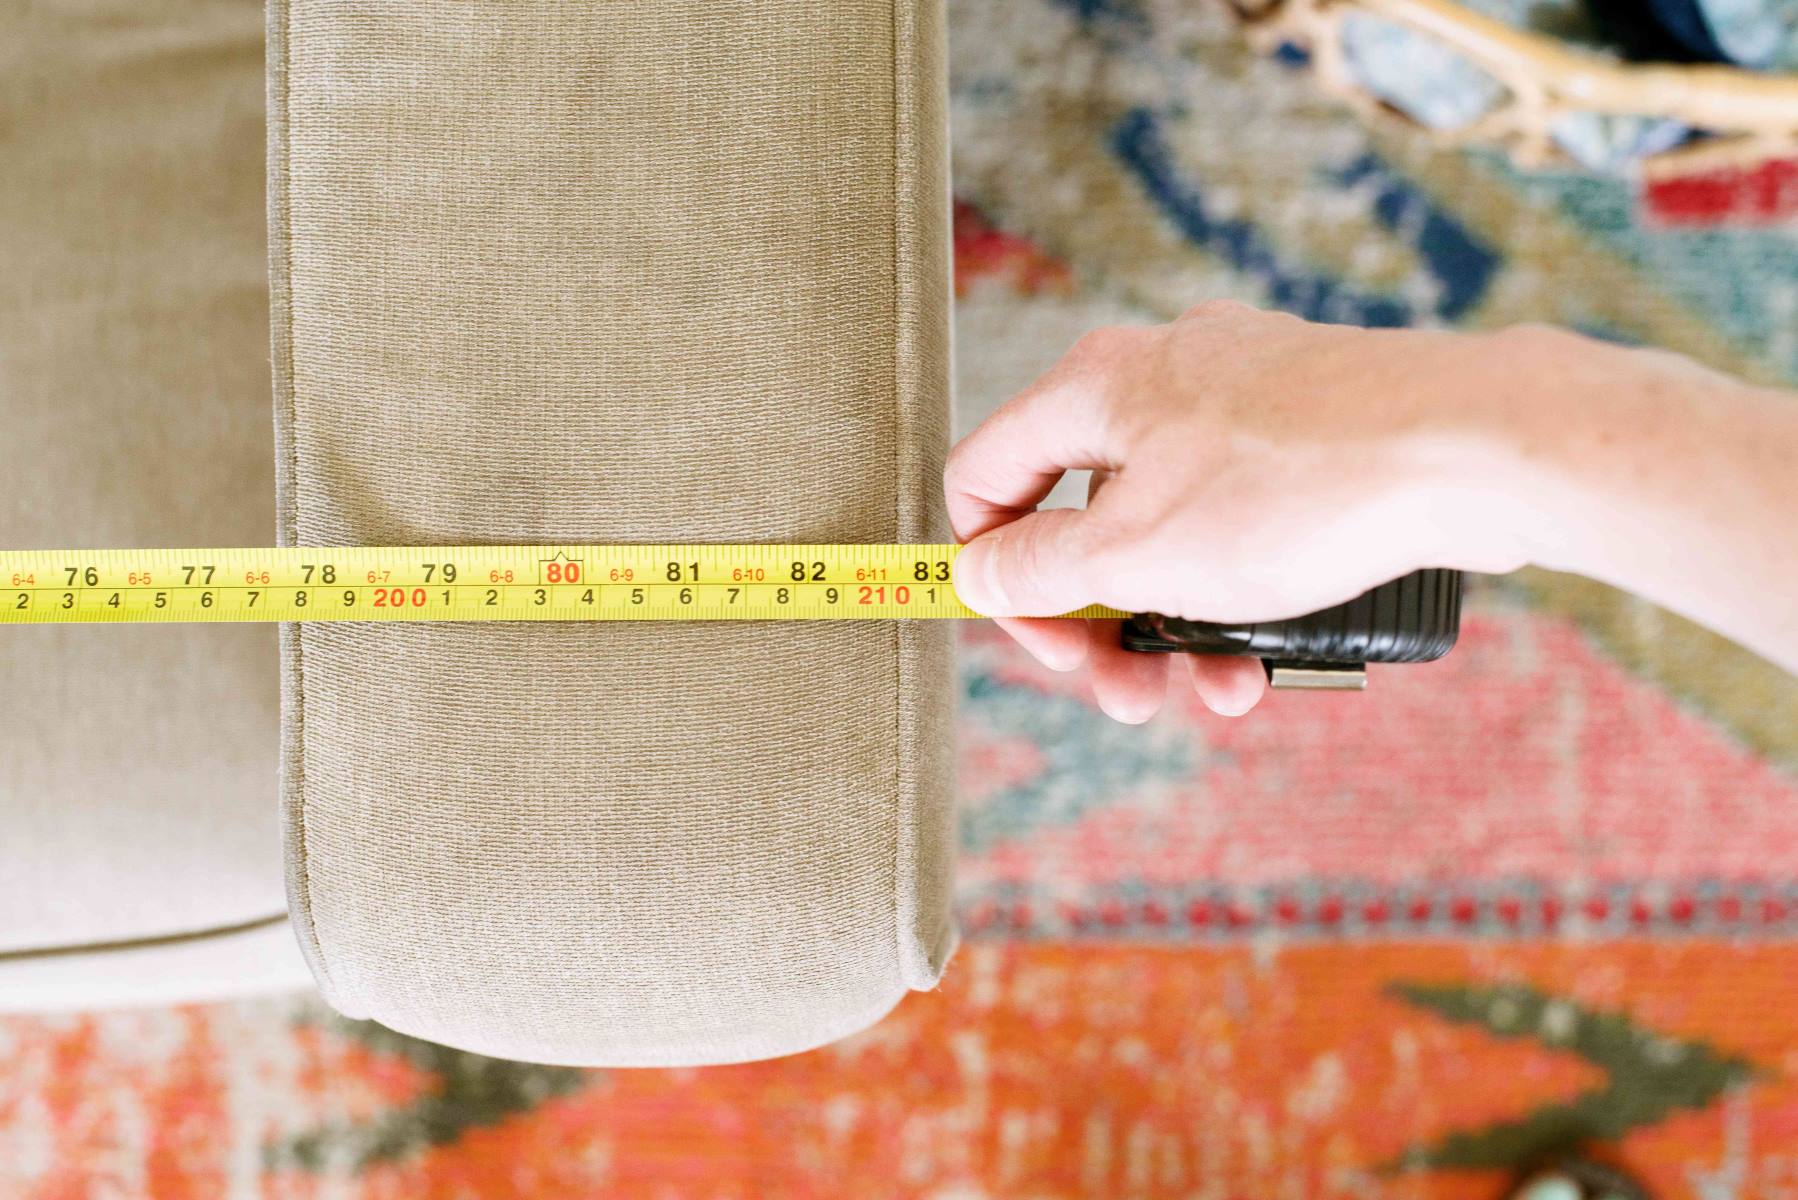
Take measurements of the distance between the starting and endpoint, as well as any corners or obstacles along the route. This will help you estimate the length of cord you will need and plan for any necessary adjustments or adjustments.
It’s also important to consider the aesthetic aspects of the route. If possible, try to hide the cord as much as possible by routing it behind furniture, along walls, or even through cable management solutions. This will help maintain a clean and organized appearance.
Once you have planned the route, mentally visualize the process of feeding the cord through the wall and ensure it is feasible. Consider any challenges you may encounter along the way and brainstorm potential solutions.
By taking the time to properly plan the route, you will minimize the chances of encountering unexpected obstacles and make the installation process much smoother and more efficient.
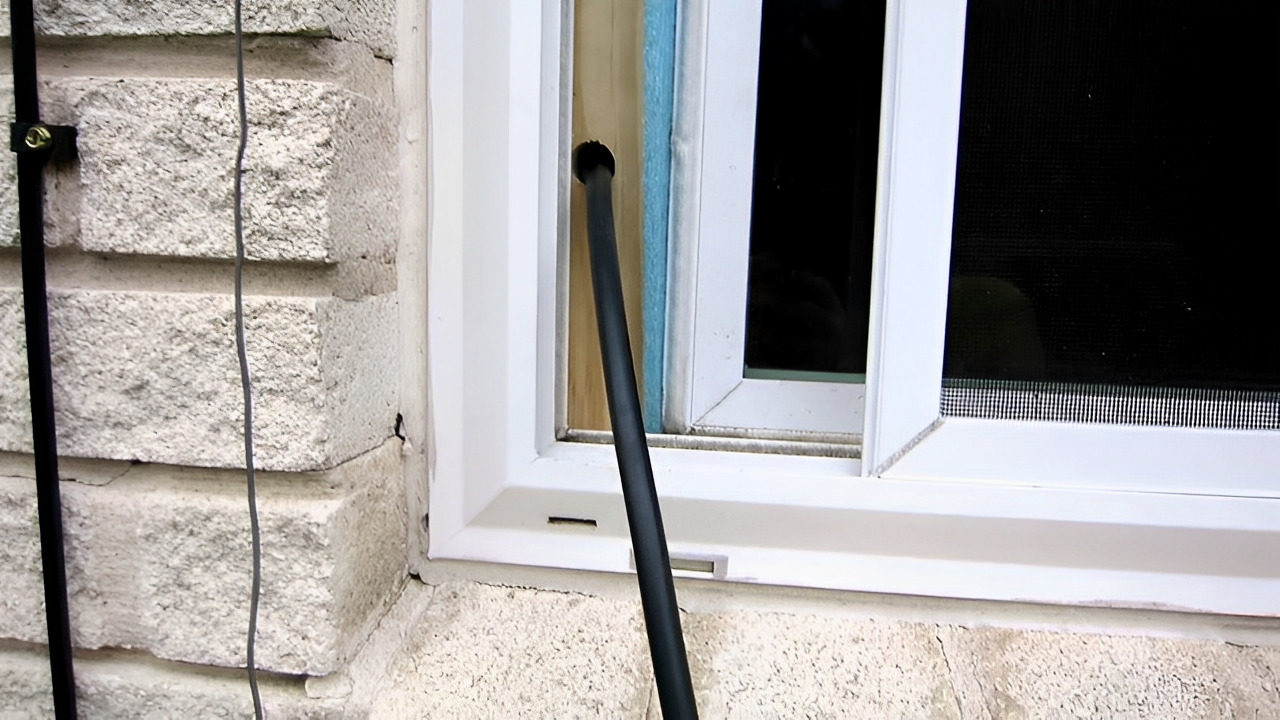
Step 4: Cutting the Access Hole
Now that you have planned the route for the electrical cord, it’s time to cut the access hole in the wall. This hole will serve as the entry point for feeding the cord through.
Before you begin, make sure to wear safety goggles and gloves to protect yourself from any debris or sharp objects.
To start, use a stud finder to locate the studs in the wall. Mark the locations of the studs using a pencil or painter’s tape. This will help guide you in cutting the access hole.
Once you have identified the location of the access hole, use an electric drill with a hole saw attachment or a keyhole saw to cut the hole. Start by drilling a small pilot hole, then slowly enlarge it to the desired size. Be careful not to cut too close to the edges or a stud.
If you encounter a stud while cutting the hole, you may need to adjust the location slightly. Use a pencil to mark a new spot that avoids the stud. Alternatively, you can use a keyhole saw to carefully cut around the stud, ensuring that the hole remains large enough for the cord to pass through.
Once the hole has been cut, check for any sharp edges or rough surfaces. Use sandpaper or a utility knife to smooth out any rough areas for safety and ease of installation.
After cutting the access hole, it’s important to clean up any debris or dust that may have been generated. Use a vacuum cleaner or a damp cloth to remove any loose particles from the area.
With the access hole cut and prepared, you are now ready to move on to the next step: feeding the electrical cord through the wall.
Use a fish tape or a coat hanger to guide the electrical cord through the wall. Make sure to turn off the power before attempting this.
Read more: How To Fish Electrical Wire Through Walls
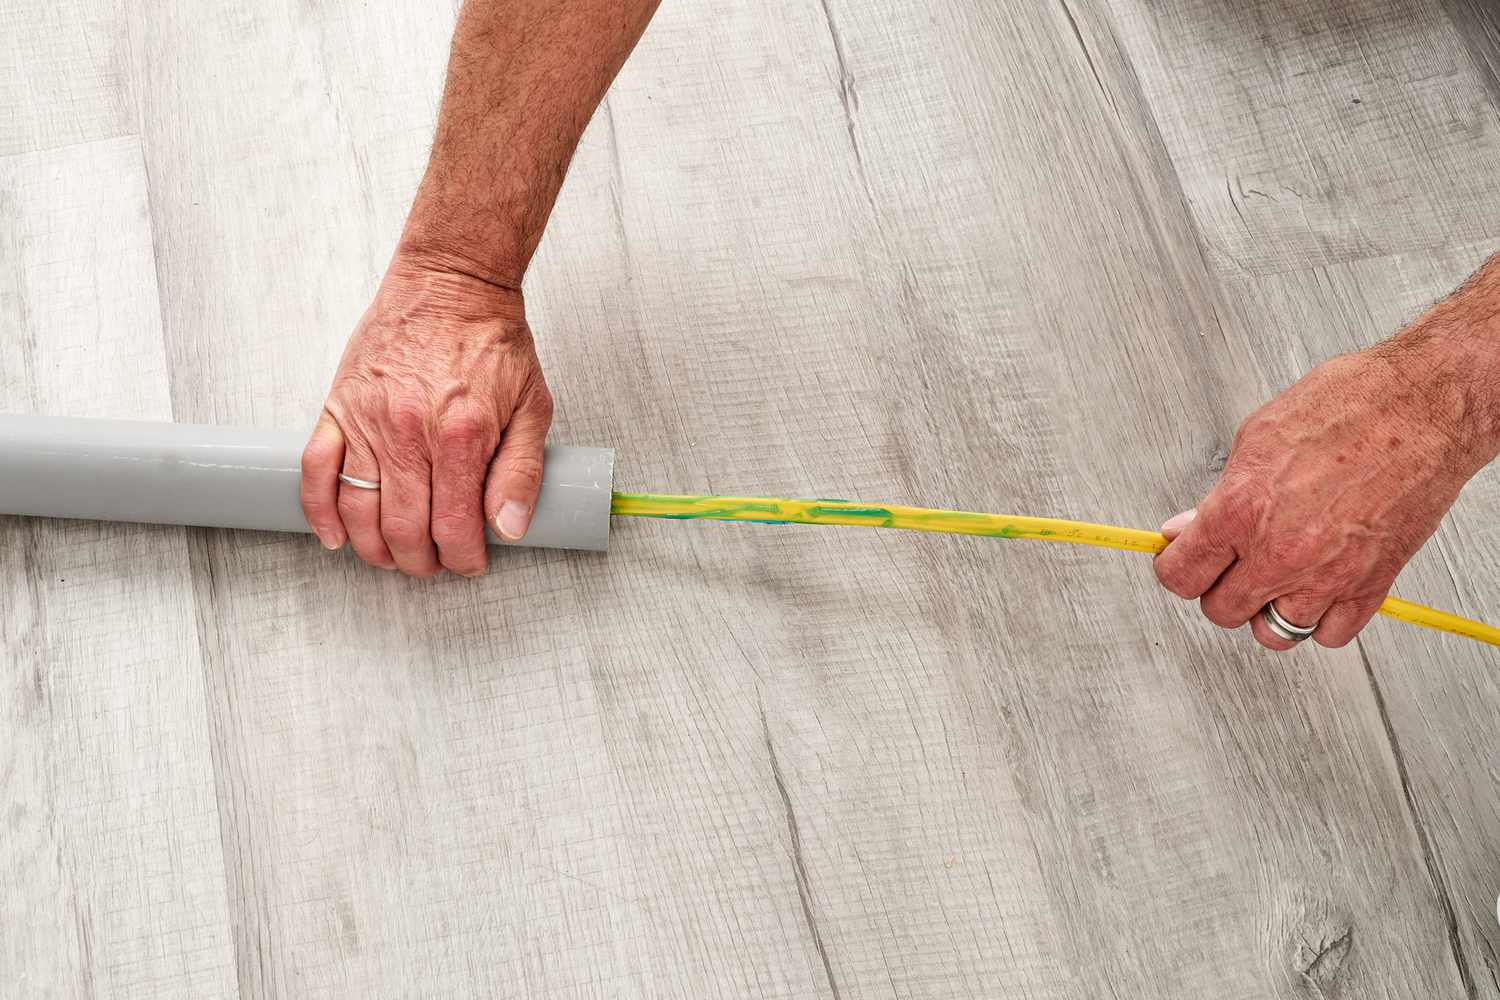
Step 5: Feeding the Cord Through the Hole
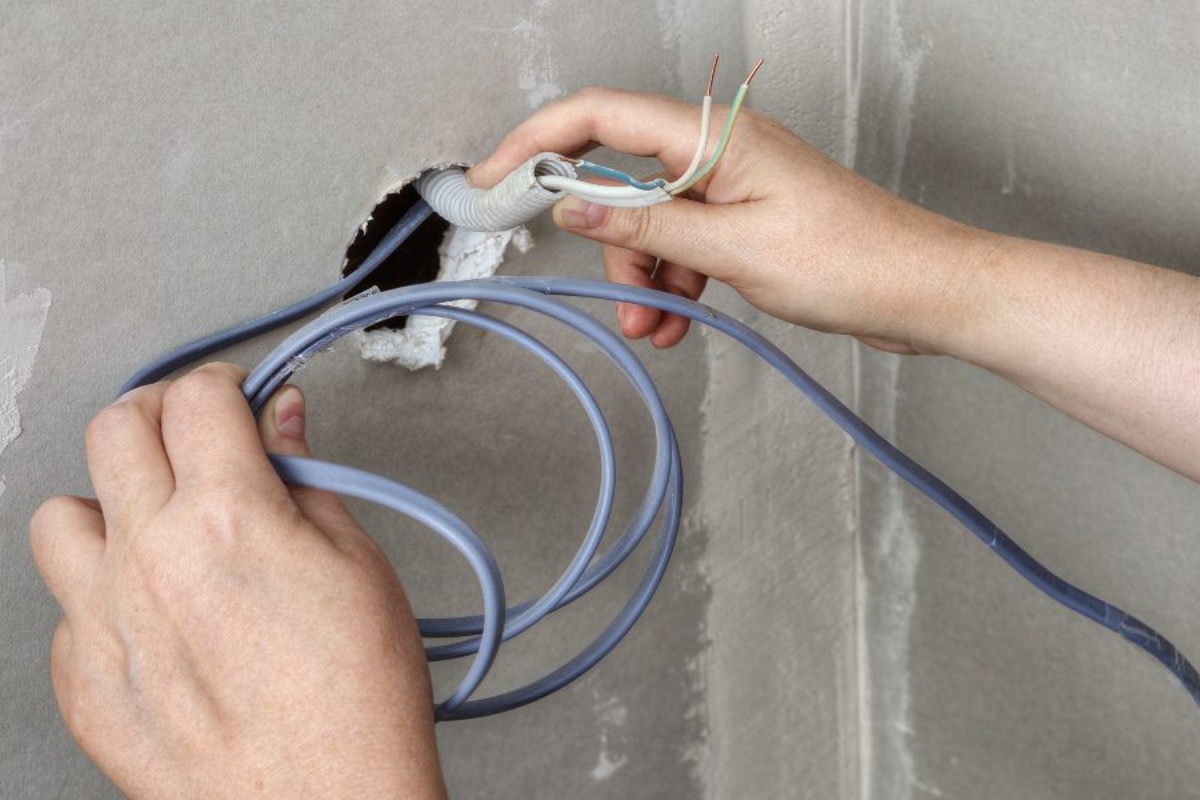
Now that you have created the access hole in the wall, it’s time to feed the electrical cord through. This step requires precision and patience to ensure the cord is safely and securely placed.
Before you begin, prepare the cord by attaching a fish tape or securely fastening a wire coat hanger to one end. This will help guide the cord through the wall.
Start by gently inserting the attached end of the cord into the access hole. Slowly and carefully push the cord through the hole, using a twisting motion if necessary. You may find it helpful to have someone on the other side of the wall to guide and catch the cord as it comes through.
As you feed the cord through the wall, be vigilant of any obstacles or obstructions that may impede its progress. Use the fish tape or wire coat hanger to navigate around any studs, insulation, or other barriers. Be patient and take your time to ensure the cord is fed through smoothly.
If the cord gets stuck, avoid pulling or forcing it through as this may cause damage. Instead, backtrack slightly and reassess the route. Look for alternative paths or adjustments that can help you maneuver around the obstacle.
Once the cord begins to emerge on the other side of the wall, continue feeding it until the desired length is reached. Remember to leave some slack at both ends for flexibility and ease of connection.
Once the entire cord has been fed through the wall, carefully remove the fish tape or wire coat hanger, ensuring that the cord remains in place.
With the cord successfully fed through the wall, you are now ready to move on to the next step: securing the cord in place.
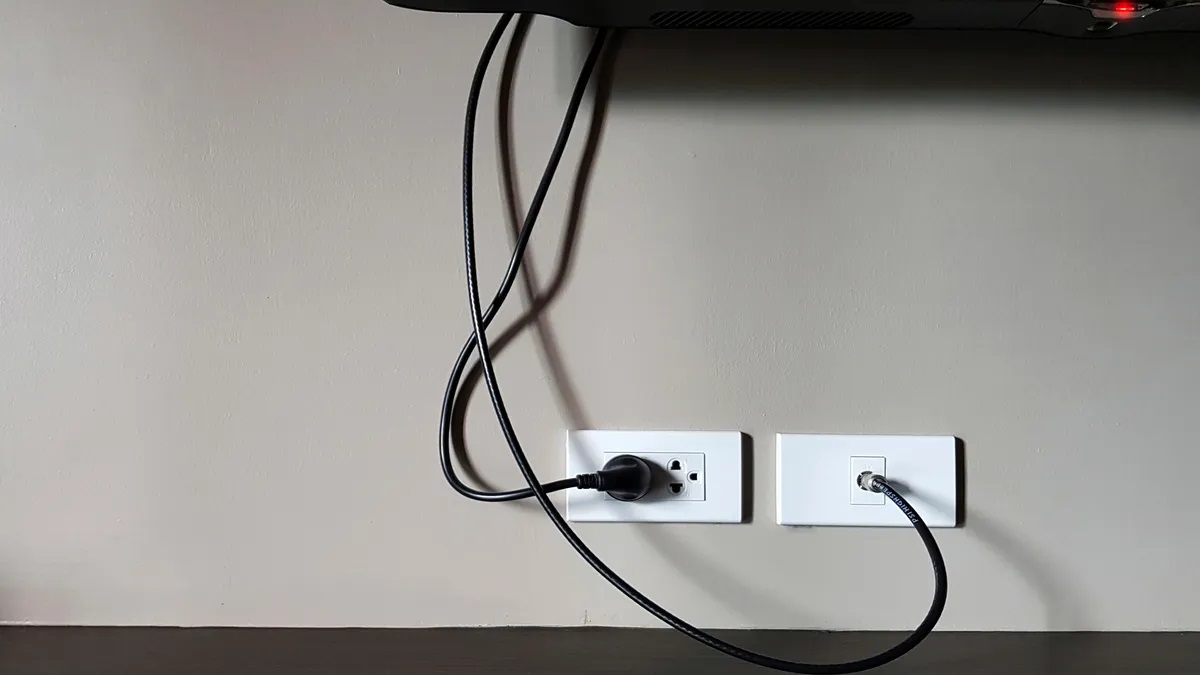
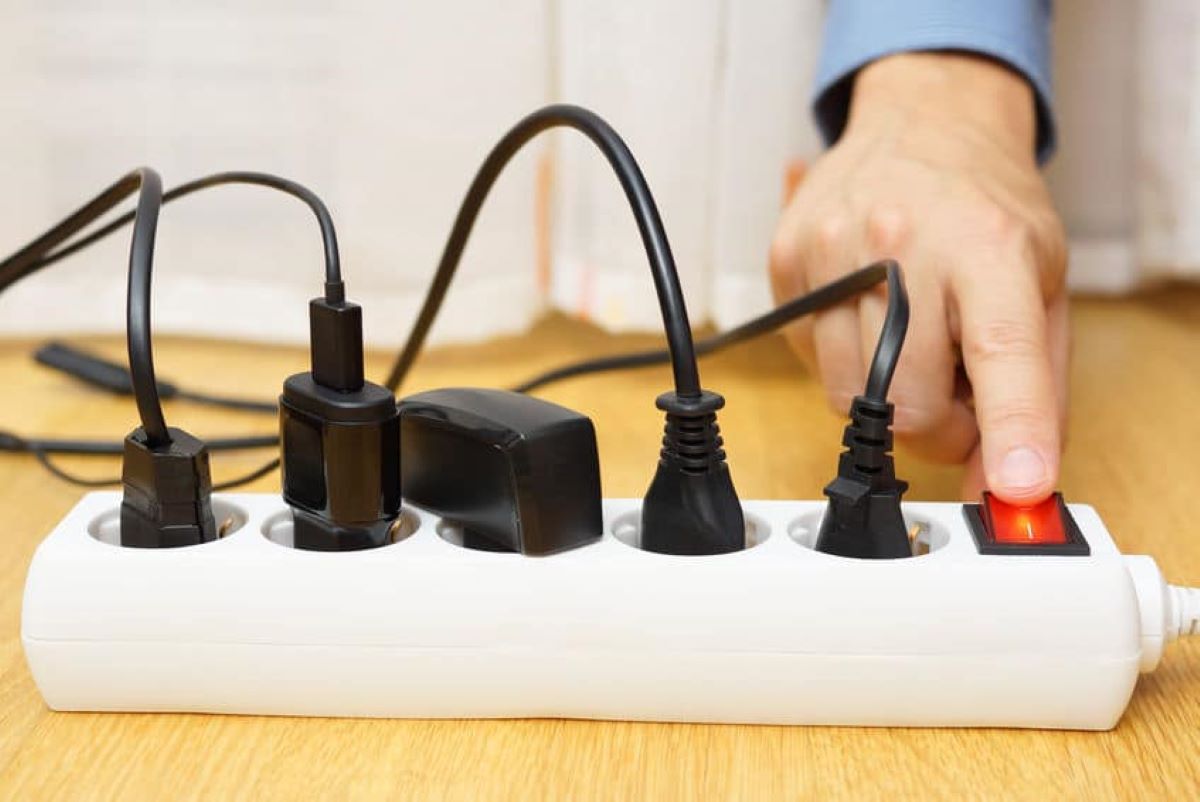
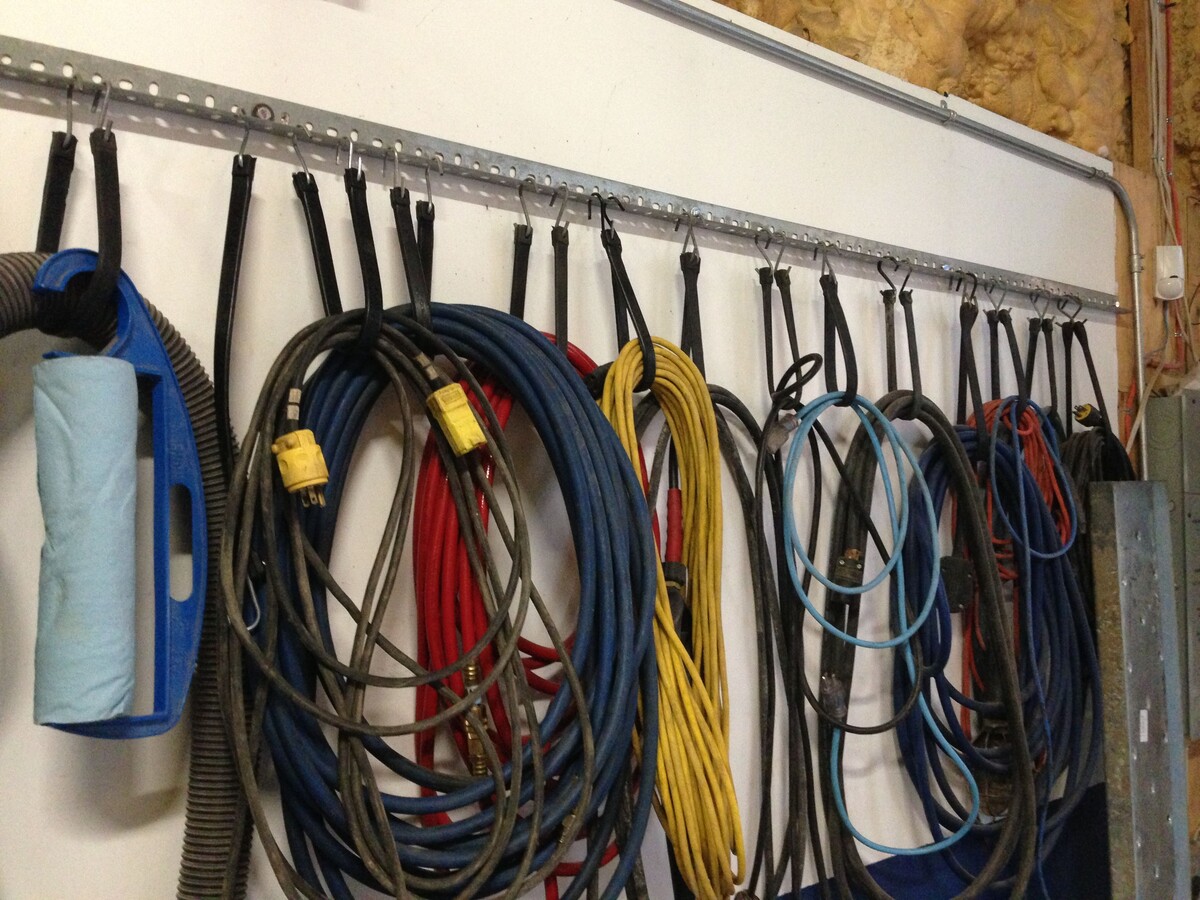
Step 6: Securing the Cord in Place
Now that the electrical cord has been successfully fed through the wall, it’s important to secure it in place to ensure safety and prevent any accidental damage or tripping hazards.
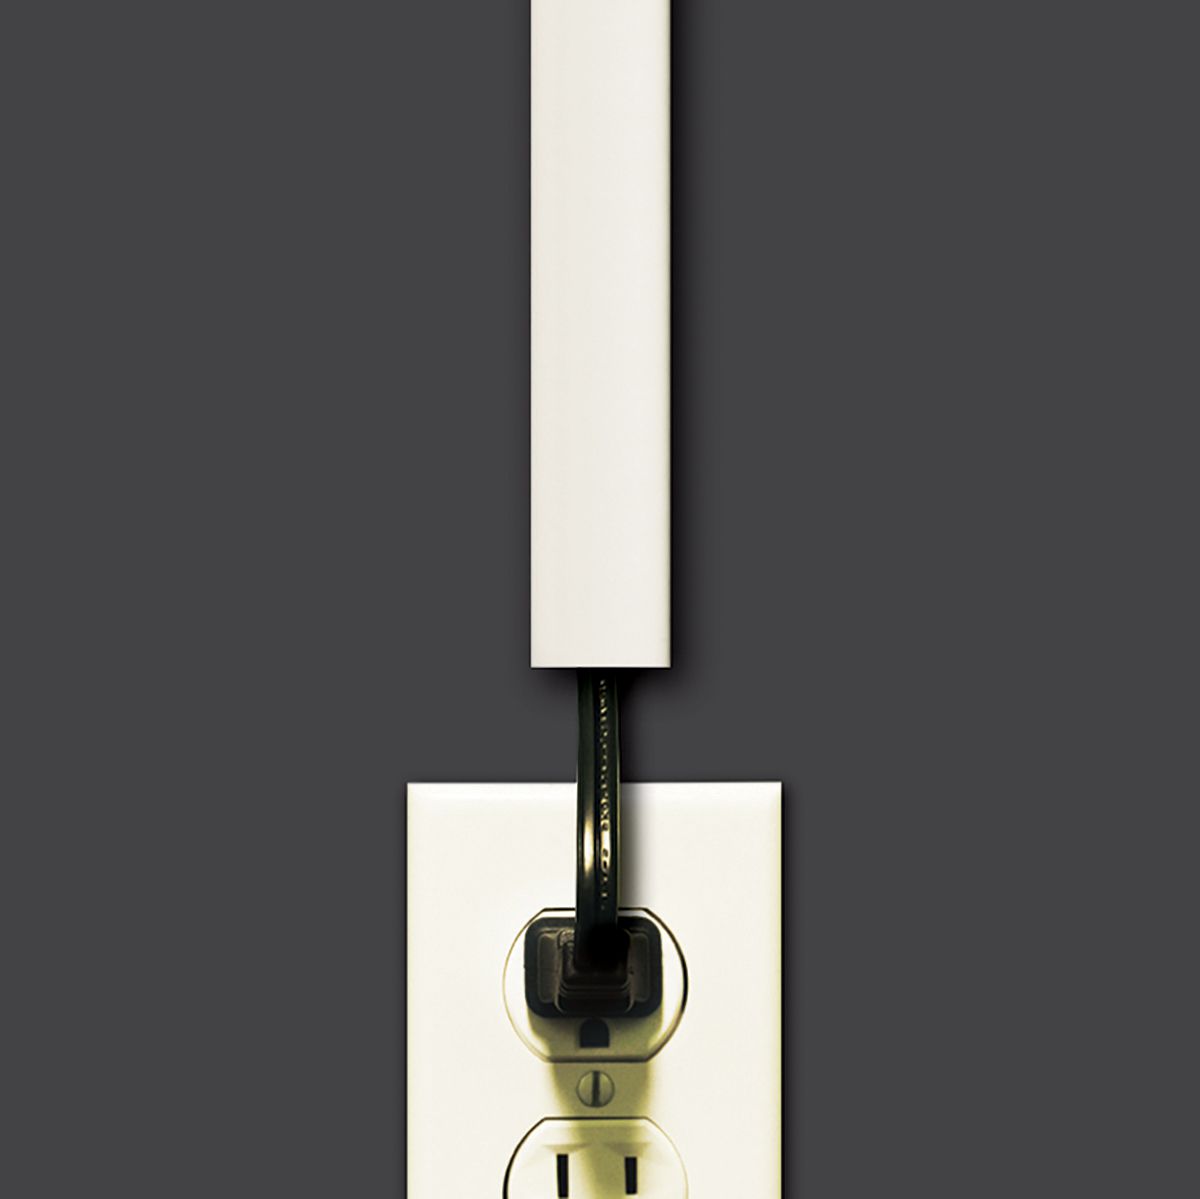
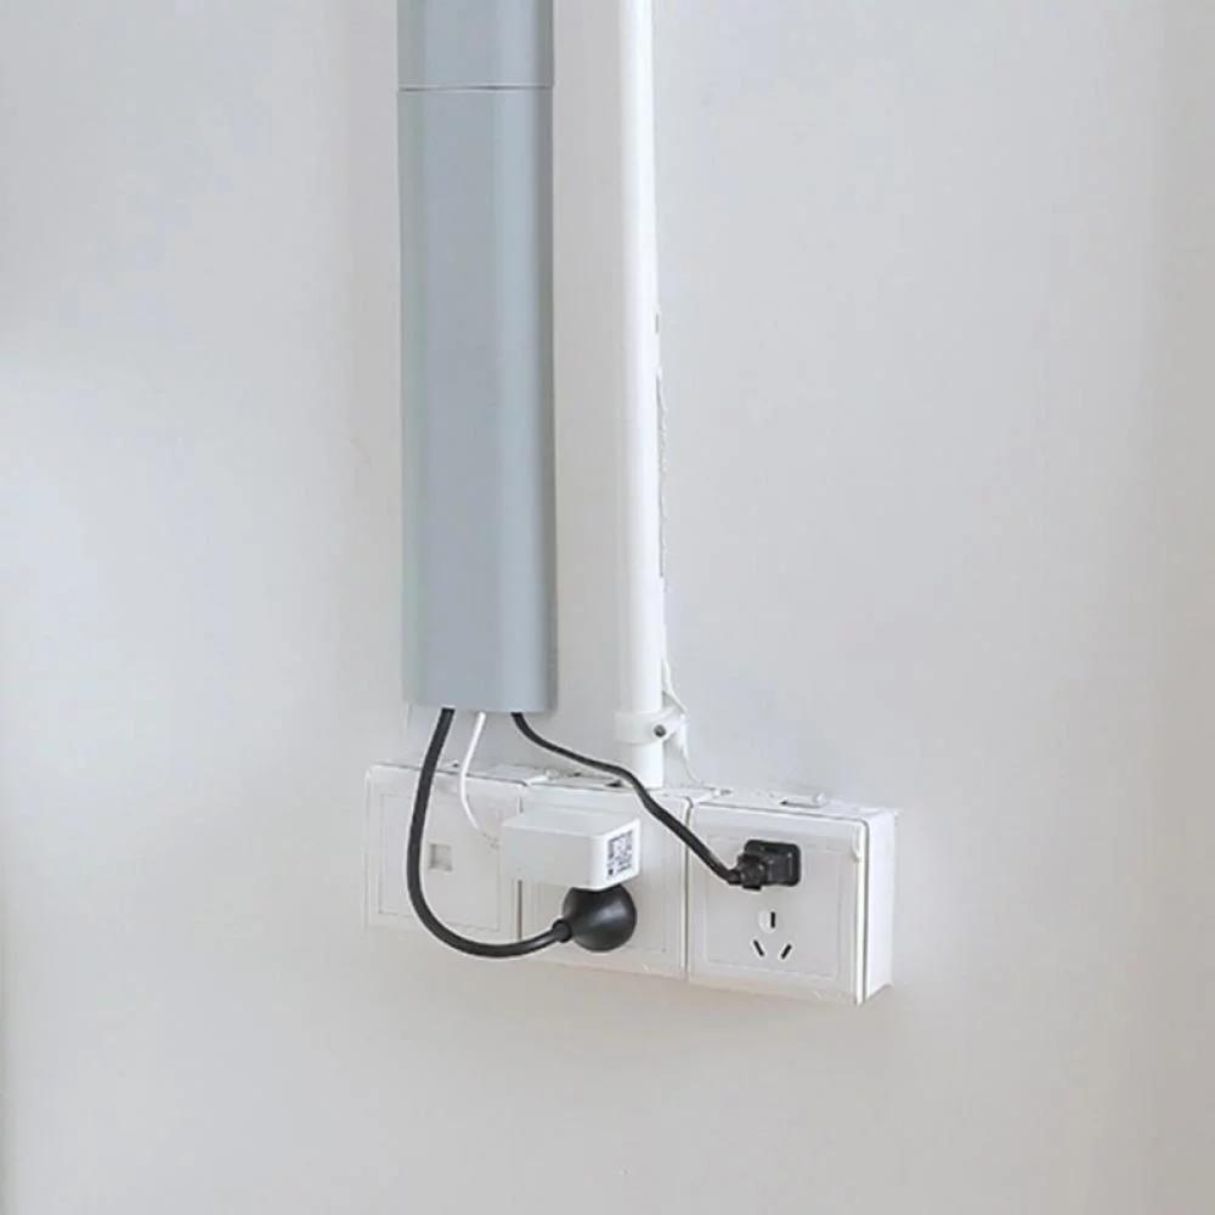
Start by inspecting the area around the access hole on both sides of the wall. Look for any available options for securing the cord, such as existing outlets, cable management solutions, or brackets.
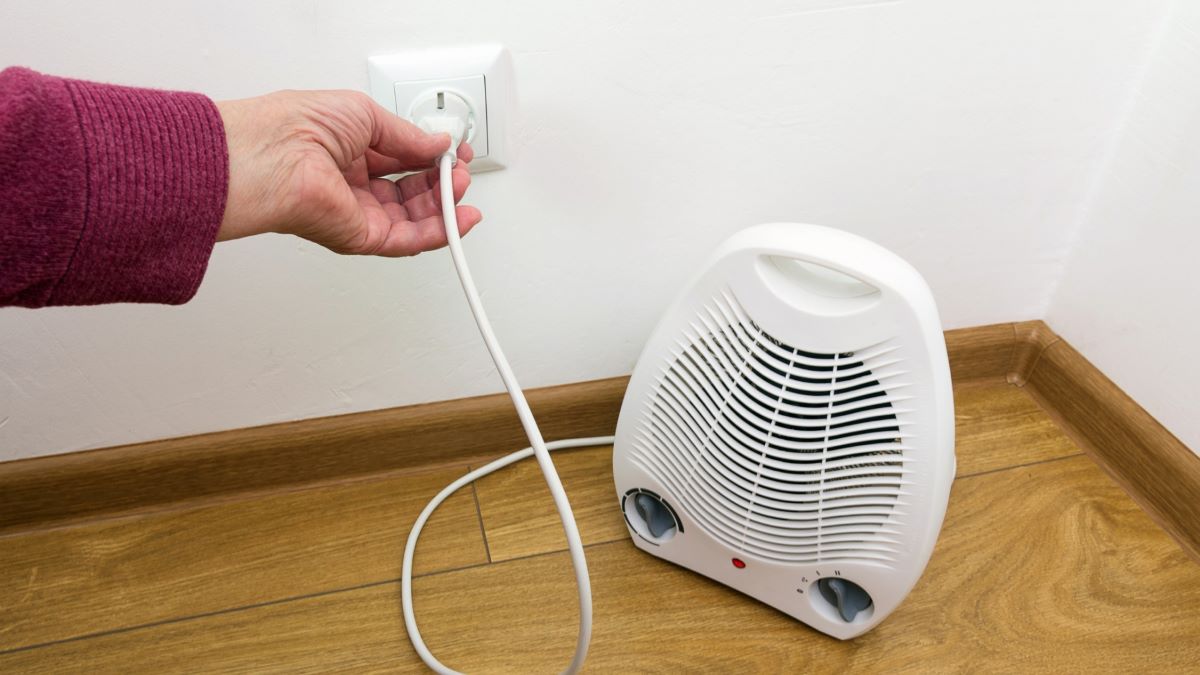
If there is an existing outlet near the access hole, you can easily secure the cord by plugging it into the outlet. Make sure the cord is properly seated and not pinched or twisted. Use electrical tape to secure any excess cord to the wall or baseboard to keep it neatly organized.
If an outlet is not available or the cord needs to be secured in a different location, consider using cable management solutions such as adhesive clips or raceway channels. These can be easily attached to the wall or baseboard and provide a clean and organized appearance.
If necessary, use zip ties or Velcro straps to bundle and secure any excess cord length. This will prevent it from becoming a tripping hazard or getting tangled.
For exterior walls or areas where the cord may be exposed to moisture or rough conditions, consider using weatherproof cable covers or conduit to protect the cord.
Remember to keep safety in mind when securing the cord. Avoid placing it near heat sources, sharp objects, or areas with high foot traffic. Make sure the cord is not stretched tight or under excessive tension, as this can cause damage over time.
Double-check all connections and ensure they are secure and insulated. Use electrical tape to cover any exposed wires or connections for added safety.
By properly securing the cord in place, you will minimize the risk of accidents or damage and maintain a tidy and organized appearance.
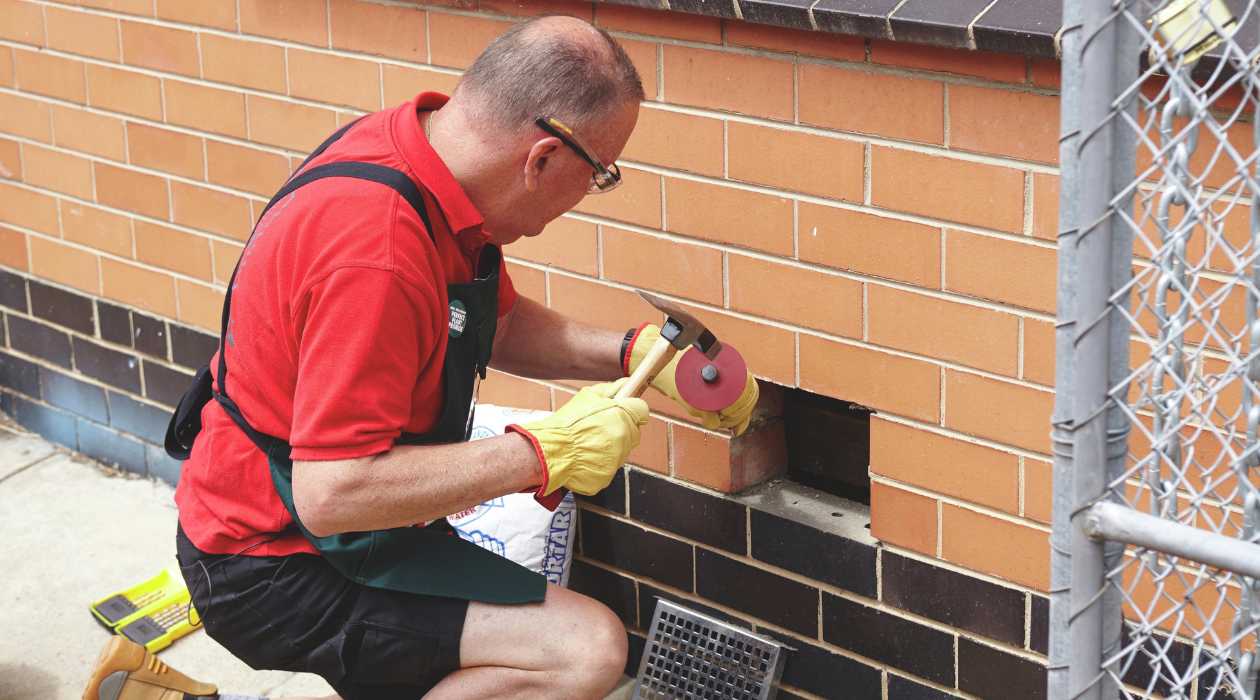
Step 7: Patching the Access Hole
After successfully securing the electrical cord in place, the final step is to patch the access hole in the wall. This will ensure a seamless and professional finish to your project.
Start by assessing the size and location of the access hole. If it is a small hole, such as one created by a keyhole saw, you may be able to patch it using a patch kit specifically designed for drywall repairs. These kits typically include a self-adhesive patch and joint compound.
If the hole is larger or irregularly shaped, you may need to cut a larger piece of drywall to fit the opening. Measure the dimensions of the hole and cut a piece of drywall to fit, ensuring it tightly fills the opening.
Before applying the patch, prepare the area by removing any loose or damaged drywall around the hole. Use a sanding block or sandpaper to smooth the edges of the hole for a flush fit.
If using a patch kit, peel off the backing of the self-adhesive patch and carefully place it over the hole, ensuring it sticks firmly. Press down on the patch to ensure good adhesion.
Next, apply a thin layer of joint compound or spackle over the patch, extending beyond the edges to blend it with the surrounding wall. Use a putty knife or drywall knife to smooth and feather out the compound. Allow it to dry according to the manufacturer’s instructions.
Once the compound is dry, lightly sand the patched area to achieve a smooth and even finish. Wipe away any dust with a damp cloth or sponge.
Finally, you can apply paint or wallpaper to match the surrounding wall, ensuring the patched area blends seamlessly. If necessary, you may need to prime the patched area before painting to achieve a consistent color and texture.
With the access hole patched, step back and admire your work. The wall should now appear as if no hole was ever there, leaving a professional and polished finish to your project.
By following these steps and properly patching the access hole, you complete the process of getting an electrical cord through a wall, leaving you with a safe and aesthetically pleasing result.
Conclusion
Getting an electrical cord through a wall may seem like a daunting task, but with the right knowledge and approach, it can be accomplished safely and effectively. By following the step-by-step guide outlined in this article, you can successfully navigate the process from assessing the wall to patching the access hole.
Remember to always prioritize safety when working with electrical components. Turn off the power at the circuit breaker before starting any work, use insulated tools, and consult a professional electrician if you are unsure or uncomfortable with any aspect of the project.
Assessing the wall is a crucial first step to determine the feasibility of the project. Identify the construction of the wall and any potential obstacles that may impede the cord’s passage.
Gathering the necessary tools will make the process smoother and more efficient. Ensure you have a stud finder, drill, saw, electrical tape, fish tape or wire coat hanger, screwdriver, safety goggles, and gloves to complete the task.
Planning the route will help you choose the best path for the cord, considering accessibility, aesthetics, and any potential obstacles that may need to be navigated.
Cutting the access hole requires precision and caution. Use an electric drill or saw to create the hole and be mindful of the location of studs and other structural components.
Feeding the cord through the hole requires patience and careful maneuvering. Use a fish tape or wire coat hanger to guide the cord, being mindful of any obstacles along the way.
Securing the cord in place is essential for safety and to prevent tripping hazards. Utilize outlets, cable management solutions, or other attachments to secure the cord neatly against the wall or baseboard.
Finally, patching the access hole completes the project with a seamless and professional finish. Use a patch kit or cut a piece of drywall to fit the hole, apply joint compound, and sand and paint the patched area for a cohesive appearance.
By following these steps and taking the necessary precautions, you can successfully get an electrical cord through a wall. Remember to prioritize safety, take your time, and seek professional help if needed. With careful planning and execution, you can achieve a tidy and efficient electrical setup in any room or space.
Frequently Asked Questions about How To Get An Electrical Cord Through A Wall
Was this page helpful?
At Storables.com, we guarantee accurate and reliable information. Our content, validated by Expert Board Contributors, is crafted following stringent Editorial Policies. We're committed to providing you with well-researched, expert-backed insights for all your informational needs.


0 thoughts on “How To Get An Electrical Cord Through A Wall”