Home>Articles>What Type Of Extension Cord For Outdoor Christmas Lights
Articles
What Type Of Extension Cord For Outdoor Christmas Lights
Modified: August 17, 2024
Looking for articles about what type of extension cord to use for outdoor Christmas lights? Find all the information you need here, including safety tips and recommendations.
(Many of the links in this article redirect to a specific reviewed product. Your purchase of these products through affiliate links helps to generate commission for Storables.com, at no extra cost. Learn more)
Introduction
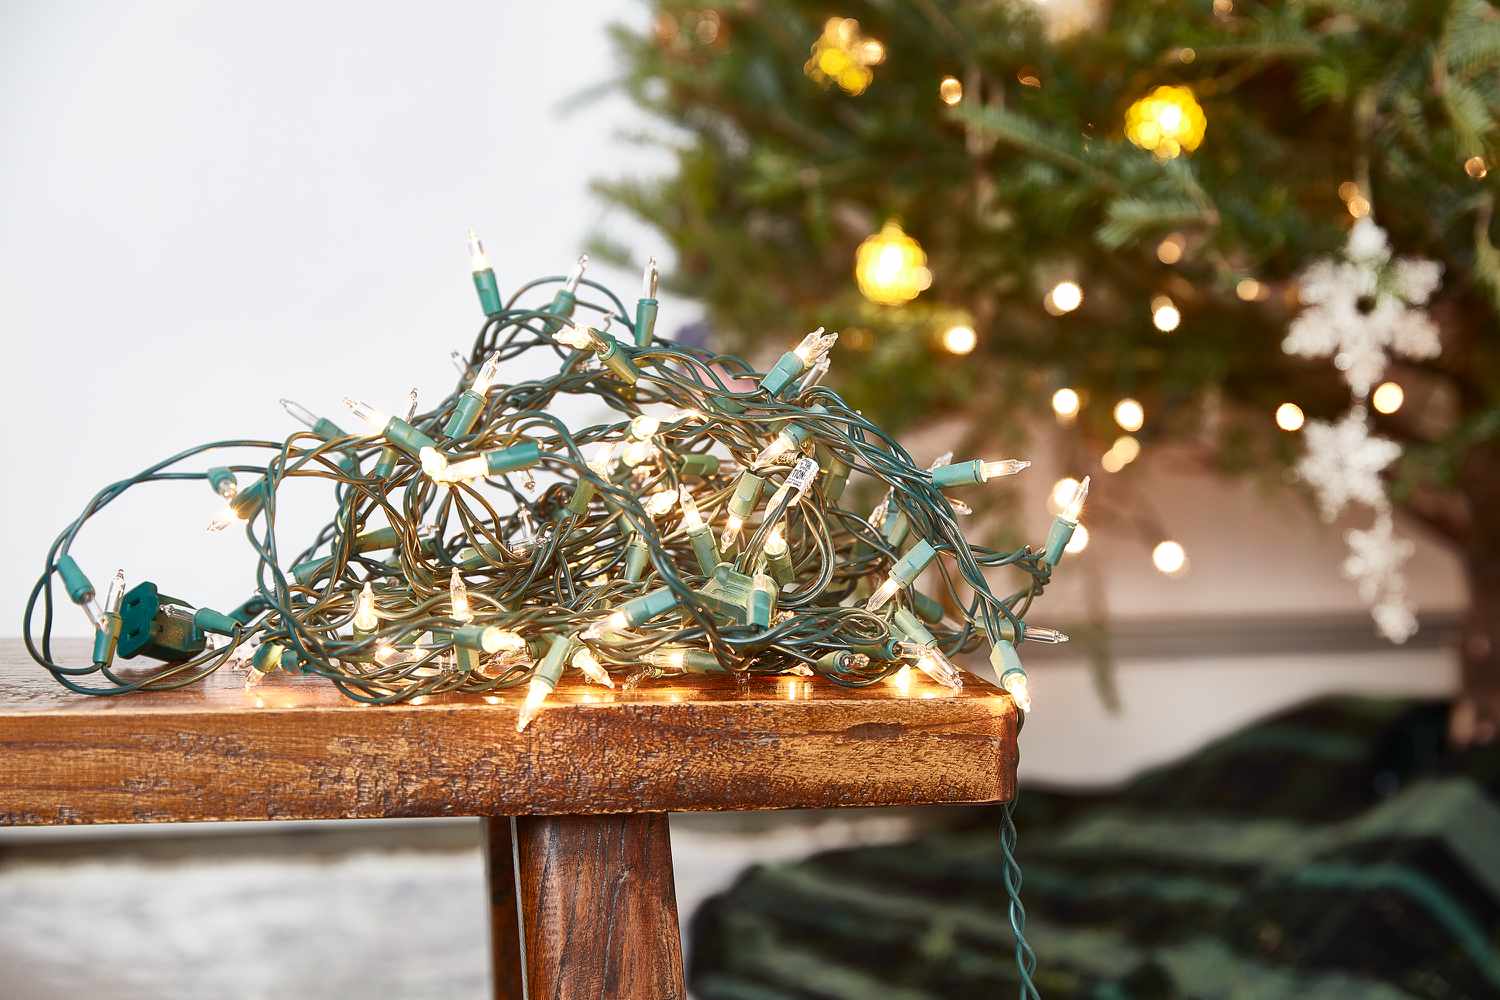
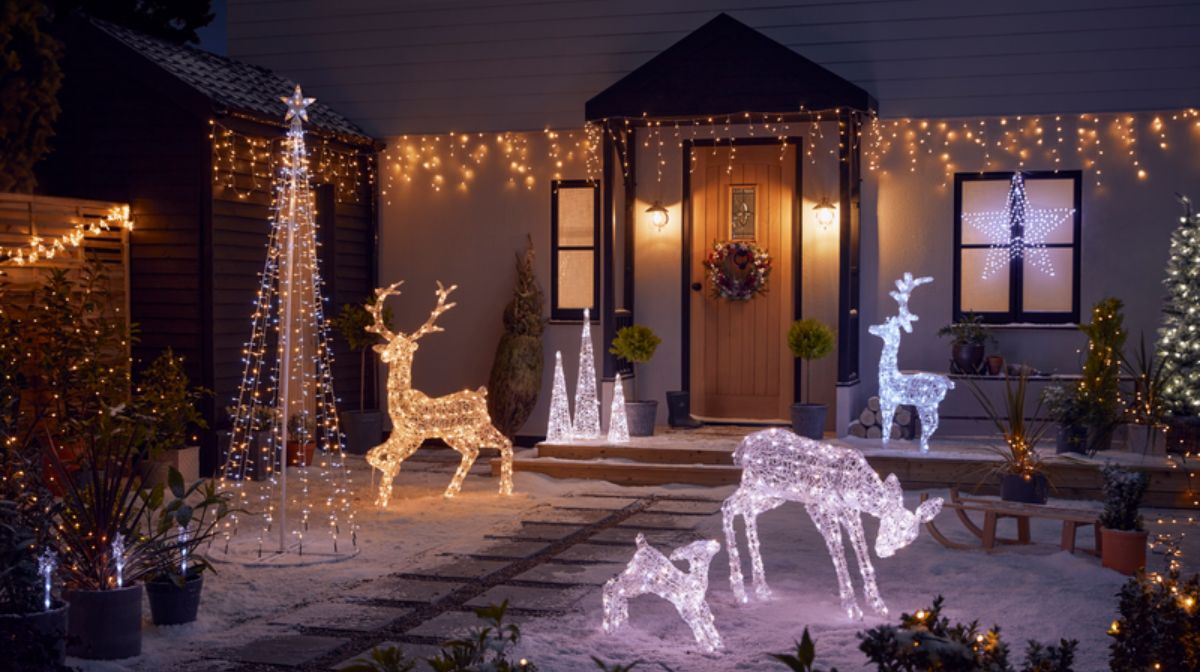
Christmas is a festive time of the year when we decorate our homes with beautiful lights and ornaments. Whether you have a small display or a grand spectacle, outdoor Christmas lights bring joy and cheer to your surroundings. However, when it comes to setting up these lights, you may find yourself in need of an extension cord to reach distant power sources. Choosing the right type of extension cord for your outdoor Christmas lights is essential to ensure safety, durability, and optimal performance.
In this article, we will explore the factors to consider when selecting an extension cord for your outdoor Christmas lights. From the length and gauge of the cord to its weatherproofing capabilities, we will discuss everything you need to know to make an informed decision. Additionally, we will cover the different types of extension cords available to help you find the perfect option for your specific needs.
Without further ado, let’s dive into the world of extension cords and discover which one is right for your outdoor Christmas lights!
Key Takeaways:
- Choose a 16- or 14-gauge extension cord for outdoor Christmas lights to handle power effectively and prevent hazards like overheating or electrical shocks.
- Consider using rubber or outdoor-rated extension cords for long-term outdoor use, as they offer durability, weather resistance, and enhanced safety features.
Factors to Consider
When choosing an extension cord for your outdoor Christmas lights, there are several important factors to consider:
- Length and Gauge of Extension Cord: The length of the cord will determine how far you can place your lights from the power source. It is crucial to choose a cord that is long enough to reach the desired area without being stretched or strained. Additionally, the gauge of the cord affects its power carrying capacity. Smaller gauge numbers indicate thicker wires and higher capacity. For outdoor Christmas lights, it is recommended to use a 16- or 14-gauge extension cord to handle the power load effectively.
- Weatherproofing and Safety: Outdoor Christmas lights are exposed to the elements, so it is vital to choose an extension cord that is specifically designed for outdoor use. Look for cords with a durable and weather-resistant coating that can withstand rain, snow, and extreme temperatures. Additionally, ensure that the cord has safety features like grounded plugs and outlets to prevent electrical hazards.
- Types of Extension Cords: There are different types of extension cords available, each with its own advantages and suitable applications. It is essential to understand the differences to choose the right one for your outdoor Christmas lights.
Let’s explore the most commonly used types of extension cords for outdoor Christmas lights:
Length and Gauge of Extension Cord
The length and gauge of the extension cord play a crucial role in ensuring the safe and efficient operation of your outdoor Christmas lights. Here’s what you need to know:
Length: The length of the extension cord determines how far you can place your lights from the power source. It is important to choose a cord that is long enough to reach your desired location without being stretched or strained. Keep in mind that using an excessively long extension cord can lead to power loss and voltage drop, resulting in dim or flickering lights. Measure the distance from the power source to the intended placement of the lights and choose an extension cord that matches or slightly exceeds that length.
Gauge: The gauge of the extension cord refers to the thickness of its wires and determines its power carrying capacity. A lower gauge number indicates a thicker wire and higher capacity. For outdoor Christmas lights, it is recommended to use a 16- or 14-gauge extension cord. These cords can handle the power load necessary to operate the lights without overheating or causing a fire hazard.
Here’s a general guideline for choosing the appropriate gauge based on the power requirements of your outdoor Christmas lights:
- 16-gauge: Suitable for up to 1,200 watts or 10 amps
- 14-gauge: Suitable for up to 1,800 watts or 15 amps
Keep in mind that it’s always better to err on the side of caution and choose a thicker gauge if you are unsure about the power consumption of your lights. This ensures optimal performance and reduces the risk of overheating or damage to the extension cord.
Next, we will explore the importance of weatherproofing and safety features in an extension cord for outdoor Christmas lights.
Weatherproofing and Safety
When it comes to outdoor Christmas lights, it is essential to prioritize weatherproofing and safety features in your choice of extension cord. Here’s why:
Weatherproofing: Outdoor extension cords are exposed to the elements, including rain, snow, and temperature fluctuations. It is crucial to select an extension cord that is specifically designed for outdoor use and can withstand these conditions. Look for cords with a durable and weather-resistant coating, such as heavy-duty vinyl or rubber. These materials provide protection against moisture, UV rays, and abrasion, ensuring the longevity and performance of the cord.
Safety Features: Safety should be a top priority when it comes to outdoor electrical setups. Look for extension cords with grounded plugs and outlets. Grounded plugs have a third prong, which is connected to the grounding wire of the electrical system. This provides an extra level of protection against electrical shocks and prevents potential hazards. Additionally, consider extension cords with built-in overload protection or circuit breakers. These safety features can help prevent overheating and tripped circuits, ensuring the safe operation of your outdoor Christmas lights.
Furthermore, make sure to inspect the extension cord regularly for any signs of damage or wear. If you notice any fraying wires, exposed conductors, or loose connections, it’s important to replace the cord immediately to prevent potential hazards.
Now that we have covered the importance of weatherproofing and safety, let’s explore the different types of extension cords available for outdoor Christmas lights.
Types of Extension Cords
When it comes to choosing an extension cord for your outdoor Christmas lights, it’s important to consider the different types available. Each type has its own unique features and benefits. Let’s explore the most commonly used ones:
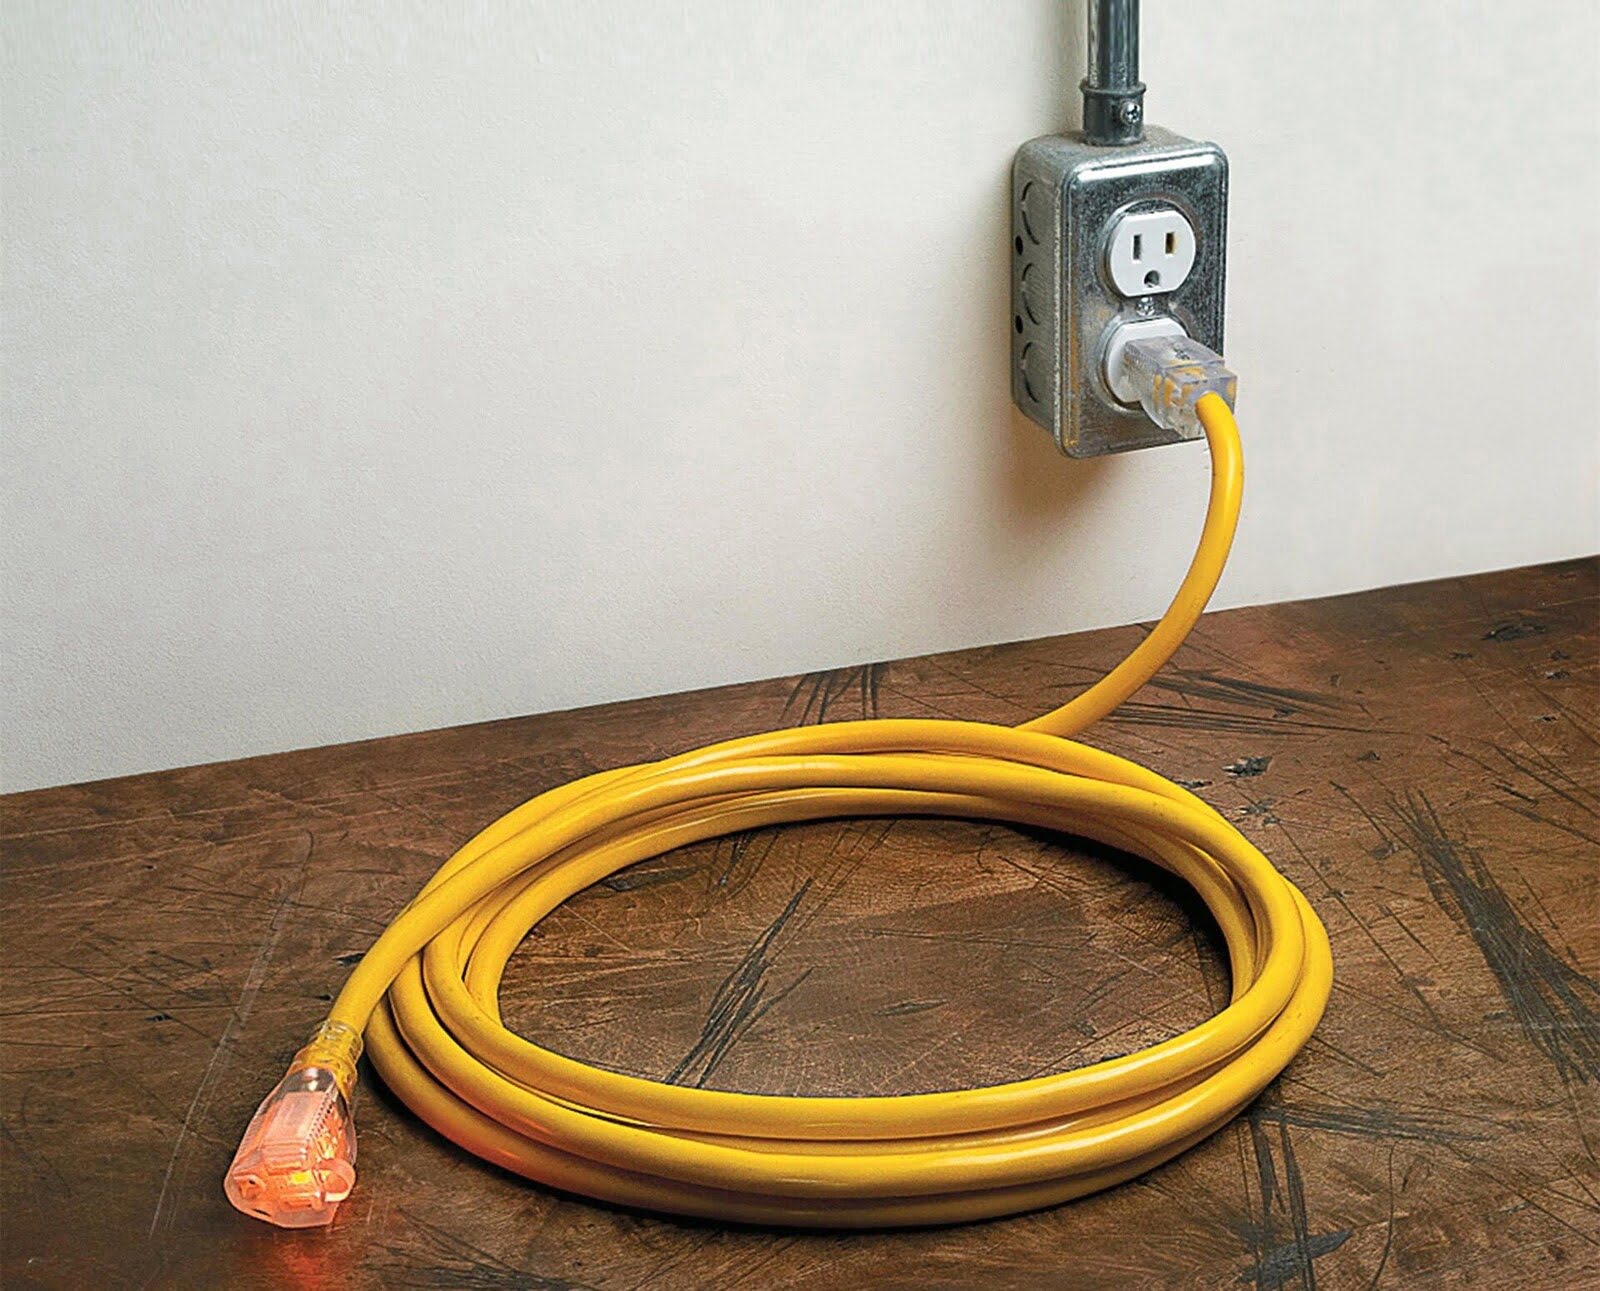
Vinyl Extension Cords: Vinyl extension cords are affordable and widely available. They have a vinyl coating that provides some level of weather resistance. However, these cords are not as durable as other options and are best suited for temporary outdoor use. They are typically lighter in weight and more flexible, making them easier to handle and store.
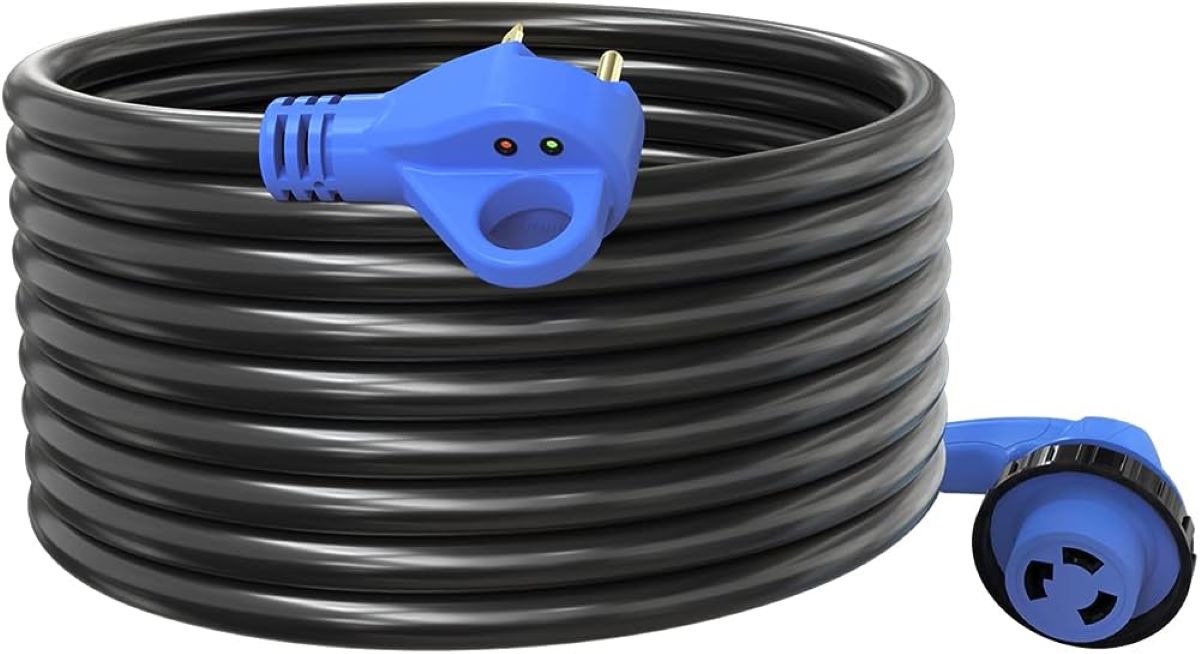
Rubber Extension Cords: Rubber extension cords are more heavy-duty and weather-resistant compared to vinyl cords. They have a rubberized coating that provides excellent protection against moisture, UV rays, and abrasion. Rubber cords are more durable and can withstand harsh weather conditions, making them ideal for long-term outdoor use. These cords are a bit pricier than vinyl ones but offer superior performance and longevity.
Outdoor-Rated Extension Cords: Outdoor-rated extension cords are specifically designed for outdoor use and are built to withstand various weather conditions. They are made with heavy-duty materials and have reinforced insulation and connectors for added durability. Outdoor-rated cords often have features like water-resistant seals and strain relief to ensure reliable performance in rainy or snowy conditions. These cords are the best option for long-term outdoor installations.
Multiple Outlet Extension Cords: If you have multiple sets of outdoor Christmas lights or other decorations to power, consider using a multiple outlet extension cord. These cords have several outlets spaced along the length, allowing you to connect multiple devices or light sets simultaneously. They eliminate the need for multiple extension cords and provide a neater and more organized setup.
When choosing the type of extension cord for your outdoor Christmas lights, consider the specific needs of your setup and the duration of use. If you only need a temporary solution for a short period, a vinyl extension cord may suffice. However, if you plan on keeping your lights up for an extended period or in harsh weather conditions, investing in a rubber or outdoor-rated cord is recommended for optimal performance and safety.
Now that you are familiar with the different types of extension cords available, you can make an informed decision based on your specific requirements.
When choosing an extension cord for outdoor Christmas lights, look for one that is specifically rated for outdoor use. This will ensure that it is weather-resistant and safe for use in outdoor conditions.
Vinyl Extension Cords
Vinyl extension cords are a popular and affordable option for powering outdoor Christmas lights. They have a vinyl coating that provides some level of weather resistance, making them suitable for temporary outdoor use. Here’s what you need to know about vinyl extension cords:
Affordability: Vinyl extension cords are generally more budget-friendly compared to other types of extension cords. They are readily available at most hardware stores and online retailers, making it easy to find the right length and gauge for your needs without breaking the bank.
Flexibility: One of the advantages of vinyl extension cords is their flexibility. The vinyl coating makes them more pliable, allowing for easy handling and maneuverability. This flexibility comes in handy when setting up and arranging your outdoor Christmas lights, as you can easily navigate corners or obstacles without the cord becoming overly strained or tangled.
Lightweight: Vinyl extension cords are lighter in weight compared to rubber or heavy-duty outdoor-rated cords. This lightweight construction makes them easier to manage and carry, especially if you need to move the cord around frequently or pack it away after the holiday season.
While vinyl extension cords offer affordability and flexibility, it’s important to note that they may not be as durable or weather-resistant as other options. The vinyl coating provides some protection against moisture, UV rays, and abrasion but may not be sufficient for long-term outdoor use in harsh weather conditions.
If you choose to use a vinyl extension cord for your outdoor Christmas lights, it is essential to take certain precautions to ensure safety. Avoid running the cord through puddles or submerged areas, and make sure to keep the connections and the cord itself elevated from the ground to prevent water damage. Additionally, inspect the cord regularly for any signs of wear or damage, such as frayed wires or cracked insulation. If you notice any issues, it is best to replace the cord promptly to avoid potential hazards.
Overall, vinyl extension cords are a cost-effective option for temporary outdoor use, such as during the holiday season. They provide the necessary length and flexibility to power your outdoor Christmas lights, but it’s important to be mindful of their limitations in terms of durability and weather resistance.
Now that you’re familiar with vinyl extension cords, let’s move on to exploring rubber extension cords.
Rubber Extension Cords
Rubber extension cords are a reliable and durable option for powering outdoor Christmas lights. They have a rubberized coating that provides excellent protection against moisture, UV rays, and abrasion, making them ideal for long-term outdoor use. Here’s what you need to know about rubber extension cords:
Durability: Rubber extension cords are known for their durability and ability to withstand harsh weather conditions. The rubberized coating offers superior resistance to moisture, which is essential when using the cord outdoors. This durability ensures that the extension cord will last for multiple holiday seasons, providing reliable power for your outdoor Christmas lights.
Weather Resistance: The rubber coating on these cords makes them highly resistant to rain, snow, and extreme temperatures. This weather resistance allows the cord to maintain its flexibility and performance even in challenging outdoor conditions. It also helps to protect the internal wiring from moisture, reducing the risk of electrical hazards and damage to your lights.
Longevity: Rubber extension cords are designed to withstand frequent use and rough handling. The rubber coating provides additional insulation, protecting the cord from wear and tear, as well as accidental impact or bending. This longevity makes rubber extension cords a reliable choice for outdoor Christmas lights that are set up year after year.
While rubber extension cords offer excellent durability and weather resistance, it’s important to keep in mind that they tend to be pricier than vinyl cords. However, the added investment is worthwhile considering the long-term performance and reliability they provide.
When using a rubber extension cord for your outdoor Christmas lights, it’s important to follow safety guidelines. Make sure the cord is compatible with the power load of your lights and avoid overloading it with too many devices or lights. Inspect the cord regularly for any signs of damage, such as exposed wires or cracked insulation, and replace it if any issues arise.
Overall, rubber extension cords are a top choice for outdoor Christmas lights due to their durability, weather resistance, and longevity. They provide peace of mind, knowing that your lights will stay illuminated safely and reliably throughout the holiday season and beyond.
Now that you’re familiar with rubber extension cords, let’s explore the importance of using outdoor-rated extension cords for your outdoor Christmas lights.
Outdoor-Rated Extension Cords
When it comes to powering your outdoor Christmas lights, using an outdoor-rated extension cord is of utmost importance. These extension cords are specifically designed to withstand the rigors of outdoor use and provide enhanced safety and performance. Here’s what you need to know about outdoor-rated extension cords:
Durability: Outdoor-rated extension cords are built with durability in mind. They are constructed using heavy-duty materials and have reinforced insulation and connectors. This rugged construction ensures that the cord can withstand various weather conditions, including rain, snow, and temperature fluctuations. The durable design of these cords offers superior performance, even when subjected to rough handling or frequent setup and takedown.
Weather Resistance: One of the key features of outdoor-rated extension cords is their exceptional weather resistance. They are equipped with weatherproof seals and coatings that protect the internal wiring from moisture and prevent the penetration of water, snow, or other elements. This weather protection ensures reliable performance, reduces the risk of electrical hazards, and increases the longevity of the extension cord.
Safe and Grounded: Outdoor-rated extension cords are designed with safety in mind. They often feature grounded plugs and outlets, which have a third prong connected to the grounding wire. This extra prong provides an added layer of protection against electrical shocks and ensures a safe and grounded connection for your outdoor Christmas lights. Additionally, some outdoor-rated cords may include built-in overload protection or circuit breakers to prevent overheating and tripped circuits.
Length and Gauge Choices: Outdoor-rated extension cords are available in various lengths and gauges to accommodate different power requirements and distances from the power source. As with any extension cord, it is important to choose the appropriate length and gauge based on the specific needs of your outdoor Christmas lights. Make sure to select a cord that is long enough to reach your desired location without becoming strained or stretched.
Using an outdoor-rated extension cord for your outdoor Christmas lights not only ensures safety but also provides peace of mind. It allows you to enjoy your holiday decorations without worrying about potential electrical hazards or performance issues. Remember to inspect the cords regularly for any signs of wear or damage and replace them if necessary.
Now that you’re familiar with outdoor-rated extension cords, let’s delve into the benefits of multiple outlet extension cords for your outdoor Christmas light setup.
Multiple Outlet Extension Cords
When you have multiple sets of outdoor Christmas lights or other decorations that need to be powered, using a multiple outlet extension cord can be a convenient and efficient solution. These extension cords are designed with several outlets spaced along their length, allowing you to connect multiple devices or light sets simultaneously. Here’s why you should consider using a multiple outlet extension cord:
Convenience: Running multiple extension cords from various power sources can be messy and inconvenient. With a multiple outlet extension cord, you can consolidate your power connections into a single cord. This makes your setup more organized, reduces the number of cords running across your yard, and minimizes the risk of tripping hazards.
Space-Saving: When you have limited power outlets or limited access to power sources, a multiple outlet extension cord can be a lifesaver. Instead of using multiple power strips or outlets, you can simply plug in your lights or devices into the extension cord’s outlets. This saves space, allowing you to power all your decorations without the need for additional power sources.
Neater Appearance: Using a multiple outlet extension cord helps keep your outdoor Christmas light display looking neater and more visually appealing. With the outlets spaced along the cord, you can easily hide or camouflage the cord amongst your decorations, reducing the visibility of unsightly extension cords and improving the overall aesthetic of your display.
Power Distribution: Multiple outlet extension cords allow for efficient power distribution. Each outlet has its own power supply, ensuring that your lights or devices receive adequate power without overloading a single outlet or extension cord. This balanced power distribution helps maintain optimal performance and reduces the risk of electrical issues.
When selecting a multiple outlet extension cord, pay attention to its length and gauge to ensure it can handle the power load of your lights or devices. Consider the distance between the power source and your decorations and choose a cord that is long enough to reach your desired location without causing strain or tension.
While using a multiple outlet extension cord offers convenience and efficiency, it’s important to exercise caution and not overload the cord. Be mindful of the power requirements of your lights or devices, and ensure that the total wattage does not exceed the cord’s capacity. Overloading the cord can lead to overheating, tripped circuits, or potential fire hazards.
Now that you’re familiar with the benefits of multiple outlet extension cords, let’s wrap up our discussion.
Read more: What Type Of Electrical Cord To Bury
Conclusion
Choosing the right extension cord for your outdoor Christmas lights is crucial for ensuring safety, durability, and optimal performance. Factors such as the length and gauge of the cord, weatherproofing capabilities, and the use of outdoor-rated cords all play a significant role in determining the success of your holiday light display. By considering these factors and understanding the different types of extension cords available, you can make an informed decision that suits your specific needs.
When it comes to the length and gauge of the extension cord, ensure that it is long enough to reach your desired location without being stretched or strained. Opting for a 16- or 14-gauge cord will enable it to handle the power load effectively, avoiding any potential overheating or hazards.
Weatherproofing and safety features are paramount when selecting an extension cord for outdoor use. Look for cords with a durable and weather-resistant coating, such as heavy-duty vinyl, rubber, or outdoor-rated cords. Grounded plugs, reinforced insulation, and built-in circuit breakers are additional safety features to consider, as they provide protection against electrical shocks and prevent overheating or tripping of circuits.
Vinyl extension cords are a cost-effective option suitable for temporary outdoor use, while rubber extension cords offer greater durability and weather resistance. Outdoor-rated extension cords, on the other hand, are specifically designed to withstand outdoor conditions, providing maximum durability, weather resistance, and safety.
If you have multiple sets of outdoor Christmas lights or decorations, using a multiple outlet extension cord can simplify your setup and reduce clutter. This type of cord allows you to power multiple devices simultaneously, saving space and providing a neater appearance to your light display.
Remember, regardless of the type of extension cord you choose, it is important to regularly inspect it for any signs of wear, damage, or frayed wires and replace it if necessary. Safety should always be a top priority when it comes to working with electrical equipment.
In conclusion, selecting the appropriate extension cord for your outdoor Christmas lights requires careful consideration of factors such as length, gauge, weatherproofing, and safety features. By choosing the right cord, you can enjoy a beautiful and safe holiday light display that delights both you and your neighbors.
Frequently Asked Questions about What Type Of Extension Cord For Outdoor Christmas Lights
Was this page helpful?
At Storables.com, we guarantee accurate and reliable information. Our content, validated by Expert Board Contributors, is crafted following stringent Editorial Policies. We're committed to providing you with well-researched, expert-backed insights for all your informational needs.
0 thoughts on “What Type Of Extension Cord For Outdoor Christmas Lights”