
Articles
How Do I Remove My Toilet Paper Holder
Modified: October 19, 2024
Looking for articles on how to remove your toilet paper holder? Check out our step-by-step guide for easy and hassle-free removal.
(Many of the links in this article redirect to a specific reviewed product. Your purchase of these products through affiliate links helps to generate commission for Storables.com, at no extra cost. Learn more)
Introduction
When it comes to bathroom renovations or simply changing the look of your bathroom, knowing how to remove a toilet paper holder is an essential skill. The toilet paper holder is a small but important fixture in any bathroom, and being able to remove it properly can help prevent damage to the holder itself or the surrounding area.
In this article, we will provide an overview of the steps involved in removing a toilet paper holder. Whether you are planning to replace it with a new one or just want to give your bathroom a fresh new look, understanding the process will ensure a smooth and hassle-free removal.
So let’s dive in and discover the necessary tools and steps to remove a toilet paper holder.
Key Takeaways:
- Proper removal of a toilet paper holder requires the right tools, gentle techniques, and careful assessment of the holder type to avoid damage and ensure a smooth process.
- After removal, patching or repairing any wall damage is crucial for a seamless finish, and optional installation of a new holder can enhance the bathroom’s functionality and aesthetics.
Read more: How To Remove Recessed Toilet Paper Holder
Step 1: Gather necessary tools and materials
Before you begin the process of removing a toilet paper holder, it’s important to gather all the necessary tools and materials. Having the right tools for the job will make the removal process much easier and help prevent any damage to the wall or the holder itself.
Here is a list of tools and materials you will need:
- Flathead screwdriver or a Phillips screwdriver
- Adjustable wrench or pliers
- Putty knife
- Small bucket or container
- Patching compound or spackling paste
- Sanding block or sandpaper
- Paint and paintbrush (if necessary for wall touch-ups)
Having these tools on hand will ensure that you’re prepared for any type of toilet paper holder removal. It’s always better to be over-prepared than under-prepared.
Additionally, having the right tools for the job is crucial. Using improper tools can not only make the removal process more difficult, but it can also cause damage to the holder or the wall. For example, using a wrench instead of a screwdriver can strip the screws, making them more difficult to remove.
By using the appropriate tools for the specific type of holder you have, you’ll be able to remove it efficiently and with minimal hassle.
Now that you have your tools and materials ready, let’s move on to the next step: assessing the type of toilet paper holder.
Step 2: Assess the type of toilet paper holder
Before you can proceed with the removal process, it’s important to assess the type of toilet paper holder you have in your bathroom. There are different types of holders, and each may have its own unique installation method.
Here are some common types of toilet paper holders and their typical installation methods:
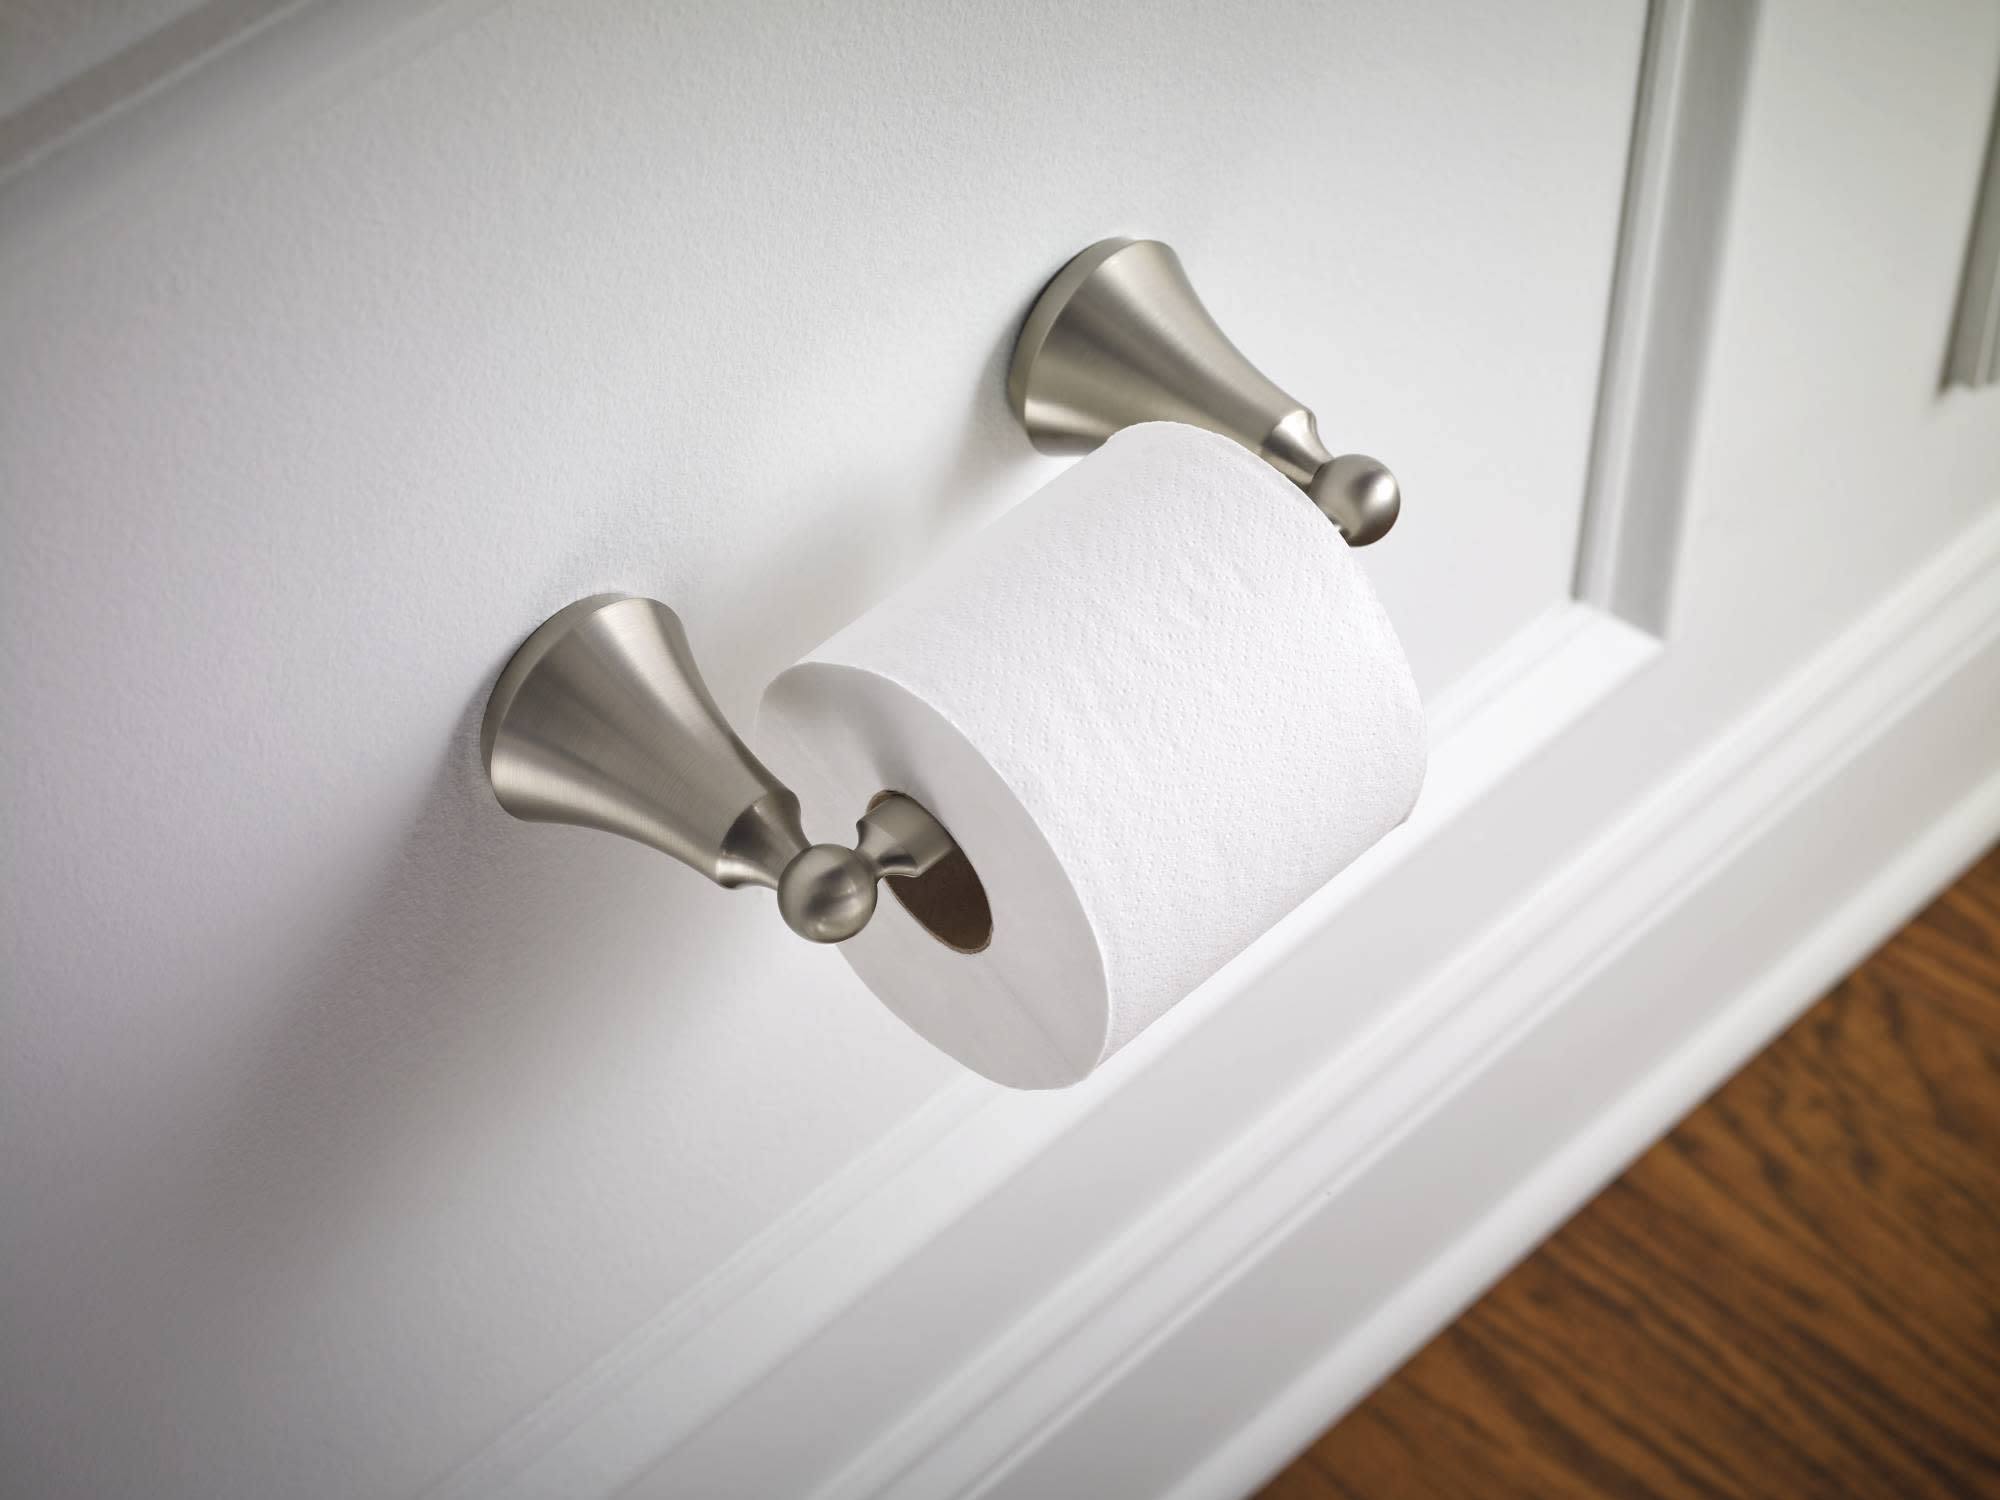
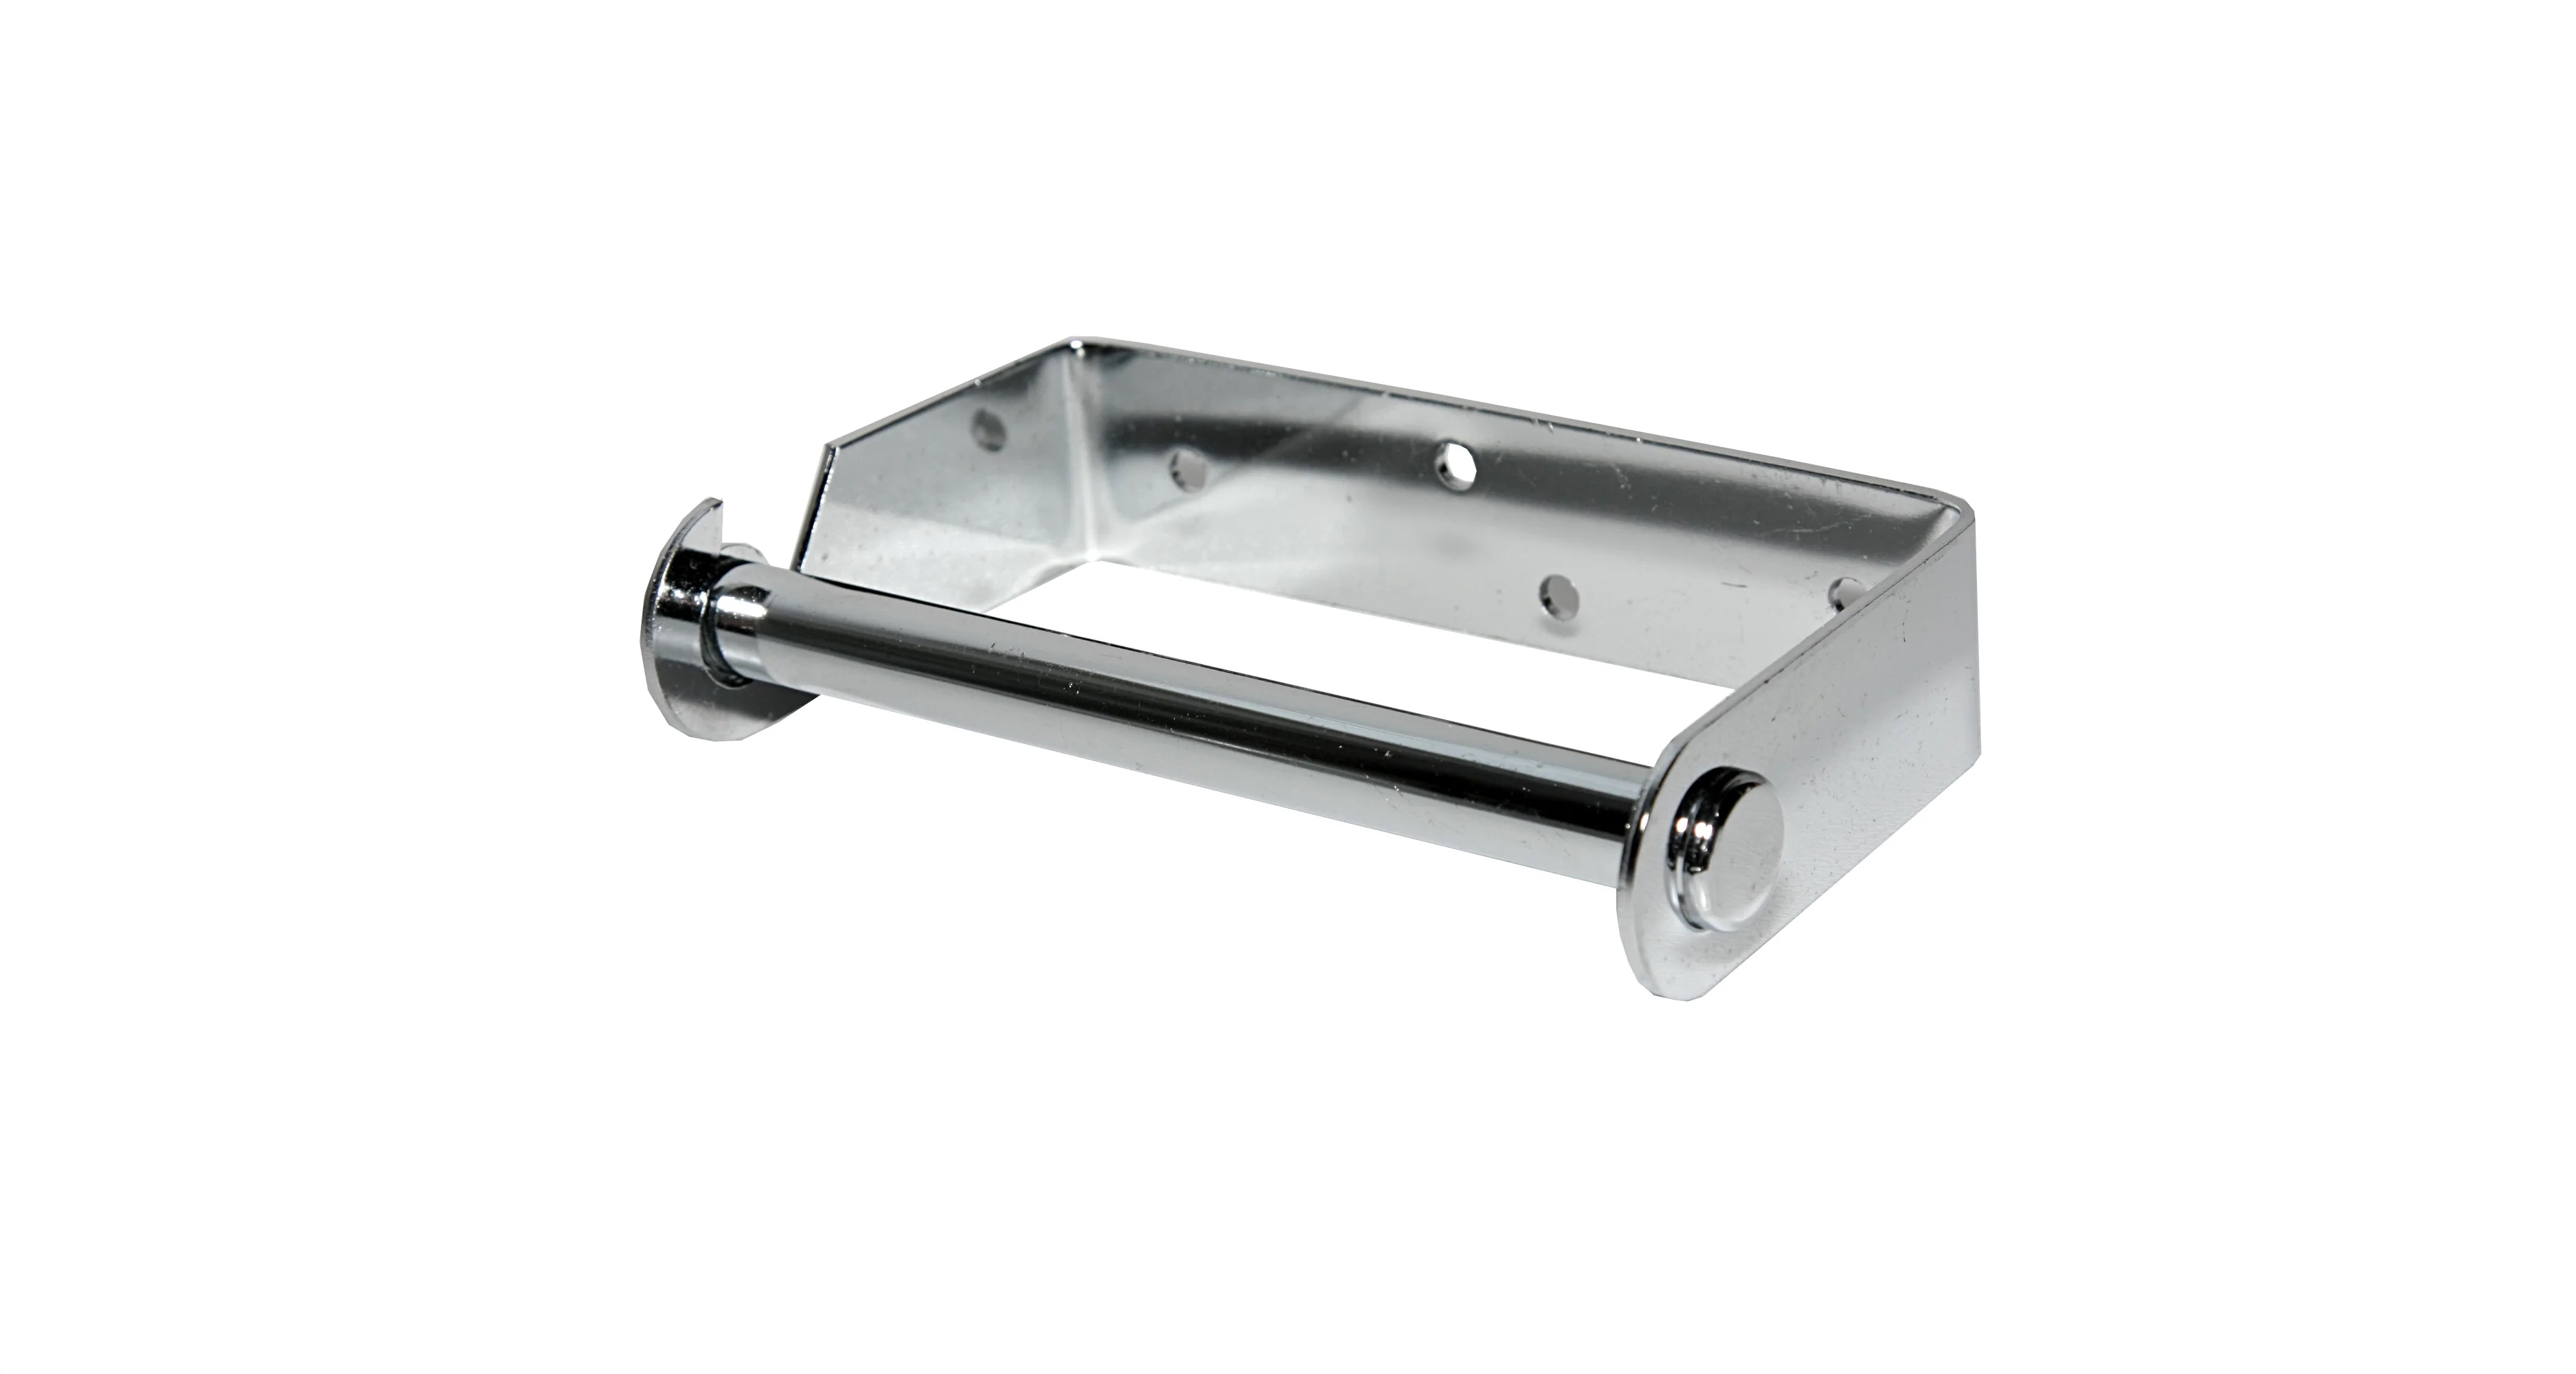
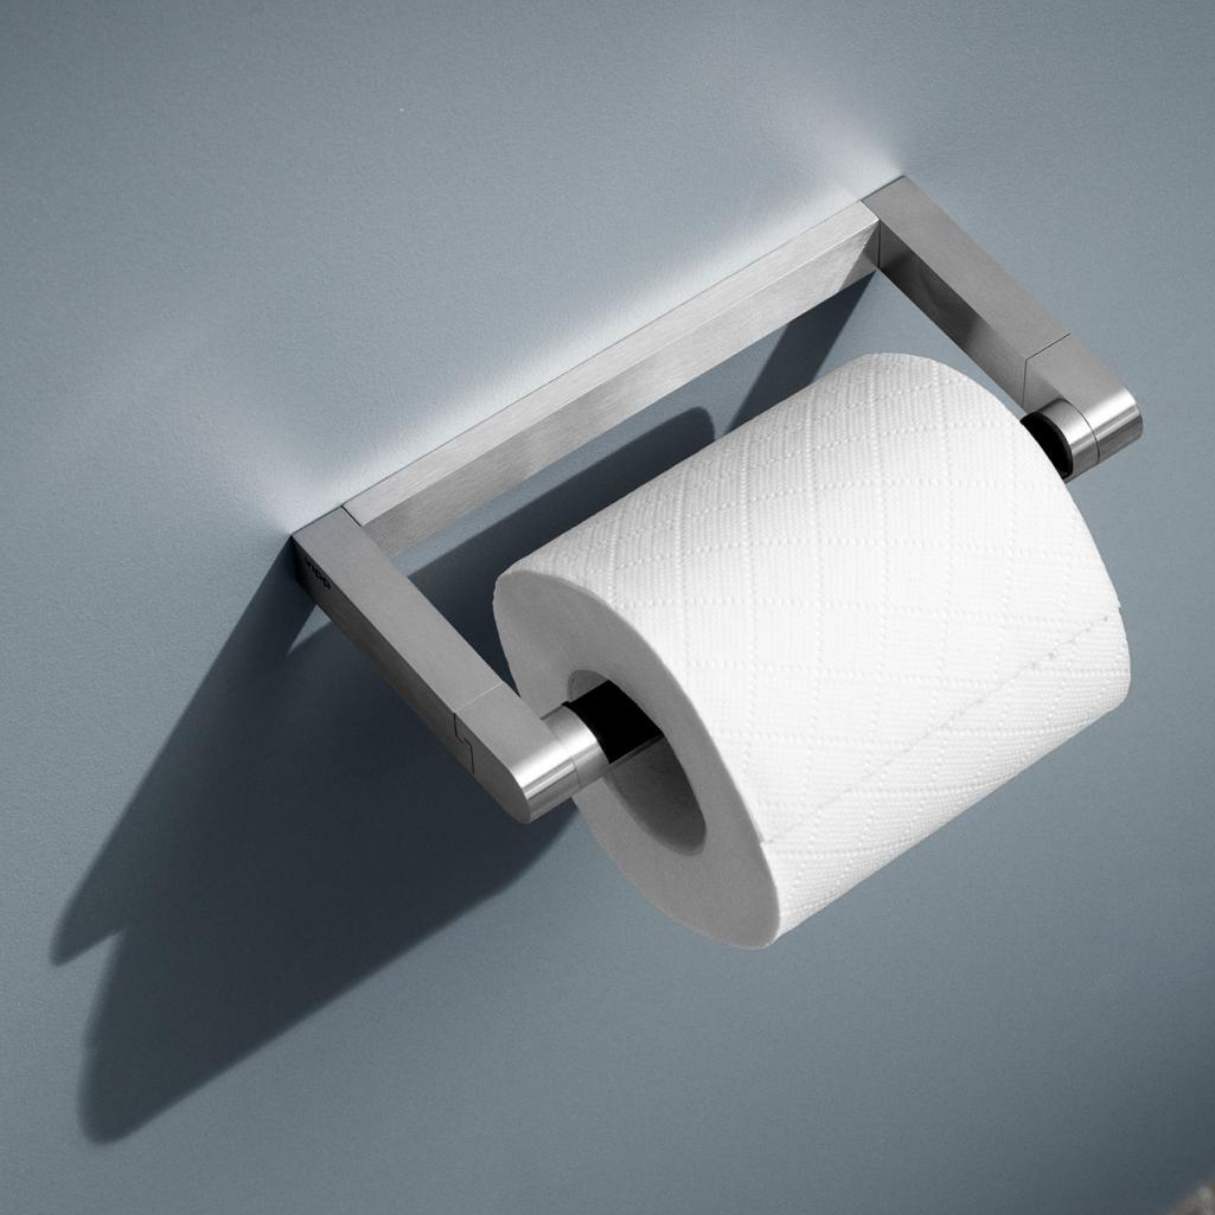
- Wall-mounted holders: These are the most common type of toilet paper holders and are typically attached to the wall with screws. They may have a single arm or a double-arm design.
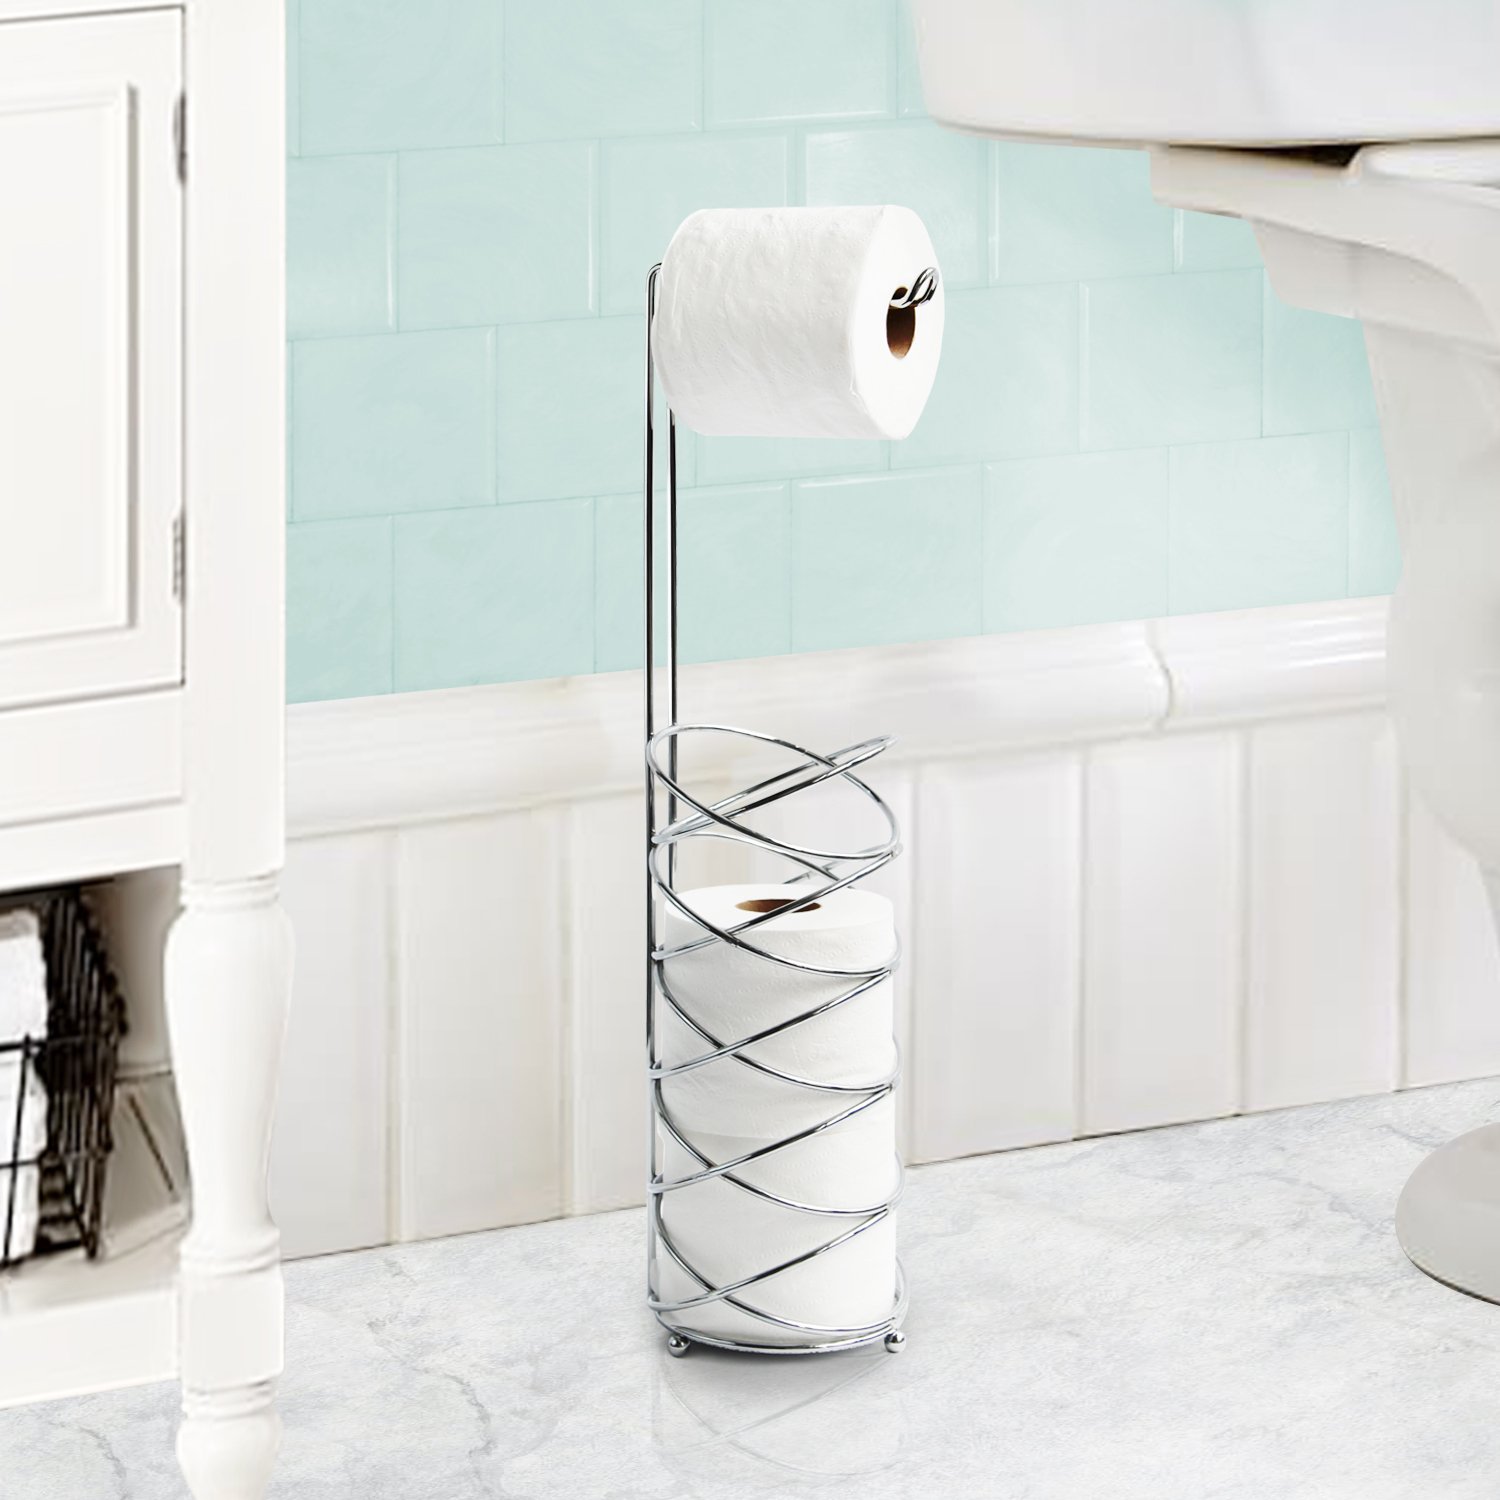
- Freestanding holders: These holders do not require any installation as they are designed to be placed directly on the bathroom floor. They are usually used in bathrooms where wall-mounted holders are not feasible.
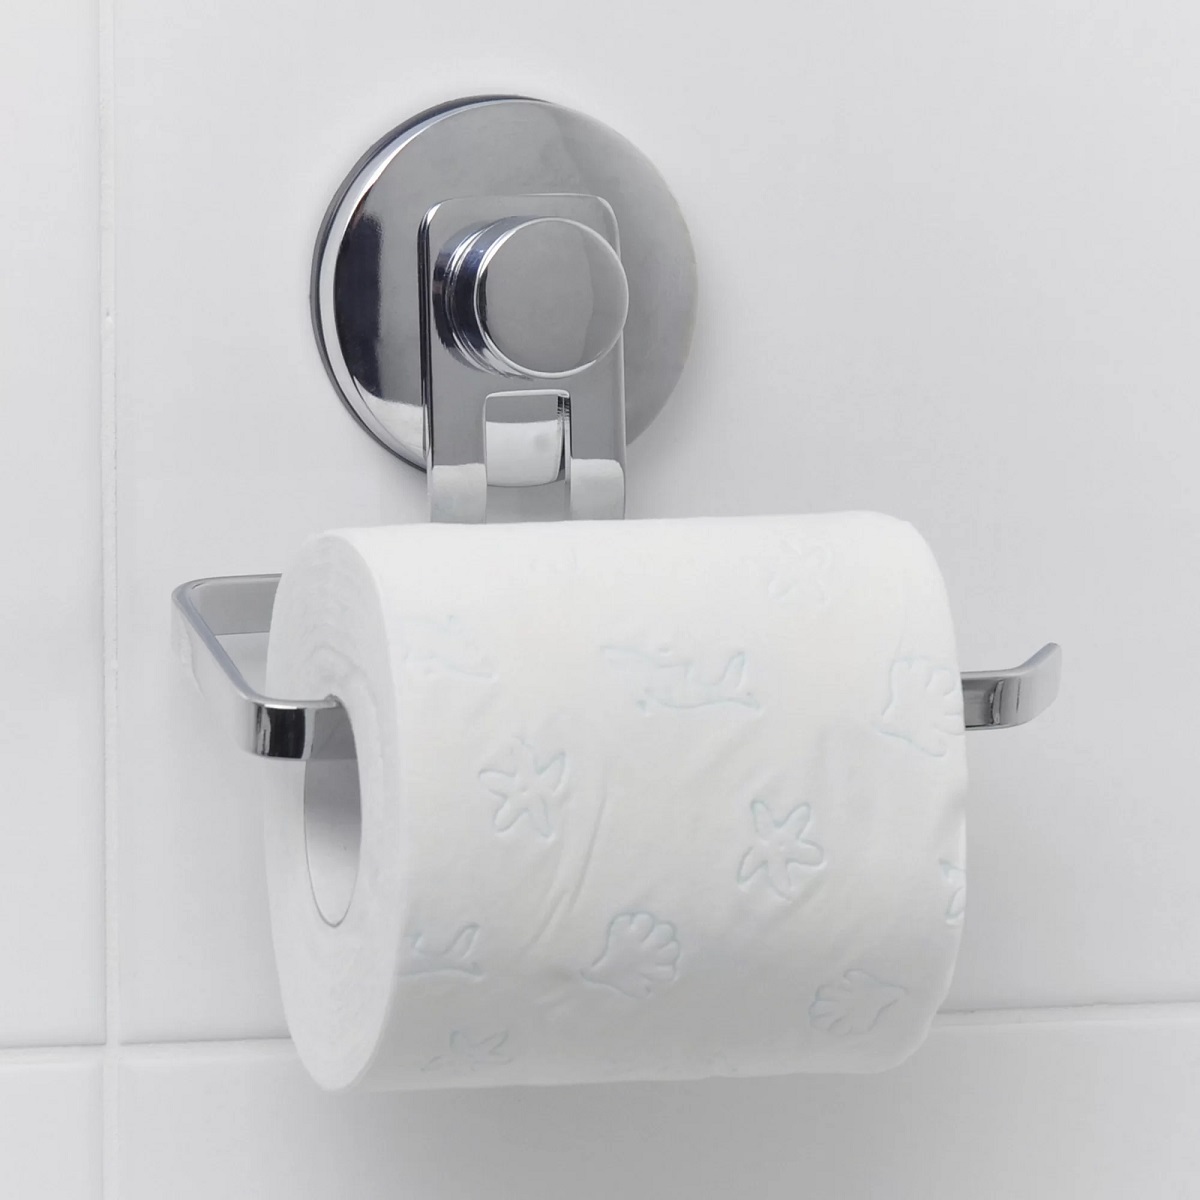
- Suction cup holders: These holders use suction cups to attach to smooth and non-porous surfaces, such as tile or glass. They are temporary and can be easily removed without leaving any marks.
Once you have identified the specific type of toilet paper holder in your bathroom, you will have a better understanding of how it is installed and how to proceed with its removal.
To identify the type of holder you have, visually inspect it and look for clues such as visible screws, any attachment points, or any markings or labels that indicate its installation method. It may be helpful to refer to the manufacturer’s instructions or do a quick online search to gather more information about your specific holder.
By knowing the type of holder you have, you will be better prepared to tackle the removal process. In the next step, we will discuss how to remove the toilet paper roll from the holder itself.
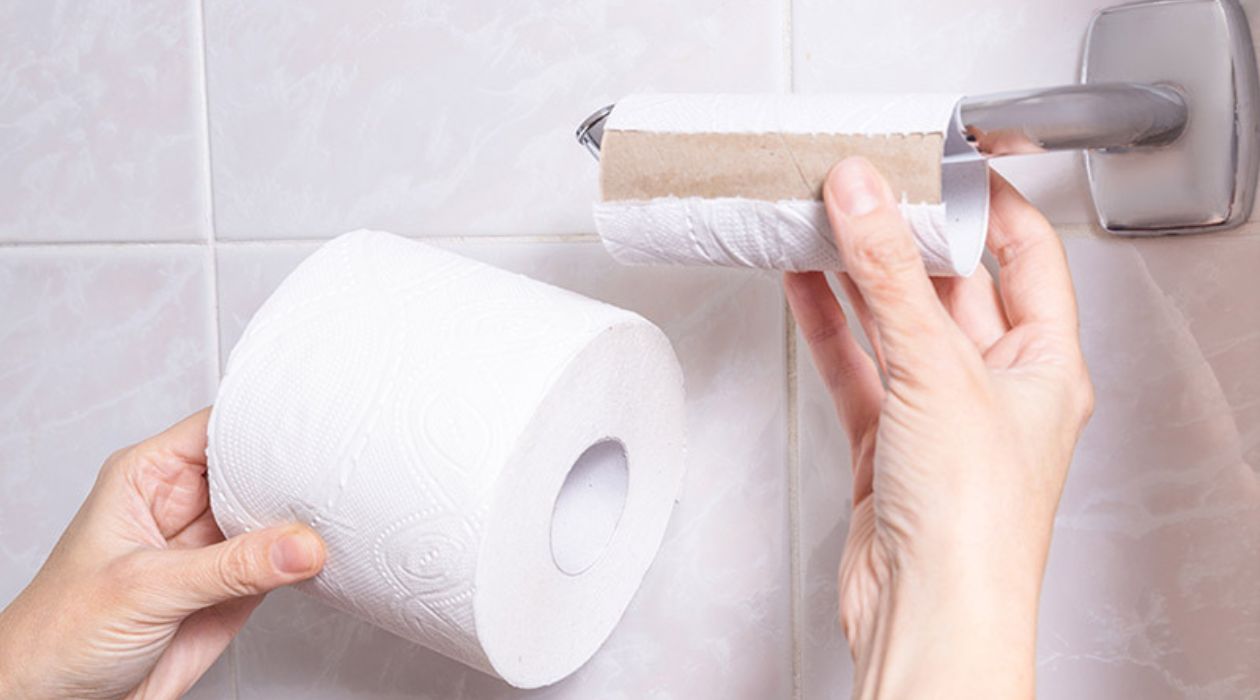
Step 3: Remove the toilet paper roll
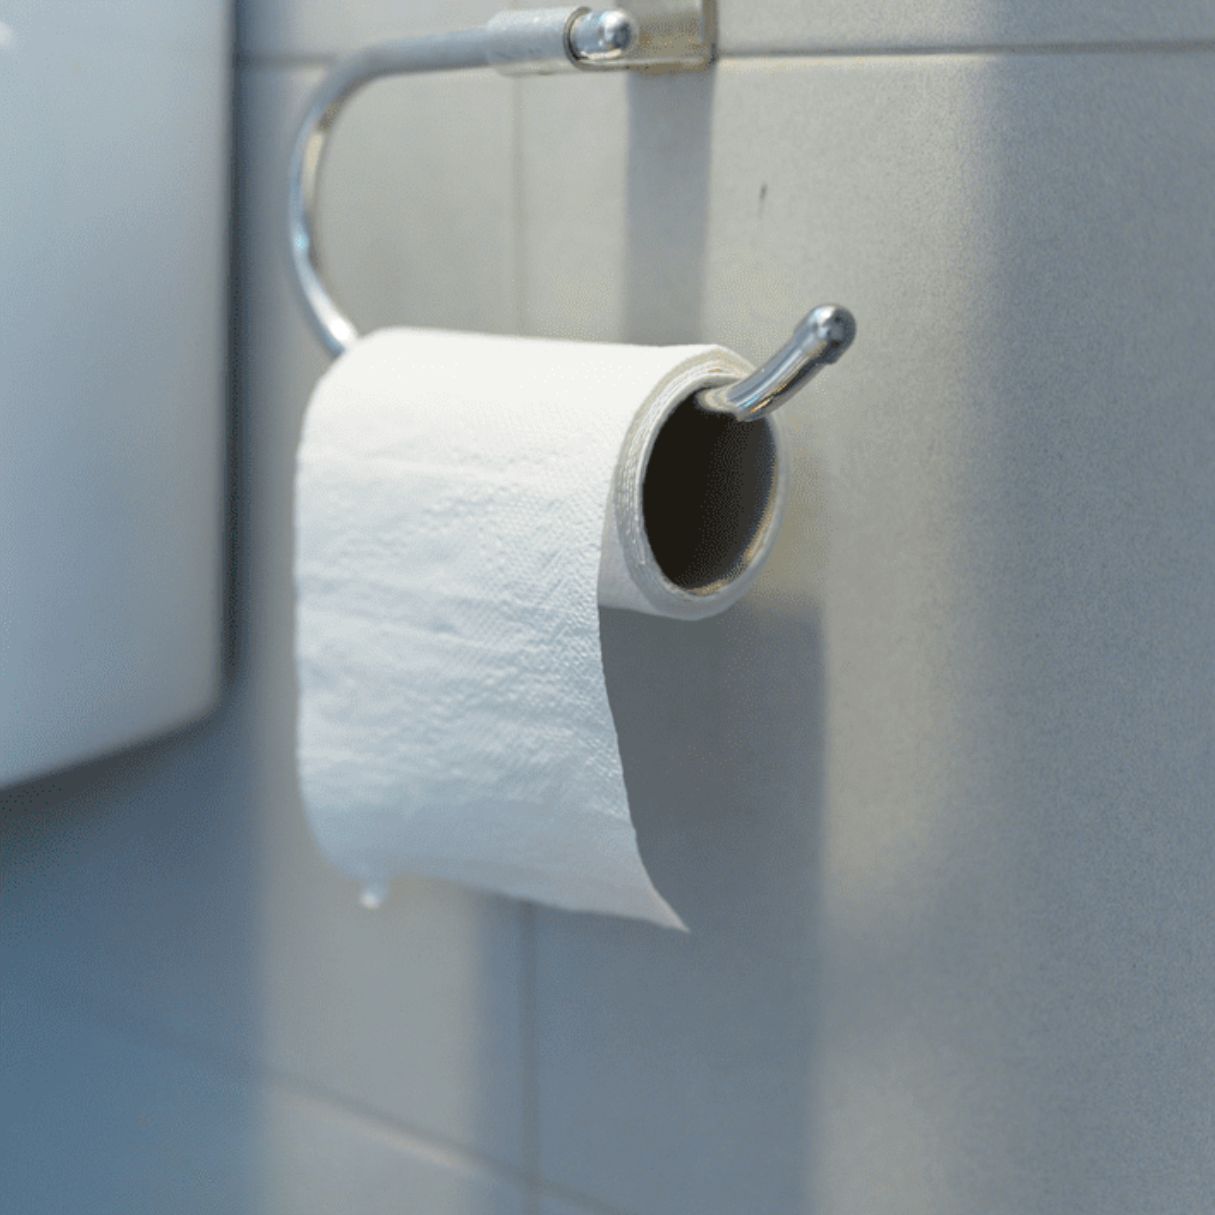
Before you proceed with removing the toilet paper holder, it’s important to remove the toilet paper roll from the holder itself. This will not only make the removal process easier but also help prevent any damage to the holder or the roll itself.
Here’s the proper technique to remove the roll from the holder:
- Locate the end of the toilet paper roll.
- Gently pull the end of the paper, unwinding it from the holder.
- Continue pulling the paper until the roll is completely removed.
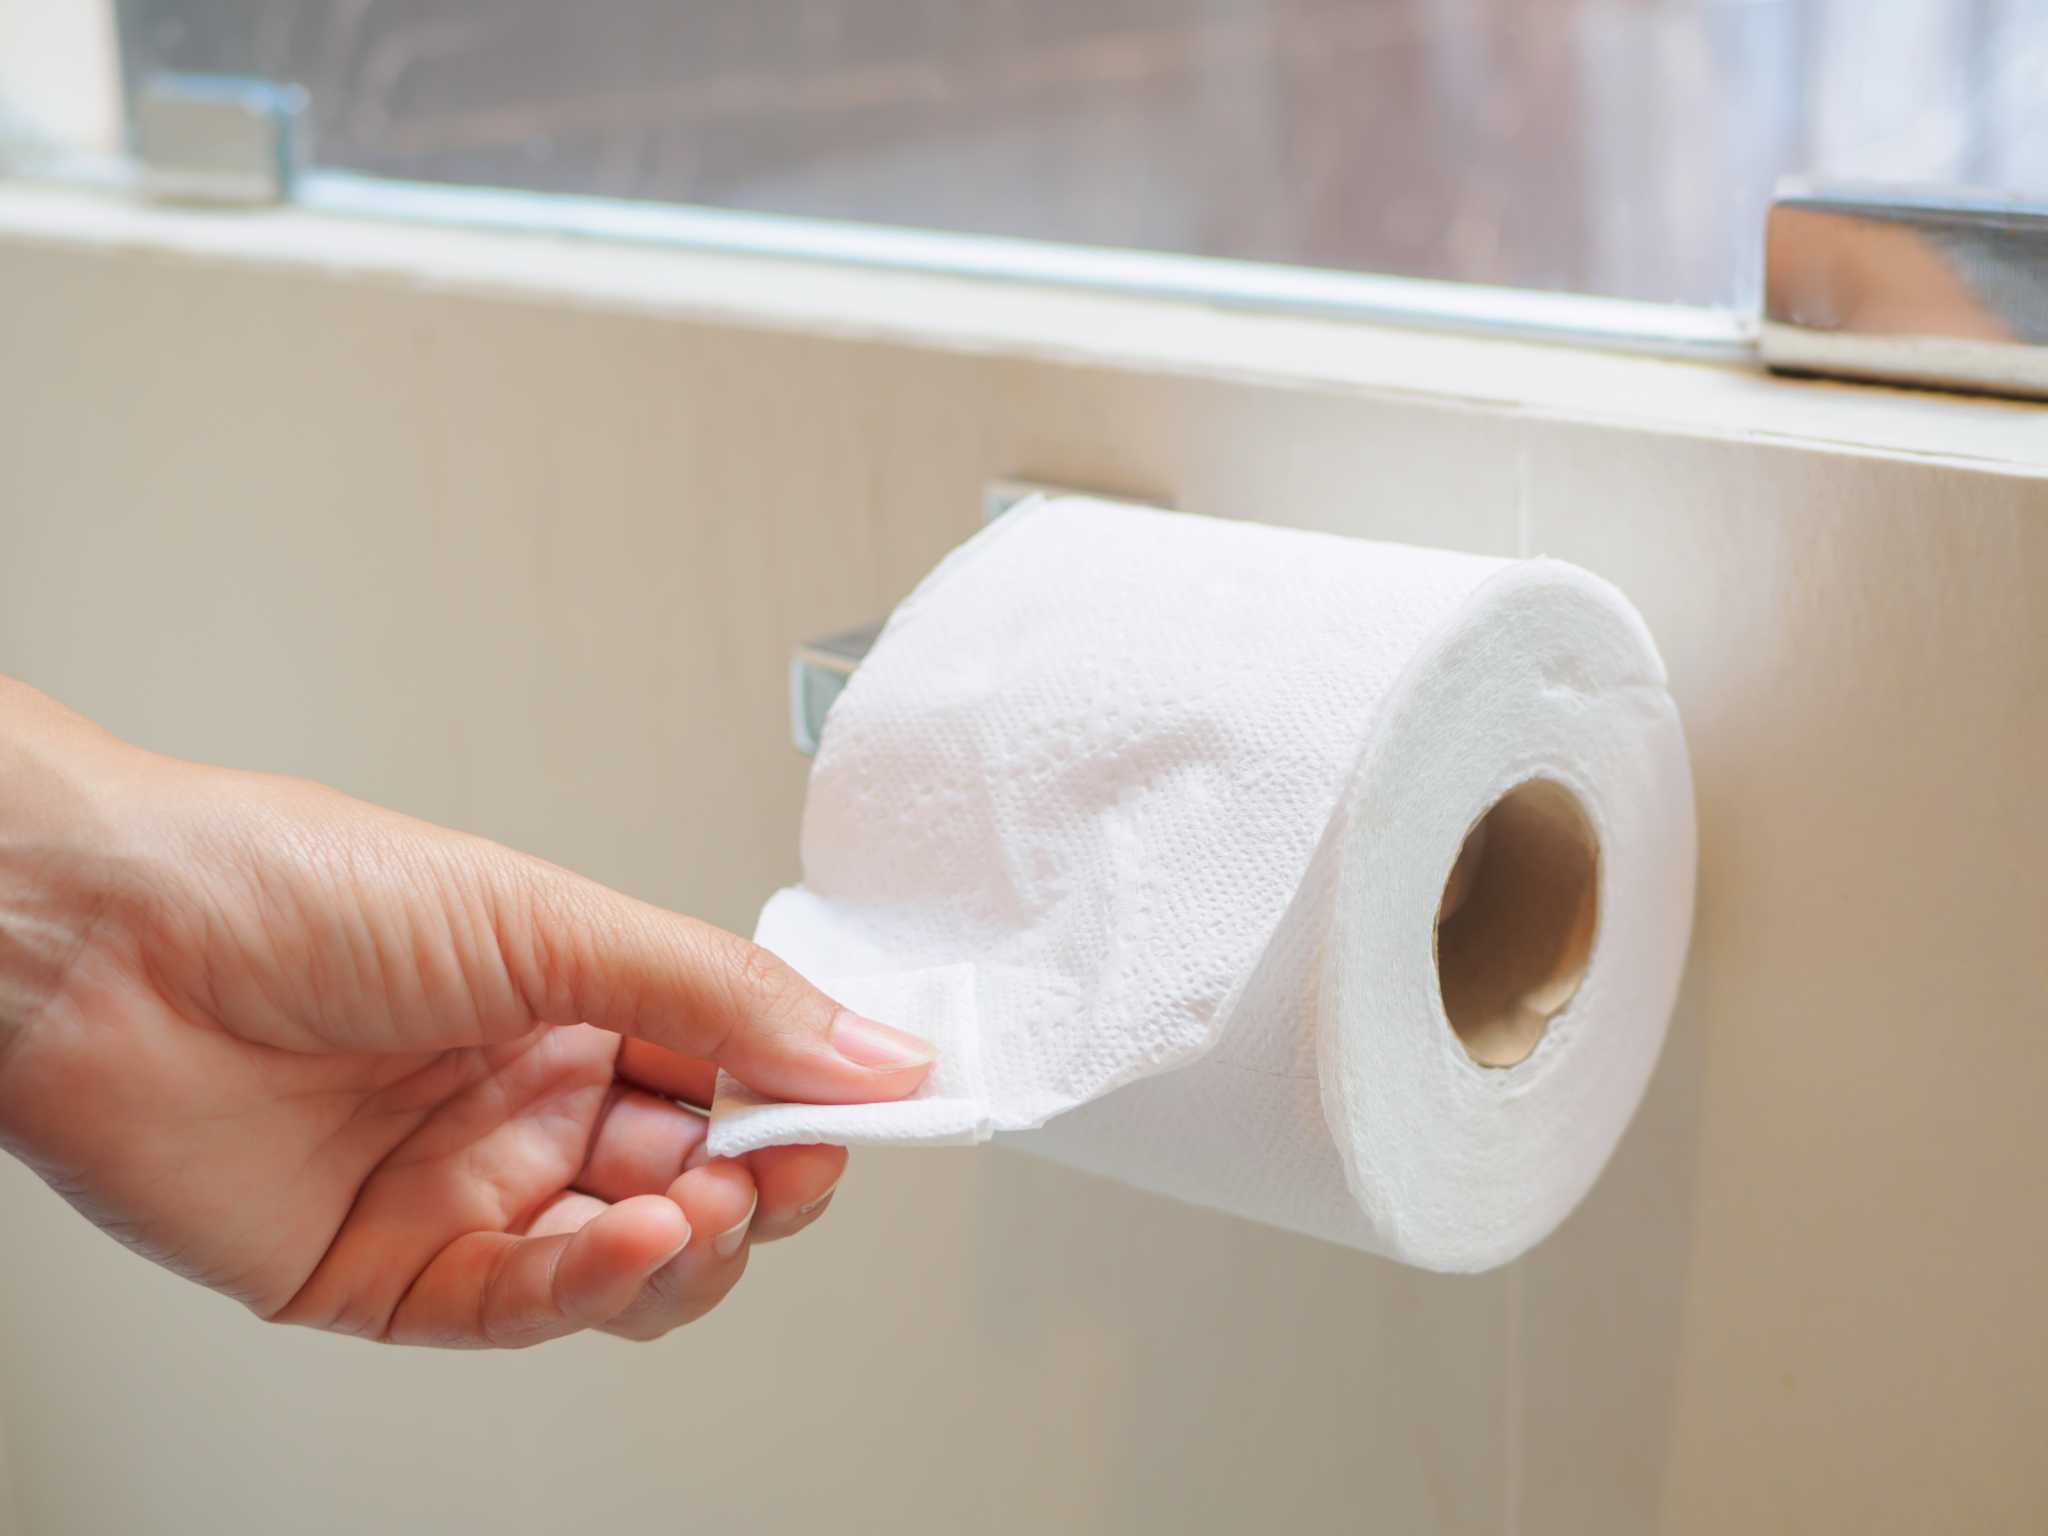
It’s important to be gentle when removing the roll to avoid any tearing or damage to the toilet paper or the holder. Slow and steady motions are key here.
In addition to the proper technique, here are some tips to avoid any damage during this step:
- Avoid pulling the paper too forcefully, as it can cause the holder to move or become loose.
- If the paper seems to be stuck, gently wiggle it back and forth until it comes loose.
- Handle the roll with care to prevent any accidental tearing or crushing.
By removing the toilet paper roll before proceeding with the removal of the holder, you’ll have a clear workspace and minimize the risk of damaging the roll or the holder.
Now that you have successfully removed the roll, let’s move on to the next step: checking for visible screws or access points on the holder.
Step 4: Check for visible screws or access points
Before you proceed with removing the toilet paper holder from the wall, it’s important to visually inspect the holder for any visible screws or access points. These components are crucial in securing the holder to the wall, and identifying and removing them is an essential step in the removal process.
Here’s how to visually inspect the toilet paper holder:
- Examine the holder closely, paying attention to its design and construction.
- Look for any visible screws or fasteners that may be holding the holder in place.
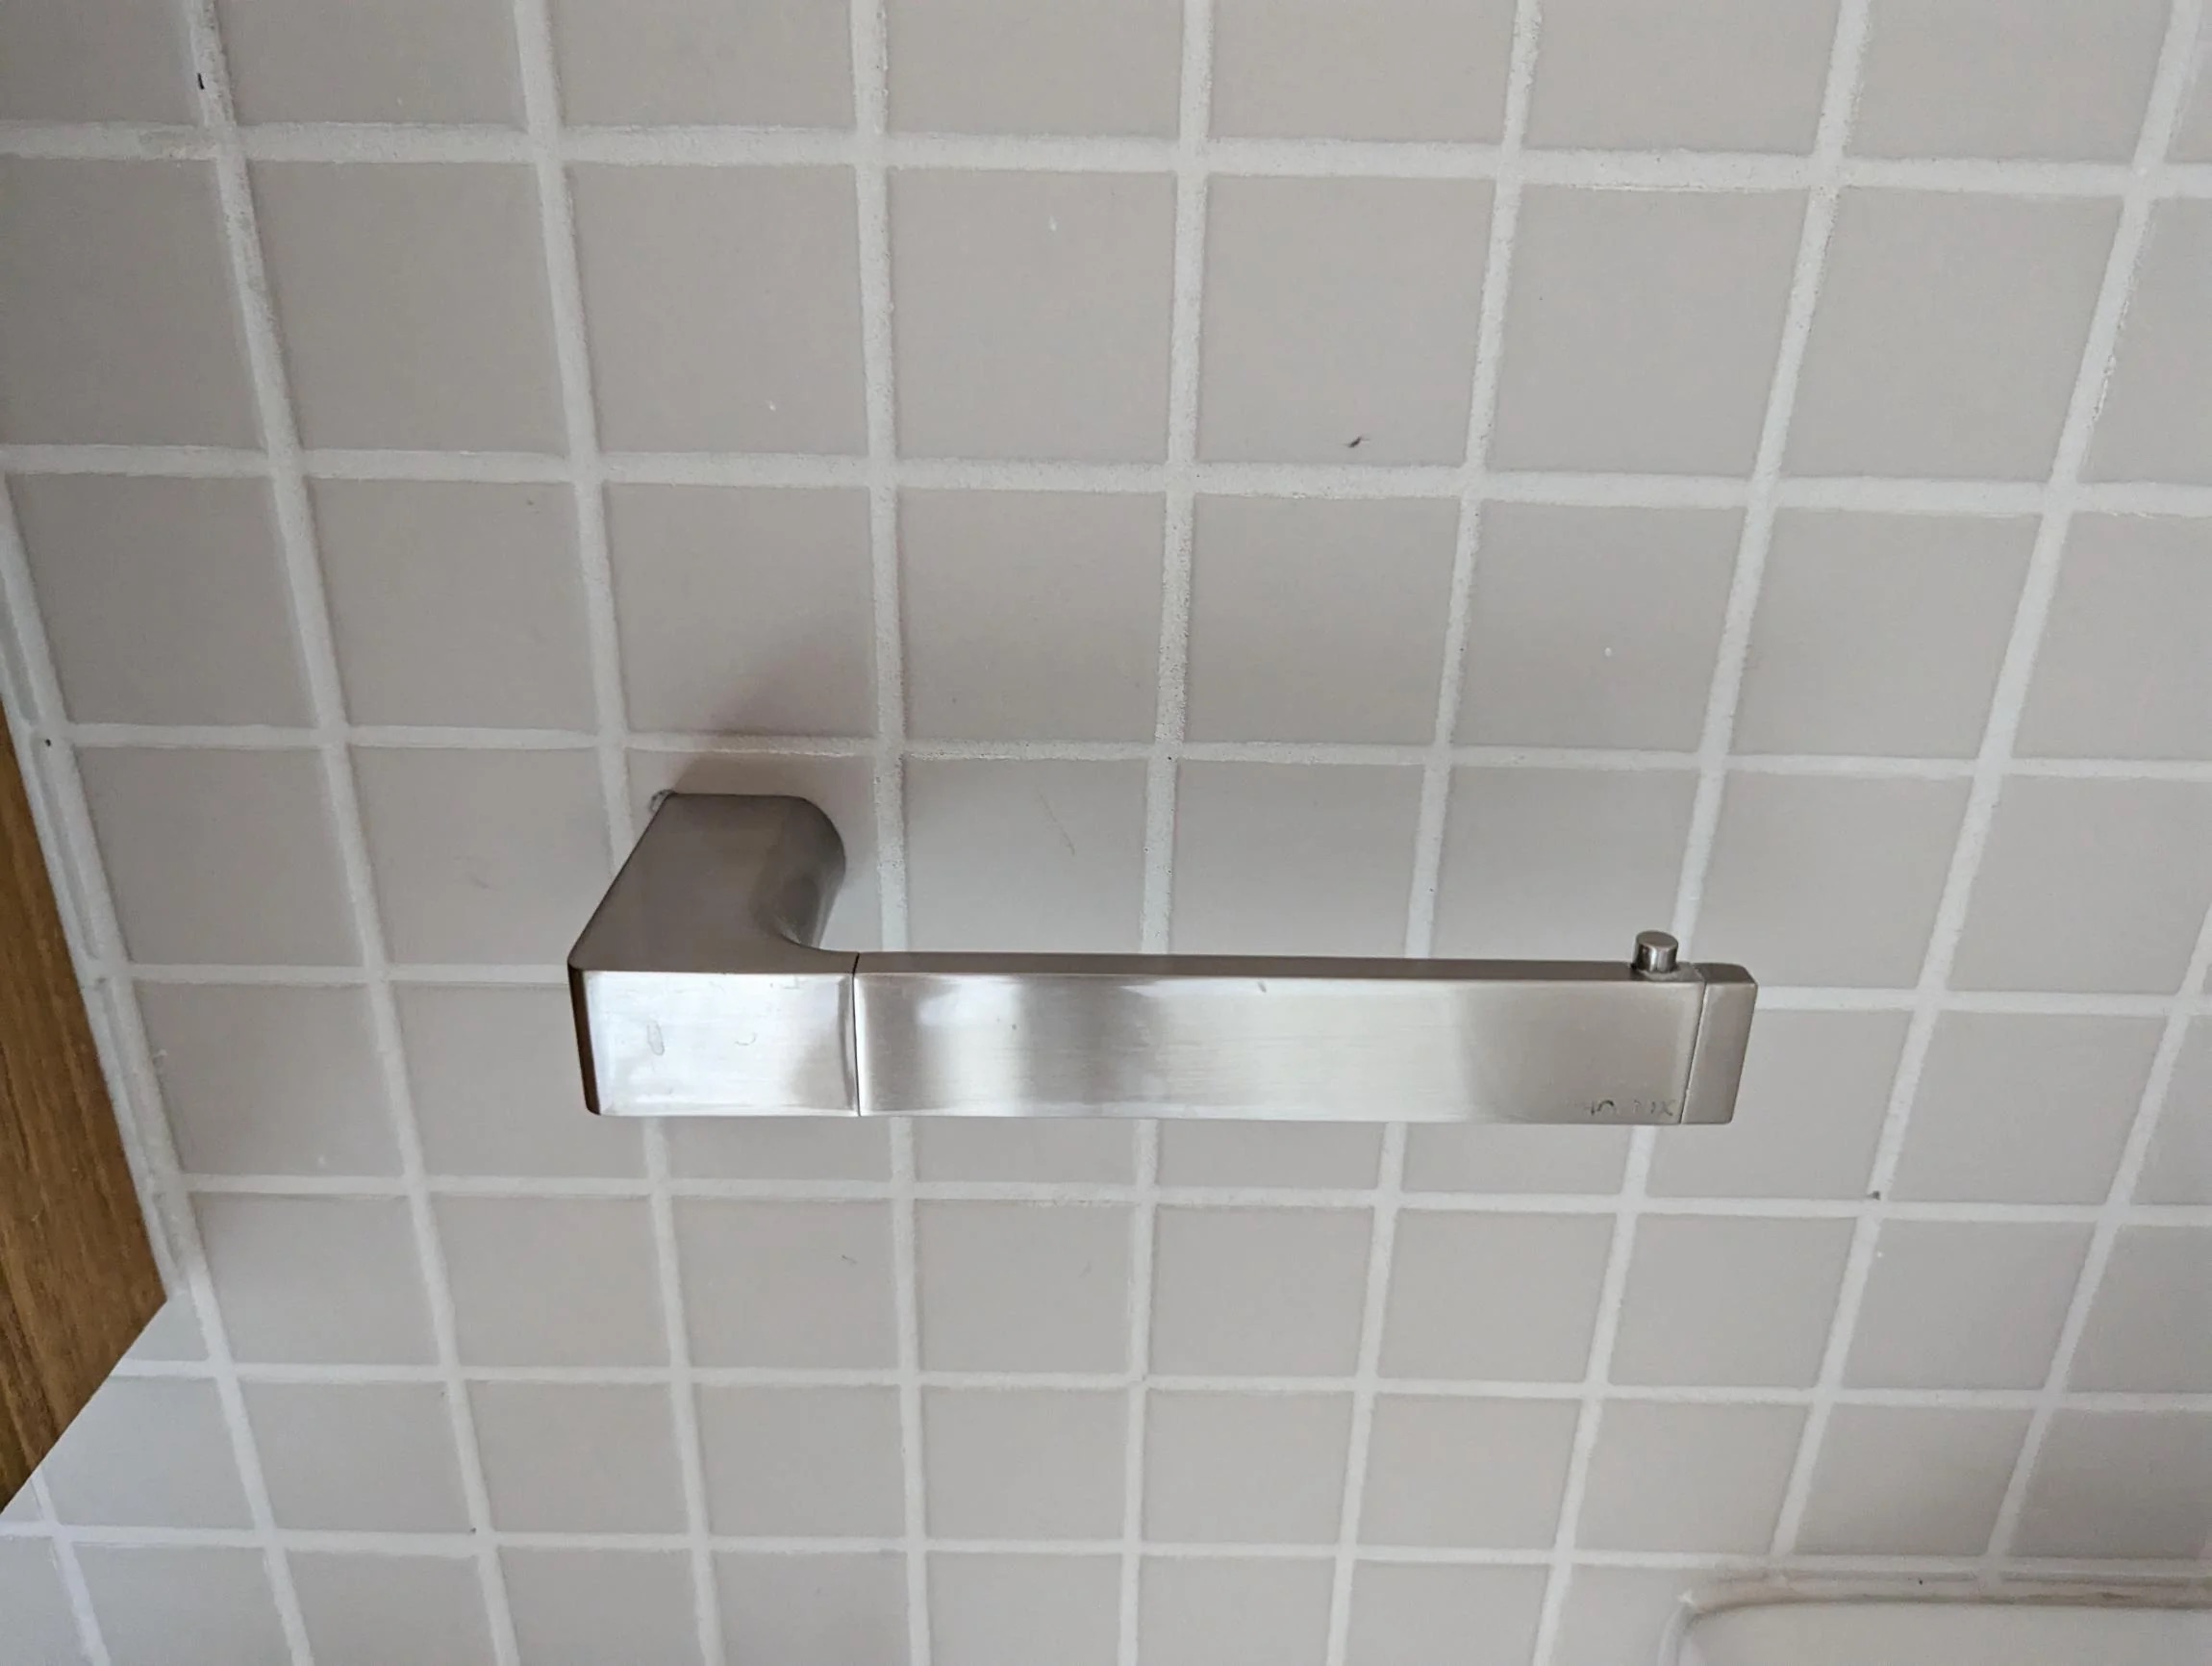
- If there are no visible screws, look for access points such as small tabs or covers that may conceal the screws.
It’s important to thoroughly inspect the holder from different angles and orientations to ensure you don’t miss any screws or access points. Take your time and be thorough in your examination.
The importance of locating and removing these screws or access points before proceeding cannot be overstated. Failure to do so may result in damaging the holder or the wall when attempting to remove it. By removing these components first, you will ensure a smoother and more successful removal process.
Once you have identified the screws or access points, you can move on to the next step: unscrewing or releasing the holder from the wall.
Use a screwdriver to remove the screws holding the toilet paper holder in place. Once the screws are removed, gently pull the holder away from the wall. Patch any holes left behind with spackling compound before painting.
Step 5: Unscrew or release the holder from the wall
With the screws or access points identified, you are now ready to remove the toilet paper holder from the wall. The method of removal will vary depending on the type of holder you have. Here are instructions for removing the holder, depending on its type:
- If the holder has visible screws:
- Using the appropriate screwdriver (either flathead or Phillips), carefully unscrew the screws from the holder.
- As you loosen the screws, support the weight of the holder with your hand to prevent it from falling off the wall.
- Once the screws are removed, gently pull the holder away from the wall.
- If the holder has hidden screws:
- Look for small tabs or covers near the screws.
- Using a flathead screwdriver or your fingers, carefully pry open these tabs or covers to reveal the screws.
- With the screws exposed, use the appropriate screwdriver to unscrew them.
- Support the holder as you loosen the screws and gently pull it away from the wall.
- If the holder does not have visible screws:
- Inspect the holder for any other attachment mechanisms, such as clips or adhesive.
- If there are clips, use a flathead screwdriver or your fingers to release them, allowing the holder to detach from the wall.
- If the holder is adhered to the wall with adhesive, use a putty knife or a gentle twisting motion to loosen it and carefully pull it away.
It’s important to be cautious and gentle when removing the holder from the wall to avoid any damage. If the holder seems to be stuck, do not force it. Take a step back, reassess the situation, and try a different approach or seek additional guidance if needed.
Now that you have successfully removed the holder from the wall, you may notice some damage or marks left behind. Don’t worry, as we will address this in the next step: patching or repairing any wall damage.
Step 6: Patch or repair any wall damage
After removing the toilet paper holder, you may notice some holes or marks left behind on the wall. It’s important to address these damages to restore the wall’s appearance and prepare it for any future installations or touch-ups. Here are some tips for patching or repairing any wall damage:
- If there are small screw holes:
- Use a putty knife to fill the holes with a patching compound or spackling paste.
- Smooth out the patching material with the putty knife, making it flush with the surrounding wall surface.
- Allow the patching compound to dry according to the manufacturer’s instructions.
- Once it’s dry, use a sanding block or sandpaper to lightly sand the patched area, creating a smooth finish.
- If there are larger holes or damage:
- For larger holes or damage, you may need to use a drywall repair kit, which typically includes a patch and joint compound.
- Follow the instructions provided with the repair kit to cut the patch to the appropriate size and fit it into the hole.
- Apply a layer of joint compound around the patch, extending it slightly beyond the edges to blend it with the surrounding wall.
- Once the joint compound is dry, use a sanding block or sandpaper to smooth the patched area until it is seamless with the rest of the wall.
If necessary, you may also consider repainting the wall to ensure a consistent and seamless look. Here are some suggestions for patching or repainting the wall as needed:
- If you have excess paint from the previous wall paint job, use it to touch up the patched areas. Apply the paint with a small brush or a sponge to blend it with the surrounding wall.
- If you don’t have the exact paint color, take a sample of the wall color to a local paint store and ask them to help you match it as closely as possible. Apply the matched paint to the patched areas.
- If you decide to repaint the entire wall for a refreshed look, make sure to prepare the surface by cleaning it and applying a primer before applying the new paint.
- Consider using a roller or brush to ensure an even and smooth application of the paint.
By patching or repairing any wall damage and addressing any marks left behind, you will not only restore the appearance of the wall but also ensure a clean canvas for future installations or touch-ups.
Now that you have completed patching or repairing the wall, you may choose to install a new toilet paper holder or conclude the process. If you decide to install a new holder, we will provide a brief overview of the installation process in the next step.
Step 7: Install a new toilet paper holder (optional)
If you have removed the old toilet paper holder with the intention of installing a new one, this step will provide a brief overview of the installation process. But before you dive into the installation, there are a few considerations to keep in mind when selecting a new holder that fits your needs and matches your bathroom aesthetics.
Here’s a brief overview of the process for installing a new toilet paper holder:
- Choose the right toilet paper holder: Consider the style, material, and functionality of the holder. Select a holder that matches the existing fixtures in your bathroom and complements its overall design.
- Measure and mark the placement: Use a tape measure to determine the ideal height and position for the new holder. Mark the spot on the wall where the mounting brackets or screws will be installed.
- Prepare the installation area: If necessary, patch or repair any wall damage from the previous holder’s removal. Ensure the wall surface is clean and smooth before proceeding.
- Install the mounting brackets or screws: Depending on the type of holder, follow the manufacturer’s instructions to install the mounting brackets or screws. Use a level to ensure they are straight and properly aligned.
- Attach the holder to the mounting brackets or screws: Place the holder onto the mounting brackets or screw holes and secure it in place. Ensure it is firmly attached and has proper support.
- Test the holder: Give the holder a gentle tug to ensure it is securely in place and can hold the weight of a toilet paper roll. Make any necessary adjustments to ensure it is level and stable.
When selecting a new toilet paper holder, consider the following:
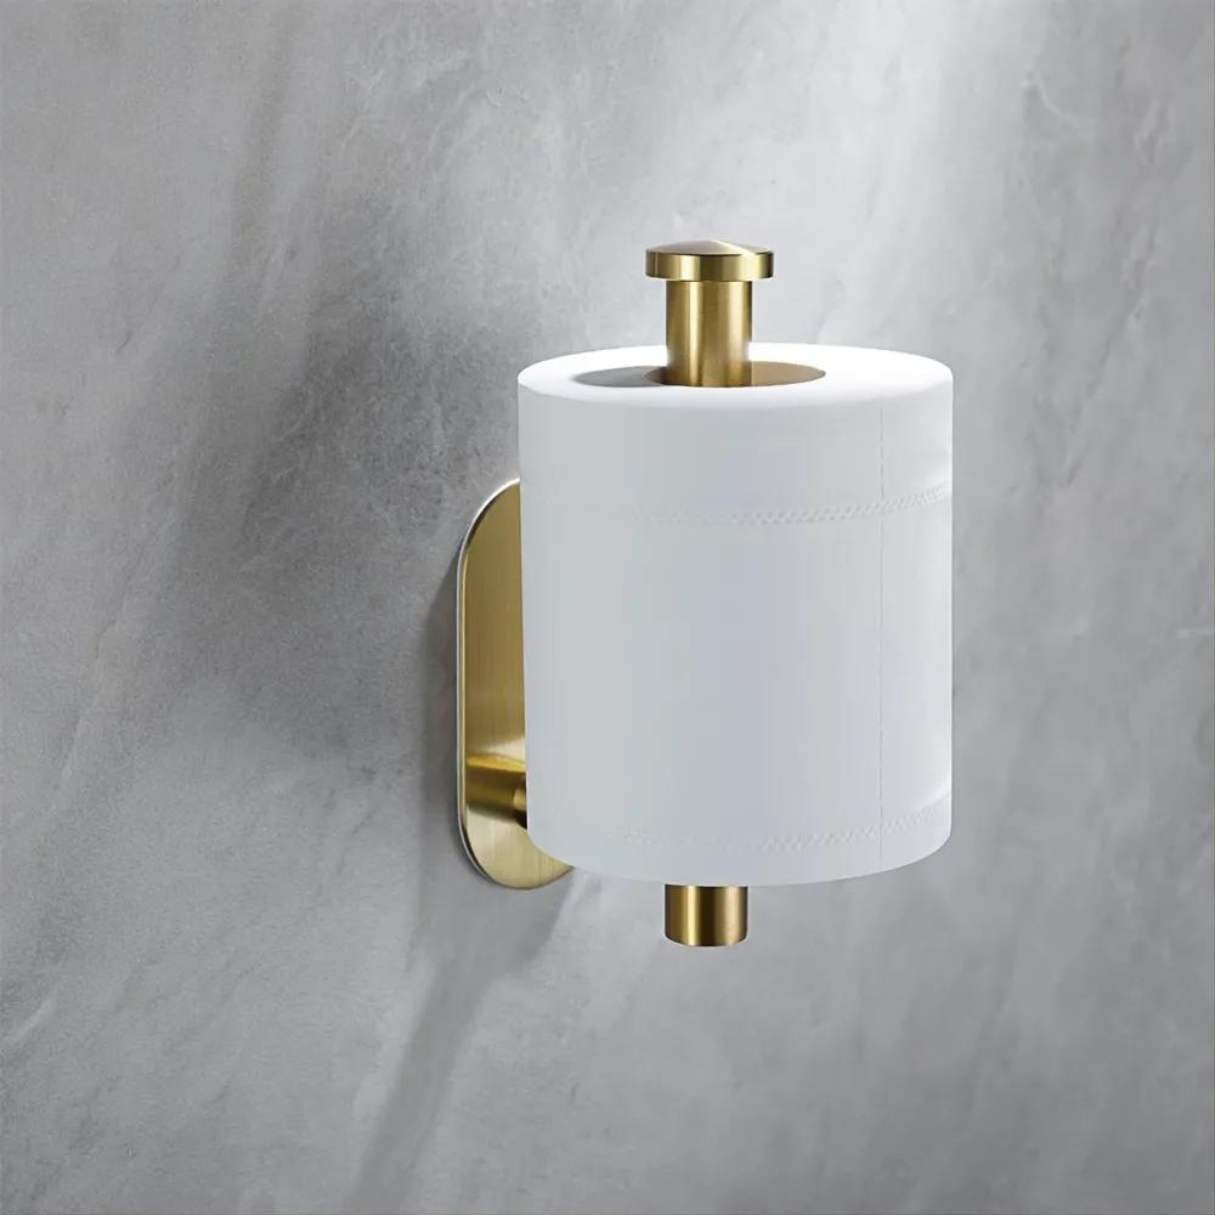
- Style: Choose a holder that matches the overall style of your bathroom. Options include modern, traditional, minimalist, and decorative styles.
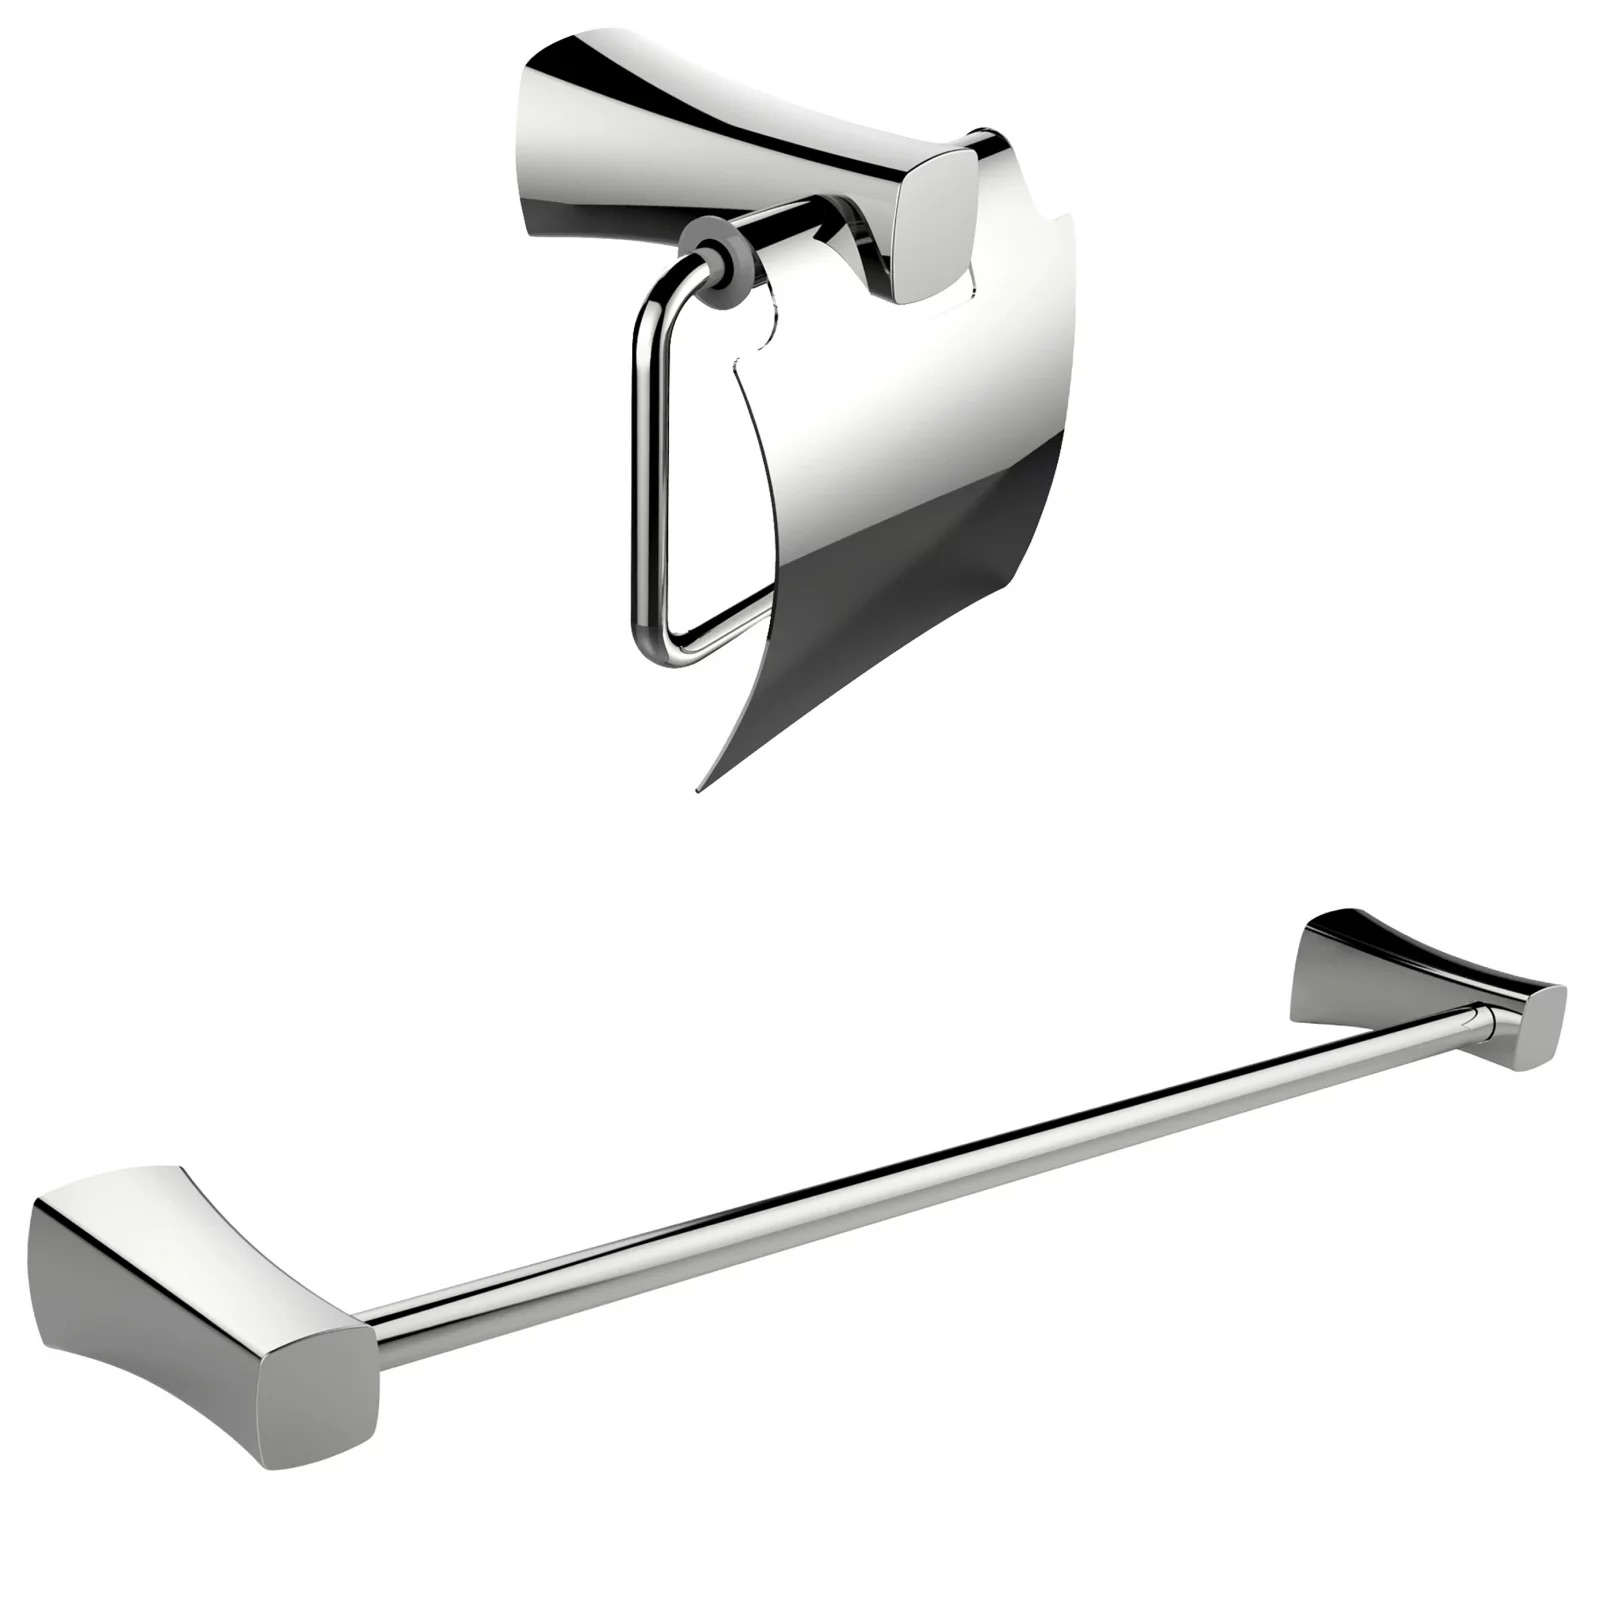
- Material: Consider the durability and maintenance requirements of different materials such as chrome, stainless steel, brass, or plastic. Choose a material that fits your preferences and budget.
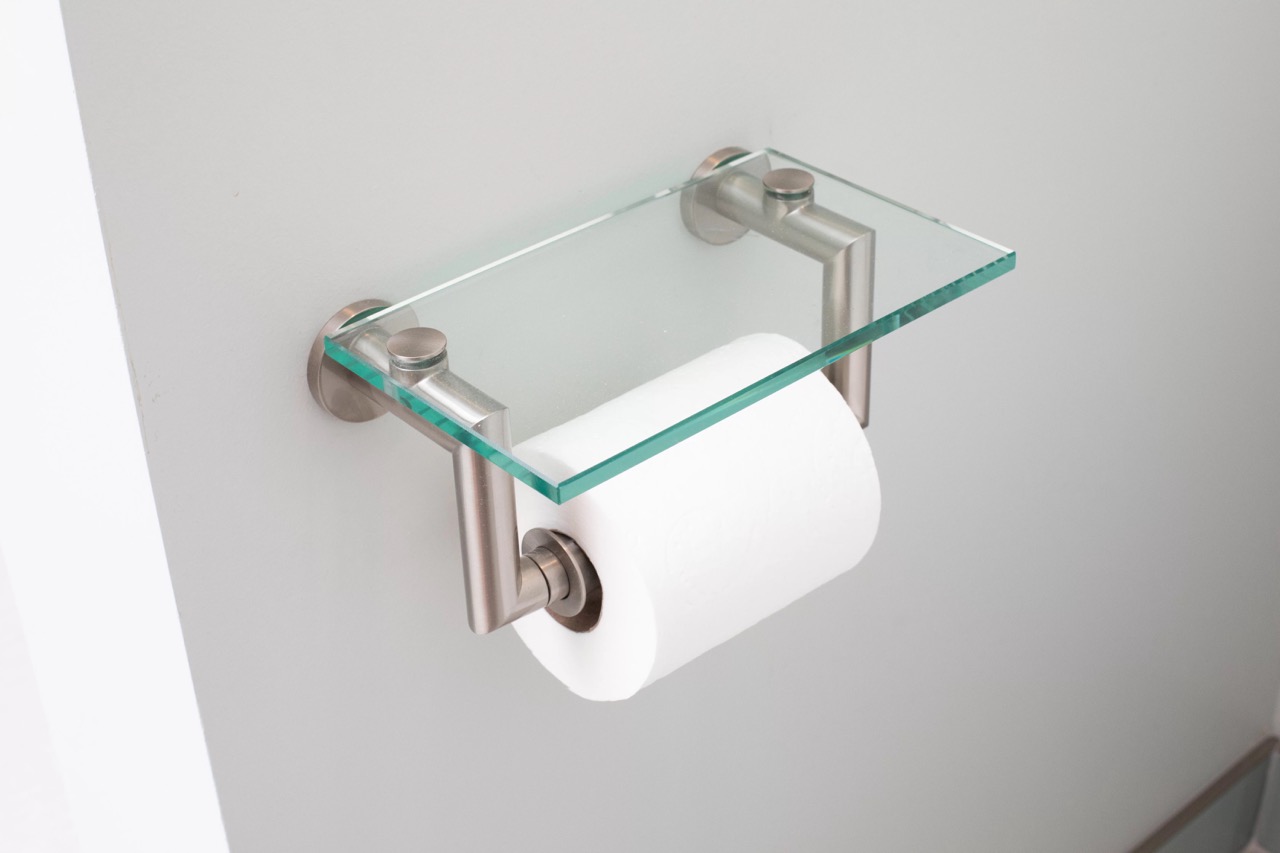
- Functionality: Consider additional features, such as a built-in shelf or a dual-roll design, to enhance the functionality of the holder and meet your specific needs.
- Bathroom aesthetic: Take into account the color scheme, finishes, and overall aesthetic of your bathroom. Select a holder that complements the existing fixtures and decor.
By carefully considering these factors and following the installation process, you can install a new toilet paper holder that not only serves its purpose but also enhances the overall look and functionality of your bathroom.
With the installation completed, you’ve successfully finished the process of removing and potentially replacing a toilet paper holder. Whether you choose to proceed with installing a new holder or conclude the process, you can now enjoy a clean and organized bathroom.
Conclusion
Knowing how to properly remove a toilet paper holder is an essential skill when it comes to bathroom renovations or simply changing the look of your bathroom. Following proper removal techniques not only helps avoid damage to the holder or the surrounding area but also ensures a smooth and hassle-free process.
In this article, we have provided a comprehensive guide on removing a toilet paper holder, covering each step in detail. Here’s a recap of the key steps involved:
- Gather necessary tools and materials.
- Assess the type of toilet paper holder.
- Remove the toilet paper roll from the holder.
- Check for visible screws or access points on the holder.
- Unscrew or release the holder from the wall, depending on the type.
- Patch or repair any wall damage caused by the removal process.
- Install a new toilet paper holder (optional).
We have emphasized the importance of gathering the right tools, identifying the type of holder, and removing the roll before proceeding with the removal process. We have also provided instructions on handling various types of holders, locating and removing screws or access points, and addressing any wall damage.
Finally, we briefly discussed the optional step of installing a new toilet paper holder. We highlighted the importance of choosing a holder that matches your needs and bathroom aesthetics.
By following these steps and guidelines, you can successfully remove a toilet paper holder without any damage or accidents. Remember to take your time, be cautious, and seek additional guidance if needed.
Now you’re equipped with the knowledge and skills to remove a toilet paper holder confidently. Whether you’re planning a bathroom renovation or simply want to refresh the look of your bathroom, you can tackle this task with ease and achieve the desired result.
Frequently Asked Questions about How Do I Remove My Toilet Paper Holder
Was this page helpful?
At Storables.com, we guarantee accurate and reliable information. Our content, validated by Expert Board Contributors, is crafted following stringent Editorial Policies. We're committed to providing you with well-researched, expert-backed insights for all your informational needs.


0 thoughts on “How Do I Remove My Toilet Paper Holder”