Home>Furniture & Design>Bathroom Accessories>How Do You Remove A Toilet Seat
Bathroom Accessories
How Do You Remove A Toilet Seat
Modified: February 17, 2024
Learn how to remove a toilet seat easily with our step-by-step guide. Upgrade your bathroom accessories hassle-free. Expert tips and tricks.
(Many of the links in this article redirect to a specific reviewed product. Your purchase of these products through affiliate links helps to generate commission for Storables.com, at no extra cost. Learn more)
Introduction
Removing a toilet seat may seem like a daunting task, but with the right tools and a step-by-step approach, it can be a straightforward process. Whether you're looking to replace a worn-out seat or simply need to access hard-to-reach areas for cleaning, understanding how to remove a toilet seat is a valuable skill for any homeowner or DIY enthusiast.
In this comprehensive guide, we will walk you through the process of removing a toilet seat with ease. From gathering the necessary tools to installing a new seat, each step is designed to simplify the task and ensure a successful outcome. By following these instructions, you can tackle this project with confidence and achieve a professional-looking result.
So, let's roll up our sleeves and dive into the world of toilet seat removal. With a bit of patience and the right approach, you'll soon master this essential home maintenance skill.
Key Takeaways:
- Removing a toilet seat is easy with the right tools and steps. Gather tools like an adjustable wrench and screwdriver, then carefully remove the plastic caps and loosen the nuts to take off the old seat. Clean the area and install the new seat for a fresh bathroom look!
- To remove a toilet seat, gather tools like an adjustable wrench and screwdriver. Carefully remove the plastic caps, then loosen and remove the nuts to take off the old seat. Clean the area and install the new seat for a fresh bathroom look!
Read more: How Do You Tighten A Toilet Seat
Step 1: Gather the necessary tools
Before embarking on the task of removing a toilet seat, it's essential to gather the necessary tools to ensure a smooth and efficient process. Here's a list of items you'll need:
-
Adjustable Wrench: This versatile tool will come in handy for loosening and removing the nuts securing the toilet seat in place. Ensure that the wrench is adjustable to fit the size of the nuts.
-
Screwdriver: Depending on the type of fasteners used, you may require a flathead or Phillips-head screwdriver. This tool will aid in removing any screws or bolts holding the seat in position.
-
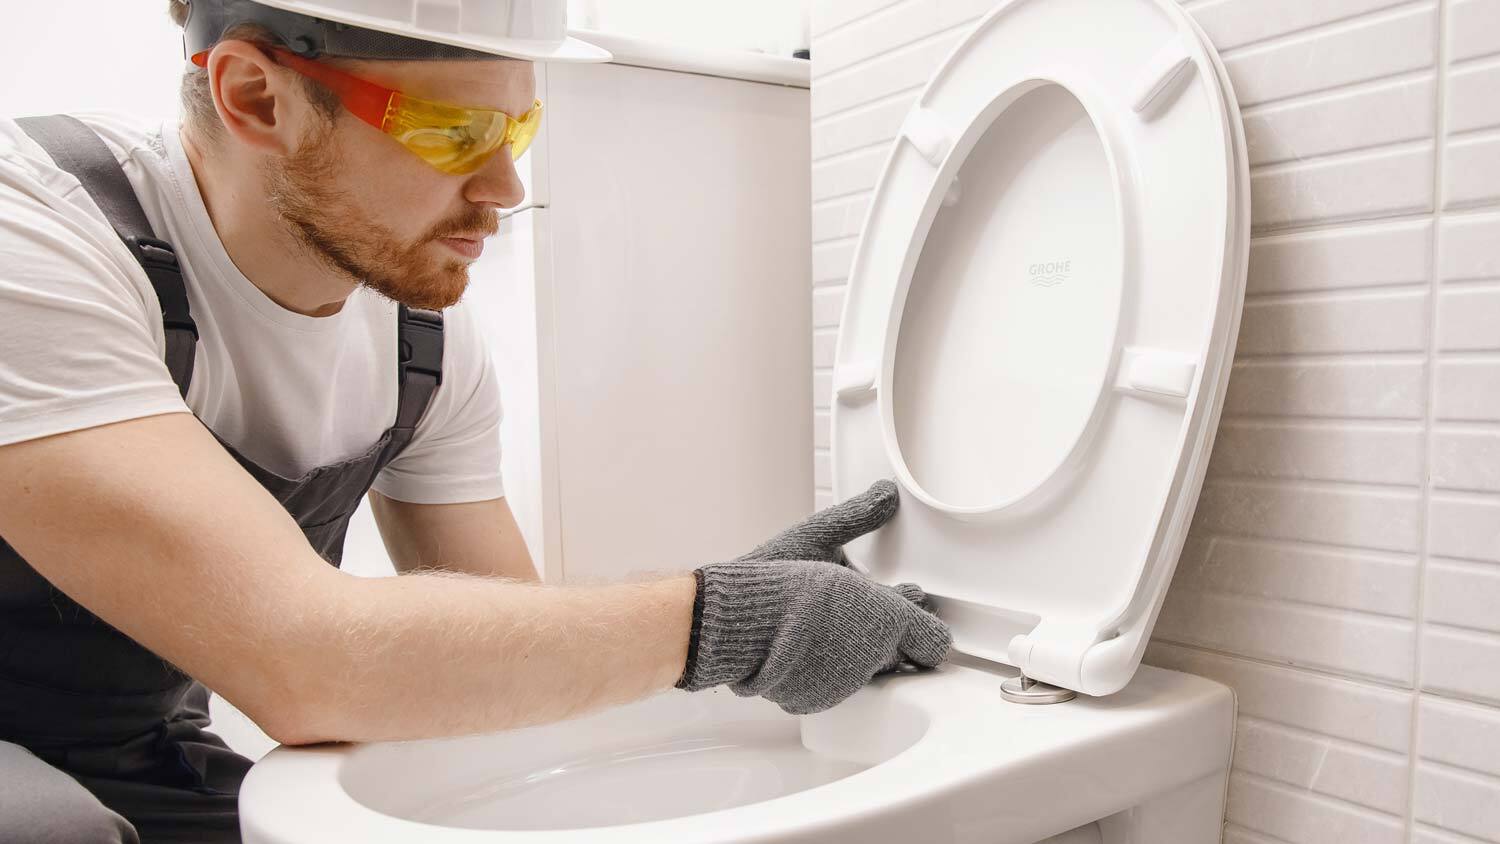
Safety Gloves: It's advisable to wear safety gloves to protect your hands from any dirt or grime that may have accumulated around the toilet seat's fasteners.
-
Cleaning Supplies: While not directly related to the removal process, having cleaning supplies on hand can be beneficial. You may want to spruce up the area around the toilet seat before installing the new one.
-
Flashlight: In some cases, the area beneath the toilet bowl may be dimly lit or obscured. A flashlight can help illuminate the space, making it easier to identify and access the fasteners.
-
Replacement Parts (Optional): If you're planning to install a new toilet seat after removal, ensure that you have the replacement seat and any accompanying hardware ready.
By gathering these essential tools and supplies, you'll be well-prepared to tackle the task of removing the toilet seat. With everything at your disposal, you can proceed confidently to the next steps, knowing that you have the necessary equipment to complete the job effectively.
Step 2: Remove the plastic caps
Once you have gathered the necessary tools, the next step in removing a toilet seat is to focus on the plastic caps covering the seat's mounting hardware. These caps are typically located at the back of the seat, concealing the nuts or screws that secure the seat in place. Here's how to proceed with this crucial step:
-
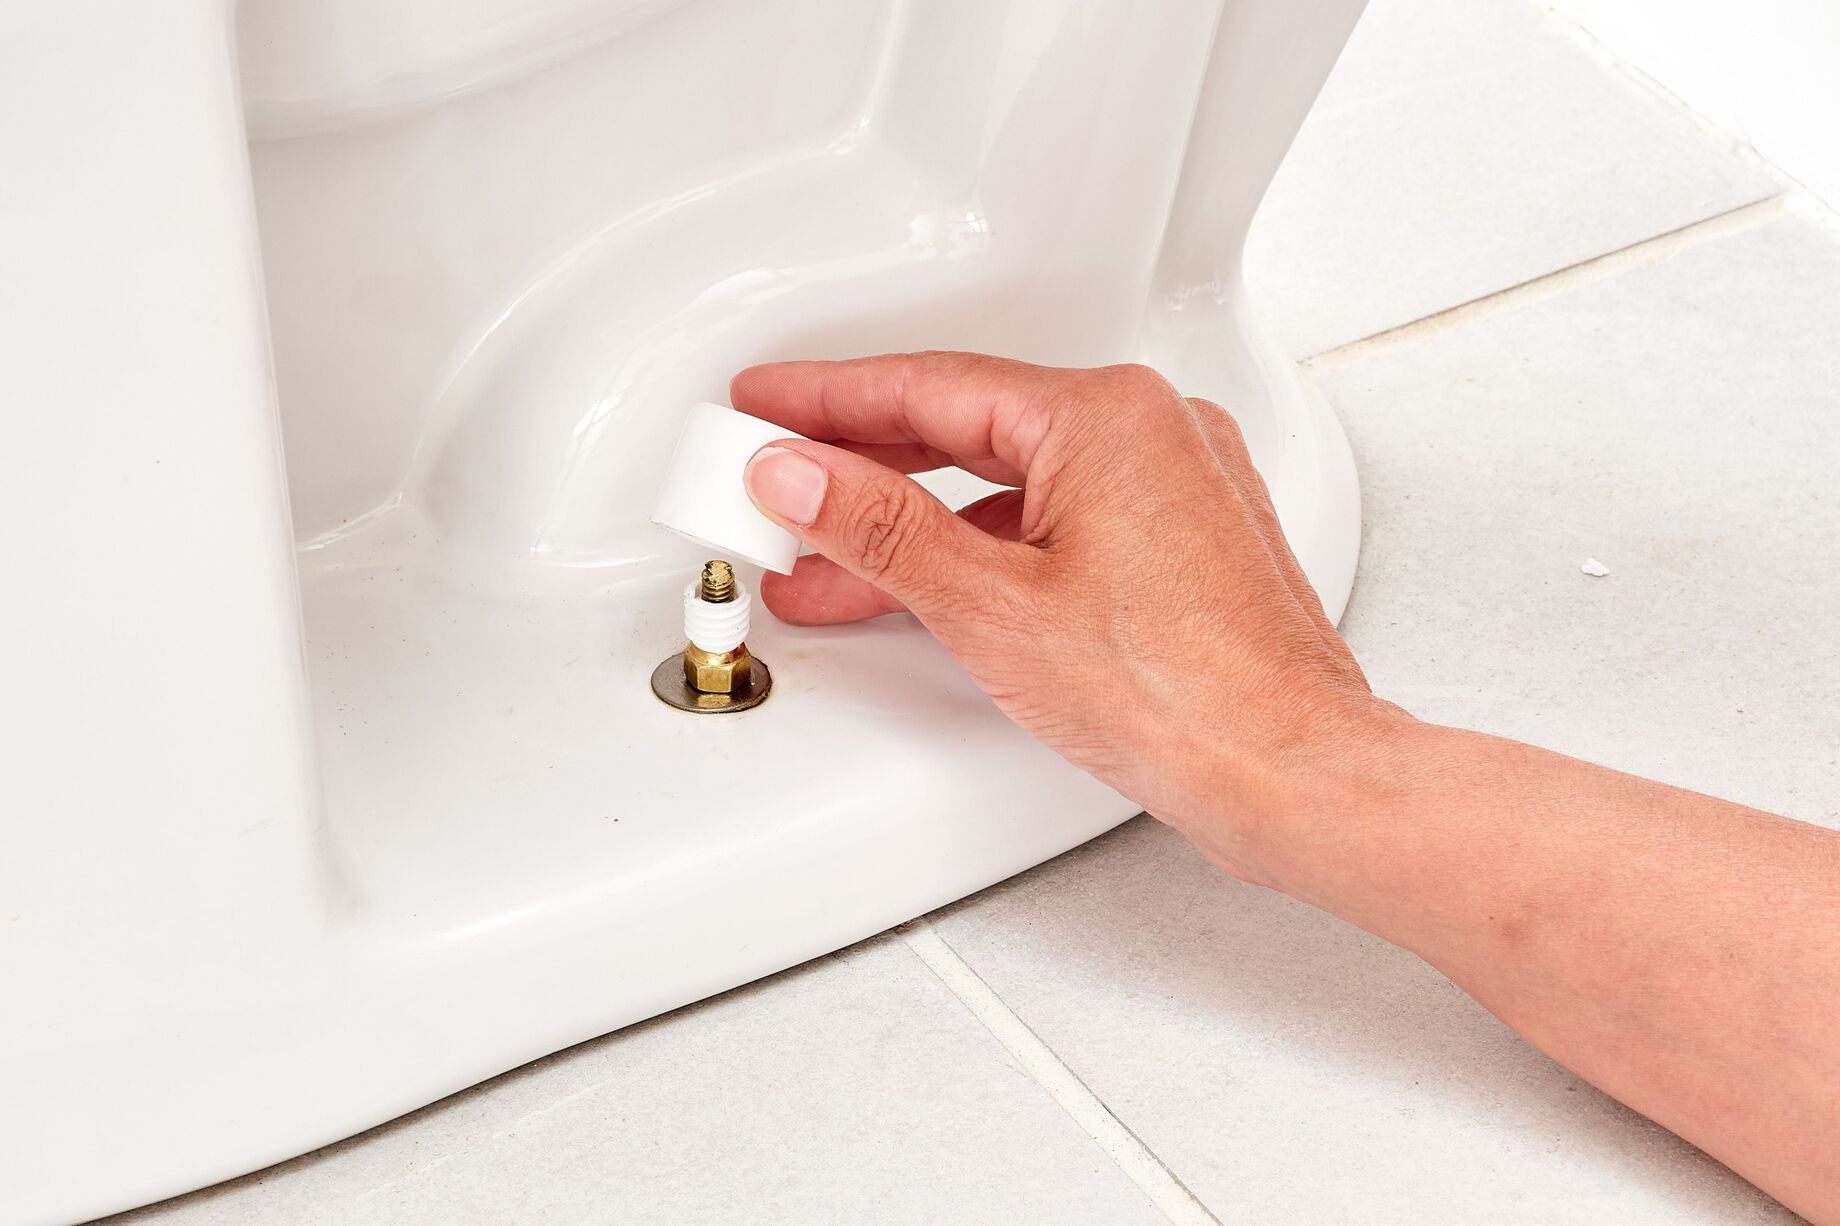
Locate the Plastic Caps: Position yourself at the rear of the toilet bowl and identify the plastic caps covering the seat's mounting hardware. These caps are often circular and may blend in with the overall design of the toilet seat.
-
Use a Flathead Screwdriver: With a flathead screwdriver in hand, carefully insert the tip beneath the edge of the plastic cap. Apply gentle pressure to pry the cap away from the seat. It's important to exercise caution to avoid damaging the cap or the surrounding area.
-
Repeat the Process: If the toilet seat is equipped with two plastic caps, repeat the same process for the second cap. Ensure that both caps are fully removed to expose the fasteners securing the seat.
-
Set Aside the Caps: Once the plastic caps have been successfully removed, set them aside in a safe place. Keeping track of these caps is essential, especially if you plan to reattach them to the toilet seat after cleaning or replacing it.
By carefully removing the plastic caps, you gain access to the nuts or screws that hold the toilet seat in place. This sets the stage for the subsequent steps in the removal process, allowing you to proceed with confidence and precision. With the plastic caps out of the way, you are now ready to delve into the next phase of removing the toilet seat.
This step is a pivotal part of the overall process, as it sets the stage for the subsequent steps in the removal process. By carefully removing the plastic caps, you gain access to the nuts or screws that hold the toilet seat in place. This allows you to proceed with confidence and precision, setting the stage for the next phase of removing the toilet seat.
Step 3: Loosen the nuts
With the plastic caps successfully removed, the next critical step in the process of removing a toilet seat is to focus on loosening the nuts or screws that secure the seat to the toilet bowl. This step requires careful attention to detail and the use of the appropriate tools to ensure a smooth and efficient removal process.
-
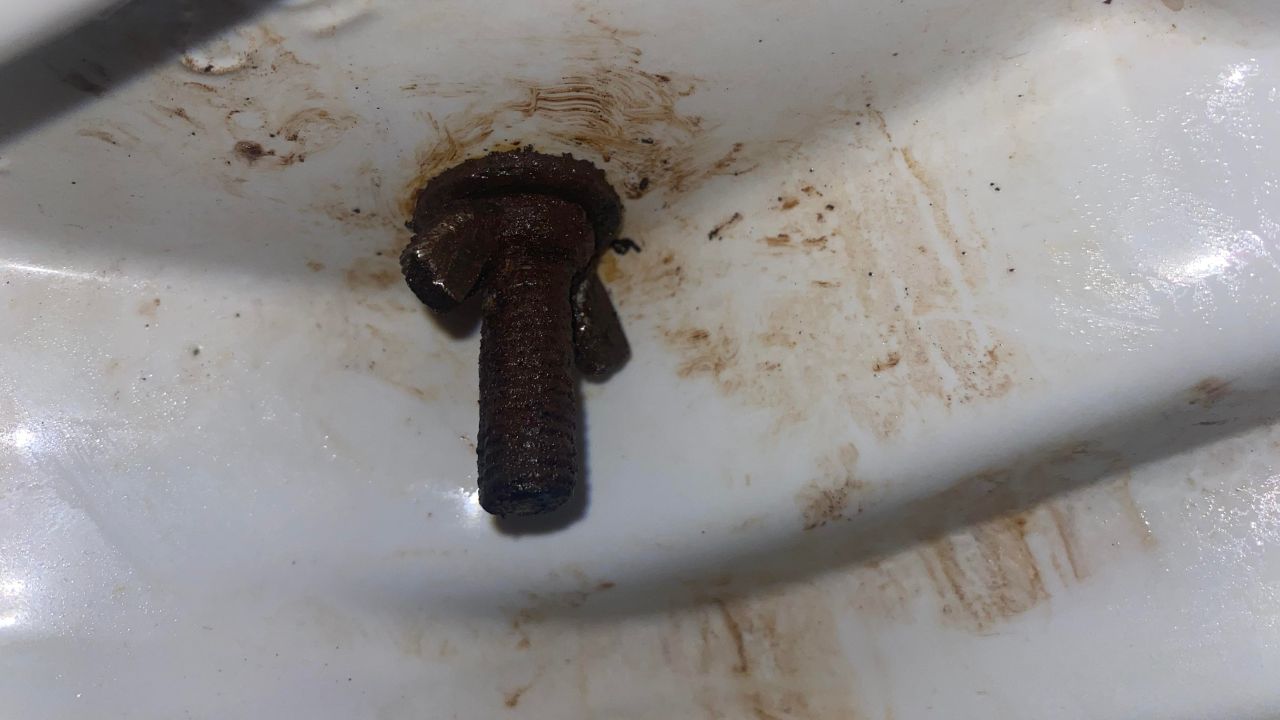
Identify the Fasteners: Before proceeding, take a moment to identify the type of fasteners used to secure the toilet seat. In most cases, you will encounter either plastic nuts or metal screws. Understanding the nature of the fasteners will inform your approach to loosening them.
-
Use an Adjustable Wrench or Screwdriver: Depending on the type of fasteners, you will need to use either an adjustable wrench or a screwdriver to loosen them. If the seat is secured with plastic nuts, an adjustable wrench is the tool of choice. On the other hand, if metal screws are in place, a screwdriver, either flathead or Phillips-head, will be required.
-
Apply Gentle Pressure: Position the wrench or screwdriver on the fastener and apply gentle pressure in a counterclockwise direction to begin loosening the nut or screw. It's important to exercise caution and avoid using excessive force, as this may lead to damage or stripping of the fasteners.
-
Loosen Both Sides: If the toilet seat is secured with two sets of fasteners, ensure that you loosen both sides evenly to prevent any imbalance. Alternate between the left and right sides, gradually loosening the nuts or screws until they are fully detached from the toilet bowl.
-
Remove the Fasteners: Once the nuts or screws are sufficiently loosened, carefully remove them from the mounting holes. Set them aside in a secure location, as you may need them if you plan to reattach the same toilet seat or for reference when installing a new one.
By following these steps, you can effectively loosen the nuts or screws that secure the toilet seat, paving the way for its removal. This process requires patience and precision to avoid any damage to the toilet bowl or the seat itself. With the fasteners successfully loosened, you are now ready to proceed to the next crucial phase of removing the old toilet seat.
This step is pivotal in the overall process, as it sets the stage for the subsequent removal of the old toilet seat. By carefully loosening the nuts or screws, you ensure a seamless transition to the next step, where the old seat is finally detached from the toilet bowl.
To remove a toilet seat, start by locating the bolts at the back of the seat. Use a screwdriver to unscrew the bolts and lift the seat off the toilet. If the bolts are stuck, use a lubricant to help loosen them.
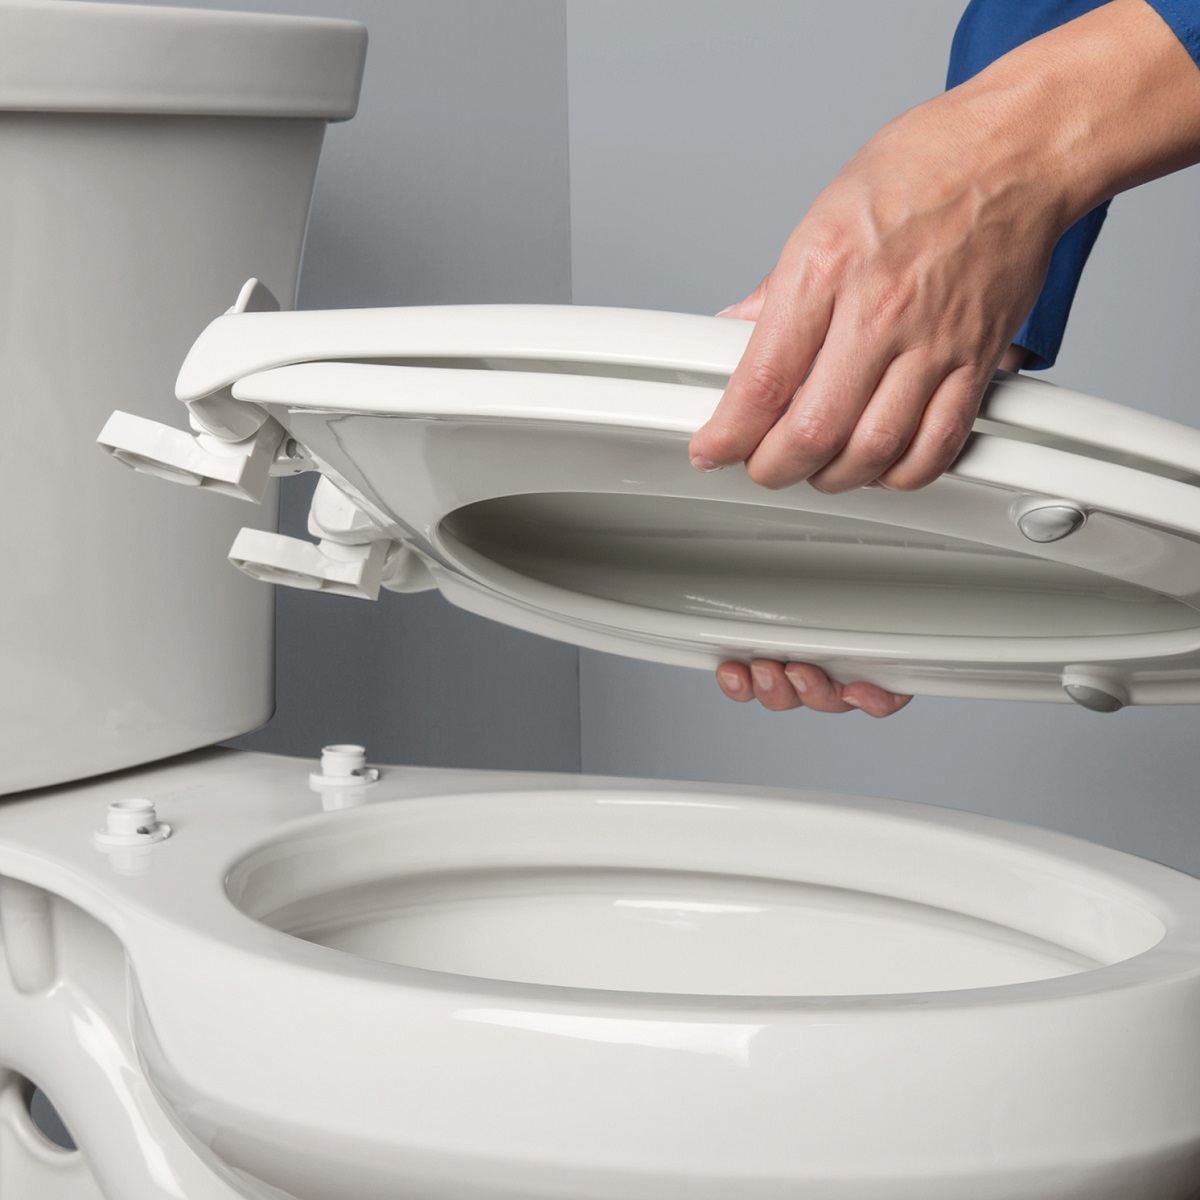
Step 4: Remove the old toilet seat
With the fasteners successfully loosened, the time has come to remove the old toilet seat from its position atop the toilet bowl. This step requires careful maneuvering and attention to detail to ensure a smooth and hassle-free removal process.
-
Lift the Seat: Gently lift the toilet seat and lid assembly to detach it from the toilet bowl. It's important to handle the seat with care to prevent any accidental damage or dislodging of the fasteners that may still be partially attached.
-
Inspect for Lingering Fasteners: After lifting the seat, take a moment to inspect the area beneath it for any lingering fasteners. In some cases, the nuts or screws may remain partially attached to the mounting holes. If this is the case, carefully detach them from the seat and set them aside for safekeeping.
-
Dispose of the Old Seat: Once the old toilet seat has been successfully removed, consider the appropriate method of disposal. Depending on the material of the seat, it may be recyclable or require specific disposal procedures. If the seat is still in good condition, it could potentially be repurposed or donated, reducing waste and benefiting others.
-
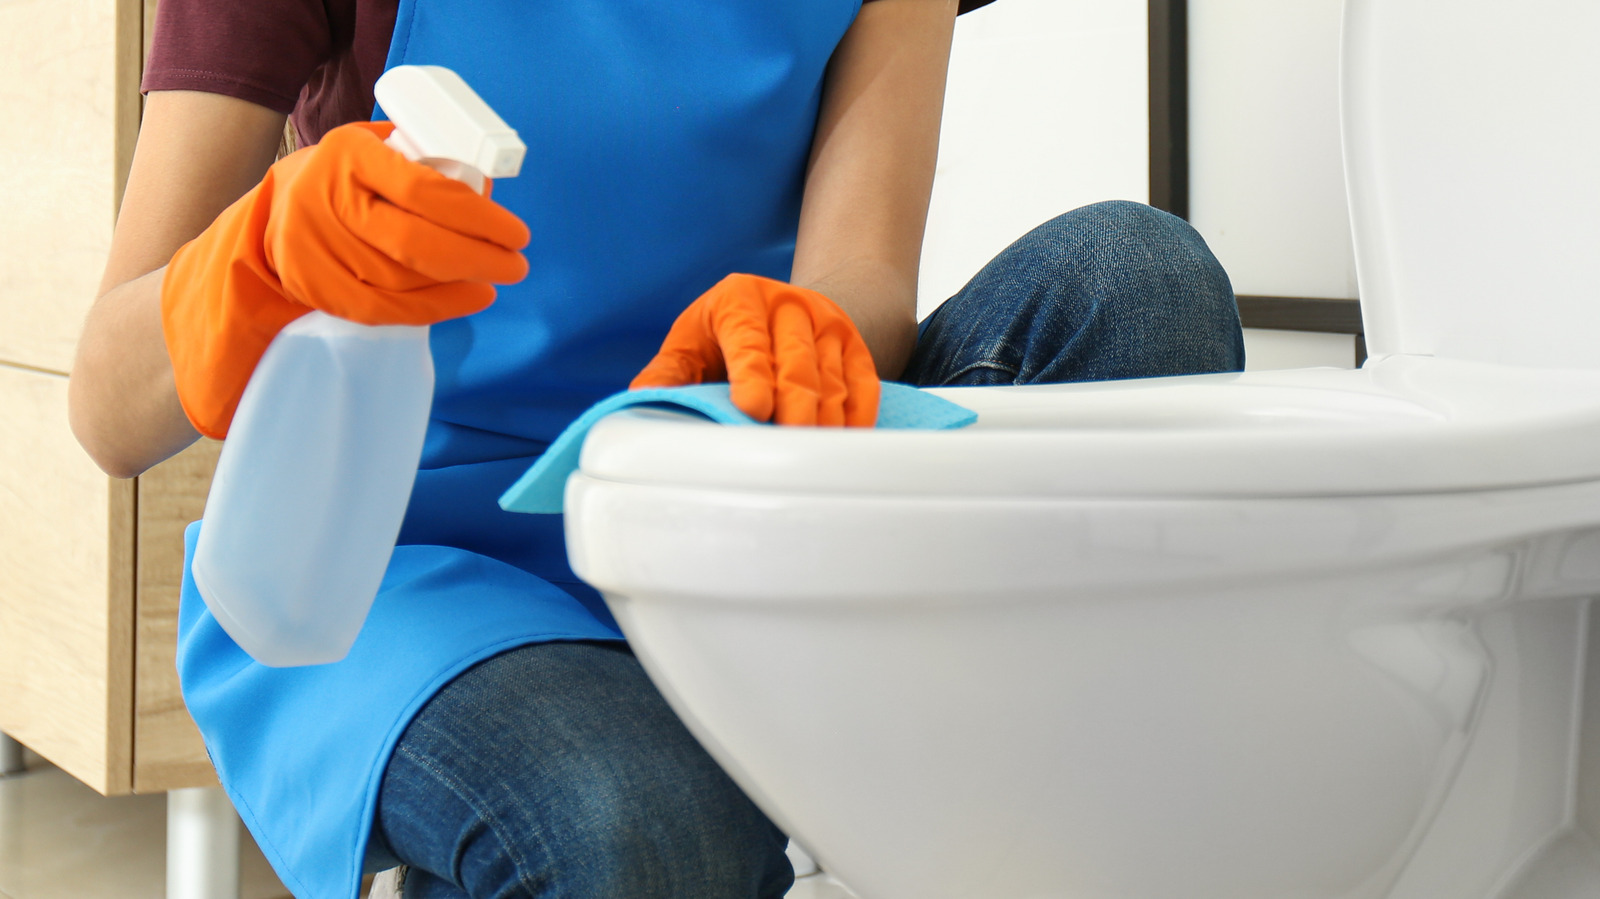
Clean the Area: With the old seat removed, take the opportunity to thoroughly clean the area around the toilet bowl. Use a mild cleaning solution and a cloth to wipe down the surface, ensuring that any accumulated grime or residue is effectively removed. This step prepares the toilet bowl for the installation of a new seat, creating a fresh and hygienic environment.
By carefully following these steps, you can successfully remove the old toilet seat, clearing the way for the next phase of the process. With the old seat out of the way and the area cleaned, you are now ready to proceed to the final step: installing the new toilet seat.
This pivotal step marks the transition from the removal of the old seat to the preparation for the installation of a new one. By handling the removal process with care and attention to detail, you set the stage for a seamless transition to the subsequent phase, ensuring a successful outcome.
Read more: How To Remove Bidet Toilet Seat
Step 5: Clean the area
After successfully removing the old toilet seat, it's essential to dedicate attention to cleaning the area around the toilet bowl. This step not only ensures a hygienic environment but also prepares the surface for the installation of a new toilet seat. Here's a detailed guide on how to effectively clean the area:
-
Gather Cleaning Supplies: Begin by gathering the necessary cleaning supplies, including a mild cleaning solution or disinfectant, a cloth or sponge, and disposable gloves if preferred. Having these items at hand will streamline the cleaning process and ensure thorough sanitation.
-
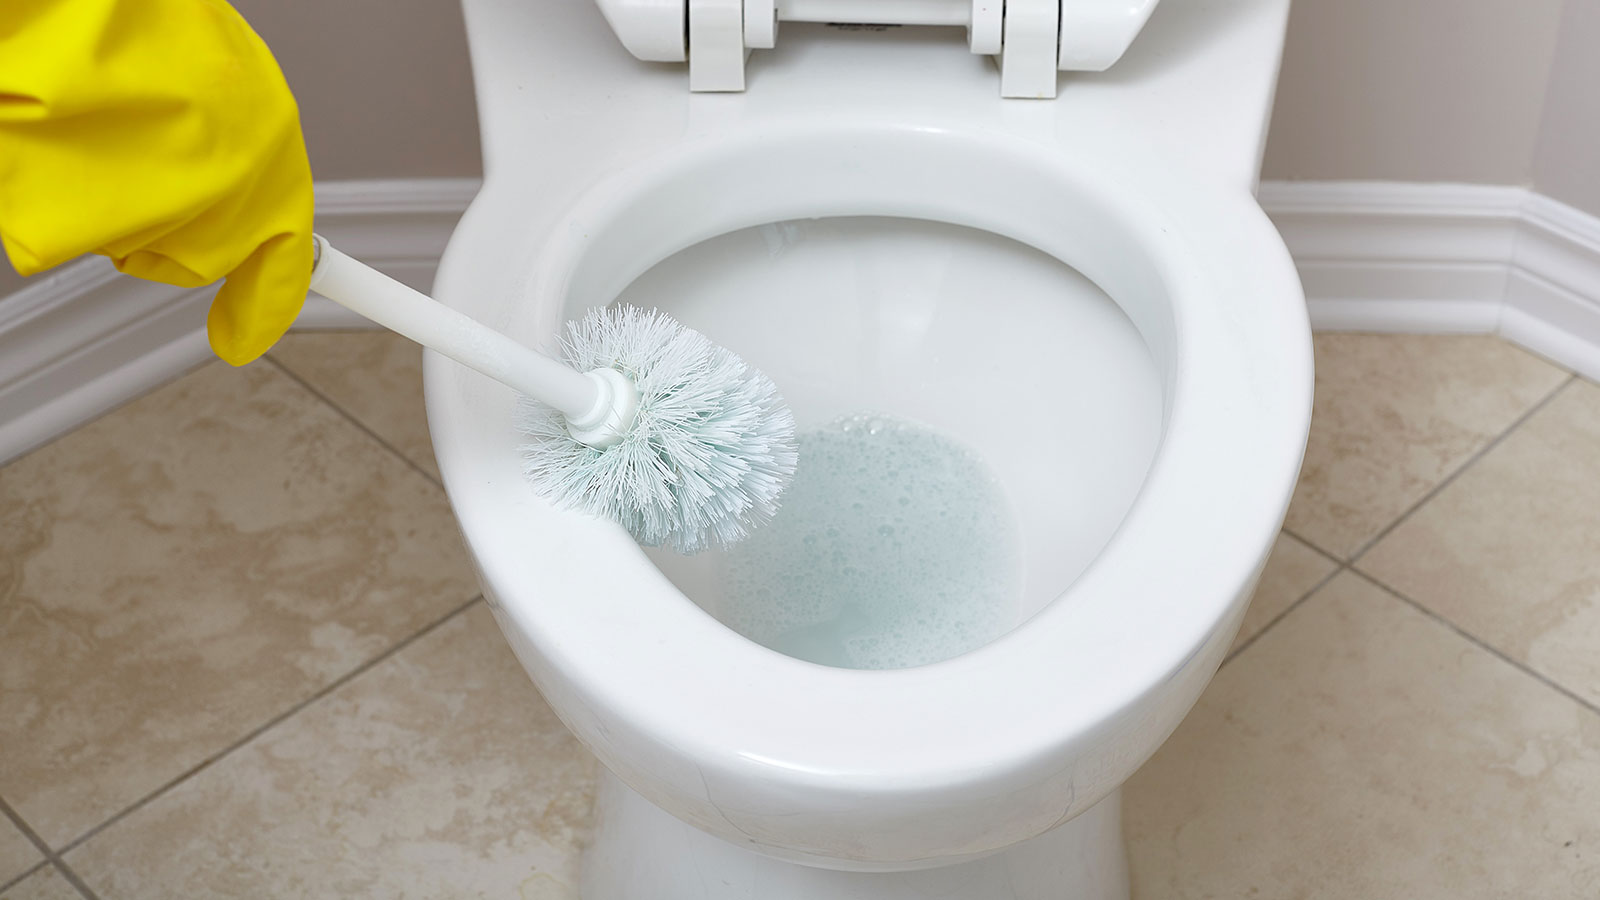
Apply Cleaning Solution: Dampen the cloth or sponge with the cleaning solution and proceed to wipe down the area around the toilet bowl. Pay close attention to any accumulated grime, residue, or stains, ensuring that the surface is thoroughly cleaned. If the area exhibits stubborn stains or mineral deposits, consider using a specialized toilet bowl cleaner for targeted treatment.
-
Focus on Nooks and Crannies: Take the time to clean hard-to-reach areas, such as the hinges and mounting points where the old toilet seat was attached. These areas may harbor hidden dirt and require meticulous cleaning to achieve a pristine finish. Utilize a toothbrush or small cleaning brush to access these intricate spaces effectively.
-
Sanitize the Surface: In addition to removing visible dirt and grime, it's crucial to sanitize the area to eliminate any lingering bacteria or germs. Ensure that the cleaning solution used possesses disinfectant properties, effectively neutralizing harmful microorganisms and promoting a hygienic environment.
-
Rinse and Dry: Once the cleaning process is complete, use a clean, damp cloth to rinse the area, removing any residual cleaning solution. Follow up by thoroughly drying the surface to prevent moisture buildup, which can lead to mold or mildew growth. A dry and sanitized area sets the stage for the seamless installation of a new toilet seat.
By diligently following these steps, you can ensure that the area around the toilet bowl is impeccably clean and ready for the installation of a new toilet seat. This attention to detail not only enhances the overall hygiene of the bathroom but also contributes to a professional and polished outcome. With the area thoroughly cleaned and sanitized, you are now prepared to proceed to the final step: installing the new toilet seat.
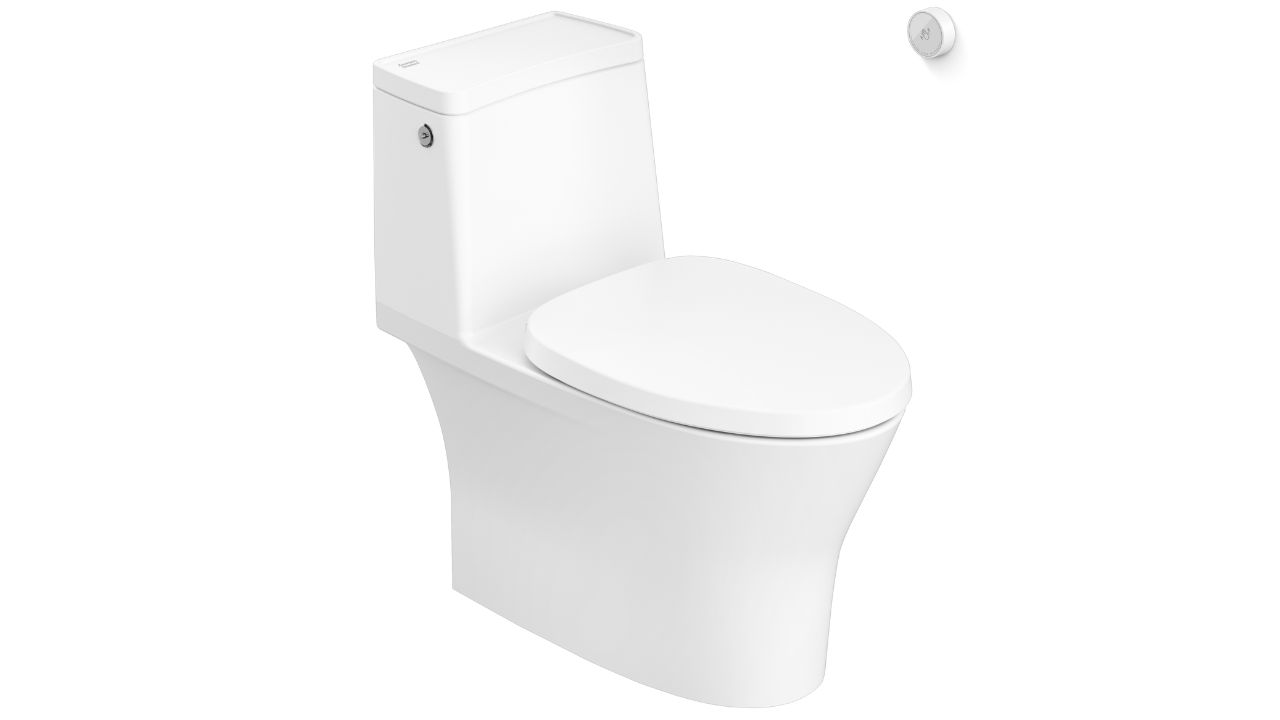
Step 6: Install the new toilet seat
With the old toilet seat successfully removed and the area around the toilet bowl meticulously cleaned, the stage is set for the final and pivotal step: installing the new toilet seat. This step marks the culmination of the removal process and presents an opportunity to enhance the functionality and aesthetics of the bathroom. Here's a comprehensive guide on how to effectively install the new toilet seat:
-
Select the Appropriate Seat: Before proceeding with the installation, ensure that the new toilet seat is compatible with the dimensions and design of your toilet bowl. Consider factors such as shape (round or elongated), material, and features such as soft-close hinges or quick-release functionality. Choosing a seat that aligns with your preferences and the existing toilet configuration is essential for a seamless installation.
-
Position the Seat: Carefully position the new toilet seat and lid assembly atop the toilet bowl, aligning it with the mounting points. Ensure that the seat is oriented correctly, with the lid facing the front of the toilet. Take a moment to verify that the seat is centered and positioned evenly on the bowl, providing a balanced and symmetrical appearance.
-
Attach the Fasteners: Depending on the type of fasteners provided with the new toilet seat, proceed to attach them to the mounting holes on the toilet bowl. If the seat utilizes plastic nuts, carefully hand-tighten them in a clockwise direction, ensuring a secure fit. For seats equipped with metal screws, use a screwdriver to gently tighten them, taking care not to overtighten, which could lead to damage.
-
Adjust for Comfort: Once the fasteners are in place, adjust the position of the seat to ensure optimal comfort and functionality. The seat should be aligned to provide a comfortable seating position and allow for smooth operation of the lid. Take the time to test the seat's movement and verify that it opens and closes without obstruction.
-
Secure the Fasteners: With the seat properly positioned and adjusted, use the appropriate tool, such as an adjustable wrench or screwdriver, to securely tighten the fasteners. Exercise caution to avoid over-tightening, as this may lead to damage or instability. Ensure that the seat is firmly anchored to the toilet bowl, providing stability and reliability during use.
-
Test for Stability: Once the fasteners are securely tightened, conduct a stability test by gently applying pressure to the seat and lid. Verify that the seat remains stable and does not shift or wobble under pressure. This test ensures that the seat is securely installed and ready for regular use.
By meticulously following these steps, you can effectively install the new toilet seat, elevating the functionality and visual appeal of your bathroom. This process not only enhances the overall comfort and hygiene of the toilet but also contributes to a polished and professional finish. With the new seat securely in place, you can take pride in a successful installation and enjoy the enhanced comfort and aesthetics it brings to your bathroom.
Frequently Asked Questions about How Do You Remove A Toilet Seat
Was this page helpful?
At Storables.com, we guarantee accurate and reliable information. Our content, validated by Expert Board Contributors, is crafted following stringent Editorial Policies. We're committed to providing you with well-researched, expert-backed insights for all your informational needs.
0 thoughts on “How Do You Remove A Toilet Seat”