Articles
How To Update Laminate Countertops
Modified: December 7, 2023
Learn how to update laminate countertops with our insightful articles. Discover tips, tricks, and step-by-step instructions for a stunning transformation.
(Many of the links in this article redirect to a specific reviewed product. Your purchase of these products through affiliate links helps to generate commission for Storables.com, at no extra cost. Learn more)
Introduction
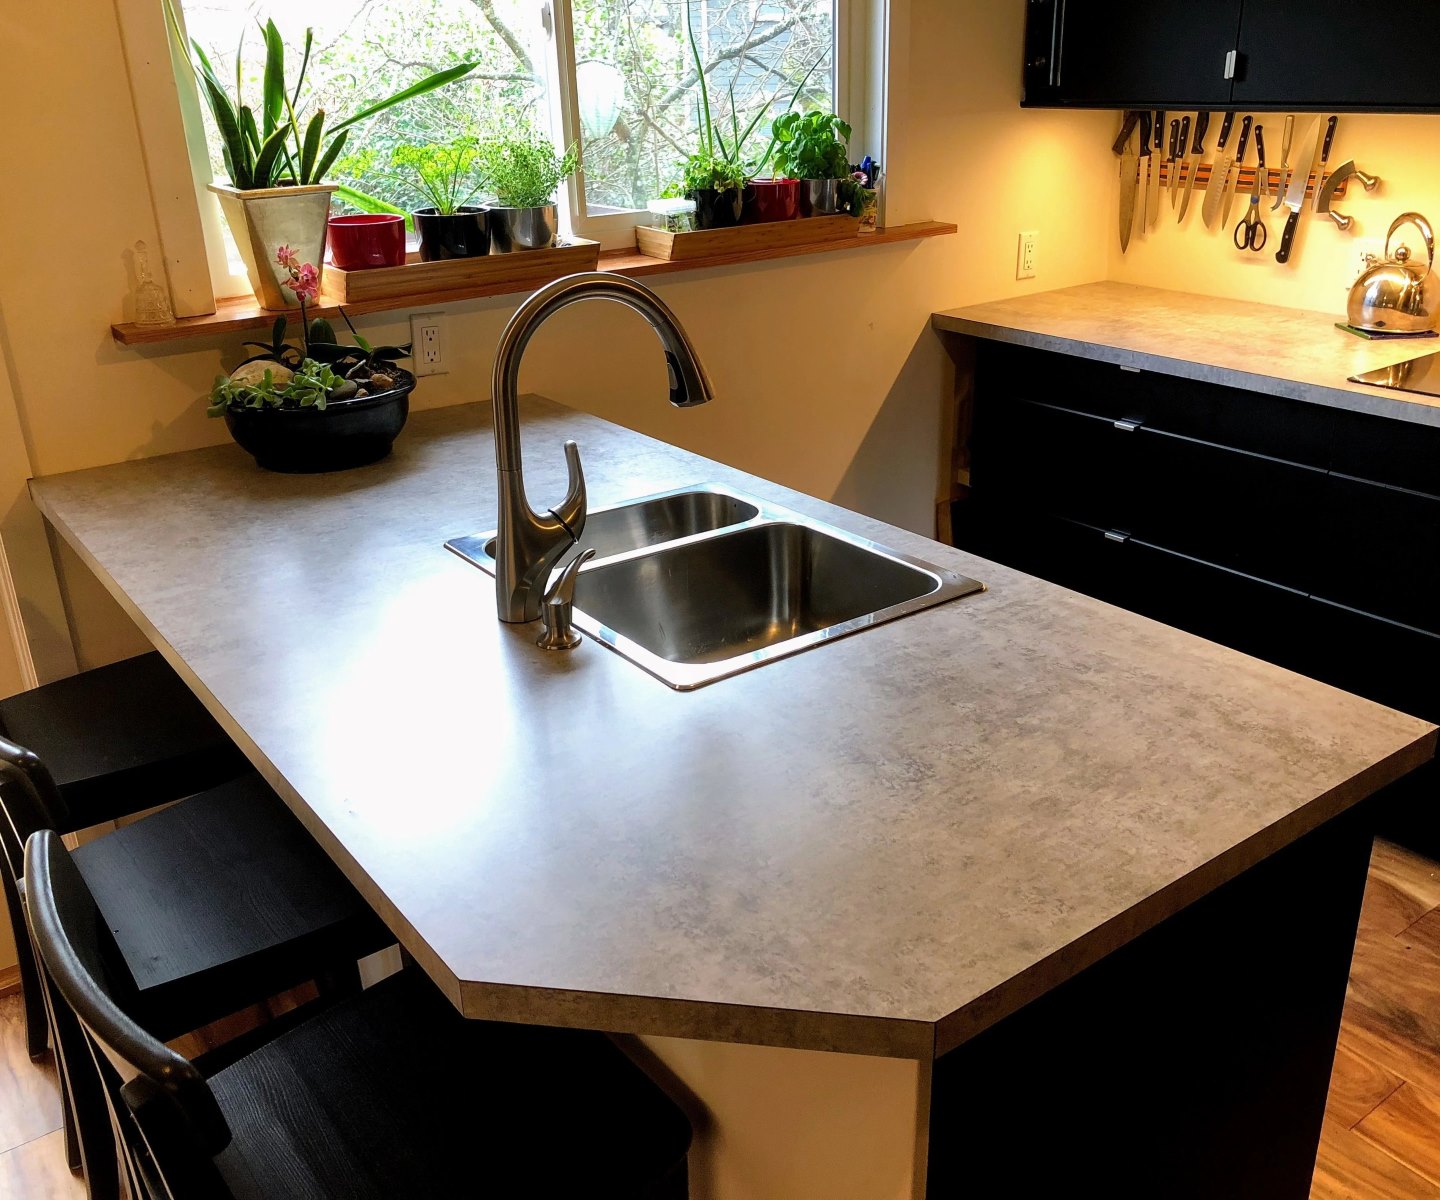
Are your laminate countertops looking worn out and outdated? If so, don’t fret – there’s a cost-effective solution to give them a fresh new look without having to completely replace them. By updating your laminate countertops, you can transform the appearance of your kitchen or bathroom and breathe new life into your space.
In this article, we will guide you through the step-by-step process of updating laminate countertops. From cleaning and prepping the surface to applying primer and paint, we’ll cover all the necessary information to help you achieve professional-looking results. So, let’s get started on revamping your countertops and creating a more modern and stylish environment in your home.
Key Takeaways:
- Revamp your outdated laminate countertops with a cost-effective update. From cleaning and prepping to painting and sealing, follow these steps for a professional-looking finish that breathes new life into your space.
- Achieve a fresh, modern look for your kitchen or bathroom by updating your laminate countertops. With the right materials and techniques, you can transform the appearance of your space without the need for a complete replacement.
Read more: How To Update Laminate Bathroom Vanity
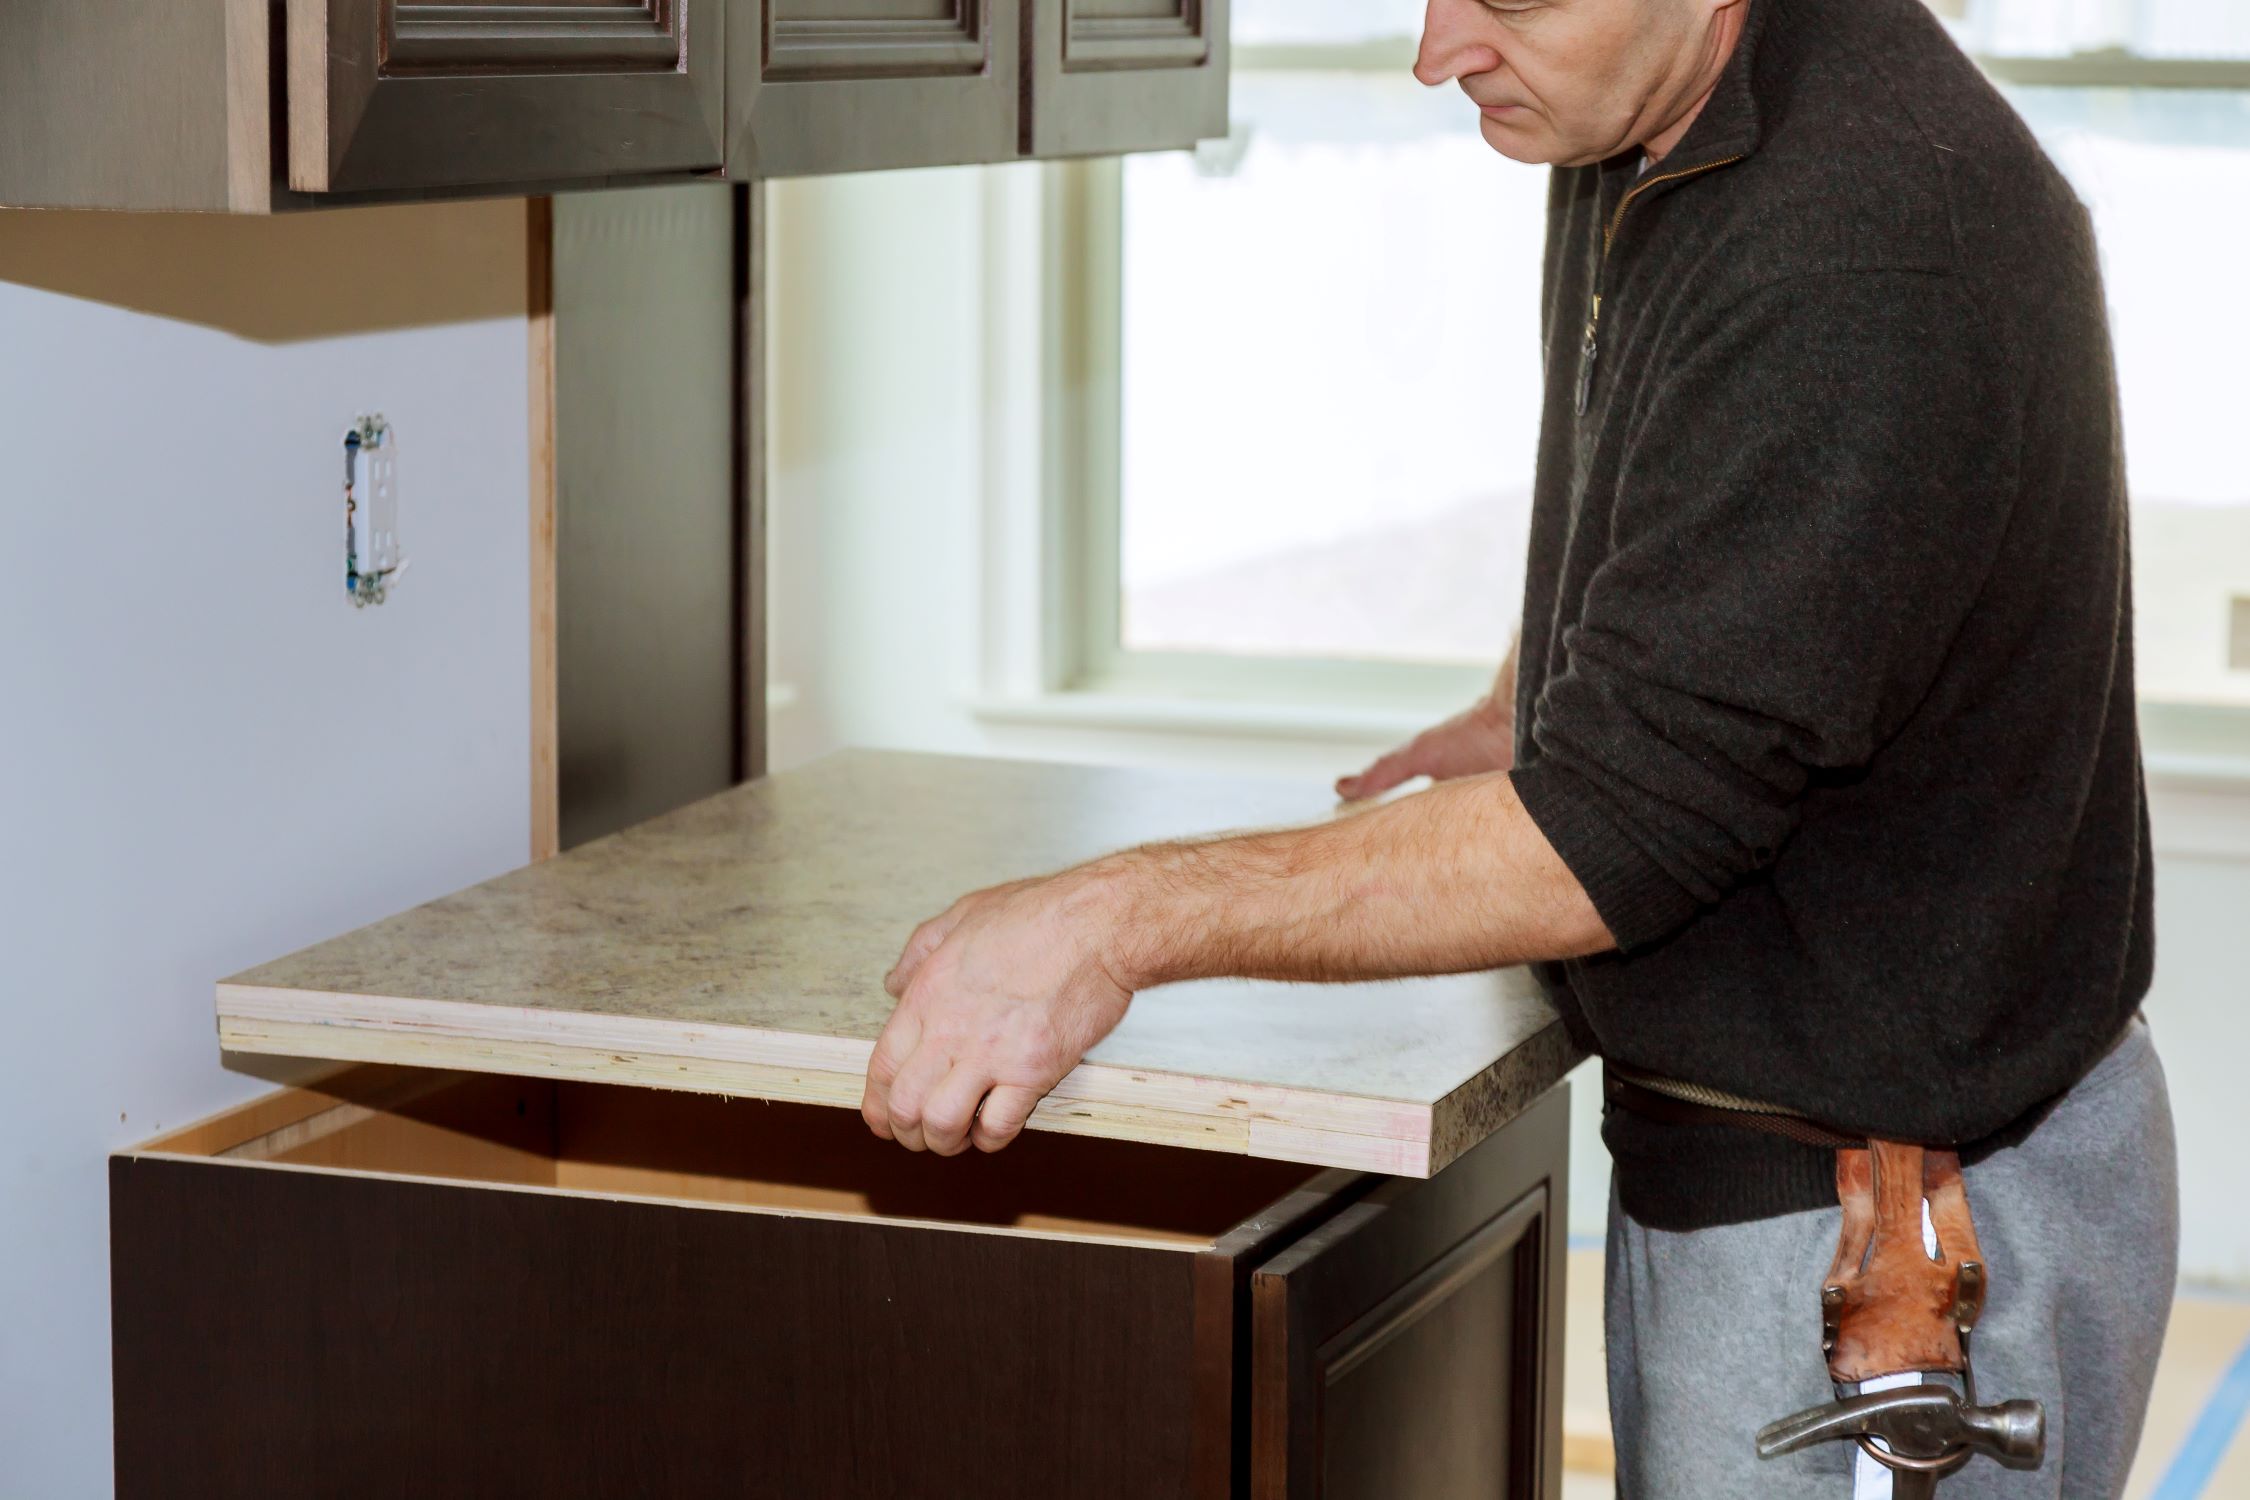
Step 1: Clean and Prep the Countertops
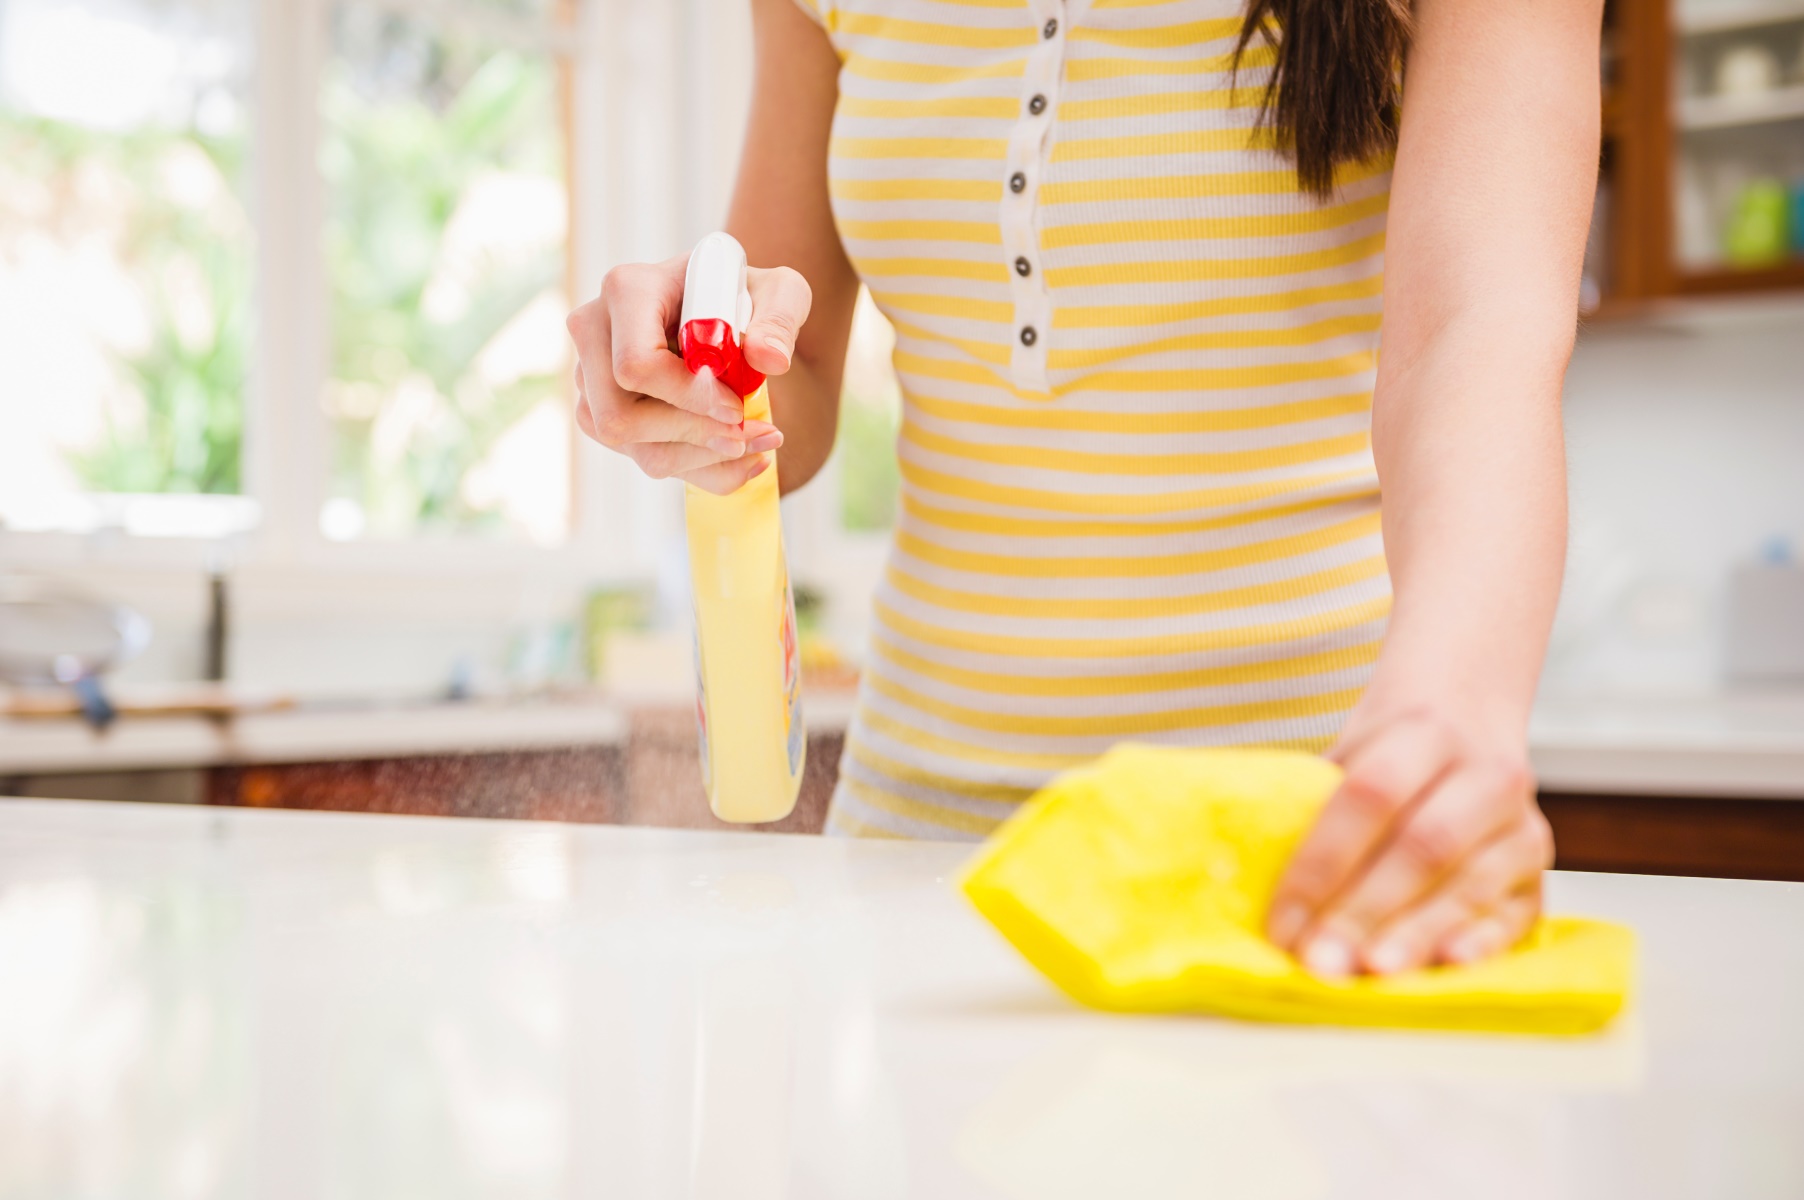
The first step in updating your laminate countertops is to thoroughly clean and prepare the surface. This ensures that the paint adheres properly and provides a smooth and durable finish.
Start by removing any items on the countertops, such as appliances, utensils, and decorative objects. This will allow you to have a clear workspace and avoid any accidental spills or damage. Next, use a mild detergent and warm water solution to clean the countertops. You can also use a non-abrasive household cleaner to remove any stubborn stains or grease buildup.
Once you have cleaned the surface, make sure to rinse it thoroughly with clean water. This will remove any residue from the cleaning products and prepare the countertops for the next steps.
After cleaning, it’s important to roughen up the surface of the laminate for better paint adhesion. You can do this by lightly sanding the countertops using fine-grit sandpaper. Use a circular motion and apply gentle pressure to avoid damaging the laminate. Sanding will not only help the paint adhere better but also remove any glossy finish, allowing for a smoother painted surface.
Once you have finished sanding, wipe away any dust or debris from the countertops using a clean, damp cloth. It’s crucial to have a clean surface before moving on to the next step.
Now that your laminate countertops are clean and prepped, you are ready to move on to the next step: applying primer.
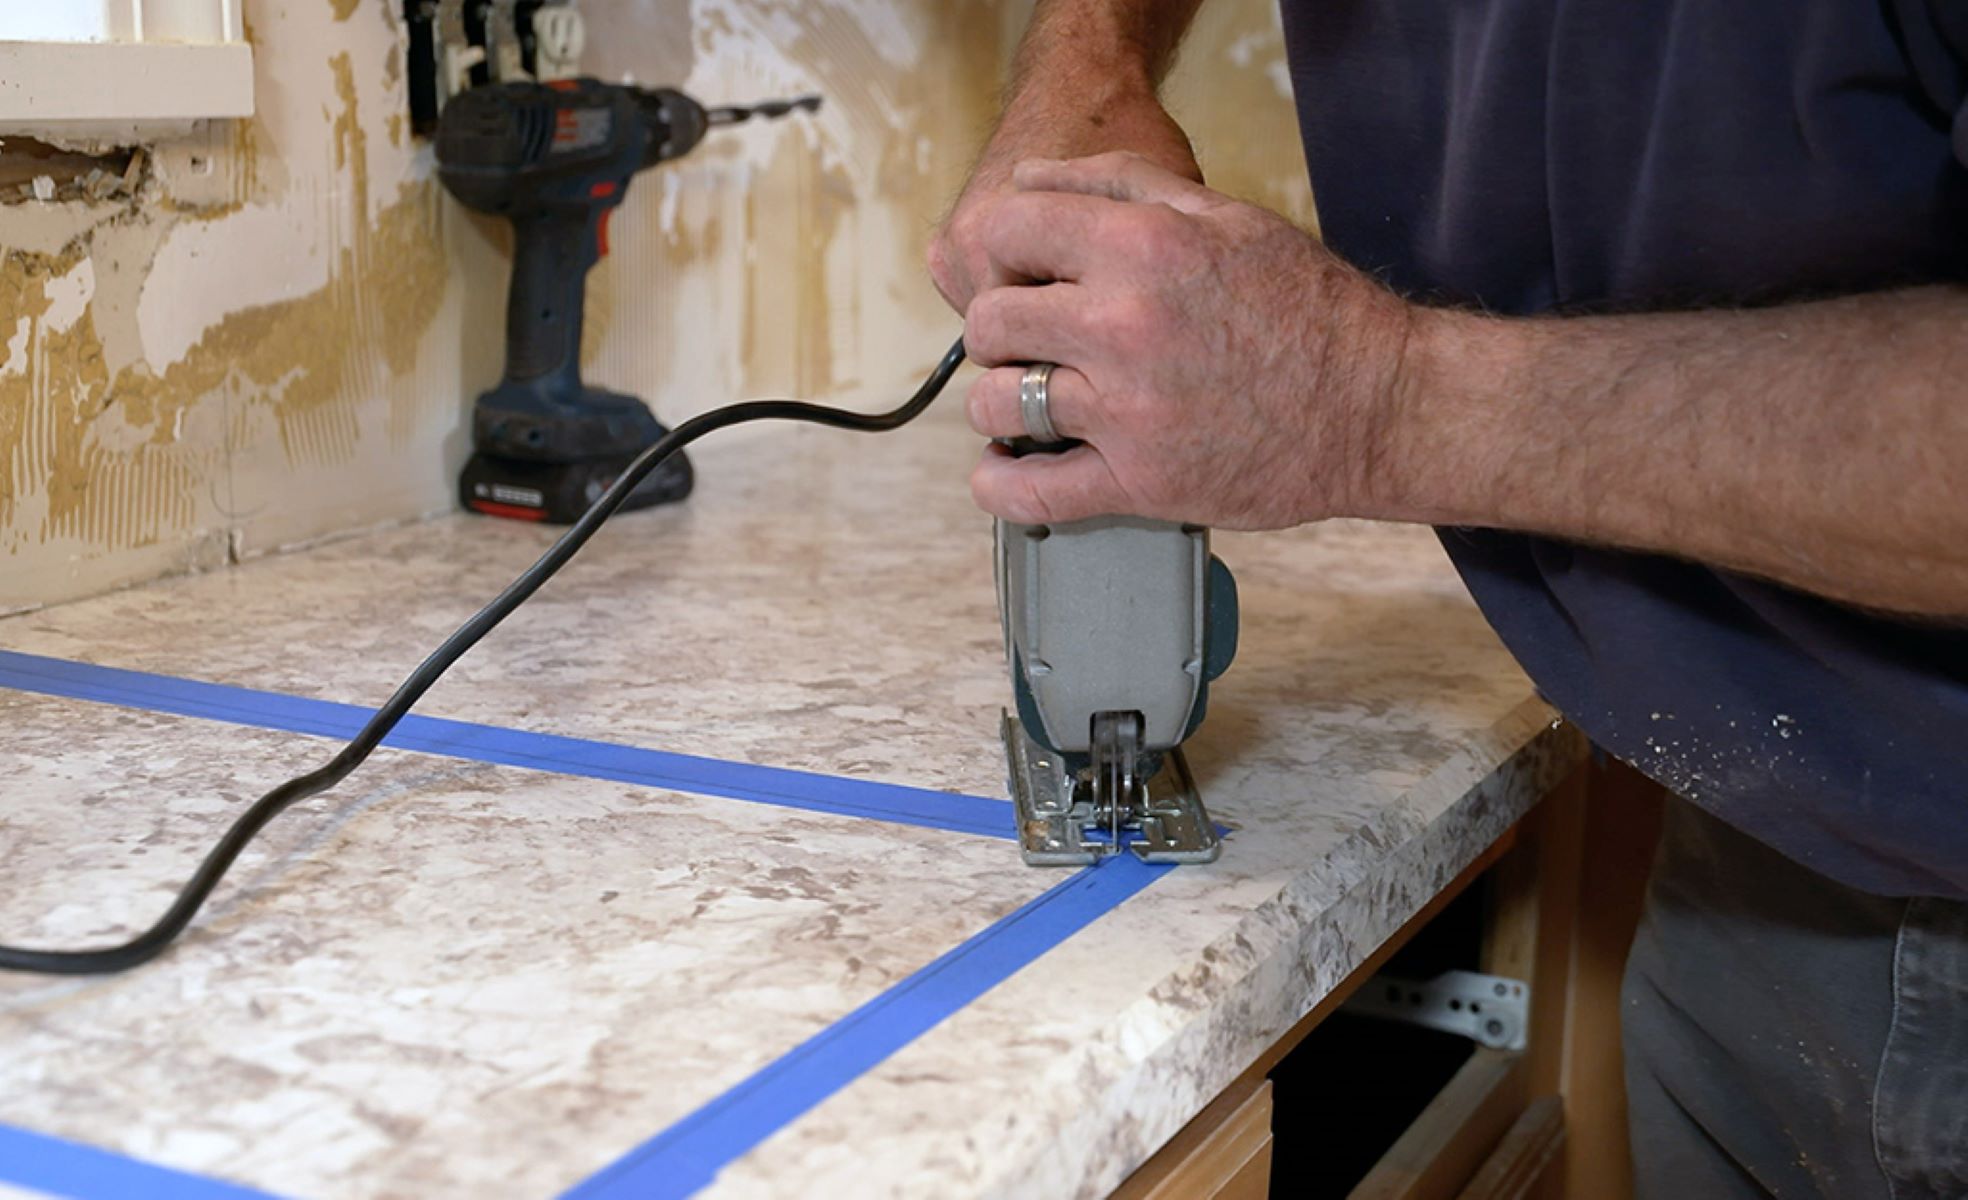
Step 2: Sand the Surface
After cleaning and prepping the laminate countertops, the next step in updating them is to sand the surface. Sanding helps to create a smooth and even base for the primer and paint.
Start by choosing a fine-grit sandpaper, such as 220-grit or higher. This will ensure that you don’t damage the laminate while still achieving the desired effect. Using a sanding block or a sanding sponge can help provide even pressure and prevent accidental gouging of the surface.
Begin sanding the laminate countertops in a circular or back-and-forth motion, making sure to cover the entire surface area. Focus on any areas where the laminate might be chipped or damaged, as these spots may require extra attention. The goal is to roughen up the surface and remove any glossy finish or imperfections.
As you sand, periodically wipe away the dust with a clean, damp cloth to ensure you have a clear view of the surface. This will also prevent the dust from clogging the sandpaper, allowing for smoother and more efficient sanding.
Continue sanding until the entire surface of the laminate countertops feels smooth and has a slightly roughened texture. This will create a better bond for the primer and paint, ensuring a long-lasting and professional-looking finish.
Once you have finished sanding, thoroughly clean the countertops again to remove any remaining dust or debris. Use a vacuum cleaner or a soft brush to ensure all the particles are removed from the surface and corners. A clean and dust-free surface is crucial for the next steps of the countertop update process.
Now that the surface of your laminate countertops is properly sanded and cleaned, you are ready to move on to the next step: applying primer.
Step 3: Apply Primer
After sanding the laminate surface, the next crucial step in updating your countertops is applying a primer. Primer helps the paint adhere better to the laminate and provides a smooth and even base for the final coat of paint.
Choose a high-quality bonding primer specifically designed for laminate surfaces. These primers are formulated to create a strong bond and ensure long-lasting results. You can find these primers at your local hardware store or home improvement center.
Before applying the primer, make sure the countertops are clean and free of dust. Use a damp cloth to wipe away any debris or particles that may have settled after sanding.
Next, using a high-quality synthetic brush or a foam roller, apply a thin and even layer of primer to the entire surface of the laminate countertops. Work in small sections, starting from one corner and moving across the countertop. Make sure to follow the manufacturer’s instructions for drying time and application techniques.
As you apply the primer, be sure to smooth out any brush or roller marks for a seamless finish. This can be done by lightly running a foam brush or a lightly dampened cloth over the primered surface in long, smooth strokes.
Allow the primer to dry completely according to the manufacturer’s instructions. This typically takes a few hours, but it can vary depending on the product and environmental conditions. Avoid using the countertops until the primer is fully dried to prevent any damage or imperfections.
Once the primer is dry, inspect the surface for any uneven areas or imperfections. If necessary, lightly sand those spots and wipe away any dust before proceeding to the next step.
Now that the primer is applied and dried, you are ready to move on to the exciting part: painting the laminate countertops.
When updating laminate countertops, consider using a countertop paint kit for a cost-effective and quick transformation. Make sure to thoroughly clean and sand the surface before applying the paint for best results.
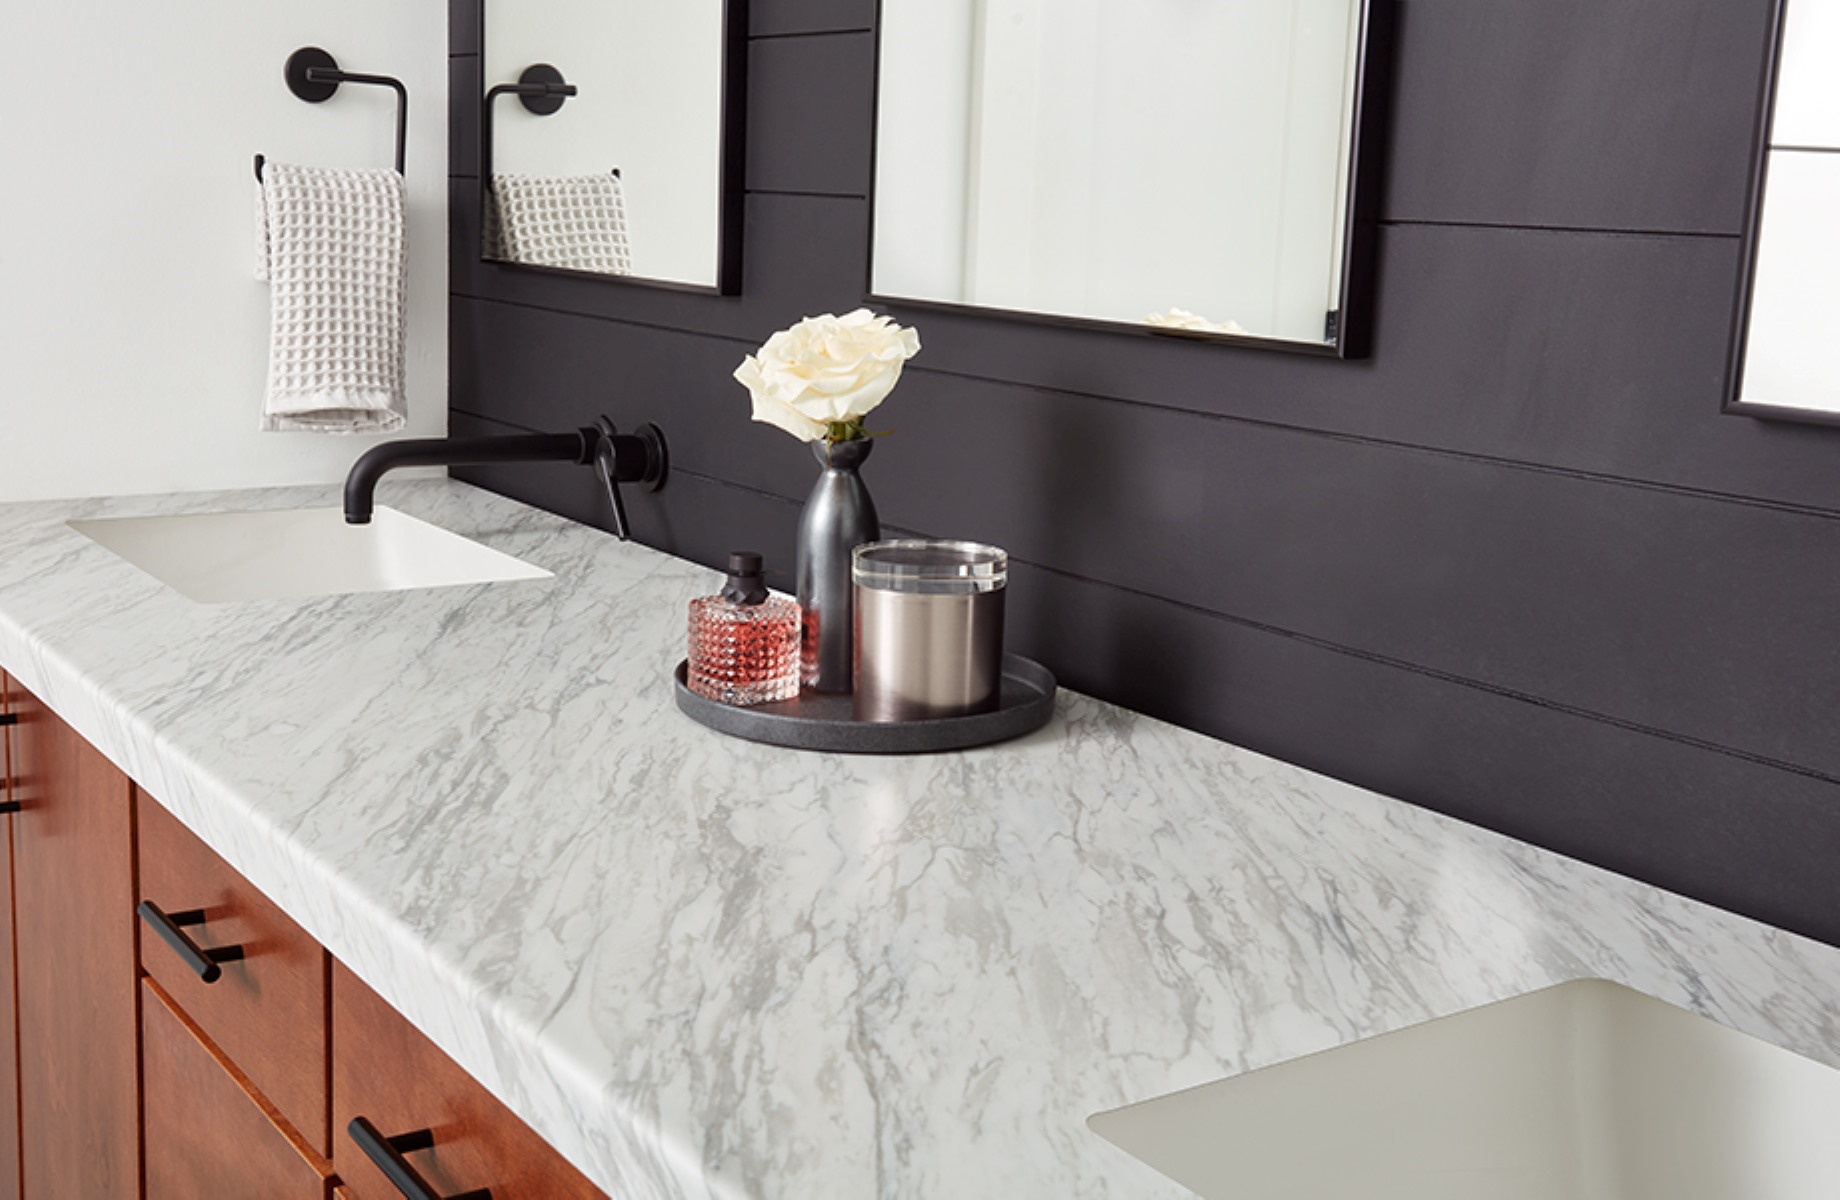
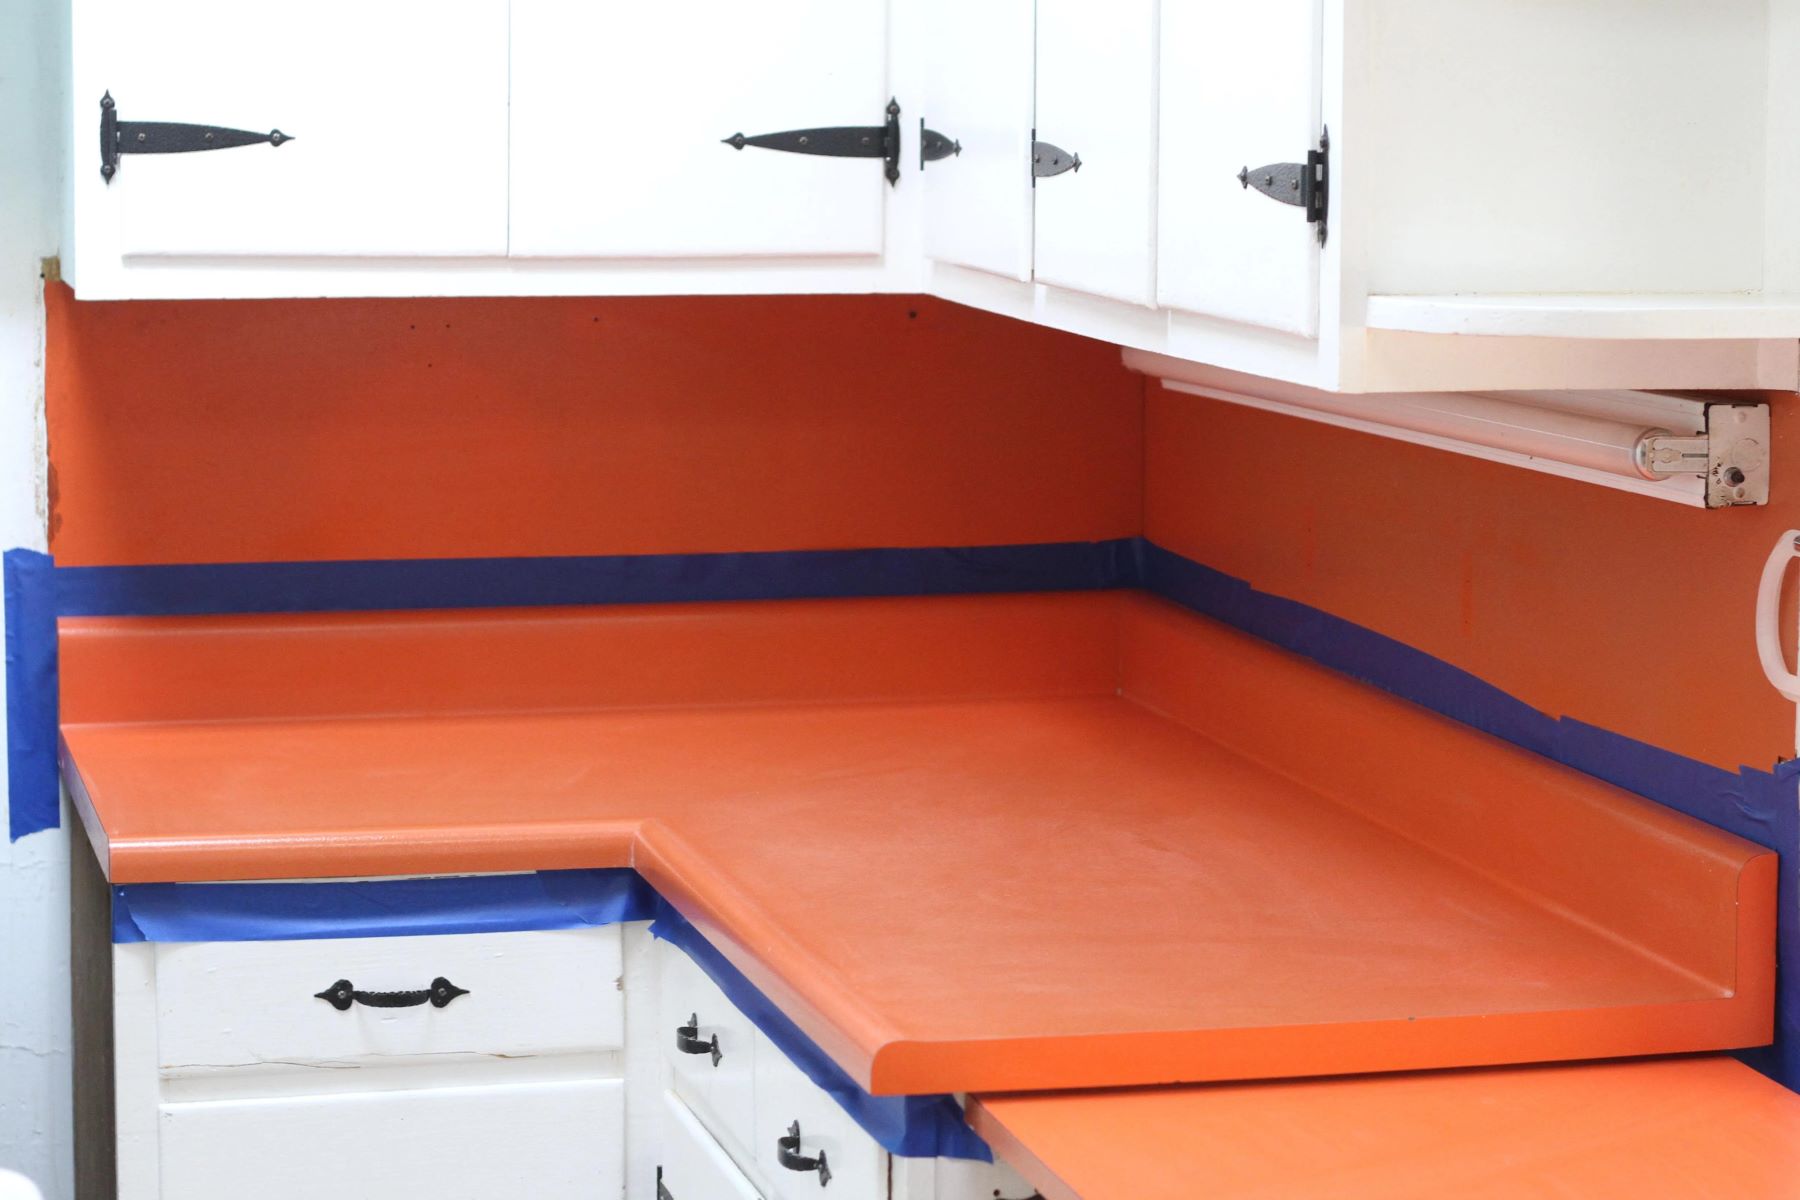
Step 4: Paint the Countertops
Painting the laminate countertops is the transformative step that will give them a fresh, new look. With the right techniques and materials, you can achieve a beautiful and durable finish that resembles high-end surfaces.
Choose a high-quality paint specifically formulated for countertops. Acrylic-based paints or specialty countertop paints work best for this project. These paints are often available in a wide range of colors and finishes, allowing you to customize the look of your countertops to suit your style.
Before you begin painting, ensure that the countertops are clean and free from any dust or debris. Use a mild detergent and warm water solution to clean the surface, and then dry it thoroughly with a clean cloth.
Start by applying a thin base coat of paint using a high-quality synthetic brush or a foam roller. Work in small sections, starting from one corner and moving across the countertop. Be sure to follow the manufacturer’s instructions for drying time and application techniques.
Once the base coat is applied, allow it to dry completely before moving on to the next coat. This usually takes a few hours, but it may vary depending on the product and environmental conditions. If necessary, lightly sand the surface between coats to ensure a smooth and even finish.
After the base coat is dry, apply a second or even a third coat of paint, depending on the desired coverage and color intensity. Allow each coat to dry completely before applying the next one. Remember to follow the manufacturer’s instructions for drying time between coats.
As you paint, it’s essential to maintain smooth and even brush strokes or roller movements to achieve a professional-looking finish. Take your time and ensure that each section is coated evenly and without any drips or streaks.
Once you have completed painting the countertops and achieved the desired coverage and finish, allow the paint to cure according to the product’s instructions. This typically takes a few days, during which you should avoid placing any heavy objects or applying excessive pressure on the painted surface.
After the paint has fully cured, you can move on to the final step: sealing the surface for added protection and durability.
Read more: How To Protect Laminate Countertops
Step 5: Seal the Surface
The final step in updating your laminate countertops is sealing the surface. Sealing not only enhances the overall appearance but also adds a layer of protection, making the painted finish more durable and long-lasting.
Choose a high-quality, water-based polyurethane sealer specifically designed for countertops. This type of sealer provides excellent protection against stains, scratches, and moisture. Make sure to read and follow the manufacturer’s instructions for application and drying time.
Before applying the sealer, ensure that the painted countertops are clean and free from any dust or debris. Use a soft damp cloth to gently remove any particles that may have settled on the surface.
Apply a thin and even layer of sealer using a high-quality synthetic brush or a foam roller. Work in small sections, starting from one corner and moving across the countertop. Be sure to follow the manufacturer’s instructions for drying time between coats.
Allow the first coat of sealer to dry completely before applying subsequent coats. Depending on the product, you may need to apply two or three coats of sealer for optimal protection and durability. Remember to lightly sand the surface between coats to ensure a smooth and even finish.
During the drying process, be cautious and avoid using the countertops or placing any objects on them. The sealer needs ample time to cure and harden to provide maximum protection.
Once the final coat of sealer is dry and cured, your newly updated laminate countertops are ready to be enjoyed. However, keep in mind that they still require proper care and maintenance to preserve their appearance and longevity.
Remember to avoid using abrasive cleaners or tools that can scratch the sealed surface. Clean the countertops with a mild detergent and warm water solution, and wipe up spills promptly to prevent staining. Use cutting boards and trivets when handling hot objects to protect the surface from heat damage.
By following these steps and taking proper care of your updated laminate countertops, you can enjoy their fresh and modern look for years to come.
Conclusion
Updating your laminate countertops is a cost-effective and rewarding project that can completely transform the look and feel of your kitchen or bathroom. By following the step-by-step process outlined in this article, you can achieve professional-quality results and enjoy a fresh new surface.
Starting with cleaning and prepping the countertops, then sanding the surface to create a smooth base, applying a primer to ensure proper adhesion, painting with a high-quality countertop paint, and finally sealing the surface for added protection and durability, each step is essential in achieving a successful countertop update.
Throughout the process, it’s important to pay attention to details, such as choosing the right materials and tools, following manufacturer’s instructions, and taking proper care to achieve a lasting finish.
By updating your laminate countertops, you not only enhance the aesthetic appeal of your space but also add value to your home. It’s a cost-effective alternative to complete countertop replacement and allows you to express your personal style and creativity.
Remember to research and select the right products that are specifically designed for laminate surfaces to ensure optimal results. Take the time to properly clean, sand, prime, paint, and seal your countertops for a professional-looking finish.
With proper maintenance and care, your updated laminate countertops will withstand everyday use and continue to impress for years to come. Enjoy your fresh, modern, and stylish space!
Frequently Asked Questions about How To Update Laminate Countertops
Was this page helpful?
At Storables.com, we guarantee accurate and reliable information. Our content, validated by Expert Board Contributors, is crafted following stringent Editorial Policies. We're committed to providing you with well-researched, expert-backed insights for all your informational needs.

0 thoughts on “How To Update Laminate Countertops”