Home>Renovation & DIY>Home Renovation Guides>How To Cut Laminate Countertop With Backsplash
Home Renovation Guides
How To Cut Laminate Countertop With Backsplash
Modified: February 18, 2024
Learn how to cut a laminate countertop with a backsplash in this comprehensive home renovation guide. Expert tips and step-by-step instructions for a successful DIY project.
(Many of the links in this article redirect to a specific reviewed product. Your purchase of these products through affiliate links helps to generate commission for Storables.com, at no extra cost. Learn more)
Introduction
Cutting a laminate countertop with a backsplash can seem like a daunting task, but with the right tools, materials, and techniques, it can be a manageable and rewarding project. Whether you're renovating your kitchen or installing a new countertop, knowing how to cut a laminate countertop with a backsplash is a valuable skill that can save you time and money.
In this comprehensive guide, we will walk you through the step-by-step process of cutting a laminate countertop with a backsplash, providing you with the knowledge and confidence to tackle this project with ease. From preparing the work area to making precise measurements and executing the cuts, we will cover everything you need to know to achieve professional-looking results.
By following the instructions and tips outlined in this guide, you will be able to customize your laminate countertop to fit your space perfectly, ensuring a seamless and polished finish. So, roll up your sleeves, gather your tools, and let's dive into the exciting world of home renovation as we embark on the journey of cutting a laminate countertop with a backsplash.
Key Takeaways:
- Mastering the art of cutting a laminate countertop with a backsplash empowers DIY enthusiasts to customize their living spaces with precision and creativity, creating a space that reflects individual tastes and meets specific needs.
- The process of cutting a laminate countertop with a backsplash embodies the spirit of craftsmanship and attention to detail, culminating in a finished product that exudes quality and sophistication, leaving a lasting impression and a sense of fulfillment.
Read more: How To Remove Laminate Countertop Backsplash
Tools and Materials Needed
Before embarking on the project of cutting a laminate countertop with a backsplash, it's essential to gather the necessary tools and materials to ensure a smooth and efficient process. Here's a comprehensive list of what you'll need:
Tools:
- Measuring Tape: Accurate measurements are crucial for achieving precise cuts, so a reliable measuring tape is a must-have.
- Pencil: Marking the countertop for cuts and measurements requires a good quality pencil to ensure visibility and accuracy.
- Masking Tape: Using masking tape to mark the cutting lines helps prevent chipping and provides a clear guide for the saw.
- Circular Saw with Fine-Toothed Blade: A circular saw equipped with a fine-toothed blade specifically designed for laminate cutting is essential for achieving clean and accurate cuts.
- Clamps: Securing the countertop in place during cutting is vital for safety and precision, making clamps an indispensable tool.
- File or Sandpaper: After cutting, a file or sandpaper will be needed to smooth any rough edges and ensure a professional finish.
- Safety Gear: Safety should always be a priority, so don't forget to wear protective gear, including safety goggles and a dust mask, to safeguard against debris and dust.
Materials:
- Laminate Countertop: The countertop to be cut, ensuring it is the correct size and design for your space.
- Painter's Tape: Applying painter's tape to the cutting lines helps prevent chipping and protects the surface of the countertop.
- Supporting Surface: A stable and elevated surface, such as sawhorses or a workbench, to support the countertop during cutting.
- Drop Cloth or Tarp: To protect the surrounding area from dust and debris, a drop cloth or tarp is essential for easy cleanup.
- Wood Blocks: Placing wood blocks under the countertop can help prevent splintering and provide support during cutting.
- Vacuum Cleaner or Shop Vac: Keeping the work area clean and free of debris is essential, so having a vacuum cleaner or shop vac on hand is highly recommended.
By ensuring that you have all the necessary tools and materials ready before starting the project, you can proceed with confidence, knowing that you are well-prepared to tackle the task at hand. With these essential items at your disposal, you are ready to move on to the next steps of preparing the work area and making precise measurements for cutting the laminate countertop with a backsplash.
Preparing the Work Area
Before diving into the process of cutting a laminate countertop with a backsplash, it's crucial to prepare the work area to ensure safety, efficiency, and precision. Here's a detailed guide on how to set up your workspace for this project:
-
Clear the Space: Begin by clearing the area where you will be working. Remove any items, appliances, or clutter from the vicinity to create a clean and unobstructed workspace. This will provide ample room for maneuvering the countertop and using the necessary tools without any hindrances.
-
Protect the Surroundings: Cover the surrounding area with a drop cloth or tarp to safeguard floors, cabinets, and other surfaces from dust, debris, and potential damage. This protective layer will make cleanup easier and prevent any accidental scratches or marks during the cutting process.
-
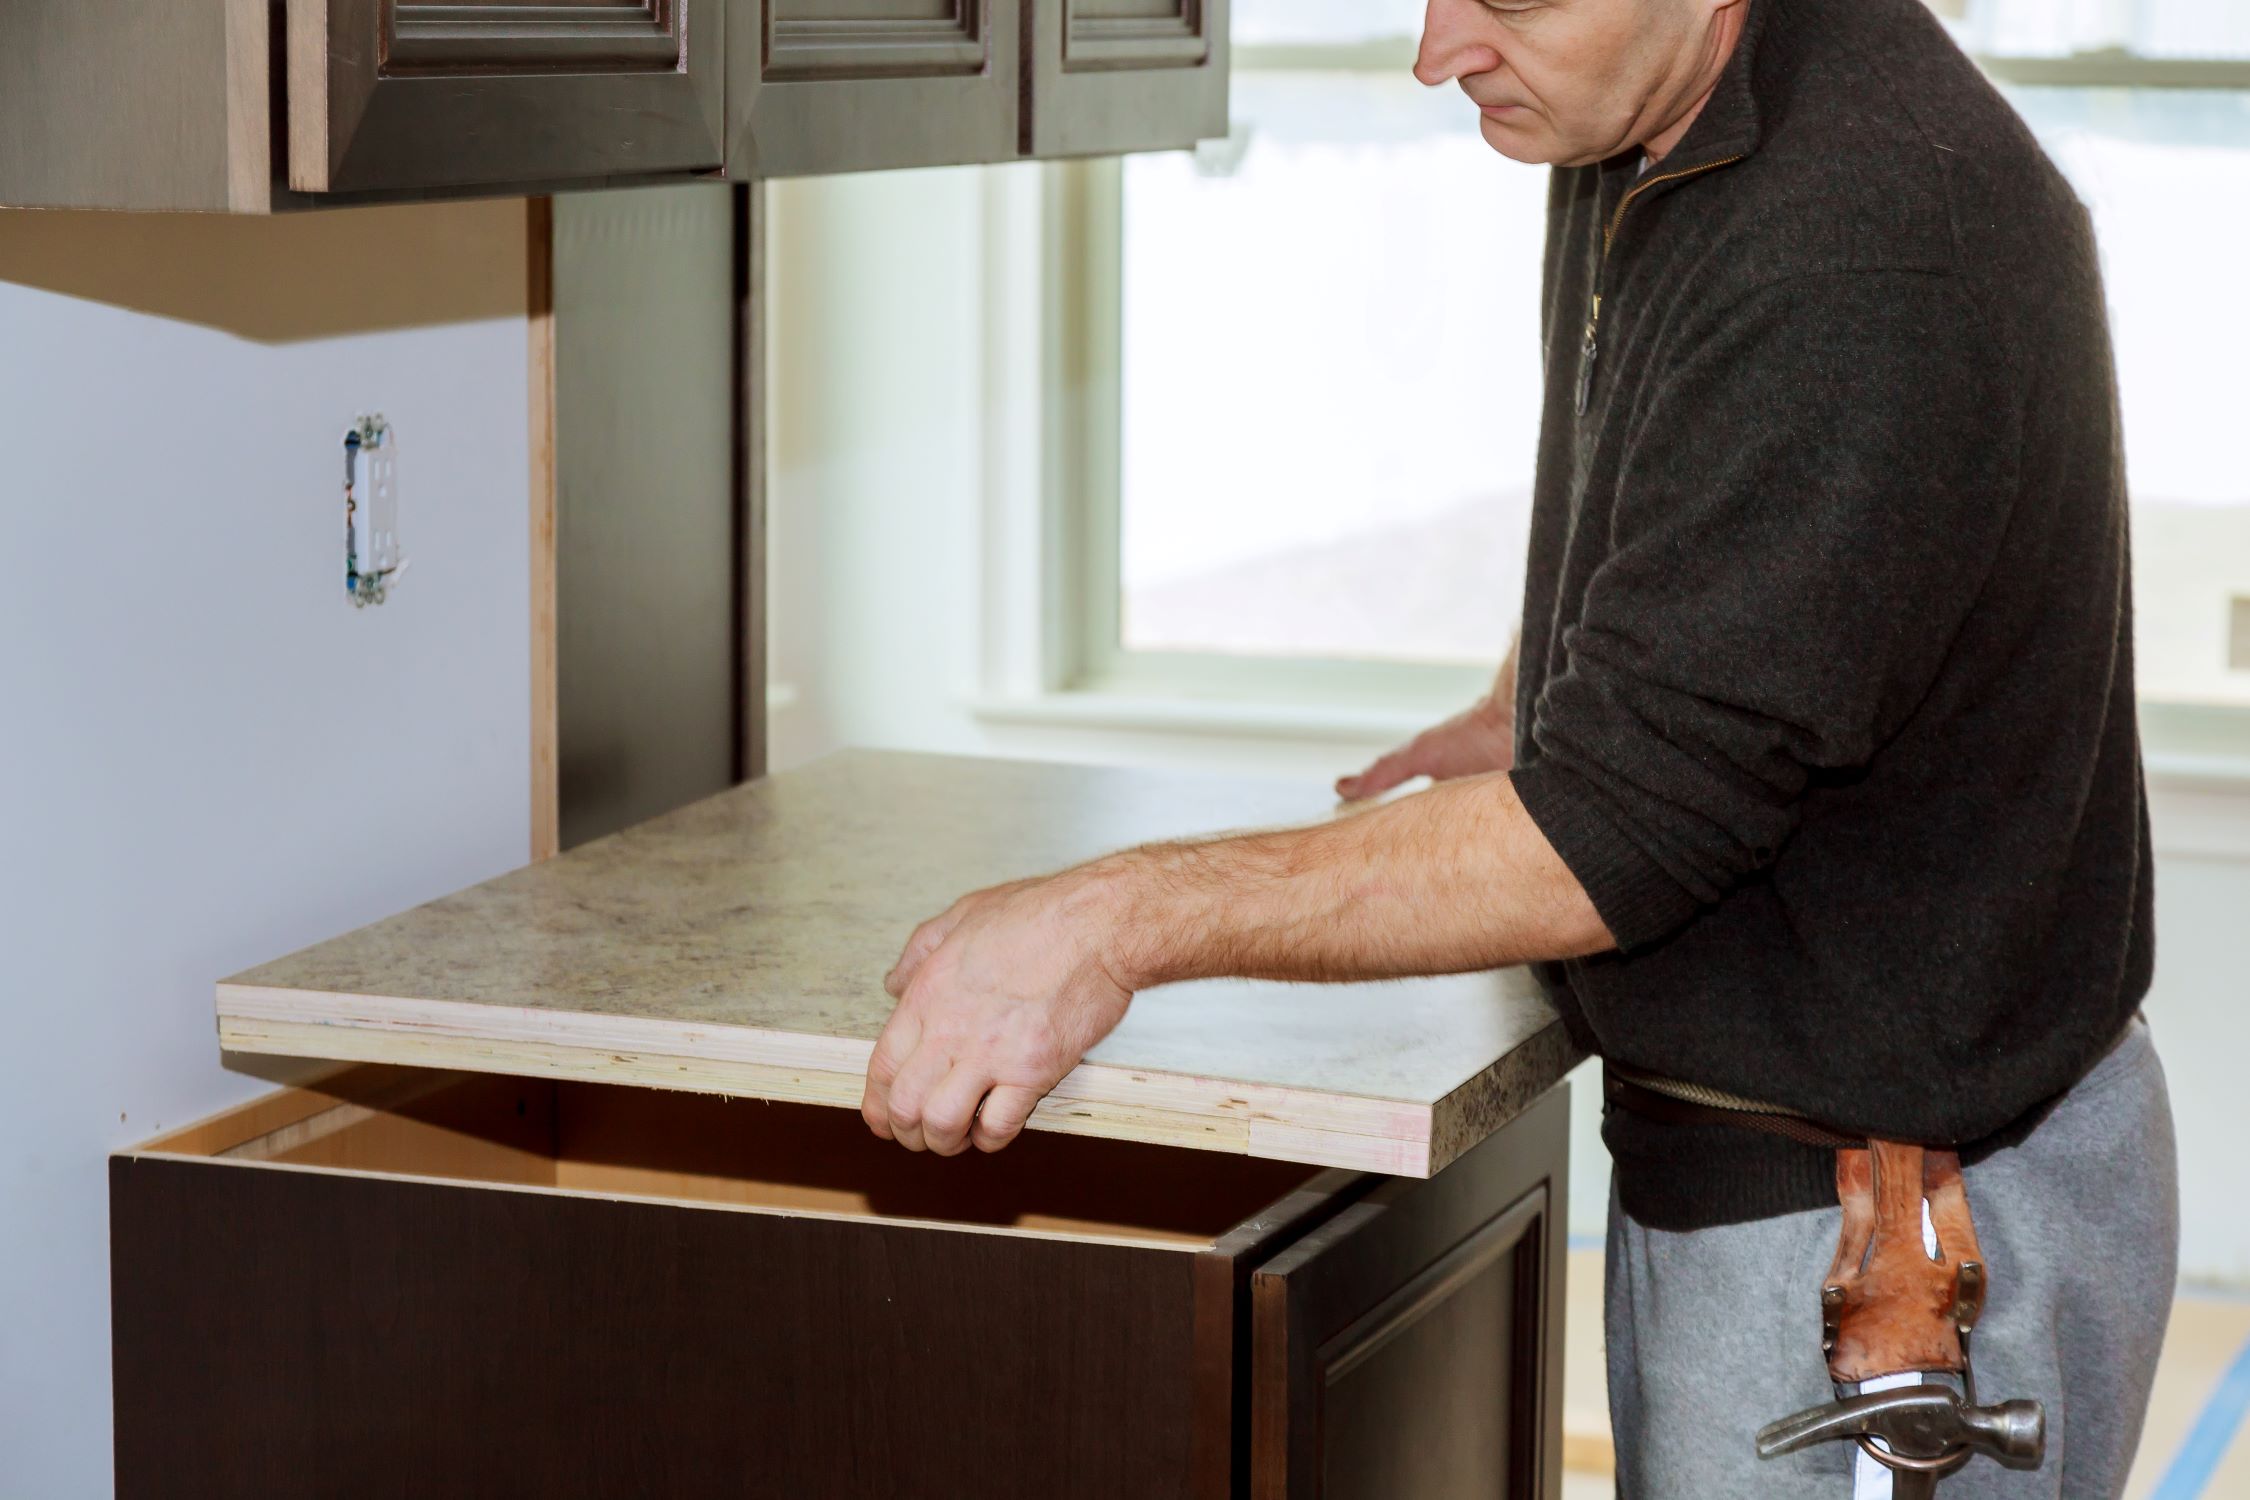
Set Up a Stable Surface: Place sawhorses or a sturdy workbench in the designated work area to provide a stable and elevated surface for supporting the countertop during cutting. Ensure that the supporting surface is level and secure to prevent any wobbling or instability while working.
-
Secure the Countertop: Position the laminate countertop on the supporting surface, ensuring that it is stable and well-supported. Use clamps to secure the countertop in place, preventing any movement or shifting during the cutting process. This step is crucial for safety and precision.
-
Organize Tools and Materials: Lay out all the required tools and materials within easy reach. Having everything organized and readily accessible will streamline the cutting process and minimize disruptions as you work through each step.
-
Ventilation and Lighting: Ensure that the work area is well-ventilated and adequately lit. Good ventilation helps to disperse dust and fumes, while proper lighting is essential for making accurate measurements and executing precise cuts.
By meticulously preparing the work area in this manner, you set the stage for a successful and efficient cutting process. Taking the time to establish a clean, organized, and secure workspace will contribute to the overall quality of the project and provide a safe and comfortable environment for carrying out the necessary tasks. With the work area properly set up, you are now ready to move on to the next steps of measuring and marking the countertop for cutting.
Read more: How To Cut Laminate Countertop For Sink
Measuring and Marking the Countertop
Accurate measurements and precise markings are the foundation of a successful laminate countertop cutting project. Before making any cuts, it's essential to measure the countertop carefully and mark the cutting lines with precision. Here's a detailed guide on how to measure and mark the countertop for cutting:
-
Measure Twice, Cut Once: Begin by using a measuring tape to determine the exact dimensions for the cuts needed on the laminate countertop. Measure the length, width, and any areas that require special cuts, such as sink or stove openings. It's crucial to double-check all measurements to ensure accuracy before proceeding to the marking stage.
-
Marking the Cutting Lines: Once the measurements are confirmed, use a pencil and masking tape to mark the cutting lines on the laminate surface. Apply the masking tape along the cutting lines to prevent chipping and provide a clear guide for the saw. Ensure that the lines are straight and accurately represent the intended cuts.
-
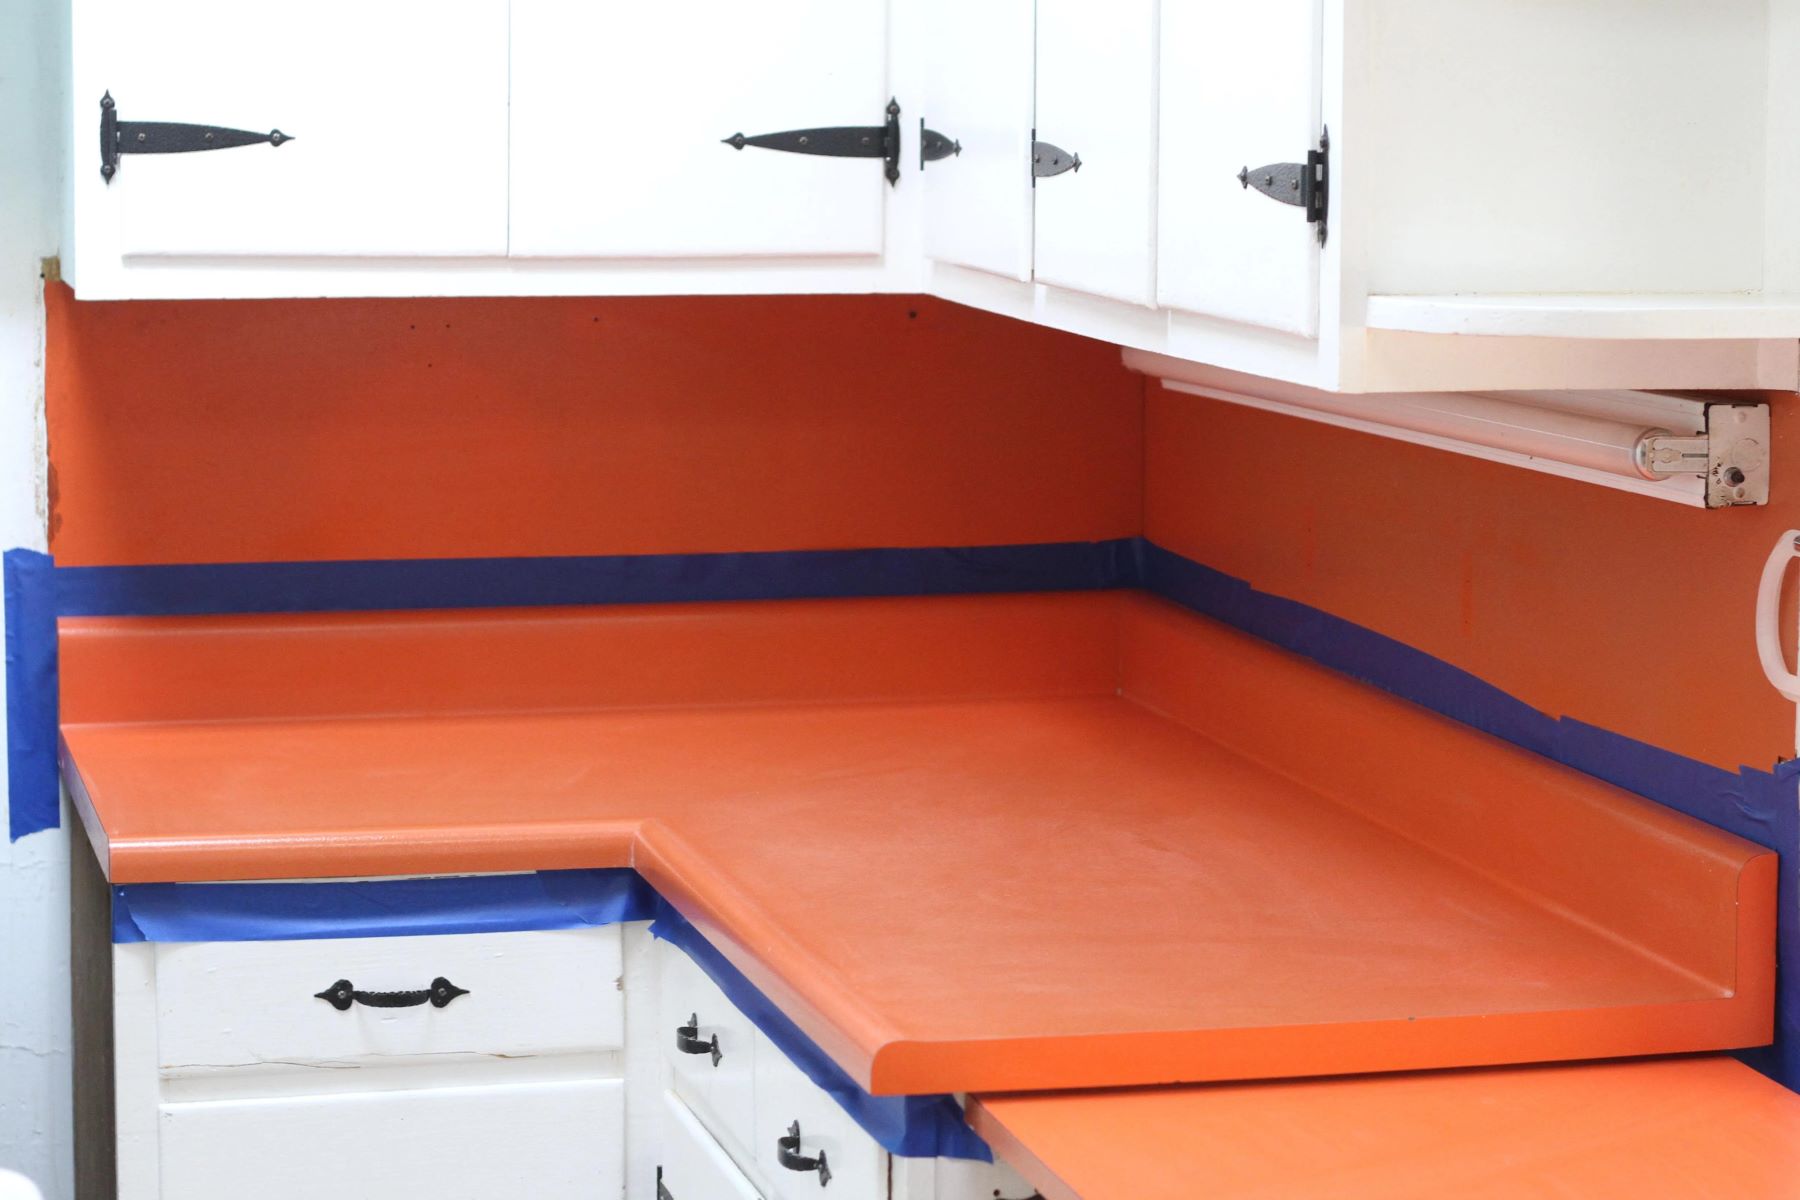
Consider Overhang and Backsplash: If the countertop includes an overhang or a backsplash, take these into account when marking the cutting lines. For overhangs, mark the excess material that will be trimmed off to achieve the desired overhang length. When dealing with a backsplash, mark the area where the countertop and backsplash meet to ensure a seamless and precise cut.
-
Account for Saw Blade Width: When marking the cutting lines, remember to account for the width of the saw blade. This ensures that the actual cuts align with the intended measurements. Taking the saw blade width into consideration prevents errors and ensures that the final cuts match the desired dimensions.
-
Double-Check the Markings: Before proceeding to the cutting stage, review and double-check all the markings to verify their accuracy. Confirm that the lines are clear, straight, and aligned with the intended measurements. This final check minimizes the risk of errors and ensures that the cuts will result in a properly sized laminate countertop.
By meticulously measuring and marking the countertop according to these guidelines, you establish a solid foundation for the cutting process. Accurate measurements and precise markings are essential for achieving professional-looking results and ensuring that the laminate countertop fits seamlessly into its intended space. With the countertop properly measured and marked, you are now ready to proceed to the next crucial step: cutting the laminate countertop with precision and confidence.
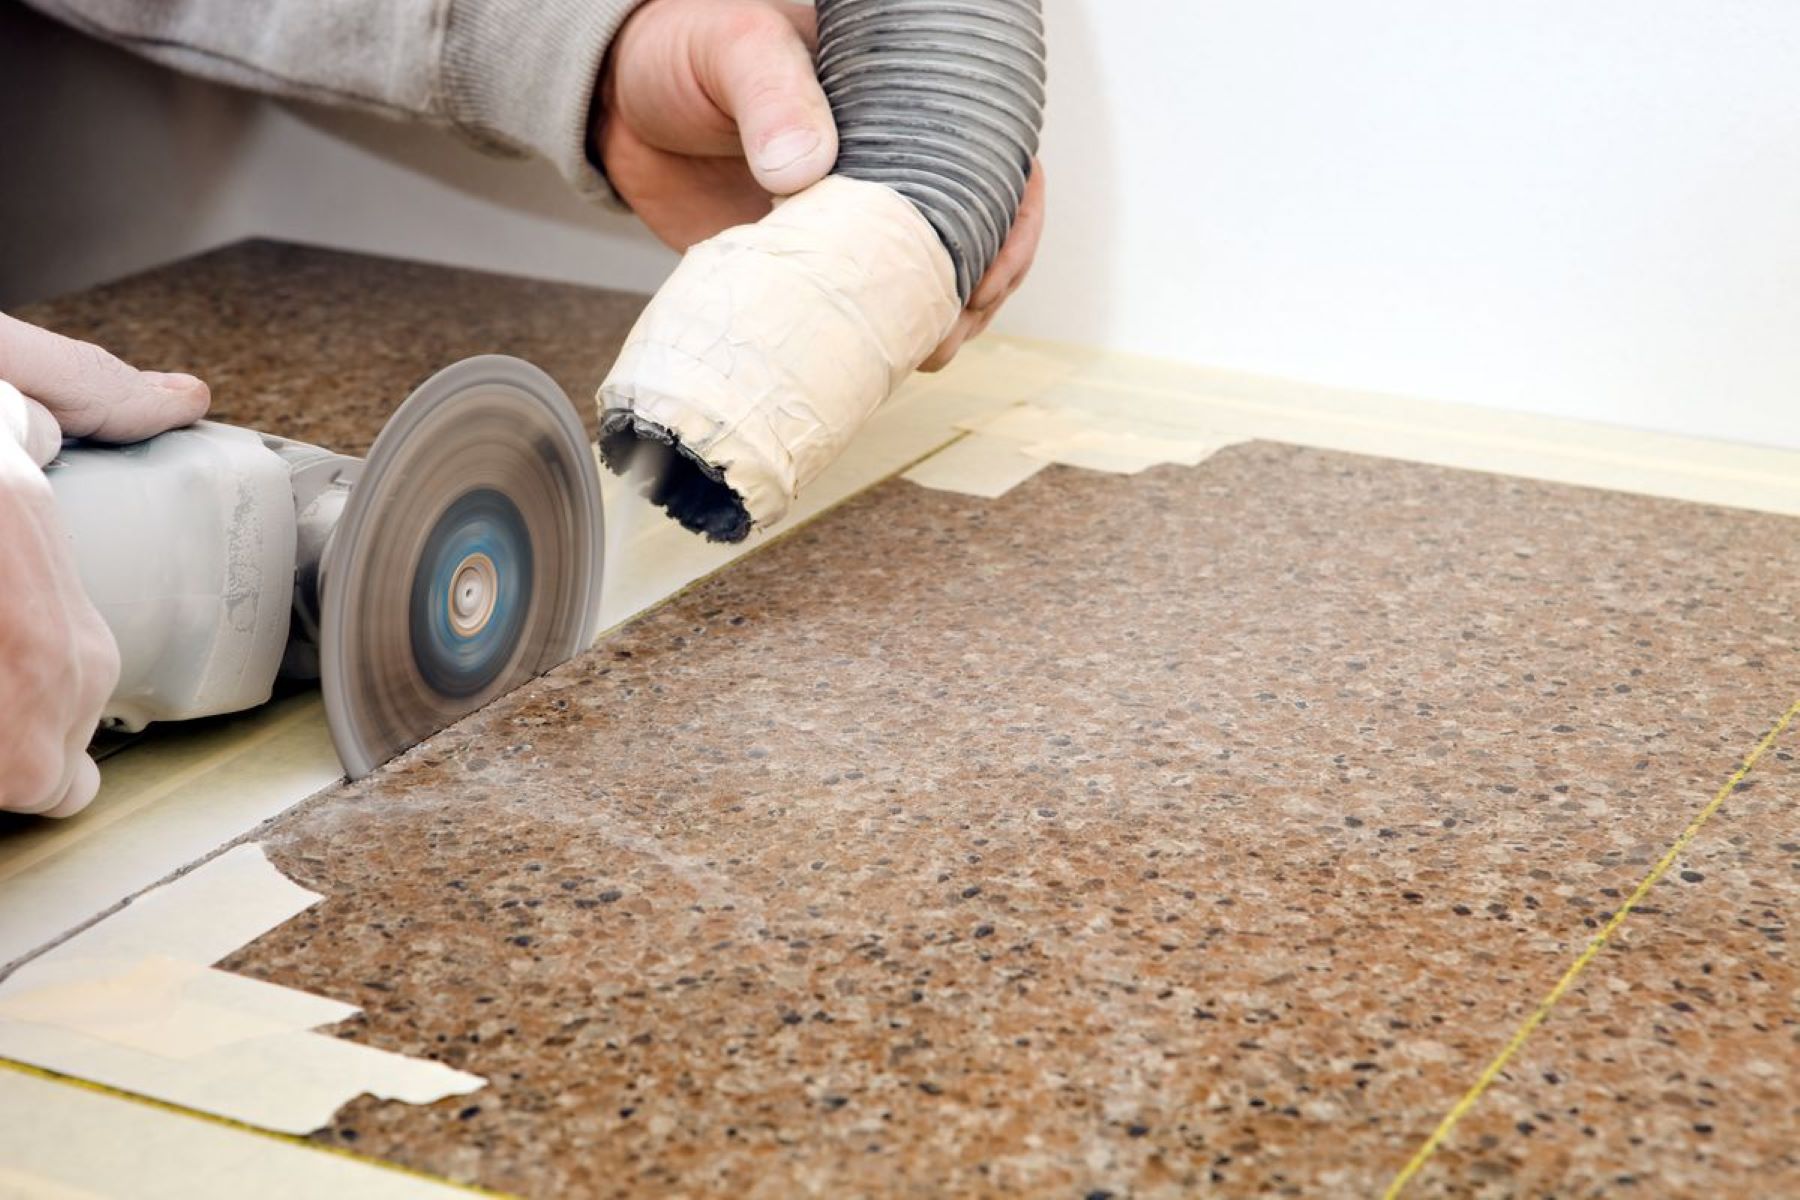
Cutting the Laminate Countertop
With the work area prepared and the countertop meticulously measured and marked, it's time to delve into the pivotal stage of cutting the laminate countertop. This step requires precision, attention to detail, and the use of the appropriate tools to achieve clean and accurate cuts. Here's a comprehensive guide on how to execute this crucial phase of the project:
-
Setting Up the Saw: Before making any cuts, ensure that the circular saw is equipped with a fine-toothed blade specifically designed for cutting laminate. Adjust the blade depth to slightly exceed the thickness of the countertop to minimize chipping and ensure a clean cut.
-
Positioning the Countertop: With the saw ready, carefully position the laminate countertop on the supporting surface, ensuring that it is securely clamped in place. Double-check that the cutting lines are clearly visible and align with the intended measurements.
-
Making the Cuts: Approach the cutting process methodically, starting with the straight cuts along the marked lines. Keep a steady hand as you guide the saw along the cutting lines, allowing the blade to smoothly penetrate the laminate surface. Take your time and maintain a consistent pace to ensure accuracy.
-
Specialized Cuts: If the countertop requires specialized cuts for sink or stove openings, proceed with caution and follow the marked guidelines precisely. Use the appropriate techniques to execute these intricate cuts, ensuring that they align with the intended dimensions and design.
-
Supporting the Cuts: As the saw progresses along the cutting lines, it's essential to support the sections of the countertop that are being cut off. This prevents the weight of the excess material from causing splintering or damage to the laminate surface.
-
Smooth and Controlled Movements: Throughout the cutting process, prioritize smooth and controlled movements to minimize vibrations and potential chipping. Maintaining a steady hand and a consistent cutting pace contributes to achieving clean and precise cuts.
-
Completing the Cuts: Once the primary cuts are completed, carefully maneuver the countertop to address any remaining sections that require cutting. Exercise caution and patience to ensure that all cuts are executed accurately and seamlessly.
By following these detailed steps and exercising patience and precision, you can successfully navigate the process of cutting a laminate countertop with a backsplash. With the cuts completed, the next phase involves trimming the backsplash to achieve a polished and seamless finish.
Trimming the Backsplash
Trimming the backsplash is a crucial step in customizing a laminate countertop to fit seamlessly into its designated space. This process requires precision and attention to detail to ensure that the backsplash is trimmed accurately and complements the overall design of the countertop. Here's a comprehensive guide on how to approach the task of trimming the backsplash:
-
Assessing the Backsplash: Begin by carefully examining the backsplash to determine the precise areas that require trimming. Take into account any design elements, such as patterns or edges, that need to be maintained or aligned with the rest of the countertop.
-
Marking the Trimming Lines: Once the areas for trimming are identified, use a pencil and masking tape to mark the trimming lines on the backsplash. Ensure that the lines are straight and aligned with the intended design, taking into consideration any patterns or decorative features that need to be preserved.
-
Choosing the Right Tool: Select a suitable cutting tool for trimming the backsplash. Depending on the material and design of the laminate, options may include a fine-toothed handsaw, a jigsaw with a laminate-cutting blade, or a rotary tool equipped with a cutting bit. Choose a tool that allows for precise and controlled cutting.
-
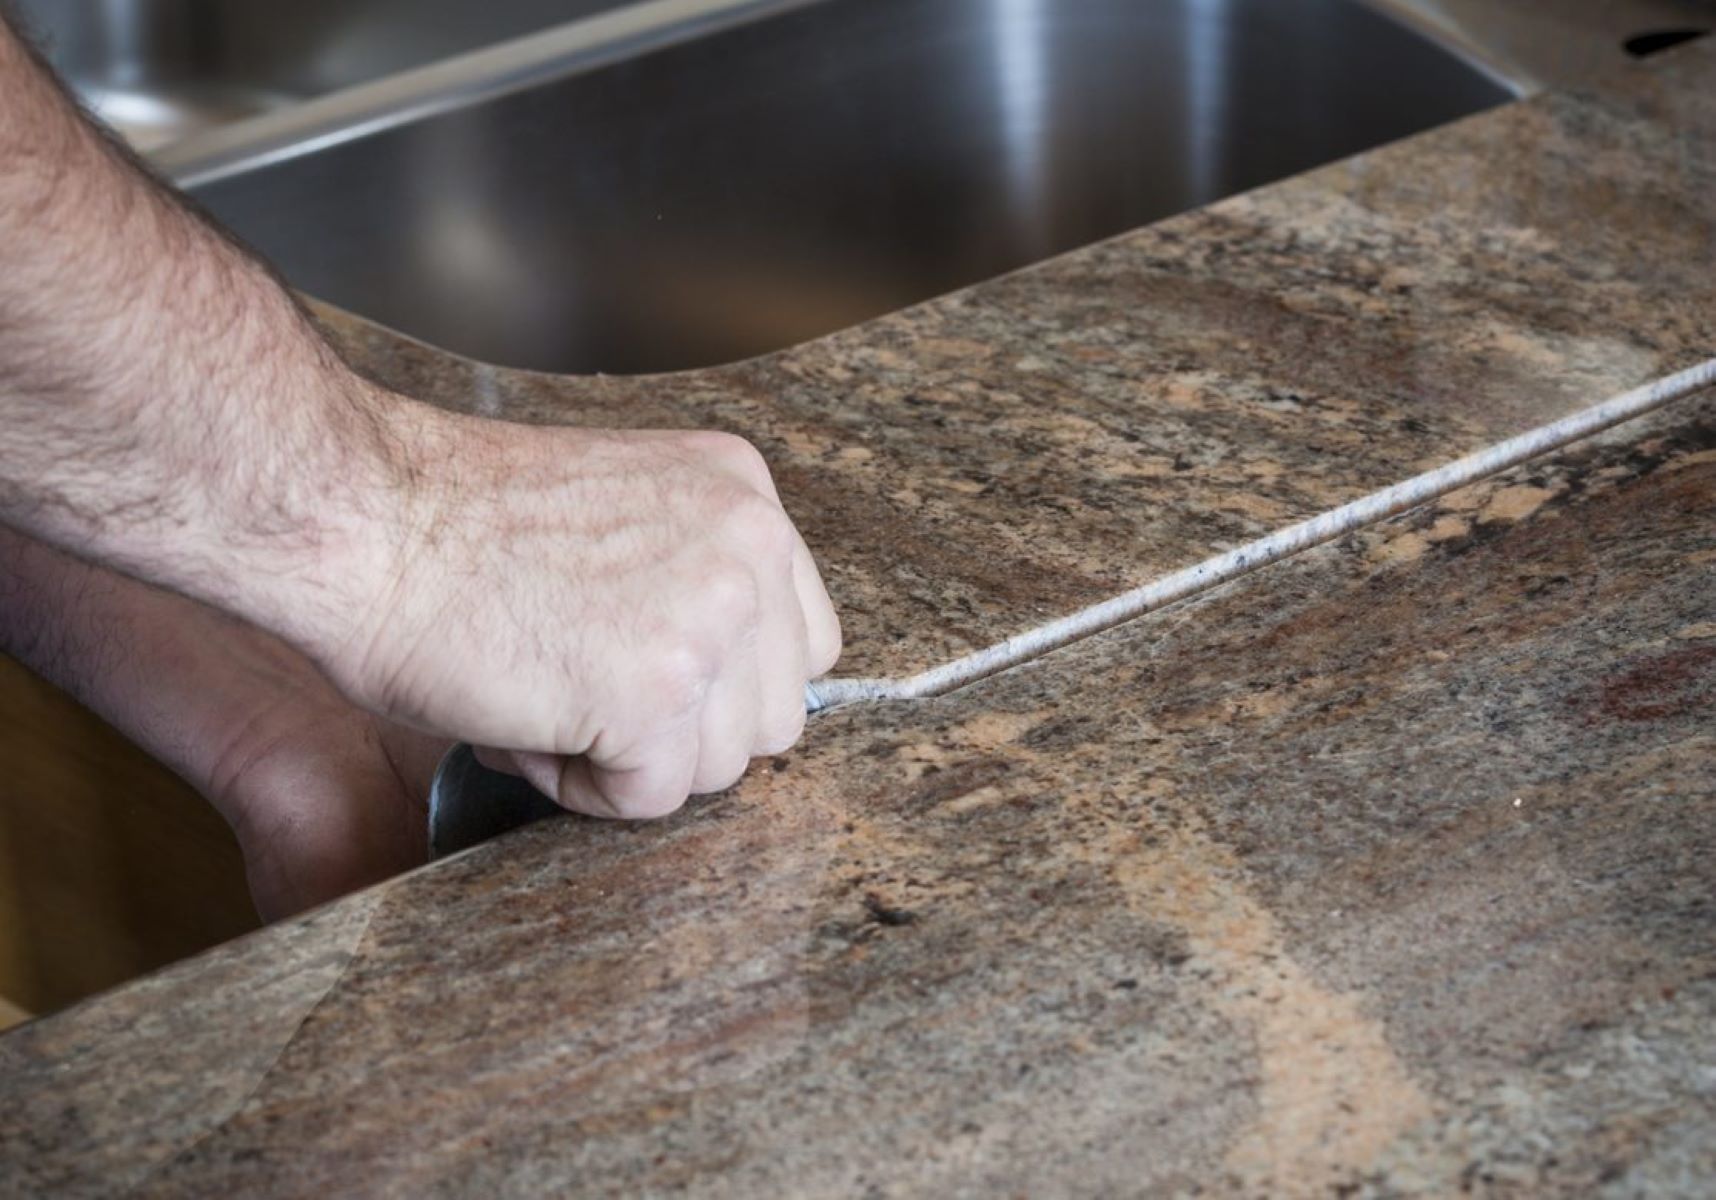
Executing the Trimming: With the cutting tool of choice, carefully trim along the marked lines, maintaining a steady hand and controlled movements. Take your time to ensure that the cuts are accurate and align with the intended design of the backsplash. If the backsplash features intricate patterns or edges, exercise caution to preserve these details during the trimming process.
-
Smoothing the Edges: Once the trimming is completed, use a file or sandpaper to smooth the edges of the trimmed backsplash. This step is essential for achieving a professional finish and ensuring that the trimmed area seamlessly integrates with the rest of the countertop.
-
Final Inspection: After smoothing the edges, inspect the trimmed backsplash to ensure that it aligns with the overall design and dimensions of the countertop. Verify that any patterns or decorative elements have been preserved and that the trimmed area complements the rest of the surface.
By following these detailed steps and approaching the task of trimming the backsplash with precision and care, you can achieve a customized laminate countertop with a seamlessly trimmed backsplash. This attention to detail contributes to a polished and professional outcome, enhancing the overall aesthetic appeal of the countertop within its designated space.
Finishing Touches and Clean Up
With the cutting and trimming stages successfully completed, the focus now shifts to the crucial phase of adding the finishing touches and conducting a thorough clean-up. This step is essential for ensuring that the laminate countertop with a backsplash achieves a professional and polished appearance, while also leaving the work area tidy and organized. Here's a detailed guide on how to approach the final touches and clean-up process:
Read more: How Do You Cut Laminate Countertops
Smoothing and Polishing
After the cutting and trimming processes, it's important to inspect the edges and surfaces of the laminate countertop and backsplash. Use a file or sandpaper to smooth any rough edges resulting from the cutting and trimming, ensuring that the edges are even and free from any imperfections. This step contributes to a refined and professional finish, enhancing the overall aesthetic appeal of the countertop.
Removing Masking Tape and Residue
Carefully remove the masking tape that was applied to the cutting and trimming lines. Take your time to peel off the tape, ensuring that it comes off cleanly and without leaving any adhesive residue on the laminate surface. If any residue remains, use a mild adhesive remover or rubbing alcohol to gently clean and restore the surface to its original state.
Cleaning the Work Area
With the cutting and trimming completed, it's time to conduct a thorough clean-up of the work area. Use a vacuum cleaner or shop vac to remove any dust, debris, and laminate shavings from the surrounding area. Pay attention to corners, crevices, and the supporting surface to ensure that the workspace is left clean and free from any remnants of the cutting and trimming processes.
Inspecting and Final Adjustments
Once the clean-up is complete, take a moment to inspect the entire laminate countertop and backsplash. Verify that all cuts and trims align with the intended measurements and design, and make any final adjustments if necessary. This inspection ensures that the countertop is ready for installation and seamlessly integrates into its designated space.
Read more: What Are Laminate Countertops
Storing Tools and Materials
After the project is finished, carefully store all tools and materials in their designated places. Properly organizing and storing the tools ensures that they remain in good condition and readily accessible for future projects, contributing to a well-maintained and efficient workspace.
By meticulously attending to the finishing touches and conducting a thorough clean-up, you elevate the overall quality of the laminate countertop with a backsplash. This attention to detail and cleanliness not only enhances the visual appeal of the finished product but also contributes to a safe, organized, and professional work environment. With the finishing touches complete and the work area tidied, you are now ready to admire your handiwork and proceed with the installation of the customized laminate countertop.
Conclusion
In conclusion, mastering the art of cutting a laminate countertop with a backsplash is a valuable skill that empowers homeowners and DIY enthusiasts to customize their living spaces with precision and creativity. This comprehensive guide has provided a detailed roadmap for navigating the intricate process of cutting and trimming a laminate countertop, from meticulous measurements and precise markings to the execution of clean and accurate cuts. By following the step-by-step instructions and leveraging the right tools and techniques, individuals can achieve professional-looking results while saving time and resources.
The journey of cutting a laminate countertop with a backsplash is not merely a practical endeavor; it is a testament to the transformative power of home renovation. It represents an opportunity to infuse personal style and functionality into the heart of the home, creating a space that reflects individual tastes and meets specific needs. Whether it's revamping a kitchen, upgrading a bathroom, or embarking on a custom project, the ability to tailor a laminate countertop to fit seamlessly into its environment is a rewarding and empowering endeavor.
Furthermore, the process of cutting a laminate countertop with a backsplash embodies the spirit of craftsmanship and attention to detail. It requires patience, precision, and a keen eye for design, culminating in a finished product that exudes quality and sophistication. From the initial measurements to the final touches, each step contributes to the creation of a customized countertop that elevates the aesthetic appeal of the space and enhances its functionality.
As individuals embark on their own laminate countertop cutting projects, they are not only honing their DIY skills but also embracing the art of home improvement. This journey fosters a sense of accomplishment and pride, as individuals witness their vision materialize into a tangible and impactful addition to their living environment. It is a testament to the transformative power of hands-on creativity and the ability to shape one's surroundings according to personal preferences and aspirations.
In essence, the process of cutting a laminate countertop with a backsplash transcends the realm of practicality; it embodies the essence of self-expression, ingenuity, and the pursuit of a living space that is truly one's own. By mastering this skill, individuals unlock the potential to craft personalized and functional countertops that seamlessly integrate into their homes, leaving a lasting impression and a sense of fulfillment.
Frequently Asked Questions about How To Cut Laminate Countertop With Backsplash
Was this page helpful?
At Storables.com, we guarantee accurate and reliable information. Our content, validated by Expert Board Contributors, is crafted following stringent Editorial Policies. We're committed to providing you with well-researched, expert-backed insights for all your informational needs.


0 thoughts on “How To Cut Laminate Countertop With Backsplash”