Articles
How To Put Laminate On Countertops
Modified: December 7, 2023
Learn how to put laminate on countertops with these helpful articles. Transform your outdated countertops into a modern and stylish surface.
(Many of the links in this article redirect to a specific reviewed product. Your purchase of these products through affiliate links helps to generate commission for Storables.com, at no extra cost. Learn more)
Introduction
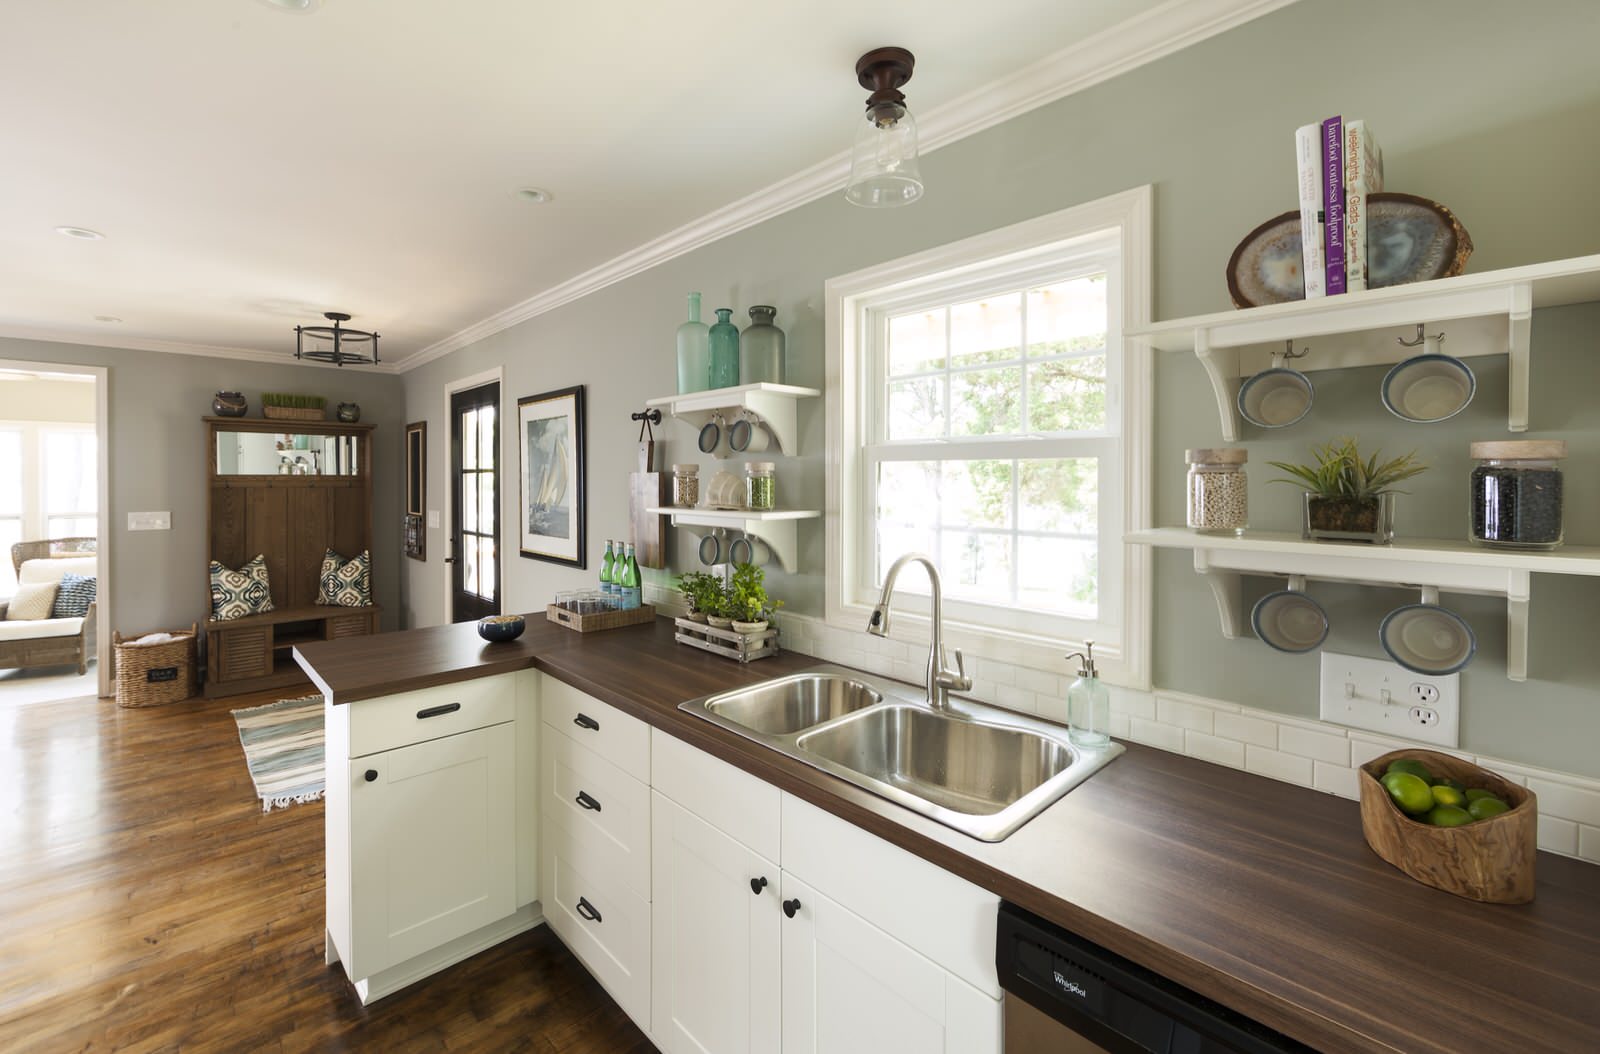
Are you tired of your old, worn-out countertops? Looking for an affordable and effective way to give your kitchen or bathroom a fresh new look? Look no further! In this article, we will guide you through the process of putting laminate on countertops, a DIY project that can transform your space without breaking the bank.
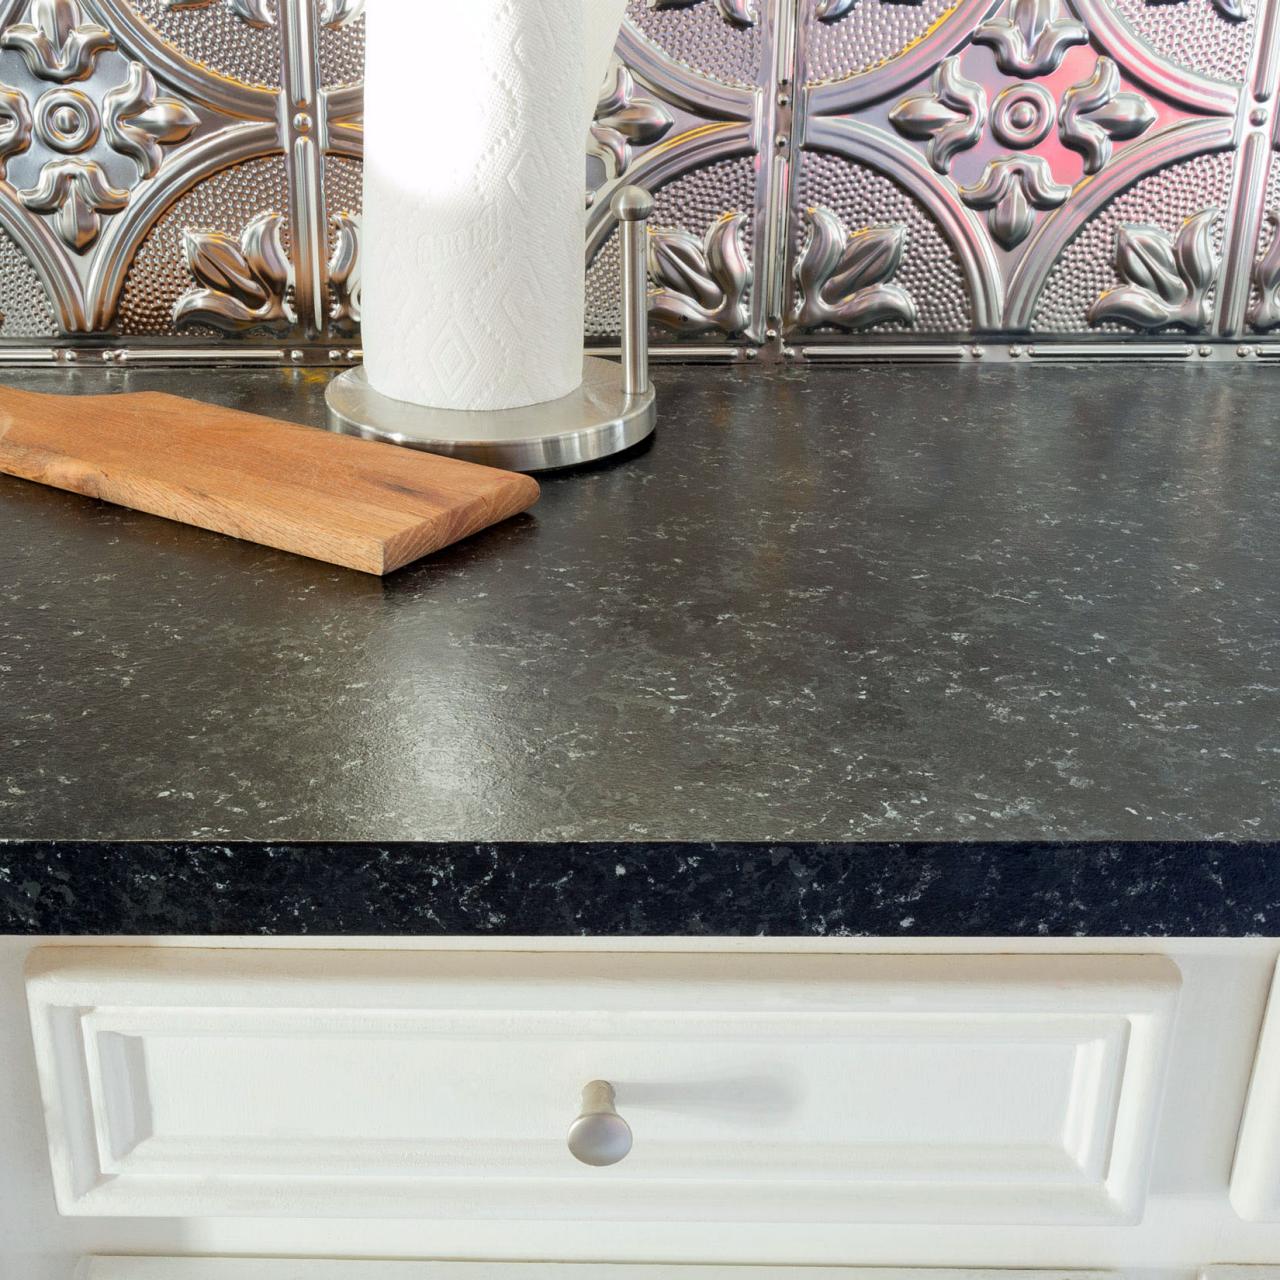
Laminate countertops are a popular choice due to their durability, cost-effectiveness, and wide range of design options. Whether you prefer a sleek and modern look or a more traditional aesthetic, laminates offer versatility and versatility. Plus, installing laminate countertops is a project that you can easily tackle on your own with the right materials and guidance.
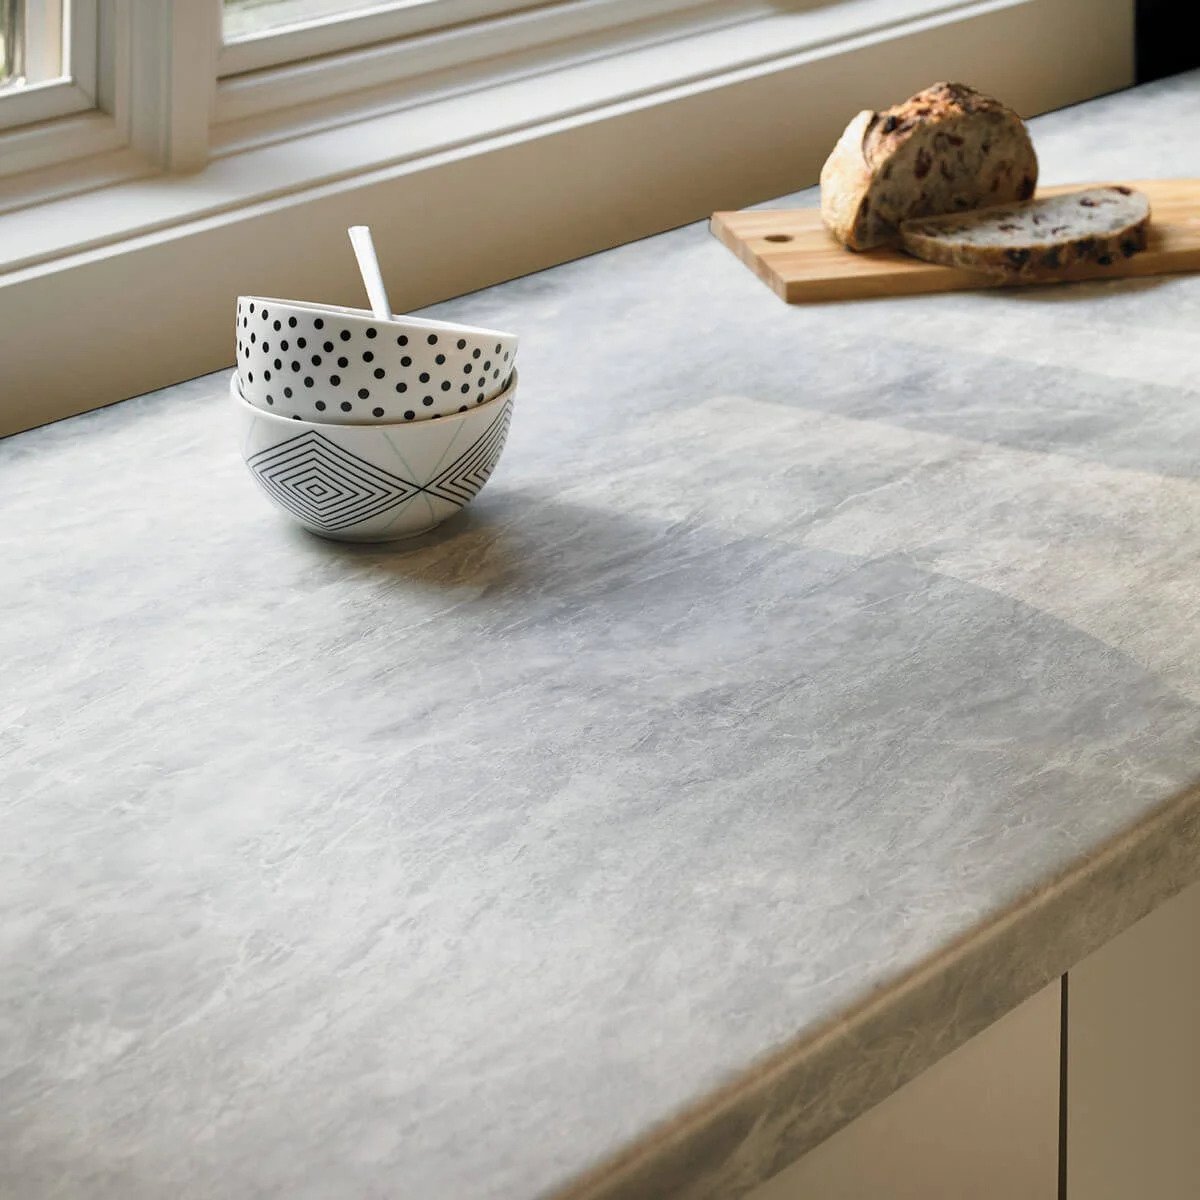
Before we dive into the step-by-step process, let’s first understand the benefits of using laminate for your countertops. Laminate is a synthetic material made from layers of resin, paper, and melamine. It is known for its resistance to staining, scratching, and heat, making it ideal for high-traffic areas like kitchens. The wide variety of colors, patterns, and textures available in laminate allows you to achieve the look of more expensive materials, such as granite or marble, at a fraction of the cost.
Now that you have a better understanding of laminate countertops, let’s get started with the installation process. Remember, thorough preparation and attention to detail are essential for a successful outcome. So, roll up your sleeves and get ready to give your countertops a fantastic makeover!
Key Takeaways:
- Transform your kitchen or bathroom with affordable and durable laminate countertops. Follow the step-by-step guide for a DIY project that adds value to your home and reflects your personal style.
- Achieve a professional and flawless installation by paying attention to detail, from removing the old countertop to applying adhesive and adding finishing touches. Enjoy a refreshed and vibrant space with your new laminate countertops.
Read more: How To Update Laminate Countertops
Step 1: Removing Existing Countertop
Before you can begin the process of installing laminate on your countertops, you’ll need to remove the existing countertop. This step is crucial to ensure a smooth and level surface for the new laminate. Here’s how:
- Start by clearing off your countertop and removing any appliances or items that may be in the way.
- Next, shut off the water supply and disconnect any plumbing fixtures, such as sinks and faucets. Be sure to turn off the electricity to any outlets near the countertop as well.
- Using a screwdriver or drill, remove any screws or brackets that are holding the countertop in place. If your countertop is attached with adhesive, gently pry it away from the base using a putty knife or scraper.
- Take your time when removing the countertop to avoid damaging the surrounding cabinets or walls. It’s a good idea to have a helper to assist you with lifting and maneuvering the countertop out of the space.
- Once the countertop is removed, inspect the base for any damages or repairs that may be needed. Repair any cracks, gaps, or uneven areas before proceeding with the installation.
Removing the existing countertop can be a bit time-consuming and physically demanding, but it’s an important step in ensuring a successful laminate installation. Take your time and be cautious to avoid any unnecessary damage or mishaps.
Step 2: Preparing the Surface
Once you have removed the existing countertop, the next step is to prepare the surface for the installation of laminate. Proper preparation is crucial in ensuring a secure and long-lasting bond between the laminate and the base. Here’s what you need to do:
- Clean the base: Thoroughly clean the base where the new laminate will be applied. Remove any dirt, dust, or debris using a mild detergent and water. Ensure the surface is completely dry before moving to the next step.
- Level the surface: Use a level to check if the base is level and make any necessary adjustments. Uneven surfaces can cause the laminate to buckle or warp over time. Use shims or a leveling compound to achieve a smooth and level surface.
- Fill in gaps: Inspect the base for any gaps or cracks and fill them in with a filler compound. Smooth out the filler with a putty knife and allow it to dry completely. Sand the filled areas to ensure a seamless and even surface.
- Remove any protrusions: Check for any protrusions on the base, such as nails, staples, or screws. Use pliers or a screwdriver to remove them to create a flat and smooth surface.
- Apply a primer: To ensure proper adhesion, apply a primer to the base. This will create a strong bond between the laminate and the surface. Follow the manufacturer’s instructions for application and drying time.
By properly preparing the surface before installing the laminate, you are laying the foundation for a successful and durable countertop. Take the time to clean, level, and prime the base to ensure a flawless installation.
Step 3: Measuring and Cutting the Laminate
After preparing the surface for the laminate installation, it’s time to measure and cut the laminate sheets to fit your countertops. Accurate measurements and careful cutting are essential for a seamless and professional-looking finish. Follow these steps:
- Measure the countertops: Use a measuring tape to measure the length and width of your countertops. Be sure to account for any overhang you desire.
- Add an allowance: Once you have your measurements, add a small allowance to each side to ensure a proper fit. This will account for any discrepancies or adjustments needed during installation.
- Transfer measurements to the laminate: Place the laminate sheet on a flat and stable surface. Use a straightedge or ruler to mark the measurements directly onto the laminate. Double-check your measurements before proceeding.
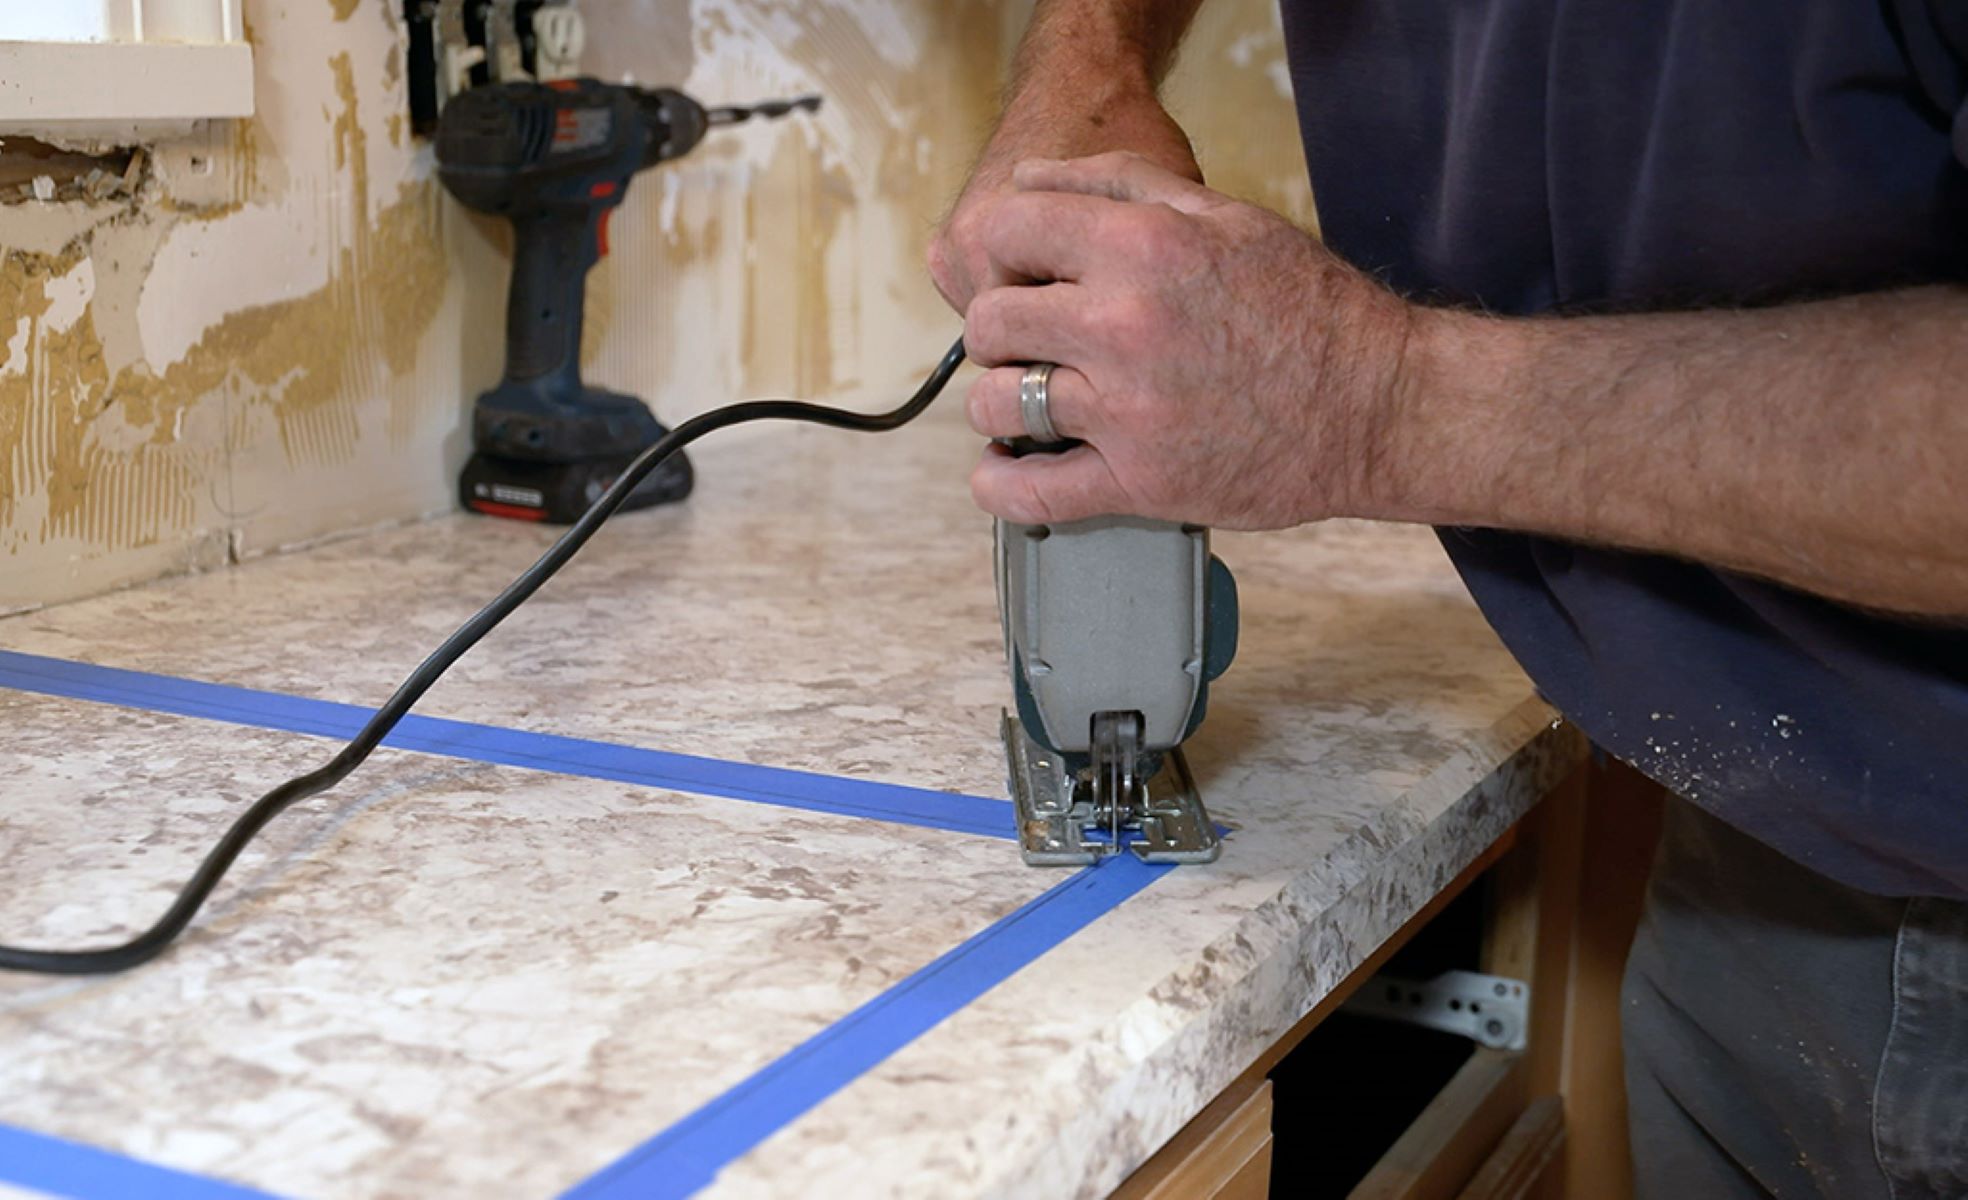
- Cut the laminate: Using a circular saw or a laminate cutter, carefully cut the laminate along the marked lines. Take your time and use steady, even pressure to achieve clean and precise cuts.
- Trim any excess: Once the laminate is cut to size, check the fit on your countertops. If there are any areas that need trimming or adjusting, use a router or laminate trimmer to make precise cuts.
It’s important to handle the laminate sheets with care during the cutting process to avoid any accidental damage. Make sure to wear safety goggles and follow all safety guidelines provided by the manufacturer when using power tools.
By accurately measuring and cutting the laminate, you are ensuring that it fits perfectly onto your countertops, creating a polished and professional appearance.
Step 4: Applying the Adhesive
Now that you have your laminate sheets cut to size, it’s time to apply adhesive to the surface in preparation for adhering the laminate. The adhesive is what will create a strong bond between the laminate and the countertop base. Follow these steps to apply the adhesive:
- Choose the right adhesive: Select a high-quality laminate adhesive that is specifically designed for countertop installation. Follow the manufacturer’s instructions to ensure you choose the correct type and apply it properly.
- Prepare the adhesive: Mix the adhesive according to the manufacturer’s instructions, if required. Some adhesives come ready to use, while others may need to be mixed with water or a solvent.
- Apply the adhesive: Using a paintbrush or a laminate roller, evenly apply a thin layer of adhesive onto the countertop base. Ensure that the entire surface is covered, paying extra attention to the edges and corners.
- Allow for drying time: Follow the manufacturer’s guidelines on the required drying time for the adhesive. It’s essential to let the adhesive set and become tacky before placing the laminate onto it.
During the adhesive application process, it’s crucial to work efficiently to prevent the adhesive from drying too quickly. Refer to the manufacturer’s instructions for any specific requirements or recommendations for the particular adhesive you are using.
By properly applying the adhesive, you are ensuring a strong and secure bond between the laminate and the countertop base, which will contribute to the longevity and durability of your new laminate countertops.
When applying laminate to countertops, be sure to use a high-quality contact cement and apply it evenly to both the countertop and the laminate. This will ensure a strong and durable bond.
Read more: What Are Laminate Countertops
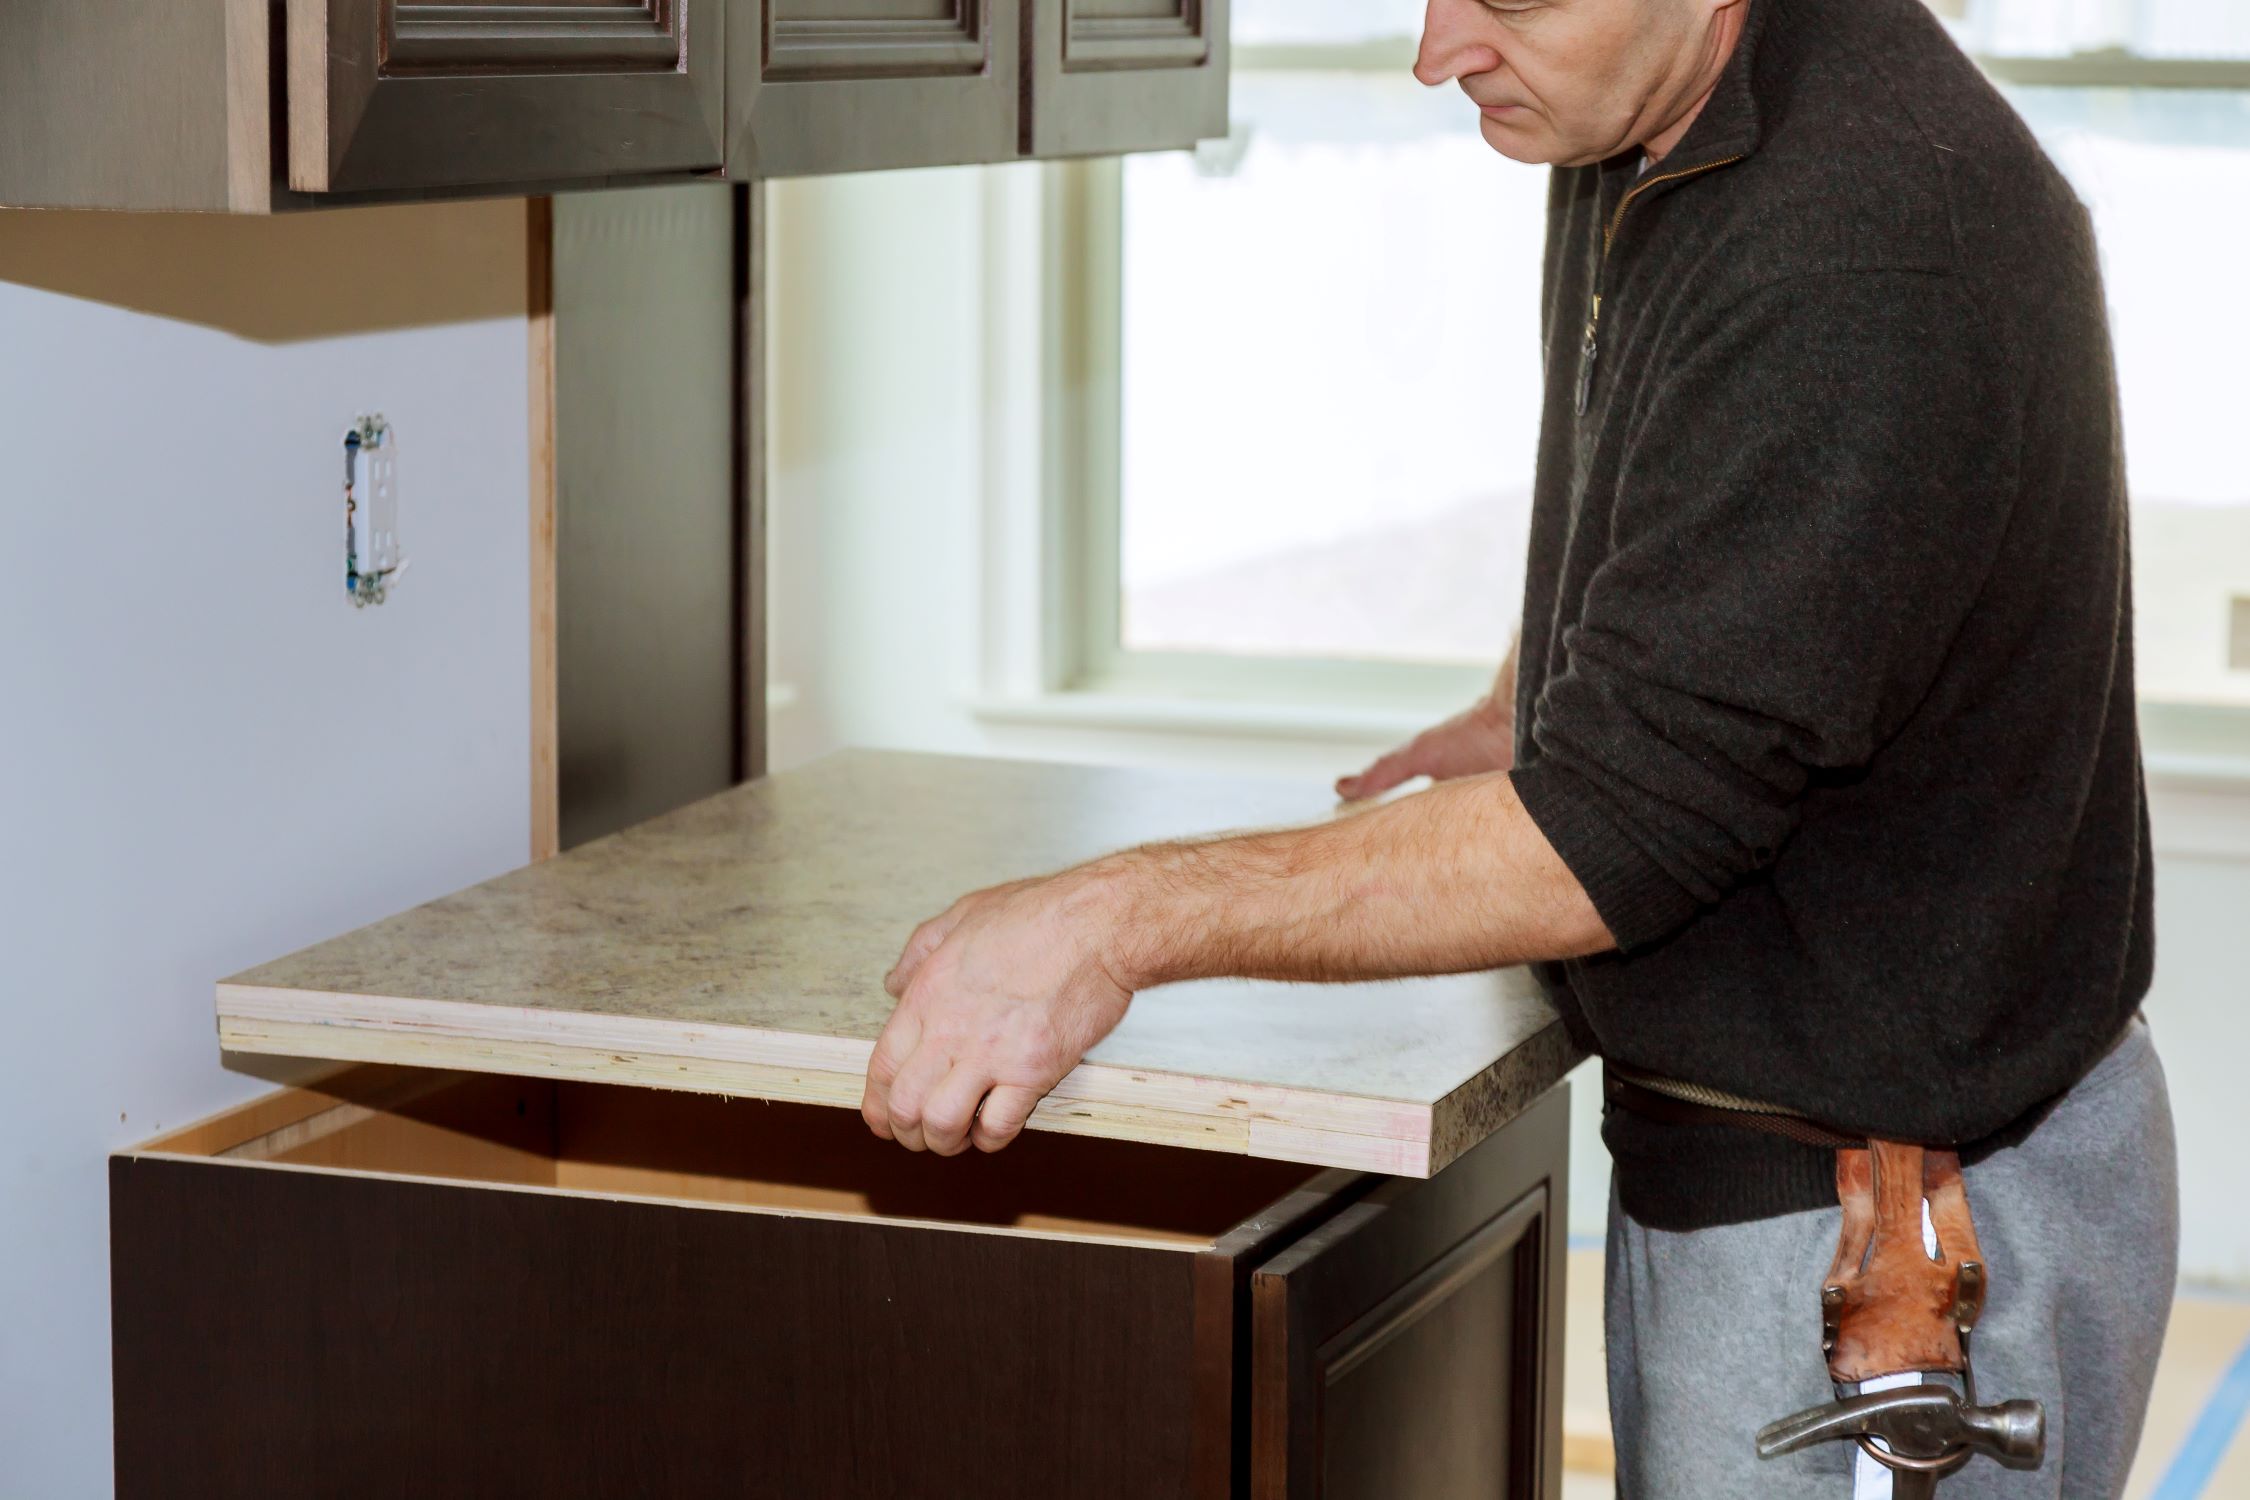
Step 5: Placing the Laminate on the Countertop
Now that the adhesive has been applied, it’s time to carefully place the laminate sheets onto the countertop. This step requires precision and attention to detail to ensure a proper fit and a seamless finish. Follow these steps:
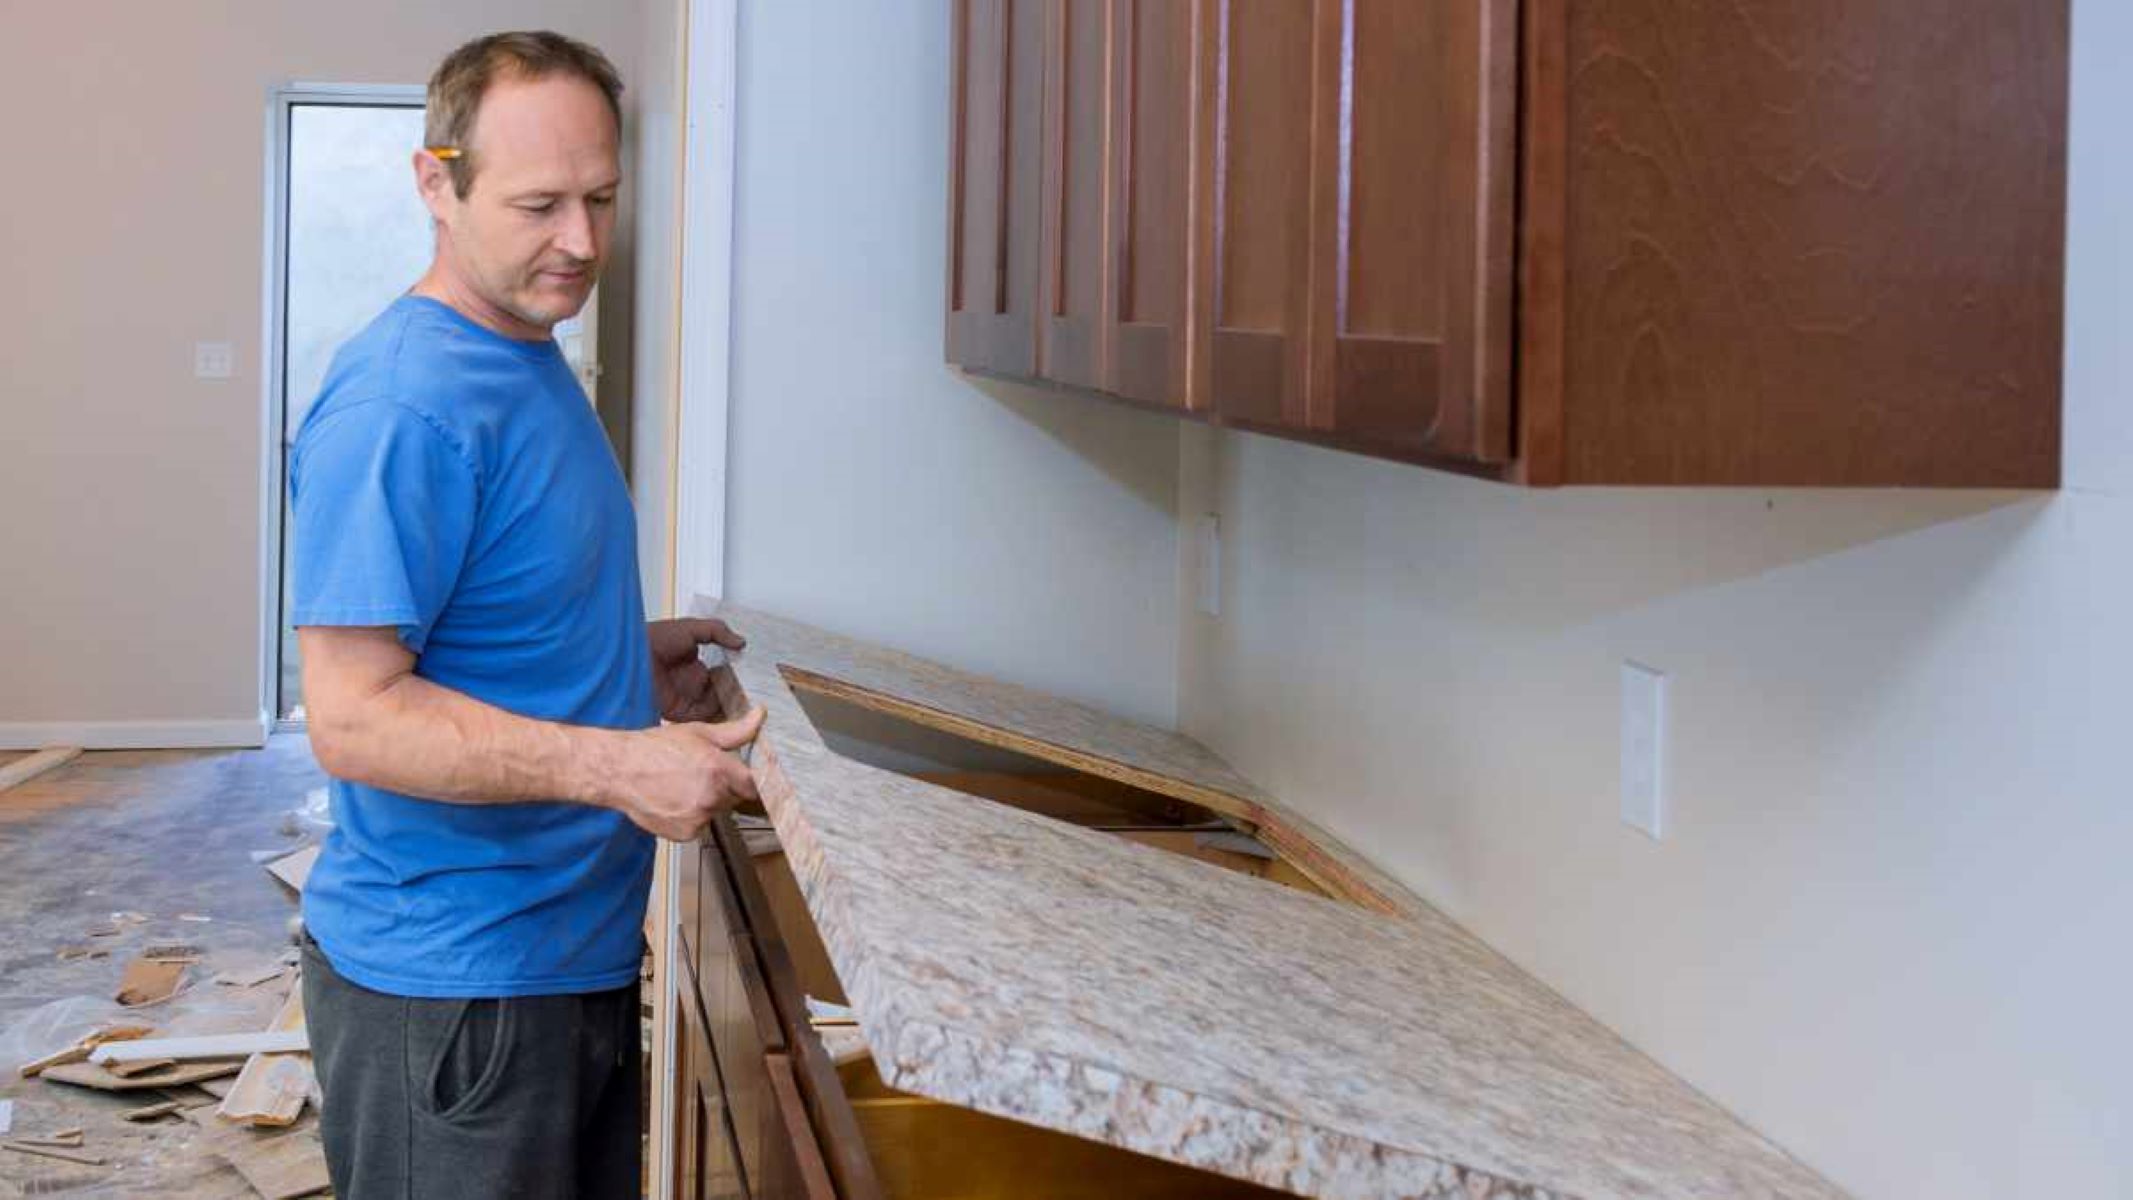
- Start with one section: Begin by placing one section of the laminate onto the adhesive, starting at one end of the countertop. Use gentle pressure to press the laminate onto the adhesive, ensuring it adheres evenly.
- Work in small sections: Slowly work your way across the countertop, pressing the laminate onto the adhesive in small sections. Take your time to smooth out any air bubbles or wrinkles as you go.
- Use a laminate roller: To ensure a secure and even bond, use a laminate roller to firmly roll over the surface of the laminate. This will help to eliminate any trapped air and ensure good contact between the laminate and the adhesive.
- Trim excess laminate: If there is excess laminate hanging over the edges of the countertop, use a router or laminate trimmer to carefully trim it off. Take care to follow the countertop’s edge and create a neat and precise finish.
- Clean up any adhesive: As you work, be sure to clean up any adhesive that may have squeezed out from under the laminate. Use a damp cloth or sponge to wipe away any excess adhesive before it dries.
It’s important to handle the laminate sheets gently during this step to avoid any damage or misalignment. Take your time and work slowly to ensure a smooth and professional-looking finish.
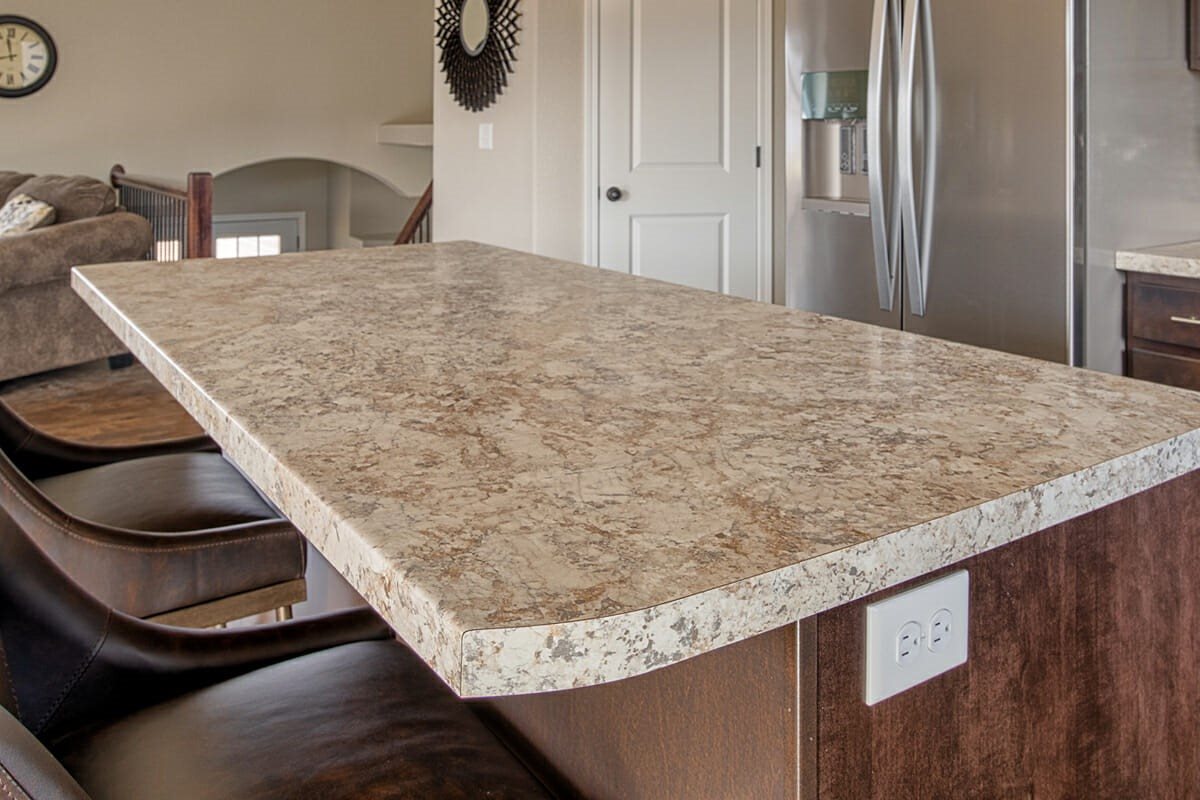
By properly placing the laminate onto the countertop, you are bringing your vision to life and creating a beautiful and functional surface for your kitchen or bathroom.
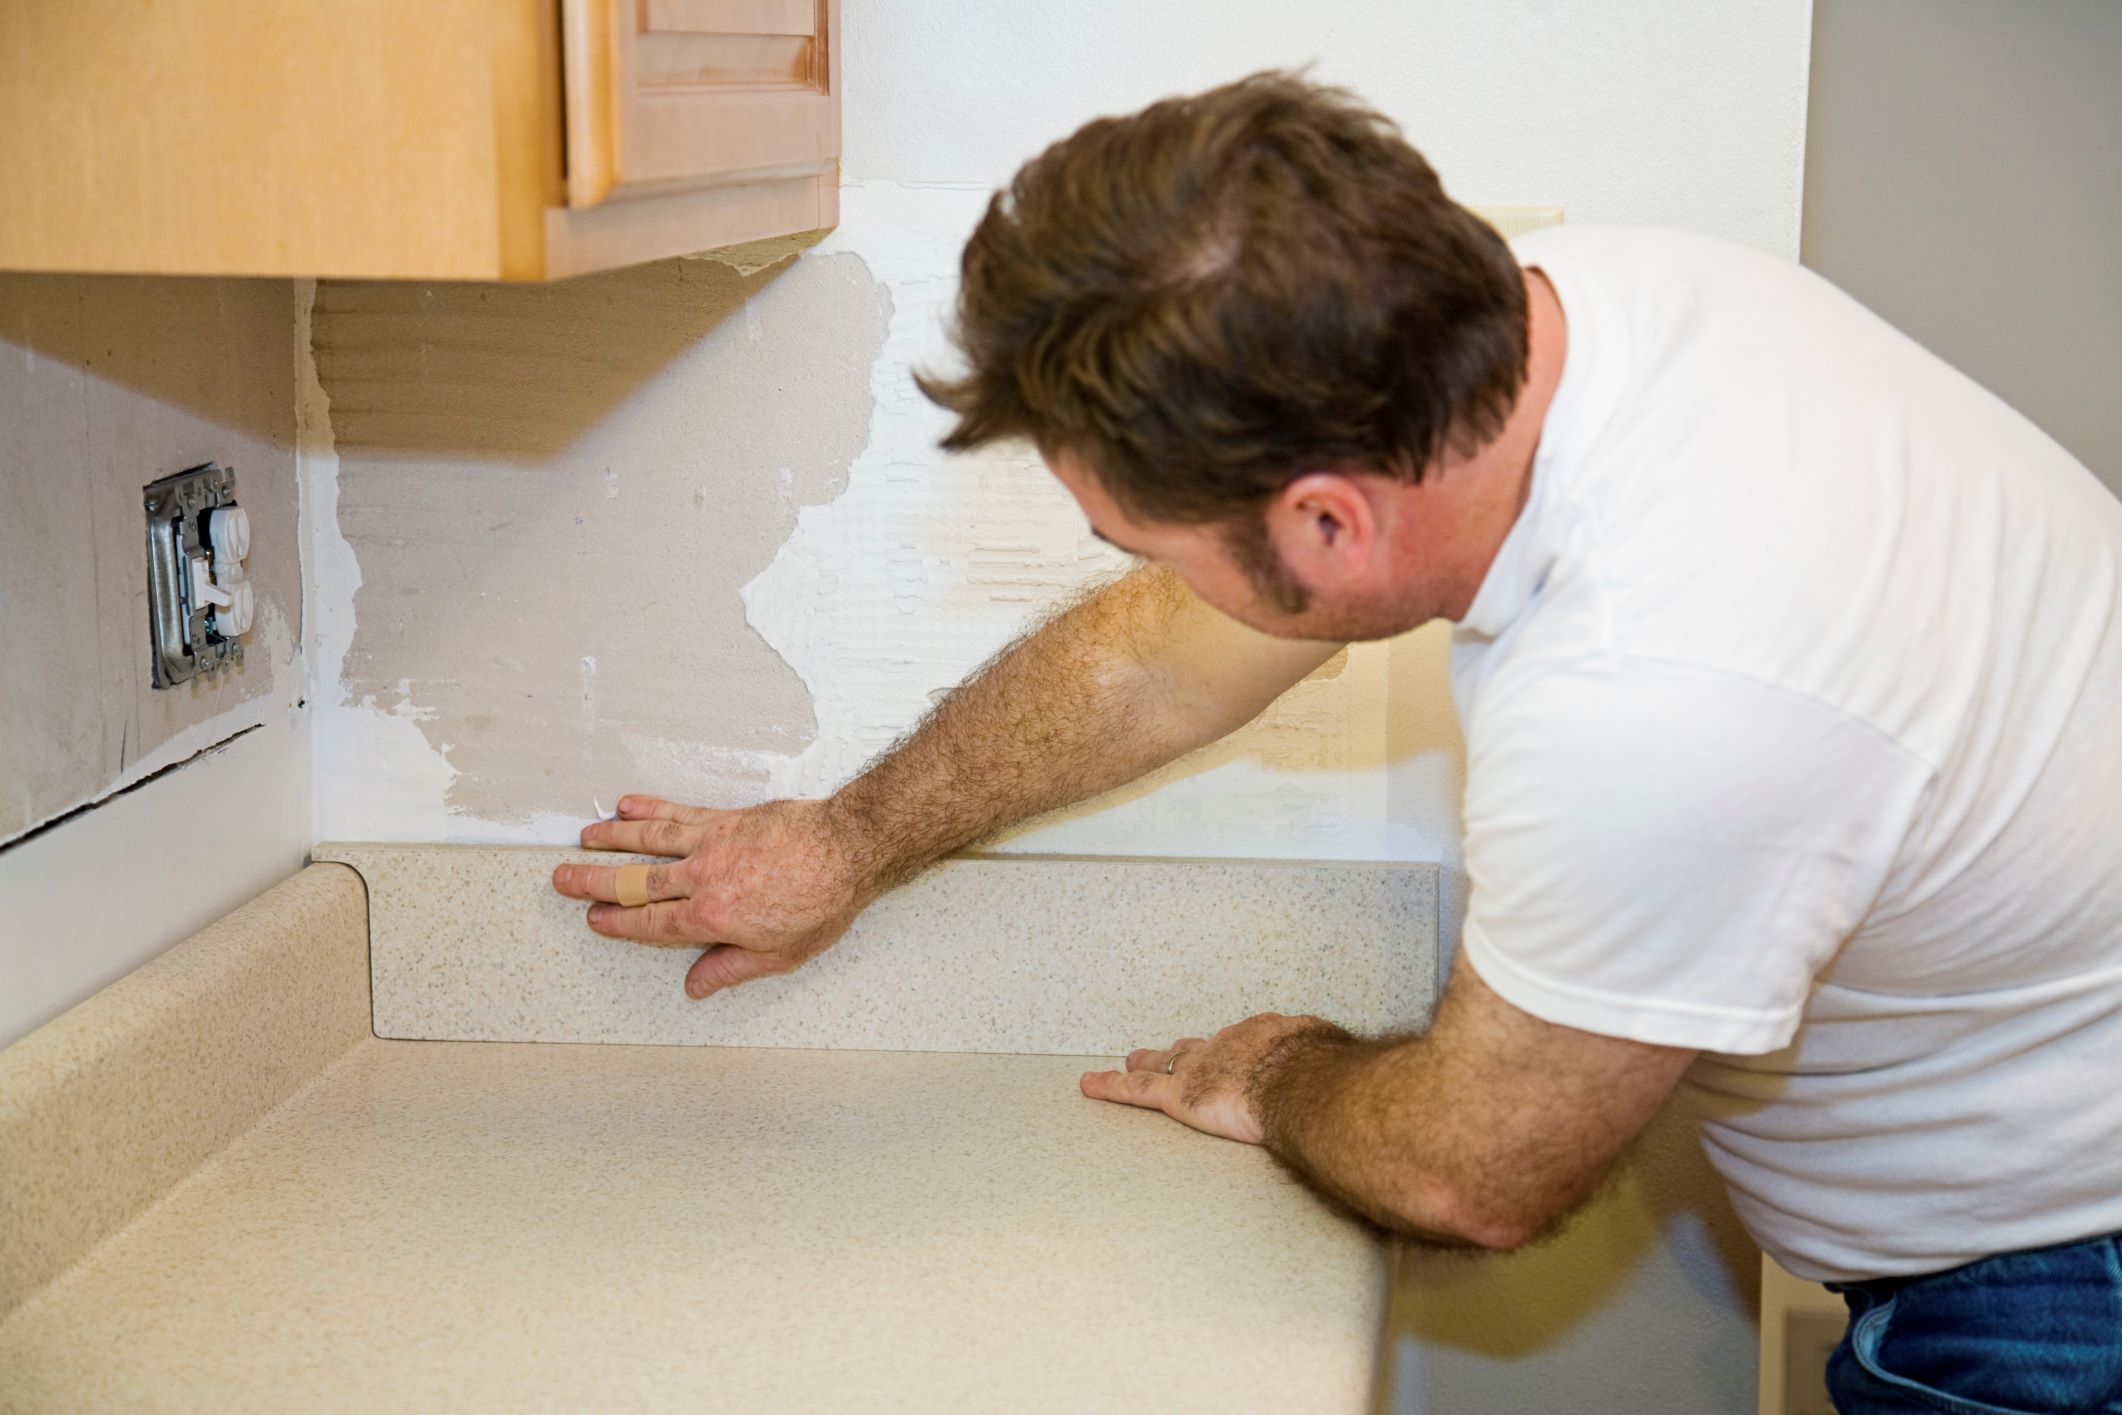
Step 6: Trimming and Finishing the Edges
After placing the laminate sheets onto the countertop, the next step is to trim and finish the edges. This will give your countertops a polished and professional appearance. Follow these steps to achieve clean and well-finished edges:
- Measure the edges: Use a measuring tape to measure the length of each edge that needs to be trimmed. Add a small allowance to ensure a proper fit.
- Cut the edge strips: Using a laminate cutter or a fine-toothed saw, cut the edge strips to the measured lengths. Ensure that the cuts are clean and straight.
- Apply adhesive to the edges: Apply adhesive to the backside of the edge strips, following the manufacturer’s instructions. Be sure to cover the entire surface evenly.
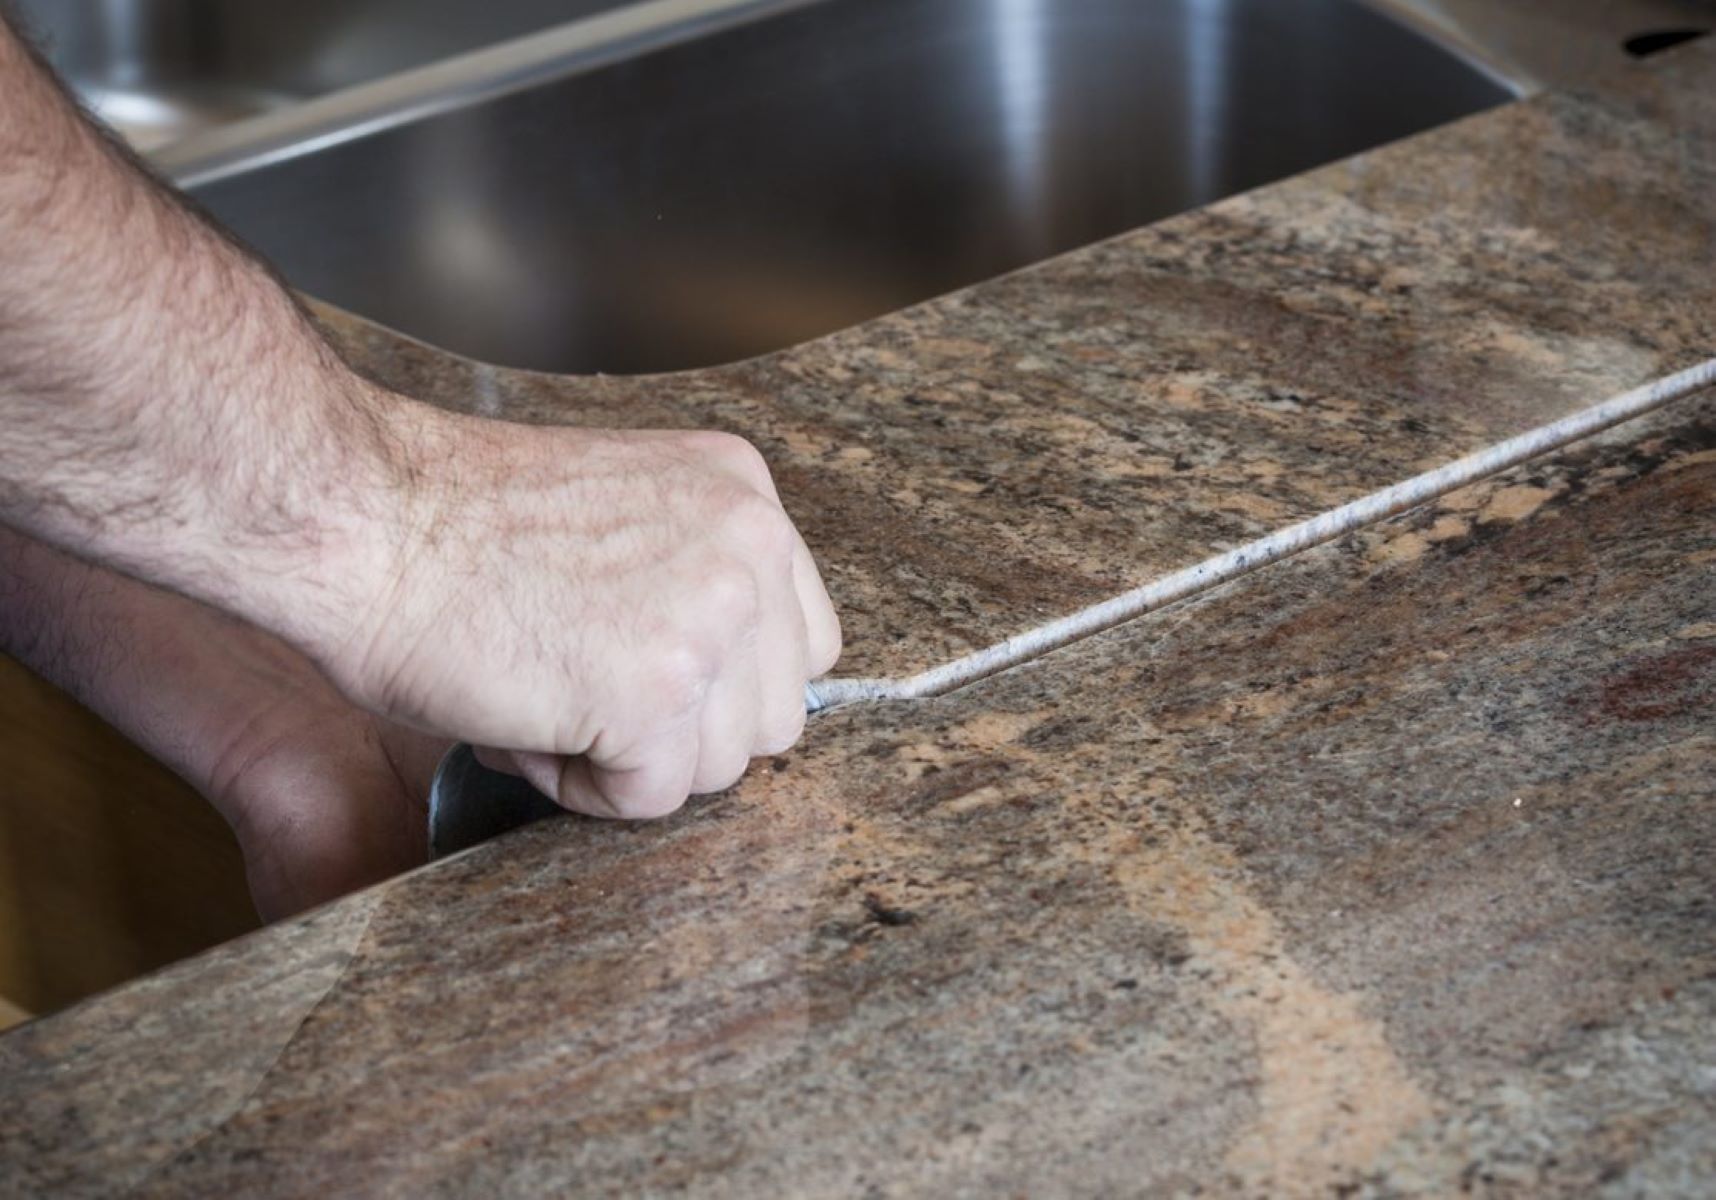
- Align and press the edge strips: Carefully align the edge strips with the edge of the laminate on the countertop. Apply firm and even pressure to secure the strips onto the laminate and the countertop base.
- Trim any excess: If any edge strips extend beyond the desired length, use a laminate trimmer or router to trim them to the correct size. Take your time to achieve clean and precise cuts.
- Smooth the edges: Use a file or sandpaper to smooth the edges of the laminate and the edge strips. This will eliminate any roughness and create a seamless transition.
During the trimming and finishing process, it’s important to pay attention to detail and work slowly to achieve precise cuts and seamless edges. Take the time to ensure that everything is aligned and well-finished.
By trimming and finishing the edges, you are adding the final touches to your laminate countertops, creating a professional and polished appearance that enhances the overall look of your kitchen or bathroom.
Step 7: Finalizing the Installation
Congratulations! You’re almost done with the installation of laminate on your countertops. The final step involves completing a few finishing touches to ensure a flawless and long-lasting result. Follow these steps to finalize the installation:
- Clean the countertops: Use a mild detergent and water to clean the laminate surfaces, removing any adhesive residue or dust. Dry the countertops thoroughly before proceeding.
- Seal the edges (optional): If desired, you can apply a laminate edge sealer to the exposed edges of the laminate. This will provide added protection and prevent moisture from seeping into the laminate.
- Reconnect plumbing fixtures: Once the adhesive and sealant have fully dried, reconnect any plumbing fixtures, such as sinks and faucets. Ensure that all connections are secure and leak-free.
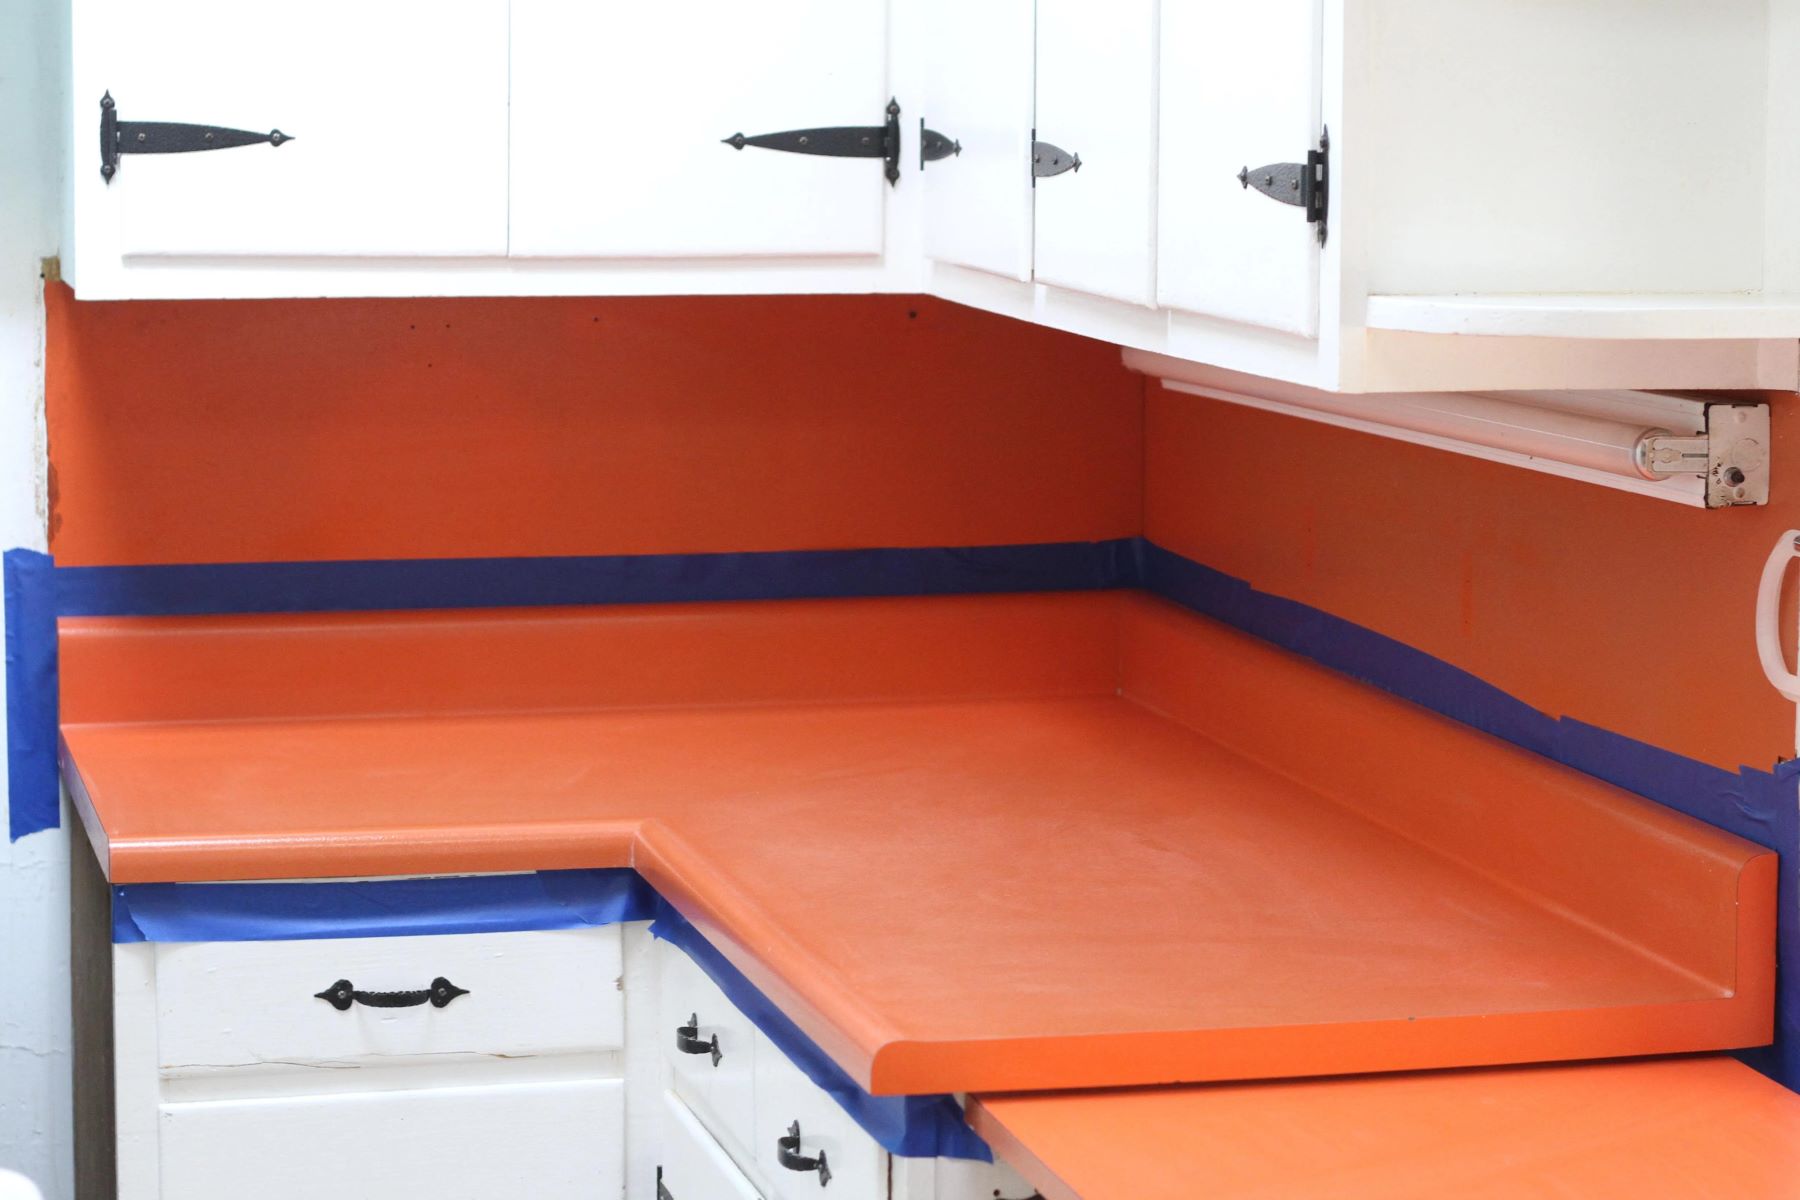
- Apply caulk (if needed): If there are gaps between the countertop and the wall, you may need to apply a bead of caulk to create a clean and finished look. Choose a caulk color that closely matches the laminate for a seamless appearance.
- Enjoy your new countertops: With the installation complete, it’s time to enjoy your newly transformed kitchen or bathroom! Place your countertop accessories and appliances back in their respective spots and admire the refreshed and updated look.
It’s important to note that proper care and maintenance of your new laminate countertops will help prolong their lifespan. Follow the manufacturer’s guidelines for cleaning and avoid using abrasive cleaners or harsh chemicals that could damage the laminate surface.
By completing these final steps, you can take pride in the successful installation of laminate on your countertops. The careful attention to detail and finishing touches will reward you with a beautiful and functional space for years to come.
Conclusion
Installing laminate on countertops is an excellent way to give your kitchen or bathroom a fresh new look without breaking the bank. By following the step-by-step guide outlined in this article, you can successfully transform your outdated countertops into stylish and durable surfaces.
Throughout the process, proper preparation, accurate measurements, and careful attention to detail are crucial. From removing the existing countertop to applying the adhesive, placing the laminate, and trimming the edges, each step plays a pivotal role in achieving a professional and flawless installation.
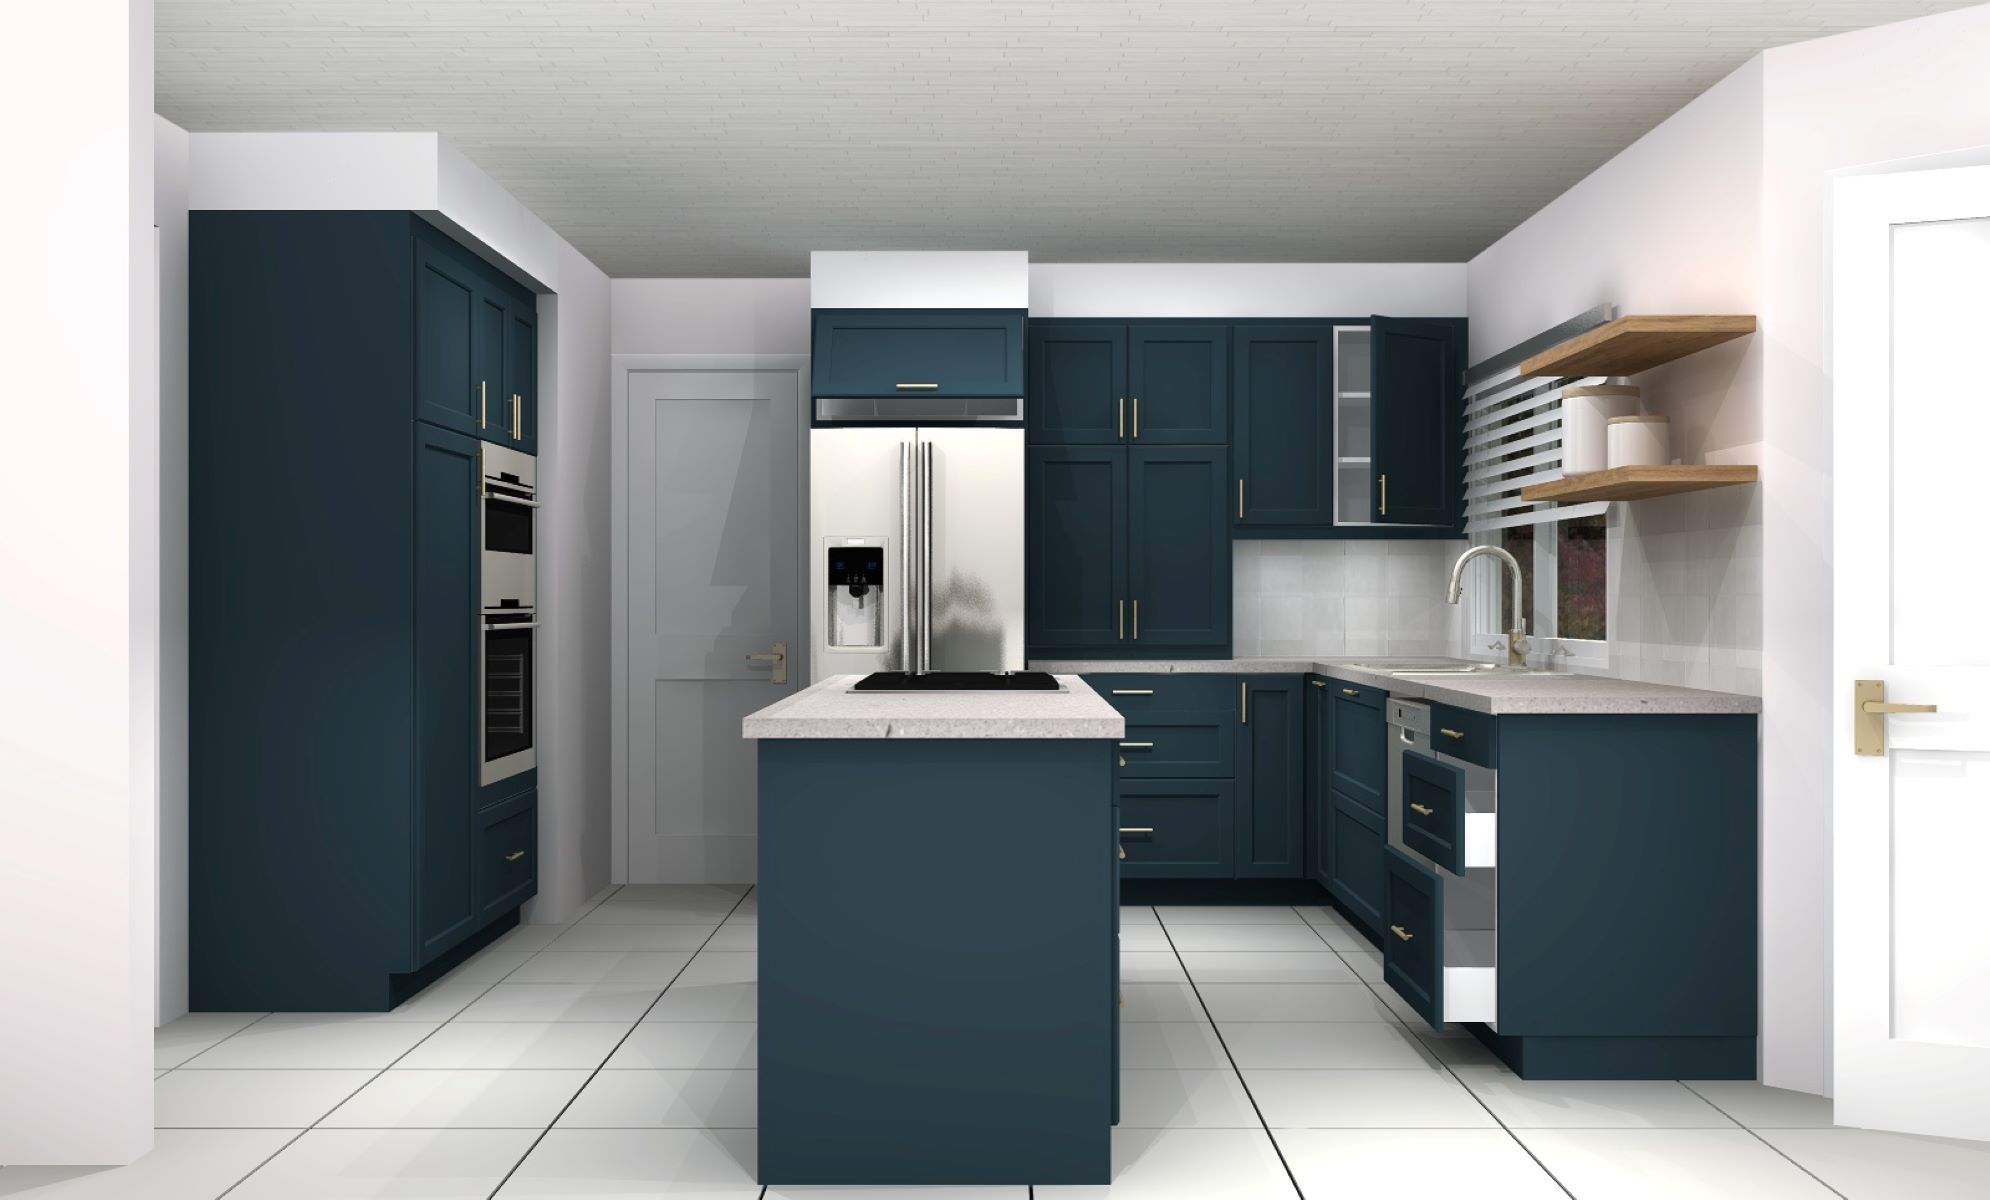
Laminate countertops offer a wide range of design options, making it easy to find a style that suits your personal taste and complements your space. Whether you prefer a modern and sleek look or a more traditional appearance, laminate provides versatility and affordability.
Remember to take care of your laminate countertops by following the manufacturer’s instructions for cleaning and maintenance. Avoid using abrasive cleaners or harsh chemicals that could damage the surface and regularly clean up any spills or stains to keep them looking fresh and vibrant.
By successfully installing laminate on your countertops, you have not only transformed the appearance of your kitchen or bathroom but also added value to your home. The durability and cost-effectiveness of laminate make it a practical choice for busy households.
So, roll up your sleeves, gather the necessary materials, and get ready to embark on this rewarding and creative DIY project. With the guidance provided in this article, you’ll be able to confidently put laminate on your countertops and enjoy the beauty and functionality it brings to your space.
Frequently Asked Questions about How To Put Laminate On Countertops
Was this page helpful?
At Storables.com, we guarantee accurate and reliable information. Our content, validated by Expert Board Contributors, is crafted following stringent Editorial Policies. We're committed to providing you with well-researched, expert-backed insights for all your informational needs.


0 thoughts on “How To Put Laminate On Countertops”