
Articles
How To Cut Laminate Countertop For Sink
Modified: August 28, 2024
Learn how to cut a laminate countertop for a sink with step-by-step instructions. Our articles will guide you through the process seamlessly.
(Many of the links in this article redirect to a specific reviewed product. Your purchase of these products through affiliate links helps to generate commission for Storables.com, at no extra cost. Learn more)
Introduction
When it comes to remodeling your kitchen or bathroom, installing a new sink can make a significant difference in both functionality and aesthetics. However, if you’re working with a laminate countertop, you may need to cut a hole to accommodate the sink. While it may sound like a daunting task, with the right tools and techniques, you can successfully cut a laminate countertop for a sink installation.
In this article, we will guide you through the step-by-step process of cutting a laminate countertop for a sink. By following these instructions, you can ensure a precise and professional-looking cut without damaging the integrity of the countertop material.
Before we jump into the cutting process, let’s go over the tools and materials you’ll need:
Key Takeaways:
- Precision is key when cutting a laminate countertop for a sink. Accurate measurements, careful marking, and steady cutting with the right tools are crucial for a professional-looking result.
- Smoothing out rough edges and proper sink installation are essential for a seamless finish. Attention to detail and patience are key for a successful DIY project.
Tools and Materials Needed
- Measuring tape
- Pencil
- Drill
- Countersink bit
- Jigsaw
- Fine-toothed laminate cutting blade
- Masking tape
- File or sandpaper
Now that you have gathered all the necessary tools and materials, you’re ready to begin the countertop cutting process. Remember to always wear protective eyewear and gloves to ensure your safety throughout the process.
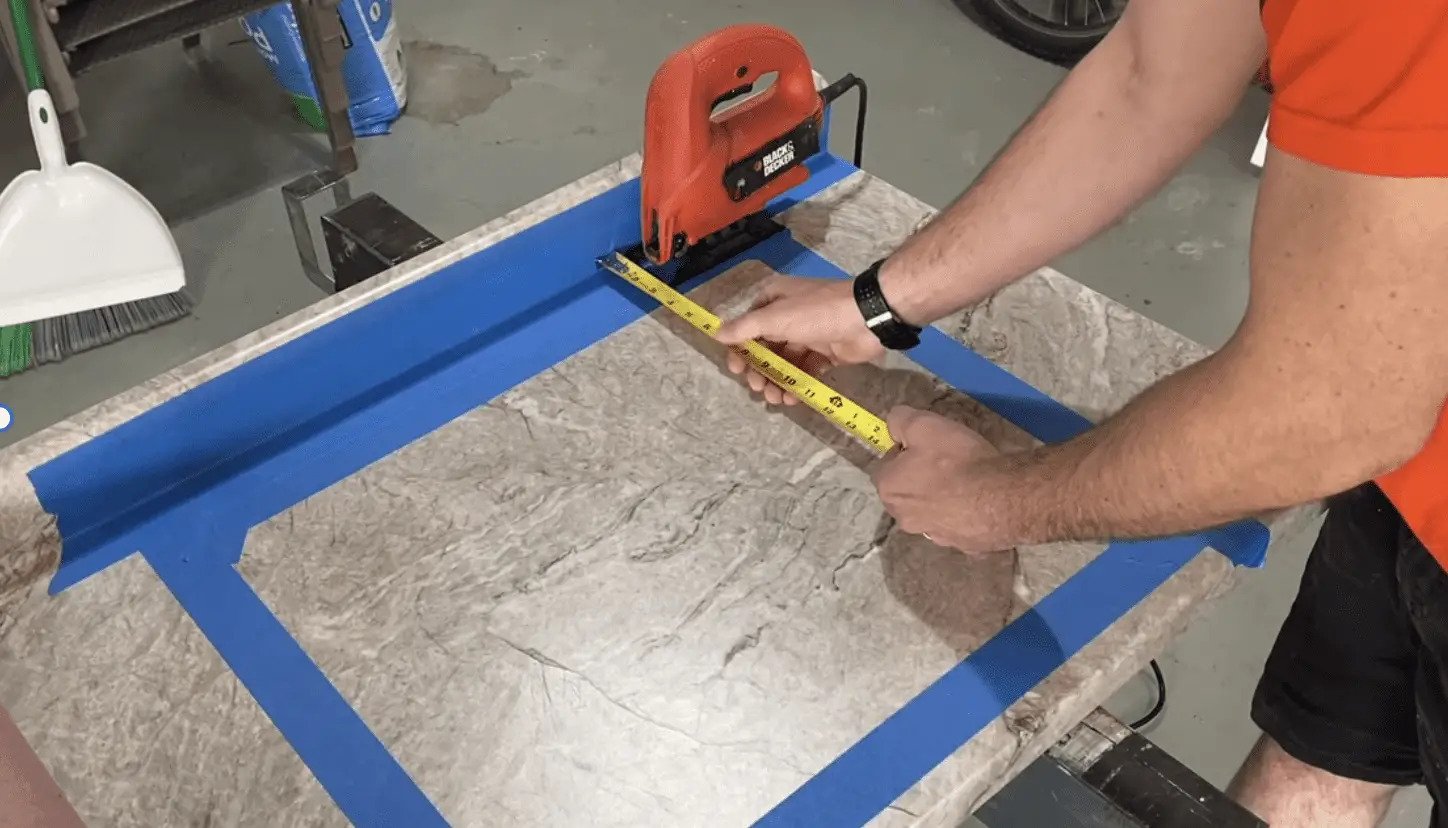
Step 1: Measure and Mark the Cut Lines
The first step in cutting a laminate countertop for a sink is to accurately measure and mark the cut lines. Begin by placing the sink upside down on the countertop in the desired position. Make sure it is aligned properly and centered where you want it to be.
Using a measuring tape, measure the dimensions of the sink’s base and add a little extra space for clearance. Remember to take into account the lip or flange of the sink if it has one. Once you have the measurements, transfer them onto the countertop using a pencil. Take your time and ensure that the marks are precise.
Next, use a straight edge or a level to connect the marks and draw the cut lines. It is important to ensure that the lines are straight and parallel to the countertop’s edges for a clean and professional-looking cut. Double-check your measurements and markings before moving on to the next step.
Pro Tip: To avoid accidentally cutting beyond the marked lines, apply some masking tape along the cut lines. This will act as a guide for the saw blade and help prevent any mistakes.
Step 2: Drill Starter Holes
Once you have marked the cut lines on the laminate countertop, the next step is to drill starter holes. These holes will provide a starting point for the jigsaw blade and allow for easier cutting.
Using a drill with a countersink bit, carefully drill a hole near one of the corners of the marked cut lines. Make sure to position the hole inside the marked area, as it will be hidden once the sink is installed. Repeat this process for each corner of the cut lines.
When drilling the starter holes, be sure to place a piece of scrap wood or plywood underneath the countertop to prevent any tear-out or damage to the surface below. Additionally, drilling the holes at a slight angle towards the center of the sink will help guide the jigsaw blade smoothly along the cut lines.
Pro Tip: To prevent the laminate from chipping or splintering, you can also apply masking tape over the area where the starter holes will be drilled. This will provide added protection during the drilling process.
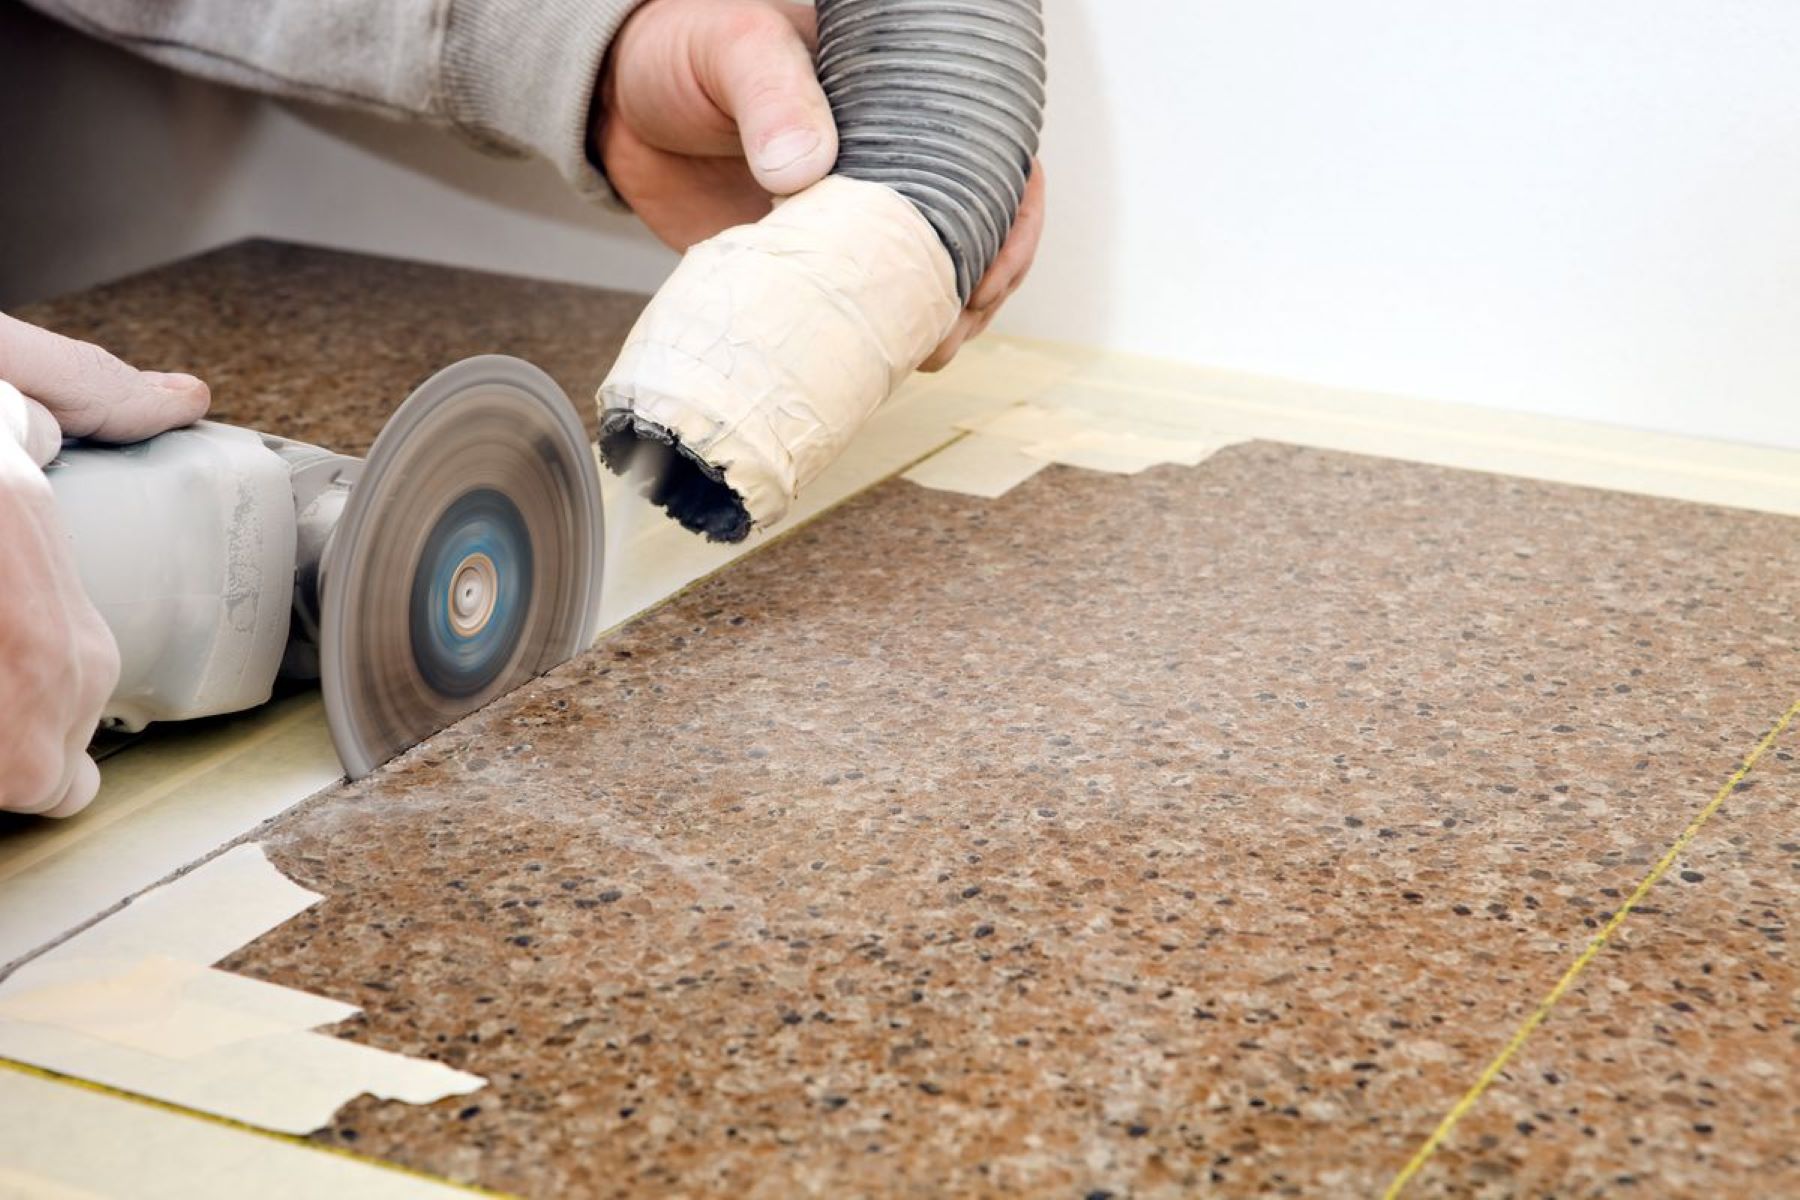
When cutting a laminate countertop for a sink, use a jigsaw with a fine-toothed blade to make precise cuts. Measure carefully and use masking tape to prevent chipping.
Step 3: Cut Along the Marked Lines
Now that you have drilled the starter holes, it’s time to cut along the marked lines. This is where the jigsaw comes into play.
Attach a fine-toothed laminate cutting blade to the jigsaw. The fine teeth of the blade are specifically designed to cut through laminate without causing excessive chipping or splintering. Insert the blade into one of the starter holes and align it with the marked cut line.
Start the jigsaw and guide it along the cut line, moving at a steady pace. Use light pressure and let the blade do the work. Avoid forcing the blade or applying too much pressure, as this can lead to rough or uneven cuts. Take your time and ensure that the sawing motion stays close to the marked line.
Continue cutting along the marked lines, moving from one corner to another. If necessary, pause periodically to reposition your body or adjust your grip for better control and comfort. Remember to stay focused and maintain a steady hand throughout the cutting process.
Pro Tip: If you notice any areas where the blade struggles to cut smoothly, you can try using a file or sandpaper to gently smooth out those rough spots and refine the edges.
Read more: How Do You Cut Laminate Countertops
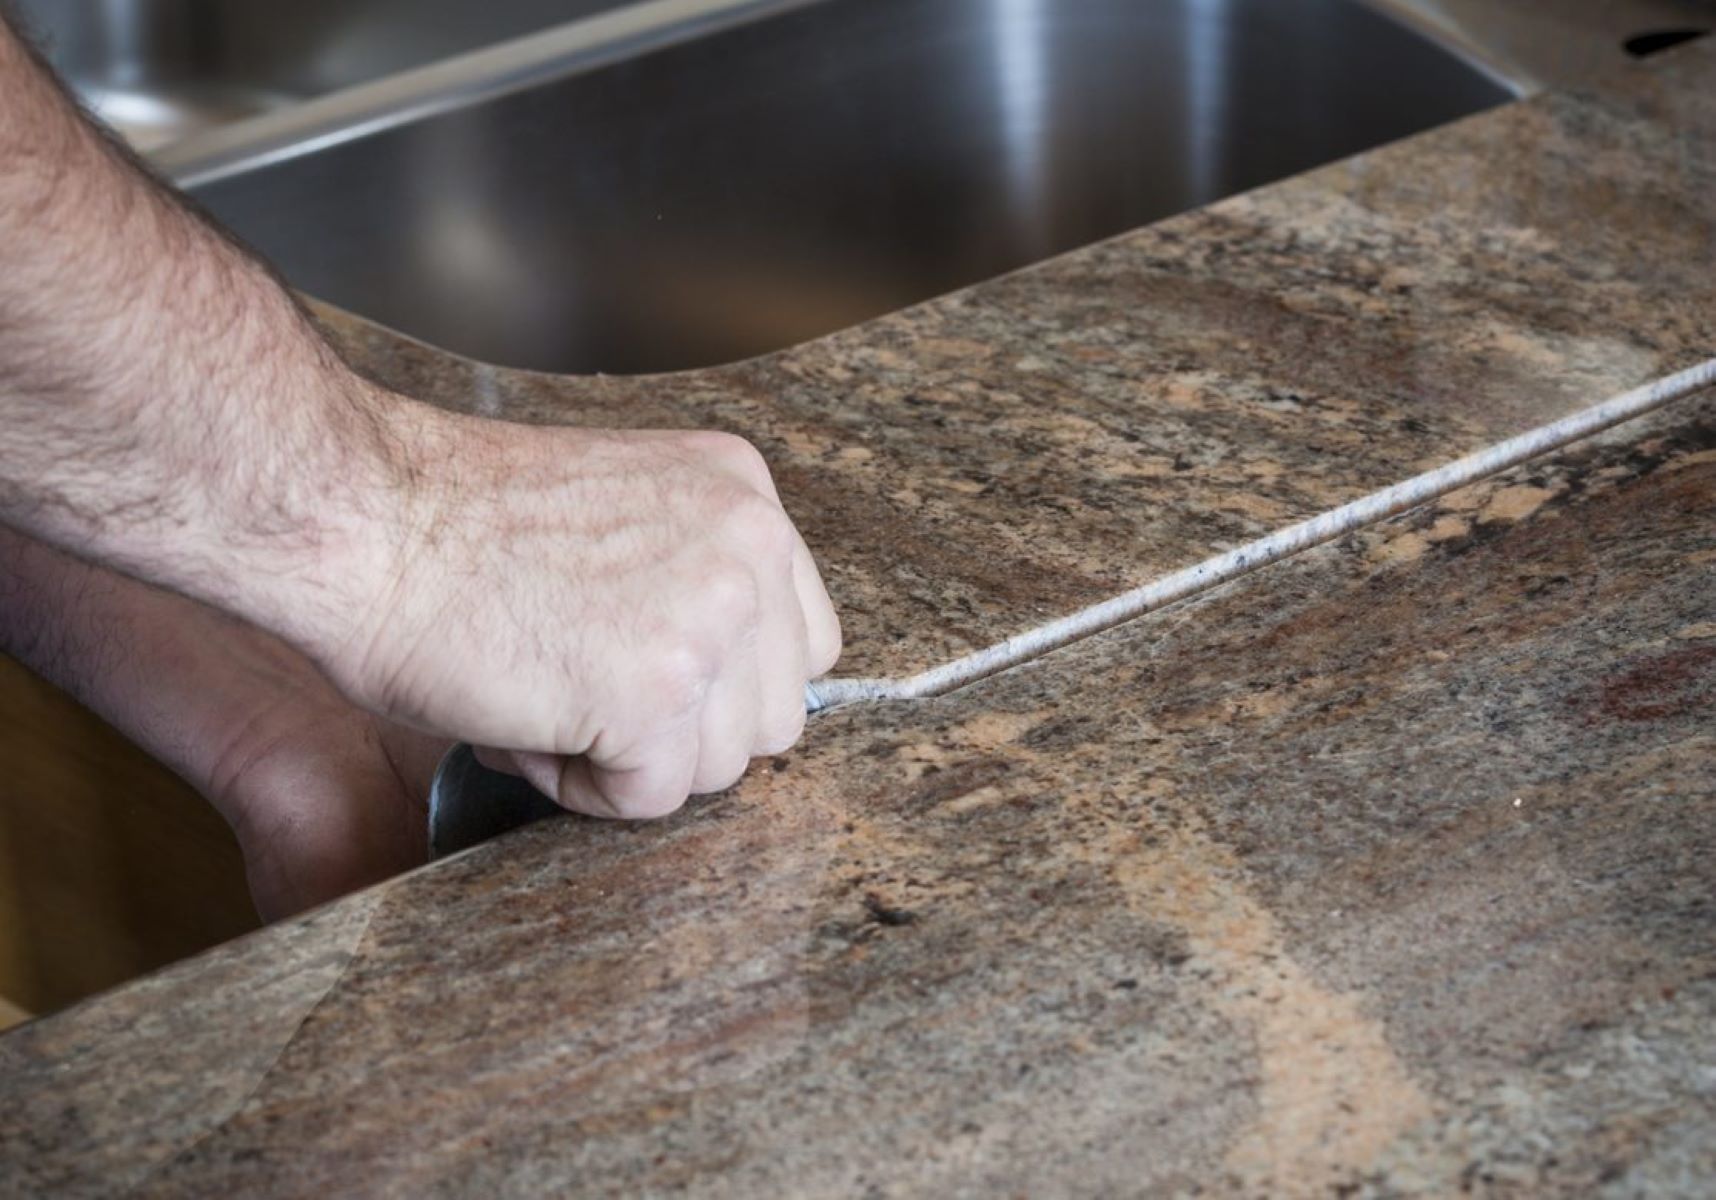
Step 4: Smooth the Edges
After cutting along the marked lines, you may notice rough edges on the laminate countertop. To achieve a clean and professional finish, it’s important to smooth out these edges.
Start by using a file to gently remove any rough or jagged edges along the cut lines. Hold the file at a slight angle and work it back and forth along the edge, applying light pressure. This will help to smoothen the surface and create a more polished appearance.
If you prefer, you can also use sandpaper to smooth the edges. Start with a coarse-grit sandpaper and gradually work your way up to finer-grit sandpaper. Move the sandpaper in a circular motion, making sure to cover the entire edge. This will help to remove any remaining roughness and create a smooth finish.
Throughout the smoothing process, periodically run your fingers along the edges to check for any sharpness or rough spots. Continue filing or sanding until you are satisfied with the smoothness of the edges.
Pro Tip: To prevent any scratching or damage to the countertop’s surface, consider placing a thin piece of cardboard or masking tape over the edges while filing or sanding.
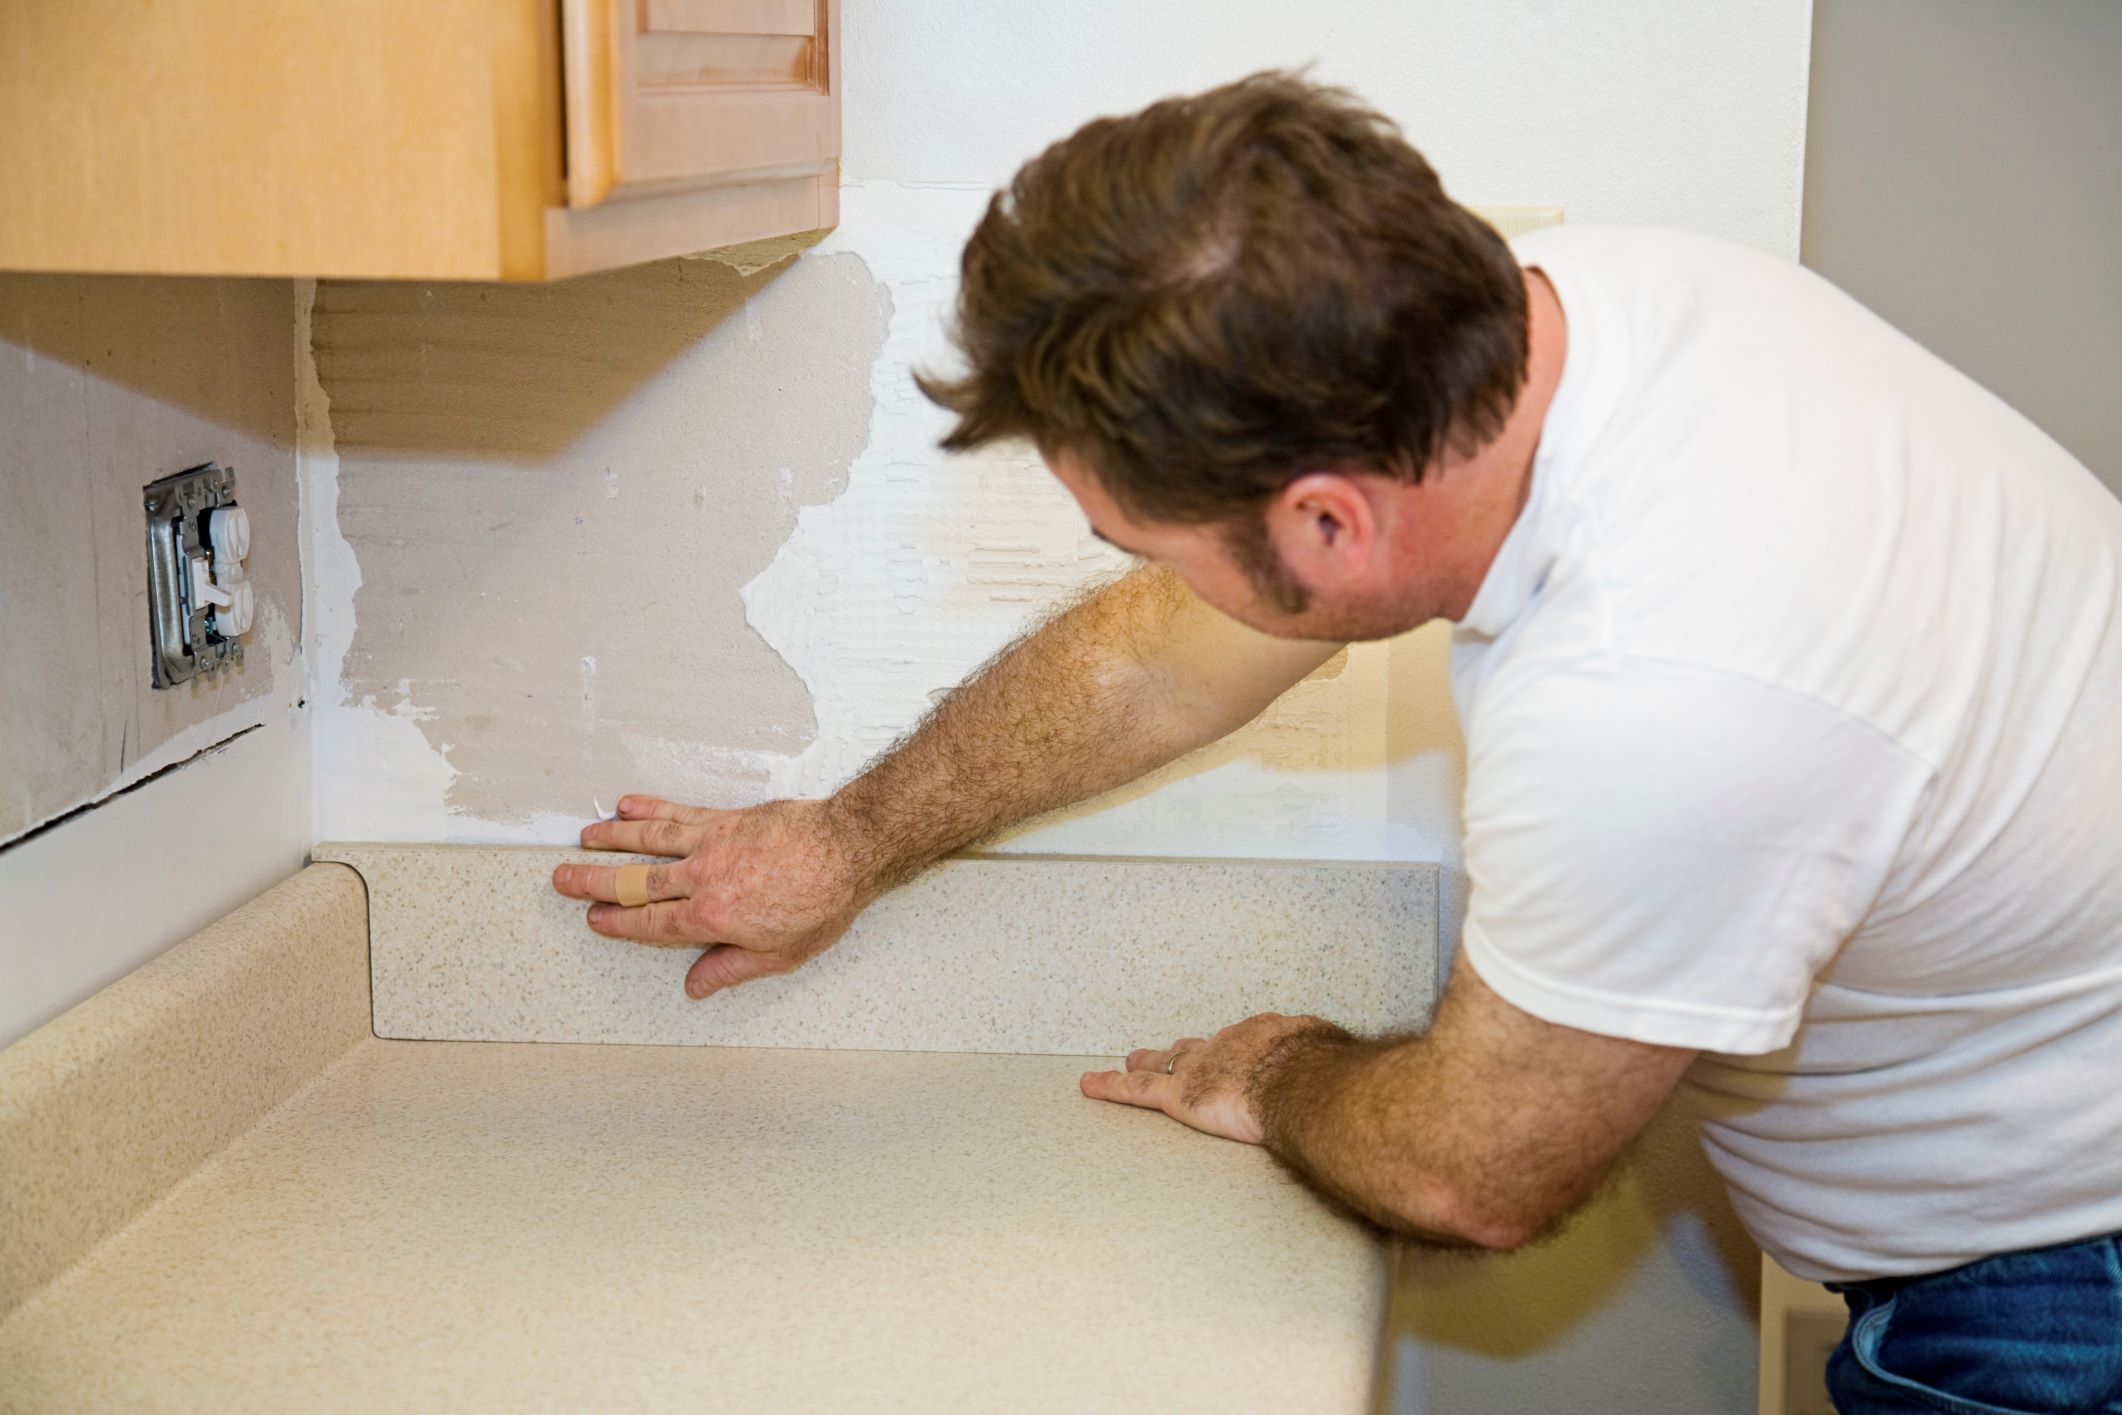
Step 5: Install the Sink
Now that you have successfully cut the laminate countertop for the sink, the final step is to install the sink itself. This process may vary depending on the type of sink you have, so be sure to follow the manufacturer’s instructions.
Begin by applying a thin bead of silicone caulk around the edge of the sink opening on the underside of the countertop. This will create a watertight seal when the sink is installed.
Carefully lower the sink into the opening, making sure it is aligned properly with the countertop. Press it down firmly to ensure a secure fit. If your sink comes with clips or brackets, use them to secure the sink in place as per the instructions provided.
Once the sink is securely installed, wipe away any excess silicone caulk around the edges using a damp cloth. Allow the caulk to dry and cure according to the manufacturer’s recommendations before using the sink.
Finally, connect the plumbing fixtures and test the sink for any leaks. Ensure that the drain and faucet are properly connected and functioning as expected. If necessary, make any adjustments or repairs to ensure a proper and leak-free installation.
Pro Tip: It’s always a good idea to run some water into the sink and check for any leaks both above and below the countertop. This will help identify any potential issues and allow you to address them before finalizing the installation.
Conclusion
Installing a sink in a laminate countertop may seem like a challenging task, but with the right tools and techniques, it can be accomplished successfully. By following the step-by-step process outlined in this article, you can confidently cut a laminate countertop for a sink installation and achieve a professional and seamless result.
Remember, accurate measurements, precise markings, and careful cutting are key factors in ensuring a clean and precise cut. Taking your time and using the right tools will help you achieve the best results.
Additionally, smoothing the edges and properly installing the sink will complete the process, leaving you with a functional and visually appealing kitchen or bathroom update.
Whether you’re a seasoned DIY enthusiast or tackling this project for the first time, with patience and attention to detail, you can successfully cut a laminate countertop for a sink. Now, armed with the knowledge and guidance provided in this article, you can confidently take on this project and enjoy the rewarding results.
Frequently Asked Questions about How To Cut Laminate Countertop For Sink
Was this page helpful?
At Storables.com, we guarantee accurate and reliable information. Our content, validated by Expert Board Contributors, is crafted following stringent Editorial Policies. We're committed to providing you with well-researched, expert-backed insights for all your informational needs.


0 thoughts on “How To Cut Laminate Countertop For Sink”