
Articles
How To Install Ikea Laminate Countertops
Modified: August 28, 2024
Learn how to easily install Ikea laminate countertops with our step-by-step articles. Enhance your kitchen with affordable and stylish countertops.
(Many of the links in this article redirect to a specific reviewed product. Your purchase of these products through affiliate links helps to generate commission for Storables.com, at no extra cost. Learn more)
Introduction
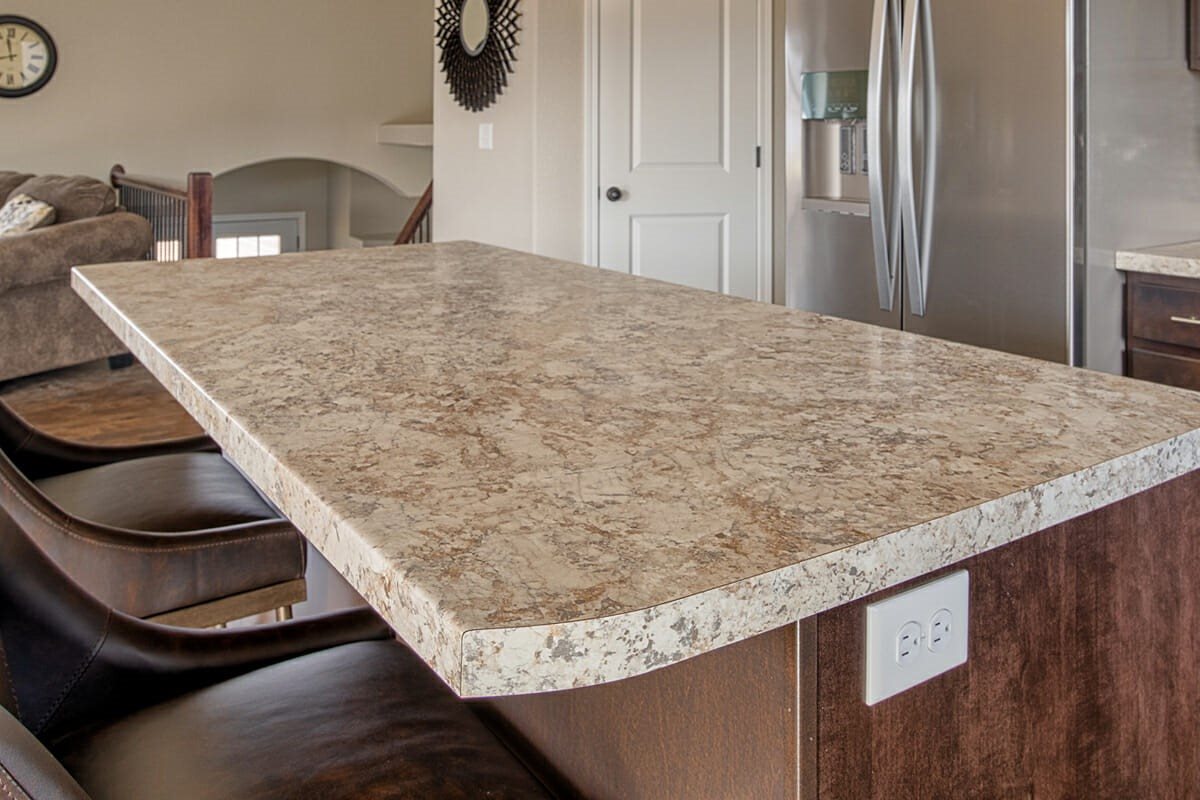
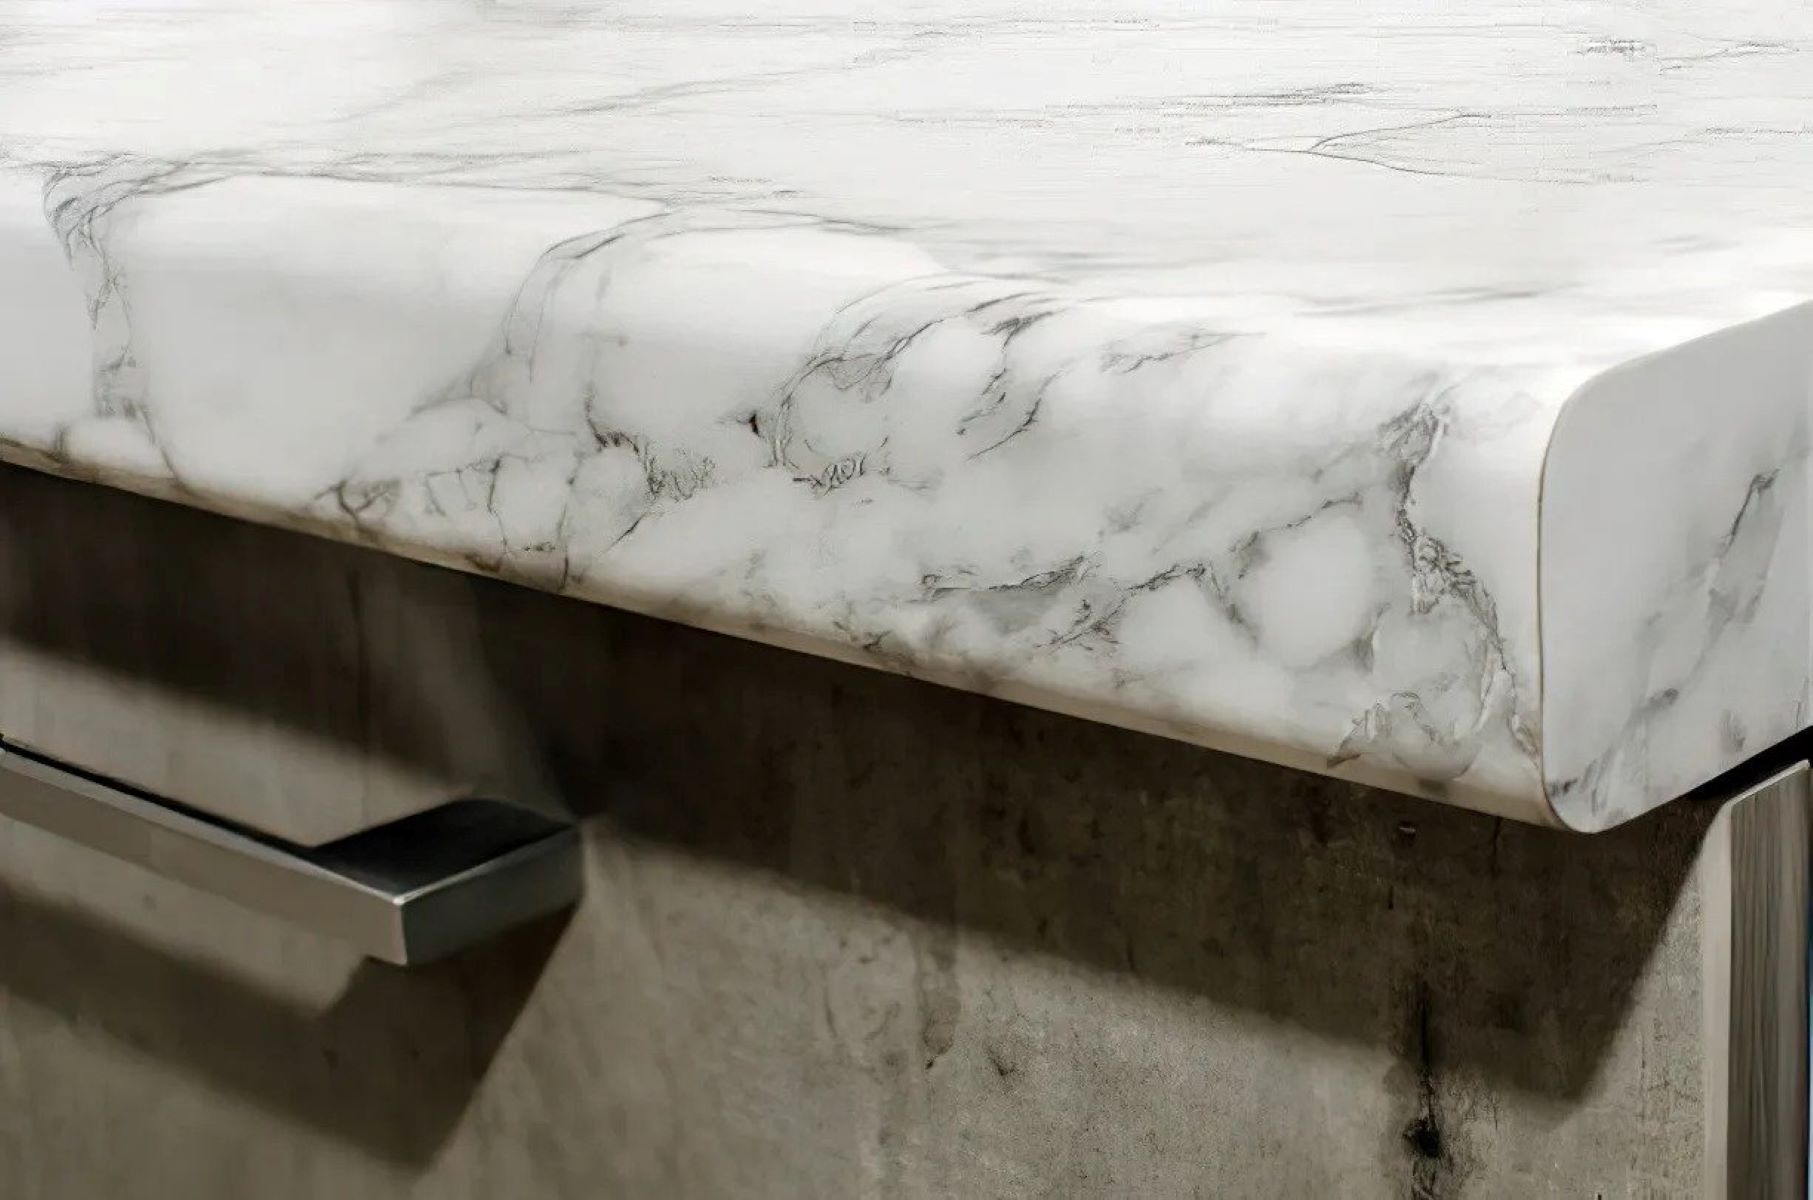
Welcome to the comprehensive guide on how to install IKEA laminate countertops! Laminate countertops are a popular choice for homeowners due to their affordability, durability, and wide range of design options. With IKEA’s high-quality laminate countertops, you can transform your kitchen or bathroom into a stylish and functional space.
Installing laminate countertops may seem like a daunting task, but with the right tools and some basic knowledge, you can easily complete this project on your own. In this article, we will walk you through each step of the installation process, providing you with detailed instructions and tips to ensure a successful installation.
Before we dive into the installation process, let’s take a look at the tools and materials you will need to have on hand:
- Measuring tape
- Pencil
- Saw (Circular saw or jigsaw)
- Clamps
- Adhesive or construction adhesive
- Silicone caulk
- Router
- Sanding block or sandpaper
- Screwdriver or drill
Having these tools readily available will make the installation process smoother and more efficient.
Now that you have all the necessary tools, it’s time to prepare the workspace. Start by measuring the area where the countertop will be installed. Accuracy is key at this stage, so be sure to take precise measurements. Once you have the measurements, it’s time to gather the required supplies.
In the next section, we will go into detail about preparing the countertop area and assembling the laminate countertop. So, let’s get started with step one!
Key Takeaways:
- Transform your kitchen or bathroom with an IKEA laminate countertop by following precise measurements, assembling with care, and adding finishing touches for a professional and polished look.
- Attention to detail and patience are key to a successful DIY installation. Enjoy the functional and stylish space created by your skill and precision.
Read more: What Are Laminate Countertops
Tools and Materials Needed
Before you begin the installation process, it’s essential to gather all the necessary tools and materials. Having everything on hand will save you time and ensure a smooth installation. Here’s a list of the tools and materials you’ll need:
Tools:
- Measuring tape: Used to accurately measure the countertop area.
- Pencil: Used to mark measurements and cut lines on the countertop.
- Saw: A circular saw or jigsaw can be used to cut the laminate countertop to the desired size.
- Clamps: These will help hold the countertop in place while you work.
- Adhesive or construction adhesive: Used to secure the countertop to the base cabinets.
- Silicone caulk: Used to seal the gaps between the countertop and the wall or other surfaces.
- Router: A router with a laminate trimming bit is helpful for creating smooth edges.
- Sanding block or sandpaper: Used to smooth rough edges or imperfections in the countertop.
- Screwdriver or drill: Needed for attaching the countertop to the base cabinets.
Materials:
- Laminate countertop: Choose a high-quality laminate countertop that suits your style and the dimensions of your kitchen or bathroom.
- Countertop sealer: If your laminate countertop does not come pre-sealed, you may need a countertop sealer to protect it from daily wear and tear.
- Edge banding: This is used to cover the raw edges of the laminate countertop and give it a finished look.
- Mounting brackets: These are required if there are any overhangs or unsupported areas of the countertop that need additional support.
- Sink and faucet: If you are installing a kitchen countertop, you’ll need a sink and faucet for the installation.
Make sure to double-check your measurements and ensure you have all the tools and materials listed above before starting the installation process. Having everything you need within reach will help you work efficiently and produce great results.
Step 1: Measure and Prepare the Workspace
The first step in installing IKEA laminate countertops is to accurately measure the area where the countertop will be installed. This step is crucial to ensure that your countertop fits perfectly and is aligned with other elements in your kitchen or bathroom.
Start by clearing the workspace and removing any existing countertops, sinks, or appliances that might hinder accurate measurements. Once the space is clear, grab your measuring tape and follow these steps:
- Measure the length and width of the countertop area. Be sure to measure from wall to wall, leaving space for any overhangs or gaps.
- If your countertop area has any protrusions or corners, measure the dimensions of those areas separately.
- Take note of any cutouts you’ll need to make for sinks, stoves, or other appliances.
- Double-check your measurements to ensure accuracy. It’s always a good idea to measure twice to avoid any mistakes.
Once you have accurate measurements, it’s time to prepare the workspace. Remove any debris or dust from the area and ensure that the base cabinets are level and stable. If needed, make adjustments to level the cabinets before proceeding with the installation.
Additionally, it’s essential to check the condition of the walls surrounding the countertop area. Repair any damaged or uneven surfaces, as these can affect the installation process and the final result.
By taking the time to measure accurately and prepare your workspace, you’re setting yourself up for a successful laminate countertop installation. With the measurements in hand and the workspace ready, you’re now ready to move on to step 2: gathering the required supplies.
Read more: How To Protect Laminate Countertops
Step 2: Gather the Required Supplies
Now that you have measured the countertop area and prepared the workspace, it’s time to gather all the necessary supplies for installing the IKEA laminate countertop. Having everything you need on hand will make the installation process smoother and more efficient. Here’s a list of the supplies you’ll need:
- Laminate countertop: Choose an IKEA laminate countertop that fits your style and the dimensions of your kitchen or bathroom. Consider factors such as color, pattern, and thickness when making your selection.
- Adhesive or construction adhesive: This is essential for securing the countertop to the base cabinets. Make sure to choose a high-quality adhesive that is suitable for laminate surfaces.
- Clamps: These will be used to hold the countertop in place while you work. Opt for clamps that are long enough to reach across the entire width of the countertop.
- Sink and faucet: If you’re installing a kitchen countertop, you’ll need a sink and faucet. Choose ones that are compatible with your countertop and meet your functional needs.
- Edge banding: This is used to cover the raw edges of the laminate countertop and give it a finished look. Select edge banding that matches the color and design of your countertop.
- Silicone caulk: Caulk is necessary for sealing any gaps between the countertop and the wall or other surfaces. Use a high-quality silicone caulk that is suitable for use in kitchens and bathrooms.
- Router and laminate trimming bit: A router with a laminate trimming bit will be used to create smooth and clean edges on the countertop.
- Sanding block or sandpaper: This will come in handy to smooth any rough edges or imperfections on the countertop.
- Screwdriver or drill: You’ll need a screwdriver or drill to attach the countertop to the base cabinets securely.
It’s important to ensure that you have all the necessary supplies before starting the installation. This will save you time and prevent any interruptions during the process. Take inventory of your supplies, purchase any missing items, and organize them in your workspace for easy access.
With all the required supplies gathered, you’re now ready to move on to the next step: prepping the countertop area. Stay tuned for step 3, where we’ll guide you through the process of preparing the countertop area for installation.
Step 3: Prep the Countertop Area
Now that you have gathered all the necessary supplies, it’s time to prepare the countertop area for installation. Proper preparation ensures that your laminate countertop will be installed securely and functionally. Follow these steps to prep the countertop area:
- Clear the countertop area: Remove any existing countertops, sinks, or appliances that may obstruct the installation process. Make sure the area is clean and free of debris.
- Level the base cabinets: Use a level to check if the base cabinets are level and stable. If any adjustments are needed, use shims or other leveling materials to ensure a flat surface for the countertop.
- Remove excess laminate: If your countertop has any excess laminate, trim it using a saw or router. This will help ensure a clean and precise installation.
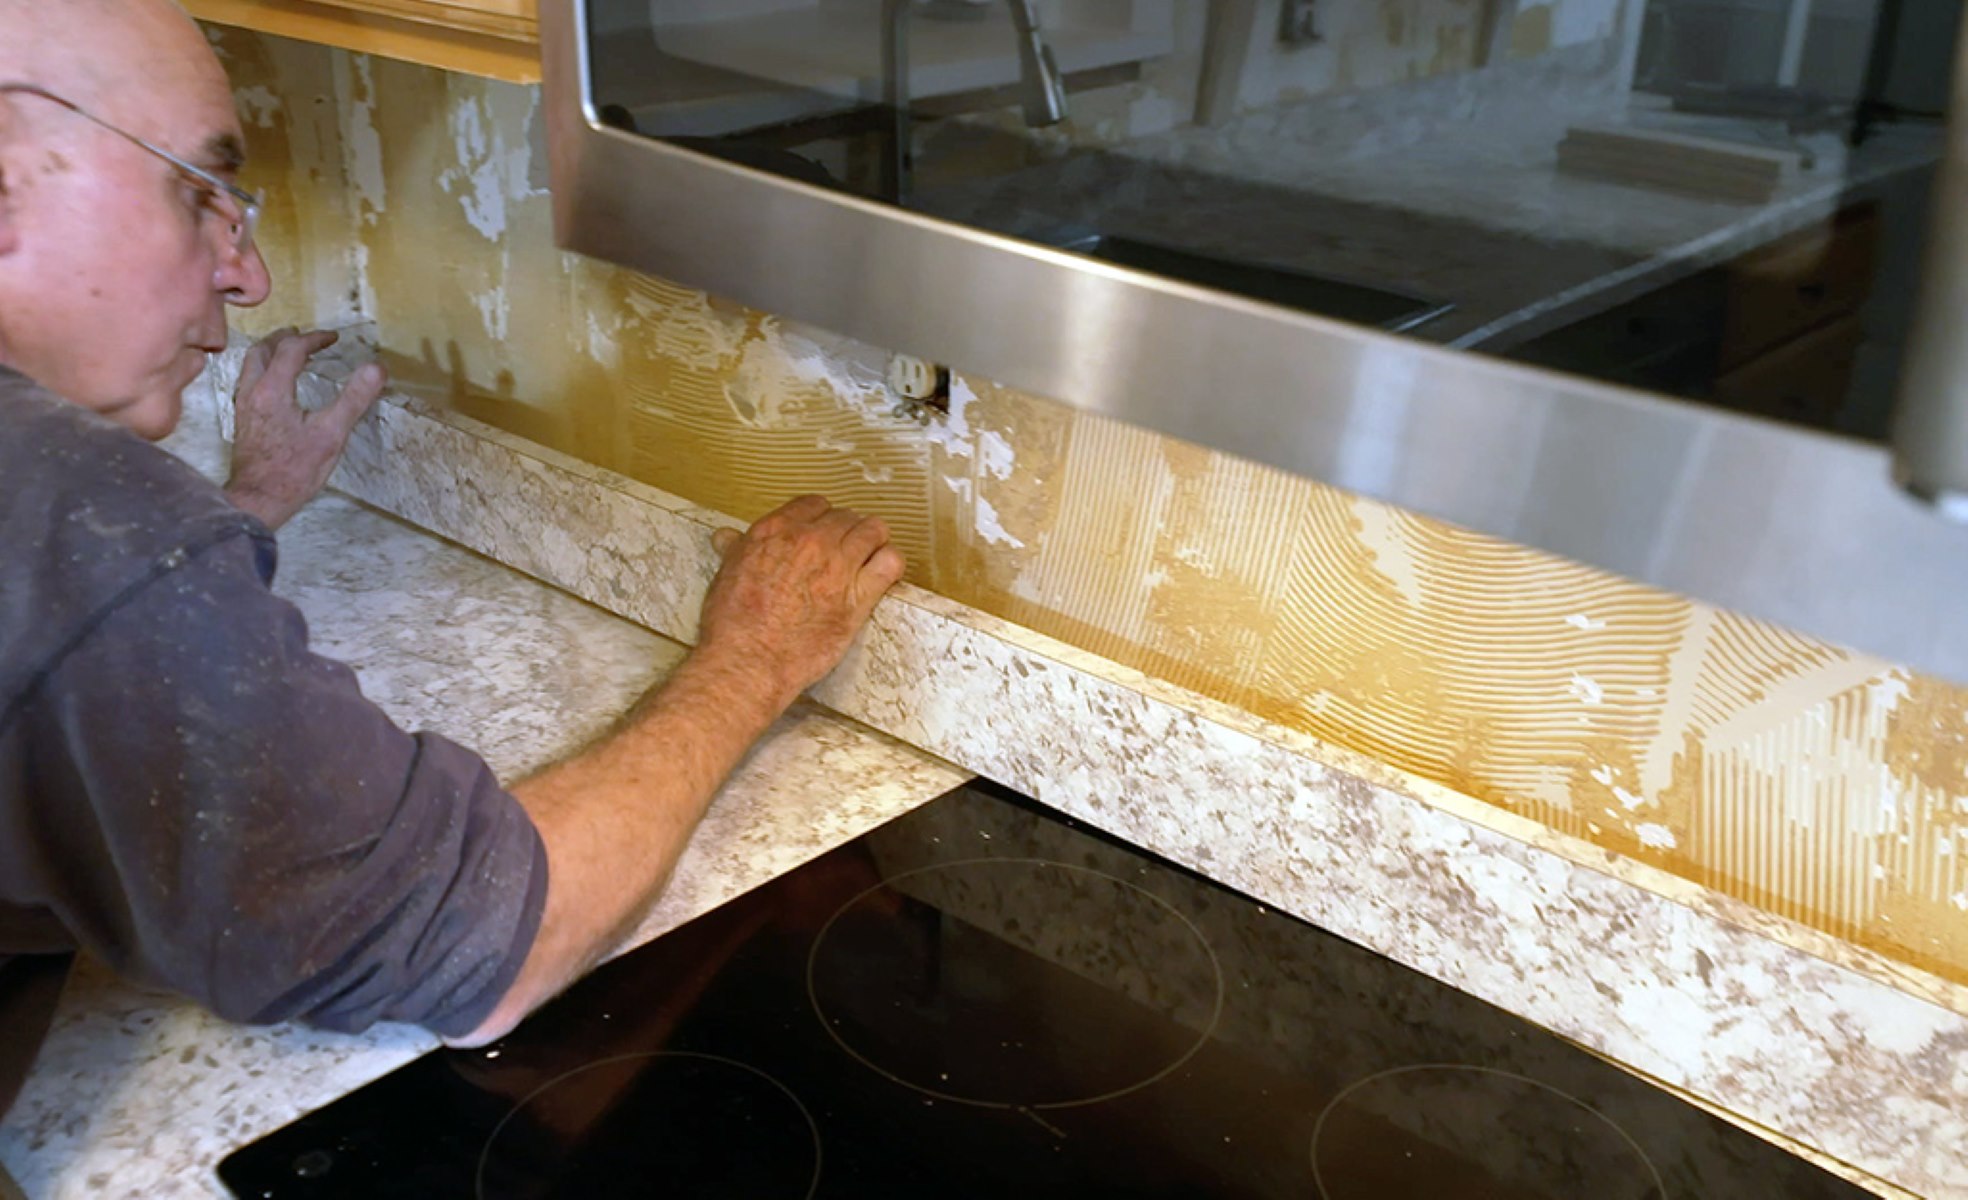
- Apply adhesive to the base cabinets: Apply a thin layer of adhesive or construction adhesive to the top of the base cabinets. This will help secure the laminate countertop in place.
- Position the countertop: Carefully place the laminate countertop onto the adhesive, ensuring that it is aligned with the edges of the base cabinets. Use clamps to hold the countertop in place while you work.
- Adjust and level the countertop: Use a level to check if the countertop is level. If needed, adjust the clamps and make small adjustments to achieve a level surface.
- Trim excess laminate: If there are any areas where the laminate extends beyond the edges of the base cabinets, use a router or saw to trim off the excess. This will give your countertop a clean and finished look.
- Smooth the edges: Use a sanding block or sandpaper to smooth any rough edges or imperfections on the countertop. This will create a seamless and professional-looking finish.
By following these steps to prep the countertop area, you’ll ensure that your laminate countertop is installed securely and looks great in your kitchen or bathroom. Now that the countertop area is prepped, it’s time to move on to the next step: assembling the laminate countertop. Stay tuned for step 4, where we’ll guide you through the process of assembling the laminate countertop.
Step 4: Assemble the Laminate Countertop
With the countertop area prepped and ready, it’s time to move on to assembling the laminate countertop. This step involves cutting and fitting the laminate pieces together to create a seamless and visually appealing surface. Follow these steps to assemble the laminate countertop:
- Measure and mark the laminate pieces: Measure and mark the laminate pieces according to the dimensions of your countertop area. Use a straight edge and pencil to ensure accurate and straight cuts.
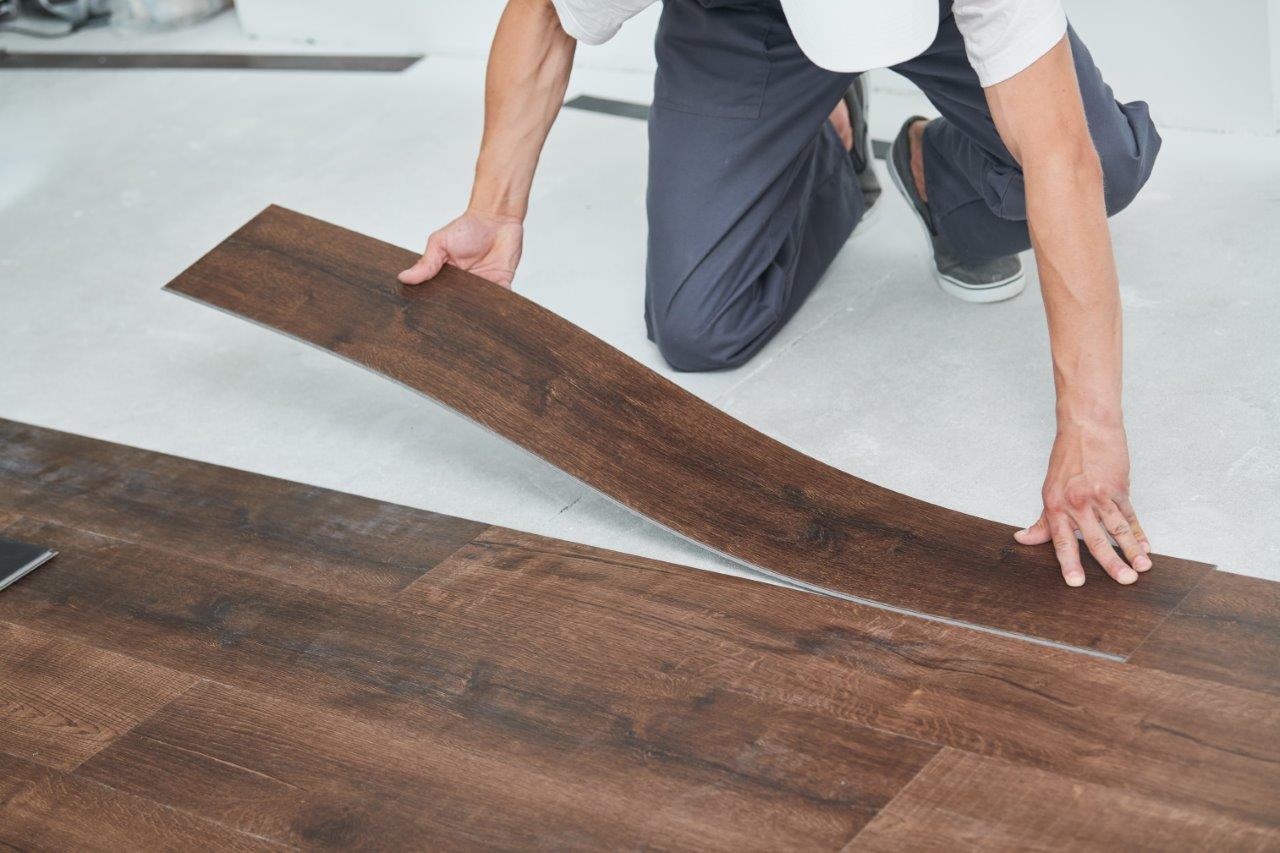
- Cut the laminate pieces: Using a circular saw or jigsaw, carefully cut the laminate pieces along the marked lines. Take your time and make clean and precise cuts.
- Apply adhesive to the edges: Apply a thin layer of adhesive to the exposed edges of the laminate pieces. This will help bond the pieces together and create a seamless appearance.
- Align and press the pieces together: Carefully align the cut laminate pieces and press them together firmly. Ensure that the edges line up perfectly to create a smooth surface.
- Secure the pieces with clamps: Use clamps to hold the laminate pieces together while the adhesive dries. Position the clamps strategically to evenly distribute the pressure and ensure a tight bond.
- Trim and sand any excess: Once the adhesive has dried, use a router or saw to trim any excess laminate from the edges. This will create clean and flush edges.
- Smooth the edges: Use a sanding block or sandpaper to smooth any rough edges or imperfections on the laminate countertop. This will result in a polished and professional look.
By carefully following these steps, you’ll successfully assemble the laminate countertop and create a seamless and visually appealing surface. Remember to take your time and double-check your measurements and cuts to ensure accuracy. With the laminate countertop assembled, you’re now ready to move on to the next step: attaching the countertop to the base cabinets. Stay tuned for step 5, where we’ll guide you through the process of securely attaching the laminate countertop to the base cabinets.
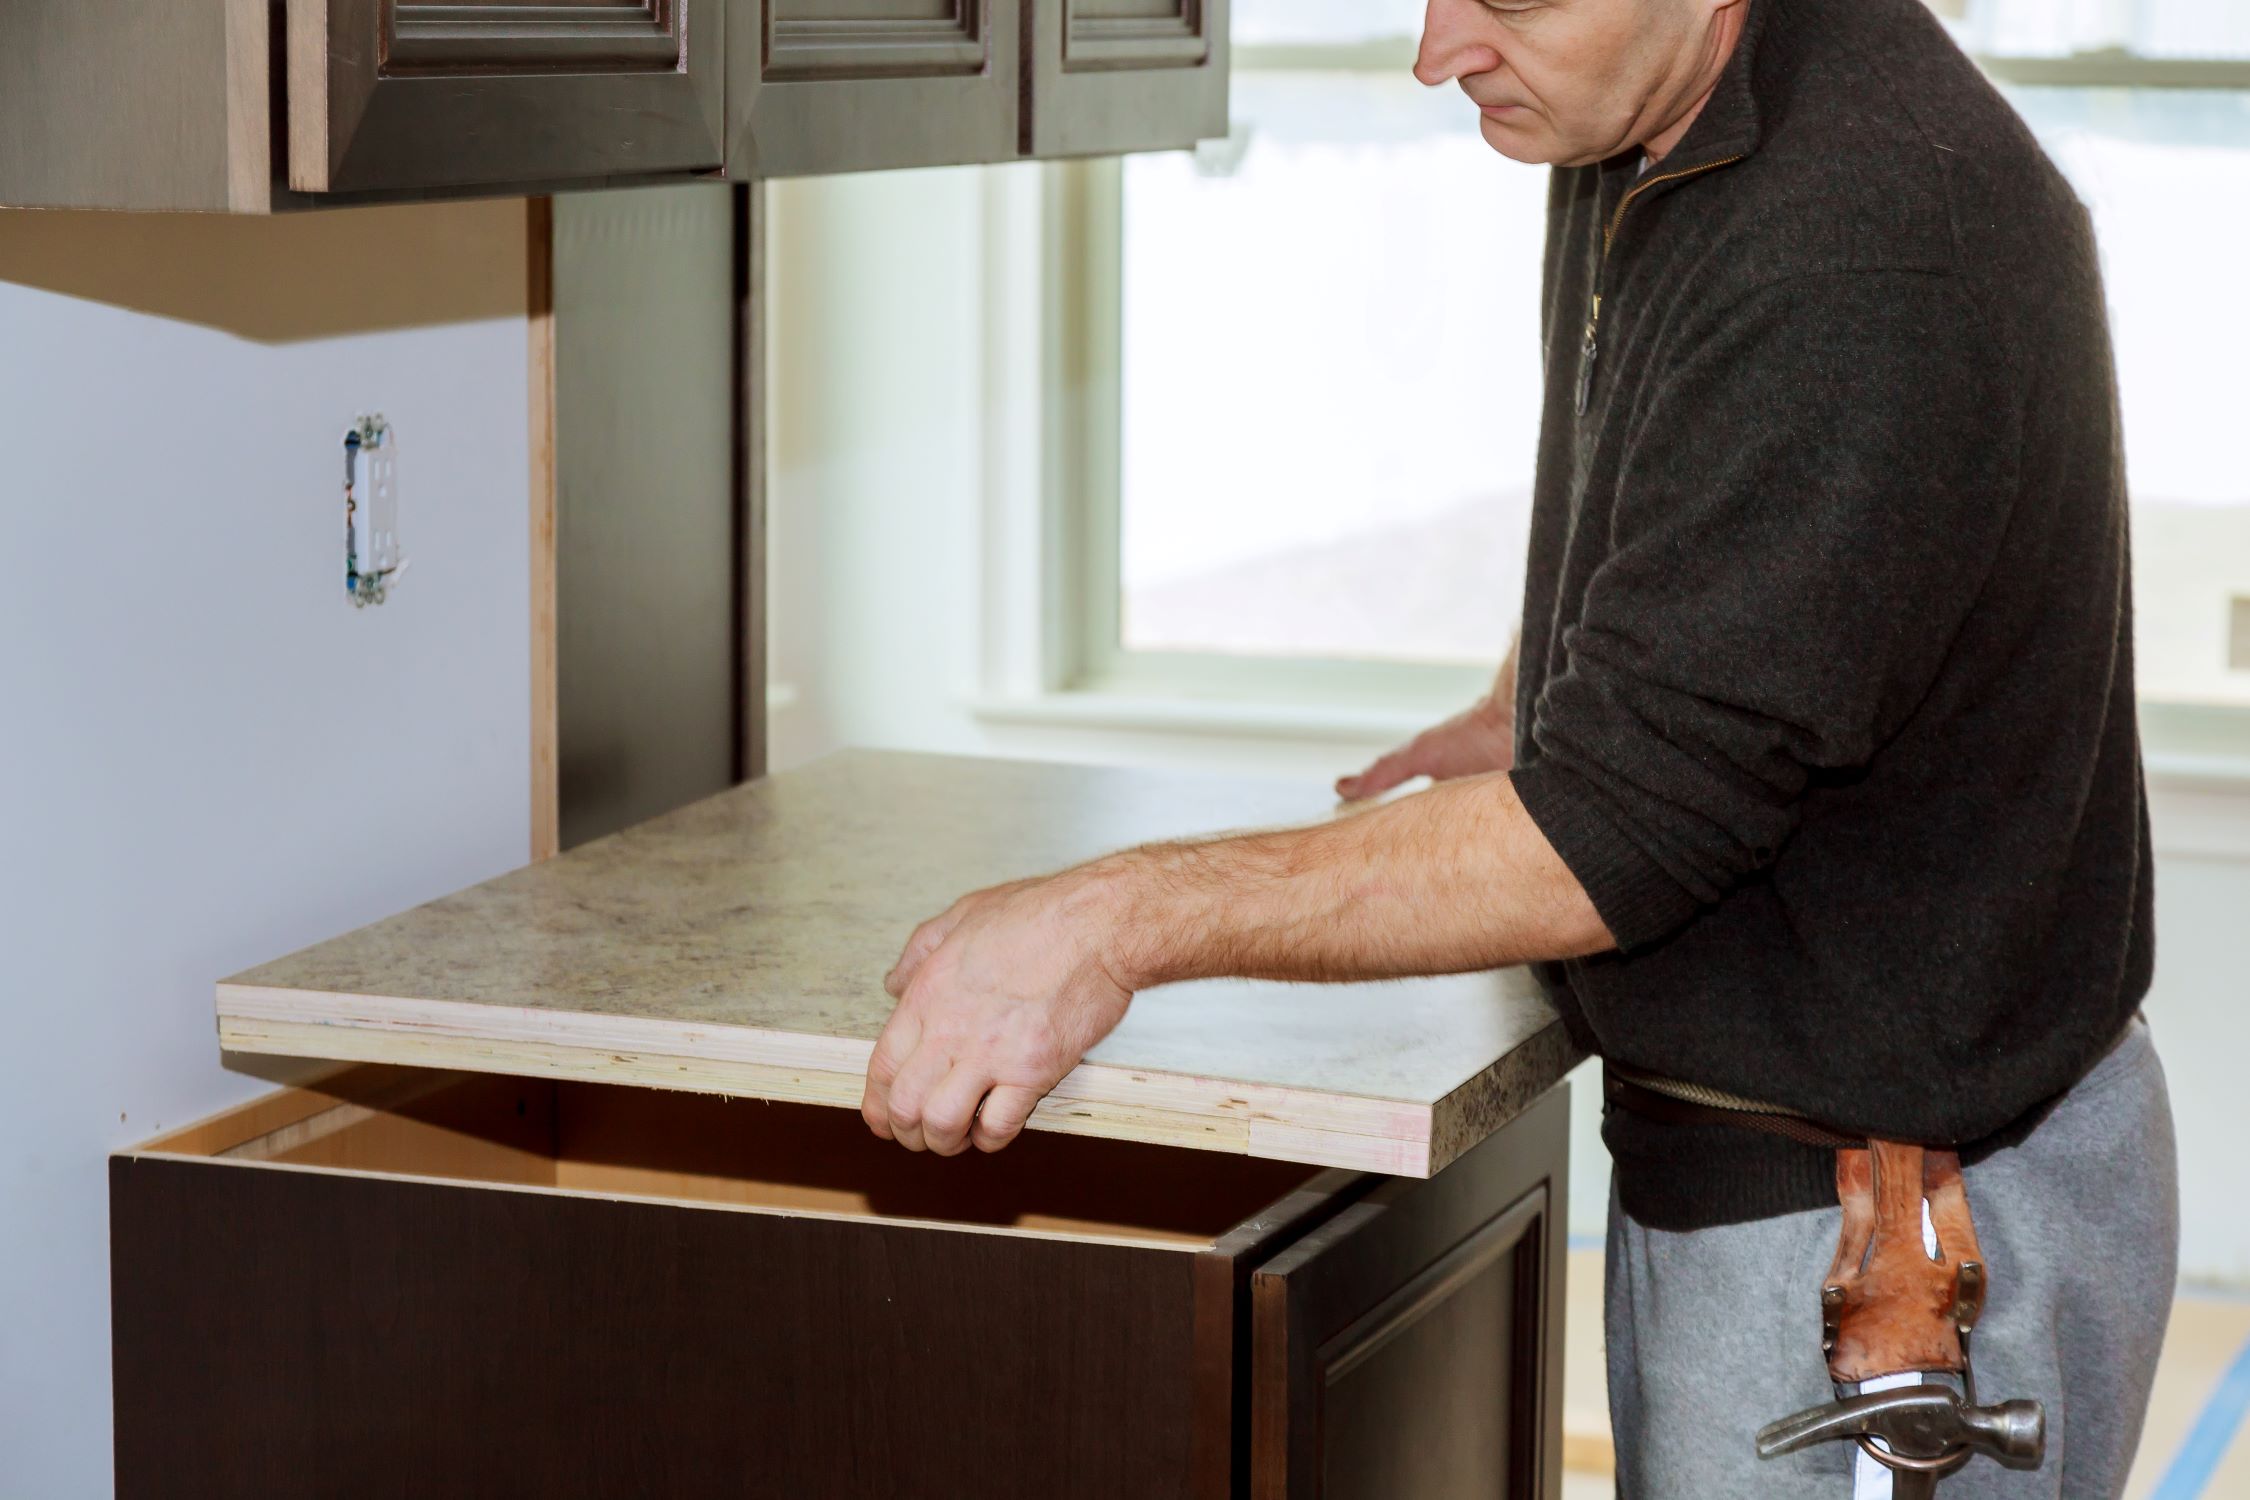
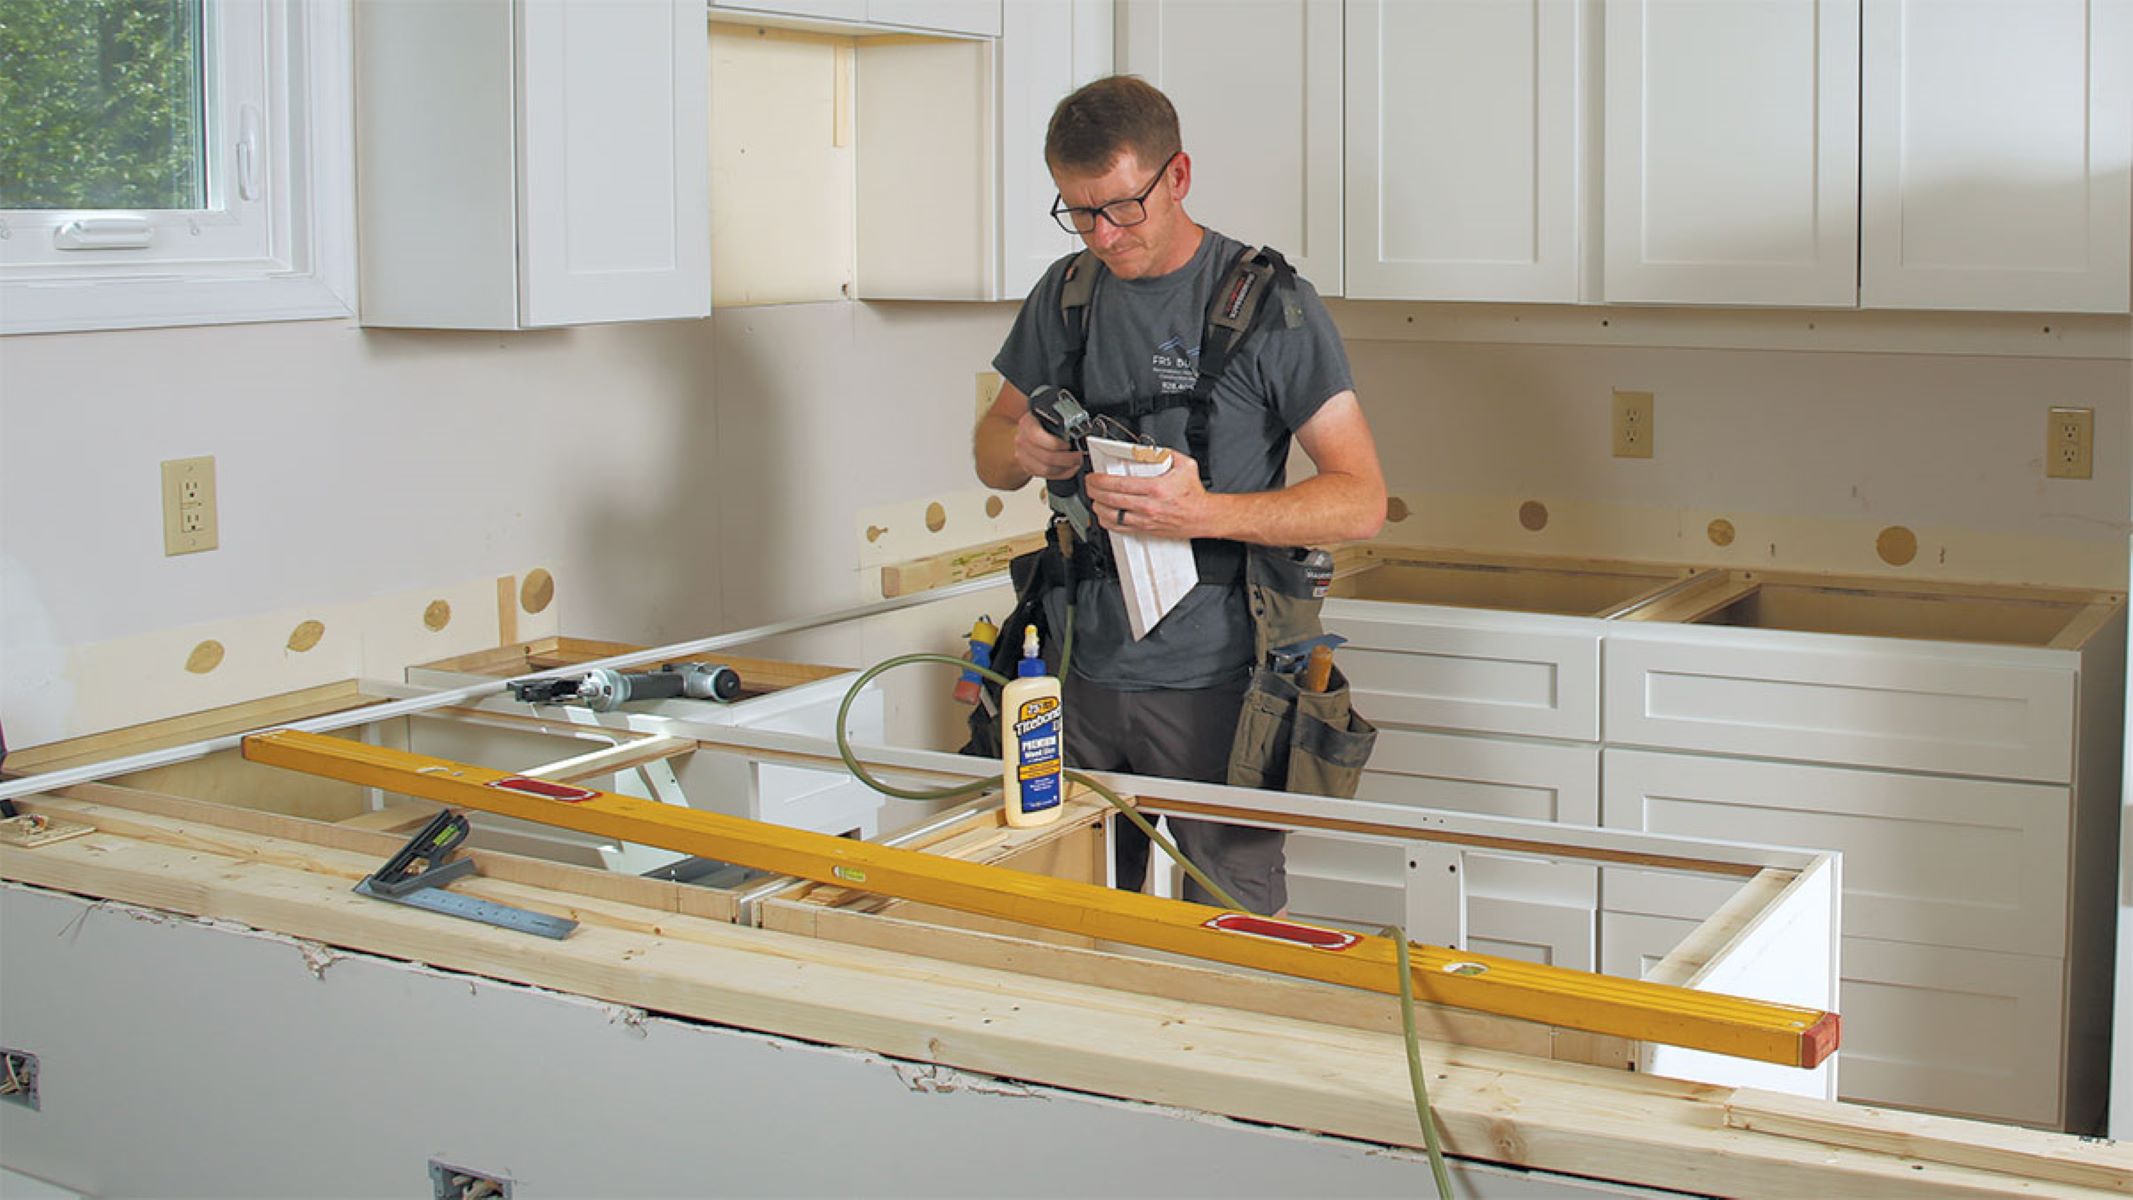
Step 5: Attach the Countertop to the Base Cabinets
After you have assembled the laminate countertop, the next step is to securely attach it to the base cabinets. Attaching the countertop properly ensures stability and functionality. Follow these steps to attach the laminate countertop to the base cabinets:
- Apply adhesive or construction adhesive: Apply a generous amount of adhesive or construction adhesive to the top of the base cabinets. This will create a strong bond between the countertop and the cabinets.
- Position the countertop: Carefully position the laminate countertop onto the adhesive, ensuring that it aligns with the edges of the base cabinets. Use clamps to hold the countertop in place.
- Secure with screws: Using a screwdriver or drill, secure the countertop to the base cabinets by driving screws through the countertop flange into the cabinets. Make sure to space the screws evenly to ensure a secure and even hold.
- Check for levelness: Use a level to check if the countertop is level. If needed, adjust the clamps or make small adjustments to achieve a level surface.
- Tighten the screws: Once the countertop is level, tighten the screws fully to secure the countertop in place. Be careful not to overtighten and damage the countertop or base cabinets.
- Remove excess adhesive: Wipe off any excess adhesive that may have squeezed out during the attachment process. This will create a clean and polished look.
Ensuring the proper attachment of the laminate countertop to the base cabinets is crucial for a stable and functional installation. Take your time and follow the steps carefully to achieve a secure and visually appealing result. With the countertop securely attached, you’re now ready to move on to the next step: securing the countertop seams.
Continue reading for step 6, where we’ll guide you through the process of securing the seams of your laminate countertop.
When installing Ikea laminate countertops, make sure to measure and cut the countertop to fit your space accurately. Use a fine-toothed saw and a straight edge for a clean cut.
Read more: How To Seam Laminate Countertops
Step 6: Secure the Countertop Seams
Securing the seams of your laminate countertop is an essential step to ensure a seamless and cohesive appearance. Properly securing the seams prevents any moisture or dirt from seeping through, maintaining the lifespan of your countertop. Follow these steps to secure the seams of your laminate countertop:
- Align the laminate pieces: Check the alignment of the laminate pieces and make any necessary adjustments to ensure a tight fit.
- Apply adhesive: Apply a small amount of adhesive or construction adhesive to the edges of the laminate pieces that will be joined together. Be careful not to apply too much adhesive as it can seep out and cause a messy finish.
- Join the pieces together: Carefully press the laminate pieces together, ensuring that the edges align perfectly. Apply even pressure to create a strong bond.
- Remove excess adhesive: Wipe off any excess adhesive that may have squeezed out from the seam. Use a damp cloth or sponge to clean the seam, ensuring a neat and finished look.
- Secure with clamps: Use clamps to hold the laminate pieces together while the adhesive dries. Position the clamps strategically along the seam to ensure an even and tight bond.
- Leave it to dry: Allow the adhesive to dry according to the manufacturer’s instructions. Avoid any movement or pressure on the seam during this time to ensure a strong and secure bond.
- Smooth the seam: Once the adhesive is fully dried, use a sanding block or sandpaper to carefully smooth the seam. This will help create a seamless appearance.
By following these steps, you will secure the seams of your laminate countertop, creating a cohesive and visually appealing surface. Take your time during each step to ensure precision and accuracy. Now that you have secured the seams, you’re ready to move on to the next step: installing sink and cutout openings.
Continue reading for step 7, where we’ll guide you through the process of installing sink and cutout openings in your laminate countertop.
Step 7: Install Sink and Cutout Openings
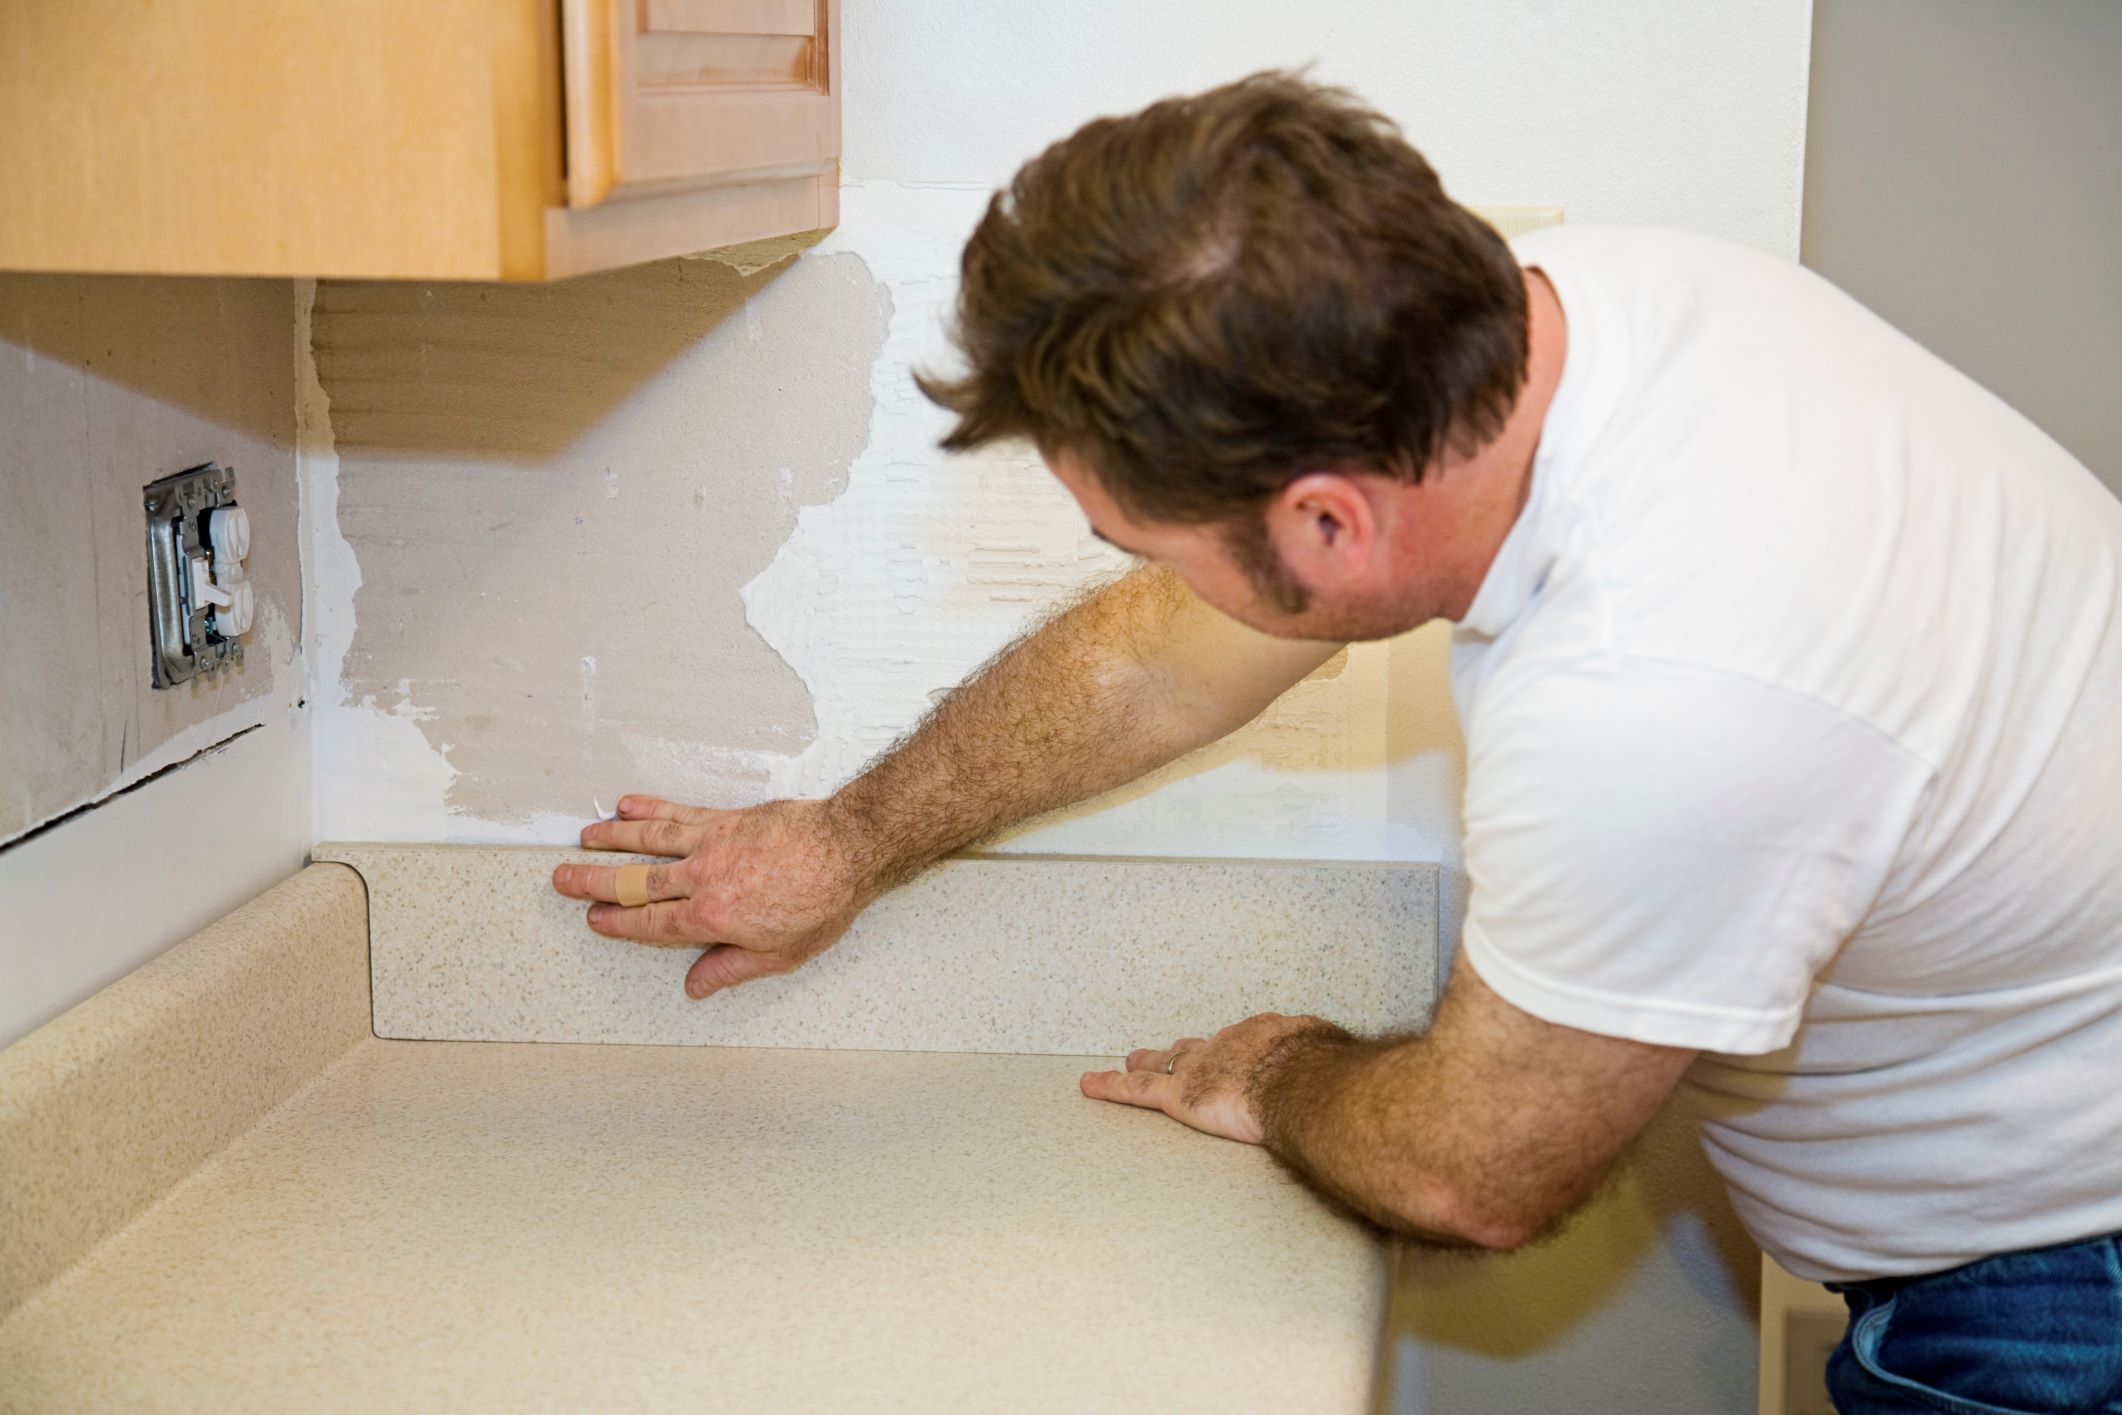
With your laminate countertop securely in place and the seams secured, it’s time to move on to installing the sink and creating any necessary cutout openings. This step is crucial for both functionality and aesthetics. Follow these steps to install the sink and create cutout openings in your laminate countertop:
- Mark the sink position: Position the sink upside down on the countertop and trace its outline using a pencil. Make sure to leave enough space around the edges of the sink for a secure fit.
- Drill starter holes: Using a drill, create starter holes at the corners of the marked sink outline. These starter holes will serve as guide points for cutting the sink opening.
- Cut the sink opening: Using a jigsaw or a router with a laminate trimming bit, carefully cut along the marked outline to create the sink opening. Take your time and make precise cuts.
- Test fit the sink: Place the sink into the opening to check if it fits properly. Make any necessary adjustments to ensure a snug and secure fit.
- Install the sink: Following the manufacturer’s instructions, install the sink into the opening. Apply a thin bead of silicone caulk along the edge of the sink to create a watertight seal. Secure the sink with clips or brackets as recommended by the sink manufacturer.
- Create cutout openings for appliances: If you have any appliances that require cutout openings (such as a cooktop or built-in oven), measure and mark their positions on the countertop. Use a jigsaw or router to carefully create the cutout openings.
- Finish the edges: Apply edge banding to the exposed edges of the cutout openings to give them a finished look. Use a router or sandpaper to smooth any rough edges.
By following these steps, you will successfully install the sink and create any necessary cutout openings in your laminate countertop. Take your time during each step to ensure accuracy and precision. With the sink installed and the cutout openings created, you’re almost done with the installation process!
Now let’s move on to the final step: applying edge banding and finishing touches to complete the look of your laminate countertop.
Step 8: Apply Edge Banding and Finishing Touches
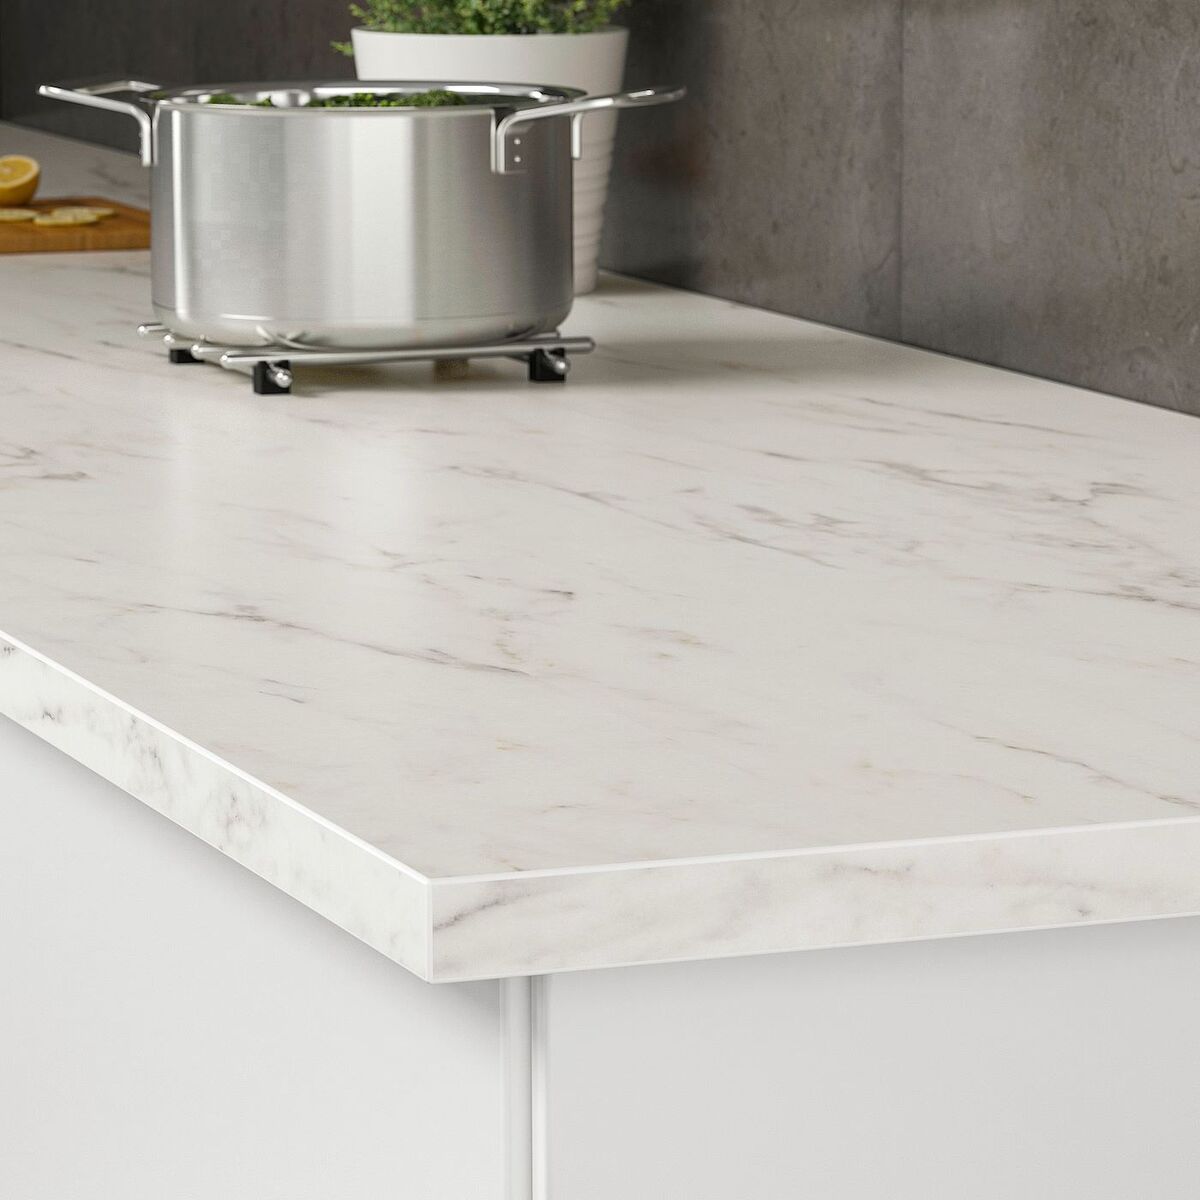
In the final step of installing your IKEA laminate countertop, you’ll apply edge banding and add finishing touches to enhance its appearance and durability. Edge banding not only provides a finished look to the countertop edges but also helps protect the laminate from moisture and wear. Follow these steps to apply edge banding and complete the installation:
- Cut the edge banding: Measure the length of each exposed edge on your countertop and cut the edge banding to match those measurements. Make sure to leave a slight overhang for trimming later.
- Prepare the edge banding adhesive: Follow the manufacturer’s instructions to activate the adhesive on the edge banding. This usually involves heating the adhesive with an iron or applying hot water.
- Apply the edge banding: Beginning with one edge, align the edge banding with the countertop edge and press it firmly in place. Use a roller or a block of wood to ensure proper adhesion and remove any air bubbles.
- Trim the excess edge banding: Once the adhesive has cooled and set, use a router or a utility knife to trim off the excess edge banding. Take care to achieve a clean and flush edge.
- Sand and smooth the edges: Use a sanding block or sandpaper to smooth any rough or uneven edges left after trimming the edge banding. This will create a seamless transition between the countertop surface and the edge banding.
- Apply a countertop sealer (if necessary): Depending on the specific laminate countertop you have selected, it may require a countertop sealer. Follow the manufacturer’s instructions to apply the sealer and protect your countertop from stains and daily wear.
- Complete any final touches: Take the time to inspect your countertop and make any necessary touch-ups or adjustments. Check for any visible seams, loose edges, or imperfections and address them accordingly.
By following these steps, you will successfully apply edge banding and add the finishing touches to your laminate countertop. This final step will give your countertop a polished and professional look.
With the edge banding applied and the finishing touches completed, you have now successfully installed your IKEA laminate countertop. Take a moment to admire the transformation of your kitchen or bathroom, knowing that you completed the installation with skill and patience.
Congratulations on a job well done!
Conclusion
Installing an IKEA laminate countertop can transform the look and functionality of your kitchen or bathroom. With careful planning, precise measurements, and the right tools and materials, you can successfully complete this project on your own. Throughout this comprehensive guide, we have covered each step of the installation process to help you achieve a professional and polished result.
In the beginning, we emphasized the importance of measuring and preparing the workspace. Accurate measurements ensure that your countertop fits perfectly and aligns with other elements in the room. We also discussed the tools and materials you’ll need, ensuring that you have everything at your disposal before starting the installation.
We then walked you through the steps of prepping the countertop area, assembling the laminate countertop, and attaching it securely to the base cabinets. These steps set the foundation for a stable and long-lasting installation.
Next, we addressed the significance of securing the countertop seams to achieve a seamless and cohesive appearance. We also provided guidance on installing sinks and creating cutout openings for appliances, ensuring both functionality and visual appeal.
Finally, we covered the last step of applying edge banding and adding finishing touches. This step adds a professional and polished look to your laminate countertop, improving its durability and enhancing its overall aesthetic.
By following each step carefully, you have successfully installed your IKEA laminate countertop. You can now enjoy your beautifully transformed kitchen or bathroom, knowing that you accomplished this DIY project with skill and precision.
Remember, the key to a successful installation is attention to detail and patience. Take your time, double-check your measurements, and ensure a precise fit from start to finish.
We hope this guide has been valuable in guiding you through the installation process. Enjoy your newly installed laminate countertop and the functional and stylish space it brings to your home!
Now that you're equipped to revamp your kitchen with fresh countertops, why not explore more ingenious ways to enhance your home decor? Delve into our article on "creative Ikea Hacks" for ideas that blend art and functionality, perfect for any interior space. Additionally, you might find yourself curious about the materials you've just worked with. Our "detailed guide on Laminate Countertops" offers insights into their durability, maintenance, and style options, ensuring you make informed decisions for future projects.
Frequently Asked Questions about How To Install Ikea Laminate Countertops
Was this page helpful?
At Storables.com, we guarantee accurate and reliable information. Our content, validated by Expert Board Contributors, is crafted following stringent Editorial Policies. We're committed to providing you with well-researched, expert-backed insights for all your informational needs.


0 thoughts on “How To Install Ikea Laminate Countertops”