Home>Articles>How Do You Remove The Drawers From A Us General Tool Chest
Articles
How Do You Remove The Drawers From A Us General Tool Chest
Modified: August 28, 2024
Learn how to easily remove the drawers from your US General tool chest with these step-by-step instructions. Find more helpful articles on tool chest maintenance and organization.
(Many of the links in this article redirect to a specific reviewed product. Your purchase of these products through affiliate links helps to generate commission for Storables.com, at no extra cost. Learn more)
Introduction
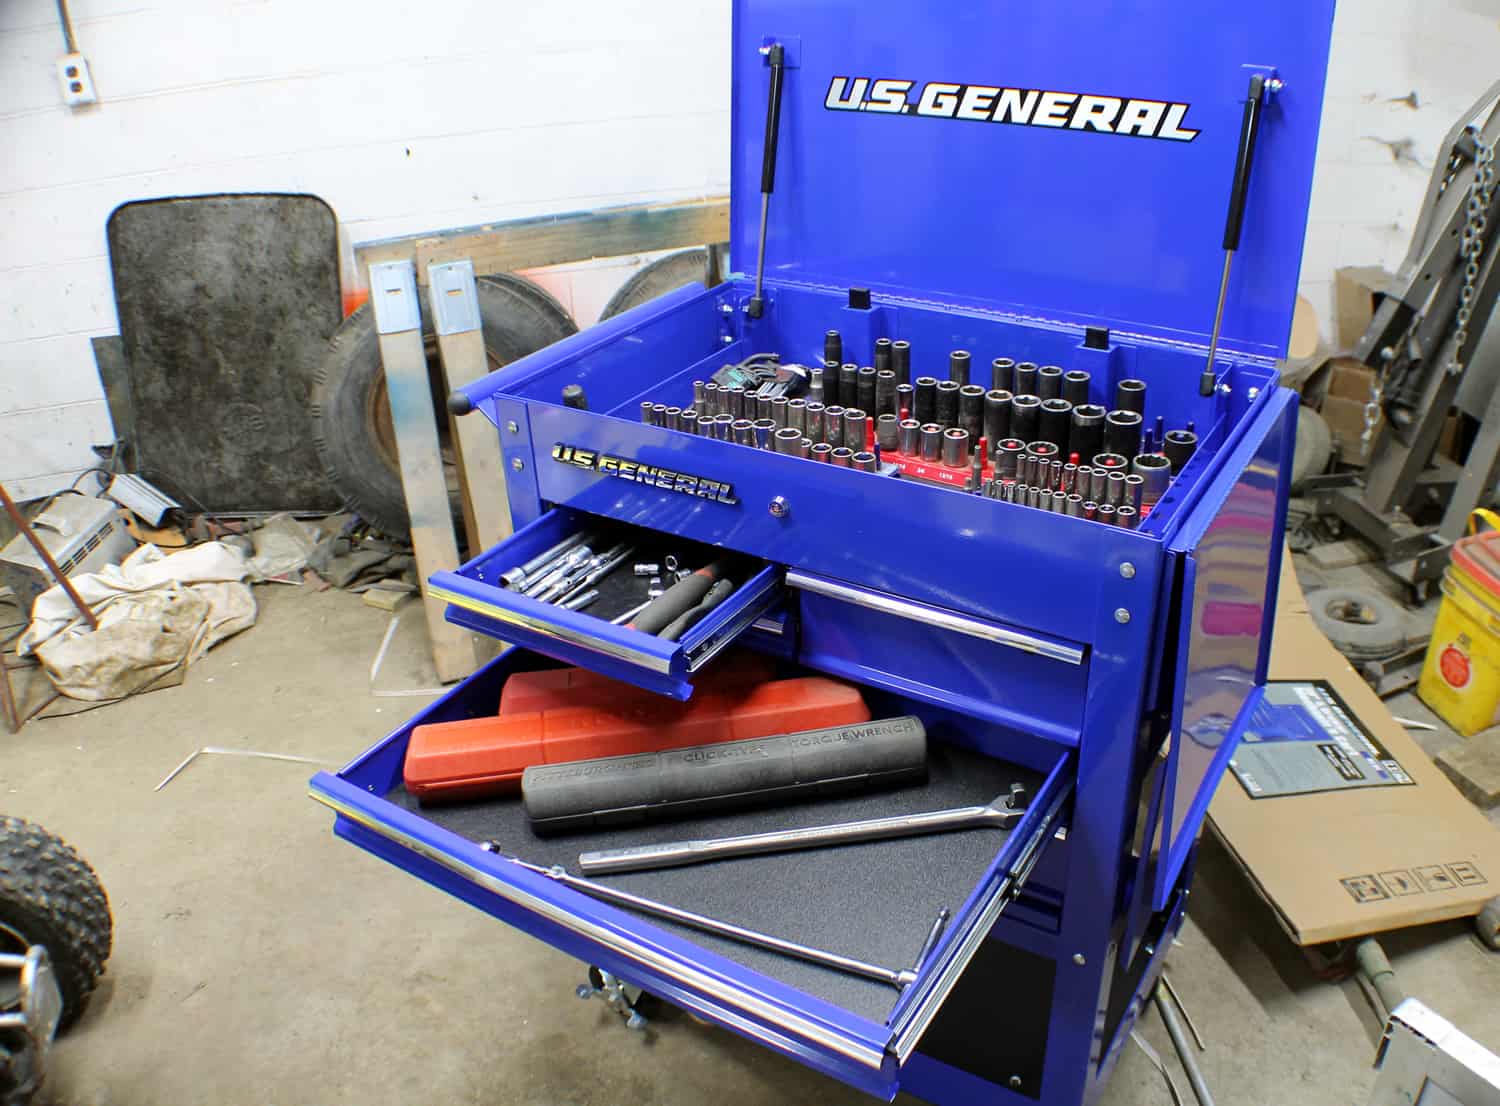
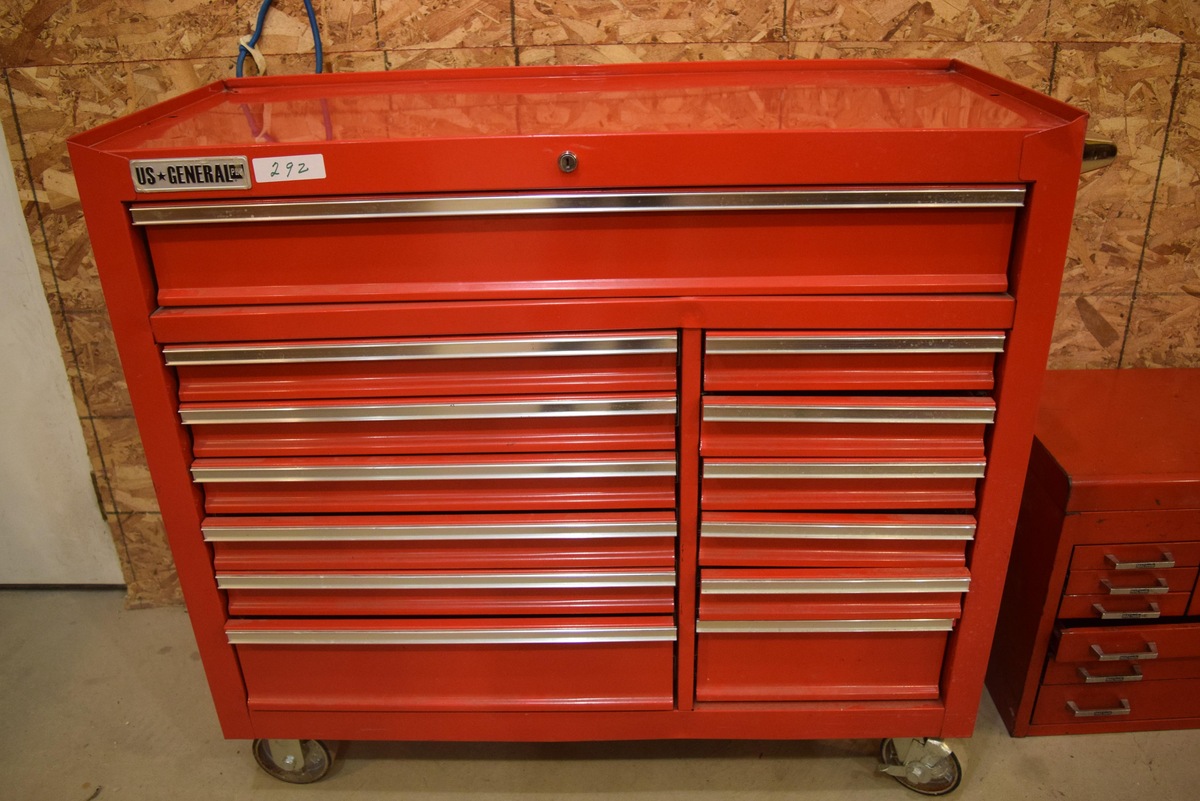
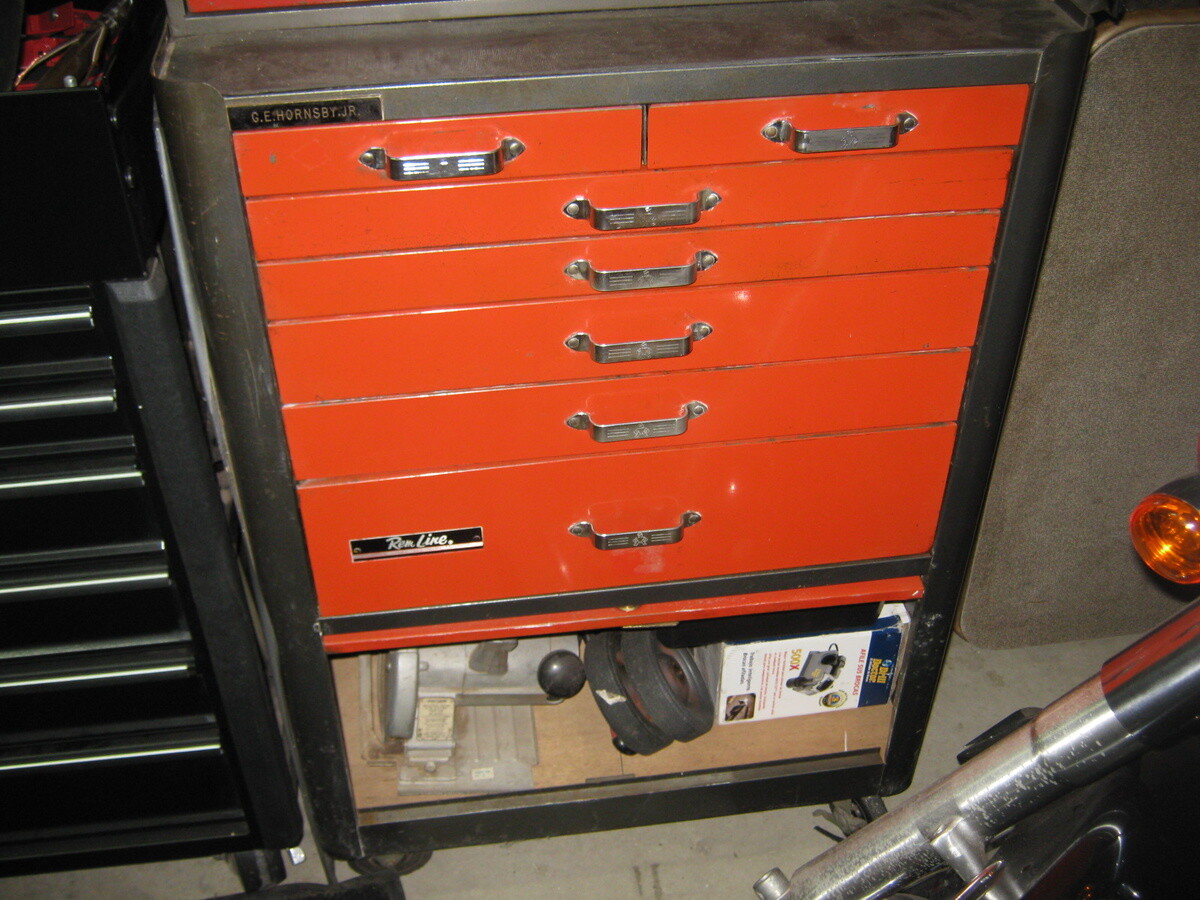
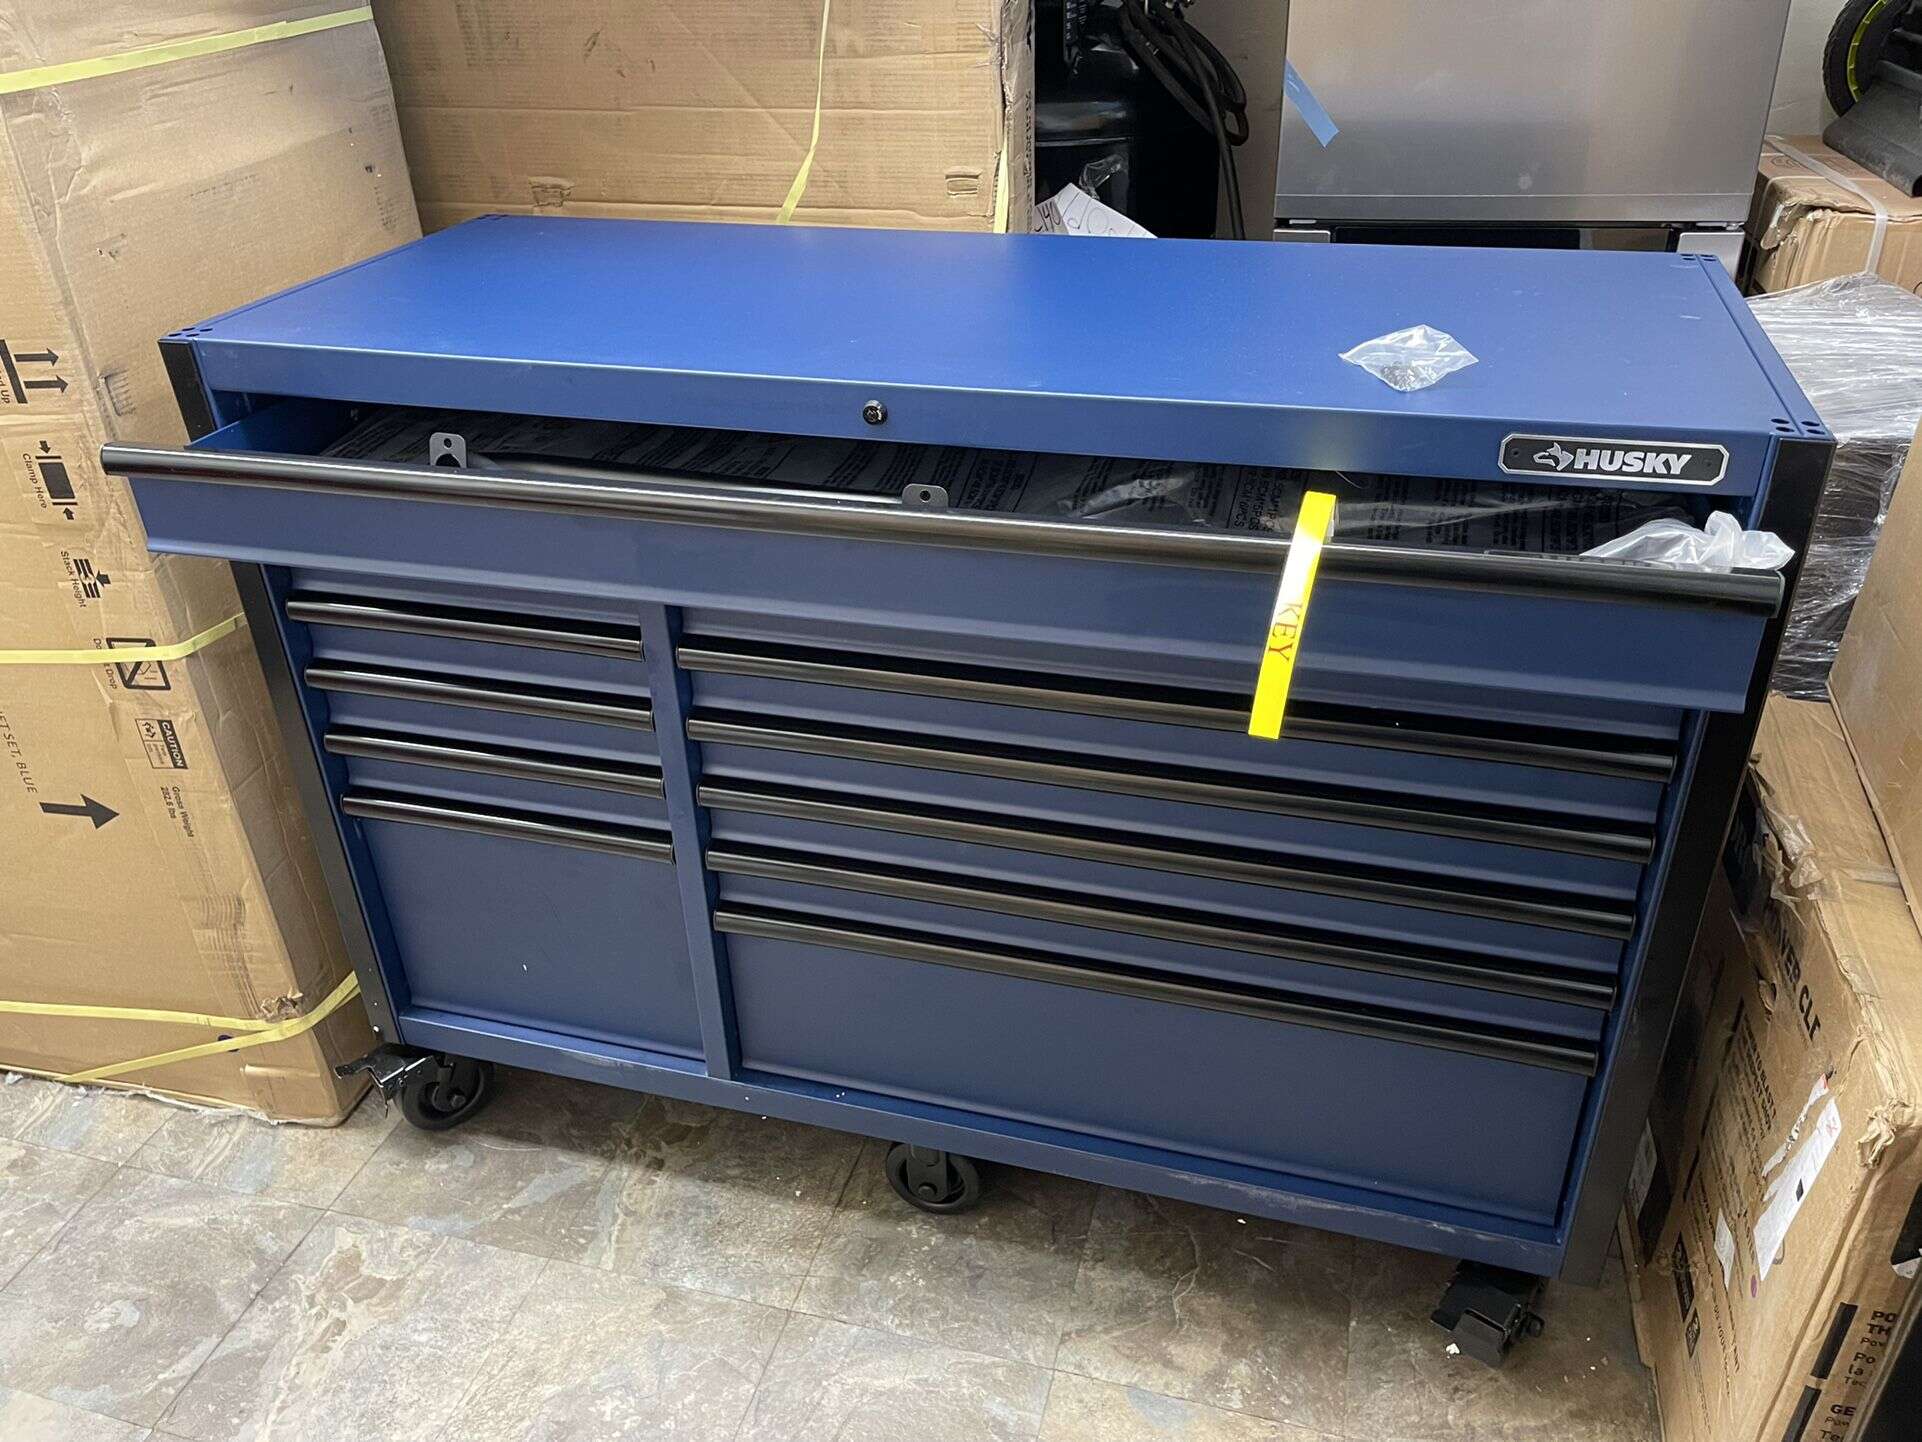
Having a well-organized tool chest is essential for any DIY enthusiast or professional mechanic. But what happens when you need to remove the drawers from your US General tool chest? Whether it’s for cleaning, reorganizing, or making repairs, taking out the drawers can seem like a daunting task at first.
In this article, I will guide you through the step-by-step process of removing the drawers from a US General tool chest. By following these instructions, you’ll be able to safely and efficiently remove the drawers, ensuring a smooth workflow and allowing you to get back to your projects in no time.
So, let’s roll up our sleeves and dive into the world of US General tool chests as we explore how to remove the drawers and make the most of your workspace.
Key Takeaways:
- Keep your workspace clear and organized before removing drawers from your US General tool chest to ensure a smooth and stress-free process.
- Regularly clean and maintain your tool chest drawers to extend their lifespan, keep your tools in optimal condition, and enhance your workflow.
Read more: Who Makes Us General Tool Chest
Step 1: Clearing the workspace
Before you start removing the drawers from your US General tool chest, it’s important to create a clear and clutter-free workspace. This will not only make the task easier but also ensure that you have enough room to maneuver without any obstacles in your way.
Begin by emptying the contents of the drawers. Remove all tools, parts, or accessories and place them in a safe and organized manner nearby. This will prevent any accidents or damage to your tools during the drawer removal process.
Next, take a moment to assess the surrounding area. Remove any objects or debris that may hinder your movements or interfere with the drawer removal process. It’s also a good idea to sweep or clean the workspace to remove any dust or dirt that could potentially impact the smooth operation of the tool chest drawers.
By creating a clear and organized workspace, you’ll have a more efficient and stress-free experience when it comes to removing the drawers. Plus, it will also make it easier for you to put everything back in place once you’re done with the task at hand.
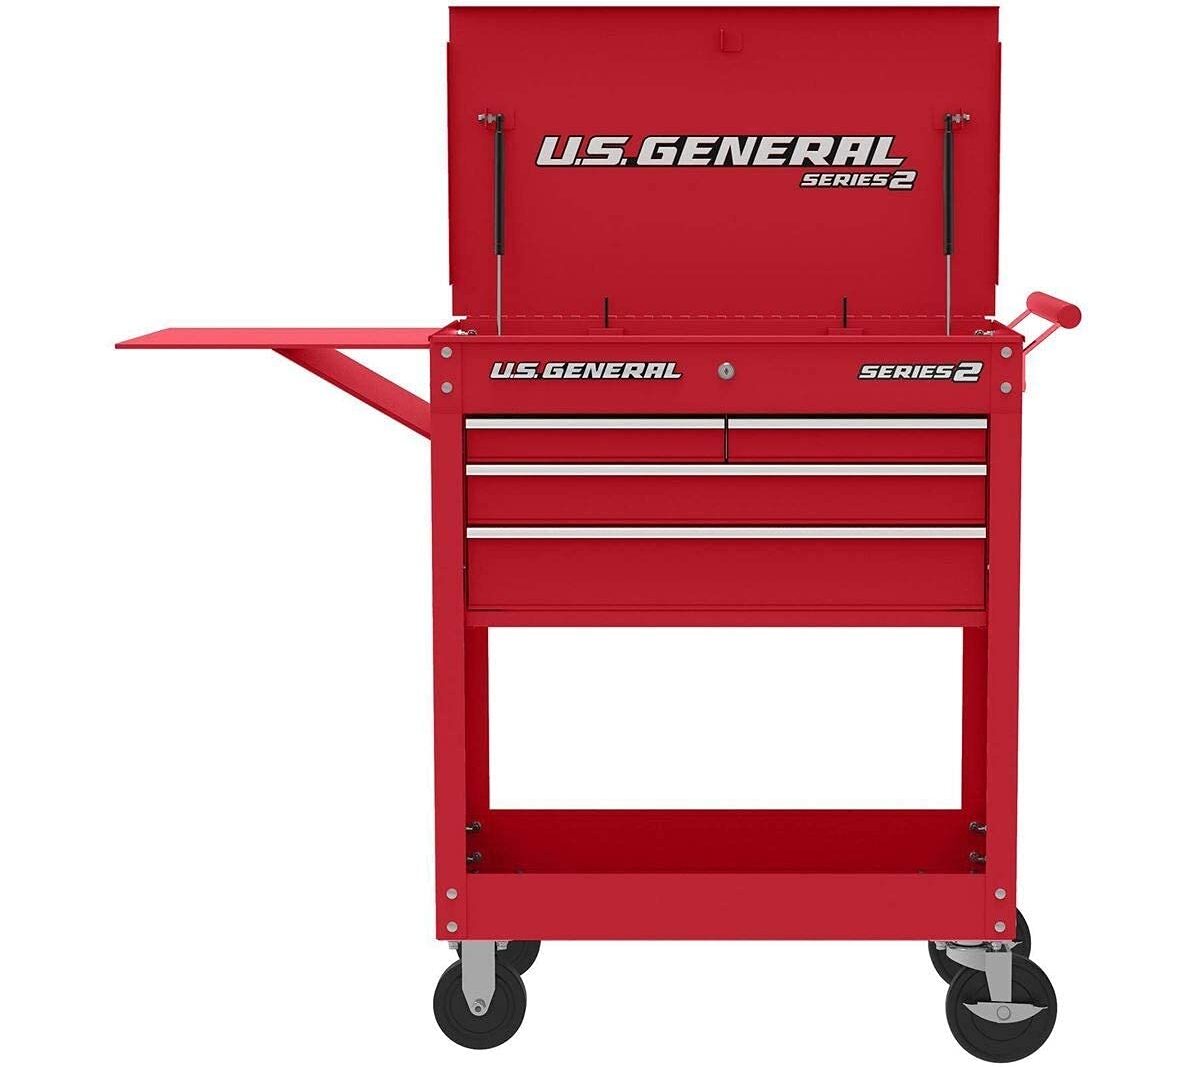
Step 2: Identifying the drawer type
Before you can proceed with removing the drawers from your US General tool chest, it’s important to identify the type of drawers you have. US General tool chests typically come with two types of drawer mechanisms: those with a release mechanism and those without.
Drawers with a release mechanism are equipped with a latch or lever that needs to be activated in order to unlock and remove the drawer. On the other hand, drawers without a release mechanism may require a different approach to disengage them from the tool chest.
To determine the type of drawers you have, take a closer look at the front of the drawer. Look for any visible release mechanisms or latches. These could be located on the sides, bottom, or back of the drawer. If you see any, it is likely that you have drawers with a release mechanism.
If you don’t see any obvious release mechanisms, you are likely dealing with drawers without a release mechanism. These drawers may require a different technique to remove, which we will cover in the next step.
Identifying the drawer type is crucial as it will dictate the approach you need to take to remove the drawers from your US General tool chest. Once you have determined the type of drawers you’re dealing with, you can proceed to the appropriate method of removal.
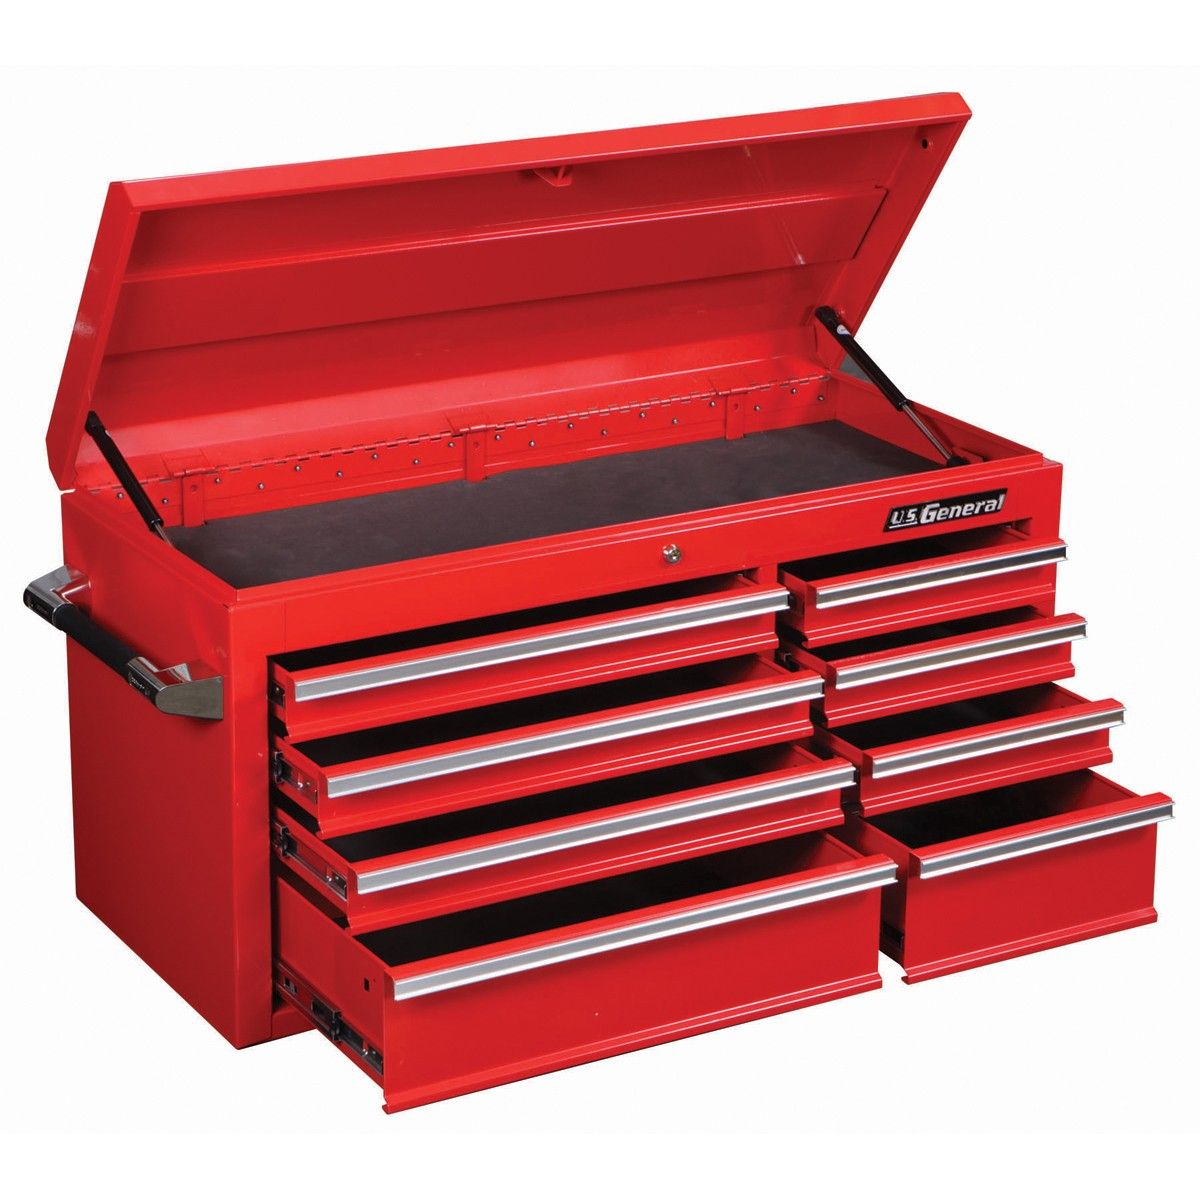
Step 3: Removing drawers with a release mechanism
If your US General tool chest drawers have a release mechanism, removing them is a relatively straightforward process. Follow these steps to safely and effectively remove the drawers:
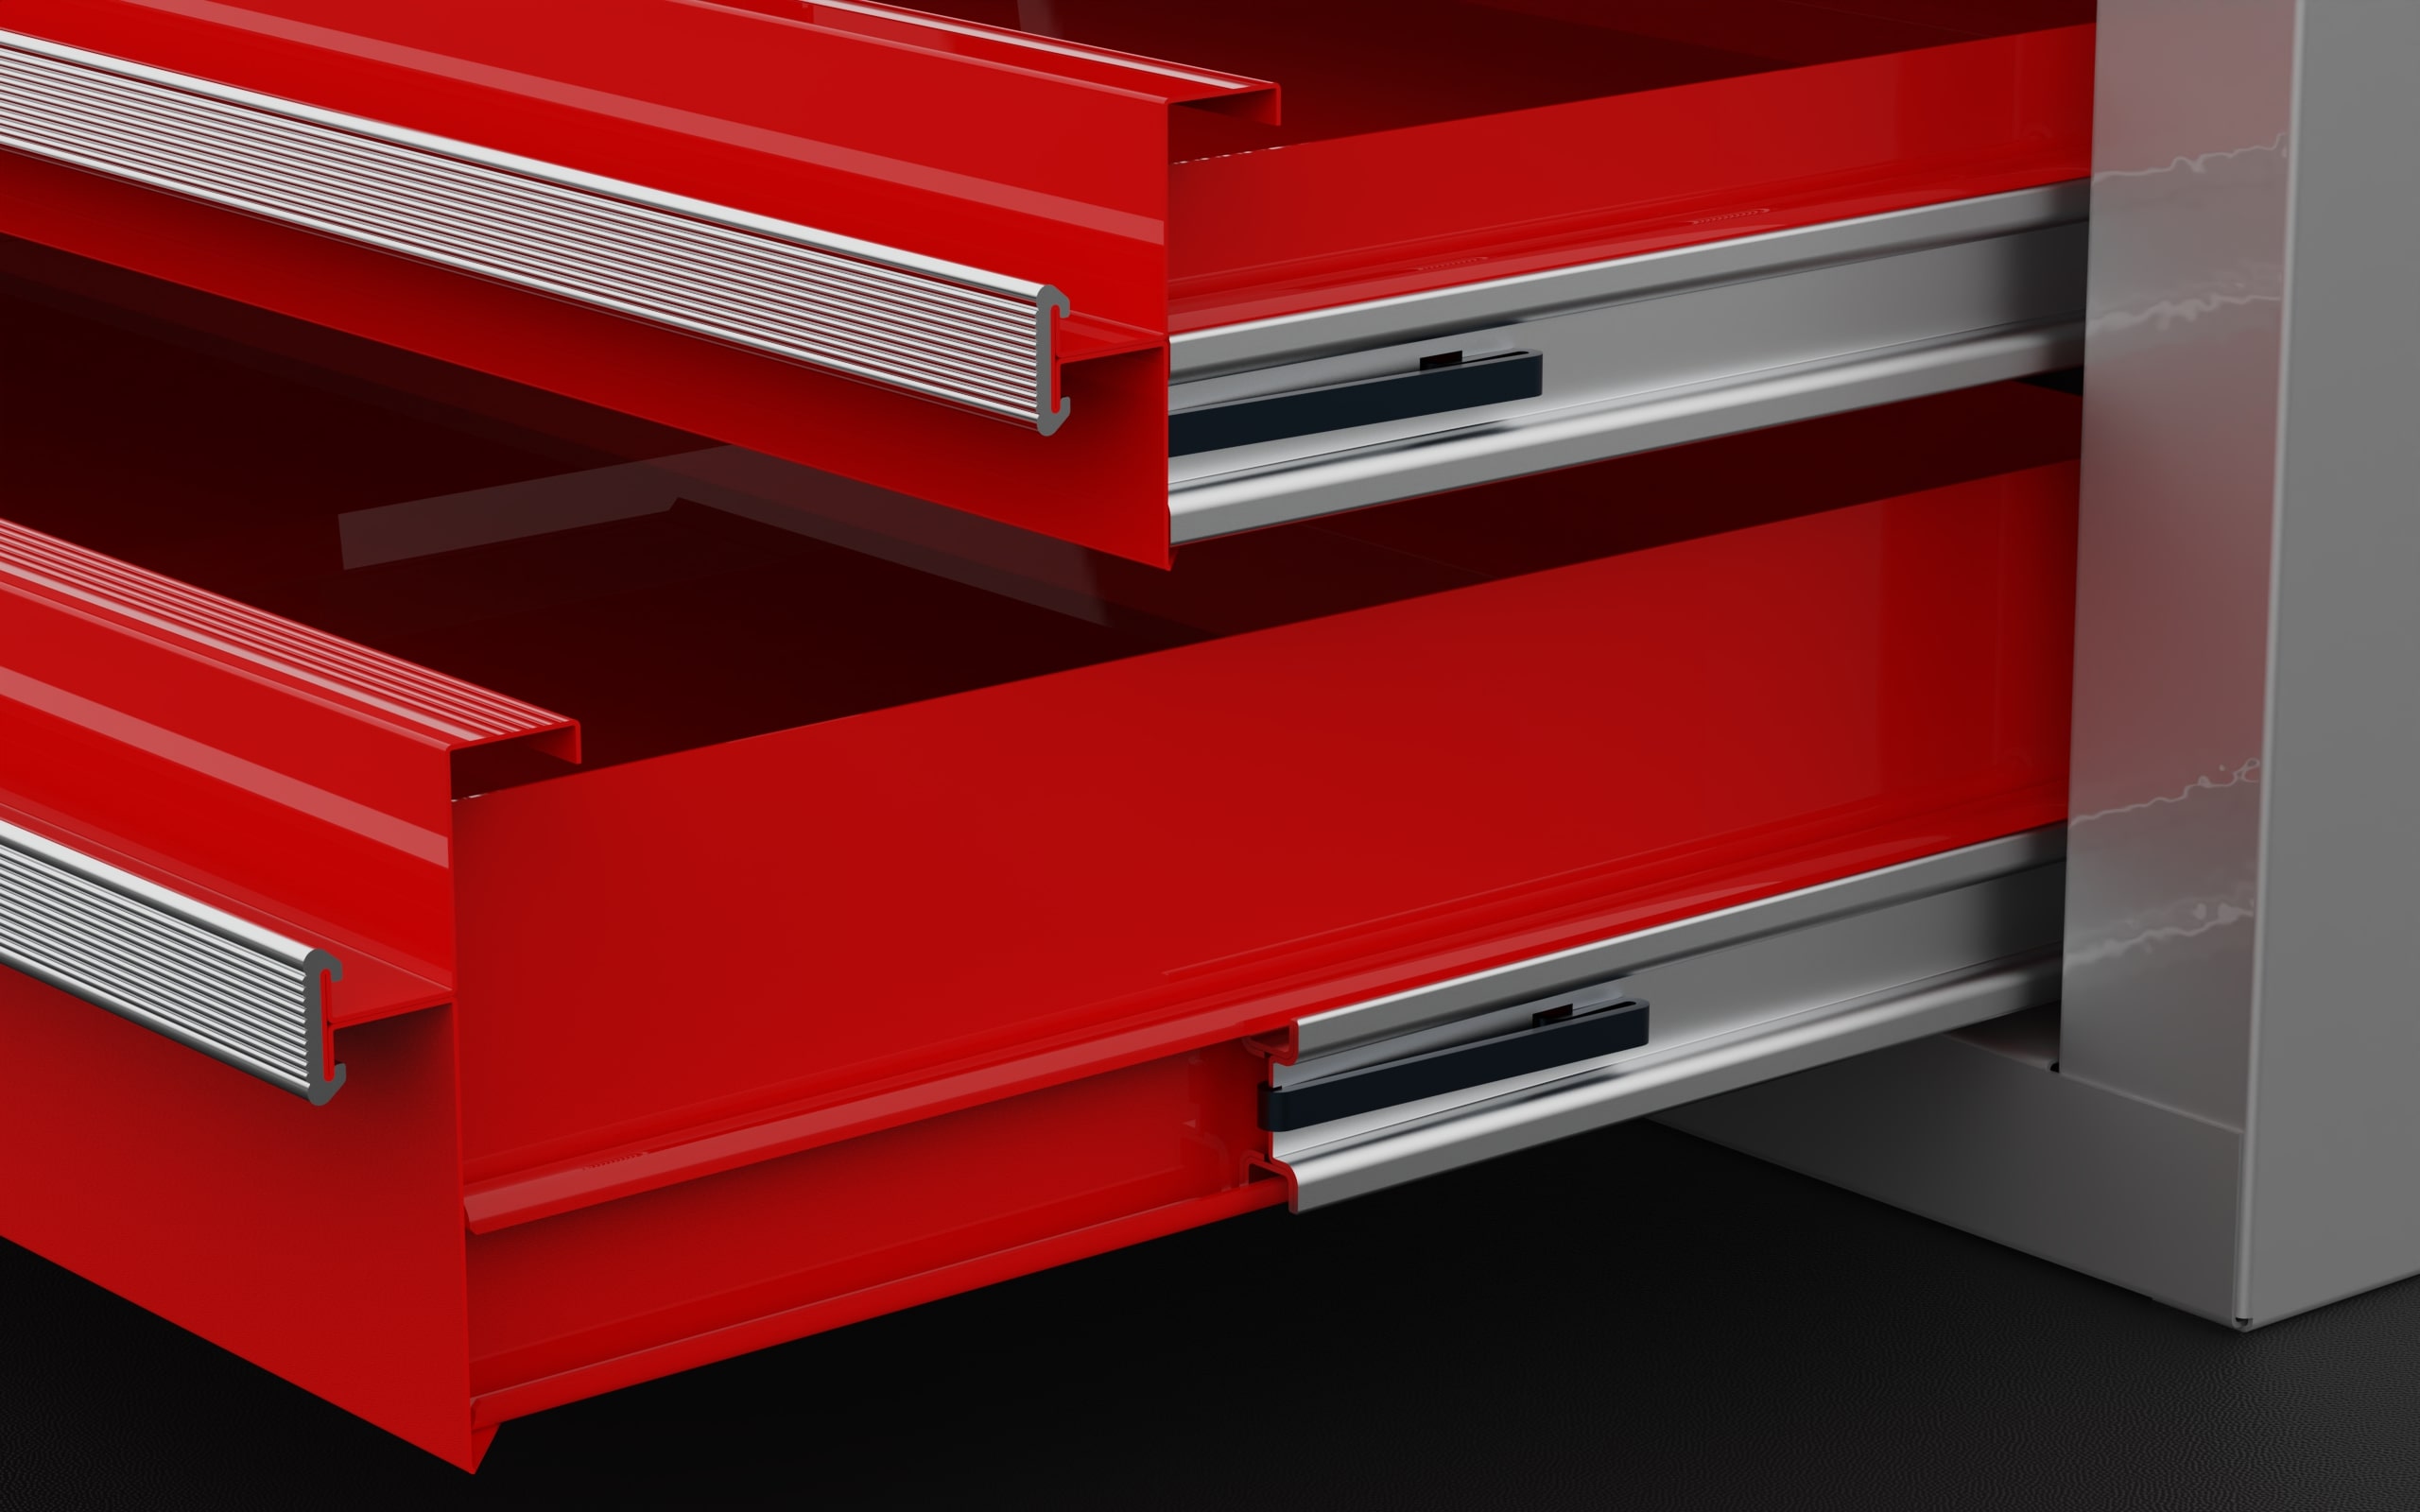
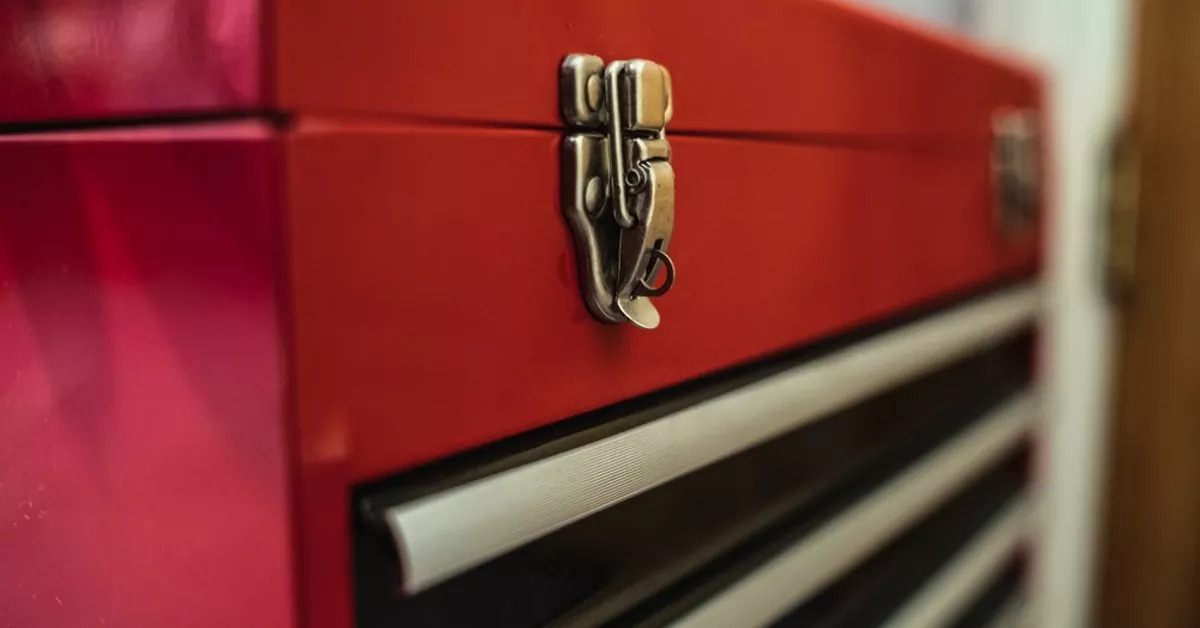
- Locate the release mechanism: As mentioned earlier, the release mechanism can be found on the sides, bottom, or back of the drawer. Look for a latch, lever, or button.
- Activate the release mechanism: Depending on the design of your tool chest, you may need to press, pull, or push the release mechanism to disengage the drawer from its locked position. This will typically require some force, but be gentle to avoid any damage.
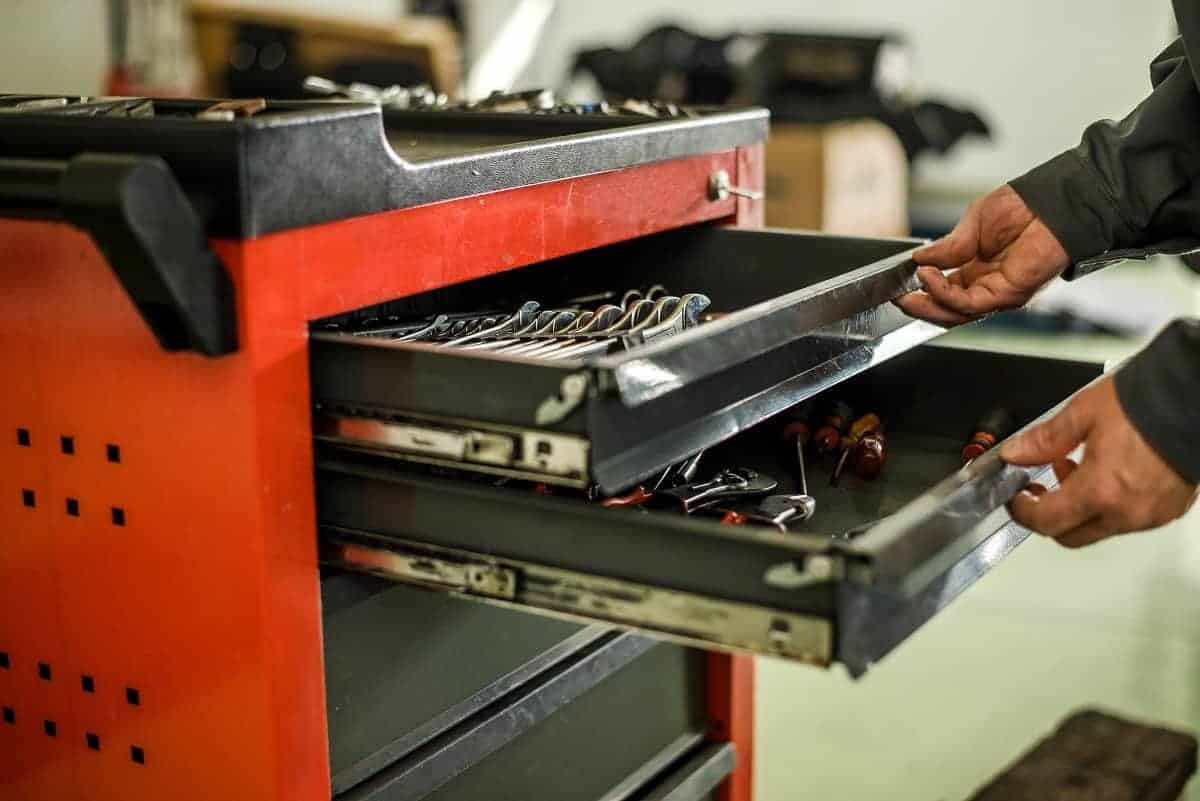
- Pull the drawer out: Once the release mechanism has been activated, gently pull the drawer towards yourself. It should slide out smoothly. If you encounter any resistance, double-check to ensure that the release mechanism is fully engaged before trying again.
- Set the drawer aside: Once the drawer is fully removed, set it aside in a safe and secure location. Be mindful of any delicate or sharp objects that may be inside the drawer.
Repeat these steps for each drawer with a release mechanism in your US General tool chest. By following this process, you’ll be able to remove the drawers easily and efficiently, allowing you to access the contents or perform any necessary maintenance.
To remove the drawers from a US General tool chest, simply open the drawer fully, locate the release tabs on each side, and push them in while pulling the drawer out. Be sure to support the drawer as you remove it to prevent it from falling.
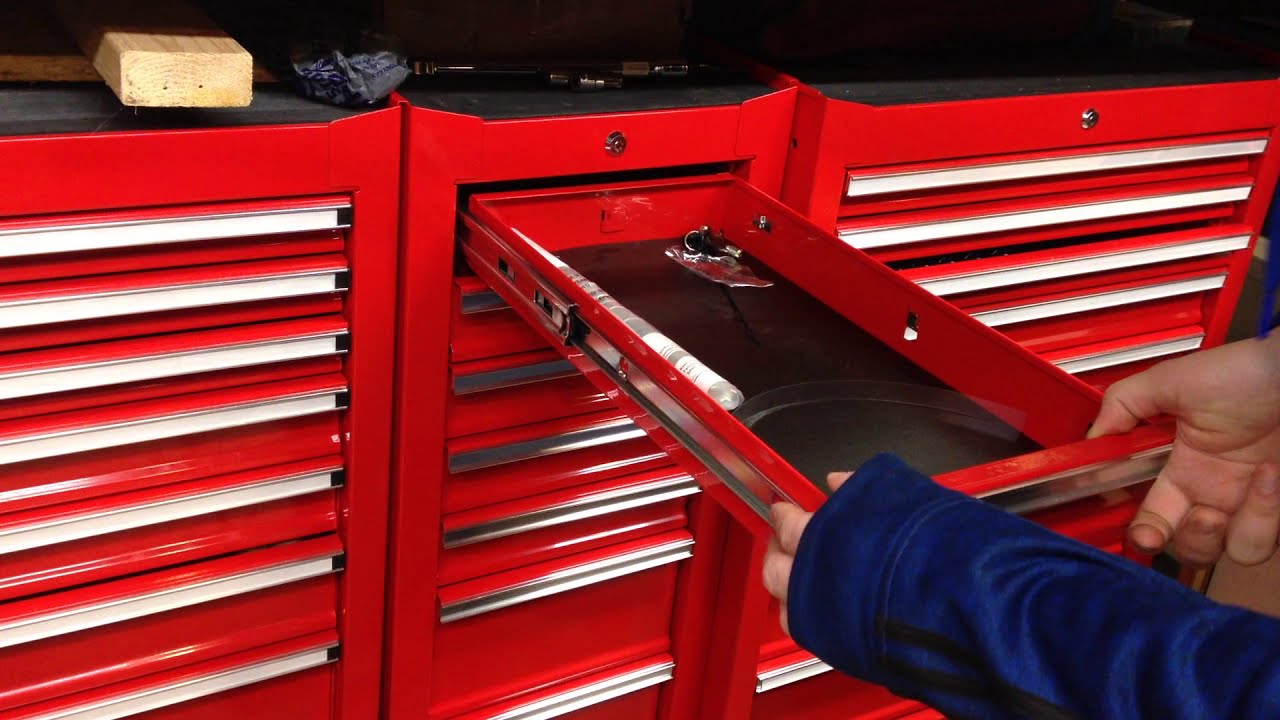
Step 4: Removing drawers without a release mechanism
If your US General tool chest drawers do not have a release mechanism, don’t worry. Removing these drawers may require a slightly different approach. Follow these steps to remove the drawers without a release mechanism:
- Empty the drawer: Before attempting to remove the drawer, make sure it is completely empty. This will make the process easier and prevent any items from falling out or getting damaged.
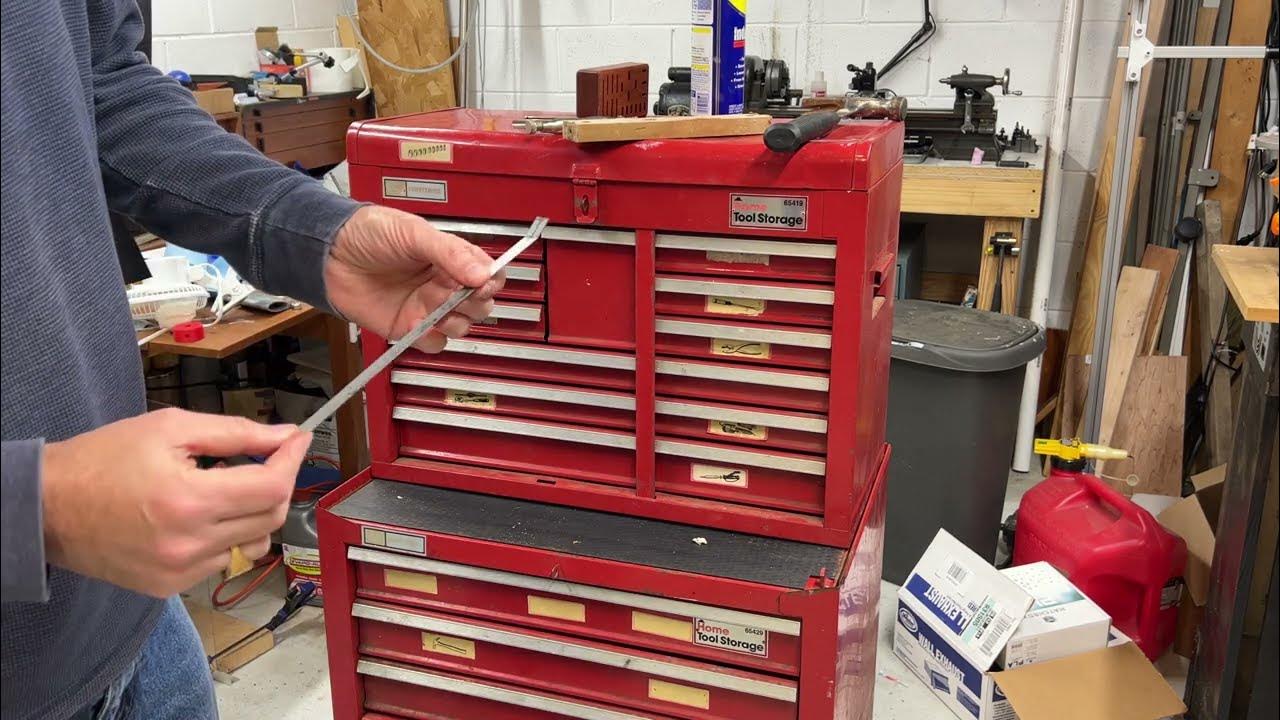
- Locate the drawer stops: Without a release mechanism, the drawers are typically held in place by drawer stops. These stops prevent the drawers from sliding all the way out when opened.
- Push the drawer stops: Look for the drawer stops located on each side of the drawer. Use your fingers or a flathead screwdriver to push them inwards towards the center of the drawer. This action will disengage the stops and allow you to remove the drawer.
- Pull the drawer out: With the stops disengaged, gently pull the drawer towards yourself. It should slide out smoothly. If you encounter any resistance, double-check that the stops are fully pushed in before trying again.
- Set the drawer aside: Once the drawer is fully removed, place it in a safe and secure location. Take care not to place it in a way that could damage or scratch the drawer or its contents.
Repeat these steps for each drawer without a release mechanism in your US General tool chest. By following this process, you’ll be able to safely and effectively remove the drawers without a release mechanism, allowing you to access and organize your tools with ease.
Step 5: Cleaning and maintaining the drawers
Now that you have successfully removed the drawers from your US General tool chest, it’s a great opportunity to clean and maintain them. Proper maintenance will ensure the longevity of your drawers and keep your tools in optimal condition. Follow these steps to clean and maintain your drawers:
- Inspect for any damage: Before cleaning, carefully inspect each drawer for any signs of damage, such as cracks, bends, or loose parts. If you notice any issues, address them before proceeding.
- Clean the drawers: Use a soft cloth or sponge and mild soap to clean the interior and exterior surfaces of the drawers. Pay special attention to removing any dirt, dust, or debris that may have accumulated over time. Rinse the drawers thoroughly and allow them to dry completely before placing them back in the tool chest.
- Check drawer slides and rollers: Examine the drawer slides and rollers for any signs of wear or misalignment. If needed, lubricate the slides and rollers with a silicone-based lubricant to ensure smooth operation. Avoid using heavy oils or grease as they can attract dust and debris.
- Organize your tools: Take this opportunity to reorganize your tools within the drawers. Consider using drawer organizers or dividers to maximize space and keep everything in order. This will make it easier to find and access your tools when needed.
- Reinstall the drawers: Once the drawers are clean and your tools are organized, carefully slide each drawer back into its designated slot. Ensure that they are properly aligned and fully inserted to prevent any issues with closing or locking the tool chest.
By regularly cleaning and maintaining your US General tool chest drawers, you’ll not only extend their lifespan but also create a more efficient and organized workspace. Additionally, maintaining cleanliness and orderliness will help prevent any damage to your tools and ensure a smooth workflow for your future projects.
Conclusion
Removing the drawers from your US General tool chest may have initially seemed like a challenging task, but with the right guidance, it can be a simple and straightforward process. By following the steps outlined in this article, you’ll be able to safely and efficiently remove the drawers, allowing you to clean, organize, or make necessary repairs to your tool chest.
Remember to start by clearing the workspace and assessing the drawer type. If your drawers have a release mechanism, activate it and gently pull the drawer out. For drawers without a release mechanism, push in the drawer stops and then pull the drawer out. Take the opportunity to clean and maintain the drawers, inspecting for any damage, and organizing your tools within them.
By regularly maintaining and cleaning your tool chest drawers, you’ll ensure their longevity and keep your tools in optimal condition. A well-organized tool chest will enhance your workflow and make your projects more enjoyable and efficient.
Now that you have mastered the art of removing drawers from your US General tool chest, go ahead and put this knowledge into practice. With properly maintained drawers, you’ll have a tool chest that not only looks great but also functions flawlessly, helping you tackle any project that comes your way.
Now that you've mastered removing drawers from your US General tool chest, why not optimize your workspace even further? For enthusiasts seeking smart storage solutions, our article on the best tool storage options offers innovative ideas to streamline any workshop environment. And for those who deal with nuts, bolts, and bits, our guide on top hardware storage solutions can transform clutter into clarity. Dive into these reads to enhance your efficiency and make maintenance a breeze!
Frequently Asked Questions about How Do You Remove The Drawers From A Us General Tool Chest
Was this page helpful?
At Storables.com, we guarantee accurate and reliable information. Our content, validated by Expert Board Contributors, is crafted following stringent Editorial Policies. We're committed to providing you with well-researched, expert-backed insights for all your informational needs.


0 thoughts on “How Do You Remove The Drawers From A Us General Tool Chest”