Articles
How Long Does It Take To Put Up A Fence
Modified: February 23, 2024
Learn how long it takes to install a fence with our comprehensive articles. Discover the factors that impact installation time and make an informed decision.
(Many of the links in this article redirect to a specific reviewed product. Your purchase of these products through affiliate links helps to generate commission for Storables.com, at no extra cost. Learn more)
Introduction
Having a fence around your property provides numerous benefits, from privacy and security to aesthetics and added value. Whether you’re looking to keep your children and pets safe, set boundaries for your property, or enhance the curb appeal of your home, installing a fence is a great investment.
One of the common questions that arises when considering fence installation is, “How long does it take to put up a fence?” The answer to this question depends on several factors, including the type of fence, the size of the area to be fenced, and the experience level of the person or team installing the fence.
In this article, we will explore the various factors that influence the time it takes to put up a fence. We will also provide a step-by-step guide on the fence installation process, helping you understand the tasks involved and giving you a general idea of the timeline for completing the project.
It’s important to note that every fence installation project is unique, and the time required can vary considerably. However, by understanding the different aspects of the installation process, you’ll be better equipped to plan and manage the project efficiently.
Before diving into the specifics, it’s crucial to consider a few factors that can impact the speed of your fence installation. These factors include:
- The size and complexity of the project: The larger the area to be fenced and the more complex the design, the longer it will take to complete the installation.
- Your level of experience: If you have prior experience with fence installation or have professional help, the process may be faster compared to someone with little to no experience.
- Permitting and regulations: Some areas have specific rules and regulations regarding fence installation. Obtaining permits and ensuring compliance with local regulations can add extra time to the project.
- Weather conditions: Inclement weather can delay the installation process, especially if it involves digging holes for the fence posts or pouring concrete.
By taking these factors into account and understanding the steps involved in the fence installation process, you can better estimate the time required to put up a fence. In the next sections, we will break down the installation process and provide insights into each step.
Key Takeaways:
- Proper planning, accurate measurement, and precise execution are crucial for successful fence installation. Choosing the right materials, understanding local regulations, and regular maintenance ensure a sturdy, attractive, and functional fence.
- Installing a fence involves a series of steps, from preparing the site and digging post holes to attaching panels, installing gates, and ongoing maintenance. Each step contributes to a durable, visually appealing, and long-lasting fence.
Read more: How To Put Up Garden Fence
Factors to Consider Before Installation
Before diving into the fence installation process, there are a few factors you should consider to ensure a smooth and successful project. These factors will help you make informed decisions and set realistic expectations regarding the time and effort required.
1. Purpose of the Fence: Determine the primary purpose of the fence. Are you looking for privacy, security, or simply enhancing the aesthetic appeal of your property? Understanding your specific needs will help you choose the right type of fence.
2. Fence Material: Selecting the appropriate material is crucial for durability and maintenance. Common options include wood, vinyl, aluminum, and chain link. Each material has its advantages and disadvantages, so consider factors such as longevity, maintenance requirements, and cost when making your decision.
3. Local Regulations: Familiarize yourself with any local regulations and permits required for fence installation in your area. These may include height restrictions, setback limitations, and any other rules governing fence construction. Failure to adhere to these regulations can result in fines or having to redo the installation.
4. Budget: Determine your budget for the fence installation project. The cost of materials, labor, and any additional features such as gates or decorative elements should be taken into account. Setting a budget will help you prioritize your needs and make cost-effective choices.
5. Property Line and Utilities: Identify and mark the boundaries of your property accurately before installing the fence. It is crucial to ensure you do not encroach on neighboring properties. Additionally, be mindful of any underground utilities like water lines or electrical cables to avoid damaging them during the installation process.
6. HOA Approval: If you live in a neighborhood with a homeowner’s association (HOA), it’s important to review any HOA guidelines and seek approval before proceeding with fence installation. Some HOAs have specific restrictions on fence type, height, and design, which you must comply with.
7. Maintenance Considerations: Different types of fences require different levels of maintenance. Make sure you understand and are willing to fulfill the maintenance requirements for your chosen fence material. Regular maintenance ensures the longevity and appearance of your fence over time.
By carefully considering these factors before embarking on the installation process, you can avoid potential setbacks, unnecessary expenses, and ensure that your fence meets your specific requirements. Once you have considered these factors, you can move on to choosing the type of fence that suits your needs best.
Choosing the Type of Fence
Choosing the right type of fence is an essential decision that will depend on your specific needs and preferences. Each type of fence offers unique benefits in terms of functionality, aesthetics, and cost. Here are some popular types of fences to consider:
1. Wood Fences: Wood fences are a popular choice due to their natural beauty and versatility. They offer privacy and security while enhancing the overall aesthetics of your property. Wood fences can be made from various types of wood, such as cedar, pine, or redwood, each with its own characteristics and durability.
2. Vinyl Fences: Vinyl fences are low-maintenance and highly durable. They are resistant to rot, decay, and fading, offering a long-lasting solution. Vinyl fences are available in various styles and colors, providing flexibility in design options.
3. Aluminum Fences: Aluminum fences are lightweight yet strong, making them an excellent choice for both residential and commercial properties. They are resistant to rust, require minimal maintenance, and offer an elegant and sophisticated look. Aluminum fences are available in a wide range of styles and can mimic the appearance of traditional wrought iron.
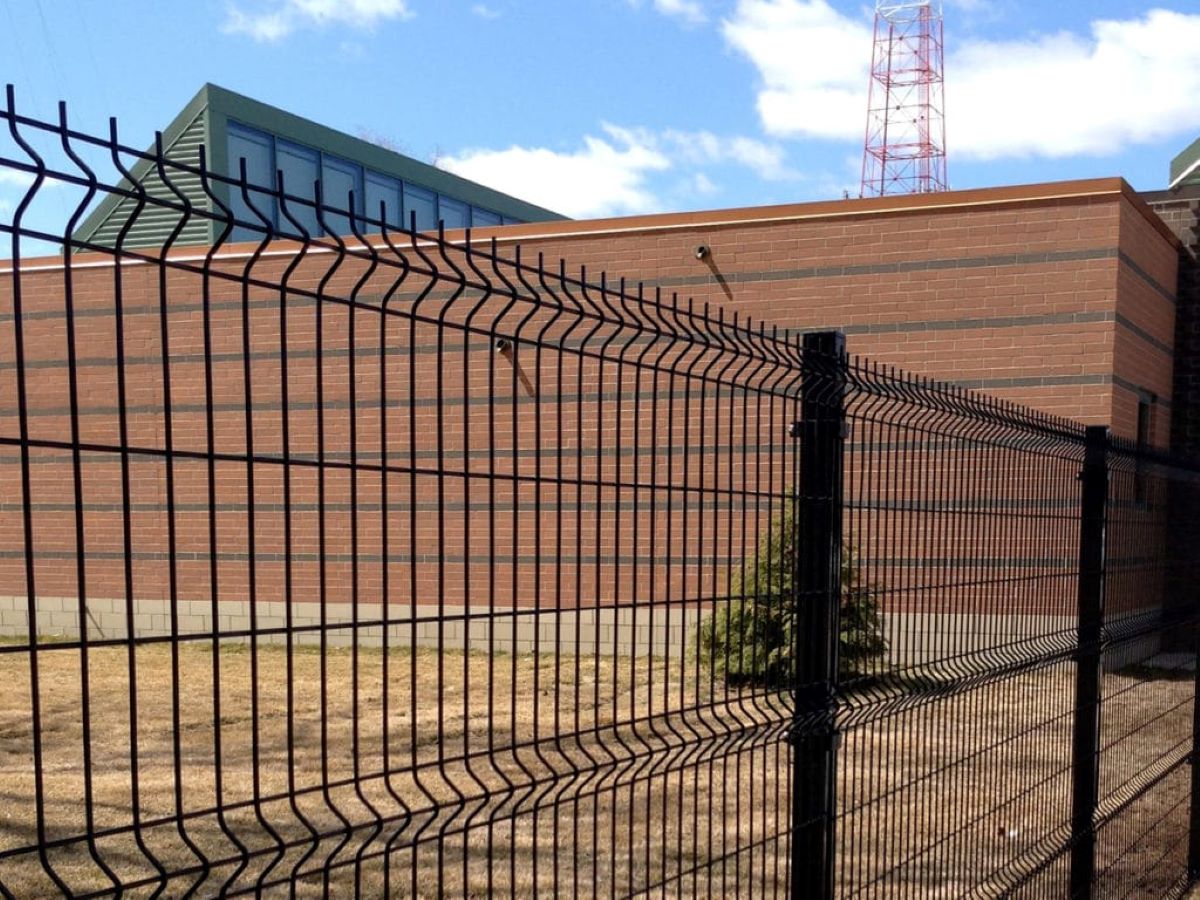
4. Chain Link Fences: Chain link fences are a practical and cost-effective option. They provide security and are commonly used in residential, commercial, and industrial settings. Chain link fences are durable, require minimal maintenance, and offer good visibility. They can also be customized with privacy slats or decorative elements.
5. Wrought Iron Fences: Wrought iron fences are known for their classic and ornamental appearance. They offer both beauty and security to your property. Wrought iron fences are durable and can last for many years with proper maintenance. They often require professional installation due to their weight and complexity.
6. Composite Fences: Composite fences are made from a mixture of plastic and wood fibers, offering the look and feel of wood with the added benefits of durability and low maintenance. They are resistant to rot, insects, and fading, making them a long-lasting and eco-friendly option.
When choosing the type of fence, consider factors such as the purpose of the fence, the level of privacy or security required, the desired aesthetic appeal, and your budget. Research different fence types, visit local suppliers, and consult with professionals to make an informed decision.
Once you have decided on the type of fence, the next step is to estimate the length of fence needed for your project. This will help determine the materials required and provide a better understanding of the overall timeline for installation.
Estimating the Fence Length
Accurately estimating the length of fence needed for your project is crucial to ensure you have enough materials and to plan the installation process effectively. To estimate the fence length, follow these steps:
1. Measure the Perimeter: Begin by measuring the perimeter of the area where you intend to install the fence. Use a measuring tape or a measuring wheel to get accurate measurements. Make sure to include all sides that will require fencing, and take note of any irregularities or obstacles that might affect the fence layout.
2. Divide into Segments: If your fence installation involves different segments or sides with different lengths or angles, divide the perimeter measurements into segments accordingly. This will help you calculate the required materials for each segment and plan the installation process more efficiently.
3. Plan for Gates: Determine the locations and sizes of any gates you plan to install within the fence. Gates require additional space, and their lengths should be included in your overall fence length estimation.
4. Consider Post Spacing: Depending on the type of fence, you’ll need to consider the spacing between fence posts. A general rule of thumb is to space posts 6 to 8 feet apart, although this may vary depending on the specific fence design and material used. Calculate the number of posts required based on your desired spacing and add them to your fence length estimation.
5. Account for Overlap: If you have chosen a fence design that includes overlapping boards or panels, such as a privacy fence, you’ll need to account for the overlap in your length estimation. Research the specific manufacturer’s recommendations or consult with professionals to determine the appropriate amount of overlap to include.
6. Add a Margin for Error: It’s always a good idea to add a margin for error to your fence length estimation. This accounts for any unforeseen circumstances, slight measurement discrepancies, or adjustments needed during the installation process. Adding an extra 5% to 10% to your estimated fence length should provide you with a sufficient buffer.
By following these steps and carefully considering all the factors, you can estimate the fence length accurately. This estimation will help you determine the quantity of materials required and provide a baseline for planning the installation process. Keep in mind that it’s always better to overestimate slightly than to underestimate and face delays or additional costs during the installation.
Gathering Materials and Tools
Once you have estimated the length of your fence and finalized the design, it’s time to gather the necessary materials and tools for the installation. Having all the materials and tools ready beforehand will help streamline the process and prevent unnecessary delays. Here are the key items you will need:
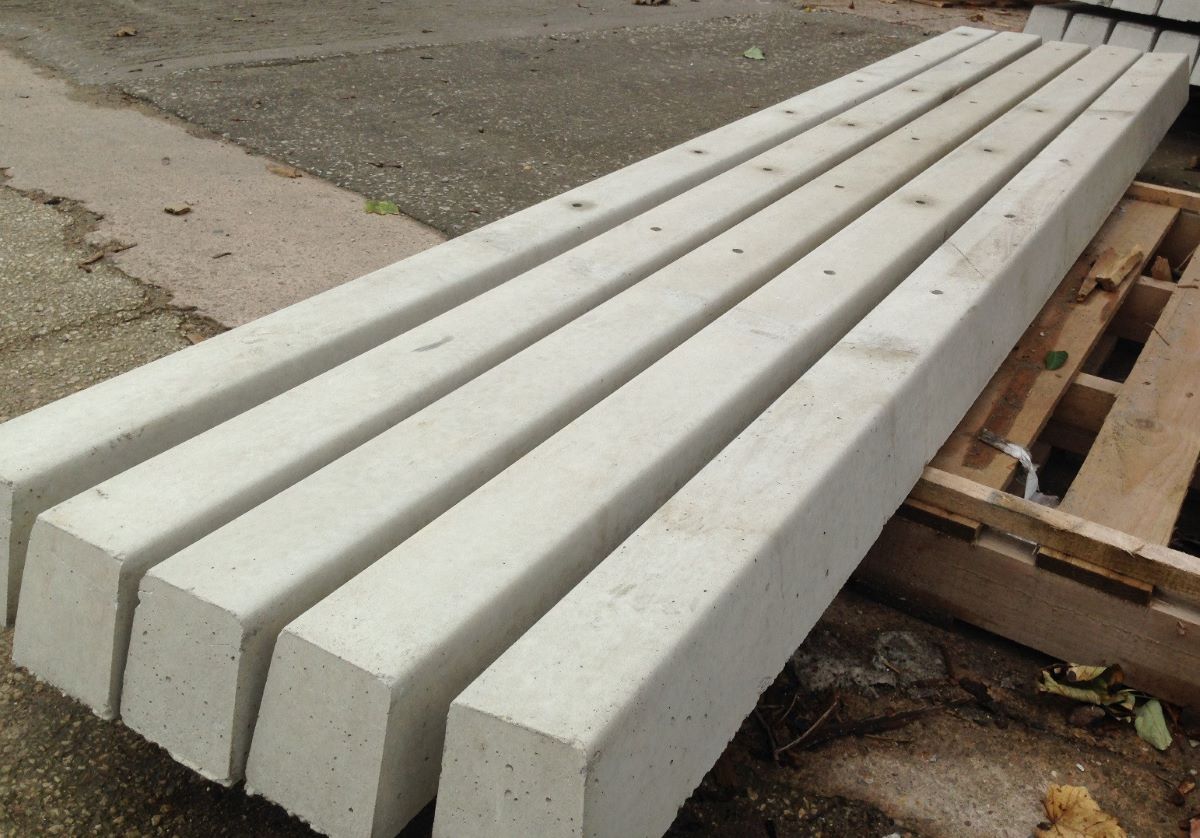
1. Fence Materials: Depending on the type of fence you have chosen, gather the necessary materials, including fence panels, boards, posts, rails, screws, nails, brackets, gate hardware, and any additional components specific to your design. Make sure to purchase high-quality materials that are suitable for your specific needs and the local climate.
2. Concrete: If your fence requires concrete footings or post holes, you will need to gather bags of concrete mix. The amount of concrete needed will depend on the number of posts and the recommended depth and width for each hole. Follow the manufacturer’s instructions for mixing and pouring the concrete properly.
3. Tools: Gathering the right tools is essential for a smooth fence installation process. The specific tools needed may vary depending on the type of fence and the installation method, but here are some commonly used tools:
- Measuring tape and level: These tools are essential for accurate measurements and ensuring a level fence installation.
- Post hole digger or auger: Depending on the size of the fence posts, you may need a post hole digger or an auger to excavate the holes.
- Shovel: A sturdy shovel is necessary for digging and moving soil during the installation process.
- Saw or cutting tools: If you need to resize fence panels or boards, have a saw or appropriate cutting tools on hand.
- Drill or screwdriver: Depending on the type of fasteners used, you may need a drill or screwdriver for attaching the fence components.
- Hammer: A hammer is useful for driving nails or wooden stakes into the ground.
- Level: A level ensures that the fence is installed evenly and provides a straight appearance.
- Gloves and Safety Gear: Protect your hands with work gloves and wear appropriate safety gear, such as safety glasses, when handling tools and materials.
4. Safety Equipment: Prioritize safety during the installation process. Ensure you have safety goggles, work gloves, sturdy work boots, and any other necessary safety equipment to protect yourself from potential hazards.
Make a checklist of all the materials and tools required for your specific fence installation. Double-check the list to ensure you haven’t missed anything essential before starting the project. Additionally, consider renting or borrowing any specialized equipment that you may not already have to make the installation process more efficient.
By gathering all the necessary materials and tools, you can approach the fence installation project with confidence, knowing that you are well-prepared to take on each task. Next, we’ll move on to preparing the site for the installation process.
Read more: How To Put Up Field Fence
Preparing the Site
Before starting the actual installation of your fence, it’s crucial to properly prepare the site to ensure a smooth and successful project. Here are the steps to follow when preparing the site:
1. Mark the Fence Line: Use stakes and string to mark the outline of your fence line. This will provide a clear visual guide and help you ensure that the fence is installed in the desired location and alignment. Make sure to account for any setbacks or property boundaries as required by local regulations or property boundaries.
2. Clear the Area: Remove any debris, plants, or obstacles along the fence line. Trim bushes or trees that may interfere with the installation process or the integrity of the fence. Clearing the area will create a clean space for easier access and a more precise installation.
3. Check for Utility Lines: Before digging any holes for the fence posts, contact your local utility companies to identify and mark any underground utility lines in the vicinity of the fence line. This step is crucial to avoid damaging utility lines during the installation process, ensuring safety and preventing unnecessary disruptions.
4. Measure and Mark Post Positions: Using your fence plan and in accordance with the recommended post spacing, measure and mark the positions of the fence posts along the fence line. Remember to account for any corner or end posts, as well as gate posts, if applicable. This step will help ensure accurate placement of the posts during installation.
5. Dig Fence Post Holes: With the post positions marked, dig the necessary fence post holes. The depth and width of the holes will depend on the type of fence and the local climate. Generally, the holes should be dug deep enough to accommodate one-third of the post length, plus an additional few inches for stability. Use a post hole digger or auger to excavate the holes, ensuring they are uniform in size and depth.
6. Remove Excess Soil: As you dig the fence post holes, keep a tarp or wheelbarrow nearby to collect and remove the excess soil. This will help maintain a clean and organized work area and prevent issues when backfilling the holes later in the installation process.
7. Set Gravel Base: Place a layer of gravel at the bottom of each fence post hole. This base will help with drainage and provide stability for the fence posts. Compact the gravel by tamping it down with a tamper tool or the end of a post.
By thoroughly preparing the site, you set the groundwork for a successful fence installation. Taking the time to mark the line, clear the area, identify utility lines, measure and mark post positions, and dig the fence post holes correctly will help ensure that the rest of the installation process proceeds smoothly. With the site properly prepared, you are now ready to move on to the next step: digging the fence post holes.
Consider the size of the fence and the materials being used. On average, it can take anywhere from a few days to a few weeks to put up a fence, depending on the complexity and size of the project.
Digging the Fence Post Holes
One of the critical steps in the fence installation process is digging the fence post holes. The stability and proper alignment of your fence will depend on the accuracy and quality of these holes. Here is a step-by-step guide on how to dig the fence post holes:
1. Gather the Necessary Tools: Before you begin, ensure you have the required tools for digging the post holes. These may include a post hole digger, an auger, a shovel, a level, and a measuring tape.
2. Measure and Mark the Hole Locations: Using your fence plan and the marked post positions, measure and transfer the locations of the fence post holes to the ground. Double-check the measurements and alignments to ensure accuracy.
3. Begin Digging the Holes: Start digging the first fence post hole. If using a post hole digger, insert it into the ground, and use leverage to remove soil in small increments. If using an auger, follow the manufacturer’s instructions for proper operation and dig the hole to the required depth. Remove the soil from the hole and set it aside.
4. Check the Hole Depth: As you dig, periodically check the depth of the hole using a measuring tape or a level. The depth will depend on the type of fence, local regulations, and specific recommendations. Typically, the hole should be deep enough to accommodate one-third of the post length, plus an additional few inches for stability.
5. Ensure Proper Hole Width: The width of the hole should be slightly wider than the diameter of the fence post. This allows for easy placement and adjustment of the post. Follow the recommended width provided by your fence manufacturer or professional contractor.
6. Maintain Consistent Hole Dimensions: As you progress with digging the remaining post holes, ensure consistency in depth and width. This will help ensure an even and level installation of your fence.
7. Remove Excess Soil: As you dig the fence post holes, place the excess soil on a tarp or in a wheelbarrow for later use. This will help keep the work area clean and organized.
8. Check for Level and Plumb: As each hole is completed, check the level and plumb of the hole using a level. Ensure that the hole is aligned correctly and does not tilt in any direction. Make any necessary adjustments before continuing with the installation process.
9. Repeat the Process: Repeat the process of measuring, marking, and digging the fence post holes for each post along the fence line. Take your time to ensure accuracy and consistency in hole dimensions.
By following these steps and taking the time to properly dig the fence post holes, you lay the foundation for a sturdy and reliable fence installation. Keep in mind that the specific depth and width requirements may vary based on your fence design, local regulations, and soil conditions. Once all the post holes have been dug, you can proceed to the next step: setting the fence posts.
Setting the Fence Posts
Setting the fence posts is a crucial step in the fence installation process that determines the stability and longevity of your fence. Properly setting the posts ensures that your fence will withstand the test of time and external forces. Here’s a step-by-step guide on how to set the fence posts:
1. Prepare the Post Holes: Before setting the fence posts, ensure that the post holes are clean and free of debris. Remove any loose dirt or rocks from the holes to create a solid foundation for the posts.
2. Insert Posts into the Holes: Carefully lower the first fence post into its corresponding hole. Ensure that the post is centered and aligned according to your fence plan. Gently pack soil around the post to hold it in place temporarily.
3. Check for Level and Plumb: Use a level to verify that the post is perfectly level vertically (plumb) and horizontally (level). Adjust the position of the post as needed by adding or removing soil until it is properly aligned in the hole.
4. Provide Support: To prevent the post from shifting while the concrete sets, brace it with stakes or temporary supports. Use a level to ensure that the post remains vertical and aligned during this process.
5. Mix and Pour Concrete: Follow the manufacturer’s instructions to mix the concrete properly. Pour the concrete mixture into the post hole, filling it around the post up to a few inches below ground level. Ensure that the concrete fully surrounds the post and supports it firmly.
6. Tamp and Compact the Concrete: To remove any air pockets and ensure a secure foundation, use a tamper tool or the back of a shovel to tamp and compact the concrete. This helps increase the strength and stability of the post once the concrete cures.
7. Check for Level and Alignment Again: After tamping the concrete, recheck the level and alignment of the post using the level. Make any necessary adjustments before the concrete sets to ensure a perfectly upright and straight post.
8. Repeat the Process: Repeat the above steps for setting each subsequent fence post along the fence line. Take your time to ensure that each post is accurately positioned, level, and braced with supports before pouring the concrete.
9. Allow the Concrete to Cure: Follow the manufacturer’s instructions for the recommended curing time for the concrete. Avoid placing any additional stress on the posts until the concrete has fully cured. This typically takes around 24 to 48 hours but can vary depending on environmental conditions.
Properly setting the fence posts is essential to ensure the overall stability and integrity of your fence. Taking the time to accurately position and brace each post, followed by correctly pouring and compacting the concrete, will result in a fence that remains strong and secure for years to come. Once the concrete has fully cured, you can move on to attaching the fence panels or boards.
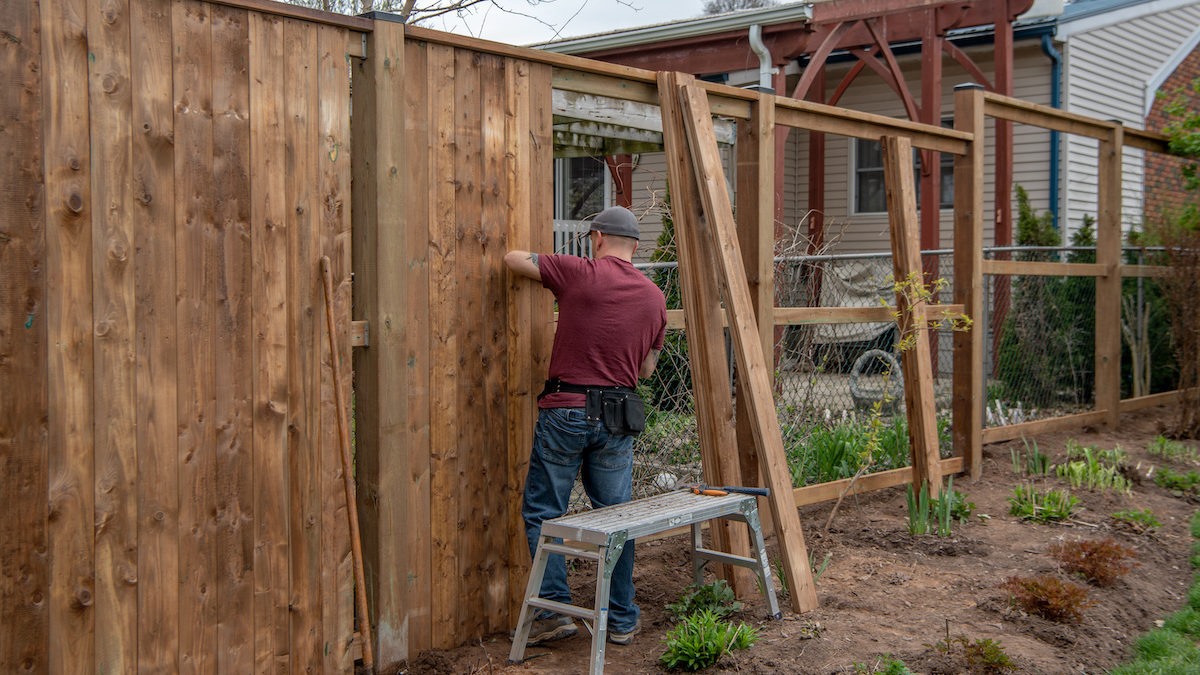
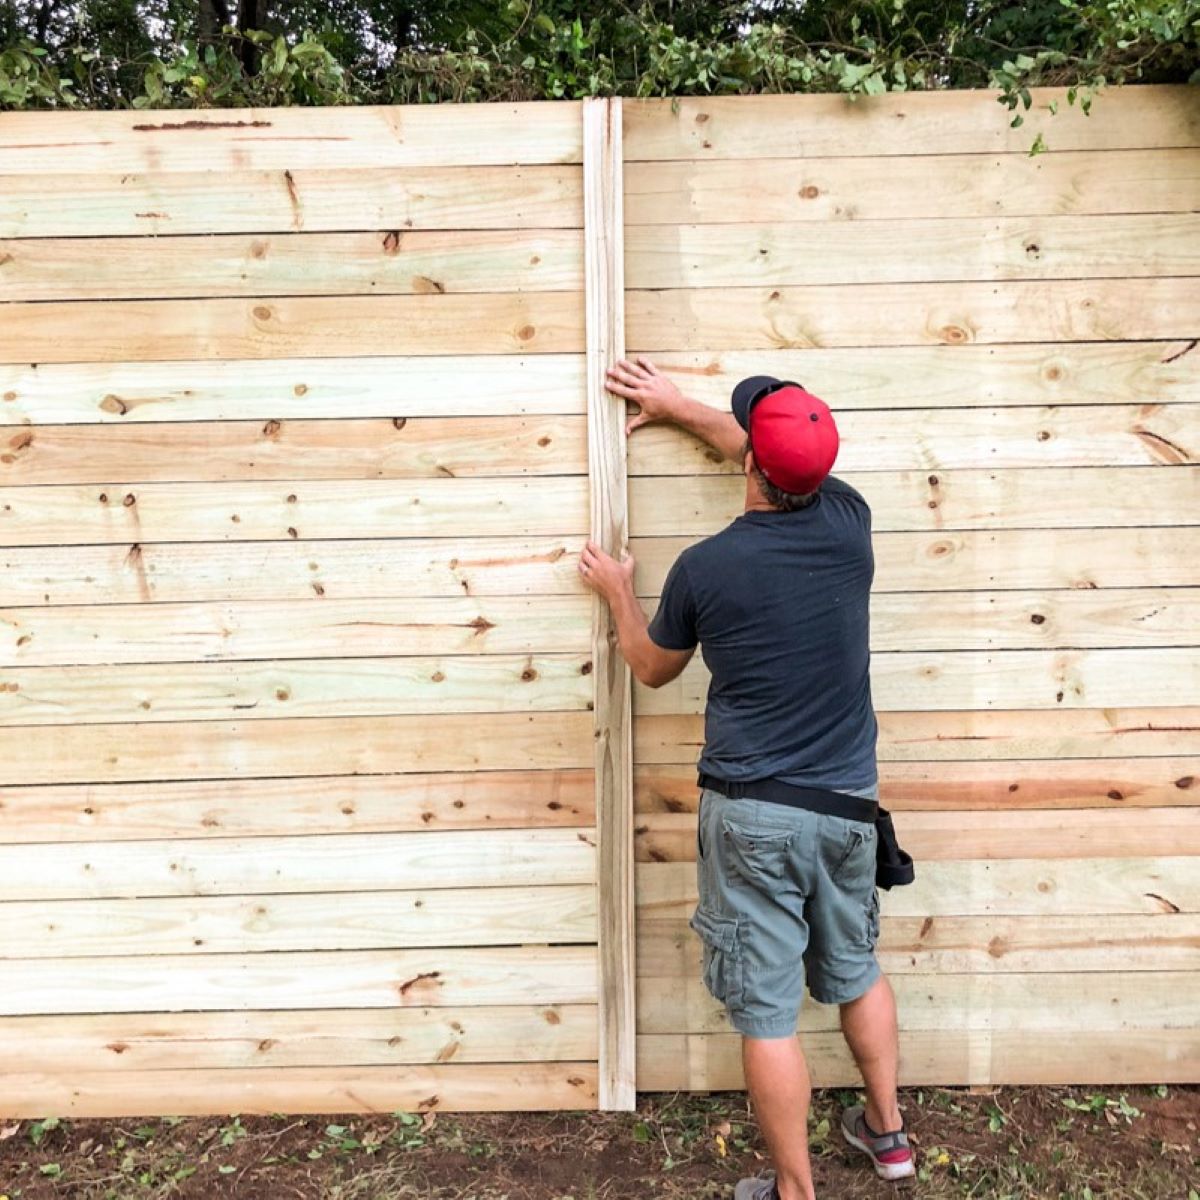
Attaching the Fence Panels or Boards
Once the fence posts are set and the concrete has properly cured, the next step is to attach the fence panels or boards. This is where the physical structure of your fence begins to take shape. Follow these steps to properly attach the fence panels or boards:
1. Gather the Necessary Materials: Ensure you have all the required materials, including the fence panels or boards, appropriate fasteners (screws or nails), brackets (if needed), a level, a measuring tape, and a drill or screwdriver.
2. Position the First Panel/Board: Start at one end of the fence line and position the first panel or board against the first set of fence posts. Use a level to ensure that it is plumb and use temporary supports if necessary to hold the panel in place.
3. Attach the Panel/Board to the Post: With the panel in position, use the appropriate fasteners to attach it to the fence post. Depending on the type of panel or board, you may need to use screws or nails. Follow the manufacturer’s recommendations for the appropriate fasteners and spacing.
4. Check for Level and Alignment: After attaching the first panel or board, check for level and alignment. Use a level to ensure that the panel is straight vertically (level) and horizontally (plumb). Make any necessary adjustments by loosening or tightening the fasteners until it is aligned correctly.
5. Continue Attaching Panels/Boards: Proceed to attach the remaining fence panels or boards to the fence posts, following the same process. Ensure that each panel is plumb and aligned with the previous one. Use a level for accuracy and make any necessary adjustments as you progress.
6. Use Brackets for Added Support (if necessary): If you have chosen a design that requires brackets to attach the panels or boards, follow the manufacturer’s instructions for their proper installation. Brackets can provide extra stability and support for the fence structure.
7. Trim or Resize Panels/Boards (if necessary): Depending on your fence design and the final dimensions required, you may need to trim or resize some panels or boards. Use a saw or appropriate cutting tools to achieve the desired size and shape.
8. Ensure Consistent Spacing: Maintain consistent spacing between each panel or board for a visually appealing and even-looking fence. Use a measuring tape to ensure that the spacing is consistent throughout the installation.
9. Double-Check for Level and Alignment: Once all the panels or boards are attached, double-check for level and alignment. Use a level to ensure that the fence is uniform and straight along its entire length. Make any necessary adjustments by loosening or tightening the fasteners.
By following these steps, you can securely attach the fence panels or boards, creating a sturdy and visually pleasing fence. Taking the time to check for level and alignment at each step will help ensure a professional-looking result. Lastly, it’s time to turn our attention to installing the gate.
Read more: How To Put Up A Snow Fence
Installing the Gate
The gate is an essential element of your fence, providing access to your property while maintaining security and functionality. Installing the gate requires proper planning and attention to detail to ensure smooth operation and durability. Follow these steps to install the gate:
1. Determine Gate Placement: Decide where you want to install the gate along the fence line. Consider factors such as convenience, accessibility, and maintaining a visually balanced appearance.
2. Measure the Gate Opening: Measure the width of the gate opening to determine the appropriate size for your gate. Take accurate measurements to ensure a proper fit.
3. Choose the Gate Type: Select the type of gate that best suits your needs. Common options include single-swing gates, double-swing gates, sliding gates, and rolling gates. Consider factors such as available space, desired functionality, and personal preference.
4. Gather the Necessary Materials: Gather the materials needed for installing the gate, including the gate itself, gate hardware (hinges, latch, handle), fasteners (screws or nails), a level, a measuring tape, and a drill or screwdriver.
5. Attach Gate Hinges: Position the gate hinges on the fence post and gate according to the manufacturer’s instructions. Ensure that the hinges are aligned at the appropriate height and level. Use a level to verify alignment and attach the hinges securely to the post and gate.
6. Install a Gate Latch and Handle: Decide on the desired location for the gate latch and handle. Install them at a comfortable height and at a distance from the edge of the gate that allows for easy operation. Use a measuring tape and level for accurate placement and secure them with the provided fasteners.
7. Check Gate Operation: Test the gate’s operation to ensure smooth opening and closing. Ensure that the gate swings or slides freely without any obstructions or interference. Adjust the hinges, latch, or handle if needed to achieve proper operation.
8. Adjust Gate Alignment: Check the gate’s alignment with the fence line to ensure a seamless and uniform appearance. Use a level to ensure that the gate is plumb vertically and adjust the hinges if necessary to achieve proper alignment.
9. Install Gate Stops (if applicable): Gate stops are used to prevent the gate from swinging too far in either direction and provide stability. If your gate requires stops, install them as per the manufacturer’s instructions at the appropriate locations on the fence and gate.
10. Add Decorative Elements (if desired): If you want to enhance the visual appeal of your gate, consider adding decorative elements such as trim, finials, or ornamental accents. Install these elements according to the manufacturer’s guidelines.
By following these steps, you can successfully install the gate as part of your fence project. Ensure that the gate is properly aligned, secure, and operates smoothly for ease of use. With the gate installed, we are now ready to move on to finishing touches and maintenance.
Finishing Touches and Maintenance
Once you have completed the installation of your fence and gate, there are a few finishing touches and ongoing maintenance tasks to consider. These steps will help ensure the longevity, functionality, and appearance of your fence over time. Here’s what you need to know:
1. Secure Loose Fasteners: Take the time to double-check all the fasteners on your fence and gate. Tighten any loose screws or nails to ensure that the fence components are securely attached. This is especially important for gates and any areas that may experience more frequent movement.
2. Apply a Protective Finish (if applicable): If you have chosen a fence material that requires a protective finish, such as wood or metal, consider applying an appropriate sealant or stain. This will help protect the fence from the elements, such as UV rays, moisture, and pests, while enhancing its appearance.
3. Inspect for Damage or Wear: Regularly inspect your fence for any signs of damage, wear, or deterioration. Look for cracks, rotting wood, loose boards, rust, or any other issues. Address these problems promptly to prevent further damage and extend the lifespan of your fence.
4. Clean the Fence: Depending on the material, periodically clean your fence to remove dirt, debris, and stains. Use a gentle cleaning solution suitable for the specific material and avoid harsh chemicals that may damage the surface. Rinse thoroughly after cleaning and allow the fence to dry completely.
5. Trim Vegetation: Regularly trim any vegetation that grows around or near your fence. Plants such as vines or overhanging branches can damage the fence or obstruct its functionality. By keeping vegetation in check, you can prevent these issues and maintain the integrity of your fence.
6. Maintain Proper Drainage: Ensure that water can properly drain away from your fence. Check for any pooling or stagnant water near the fence base, which can lead to rot or other damage. Make necessary adjustments, such as grading the ground or installing drainage solutions, to prevent water-related issues.
7. Repair and Replace as Needed: Over time, certain components of your fence may require repair or replacement. Address any issues promptly, such as broken boards, damaged hinges, or faulty latches. By performing regular maintenance and necessary repairs, you can extend the lifespan and functionality of your fence.
8. Consult with Professionals: If you’re unsure about any aspect of fence maintenance or if you encounter significant damage, consider consulting with professionals. They can provide expert advice, perform repairs, or offer guidance on more complex maintenance tasks.
By implementing these finishing touches and following a regular maintenance routine, you can keep your fence looking its best and ensure its long-term durability. A well-maintained fence not only enhances the appearance of your property but also provides the desired functionality and security you expect. Regular care and attention will help your fence withstand the test of time and continue to serve its purpose for years to come.
Conclusion
Installing a fence is a significant endeavor that requires careful planning, proper execution, and ongoing maintenance. By considering factors such as the purpose of the fence, selecting the right materials, accurately estimating the fence length, preparing the site, digging and setting the fence post holes, attaching the fence panels or boards, installing the gate, and completing finishing touches and maintenance tasks, you can ensure a successful fence installation that meets your needs and enhances your property.
Throughout the installation process, it’s important to maintain a balance between functionality, aesthetics, and durability. By choosing the right type of fence for your specific requirements and considering factors such as local regulations, budget, and maintenance considerations, you can make informed decisions that result in a fence that not only serves its intended purpose but also complements your landscape and adds value to your property.
Remember to take the time to properly gather materials and tools, accurately measure and mark the fence line, dig and set the fence post holes with precision, and securely attach the fence panels or boards. Installing the gate is the final touch that provides access and convenience while maintaining the integrity of your fence structure.
Once your fence is in place, regular maintenance, such as securing loose fasteners, applying protective finishes, inspecting for damage, cleaning, trimming vegetation, and making necessary repairs, will help prolong the life and appearance of your fence. By adhering to a maintenance routine, you can ensure that your fence remains sturdy, attractive, and functional for many years to come.
In conclusion, installing a fence requires careful consideration, planning, and execution. By following the steps outlined in this guide, you can successfully create a fence that meets your needs, enhances your property, and provides the desired functionality, privacy, and security. A properly installed and well-maintained fence not only adds value to your property but also offers peace of mind and enjoyment for you and your family.
Frequently Asked Questions about How Long Does It Take To Put Up A Fence
Was this page helpful?
At Storables.com, we guarantee accurate and reliable information. Our content, validated by Expert Board Contributors, is crafted following stringent Editorial Policies. We're committed to providing you with well-researched, expert-backed insights for all your informational needs.


0 thoughts on “How Long Does It Take To Put Up A Fence”