Articles
How To Put Up Welded Wire Fence
Modified: August 27, 2024
Looking for articles on how to put up a welded wire fence? Our comprehensive guide provides step-by-step instructions and helpful tips for a successful installation.
(Many of the links in this article redirect to a specific reviewed product. Your purchase of these products through affiliate links helps to generate commission for Storables.com, at no extra cost. Learn more)
Introduction
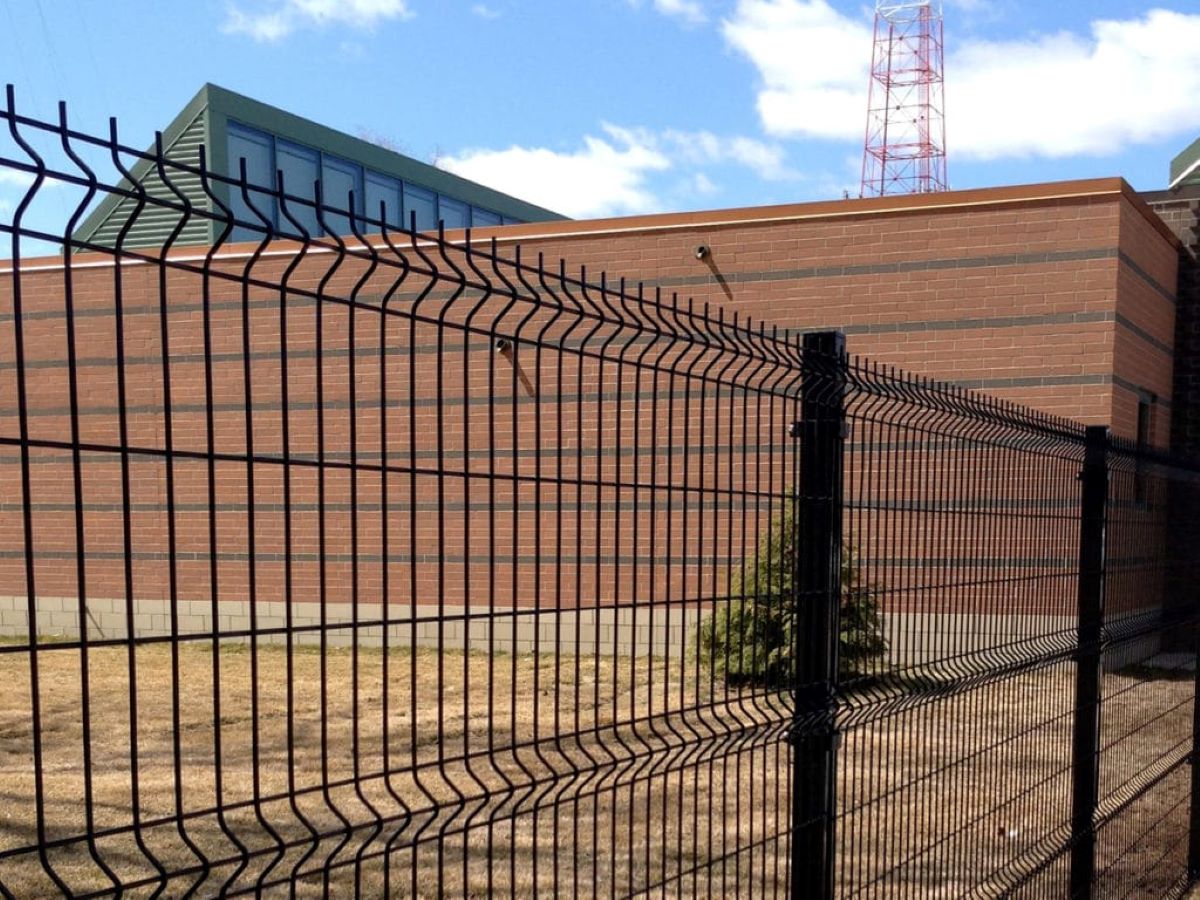
Installing a welded wire fence can be a great way to secure your property, protect your garden, or keep pets and livestock safely contained. This versatile and durable fencing option is relatively easy to install, allowing you to complete the project quickly and efficiently.
Whether you’re a seasoned DIY enthusiast or a beginner, this comprehensive guide will walk you through the steps required to put up a welded wire fence. From gathering materials and tools to adding the finishing touches, we’ll cover everything you need to know to ensure a successful installation.
Before diving into the installation process, it’s important to understand the benefits of a welded wire fence. Known for its strength and durability, welded wire fencing provides a sturdy barrier that can withstand the elements and the test of time. The wire mesh design allows for great visibility while still providing effective containment, making it suitable for a variety of applications.
From securing your property boundaries to creating enclosures for gardens, livestock, or pets, a welded wire fence is a versatile and cost-effective solution. With proper installation, it can serve you well for years to come.
Now, let’s get started with step one: gathering the materials and tools you’ll need for the installation process.
Key Takeaways:
- Installing a welded wire fence requires careful planning, precise measurements, and proper installation of materials and tools. From setting the corner posts to attaching the fence panels, each step contributes to creating a sturdy and durable fence.
- Adding optional elements such as tension wire for stability and decorative touches for visual appeal can further customize your welded wire fence. Prioritizing safety and regular maintenance will ensure the longevity of your newly installed fence.
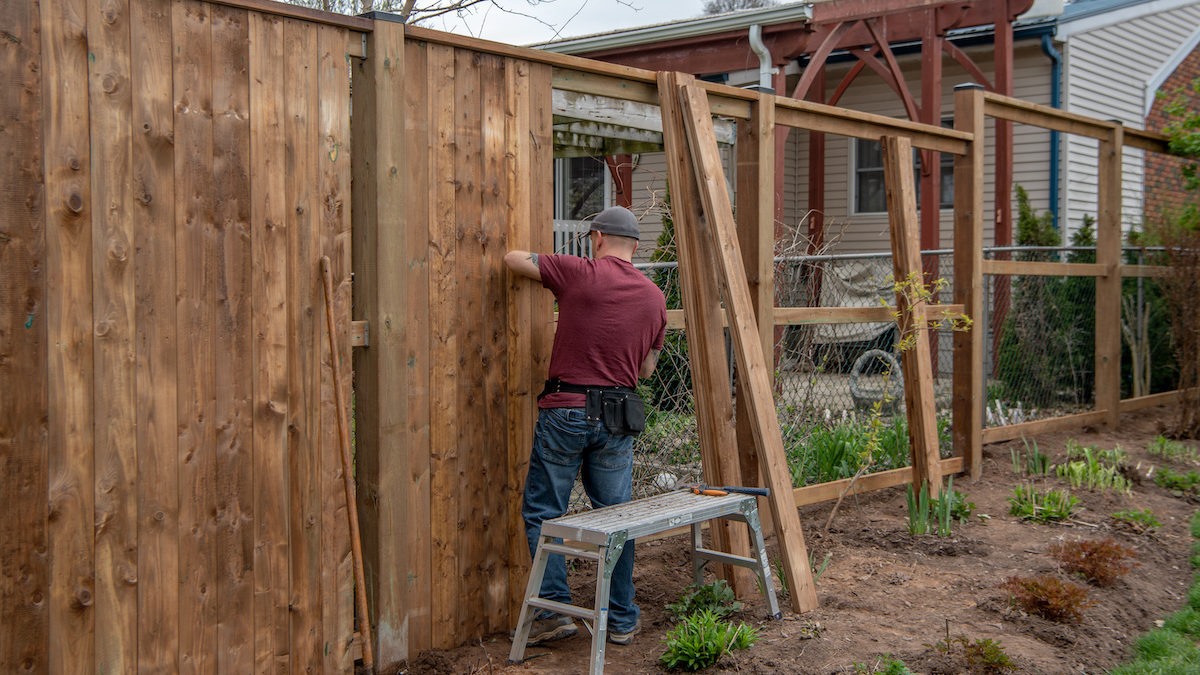
Step 1: Gather Materials and Tools
Before you begin installing your welded wire fence, it’s important to gather all the necessary materials and tools. This will ensure a smooth and efficient installation process. Here’s a list of what you’ll typically need:
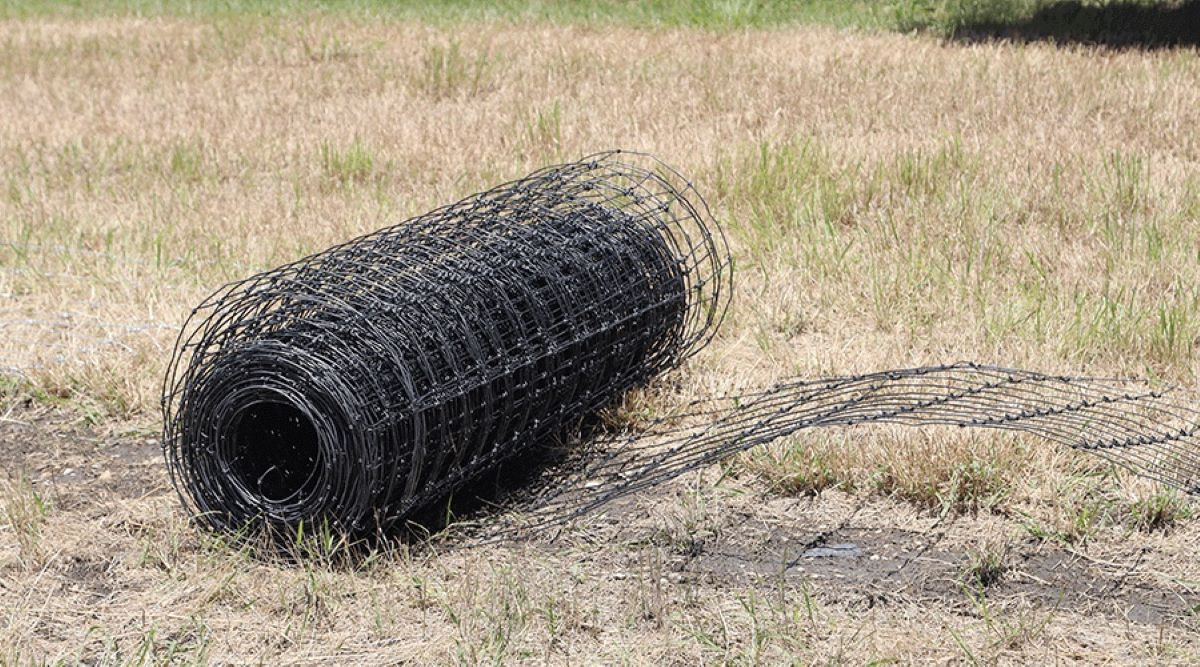
- Welded wire fence panels: Determine the length and height of the panels based on your specific requirements. Measure the area you plan to enclose to determine the number of panels needed.
- Fence posts: Choose sturdy and durable posts that are suitable for the type of installation you have in mind. Depending on the length and height of your fence, you may need corner posts, line posts, and gate posts.
- Post caps: These caps will protect the top of your fence posts from weather damage and add a finished look.
- Fence post anchors: These are necessary if you’re installing the fence on a concrete surface or in an area where digging holes for posts is not feasible.
- Gate hardware (if adding a gate): This includes hinges, latches, and any additional hardware required for your specific gate design.
- Tension wire (optional): If you want to add extra stability to your fence, tension wire can be installed along the bottom and top of the fence line.
- Fence post driver or digger: A post driver can make the installation process faster and easier, while a post digger will be necessary if you’re digging holes manually.
- Level and measuring tools: These will help ensure that your fence is installed straight, level, and aligned properly.
- Wire cutters: You’ll need wire cutters to trim the welded wire panels to the desired length and make any necessary adjustments during the installation process.
- Fasteners: Depending on your fence design, you’ll need appropriate fasteners such as screws, nails, or clips to secure the panels to the posts.
- Personal protective equipment: Safety should always be a priority when working on any construction project. Make sure to wear protective gloves, safety glasses, and any other necessary protective gear.
Once you have all the materials and tools ready, you’ll be well-prepared to proceed with the next steps of the installation process. In the following steps, we’ll guide you through the layout, marking the fence line, setting the posts, and attaching the welded wire fence panels.
Step 2: Determine the Fence Layout
Before you start installing your welded wire fence, it’s crucial to plan and determine the layout of your fence. This step involves identifying the perimeter of the area you want to enclose and deciding on the placement of gates, corners, and straight sections. Here’s how to approach this process:
- Measure the area: Use a tape measure to determine the total length and width of the fence line. Be sure to account for any curves or angles in the boundary.
- Identify corners and gates: Mark the locations where you want to have corner posts and gates. These are critical points within the fence layout and will influence the overall sturdiness and functionality of the fence.
- Consider slope and terrain: If the ground is uneven or sloped, you’ll need to adjust the placement of the fence accordingly. This may involve adjusting the height of the posts or angling the wire panels to match the topography.
- Account for setbacks and regulations: Check with your local building codes or homeowners association guidelines for any setback requirements or restrictions that may affect your fence layout. Ensure that you comply with all regulations before proceeding.
- Map out straight sections: Once you have identified the corners, gates, and any required adjustments for slope or terrain, map out the straight sections of the fence using stakes or spray paint. This will help provide a clear visual guide during the installation process.
By carefully determining the fence layout, you can ensure that your welded wire fence will effectively enclose the desired area and meet your specific needs. It’s essential to take the time to plan and make any necessary adjustments before moving on to the next step.
In the next step, we’ll guide you through marking the fence line, which will help provide guidance and accuracy during the installation process.
Step 3: Mark the Fence Line
Now that you’ve determined the layout of your welded wire fence, it’s time to mark the fence line. This step involves precisely marking the positions of the fence posts along the planned route. Here’s how you can accomplish this:
- Use stakes or spray paint: Begin by marking the starting point of your fence. If you’re using stakes, drive one into the ground at the starting point. For spray paint, mark the ground accordingly.
- Measure and mark the post spacing: Using a tape measure, determine the distance between each fence post. This will depend on the length of your welded wire fence panels and your specific requirements. Mark the positions for the remaining posts accordingly.
- Double-check measurements: Before proceeding further, double-check your measurements to ensure accuracy. This will help you avoid any potential problems during the installation process.
- Connect the marked points: Once you have marked all the positions for the fence posts, use a string or line level to connect the marked points. This will create a straight and level guideline for the posts.
By marking the fence line accurately, you’ll have a clear visual guide to follow during the installation process. This will help ensure that your welded wire fence is installed straight and aligned properly.
In the next step, we’ll discuss how to set the corner posts, which play a crucial role in the overall stability and strength of your fence.
Step 4: Set the Corner Posts
Setting the corner posts is a critical step in the installation process of your welded wire fence. These posts provide the foundation and support for the entire fence structure. Here’s how you can set the corner posts correctly:
- Identify the corner locations: Using the marked positions from the previous step, find the corners of your fence line.
- Dig the holes: With a post digger or auger, dig holes for the corner posts. The holes should be deep enough to provide stability and support. Typically, a depth of one-third the length of the post is recommended.
- Insert the corner posts: Place the corner posts into the prepared holes, making sure they are firmly set and aligned with the marked positions.
- Check for levelness: Use a level to ensure that the corner posts are vertically plumb and level horizontally. Make any necessary adjustments as needed.
- Secure the posts: Backfill the holes with soil, firmly packing it around the corner posts to provide stability. Alternatively, you can use concrete to secure the posts in place, following the manufacturer’s instructions.
- Allow the posts to set: If you used concrete, allow sufficient time for it to set and cure before proceeding with the rest of the installation process.
Properly set corner posts are crucial for the stability and structural integrity of your welded wire fence. Take the time and care to ensure that they are securely positioned and aligned correctly.
In the next step, we’ll discuss the option of installing tension wire, which can add additional stability and strength to your fence.
Read more: How To Weld Pipe Fence
Step 5: Install Tension Wire (Optional)
Installing tension wire is an optional step in the installation process of your welded wire fence. Tension wire can add extra stability and strength to your fence, particularly if you’re dealing with longer fence lines or areas that may experience high winds or pressure. Here’s how you can install tension wire:
- Measure the length: Determine the length of tension wire you’ll need based on the length of your fence line. It’s recommended to install tension wire along both the top and bottom of the fence for optimal stability.
- Attach tension wire to corner posts: Start by attaching the tension wire to one of the corner posts. Use wire clamps or fence clips to secure the wire to the post, leaving enough slack for tensioning later.
- Stretch the wire: Begin stretching the tension wire along the fence line, making sure it is parallel to the ground and tightly secured. Use tensioning devices such as fence ratchets or strainers to tighten the wire and remove any slack.
- Secure the tension wire: As you stretch the wire, attach it to the remaining corner posts and intermediate posts using clamps or clips. Make sure the tension is evenly distributed along the entire fence line.
- Trim excess wire: Once the tension wire is securely attached, use wire cutters to trim any excess length, ensuring a neat and clean appearance.
Installing tension wire can provide added support and stability to your welded wire fence, particularly in areas prone to strong winds or external pressure. However, it’s important to note that tension wire is optional and may not be necessary for all fence installations.
In the next step, we’ll guide you through the process of installing the fence posts, which will serve as the framework for attaching the welded wire fence panels.
When putting up a welded wire fence, make sure to properly measure and mark the area, set sturdy corner posts, and use tension wire to keep the fence taut and secure.
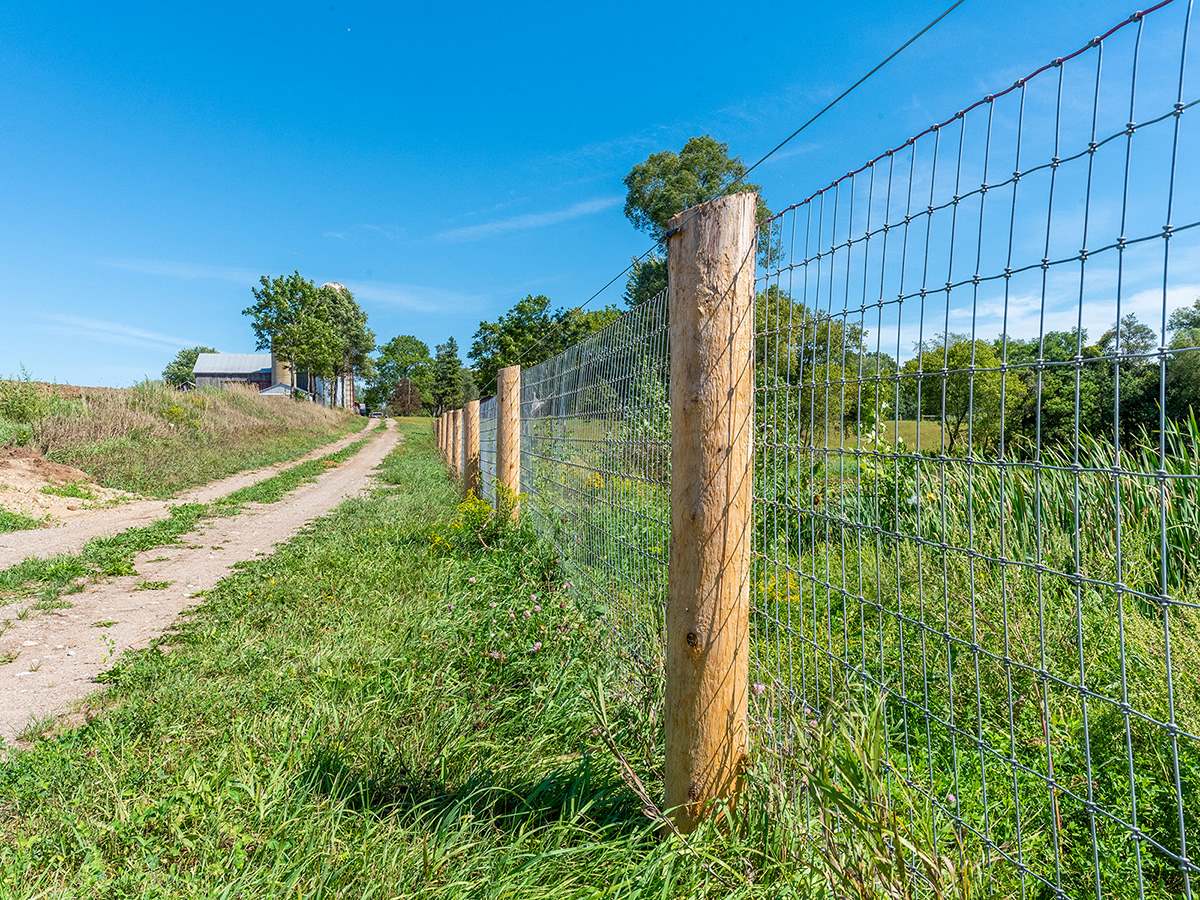
Step 6: Install the Fence Posts
Now that you have set the corner posts and, if desired, installed tension wire, it’s time to install the remaining fence posts. These posts will provide the framework for attaching the welded wire fence panels. Here’s how you can install the fence posts:
- Mark the post positions: Use the marked fence line as a guide to determine the spacing between the remaining posts. Measure and mark the positions for each post along the fence line.
- Dig post holes: With a post digger or auger, dig holes for the remaining fence posts. The holes should be deep enough to provide stability, typically around one-third the length of the post.
- Insert the fence posts: Place the fence posts into the prepared holes, ensuring they are securely positioned and aligned with the marked positions.
- Check for levelness: Use a level to ensure that the posts are vertically plumb and level horizontally. Make adjustments as needed, adding or removing soil as necessary.
- Secure the posts: Backfill the holes with soil, firmly packing it around the fence posts to provide stability. Alternatively, you can use concrete to secure the posts in place, following the manufacturer’s instructions.
- Allow the posts to set: If using concrete, allow sufficient time for it to set and cure before proceeding to the next step.
Proper installation of fence posts is crucial for the overall stability and longevity of your welded wire fence. Take care to ensure that the posts are securely positioned, aligned, and set in place before moving on to the next step.
In the next step, we’ll guide you through the process of attaching the welded wire fence panels to the posts.
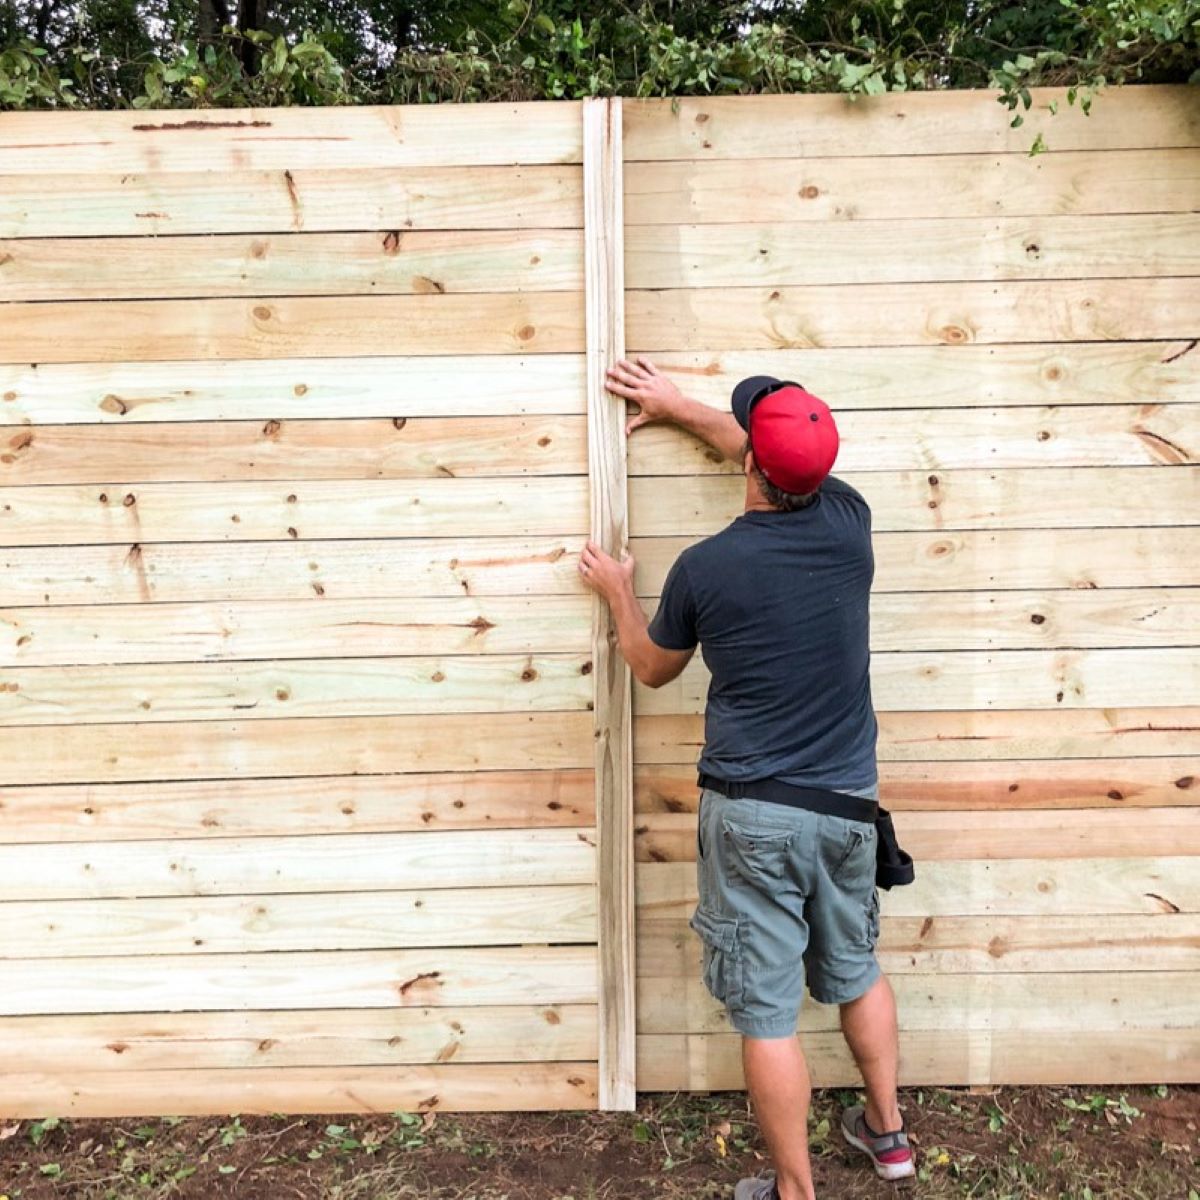
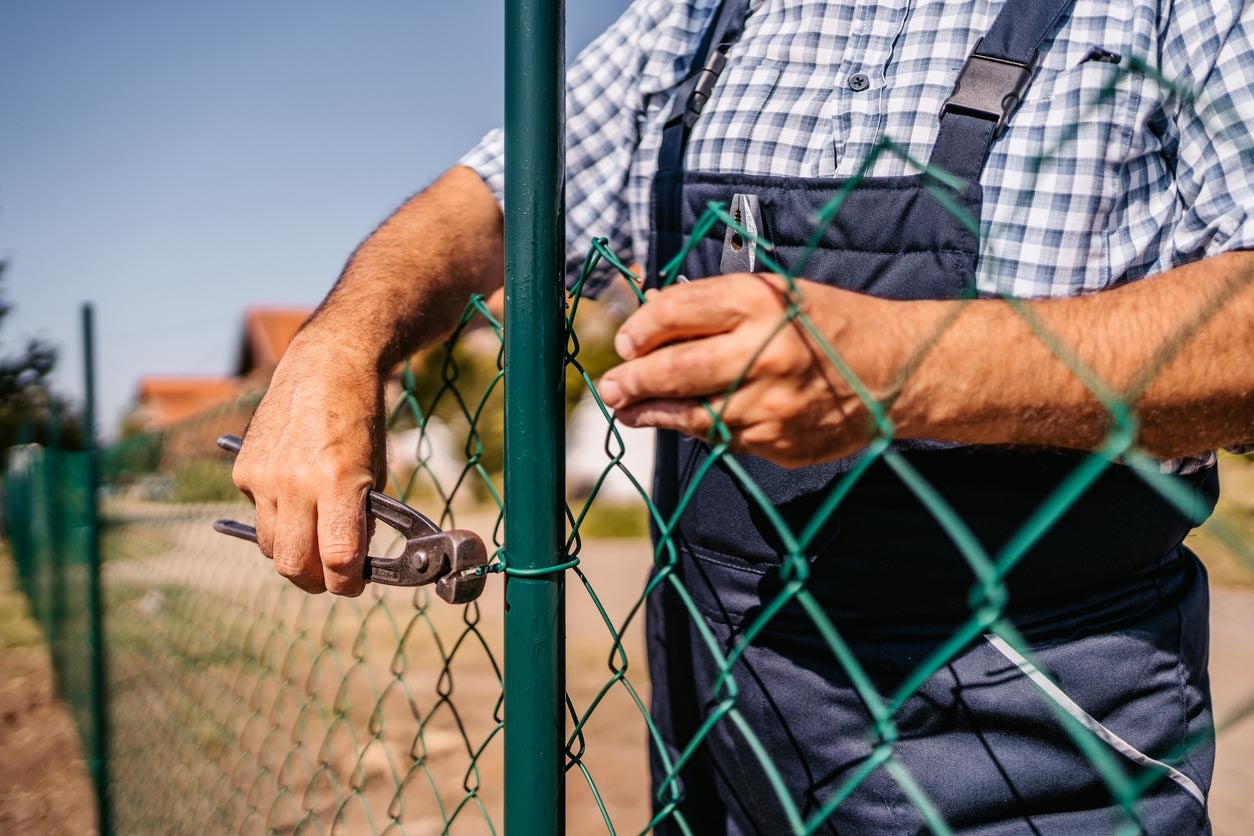
Step 7: Attach the Welded Wire Fence Panels
With the fence posts securely in place, it’s time to attach the welded wire fence panels onto the framework. These panels provide the main barrier and visual appearance of your fence. Here’s how you can attach the welded wire fence panels:
- Start at a corner: Begin at one of the corners of your fence line. This will help ensure a consistent and seamless installation.
- Position the panel: Hold the first welded wire fence panel against the outside of the corner post, aligning it with the top and bottom of the post.
- Attach the panel to the post: Use appropriate fasteners such as screws, nails, or clips to secure the panel to the post. Position the fasteners through the mesh of the panel and into the post, ensuring a tight fit. Repeat this process for each corner post and intermediate post along the fence line.
- Overlap the panels (if needed): If your fence line exceeds the length of a single welded wire fence panel, overlap the panels by a few inches. This will ensure continuous coverage along the entire fence line. Secure the overlapping sections with additional fasteners.
- Trim panels to fit (if needed): Use wire cutters to trim any excess length from the welded wire fence panels if they are too long for a particular section of the fence line. Ensure a clean and even cut for a professional-looking finish.
- Continue attaching panels: Repeat the process of positioning and attaching the remaining welded wire fence panels along the fence line until you reach the end.
By carefully attaching the welded wire fence panels to the fence posts, you’ll create a sturdy and cohesive fence structure. Ensure that each panel is securely fastened to provide maximum stability and longevity for your welded wire fence.
In the next step, we’ll discuss how to properly secure the fence panels to prevent any shifting or loosening over time.
Step 8: Secure the Fence Panels
Once the welded wire fence panels are attached to the fence posts, it’s important to secure them properly to prevent any shifting or loosening over time. Here’s how you can secure the fence panels:
- Inspect the panels: Take a close look at each panel to ensure that it is securely attached to the fence posts and that there are no loose or unstable sections.
- Tighten any loose fasteners: If you notice any loose screws, nails, or clips, tighten them using appropriate tools such as a screwdriver or pliers. This will ensure a firm and secure attachment.
- Check for gaps or sagging: Examine the fence panels for any gaps between adjoining panels or sagging sections. These issues can compromise the integrity of the fence and should be addressed accordingly.
- Use additional fasteners if needed: If you find any areas where the fence panels are not securely attached or if there are gaps between panels, consider using additional fasteners to reinforce those areas. Ensure that the fasteners are suitable for outdoor use and can withstand the elements.
- Consider adding support brackets (if necessary): In cases where the fence line has long stretches or if you anticipate significant pressure or weight on the panels, consider installing support brackets to add further stability. These brackets can be attached to the fence posts and help distribute the load evenly.
By securing the fence panels properly, you’ll ensure that your welded wire fence remains strong and in optimal condition for a longer period. Regularly inspect the fence and make any necessary adjustments or repairs as needed to maintain its integrity.
In the next step, we’ll explore the option of adding gates to your welded wire fence, allowing for easy access to the enclosed area.
Read more: How To Put Up Garden Fence
Step 9: Add Gates (Optional)
If you require a point of entry or access to the enclosed area, adding gates to your welded wire fence is an essential step. Gates provide convenience and functionality, allowing you to easily enter and exit the fenced area. Here’s how you can add gates to your welded wire fence:
- Choose gate locations: Determine where you want to install the gates within your fence line. Common locations include entrances, driveways, or areas that require frequent access.
- Select the gate style: Choose a gate style that complements your welded wire fence and suits your needs. There are various options available, including single swing gates, double swing gates, sliding gates, or custom-designed gates.
- Measure and mark the gate opening: Measure the desired width of the gate opening and mark the positions of the gate posts accordingly. Make sure to leave enough space for the gate to open and close smoothly.
- Install the gate posts: Dig holes for the gate posts, ensuring that they are set securely and aligned with the marked positions. Use concrete or other suitable methods to secure the posts in place.
- Attach the gate hardware: Install hinges on one gate post and latch hardware on the opposite gate post. Make sure the hardware is level and securely attached. Double-check for smooth operation and proper alignment of the gate.
- Hang the gate: With the help of a friend or family member, hang the gate on the hinges. Adjust the gate as needed to ensure it opens and closes smoothly and aligns properly with the latch.
- Add gate accessories (if desired): Consider adding gate accessories such as gate handles, decorative accents, or automatic gate openers for added convenience and functionality.
Adding gates to your welded wire fence provides easy access while maintaining the security and integrity of the enclosed area. Take the time to select the right gate style and properly install the gate hardware for optimal performance.
In the final step, we’ll cover some finishing touches that will enhance the overall appearance and functionality of your welded wire fence.
Step 10: Finishing Touches
Once you have installed your welded wire fence and, if applicable, added gates, it’s time to add some finishing touches to complete the project. These small details can enhance the overall appearance and functionality of your fence. Here are some finishing touches you can consider:
- Trim any excess wire: Use wire cutters to trim any excess wire protruding from the top or bottom of the fence panels. This will give your fence a clean and polished look.
- Paint or stain the fence (optional): If desired, you can apply paint or stain to the wood components of the fence, such as posts or gates. Choose a weather-resistant product that complements the surrounding environment.
- Add decorative elements: Consider adding decorative elements to your fence to personalize it or enhance its aesthetic appeal. This can include ornamental caps for the fence posts, decorative finials, or even climbing plants along the fence line.
- Inspect for any loose connections: Take a final walk along the fence line, checking for any loose connections or fasteners. Tighten any screws or nails that may have become loose during the installation process.
- Ensure proper drainage (if applicable): If your welded wire fence is installed in an area prone to water accumulation, take steps to ensure proper drainage. This might involve adding gravel or a drainage system along the perimeter of the fence.
- Maintain your fence: Regularly inspect and maintain your welded wire fence to keep it in good condition. Check for any signs of damage, loose wires, or rust, and address any issues promptly to extend the lifespan of your fence.
With these finishing touches, your welded wire fence will not only provide practical functionality but also enhance the visual appeal of your property. Take pride in the final product and enjoy the benefits it provides.
Congratulations! You have successfully completed the installation of your welded wire fence. Whether it’s for security, containment, or aesthetics, your newly installed fence will serve its intended purpose for years to come.
Conclusion
Installing a welded wire fence can be a rewarding project that enhances the security, functionality, and visual appeal of your property. By following the step-by-step guide outlined in this article, you now have the knowledge and understanding to tackle this project with confidence.
From gathering the necessary materials and tools to determining the fence layout, setting the posts, attaching the fence panels, and adding gates, each step plays a crucial role in creating a sturdy and durable welded wire fence. By implementing optional steps such as installing tension wire or adding decorative elements, you can further customize your fence to meet your specific needs and preferences.
Remember to prioritize safety throughout the installation process by wearing the necessary protective gear and taking precautions when handling tools or materials. Regular inspections and maintenance will help ensure that your fence remains in optimal condition for years to come.
Whether you’re looking to secure your property, protect your garden, or keep your pets and livestock safely contained, a welded wire fence provides a versatile and cost-effective solution. Its strength, durability, and visibility make it a popular choice among homeowners and property owners.
So, take the knowledge you have gained from this article, gather your materials and tools, and embark on the journey of installing your welded wire fence. Enjoy the process, and revel in the satisfaction of a job well done as you step back and admire your newly completed fence.
Frequently Asked Questions about How To Put Up Welded Wire Fence
Was this page helpful?
At Storables.com, we guarantee accurate and reliable information. Our content, validated by Expert Board Contributors, is crafted following stringent Editorial Policies. We're committed to providing you with well-researched, expert-backed insights for all your informational needs.


0 thoughts on “How To Put Up Welded Wire Fence”