
Articles
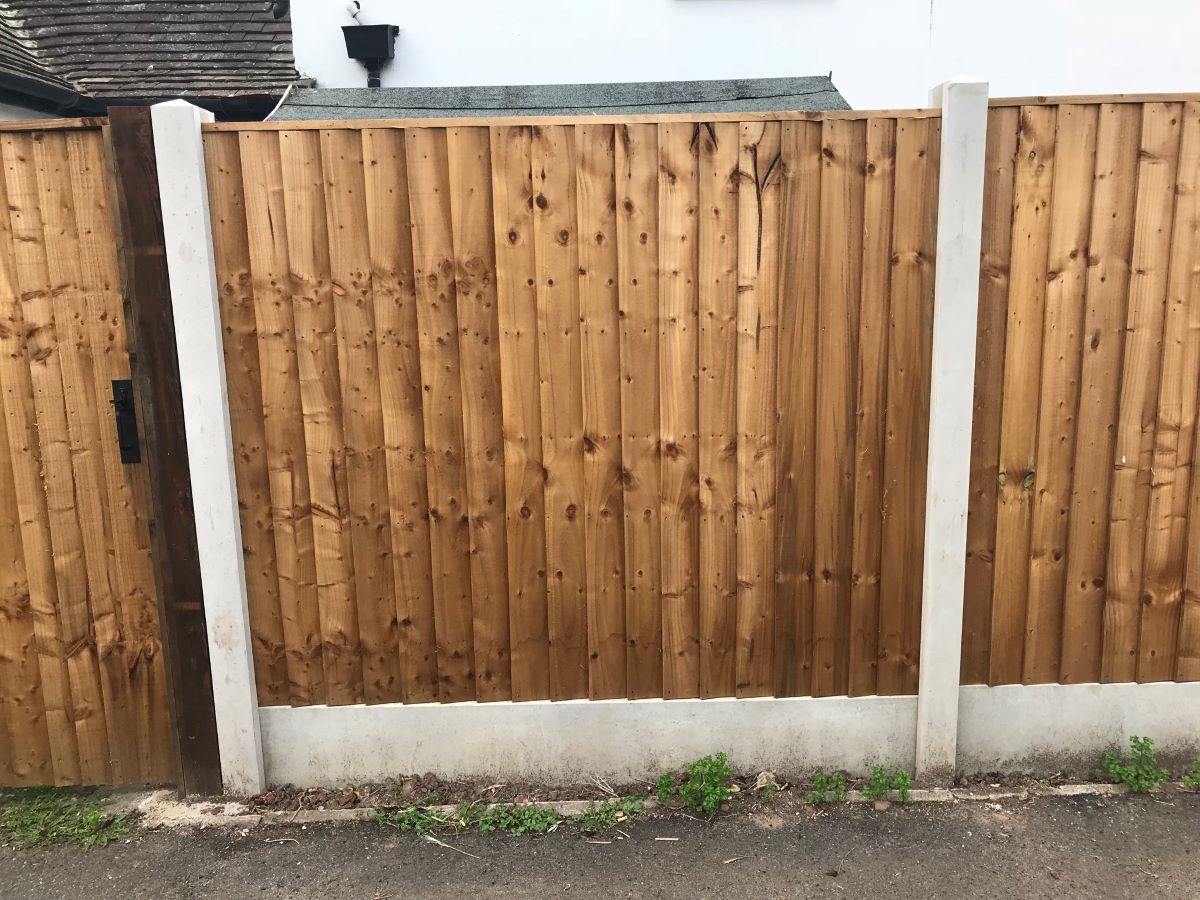
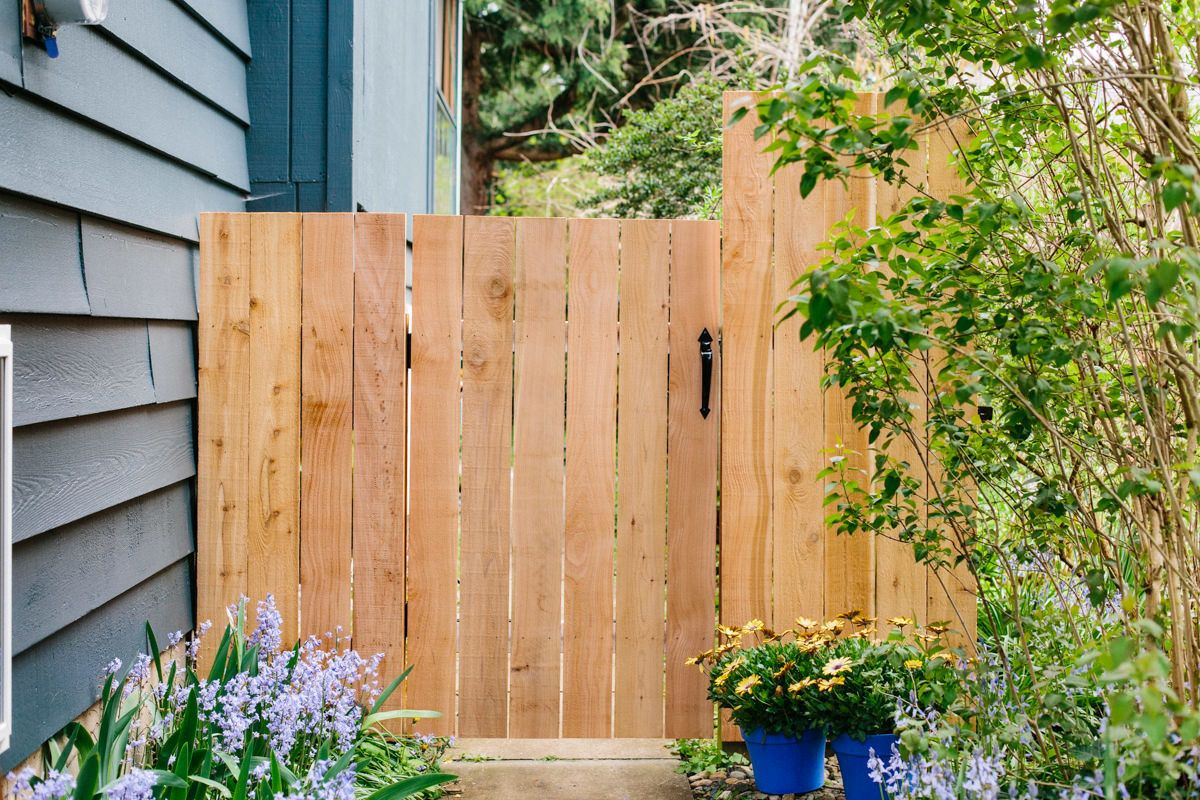
How To Build Fence Panels
Modified: October 20, 2024
Discover expert articles on how to build fence panels. Gain valuable insights and step-by-step instructions for creating sturdy and beautiful fence panels for your property.
(Many of the links in this article redirect to a specific reviewed product. Your purchase of these products through affiliate links helps to generate commission for Storables.com, at no extra cost. Learn more)
Introduction
Building fence panels is a great way to add privacy, security, and aesthetic appeal to your outdoor space. Whether you want to enclose your backyard, create a barrier around your garden, or simply define the boundaries of your property, fence panels offer a versatile and customizable solution. By following a few simple steps, you can create sturdy and visually appealing fence panels that will enhance the beauty and functionality of your outdoor area.
In this article, we will guide you through the process of building fence panels, from planning and gathering materials to assembling and securing the panels. Whether you have years of experience in woodworking or you’re a beginner looking for a rewarding DIY project, you can successfully build fence panels with just a few tools and a bit of patience.
Before diving into the construction process, it’s important to consider the purpose and style of your fence panels. Are you looking to create a tall and imposing privacy fence? Or do you prefer a more open and decorative design? Understanding your needs and preferences will help you make informed decisions during the planning and building stages.
Once you have a clear vision for your fence panels, it’s time to move on to the next step: gathering materials and tools. You’ll need a variety of supplies, including wood boards, screws or nails, a saw, a drill, a measuring tape, and a level. By collecting all the necessary items beforehand, you’ll ensure a smooth and uninterrupted building process.
Now that we’ve covered the basics, let’s dive into the step-by-step guide to building your own fence panels.
Key Takeaways:
- Building fence panels requires careful planning, precise measurements, and the right materials and tools. By following the step-by-step process, you can create a sturdy and visually appealing fence that adds privacy and aesthetic appeal to your outdoor space.
- Customizing the design, paint, or stain of your fence panels allows you to showcase your creativity and personal style. Whether you’re a seasoned woodworker or a DIY enthusiast, building fence panels is a satisfying endeavor that rewards you with a durable, attractive fence.
Read more: How Long Are Fence Panels
Step 1: Planning Your Fence
Before you start building fence panels, it’s crucial to plan out your project. This step will help you determine the size and layout of your fence, as well as the materials and tools you’ll need.
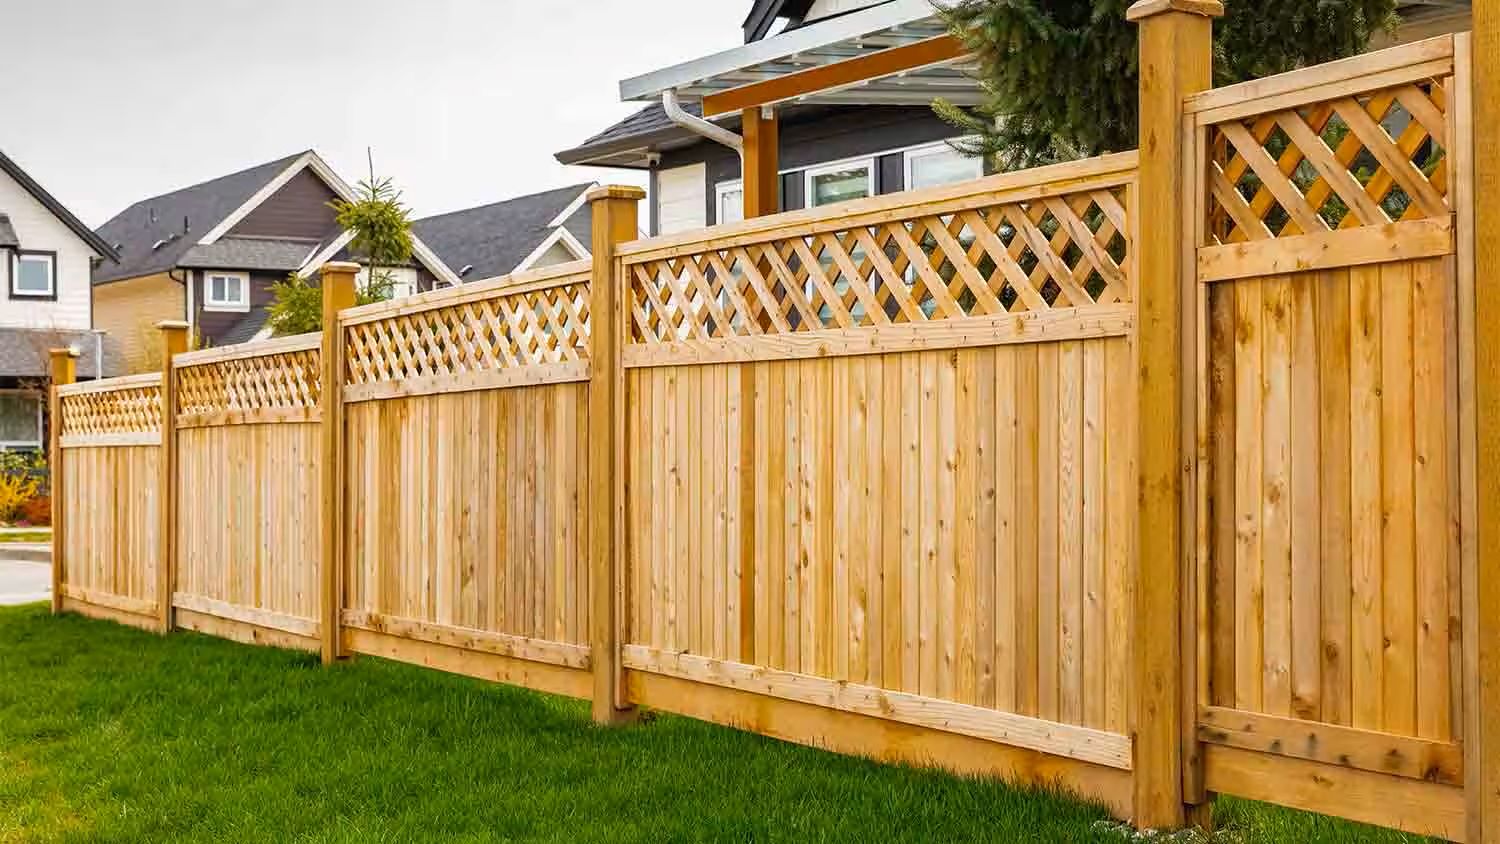
First, consider the purpose of your fence. Do you need privacy, security, or simply a decorative element? This will influence the height and design of your fence panels. If privacy is your main goal, you may opt for taller panels with minimal gaps between the boards. For a more decorative look, you can choose panels with intricate patterns or lattice work.
Next, measure the area where you plan to install the fence panels. Take accurate measurements of the length and height, and mark any obstacles or boundaries that may affect the placement of your panels.
It’s also important to check local building codes and regulations to ensure that your fence meets any requirements. Some neighborhoods or municipalities may have restrictions on fence height, materials, or placement. By familiarizing yourself with these guidelines, you can avoid any potential issues or delays during the building process.
Once you have a clear understanding of your needs and the dimensions of your fence, it’s time to decide on the materials. Wood is a popular choice for fence panels due to its durability and natural beauty. Cedar, cypress, and pressure-treated pine are commonly used for outdoor fencing projects. Consider the pros and cons of each material, including cost, maintenance requirements, and resistance to rot and insects. Make sure to choose boards that are suitable for outdoor use and have been treated or sealed to withstand the elements.
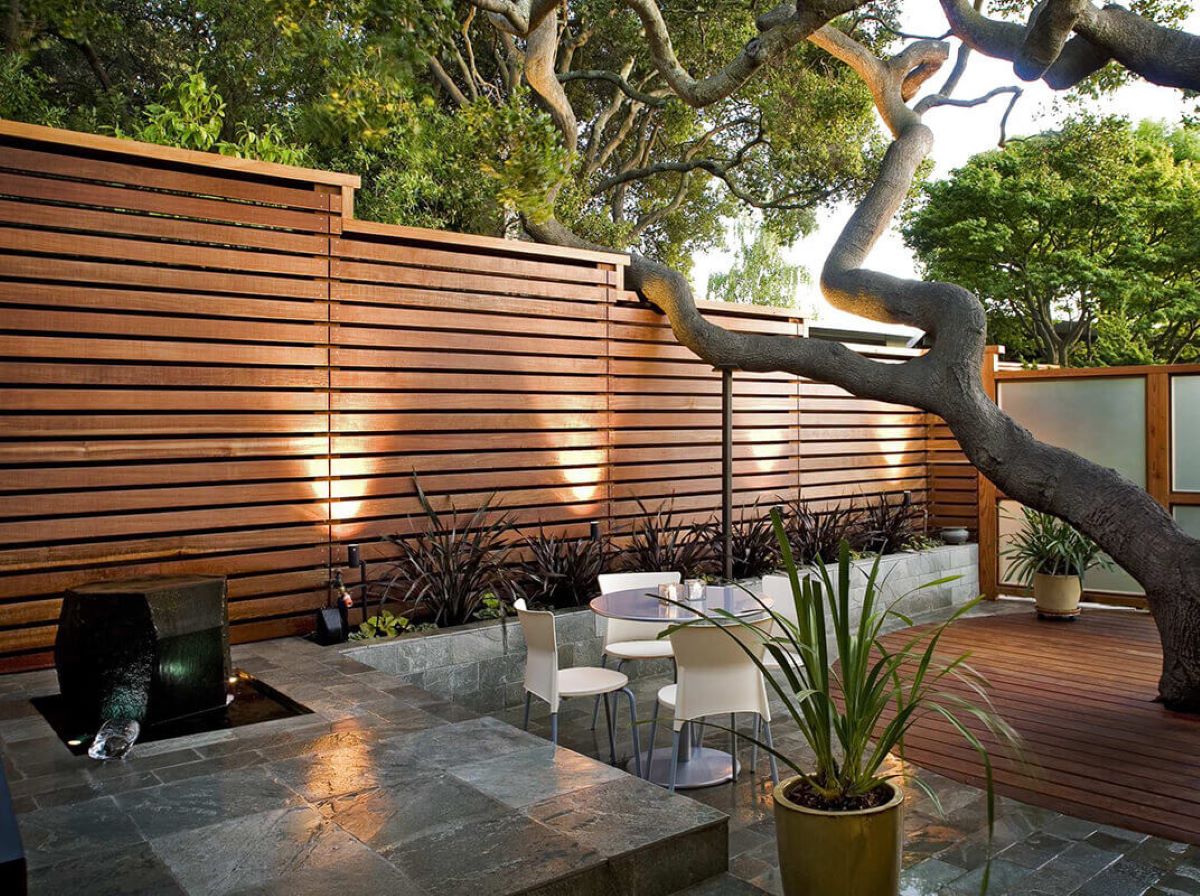
Lastly, think about the overall style and aesthetic of your fence panels. Do you prefer a traditional picket fence, a modern horizontal design, or something in between? Take inspiration from existing fences in your neighborhood or browse online for ideas.
By carefully planning your fence project, you’ll have a solid foundation for the building process. With a clear vision, accurate measurements, and the right materials in hand, you’re ready to move on to the next step: gathering materials and tools.
Step 2: Gathering Materials and Tools
Now that you’ve planned your fence project, it’s time to gather all the materials and tools you’ll need to build your fence panels. By collecting everything beforehand, you can ensure a smooth and efficient building process.
The materials you’ll need will depend on the design and size of your fence panels, as well as personal preferences. Here’s a general list of materials you may need:
- Wood boards: Choose high-quality, treated lumber that is suitable for outdoor use. Consider the length, width, and thickness based on your desired panel dimensions.
- Screws or nails: Opt for weather-resistant screws or galvanized nails to secure the boards.
- Supports: Depending on the length of your fence, you may need additional support beams or posts to ensure the stability of your panels.
- Concrete: If you’re using posts, you’ll need concrete to secure them into the ground.
- Primer and paint or stain: If desired, you can prime and paint or stain your fence panels to enhance their durability and appearance.
In addition to the materials, you’ll also need a variety of tools to complete the project. Here’s a list of essential tools you may need:
- Measuring tape: Accurate measurements are crucial for ensuring that your fence panels are properly aligned and fit within the designated space.
- Level: Use a level to ensure that your fence panels are perfectly straight and upright.
- Saw: A saw will be necessary for cutting the wood boards to the correct size.
- Drill: A drill is essential for pre-drilling holes and attaching the boards together.
- Screwdriver or hammer: Depending on whether you choose screws or nails, you’ll need either a screwdriver or a hammer to secure the boards.
- Protective gear: Don’t forget to prioritize safety by wearing goggles, gloves, and a mask when handling tools and materials.
Before beginning your project, double-check that you have all the necessary materials and tools. It can be frustrating to realize you’re missing something halfway through the construction process. Take the time to gather everything and organize your workspace for maximum efficiency.
Now that you have all the materials and tools ready to go, you can move on to the next step: measuring and cutting the frame for your fence panels.
Step 3: Measuring and Cutting the Frame
With all your materials and tools gathered, it’s time to measure and cut the frame for your fence panels. The frame provides the structure and stability for your panels, so it’s important to take precise measurements and make accurate cuts.
Start by measuring the desired height and width of your fence panels. Use a measuring tape to determine the exact dimensions you want. Make sure to consider any slopes or uneven ground that may affect the height of your panels.
Once you have the measurements, it’s time to cut the frame pieces. Typically, the frame consists of horizontal rails and vertical posts. The number of rails will depend on the height of your panels and personal preference.
Using a saw, cut the horizontal rails to the desired length. Make sure to measure and mark the exact length before cutting. For added strength, consider cutting the ends of the rails at a 45-degree angle to create a miter joint when joining the pieces together.
Next, cut the vertical posts to the appropriate height. Remember to account for any additional length that will go into the ground for stability. If you’re using longer posts to secure the panels, make sure to cut them to the necessary length as well.
As you cut the frame pieces, double-check the dimensions to ensure accuracy. It’s always better to measure twice and cut once to avoid any mistakes or wastage of materials.
Once all the frame pieces are cut, it’s time to assemble them. Lay out the horizontal rails on a flat surface and position the vertical posts at the corners and evenly spaced along the rails.
Use a drill with appropriate screws or nails to attach the rails to the posts. Start by pre-drilling pilot holes to prevent splitting of the wood. Then, secure the pieces together, ensuring that they are aligned and flush. A level can be handy to ensure that the frame is straight and square.
Repeat this process for each section of the fence panel. Depending on the size and design of your fence, you may need multiple panels to cover the entire area.
Once the frame is securely assembled, you can move on to the next step: preparing the fence boards.
Step 4: Preparing the Fence Boards
After you’ve measured and cut the frame for your fence panels, the next step is to prepare the fence boards. The boards will be attached to the frame, providing the desired look and function for your fence.
Start by selecting the appropriate type of wood boards for your project. Consider the style, durability, and maintenance requirements of different wood options. Cedar, cypress, and pressure-treated pine are popular choices for outdoor fences due to their resistance to rot and insects.
Before attaching the boards to the frame, it’s a good idea to treat or seal them to protect them from moisture and prolong their lifespan. If you prefer a natural look, you can skip this step. However, applying a coat of primer, paint, or stain can enhance the appearance and durability of the boards.
Whether you’re staining or painting, make sure to follow the manufacturer’s instructions and apply the chosen finish evenly to all sides of the boards. This will provide maximum protection against the elements.
Once the finish has dried, it’s time to attach the boards to the frame. Start at one end of the frame and work your way across, using either screws or nails to secure the boards. Make sure to leave a small gap between each board to allow for expansion and contraction due to temperature changes.
To ensure an even spacing between the boards, you can use spacers or small blocks of wood as guides. This will help maintain a consistent and visually appealing look for your fence panels.
As you attach each board, double-check that it is aligned and level with the top and bottom rails. Use a measuring tape and a level to ensure accuracy. If needed, trim the boards to fit the frame using a saw.
Continue attaching boards until the entire frame is covered. Depending on the desired level of privacy or airflow, you can choose to overlap the boards partially or completely cover the frame.
Once all the boards are securely attached, take a step back and inspect your fence panels. Look for any loose boards or uneven gaps, and make adjustments as necessary. A well-prepared fence board installation will result in a sturdy and visually appealing fence panel.
Now that the fence boards are in place, you’re ready for the next step: assembling the fence panels.
When building fence panels, make sure to use pressure-treated wood to prevent rot and decay. Additionally, consider using galvanized or stainless steel hardware to prevent rust and corrosion.
Read more: How To Fix Fence Panels
Step 5: Assembling the Fence Panels
With the frame prepared and the fence boards attached, it’s time to assemble the fence panels. This step involves joining the frame and boards together to create solid and functional panels that will form your fence.
Start by placing the frame on a flat surface with the board side facing down. Ensure the frame is positioned securely and won’t move during the assembly process.
Take one of the fence boards and align it with the top and bottom rails of the frame. Use screws or nails to attach it to the frame, making sure it is securely fastened. Repeat this process for each board in the panel, working your way from top to bottom.
As you attach the boards, keep them evenly spaced and aligned for a neat and uniform appearance. Use spacers or blocks of wood to maintain consistent spacing between the boards, if necessary.
Make sure to check each board’s alignment and levelness as you attach them to the frame. This will ensure that your fence panels are straight and visually appealing.
Continue attaching the boards until you’ve covered the entire frame and completed one fence panel. Depending on the size of your frame and the spacing between the boards, you may need multiple panels to cover the entire length of your fence.
Once each panel is assembled, double-check that all boards are secured and aligned properly. This will help ensure the stability and durability of your fence.
Repeat the assembly process for the remaining fence panels, following the same steps to attach the boards to their respective frames.
As you complete each panel, take a moment to admire your progress and make any necessary adjustments. This is also a good time to compare the panels to ensure consistency and uniformity throughout your fence.
With all the fence panels assembled, you’re one step closer to completing your project. The next step is to attach the fence panels to the posts, which we’ll cover in Step 6.
Take a moment to appreciate your hard work so far, as you’ve successfully built sturdy and visually appealing fence panels!
Step 6: Attaching the Fence Panels to Posts
Now that you have your fence panels assembled, the next step is to attach them to the posts. This is a crucial step in ensuring the stability and integrity of your fence.
If you haven’t already done so, install the necessary posts along your fence line. These posts provide the support and anchor points for your fence panels. Make sure the posts are set firmly in the ground and aligned properly.
Begin by positioning the first fence panel next to the first post. Use a level to ensure that the panel is straight and level. You can have a helper hold the panel in place while you work on attaching it.
Starting at the top of the panel, use screws or nails to secure the panel to the post. Ensure that the screws or nails are long enough to penetrate the panel and securely attach it to the post. Repeat this process for the bottom of the panel, making sure it’s firmly attached to the post.
Continue attaching the remaining fence panels to the posts, making sure they are aligned and level with each other. It’s important to have a consistent height and alignment across all panels for a professional-looking fence.
Be sure to double-check the stability of each panel and make any necessary adjustments. Use a level to ensure the panels are straight, and tighten any loose screws or nails as needed.
If your fence requires extra support, consider adding additional screws or brackets to secure the panels to the posts. This will provide added stability and strength to your fence.
As you progress through attaching the panels, step back occasionally to evaluate the overall appearance and make any necessary adjustments. This will ensure that your fence panels are properly aligned and visually pleasing.
Once all the fence panels are securely attached to the posts, take a moment to admire your hard work and the transformation of your outdoor space. You now have a sturdy and beautiful fence that adds privacy and security to your property.
The final step is to secure the panels and finalize your fence, which we’ll cover in Step 7.
Take a moment to appreciate the progress you’ve made thus far, as you’re now in the final stages of completing your fence project!
Step 7: Securing the Panels and Finalizing the Fence
Congratulations! You’ve reached the final step of building your fence panels. In this step, you’ll secure the panels and make the necessary adjustments to finalize your fence.
Start by inspecting each panel to ensure that all screws or nails are tightened and secure. Check for any loose boards or gaps that need to be addressed. Use a screwdriver or hammer to tighten any loose fasteners or make any necessary repairs.
If you prefer a more finished and polished look, consider adding trim or molding along the top and bottom of the fence panels. This will give your fence a more refined appearance and help protect the edges of the boards. Secure the trim using screws or nails, making sure it is flush with the panels.
Next, evaluate the overall stability of the fence. Check for any areas where the panels may be wobbly or need reinforcement. You can add additional screws or brackets as needed to provide extra support.
If desired, you can also add a coat of sealant or outdoor paint to protect the wood from the elements. This will help prolong the life of your fence and maintain its appearance over time. Follow the manufacturer’s instructions for applying the sealant or paint, and make sure to cover all exposed surfaces.
Finally, step back and take a look at your completed fence. Make any final adjustments to ensure that all panels are aligned and level. Stand at different angles to get a full view of the fence and check for any visual inconsistencies or areas that need attention.
Once you’re satisfied with the appearance and stability of your fence panels, take a moment to appreciate the work you’ve put into building your own fence. Not only have you created a functional and beautiful addition to your outdoor space, but you’ve also gained valuable skills in woodworking.
Remember to periodically inspect your fence panels for any signs of wear or damage. Regular maintenance, such as cleaning and reapplying sealant or paint, will help keep your fence looking its best and ensure its longevity.
Enjoy the privacy, security, and aesthetic appeal that your newly built fence panels provide. Whether you’re relaxing in your backyard or showcasing your garden, your fence is sure to enhance the overall beauty and enjoyment of your outdoor environment.
With Step 7 complete, you have finished securing the panels and finalizing your fence project. Well done!
Conclusion
Building fence panels can be a rewarding and fulfilling DIY project that adds both functionality and beauty to your outdoor space. By following the step-by-step process outlined in this article, you’ve learned how to plan, gather materials, measure and cut the frame, prepare the fence boards, assemble the panels, attach them to the posts, and finalize your fence.
Throughout the construction process, you’ve demonstrated patience, attention to detail, and craftsmanship to create sturdy and visually appealing fence panels. Your hard work and commitment have paid off, resulting in a fence that provides privacy, security, and an aesthetically pleasing addition to your property.
Remember to regularly inspect and maintain your fence panels, addressing any wear or damage promptly. With proper care, your fence panels will withstand the test of time and continue to enhance your outdoor space for years to come.
Building fence panels offers not only the practical benefits of added security and privacy, but it also allows you to showcase your creativity and personal style. Customize the design, paint, or stain to match your preferences and the surrounding environment, creating a unique and personalized fence that reflects your individuality.
Whether you’re a seasoned woodworker or a DIY enthusiast tackling your first fence project, building fence panels is a satisfying endeavor that rewards you with a sense of accomplishment and a durable, attractive fence. So gather your materials, grab your tools, and get started on creating your dream fence today!
Thank you for following this comprehensive guide on how to build fence panels. We hope this article has provided you with the knowledge and inspiration you need to successfully complete your fence project. Enjoy the benefits and satisfaction that come with a well-built and beautifully crafted fence!
Frequently Asked Questions about How To Build Fence Panels
Was this page helpful?
At Storables.com, we guarantee accurate and reliable information. Our content, validated by Expert Board Contributors, is crafted following stringent Editorial Policies. We're committed to providing you with well-researched, expert-backed insights for all your informational needs.


0 thoughts on “How To Build Fence Panels”