Articles
How To Put Up A Snow Fence
Modified: October 18, 2024
Learn how to put up a snow fence with our informative articles. Find step-by-step instructions and expert tips to protect your property from snow accumulation.
(Many of the links in this article redirect to a specific reviewed product. Your purchase of these products through affiliate links helps to generate commission for Storables.com, at no extra cost. Learn more)
Introduction
As winter approaches, one of the challenges that come with it is the accumulation of snow in certain areas. When snow piles up, it can cause inconvenience and hazards, such as blocked driveways, reduced visibility, and snowdrifts. However, there is a simple and effective solution to this problem: putting up a snow fence.
A snow fence is a barrier erected to control the accumulation and drifting of snow. It helps to redirect the movement of snow, creating a safer environment and preventing snowdrifts from forming in undesirable areas.
In this article, we will explore what a snow fence is, the different types available, the benefits of using one, and provide a step-by-step guide on how to put up a snow fence effectively. Additionally, we will discuss the maintenance and repair of snow fences to ensure their longevity and effectiveness. So let’s dive in and learn how to put up a snow fence to tame those winter drifts.
Key Takeaways:
- Takeaway 1: Snow fences offer a cost-effective and environmentally friendly solution to control snow accumulation and drifts, improving safety and reducing the hassle of winter maintenance.
- Takeaway 2: Choosing the right location, gathering the necessary materials, and following a step-by-step installation guide are essential for effectively putting up and maintaining a snow fence to tame winter drifts.
Read more: How To Put Up Garden Fence
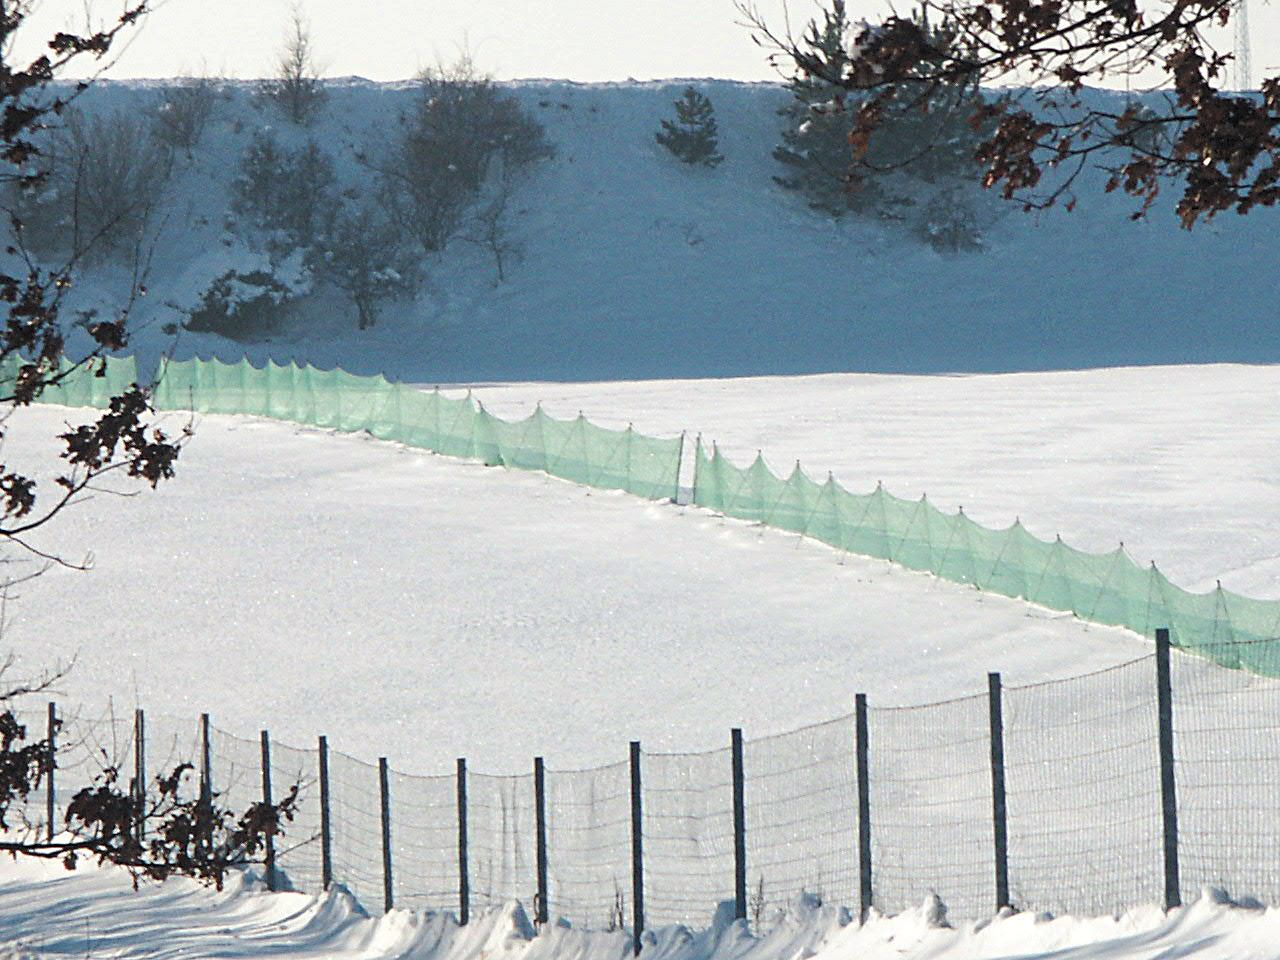
What is a snow fence?
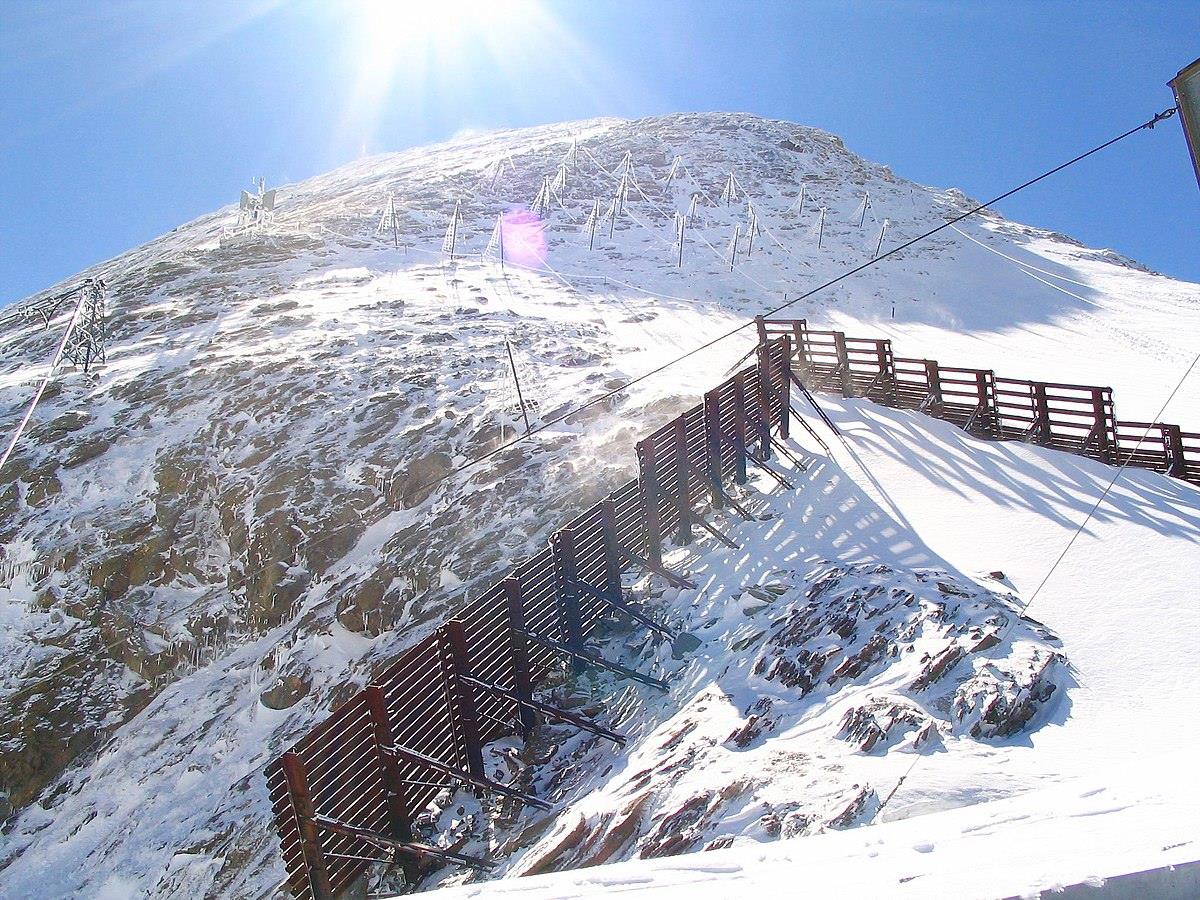
A snow fence is a structure made of various materials, such as wood, plastic, or metal, placed strategically to control the movement and accumulation of snow. It acts as a barrier, altering the wind patterns and causing snow to accumulate on one side while reducing snow buildup on the other side.
The main principle behind a snow fence is to create a disruption in the wind flow, which causes the snowflakes to drop out of the air and accumulate in a specific area. This prevents snowdrifts from forming in critical locations, such as roadways, walkways, and parking lots.
Snow fences are commonly used in rural areas, where large open spaces are prone to excessive snow accumulation and drifting. However, they can also be beneficial in urban areas to mitigate the effects of snow accumulation when space is limited.
There are different types and designs of snow fences, each with its own functionality and effectiveness. The choice of the snow fence type depends on factors such as the amount of snowfall, wind direction, and the specific area where it will be installed.
Now that we have a basic understanding of what a snow fence is, let’s explore the different types available and the benefits of using one.
Types of snow fences
There are several types of snow fences available, each designed to suit different snowfall conditions, wind speeds, and environmental factors. Here are some common types:
- Perforated snow fence: This type of snow fence is made of permeable material, usually plastic or metal sheets with evenly spaced holes. The perforations allow wind to pass through, dispersing its force and reducing the formation of snowdrifts. Perforated snow fences are highly effective in areas with heavy snowfall and strong winds.
- Woven snow fence: Woven snow fences are typically made of wood slats or plastic material woven together. This design allows some wind to pass through while creating turbulence, which facilitates snow deposition. Woven snow fences are a versatile option and are commonly used in both rural and urban areas.
- Mesh snow fence: Mesh snow fences are composed of a durable mesh material, usually made of plastic or metal. The mesh design allows wind to flow through while trapping snowflakes and preventing them from accumulating in undesired areas. Mesh snow fences are lightweight, easy to install, and are an ideal choice for areas with moderate snowfall.
- Wooden slat snow fence: Wooden slat snow fences consist of closely spaced vertical wooden slats that create a solid barrier. These types of fences work by disrupting wind flow and causing snow to accumulate on one side. Wooden slat snow fences are commonly used in areas with light to moderate snowfall.
When selecting a snow fence, it is essential to consider the specific weather conditions and snow patterns in your area. Consulting with a snow fence expert or local meteorologist can help you determine the most suitable type of snow fence for your needs.
Now that we have explored the different types of snow fences available, let’s move on to discussing the benefits of using a snow fence.
Benefits of using a snow fence
Using a snow fence offers various benefits in areas prone to snow accumulation and drifting. Let’s take a look at some of the advantages:
- Snow control: The primary benefit of a snow fence is its ability to control the movement and accumulation of snow. By strategically placing a snow fence, you can redirect the wind and snow, preventing it from piling up in undesirable areas. This helps to keep driveways, roads, and walkways clear and safe.
- Reduced snowdrifts: Snowdrifts can be a major challenge during the winter, hindering visibility and making it difficult to navigate through. A snow fence breaks up the wind flow, causing the snowflakes to fall and accumulate in a designated area, minimizing the formation of large snowdrifts.
- Improved safety: By controlling snow accumulation, a snow fence improves safety. By preventing snowdrifts, you reduce the risk of accidents, such as sliding vehicles or pedestrians tripping over snow. This is especially important for high-traffic areas and locations where visibility is crucial.
- Cost-effective solution: Installing a snow fence can be a cost-effective solution compared to other snow management methods. It requires minimal maintenance and provides long-lasting benefits throughout the winter season.
- Environmental protection: Snow fences can also help protect the environment. By preventing snow from accumulating in sensitive areas, such as waterways or wildlife habitats, you reduce the likelihood of contamination or disruption to ecosystems.
- Ease of installation and removal: Snow fences are relatively easy to install and remove. They come in various sizes and materials, making them adaptable to different locations and snowfall conditions. This allows for flexibility in managing snow accumulation as the weather changes.
By utilizing a snow fence, you can enjoy these benefits and create a safer and more manageable environment during the winter months. Now that we understand the advantages of using a snow fence, let’s move on to discussing how to choose the right location for installing one.
Choosing the right location
Choosing the proper location to install a snow fence is crucial for its effectiveness. Here are some factors to consider when selecting the right location:
- Wind direction: One of the essential factors is understanding the prevailing wind direction in your area. Observing the direction of snowdrifts or seeking guidance from local meteorological data can help you determine where the snow fence should be placed to redirect the wind and snow.
- Distance from the desired protected area: Consider the distance between the proposed location for the snow fence and the area you want to protect. The fence should be close enough to create a snow-catching effect but far enough to prevent the snow from accumulating directly on the desired area, such as a driveway or walkway.
- Obstacles and terrain: Take note of any existing obstacles or natural features that may affect the snow movement and accumulation. Trees, buildings, or uneven terrain can create wind turbulence, causing snowdrifts to form in unexpected areas. Adjusting the placement of the snow fence can help mitigate these effects.
- Accessibility: Consider the accessibility for installation and future maintenance. Ensure that the selected location allows easy access for putting up the snow fence and eventual removal or repairs as needed.
- Local regulations and permissions: Check with local authorities or homeowner associations for any regulations or permissions required before installing a snow fence. Some areas may have specific guidelines regarding the placement and appearance of snow fences.
By carefully considering these factors, you can choose the optimal location for your snow fence, maximizing its effectiveness in controlling snow accumulation and drifts. Once you have determined the location, you can proceed to gather the necessary materials for putting up the snow fence.
When putting up a snow fence, make sure to place it perpendicular to the prevailing wind direction to effectively trap and control snow accumulation.
Read more: How To Put Up Field Fence
Materials needed for putting up a snow fence
To put up a snow fence, you will need the following materials:
- Snow fence: Choose a snow fence that suits your specific needs and the prevailing weather conditions in your area. Common types include perforated snow fences, woven snow fences, mesh snow fences, or wooden slat snow fences.
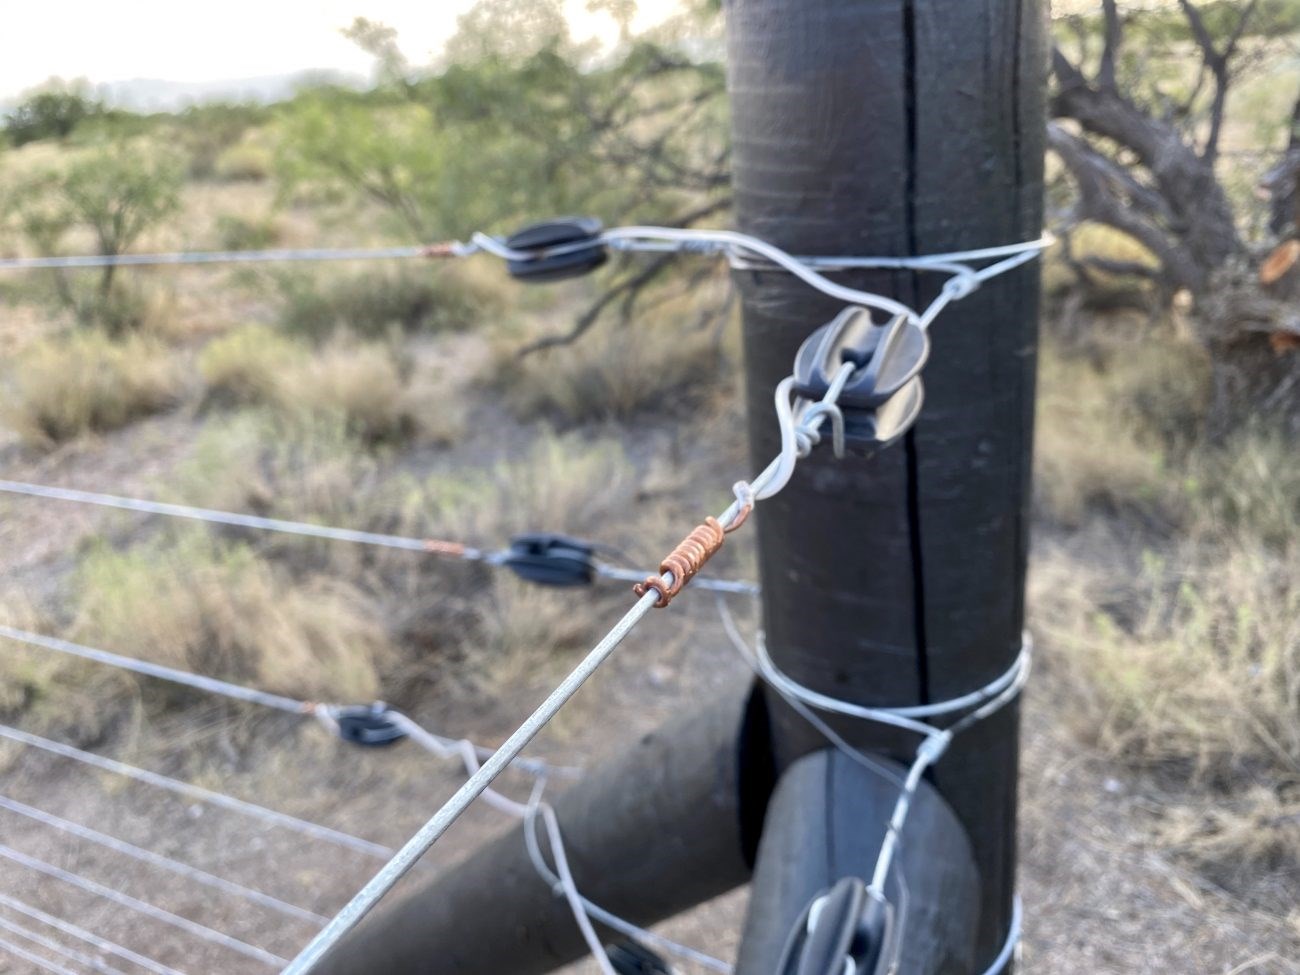
- Fence posts: Fence posts provide support and stability for the snow fence. They should be sturdy and durable to withstand winter conditions. Depending on the length and height of the fence, you may need several fence posts.
- Post hole digger: A post hole digger is essential for digging holes to install the fence posts. Choose a post hole digger suitable for the size and depth of the holes needed for your fence posts.
- Gravel or concrete mix: Gravel or concrete mix can be used to secure the fence posts in the ground, providing added stability. You can choose whichever material is most suitable for your specific installation.
- Hammer or mallet: A hammer or mallet will be needed to drive the fence posts into the ground. Make sure it is sturdy enough to withstand the force required for installation.
- Measuring tape: A measuring tape will help ensure precise spacing between the fence posts and accurate placement of the snow fence.
- Nails, screws, or fasteners: Depending on the type of snow fence and fence posts, you may need nails, screws, or other suitable fasteners to attach the snow fence securely to the posts.
- Work gloves: It is essential to protect your hands while handling materials and during the installation process. Wear work gloves to prevent injuries or blisters.
- Safety goggles: Safety goggles will protect your eyes from any debris or flying particles during the digging and installation process.
Ensure you have all the necessary materials before beginning the installation process. This will make the process more efficient and prevent any delays. Once you have gathered the materials, you are ready to start putting up the snow fence. In the next section, we will provide a step-by-step guide to help you through the process.
Step-by-step guide to putting up a snow fence
Follow these steps to effectively put up a snow fence:
- Step 1: Determine the location: Based on your assessment of wind direction and desired snow control, identify the optimal location for installing the snow fence. Mark the positions where the fence posts will be placed.
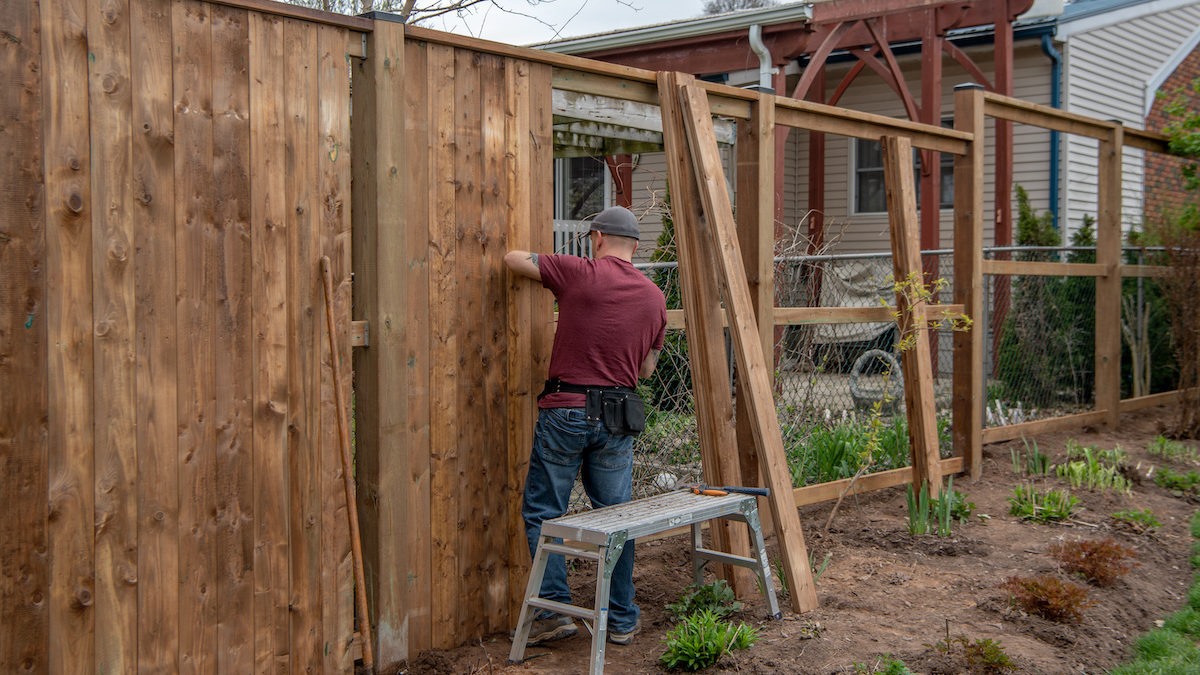
- Step 2: Dig the post holes: Use a post hole digger to dig holes at the marked positions for the fence posts. The depth of the holes should be sufficient to ensure stability, typically around one-third of the length of the fence posts.
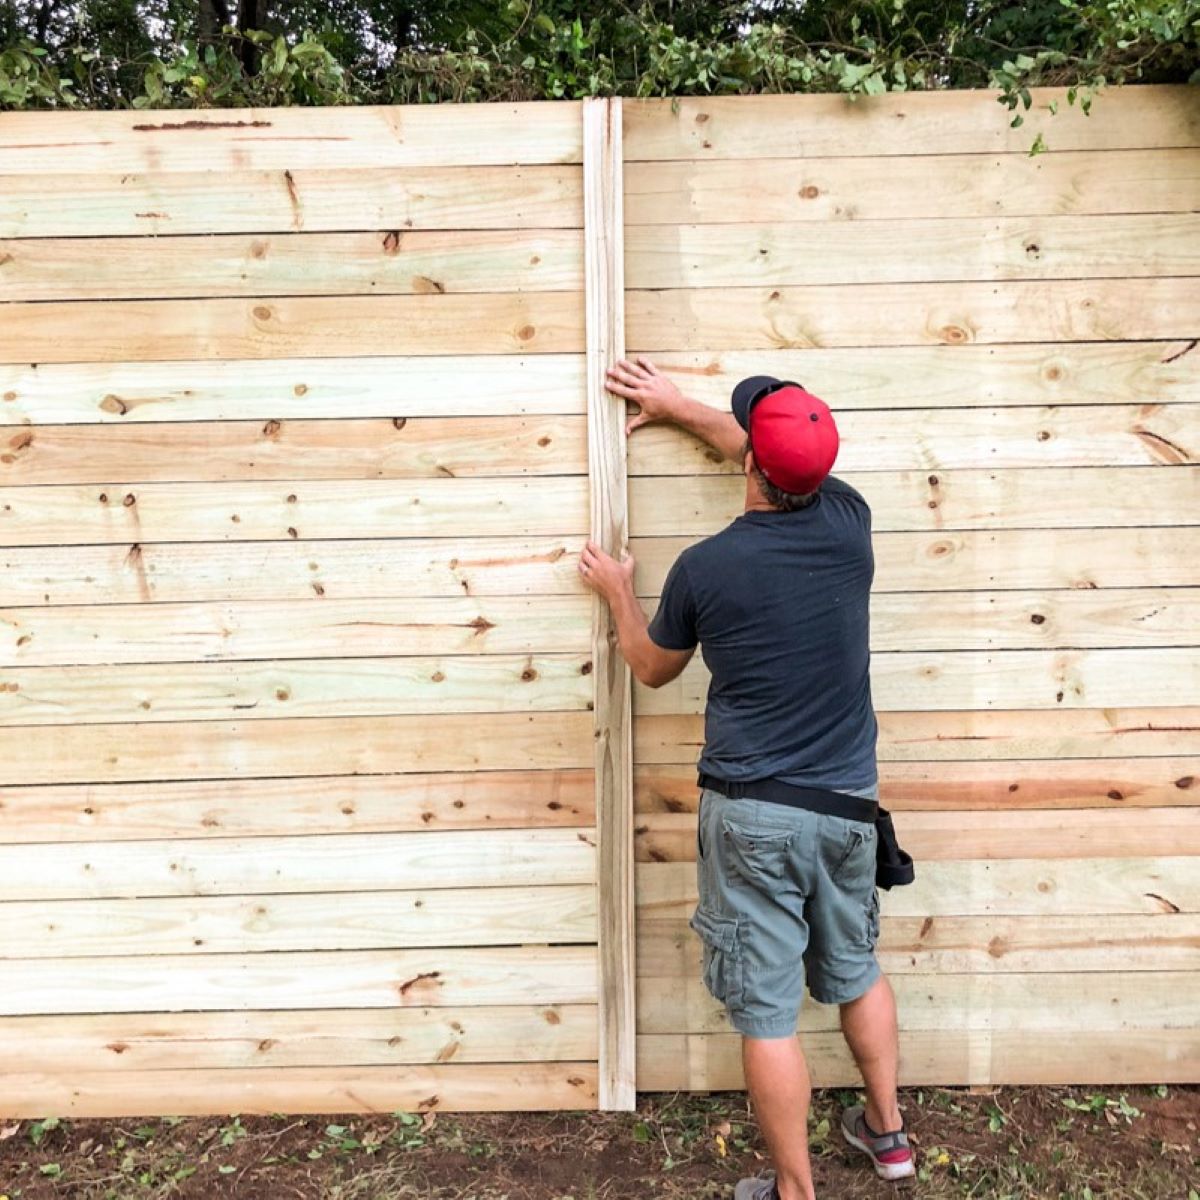
- Step 3: Insert the fence posts: Insert the fence posts into the prepared holes, making sure they are straight and evenly spaced. Use a level to ensure they are vertically aligned. Tamp the soil firmly around the posts to secure them in place.
- Step 4: Attach the snow fence to the posts: Depending on the type of snow fence and posts, use nails, screws, or other fasteners to attach the snow fence securely to the fence posts. Ensure the fence is taut and properly aligned.
- Step 5: Secure the fence posts: To provide additional stability, you can pour gravel or concrete mix into the holes around the fence posts. Follow the manufacturer’s instructions for proper mixing and curing of the concrete mix if chosen.
- Step 6: Trim excess fence material: Once the snow fence is securely attached and the posts are set, trim any excess fence material that extends beyond the desired height or width.
- Step 7: Inspect and adjust: Carefully inspect the snow fence and fence posts to ensure everything is secure and properly aligned. Make any necessary adjustments or reinforcements as needed.
- Step 8: Maintain the snow fence: Regularly inspect and maintain the snow fence throughout the winter season. Remove any accumulated snow by gently shaking the fence or brushing it off. Replace any damaged or broken parts to maintain the fence’s effectiveness.
By following these steps, you can successfully put up a snow fence to control snow accumulation and drifts in your desired areas. Remember to consider safety precautions and wear appropriate protective gear during the installation process.
Next, let’s delve into the maintenance and repair of snow fences to ensure their longevity and effectiveness.
Maintenance and repair of snow fences
To ensure the longevity and effectiveness of your snow fence, regular maintenance and timely repairs are essential. Here are some important tips for maintaining and repairing snow fences:
- Inspect the fence regularly: Regularly inspect the snow fence to check for any signs of damage, such as loose fasteners, broken slats, or sagging sections. Inspect the fence after heavy snowfall or strong winds to identify any areas that may require attention.
- Clear snow accumulation: After a snowstorm, gently shake the fence or use a soft-bristle brush to remove any accumulated snow from the fence. This will prevent excessive weight on the fence and maintain its ability to control snow drifts.
- Replace damaged or broken parts: If you notice any damaged or broken parts of the snow fence during your inspections, promptly replace them. This includes replacing broken slats, loose fasteners, or damaged mesh material. Ensure that the replacements match the original specifications of the fence.
- Reinforce weak areas: If you notice any sections of the fence that are sagging or showing signs of weakness, reinforce them by adding additional support. This may involve adding extra fence posts, securing the fence to nearby structures, or using tensioners or braces to improve stability.
- Protect the snow fence during non-winter seasons: If possible, remove the snow fence during non-winter seasons to protect it from potential damage caused by other weather elements or activities. Properly store the fence in a dry and secure location to ensure its longevity.
- Consider professional maintenance: If you are unsure about maintaining or repairing your snow fence, or if you have a large-scale snow fence installation, consider consulting with professionals who specialize in snow fence maintenance and repair. They can provide expert guidance and ensure your snow fence remains in optimal condition.
By following these maintenance tips and promptly addressing any repairs, you can extend the lifespan and effectiveness of your snow fence. Remember, a well-maintained snow fence will continue to provide the desired snow control and help keep your property safe during winter.
Now, let’s summarize what we’ve learned so far.
Conclusion
Putting up a snow fence is a practical and effective solution for controlling snow accumulation and drifts during the winter season. By strategically placing a snow fence, you can redirect the movement of snow, creating safer environments and preventing snowdrifts from forming in undesirable areas.
In this article, we explored what a snow fence is and the different types available, including perforated snow fences, woven snow fences, mesh snow fences, and wooden slat snow fences. We also discussed the numerous benefits of using a snow fence, such as snow control, reduced snowdrifts, improved safety, cost-effectiveness, and environmental protection.
Choosing the right location for installing the snow fence is crucial, taking into consideration wind direction, distance from the desired protected area, obstacles, terrain, accessibility, and local regulations. We also discussed the materials needed for putting up a snow fence, including the snow fence itself, fence posts, post hole digger, gravel or concrete mix, hammer or mallet, measuring tape, nails or screws, gloves, and safety goggles.
We provided a step-by-step guide to putting up a snow fence, which involved determining the location, digging post holes, inserting fence posts, attaching the snow fence, securing the fence posts, trimming excess material, inspecting and adjusting the fence, and maintaining the snow fence throughout the winter season.
Lastly, we discussed the importance of maintaining and repairing snow fences, including regular inspections, clearing snow accumulation, replacing damaged parts, reinforcing weak areas, protecting the fence during non-winter seasons, and considering professional maintenance when needed.
By following these guidelines, you can effectively put up and maintain a snow fence to control snow accumulation and drifts, ensuring a safer and more manageable environment during the winter months.
So don’t let snow become a winter burden; take control with a snow fence and enjoy the beauty of winter without the hassle.
Frequently Asked Questions about How To Put Up A Snow Fence
Was this page helpful?
At Storables.com, we guarantee accurate and reliable information. Our content, validated by Expert Board Contributors, is crafted following stringent Editorial Policies. We're committed to providing you with well-researched, expert-backed insights for all your informational needs.


0 thoughts on “How To Put Up A Snow Fence”