Articles
How To Put Up A Wood Fence
Modified: February 23, 2024
Learn how to put up a wood fence with our informative articles. Find useful tips, step-by-step guides, and expert advice to help you complete your fence installation project.
(Many of the links in this article redirect to a specific reviewed product. Your purchase of these products through affiliate links helps to generate commission for Storables.com, at no extra cost. Learn more)
Introduction
Putting up a wood fence can be a great way to enhance the privacy, security, and aesthetics of your property. Whether you’re looking to keep out nosy neighbors, designate a boundary, or create a safe space for children or pets, a wood fence can serve as a practical and stylish solution.
While the task of installing a wood fence may seem daunting at first, with proper planning and preparation, it can be a rewarding DIY project. In this guide, we’ll walk you through the step-by-step process of putting up a wood fence, from the initial planning stage to the finishing touches.
Before You Begin:
Before diving into the project, there are a few considerations to keep in mind. First and foremost, check with your local homeowners’ association or municipality to ensure you comply with any regulations or permits required for fence installation. Additionally, be sure to locate and mark any underground utilities before digging post holes.
Next, determine the purpose of your fence. Are you looking for privacy, security, or decoration? This will help you determine the height and style of the fence that best fits your needs. Consider the aesthetics of your property as well, choosing a fence design that complements your home and landscape.
Finally, establish your budget and gather the necessary materials and tools. The key components of a wood fence include posts, panels, rails, and hardware. Depending on your design preferences, you may also need additional materials such as gravel for post hole support or paint or stain for finishing.
With these preliminary considerations in mind, let’s dive into the step-by-step process of putting up a wood fence to transform your outdoor space.
Key Takeaways:
- Proper planning and preparation are essential for a successful wood fence installation. From measuring and marking the fence line to digging post holes and setting the posts, meticulous attention to detail lays the foundation for a sturdy and visually appealing fence.
- Adding the finishing touches, such as applying a protective finish, sealing the posts, and regular maintenance, ensures the longevity and continued beauty of your wood fence. By staying proactive in addressing any issues, you can enjoy the benefits of your completed project for years to come.
Read more: How To Put Up Garden Fence
Step 1: Planning and Preparation
Before you can start putting up your wood fence, it’s crucial to dedicate time to careful planning and preparation. This step will ensure that you have a solid foundation for a successful fence installation.
1. Measure and Mark:
Begin by measuring the area where you plan to install the fence. Use stakes and string to mark the boundaries of your fence line. This will help you visualize the layout and determine the number of fence panels and posts you’ll need.
2. Check for Obstructions:
Take a thorough look at the fence line to identify any potential obstructions such as trees, shrubs, or utility lines. Make sure to clear any vegetation or obstacles that may hinder the fence installation process.
3. Set the Post Locations:
Determine the spacing between your fence posts, keeping in mind that the standard distance between posts is typically 6-8 feet. Mark the post locations with stakes, ensuring they’re evenly spaced and aligned with the string marking the fence line.
4. Check for Level Ground:
Use a level to ensure that the ground is level along the fence line. If necessary, remove any bumps or fill in any depressions to create a smooth and even surface for the fence installation.
5. Consider the Gate Placement:
If you plan to include a gate in your fence, decide on its placement. Gates are typically installed at the front entrance or along the sides of a property. Ensure that the gate opening is wide enough to accommodate easy access for desired vehicles or equipment.
6. Research Local Regulations:
Before proceeding with the installation, research local regulations and requirements for fence installations in your area. Check if there are any height restrictions or setback requirements that must be adhered to. Obtain any necessary permits or approvals if required.
7. Gather Materials and Tools:
Now that you have a clear plan in place, gather all the necessary materials and tools for your fence installation. This may include wooden fence panels, fence posts, concrete mix or gravel, nails or screws, a post hole digger, a level, and a hammer or drill for attaching the panels and rails.
By taking the time to plan and prepare properly, you’ll be well-equipped to move on to the next step: marking the fence line and getting ready to dig post holes.
Step 2: Marking the Fence Line
With your planning and preparation complete, it’s time to move on to marking the fence line. This step will ensure accuracy and provide a clear guide for the installation of your wood fence.
1. Begin at a Corner:
Start at one corner of your fence line and measure the distance you initially determined for the spacing between posts. Place a stake at this corner to serve as a reference point.
2. Mark Additional Post Locations:
Using a tape measure and the appropriate spacing, mark the locations for additional fence posts along the fence line. Ensure that the distance between each post is consistent to maintain an evenly spaced fence.
3. Use String and Stakes:
Attach a string to the first stake and pull it tight along the fence line to the next stake. Secure the string to the second stake, making sure it is level and taut. Repeat this process for each stake along the entire fence line.
4. Double-Check Alignment:
Step back and assess the alignment of the string. Make any necessary adjustments to ensure that the line is straight and the fence will be properly aligned.
5. Mark Gate Placement:
If you’re including a gate in your fence design, mark its location on the string. This will help you ensure proper alignment and allow for any necessary adjustments to the fence line.
6. Visualize the Fence:
Take a moment to step back and visualize how your wood fence will look once it’s installed. This will help you confirm that the fence line is exactly where you want it and make any final adjustments if needed.
By carefully marking the fence line, you’ll have a clear guide to follow for the next step: digging post holes. This meticulous approach will help ensure that your wood fence installation proceeds smoothly and accurately.
Step 3: Digging Post Holes
Now that you have marked the fence line, it’s time to move on to the next crucial step: digging post holes. Strong and stable fence posts are essential for the structural integrity of your wood fence.
1. Gather the Necessary Tools:
Before you begin digging, gather the tools you’ll need for this task. These typically include a post hole digger, a shovel, a tape measure, and a level.
2. Measure and Mark Post Hole Depths:
Measure the desired depth for your fence posts. A general rule of thumb is to dig a hole approximately one-third of the length of the fence post. Mark the desired depth on the post hole digger or shovel to ensure consistency.
3. Start Digging:
Begin digging the first post hole at one of the marked locations along the fence line. Use the post hole digger or shovel to dig down into the ground, removing soil as you go. Aim for a hole that is wide enough to accommodate the diameter of the fence post.
4. Maintain Uniform Hole Sizes:
As you dig each post hole, ensure that they are all of uniform size and depth. This will contribute to the overall stability and consistency of your wood fence.
5. Check for Level and Plumb:
As you dig each hole, periodically check for level and plumb using a level. This will help ensure that the fence posts will be installed straight and upright.
6. Consider Post Hole Support:
Depending on the soil conditions in your area, you may need to add a layer of gravel or concrete mix at the bottom of each post hole for extra stability. This is especially important if you’re installing a taller or heavier fence.
7. Place Fence Post in Hole:
Once the post hole is dug, carefully place the fence post into the hole, making sure it is centered and aligned with the string marking the fence line.
8. Shore Up the Post:
Fill the space around the post with soil, tamping it down firmly as you go. Use a level to ensure the post is straight and plumb on all sides.
9. Repeat for Additional Posts:
Repeat the process of digging, aligning, and securing the remaining fence posts, ensuring that they are spaced evenly according to your initial plan.
By following these steps and taking the time to dig proper post holes, you’ll lay the groundwork for a strong and durable wood fence. With the posts securely in place, you’ll be ready to move on to the next step: setting the posts.
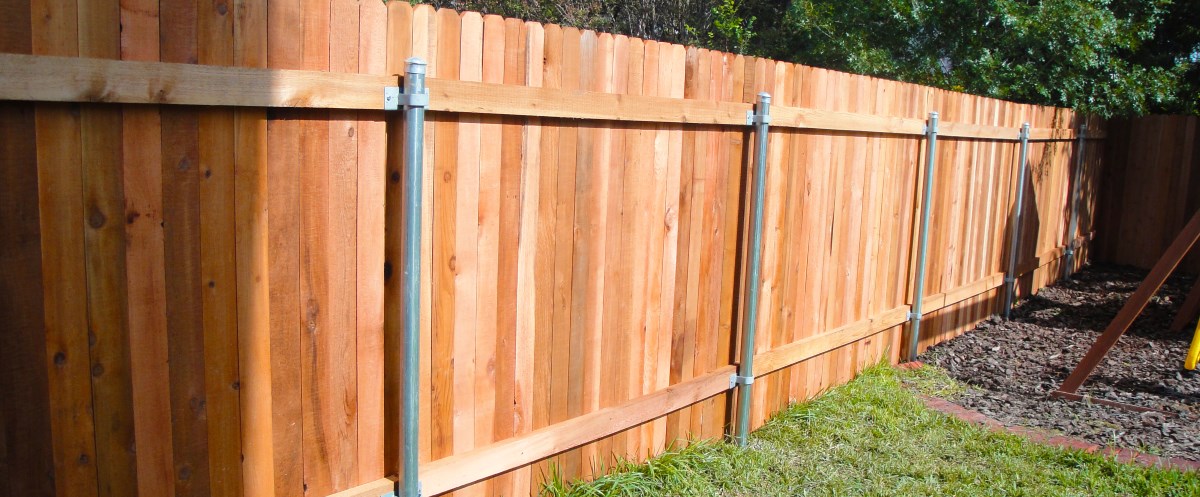
Step 4: Setting the Posts
With the post holes dug, it’s time to move on to the next step: setting the fence posts. This process involves securing the posts in place and ensuring their stability to provide a sturdy foundation for your wood fence.
1. Prepare the Post:
Before setting a post, make sure the bottom end is free from dirt and debris. This will ensure a clean and solid connection between the post and the ground.
2. Add Post Hole Support (Optional):
If you’re looking for added stability, consider adding a layer of gravel or concrete mix at the bottom of the post hole. This will help prevent shifting or sinking of the posts over time.
3. Insert the Post:
Carefully lower the post into the hole, ensuring that it is fully seated and aligned with the string marking the fence line. Use a level to check that the post is perfectly vertical on all sides.
4. Secure the Post:
Once the post is in the correct position, fill the hole around it with soil, tamping it down firmly as you go. Continue filling and tamping until the hole is completely filled, securing the post in place.
5. Check for Level and Plumb:
Double-check that the post is still perfectly level and plumb using a level. Make any necessary adjustments by adding or removing soil until the post is straight and aligned.
6. Brace the Post (If Needed):
If you’re installing a taller fence or working with unstable soil conditions, you may need to brace the post temporarily to keep it in position while the soil settles. Use wooden stakes and bracing boards to hold the post steady until it is fully secured.
7. Repeat for Remaining Posts:
Repeat the process of preparing, inserting, securing, and checking for level and plumb for each remaining fence post along the fence line.
8. Allow Posts to Settle:
After all the fence posts are set, it’s important to allow them to settle for at least 24-48 hours. This will give the soil time to compact and stabilize around the posts.
By carefully setting the fence posts, you’ll ensure that your wood fence has a strong foundation. Once the posts are fully settled, you’ll be ready to move on to the next step: adding the fence panels.
When putting up a wood fence, make sure to properly set the fence posts in the ground to ensure stability and longevity. Use a post hole digger to create deep, wide holes and fill them with concrete for added support.
Read more: How To Put Up Field Fence
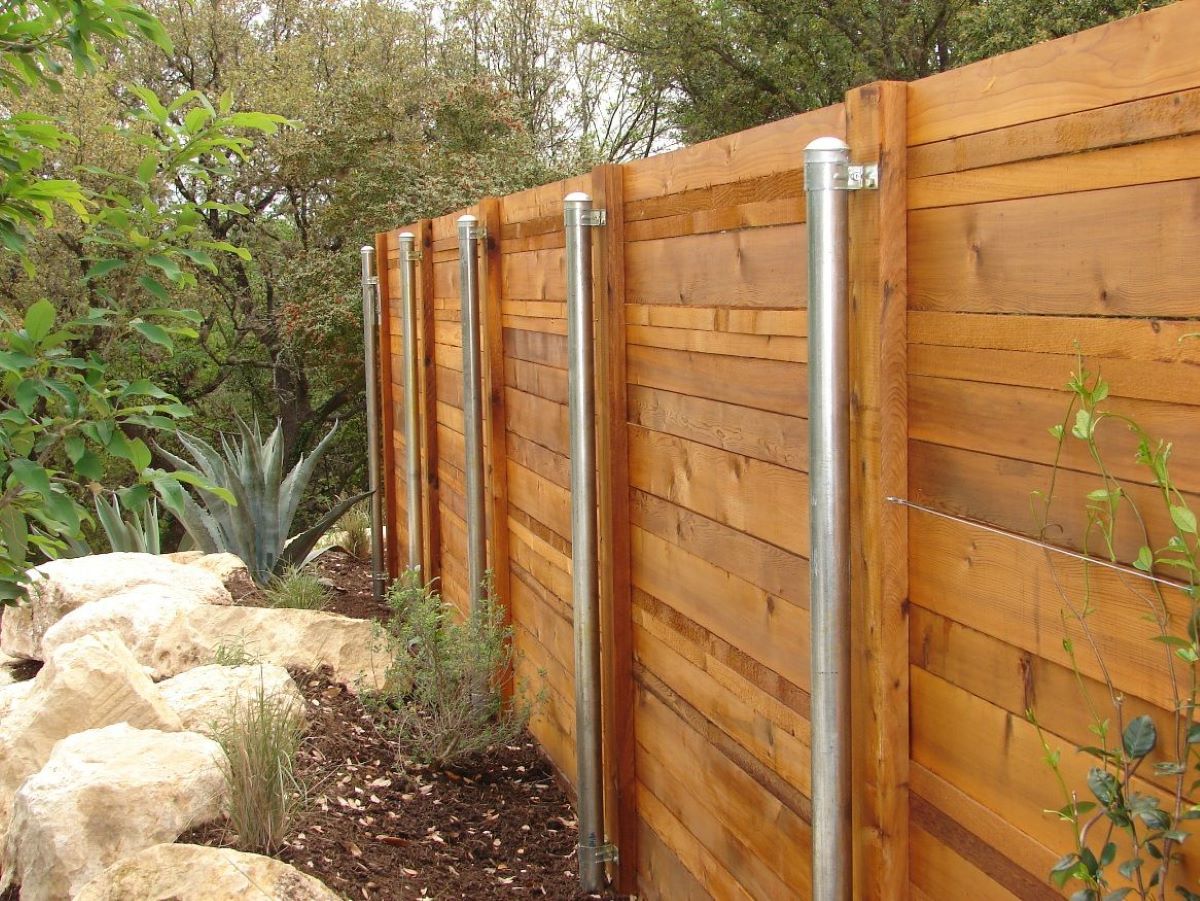
Step 5: Adding Fence Panels
Now that the fence posts are securely set, it’s time to add the fence panels. This step will bring your wood fence to life, providing the desired privacy, security, and visual appeal.
1. Measure and Cut Fence Panels:
Start by measuring the distance between two adjacent posts to determine the width needed for your fence panels. Using a saw, cut the fence panels to the appropriate size, making sure they fit snugly between the posts.
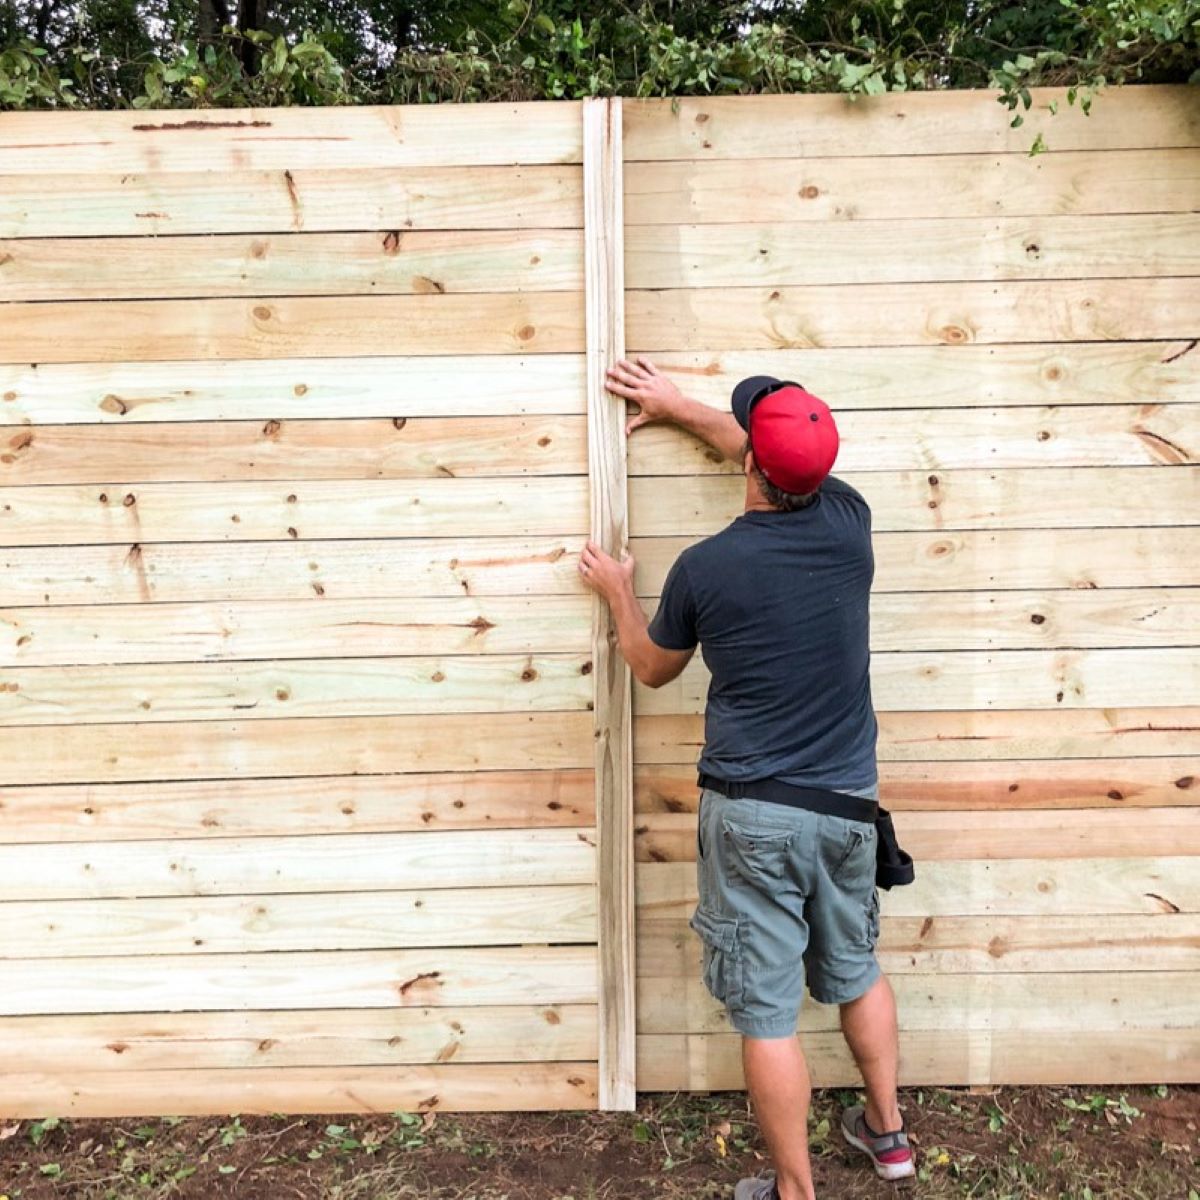
2. Position the First Panel:
Begin by positioning the first fence panel against the first two posts, ensuring it is level and aligned with the string marking the fence line. Use nails or screws to secure the panel to the posts, placing them near the top and bottom of each panel.
3. Insert Spacers:
For even spacing between each fence panel, insert spacers between them. These can be small pieces of wood or plastic that provide consistent spacing and prevent the panels from shifting.
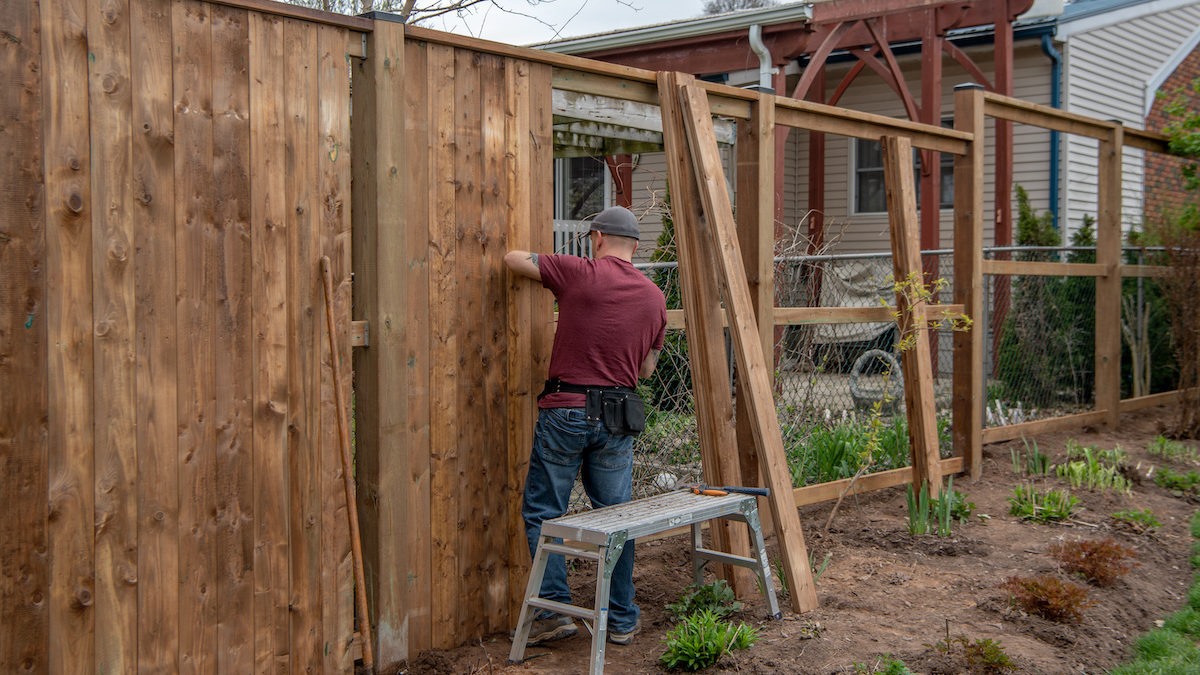
4. Continue Adding Panels:
Continue adding fence panels one by one, securing each panel to the posts and using spacers to maintain consistent spacing. Ensure that each panel is level and aligned with the string along the fence line.
5. Trim Panels (If Needed):
If you encounter any obstructions or uneven terrain along the fence line, you may need to trim the panels to fit. Use a saw to carefully cut the panels to the required size, ensuring a seamless and professional-looking installation.
6. Check for Level and Plumb:
As you add each new panel, check for level and plumb using a level. Make any necessary adjustments by adding or removing spacers or making slight modifications to the panels.
7. Secure the Last Panel:
When adding the last fence panel, cut it to fit as needed, ensuring it is level and aligned with the adjacent panel. Secure it to the posts and double-check that all panels are properly aligned.
By carefully adding the fence panels, you’ll achieve a cohesive and aesthetically pleasing wood fence. Once the panels are in place, you’ll be ready to move on to the next step: attaching the rails and gate.
Step 6: Attaching Rails and Gate
With the fence panels installed, the next step is to attach the rails and gate. This will provide additional support and functionality to your wood fence.
1. Measure and Cut Rails:
Measure the distance between the posts horizontally to determine the length needed for the rails. Using a saw, cut the rails to the appropriate size, ensuring they fit securely between the fence posts.
2. Position and Attach Rails:
Position the first rail at the top or bottom of the fence panels, aligning it with the adjacent fence posts. Use nails or screws to securely attach the rail to the posts, ensuring it is level and aligned with the panels.
3. Install Intermediate Rails:
If desired, install additional intermediate rails between the top and bottom rails for added stability and visual appeal. Space them evenly and attach them securely to the fence posts.
4. Attach Gate Hardware:
If you’ve included a gate in your wood fence design, it’s time to attach the gate hardware. This typically includes hinges, a latch, and a handle. Follow the manufacturer’s instructions to properly install the gate hardware to ensure smooth operation.
5. Hang the Gate:
Hang the gate between the designated gate posts, ensuring that it opens and closes smoothly. Make any necessary adjustments to the gate hardware to ensure proper alignment and functionality.
6. Secure the Rails and Gate:
Once all the rails are in place and the gate is hanging properly, double-check that everything is secure. Make any final adjustments, tighten any loose screws or nails, and ensure that the rails and gate are aligned with the panels and posts.
7. Test the Gate:
Before finishing up, thoroughly test the gate to ensure it opens and closes smoothly without any obstructions. Test the latch to ensure it securely closes and locks.
By properly attaching the rails and gate, you’ll complete the functional aspects of your wood fence. With these components in place, you’re nearly ready to add the finishing touches to your project.
Step 7: Applying Finishing Touches
Now that the main structure of your wood fence is complete, it’s time to add the finishing touches. These final steps will enhance the appearance and longevity of your fence.
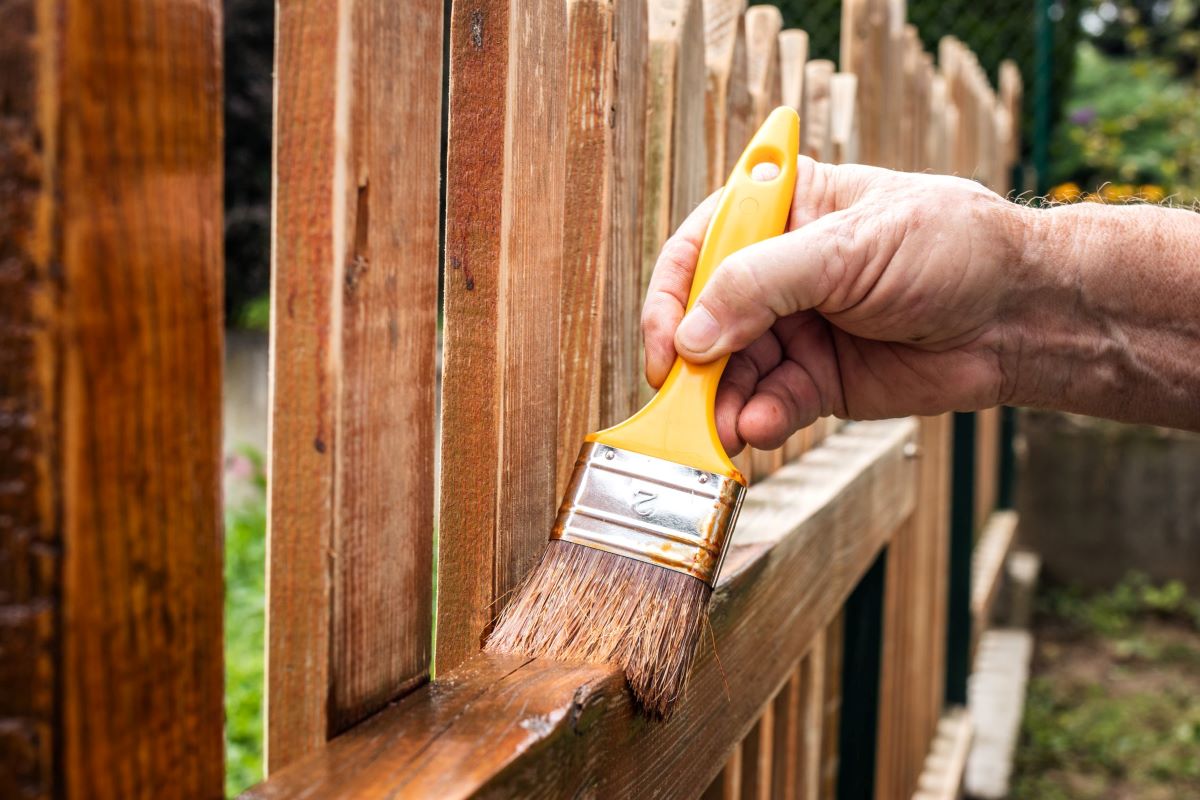
1. Apply a Finish:
If desired, apply a finish to your wood fence to protect it from the elements and enhance its appearance. This can be a stain, paint, or sealant that suits your desired aesthetic. Follow the manufacturer’s instructions for proper application.
2. Seal the Posts:
To prevent moisture damage and extend the lifespan of your fence posts, consider applying a waterproof sealant to the bottom portion of each post. This will help protect them from rot and decay.
3. Add Post Caps:
For a decorative touch and added protection, consider adding post caps to the top of each fence post. These can be made from wood, metal, or other materials and come in various styles to complement your fence design.
4. Cleanup and Landscaping:
Do a final cleanup of the fence area, removing any debris or excess soil. Consider landscaping around the fence, adding plants, mulch, or other features to enhance the visual appeal of your outdoor space.
5. Regular Maintenance:
To keep your wood fence looking its best, perform regular maintenance. This may include cleaning the fence periodically, inspecting for any signs of damage or wear, and making necessary repairs, such as replacing boards or tightening loose hardware.
6. Enjoy Your Finished Fence:
With the finishing touches complete, take a step back and admire your finished wood fence. Enjoy the privacy, security, and beauty it brings to your property.
Remember, maintaining your wood fence over time will help ensure its longevity and continued appeal. Stay proactive with maintenance and address any issues promptly to preserve the integrity of your fence for years to come.
Congratulations! You successfully completed the process of putting up a wood fence, transforming your outdoor space into a functional and visually appealing haven.
Conclusion
Putting up a wood fence is a rewarding project that can enhance the privacy, security, and beauty of your property. By following the step-by-step process outlined in this guide, you can successfully install a wood fence that meets your needs and complements your outdoor space.
Starting with careful planning and preparation, you laid the foundation for a successful installation. By measuring and marking the fence line, digging post holes, and setting the posts securely, you created a strong framework for your fence.
Adding the fence panels, attaching the rails, and installing the gate brought your wood fence to life. The combination of functionality and aesthetics provided the desired privacy and security while enhancing the visual appeal of your outdoor space.
By applying the finishing touches, such as a protective finish, post caps, and regular maintenance, you ensured the longevity and continued beauty of your wood fence.
Remember, proper planning, careful execution, and regular maintenance are key to maintaining the integrity and appeal of your wood fence. Stay proactive in addressing any issues that may arise and enjoy the benefits of your completed project for years to come.
Whether you’re looking to create a peaceful oasis, contain children or pets, or simply define your property boundaries, a wood fence can serve as a versatile solution. With the knowledge and guidance provided in this guide, you have the tools to confidently put up a wood fence and transform your outdoor space into a private and inviting sanctuary.
Frequently Asked Questions about How To Put Up A Wood Fence
Was this page helpful?
At Storables.com, we guarantee accurate and reliable information. Our content, validated by Expert Board Contributors, is crafted following stringent Editorial Policies. We're committed to providing you with well-researched, expert-backed insights for all your informational needs.


0 thoughts on “How To Put Up A Wood Fence”