Articles
How Adjust Co2 Kegerator
Modified: October 20, 2024
Discover the best articles on how to adjust CO2 levels in your kegerator. Learn the tips and tricks to ensure the perfect pour every time.
(Many of the links in this article redirect to a specific reviewed product. Your purchase of these products through affiliate links helps to generate commission for Storables.com, at no extra cost. Learn more)
Introduction
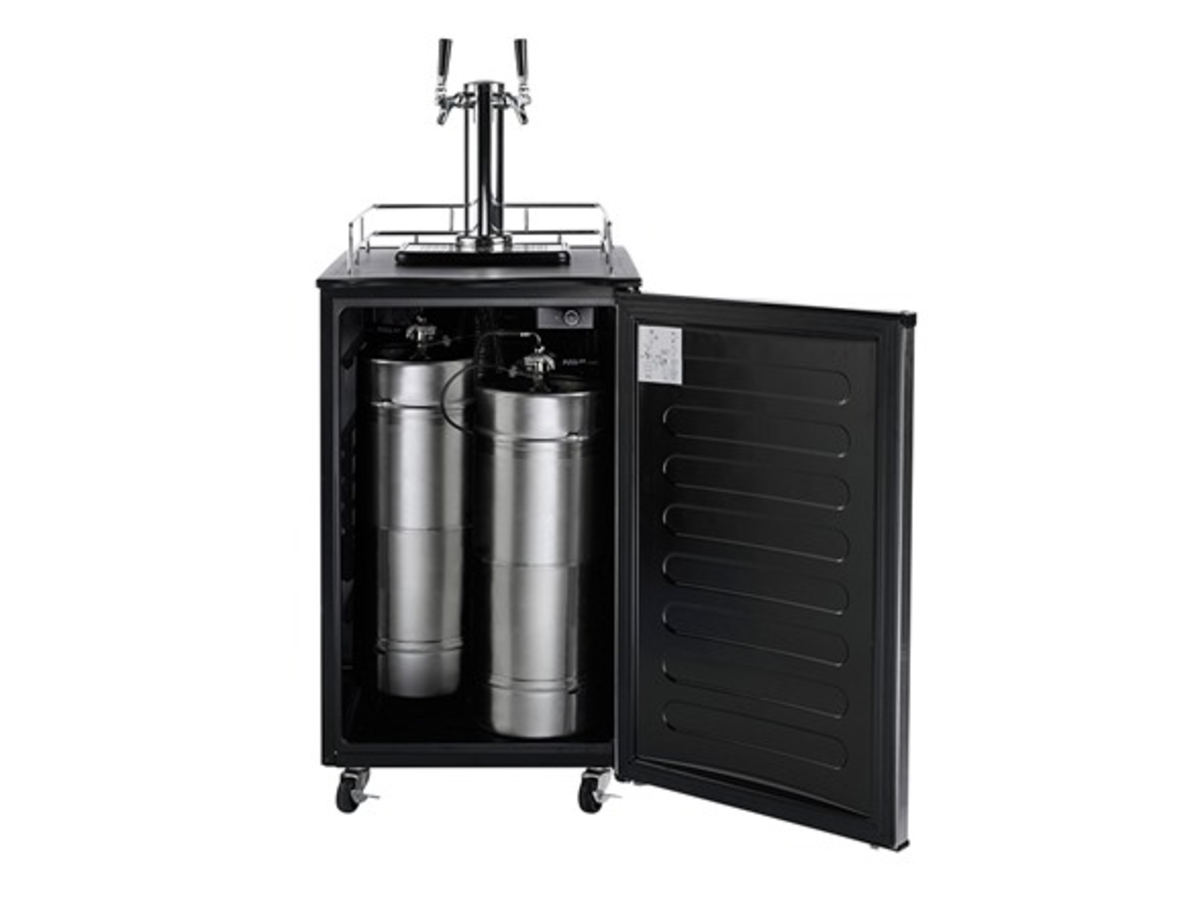
Welcome to the world of kegerators – a dream come true for beer enthusiasts, party hosts, and anyone who appreciates a perfectly chilled and carbonated draft beer at home. A kegerator is a refrigerator specifically designed to store and dispense kegs of beer, making it a must-have appliance for those who prefer the convenience of a draft beer experience in the comfort of their own space.
One crucial element in maintaining the optimal taste and quality of draft beer is the carbonation level, which is controlled by adjusting the CO2 (carbon dioxide) levels in the kegerator. It might seem overwhelming at first, but fear not! In this article, we will guide you through the process of adjusting CO2 levels in a kegerator, step-by-step.
Understanding how a kegerator works and the importance of CO2 levels will help you appreciate the significance of this adjustment. So, let’s take a closer look at the workings of a kegerator.
Key Takeaways:
- Master the art of adjusting CO2 levels in your kegerator to customize carbonation, troubleshoot common issues, and ensure a perfect pour every time.
- Embrace the process of fine-tuning CO2 levels, testing and verifying carbonation, and maintaining your kegerator for an optimal draft beer experience at home.
Read more: How To Build A Co2 Kegerator
Understanding CO2 Kegerators
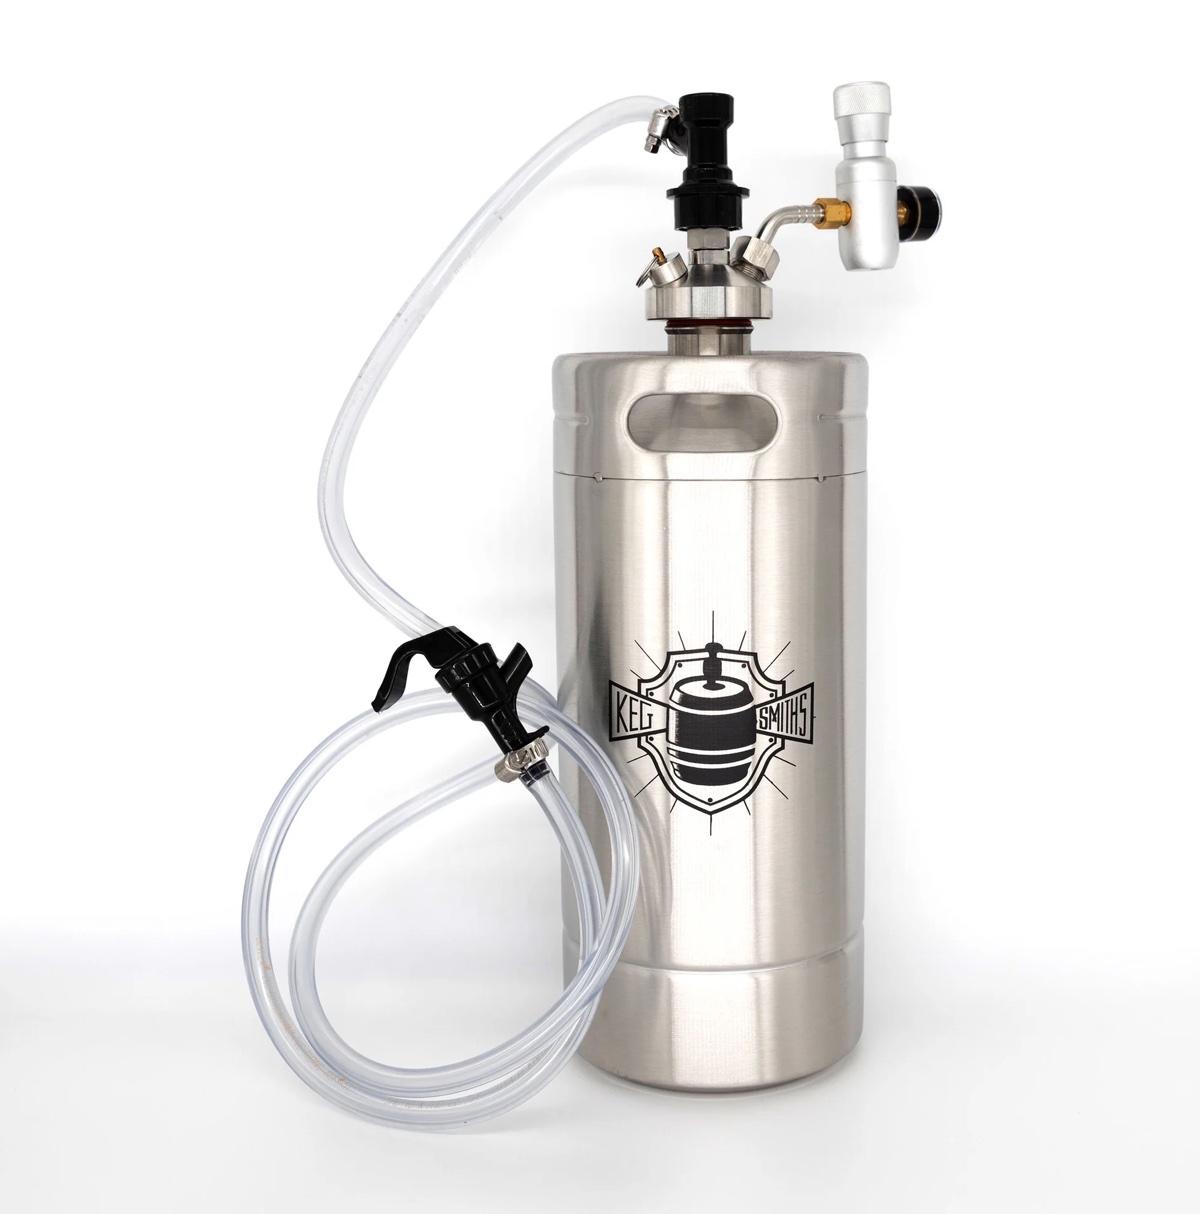
A CO2 kegerator is a system that allows you to dispense beer from a keg by pressurizing it with carbon dioxide gas. The CO2 gas helps to carbonate the beer and push it out of the keg and through the tap system, resulting in a perfectly poured pint.
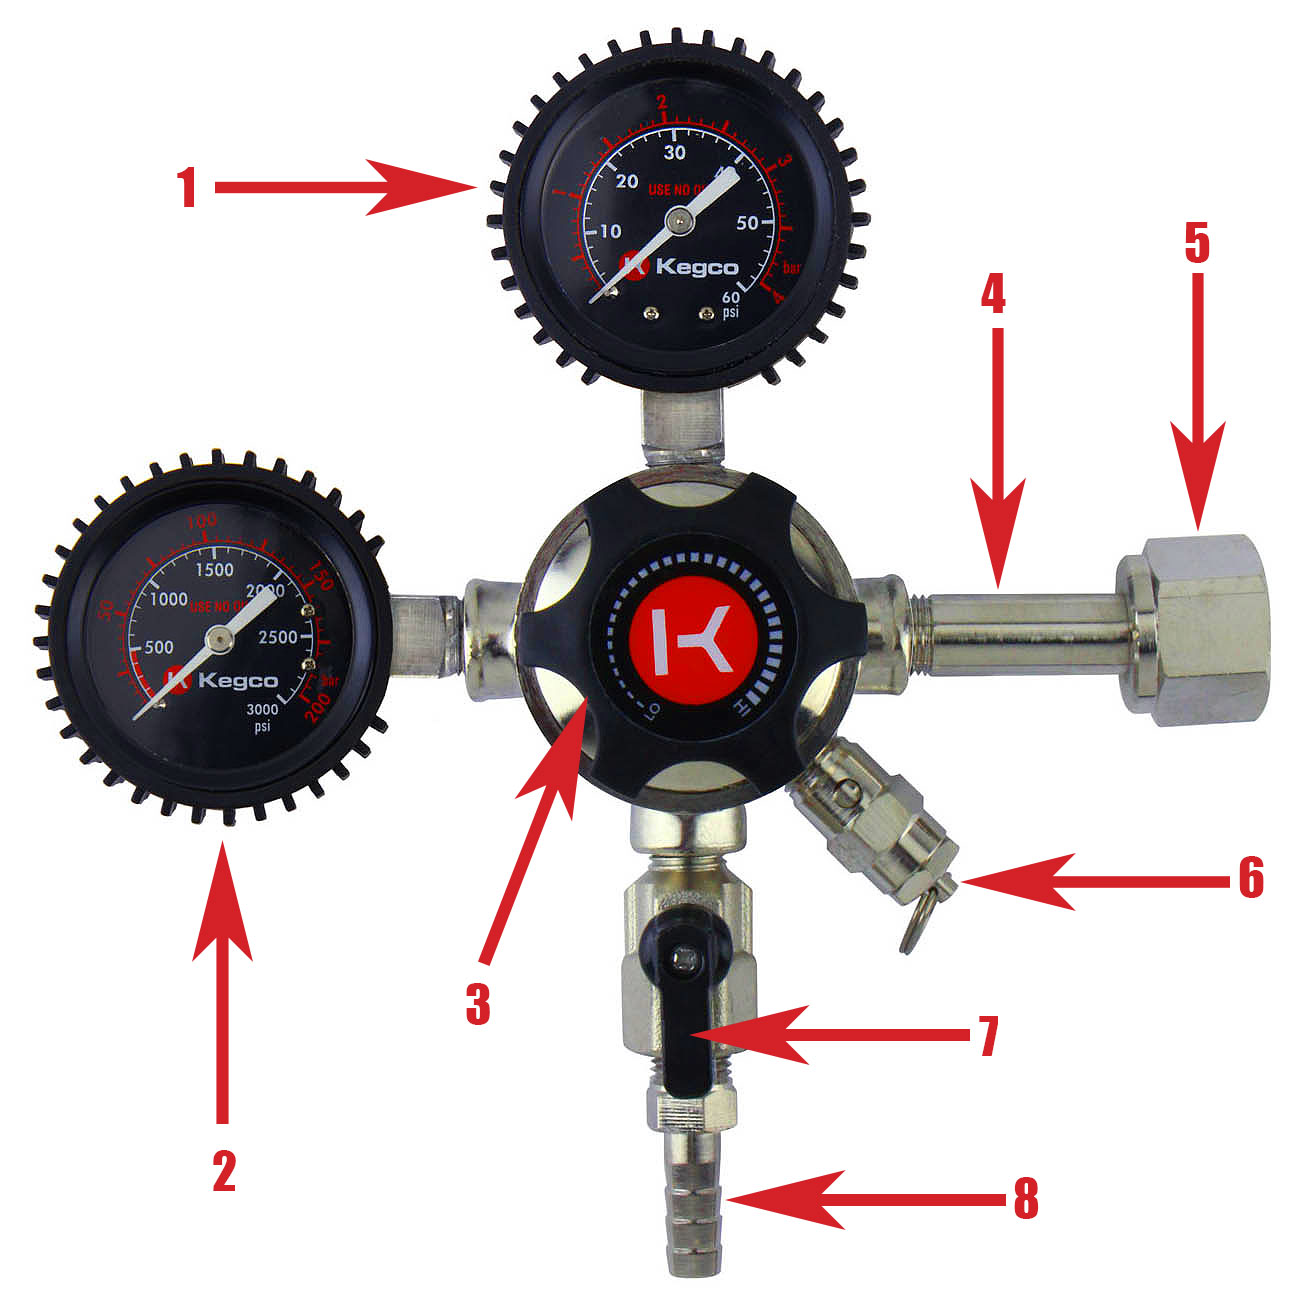
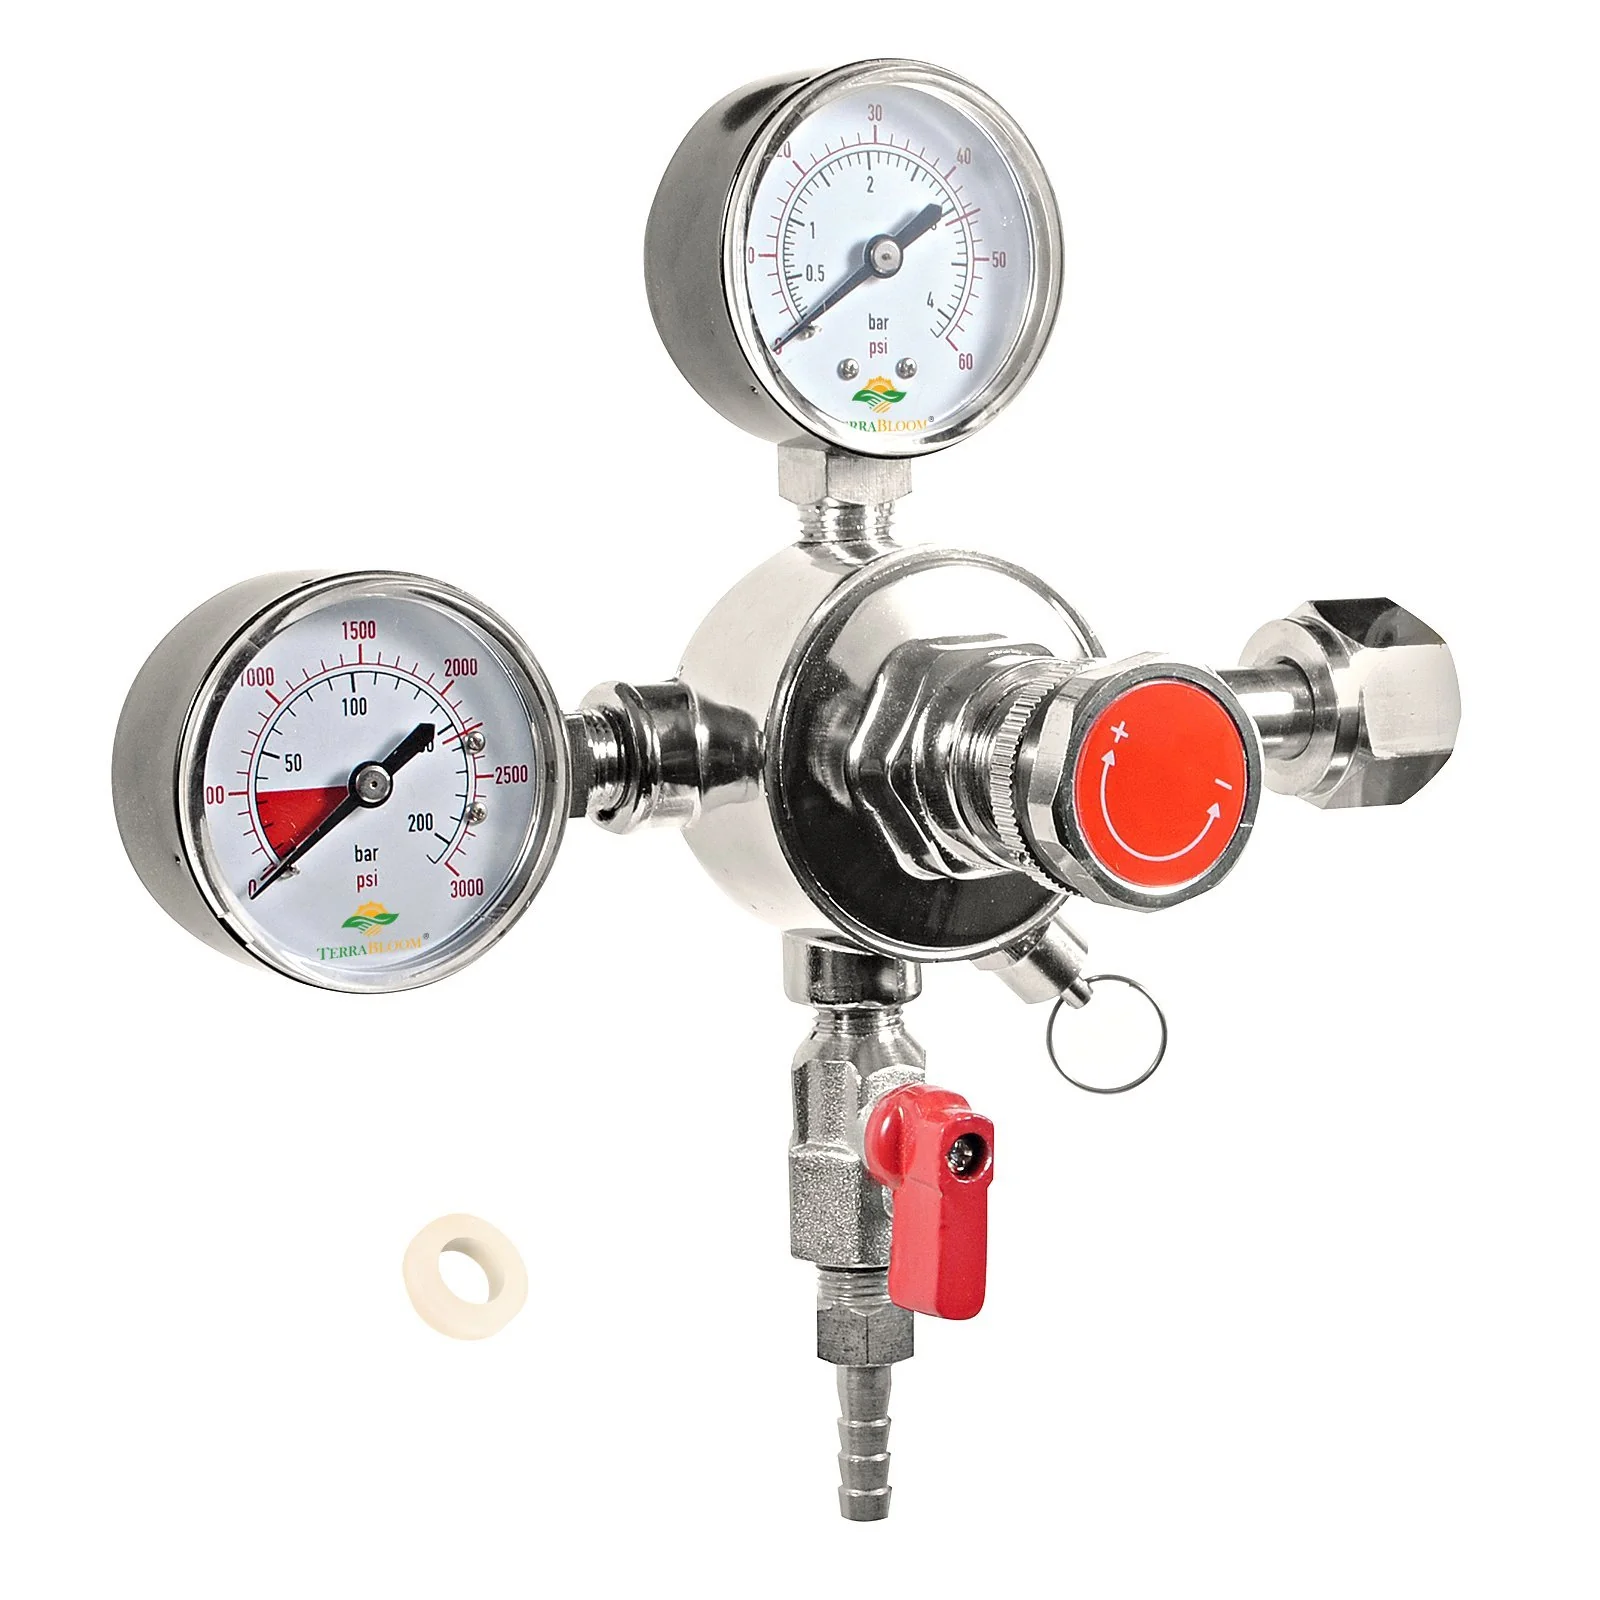
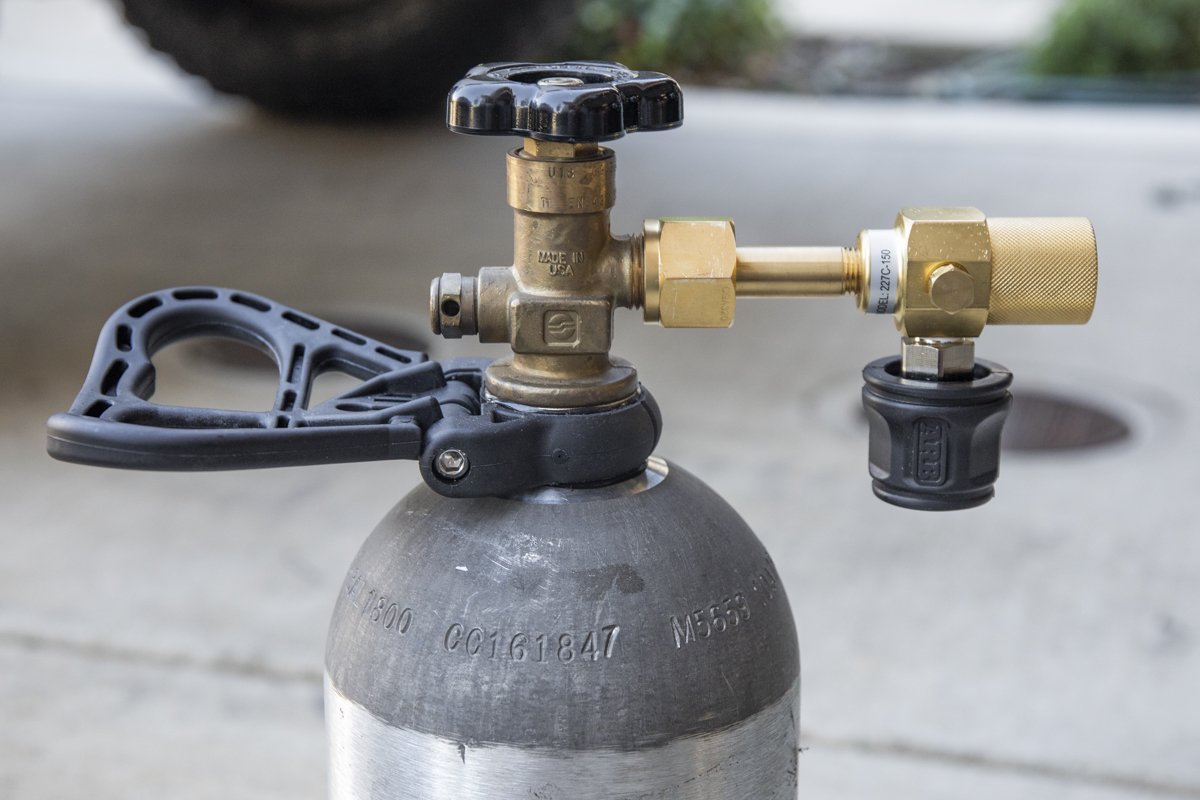
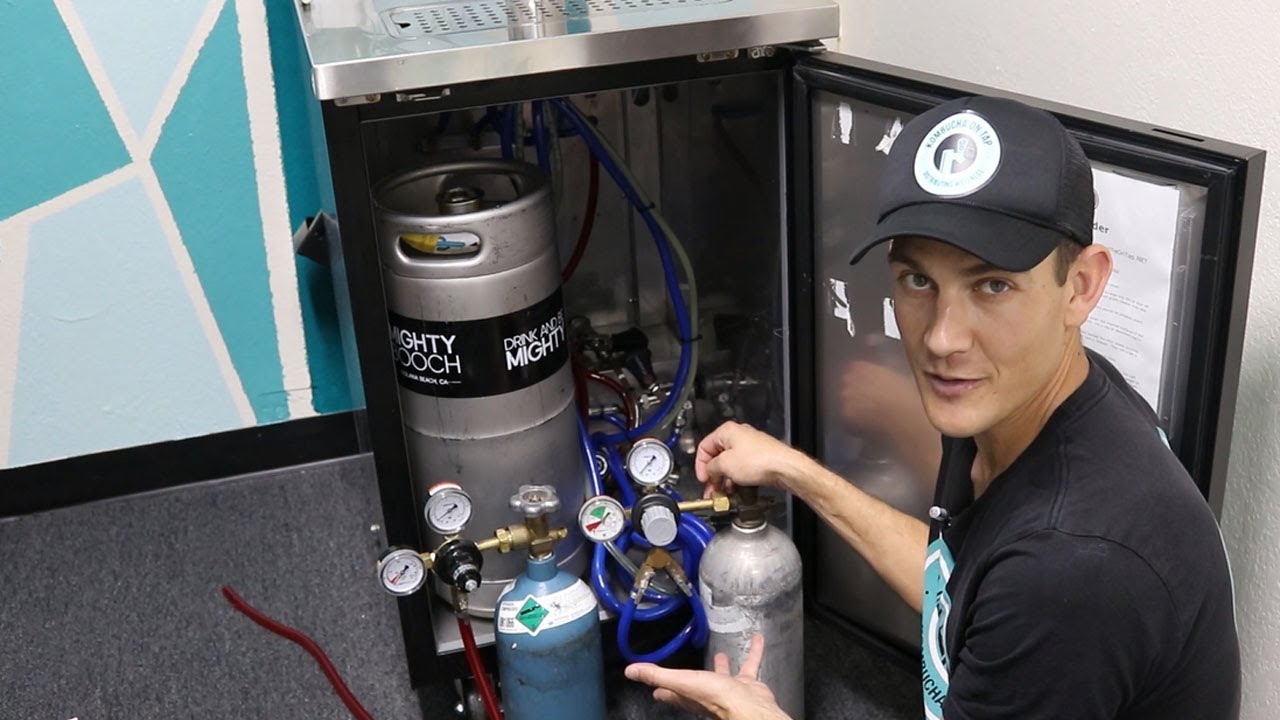
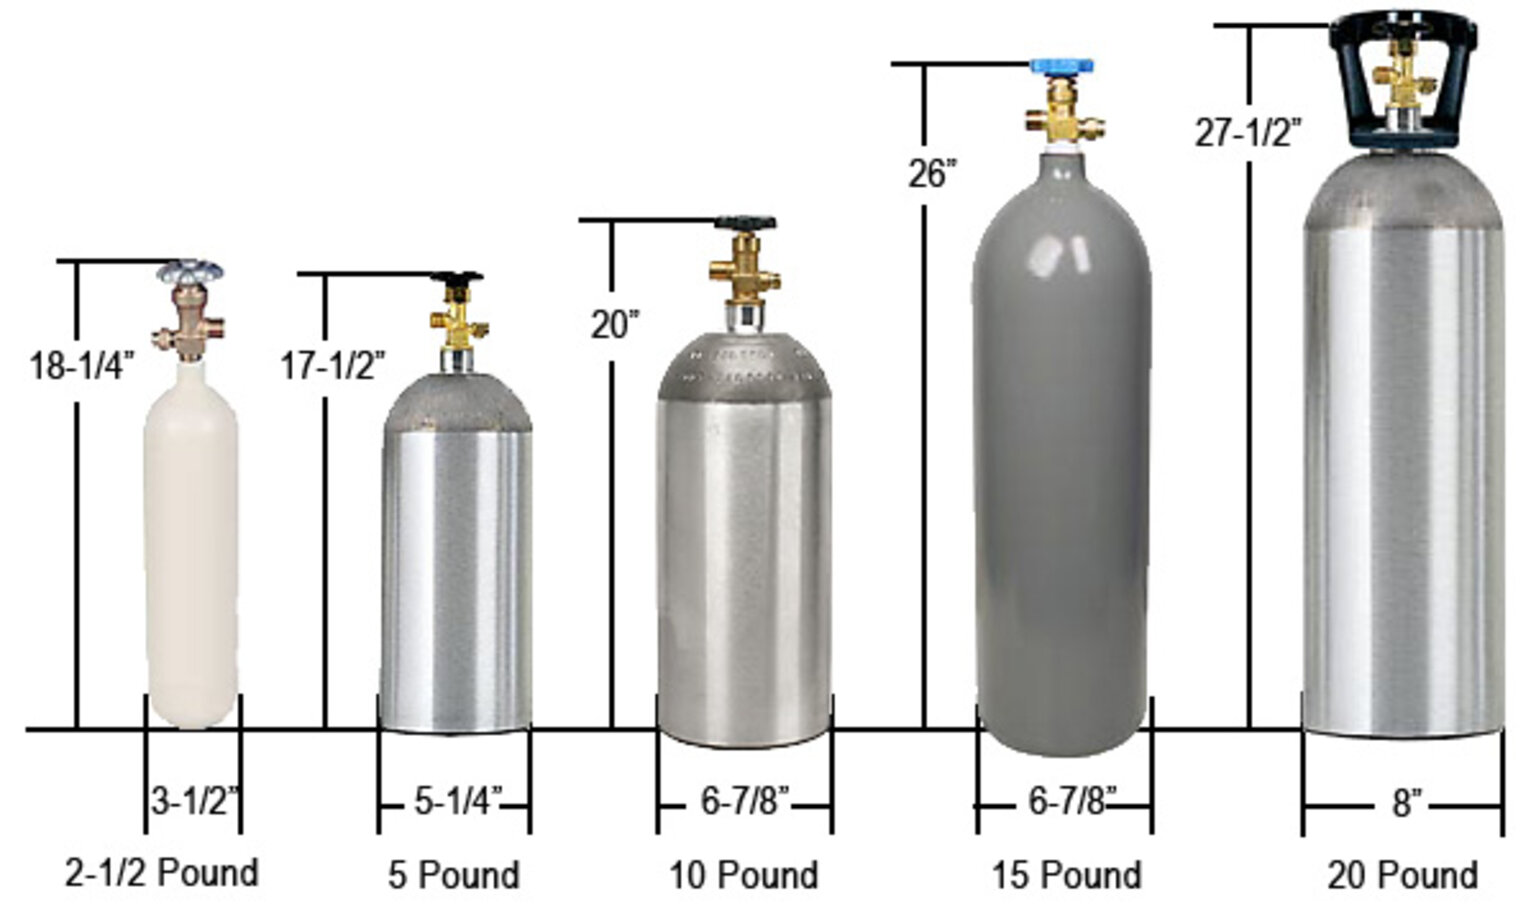
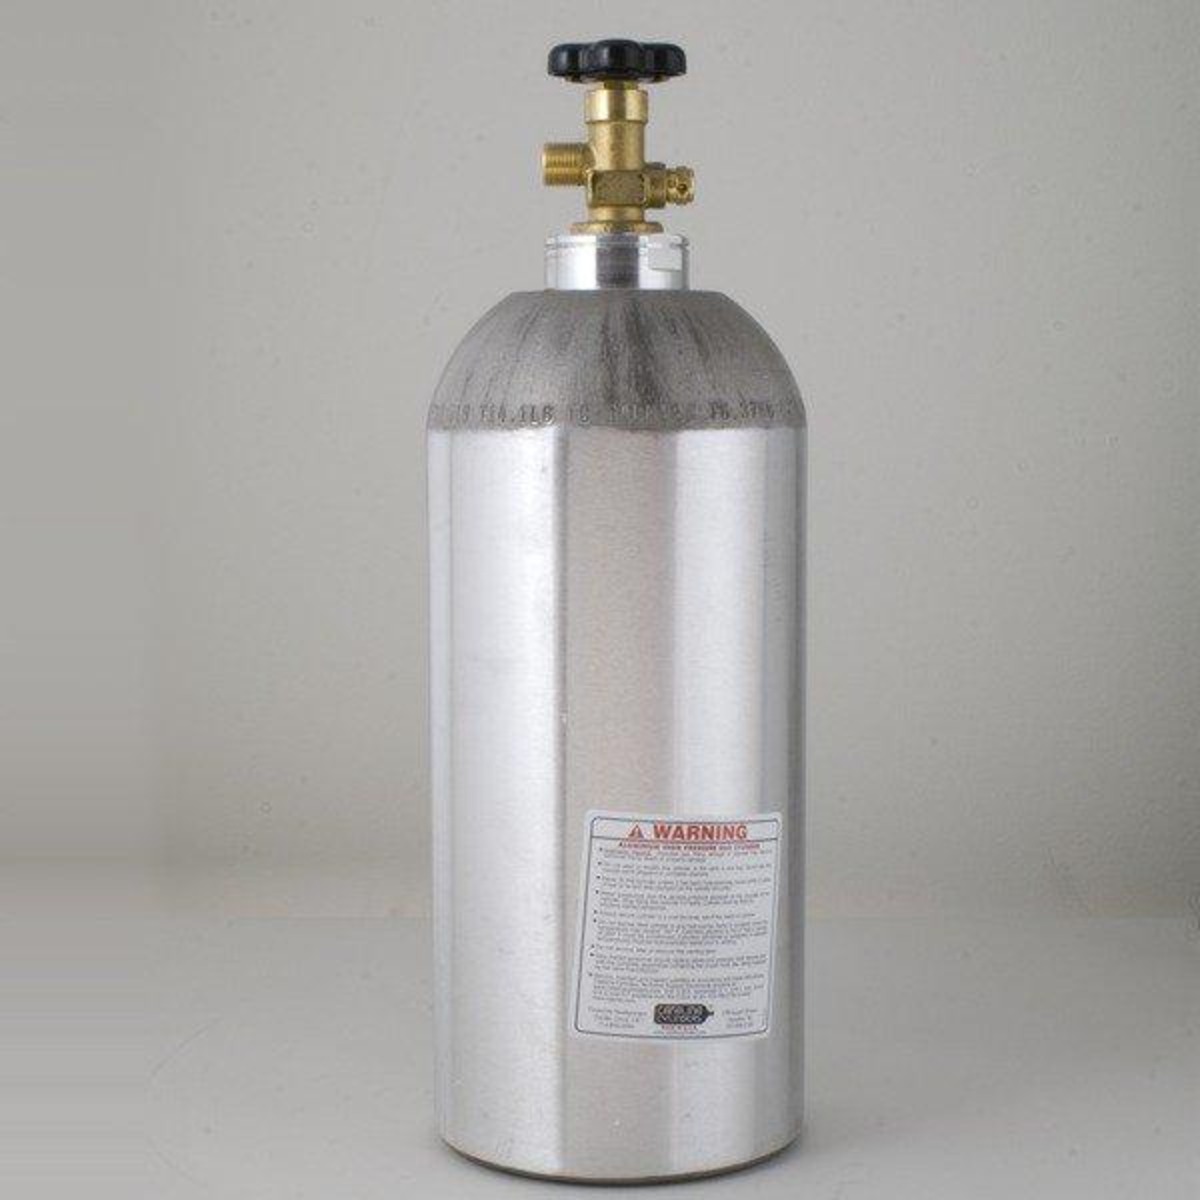
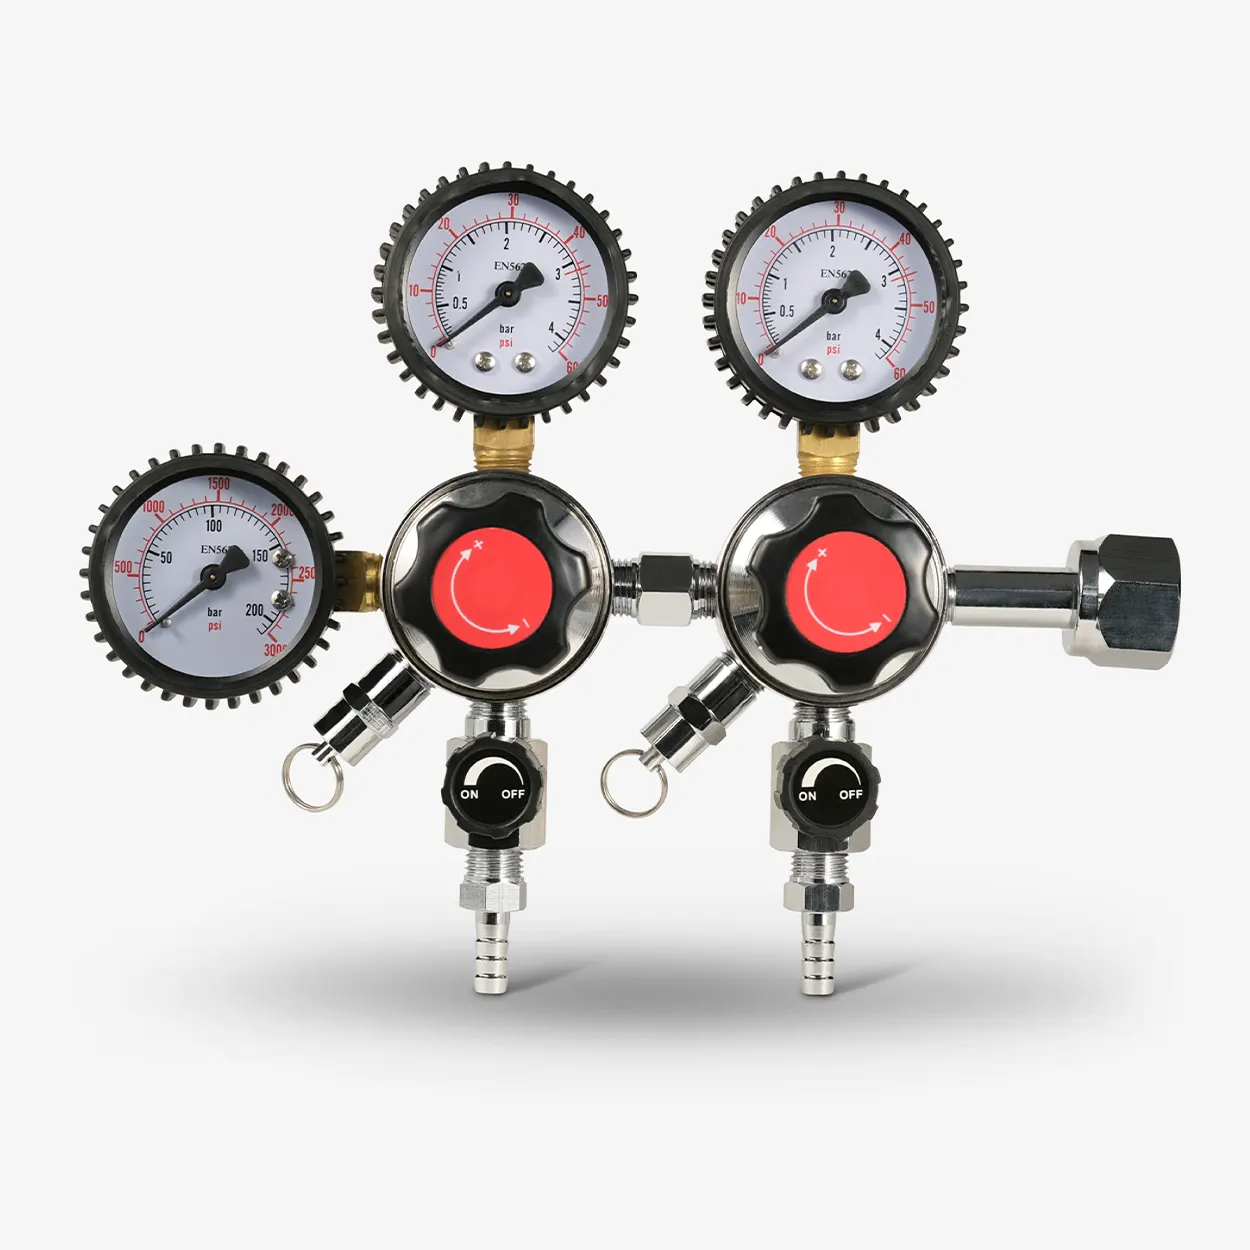
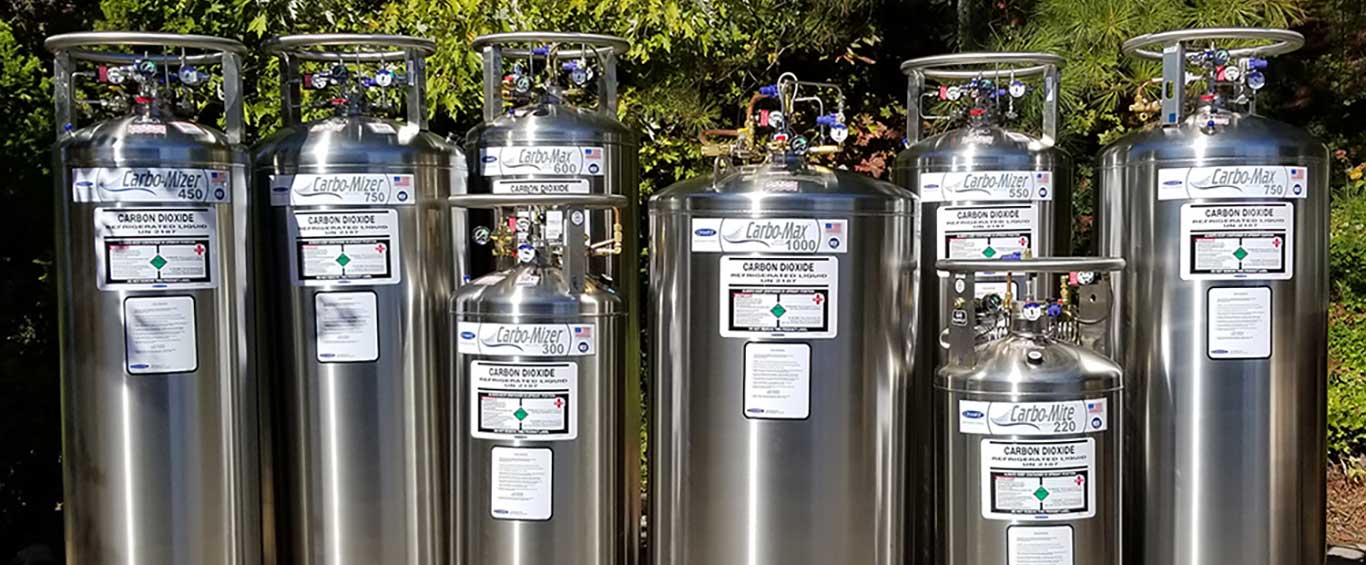
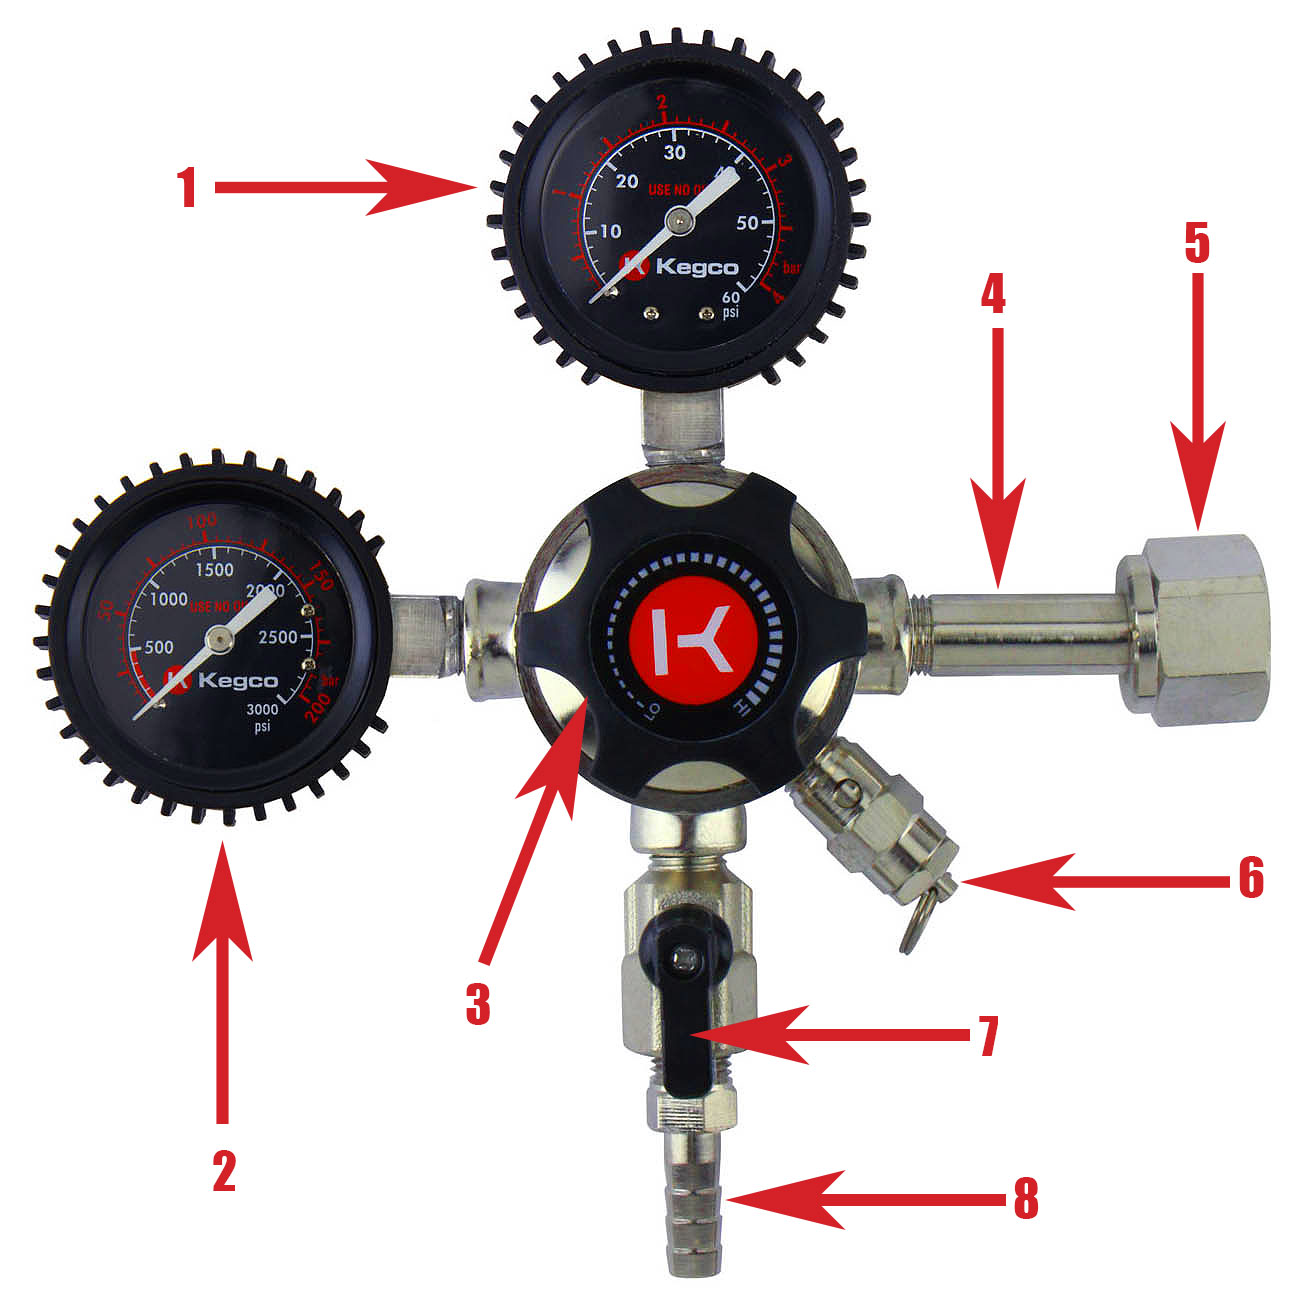
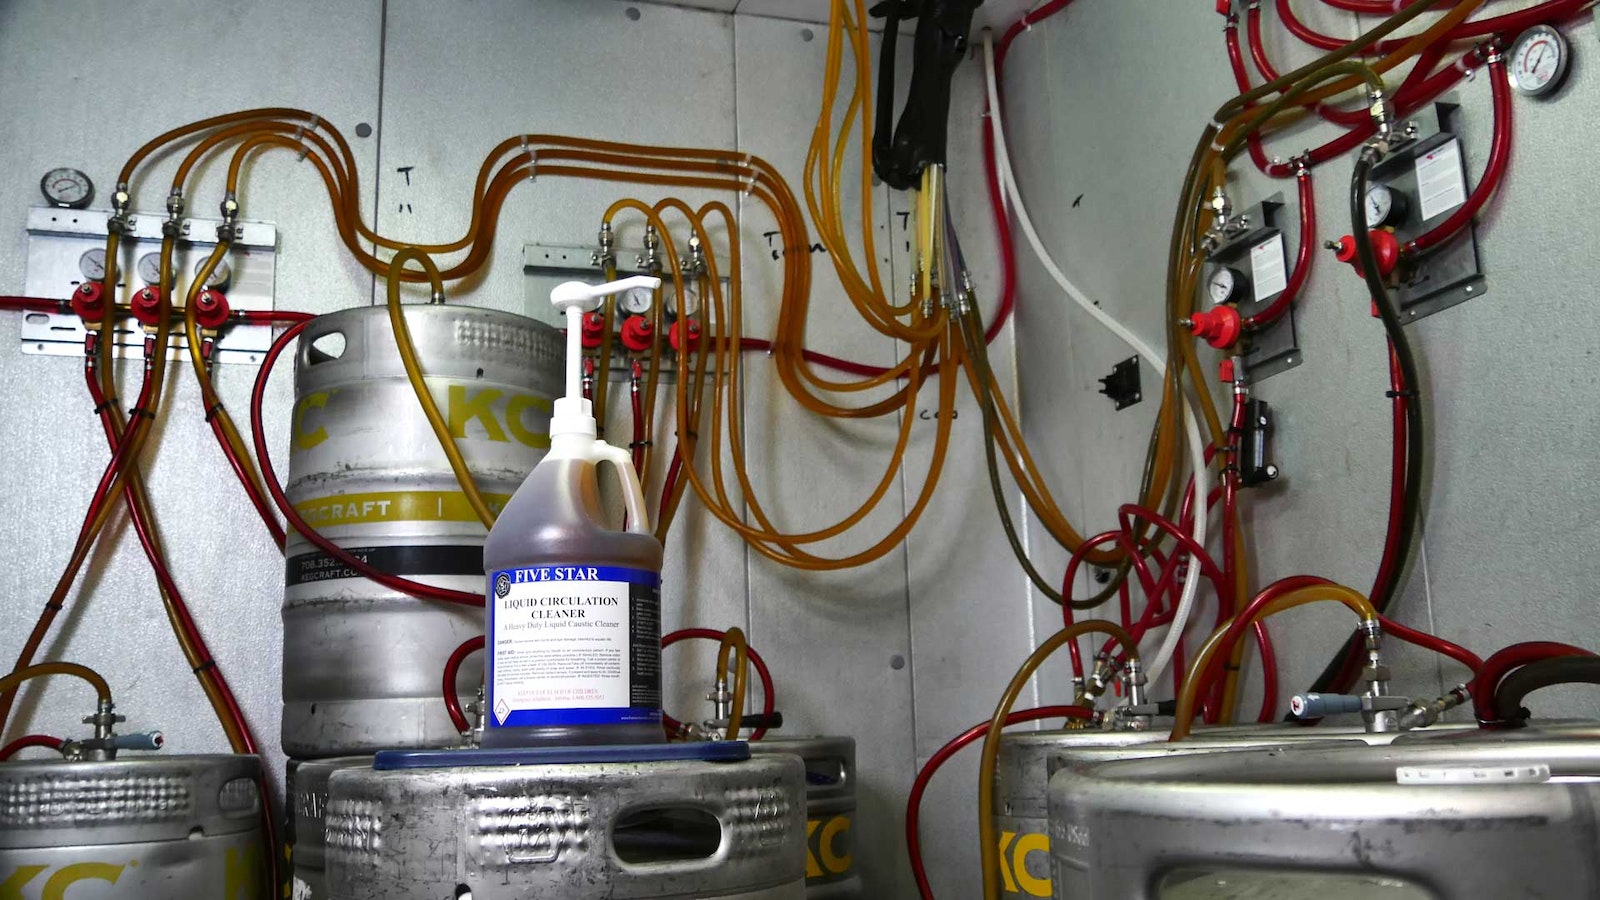
The key components of a CO2 kegerator include the keg, the CO2 tank, a regulator, tubing, and a faucet. The CO2 tank stores the carbon dioxide gas, while the regulator controls the flow and pressure of the gas into the keg. Tubing connects the various components, allowing the beer to flow from the keg to the faucet.
CO2 acts as a natural preservative, preventing the beer from going flat and maintaining its fresh taste over an extended period. The amount of CO2 used depends on the type of beer and the desired carbonation level. Different beer styles require different levels of carbonation, ranging from low for stouts and porters to higher for lagers and pilsners.
Controlling CO2 levels is crucial because too little or too much carbonation can affect the taste, consistency, and overall drinking experience of the beer. Insufficient carbonation can result in a flat and lifeless beer, while excessive carbonation can lead to over-foaming and a harsh, prickly mouthfeel.
Now that we understand the basics of a CO2 kegerator, let’s explore why and when it may be necessary to adjust the CO2 levels.
Reasons to Adjust CO2 Levels in a Kegerator
Adjusting CO2 levels in a kegerator is an essential task that beer enthusiasts should be familiar with. Here are a few reasons why you may need to make adjustments:
- Carbonation Preference: Different beer styles have specific carbonation requirements. By adjusting the CO2 levels in your kegerator, you can customize the carbonation to match your preference. Whether you enjoy a highly carbonated IPA or a lightly carbonated wheat beer, having control over the CO2 levels allows you to tailor the beer’s characteristics to your liking.
- Keg Temperature: The temperature at which the keg is stored can impact carbonation levels. Warmer temperatures can cause excess carbonation and lead to over-foaming when dispensed. In contrast, colder temperatures can result in under-carbonated beer. Adjusting the CO2 levels helps to compensate for temperature variations, ensuring consistent carbonation regardless of the storage conditions.
- New or Partially Consumed Keg: When tapping a new keg or one that has been partially consumed, you may need to adjust the CO2 levels. As you dispense beer, the CO2 in the keg gets released, potentially affecting the carbonation. Making adjustments ensures that the beer dispensed maintains the desired carbonation level throughout the keg’s lifespan.
- Cleaning or Maintenance: Periodic cleaning and maintenance of your kegerator may require adjustments in CO2 levels. Disassembling and sanitizing the system can lead to the loss of some CO2 and disrupt the balance. By recalibrating the CO2 levels, you can restore the proper carbonation and ensure the best quality beer.
Now that we understand the reasons behind adjusting CO2 levels, let’s dive into the step-by-step guide on how to make those adjustments in a kegerator.
Step-by-Step Guide for Adjusting CO2 in a Kegerator
Adjusting the CO2 levels in your kegerator is a straightforward process that requires a few essential steps. Follow this step-by-step guide to ensure you achieve the perfect carbonation for your beer:
- Prepare the kegerator: Before making any adjustments, ensure that your kegerator is clean and in good working condition. Clean the beer lines, faucets, and all other components thoroughly to prevent any contamination that may affect carbonation.
- Check the temperature: Measure and note the temperature of the beer in the kegerator. Temperature affects carbonation, so it’s crucial to have accurate readings. Ideally, the temperature should be within the recommended range for the specific beer style you are dispensing.
- Determine desired carbonation level: Refer to the guidelines for the desired carbonation level for the beer style you are serving. This information can usually be found from the brewery or beer style references. It may be listed as volumes of CO2 or a specific pressure range.
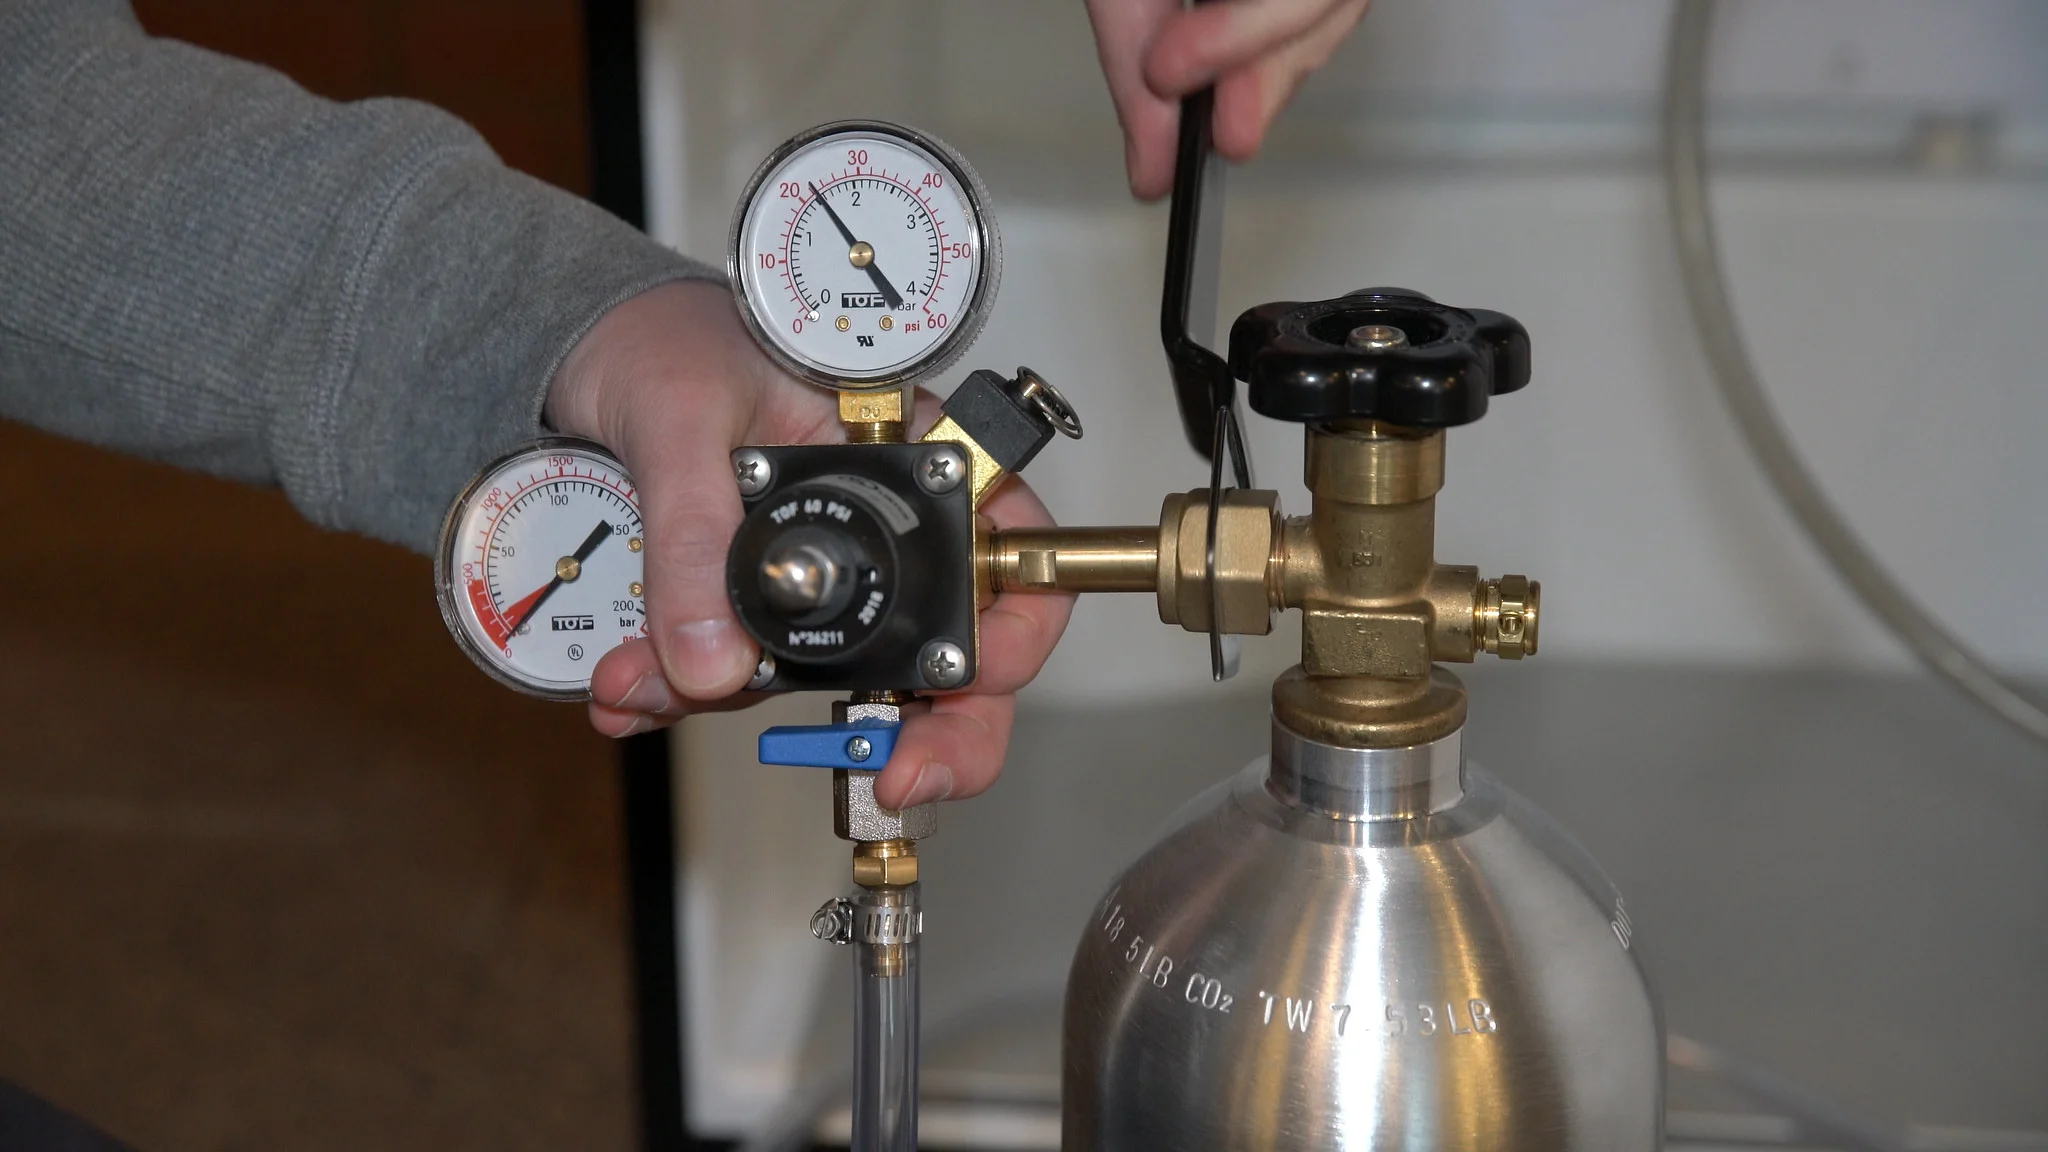
- Adjust the regulator: Locate the CO2 regulator on your kegerator. It is usually mounted to the CO2 tank or attached to the kegerator body. Slowly turn the adjustment screw clockwise to increase the pressure or counterclockwise to decrease the pressure. Make small adjustments at a time and allow time for the pressure to stabilize before checking the carbonation.
- Remain patient and test: Adjusting CO2 levels is an iterative process. After making an adjustment, allow the kegerator to sit for a few hours to allow the CO2 to dissolve into the beer fully. Pour a small sample and taste it to determine if the carbonation is at the desired level. If not, make further adjustments as necessary.
- Keep a record: As you make adjustments, it’s a good idea to keep a record of the changes you make and the resulting carbonation level. This record will help you in future adjustments, especially if you frequently change beer styles or have multiple kegs on tap simultaneously.
Remember, it’s essential to make gradual adjustments and allow time for the system to reach equilibrium before testing the carbonation. Be patient and diligent, as finding the perfect carbonation level may take a bit of trial and error.
Once you have adjusted the CO2 levels to your satisfaction, the next step is to test and verify the carbonation levels in your kegerator. Let’s explore how to do that in the next section.
When adjusting the CO2 on a kegerator, start with a lower pressure and gradually increase until you reach the desired carbonation level. Use a CO2 pressure gauge to monitor and make adjustments as needed.
Testing and Verifying CO2 Levels
After adjusting the CO2 levels in your kegerator, it’s crucial to test and verify that the carbonation is at the desired level. Here are a few methods you can use to test CO2 levels:
- Taste Test: The most straightforward method is to pour a small sample of beer and taste it. Pay attention to the level of carbonation and compare it to your desired outcome. If it seems under-carbonated, you can increase the CO2 pressure incrementally and re-test. If it’s over-carbonated, decrease the pressure accordingly.
- Carbonation Chart: Another method is to refer to a carbonation chart, which lists the recommended CO2 volumes for various beer styles. Measure the temperature of your keg and find the corresponding pressure value on the chart. Adjust the CO2 pressure until it matches the recommended value for your style of beer.
- Using a Carbonation Tester: For more precise measurements, you can use a carbonation tester, also known as a carbonation cap or a carbonation stone. These devices allow you to measure the precise level of CO2 in your beer. Follow the instructions provided with the tester to obtain accurate readings, and adjust the CO2 pressure accordingly.
- Consulting a Hydrometer: A hydrometer is a device commonly used in home brewing to measure the specific gravity and determine the alcohol content of beer. While primarily used for different purposes, it can also provide insight into the carbonation level. Measure the specific gravity of the beer and compare it to the expected range for your beer style. If it’s outside the range, you may need to adjust the CO2 levels.
Whichever method you choose, be patient and allow time for the beer to fully carbonate after making adjustments to the CO2 levels. Remember that finding the perfect carbonation level may require some experimentation and fine-tuning.
In the next section, we will discuss common CO2 issues in kegerators and how to troubleshoot them.
Read more: Where To Get Co2 For A Kegerator
Troubleshooting Common CO2 Issues in Kegerators
While adjusting CO2 levels in your kegerator, you may encounter some common issues. Understanding these issues and knowing how to troubleshoot them can help you maintain optimal carbonation levels. Here are a few common CO2 issues and their possible solutions:
- Excessive foaming: If your beer is excessively foaming when poured, it could indicate high CO2 levels or improper temperature settings. Try decreasing the CO2 pressure gradually and check if the foaming subsides. Additionally, ensure that the beer lines are properly chilled and that your kegerator’s temperature is within the recommended range for the beer style.
- Flat beer: If your beer lacks carbonation and tastes flat, it may indicate low CO2 levels. Increase the CO2 pressure slightly and allow time for the beer to carbonate. Be cautious not to overcarbonate, as it can lead to foaming issues.
- Inconsistent carbonation: If the carbonation level of your beer varies from pour to pour, it could be due to fluctuating CO2 pressure. Check for leaks in the system, including the connections, fittings, and faucets. Tighten any loose parts and replace any defective components. Ensure that the CO2 tank is properly secured and not running low.
- Slow dispensing: If the beer is pouring slowly, it may be a sign of low CO2 pressure or clogged beer lines. Check the CO2 pressure and adjust it if necessary. If the issue persists, remove and clean the beer lines to remove any obstructions or debris that may be hindering the flow.
- Off-flavors: If your beer has off-flavors like a metallic or sulfuric taste, it may be due to a contamination issue. Ensure that your kegerator and all its components are thoroughly cleaned and sanitized. Pay close attention to the beer lines and faucets, as they can harbor bacteria or residues that affect the beer’s taste.
Remember, troubleshooting CO2 issues in a kegerator may require a combination of adjustments and maintenance. Regularly inspect and clean your kegerator to prevent any potential issues from arising and impacting the carbonation levels of your beer.
In the next section, we will discuss maintenance and best practices for adjusting CO2 levels in a kegerator.
Maintenance and Best Practices for CO2 Kegerator Adjustments
Maintaining your kegerator and following best practices for CO2 adjustments are essential for ensuring optimal carbonation levels and a smooth dispensing experience. Here are some maintenance tips and best practices to keep in mind:
- Clean and sanitize regularly: Regularly clean and sanitize your kegerator, including the beer lines, faucets, and all other components. This prevents any buildup of bacteria, residue, or contaminants that may affect the taste and carbonation of your beer.
- Check for leaks: Periodically inspect the connections and fittings in your kegerator to ensure there are no leaks. Leaks can cause inconsistent carbonation, wasting CO2, and affecting the quality of your beer. If you detect any leaks, tighten the connections or replace any faulty parts.
- Monitor CO2 levels: Keep an eye on the CO2 pressure in your kegerator. Regularly check the CO2 tank to ensure it is not running low. It’s also a good idea to keep a spare CO2 tank on hand, especially if you frequently entertain or have multiple kegs on tap.
- Store kegs properly: Ensure that your kegs are stored in a cool and stable environment. Fluctuations in temperature and exposure to light can affect carbonation levels. Keep the kegs away from direct sunlight and store them at the recommended temperature range for the beer style. This helps maintain proper carbonation and extends the shelf life of your beer.
- Take notes and create a kegerator log: Keep a record of your adjustments and the resulting carbonation levels. Note down the beer style, CO2 pressure, temperature, and any other relevant details. This log will serve as a reference for future adjustments and help you replicate the desired carbonation levels consistently.
- Educate yourself: Continuously educate yourself about the different beer styles and their carbonation requirements. Understanding the recommended carbonation ranges for various styles can help you fine-tune your adjustments and provide the best possible drinking experience.
By following these maintenance tips and best practices, you can enjoy a perfectly carbonated beer from your kegerator every time. Remember to be patient and make adjustments gradually to achieve the desired carbonation level without over- or under-carbonating your beer.
To conclude, adjusting CO2 levels in a kegerator is a skill that any beer enthusiast can learn. With proper knowledge, attention to detail, and regular maintenance, you can ensure that your kegerator delivers the perfect pint, with optimal carbonation, every time you pour!
Conclusion
Adjusting CO2 levels in a kegerator is a vital skill for any beer enthusiast who wants to enjoy a perfectly carbonated draft beer at home. By understanding the workings of a CO2 kegerator, the reasons to adjust CO2 levels, and following the step-by-step guide provided in this article, you can achieve the ideal carbonation for your beer.
Testing and verifying CO2 levels, troubleshooting common issues, and practicing proper maintenance and best practices are additional steps to ensure consistent and excellent carbonation results. Regular cleaning, checking for leaks, monitoring CO2 levels, and storing kegs appropriately are all essential aspects of maintaining the quality of your beer and the optimal functionality of your kegerator.
Remember, adjusting CO2 levels is a process that may require some experimentation and fine-tuning to find the perfect carbonation level for your desired beer styles. Patience, attention to detail, and keeping a record of your adjustments will help you achieve the desired results consistently.
Now that you have learned the art of adjusting CO2 levels in a kegerator, it’s time to put your knowledge into practice and enjoy the ultimate draft beer experience from your own home. Cheers!
Frequently Asked Questions about How Adjust Co2 Kegerator
Was this page helpful?
At Storables.com, we guarantee accurate and reliable information. Our content, validated by Expert Board Contributors, is crafted following stringent Editorial Policies. We're committed to providing you with well-researched, expert-backed insights for all your informational needs.


0 thoughts on “How Adjust Co2 Kegerator”