Home>Articles>How To Add An Angled Corner And Joists For Angled Deck Framing
Articles
How To Add An Angled Corner And Joists For Angled Deck Framing
Modified: October 18, 2024
Learn how to add an angled corner and joists for angled deck framing in this informative article. Get expert tips and step-by-step instructions to create a professional and visually appealing deck.
(Many of the links in this article redirect to a specific reviewed product. Your purchase of these products through affiliate links helps to generate commission for Storables.com, at no extra cost. Learn more)
Introduction
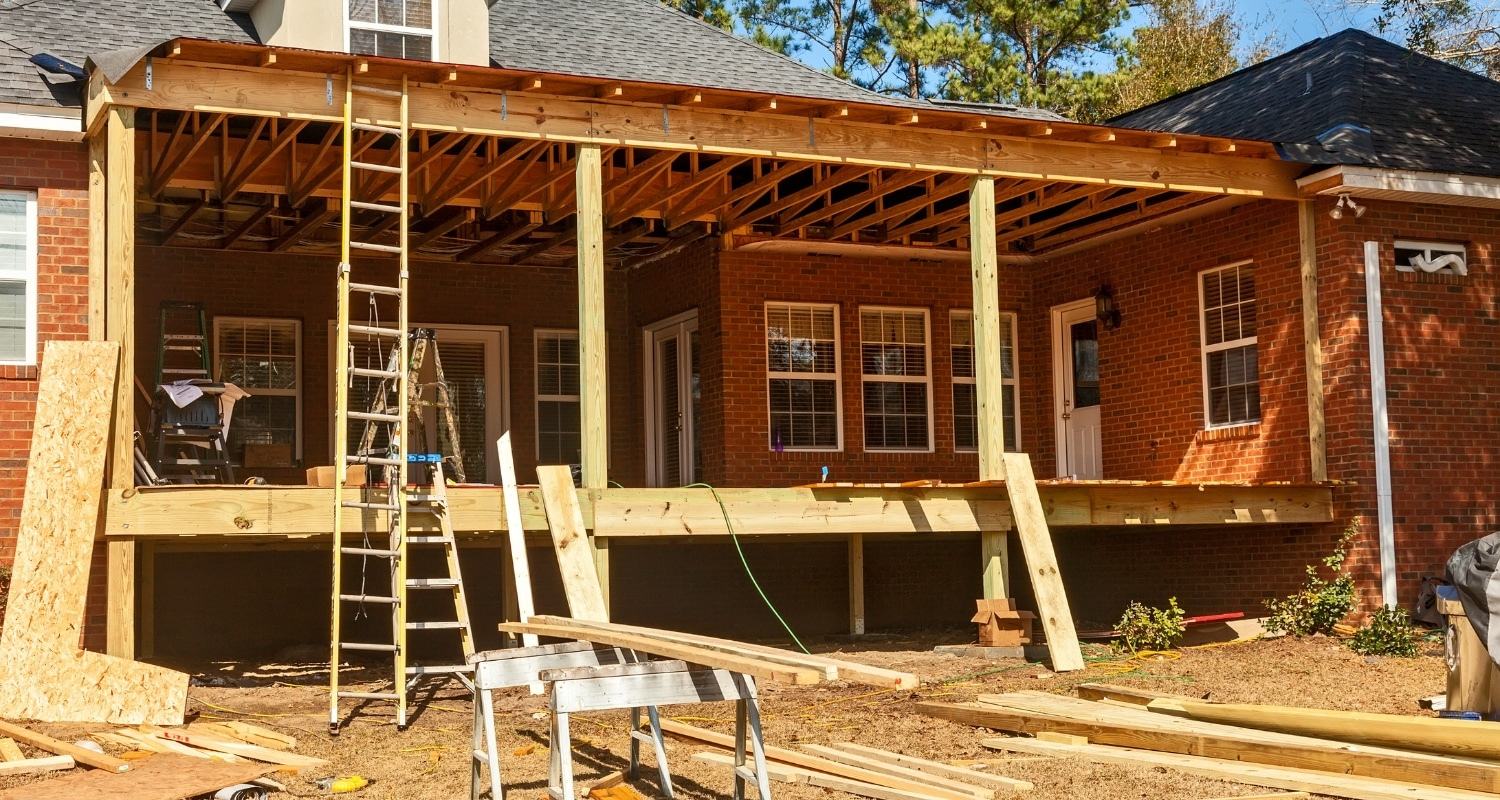
When it comes to creating a visually stunning deck, adding angled corners and framing can be a fantastic way to enhance the overall aesthetic appeal. Angled corners not only add a unique design element to your deck but also provide an opportunity to create interesting seating areas or define specific zones. Additionally, incorporating angled joists into your deck framing can increase its structural integrity, ensuring a long-lasting and stable outdoor space.
In this article, we will guide you through the step-by-step process of adding an angled corner and joists for angled deck framing. Whether you’re a seasoned DIY enthusiast or a beginner looking to tackle a new project, this comprehensive guide will provide you with the knowledge and confidence to successfully incorporate angled features into your deck construction.
Before you get started, it’s important to note that adding angled corners and joists may require some advanced carpentry skills and tools. If you’re uncertain about your abilities or have any concerns, it’s always a good idea to consult with a professional contractor.
Key Takeaways:
- Elevate your deck design by adding angled corners and joists for a visually striking outdoor space. Follow the step-by-step process to confidently incorporate angled features into your deck construction.
- Prioritize safety, precision, and adherence to building codes to create a durable and long-lasting angled deck. Enjoy the transformation and take pride in your stunning outdoor setting.
Read more: How To Hang Deck Joists
Step 1: Evaluating the Area
The first step in adding an angled corner and joists to your deck framing is to carefully evaluate the area where you want to incorporate this design feature. Take a close look at the existing layout and determine the best location for the angled corner. Consider factors such as the size and shape of your deck, its proximity to other structures or landscaping elements, and how you envision using the space.
It’s important to ensure that the angled corner will not obstruct any walkways or impede the functionality of your deck. Take measurements of the area to get an accurate understanding of the available space and determine the angle at which you want to create the corner.
Additionally, consider the overall design and style of your deck. An angled corner can create an eye-catching focal point, but it’s crucial to ensure that it complements the existing aesthetics. Sketch out different design ideas and consult with a professional or use online resources for inspiration.
Keep in mind any local building codes or regulations that may impact the placement of the angled corner. It’s essential to follow these guidelines to ensure safety and compliance.
Once you have evaluated the area and have a clear vision of where you want to add the angled corner, you’re ready to move on to the next step: measuring the angle.
Step 2: Measuring the Angle
Measuring the angle for your angled corner is a crucial step in ensuring precise and accurate framing. To do this, you will need a protractor, a measuring tape, and a pencil.
Start by identifying the desired starting point of your angled corner. This can be an existing corner of your deck or a location you’ve determined in Step 1. Place the protractor on the deck surface, aligning one of its straight edges with the edge of your deck board.
Next, use the measuring tape to measure the desired length of the angled corner, starting from the starting point you’ve identified. Mark this length on your deck board using the pencil.
Take the protractor and align its pivot point with the starting point you’ve chosen. Carefully adjust the protractor until its second straight edge intersects with the pencil mark you made on the deck board.
Read the angle measurement indicated on the protractor. This measurement will help you determine the angle at which you will need to cut your deck boards and joists. Write down this angle to refer to later in the construction process.
Repeat this process if you plan to have multiple angled corners on your deck. Each corner may have a different angle, so it’s important to measure and record the angle for each specific corner.
By accurately measuring the angle, you’ll ensure that your angled corner and joists fit seamlessly into your deck design, creating a polished and professional look. With the angle measurement in hand, you can move on to the next step: cutting the angled corner.
Step 3: Cutting the Angled Corner
Now that you have measured the angle for your angled corner, it’s time to cut the deck board to the desired shape. Before you begin, gather the necessary tools including a circular saw, a speed square, and safety equipment such as goggles and gloves.
Start by selecting a deck board that will be used for the angled corner. Place the board on a stable work surface and mark the location where the cut will be made. Use the speed square to ensure a straight and precise line.
Next, carefully set the angle of the circular saw to match the measurement you obtained in Step 2. Double-check that the saw blade is securely in place and adjust the depth of the blade to match the thickness of the deck board.
Hold the board firmly to prevent any movement and make a slow and steady cut along the marked line. It’s important to maintain control of the saw to ensure a clean and smooth cut. Use caution and follow all safety guidelines during this process.
After the cut is complete, inspect the edge to ensure it is even and free from any jagged edges or splintering. Use sandpaper or a file to smooth out any rough areas if necessary.
Repeat this process for any additional deck boards that will be used in the angled corner. It’s crucial to ensure that all cuts are made at the same angle for consistency in the final appearance of the corner.
With the angled corner now cut to the desired shape, you can proceed to the next step: preparing the joists for installation.
When adding an angled corner and joists for angled deck framing, be sure to use a framing square to accurately mark and cut the angles. Double check all measurements before cutting to ensure a precise fit.
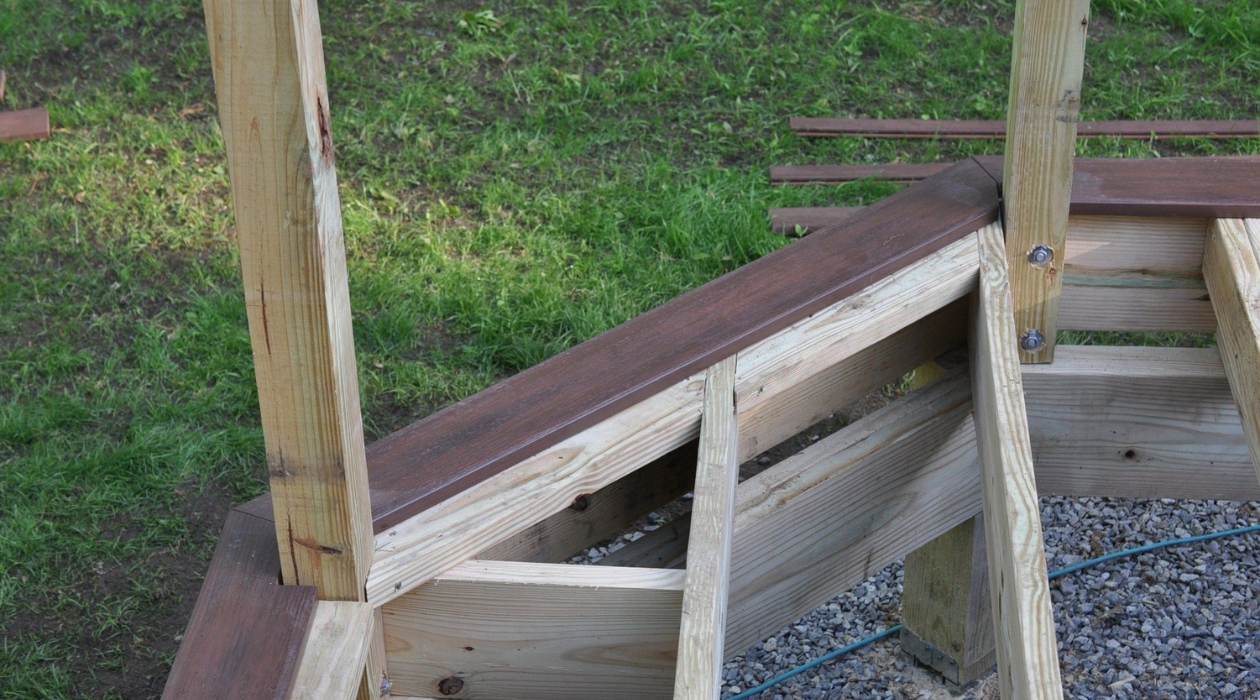
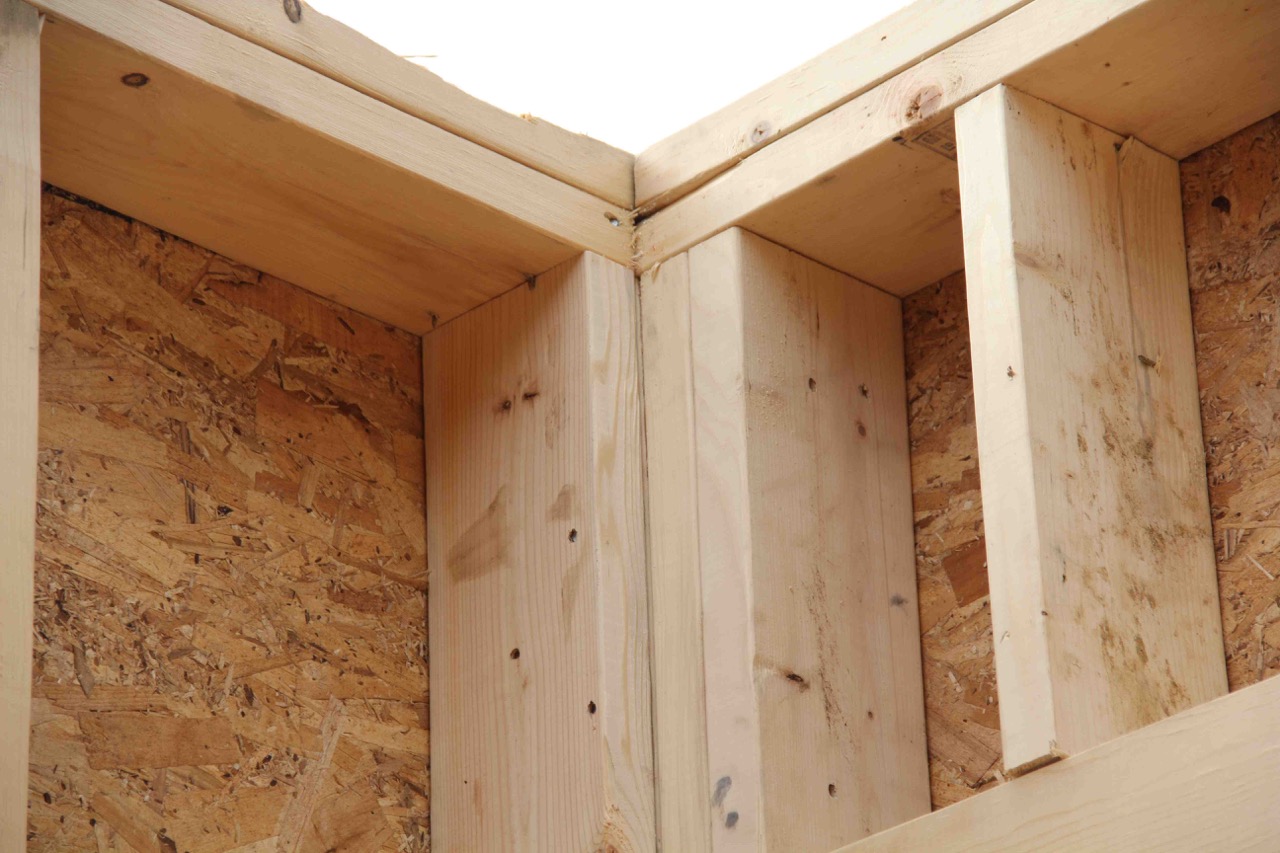
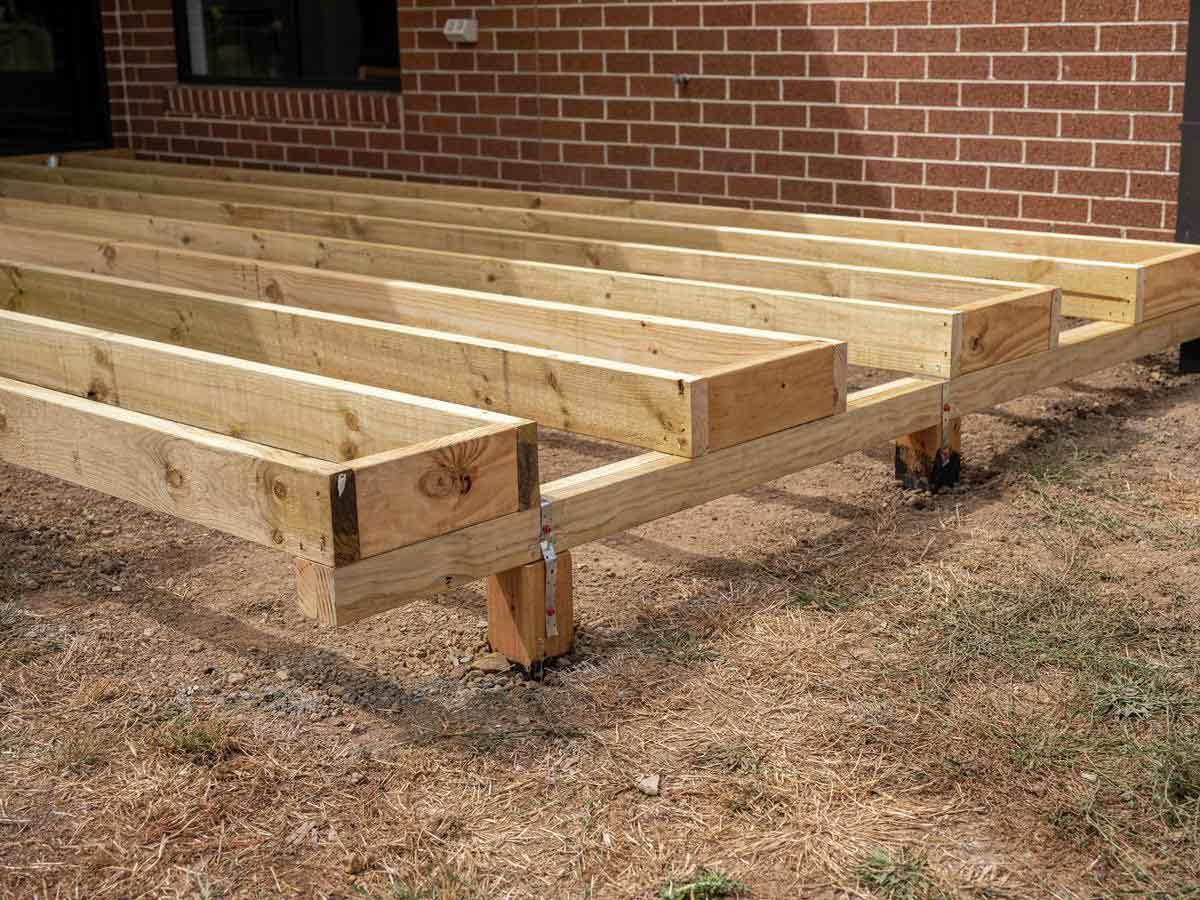
Step 4: Preparing the Joists
Preparing the joists for angled deck framing is essential to ensure stability and structural integrity. This step involves cutting and positioning the joists to match the angle of the angled corner.
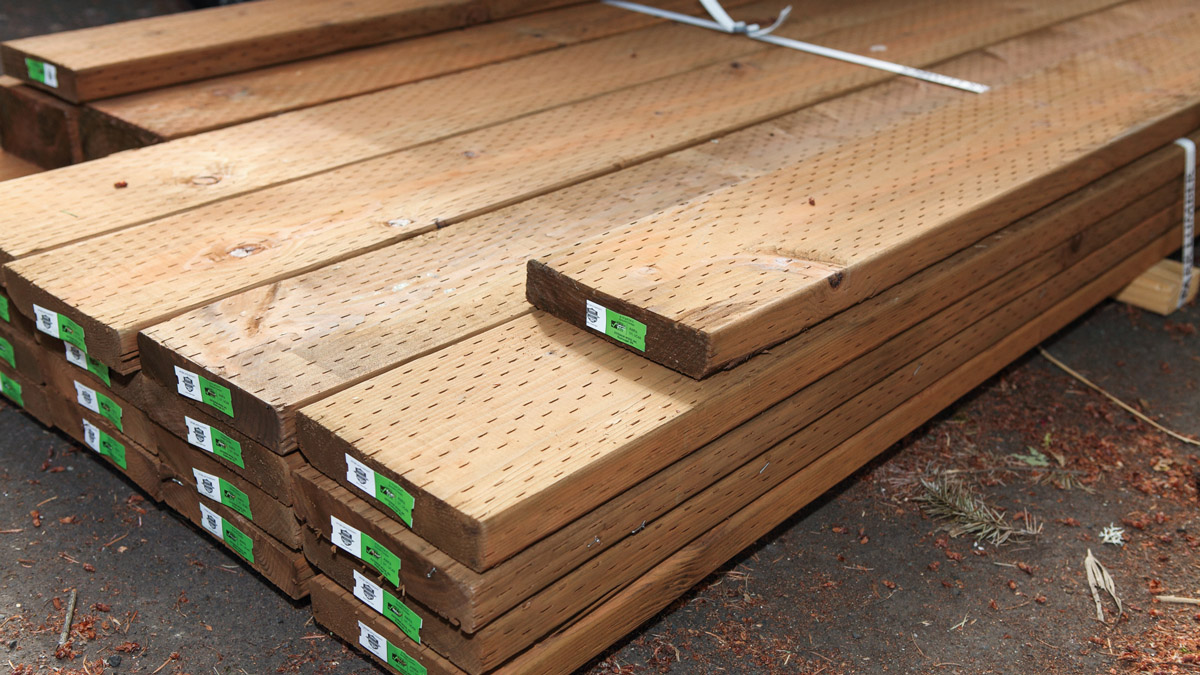
Start by selecting the appropriate size and type of lumber for your joists. Consult local building codes and regulations to determine the recommended specifications for your deck. Measure and cut the joists to the desired length, taking into account the angle you measured in Step 2.
Using a speed square, mark the angle on each end of the joists. This will serve as a guide when cutting the joists at the correct angle. Take care to ensure that all joists are cut consistently to maintain a level deck surface.
Once the joists are cut, it’s important to position them at the correct angle within the deck framework. To do this, use a chalk line or straight edge to establish a reference line on the ledger board or beams where the joists will be attached.
Align the angled end of each joist with the reference line, ensuring that the top edges are level and flush. Secure the joists in place using appropriate fasteners, such as joist hangers or screws, ensuring a tight and secure connection.
It’s essential to follow best practices for spacing and fastener placement as recommended by building codes and industry standards. This ensures adequate support and prevents any potential issues in the future.
With the joists properly prepared and positioned, you’re now ready to move on to the next step: installing the deck boards.
Read more: How To Use Joist Hangers On Decking
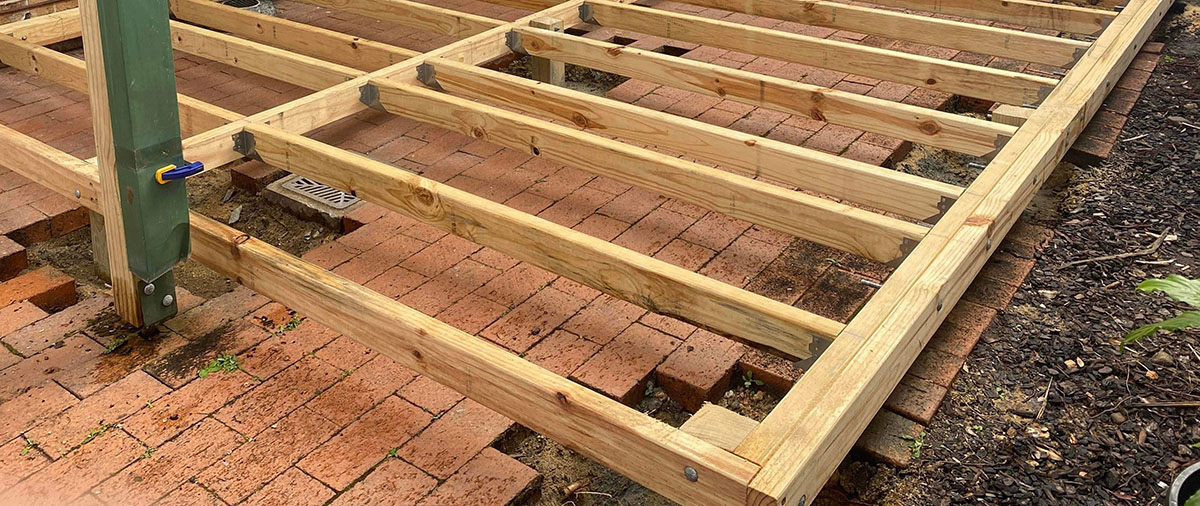
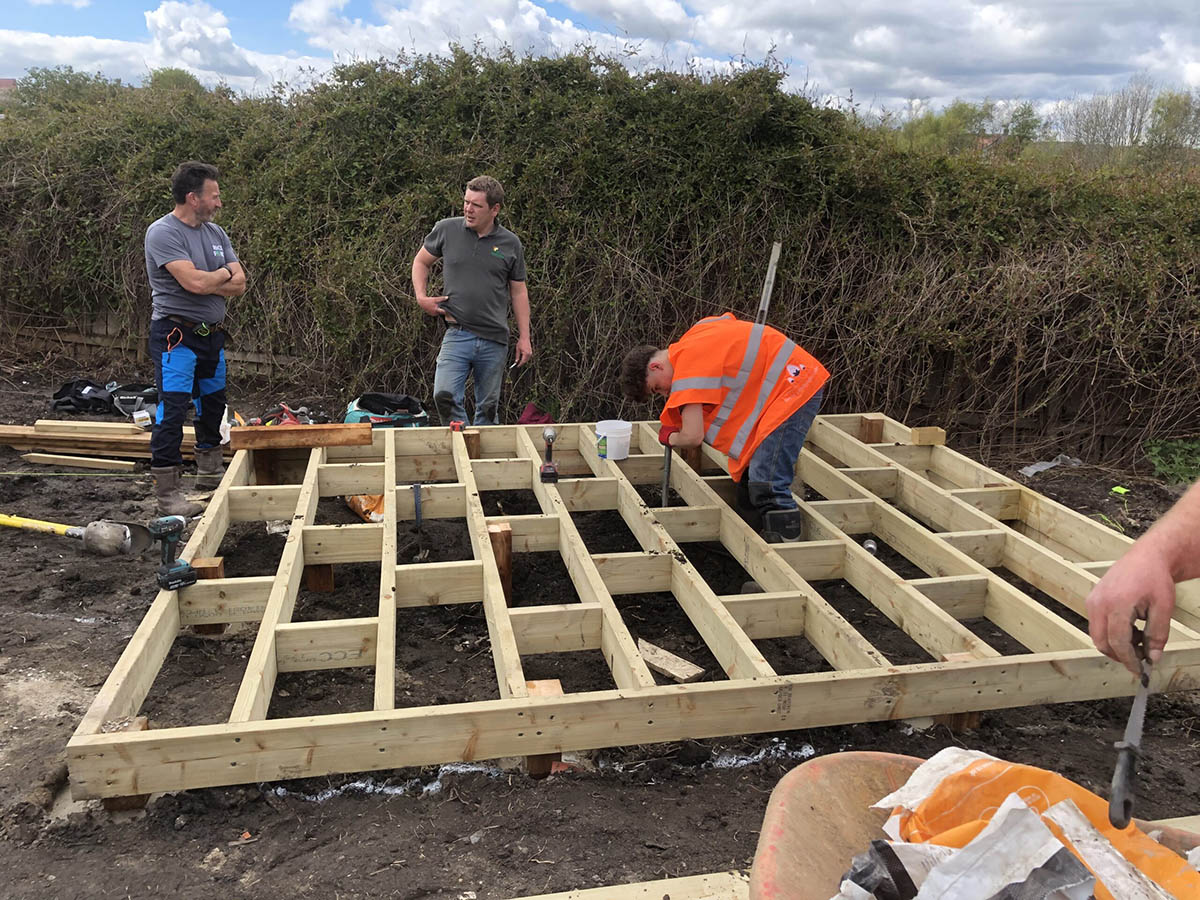
Step 5: Installing the Joists
Now that you have prepared the joists, it’s time to install them into your deck framework. The installation process involves securing the joists to the ledger board and beams, creating a strong and stable foundation for your deck.
Start by positioning the first joist at the appropriate location, ensuring that it aligns with the reference line you established in Step 4. Secure the joist to the ledger board using joist hangers or screws, making sure it is level and flush with the top edge of the ledger board.
Continue installing the remaining joists, spacing them according to building codes and your deck design. Use a level to ensure that each joist is straight and even. Make any necessary adjustments to ensure that the top edges of the joists are flush and provide a level surface for installing the deck boards.
At this stage, it’s important to double-check the alignment and spacing of the joists to ensure proper support and stability. Use a tape measure or straight edge to confirm that the joists are evenly spaced and parallel to each other.
Throughout the installation process, periodically check for any signs of warping or bowing in the joists. Address any issues immediately to maintain the structural integrity of your deck.
Once all the joists are securely installed, it’s time to move on to the next step: securing the deck boards.
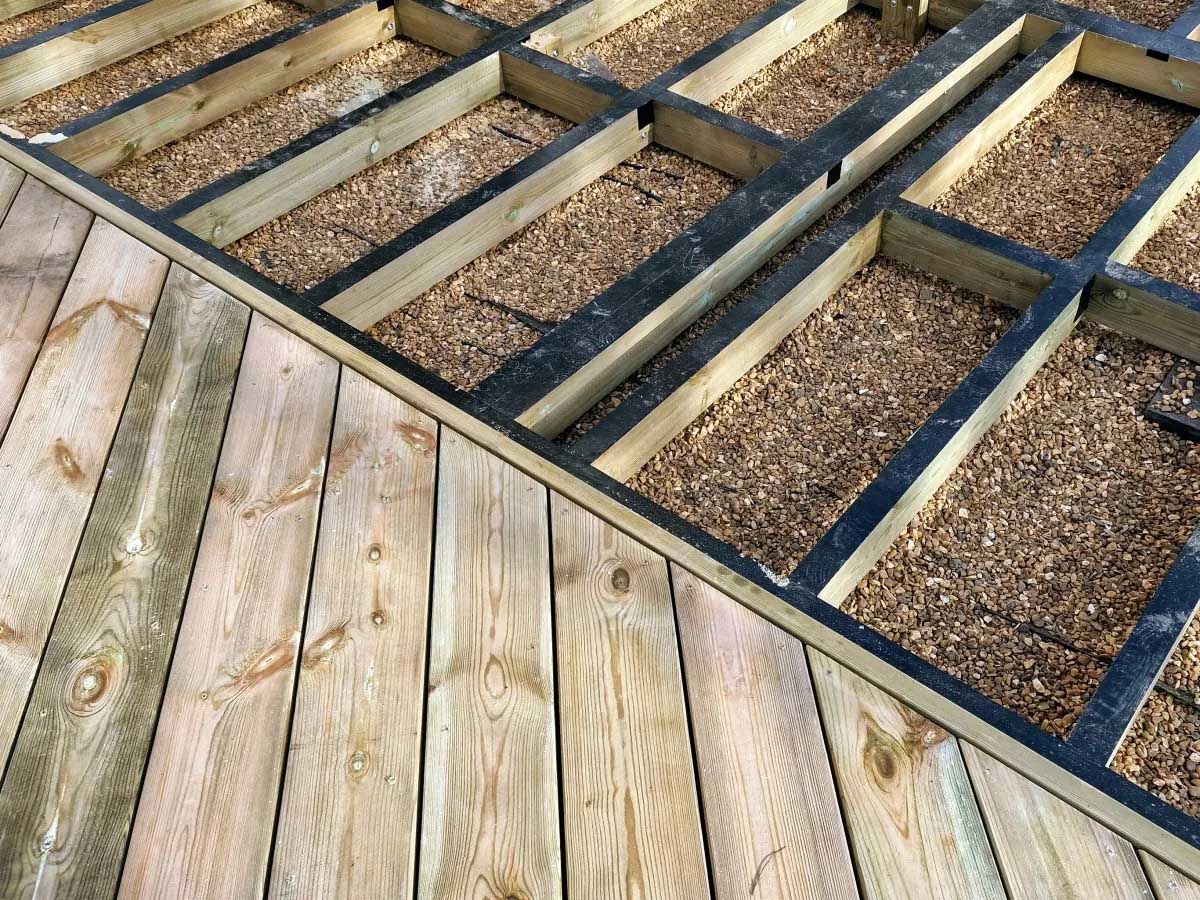
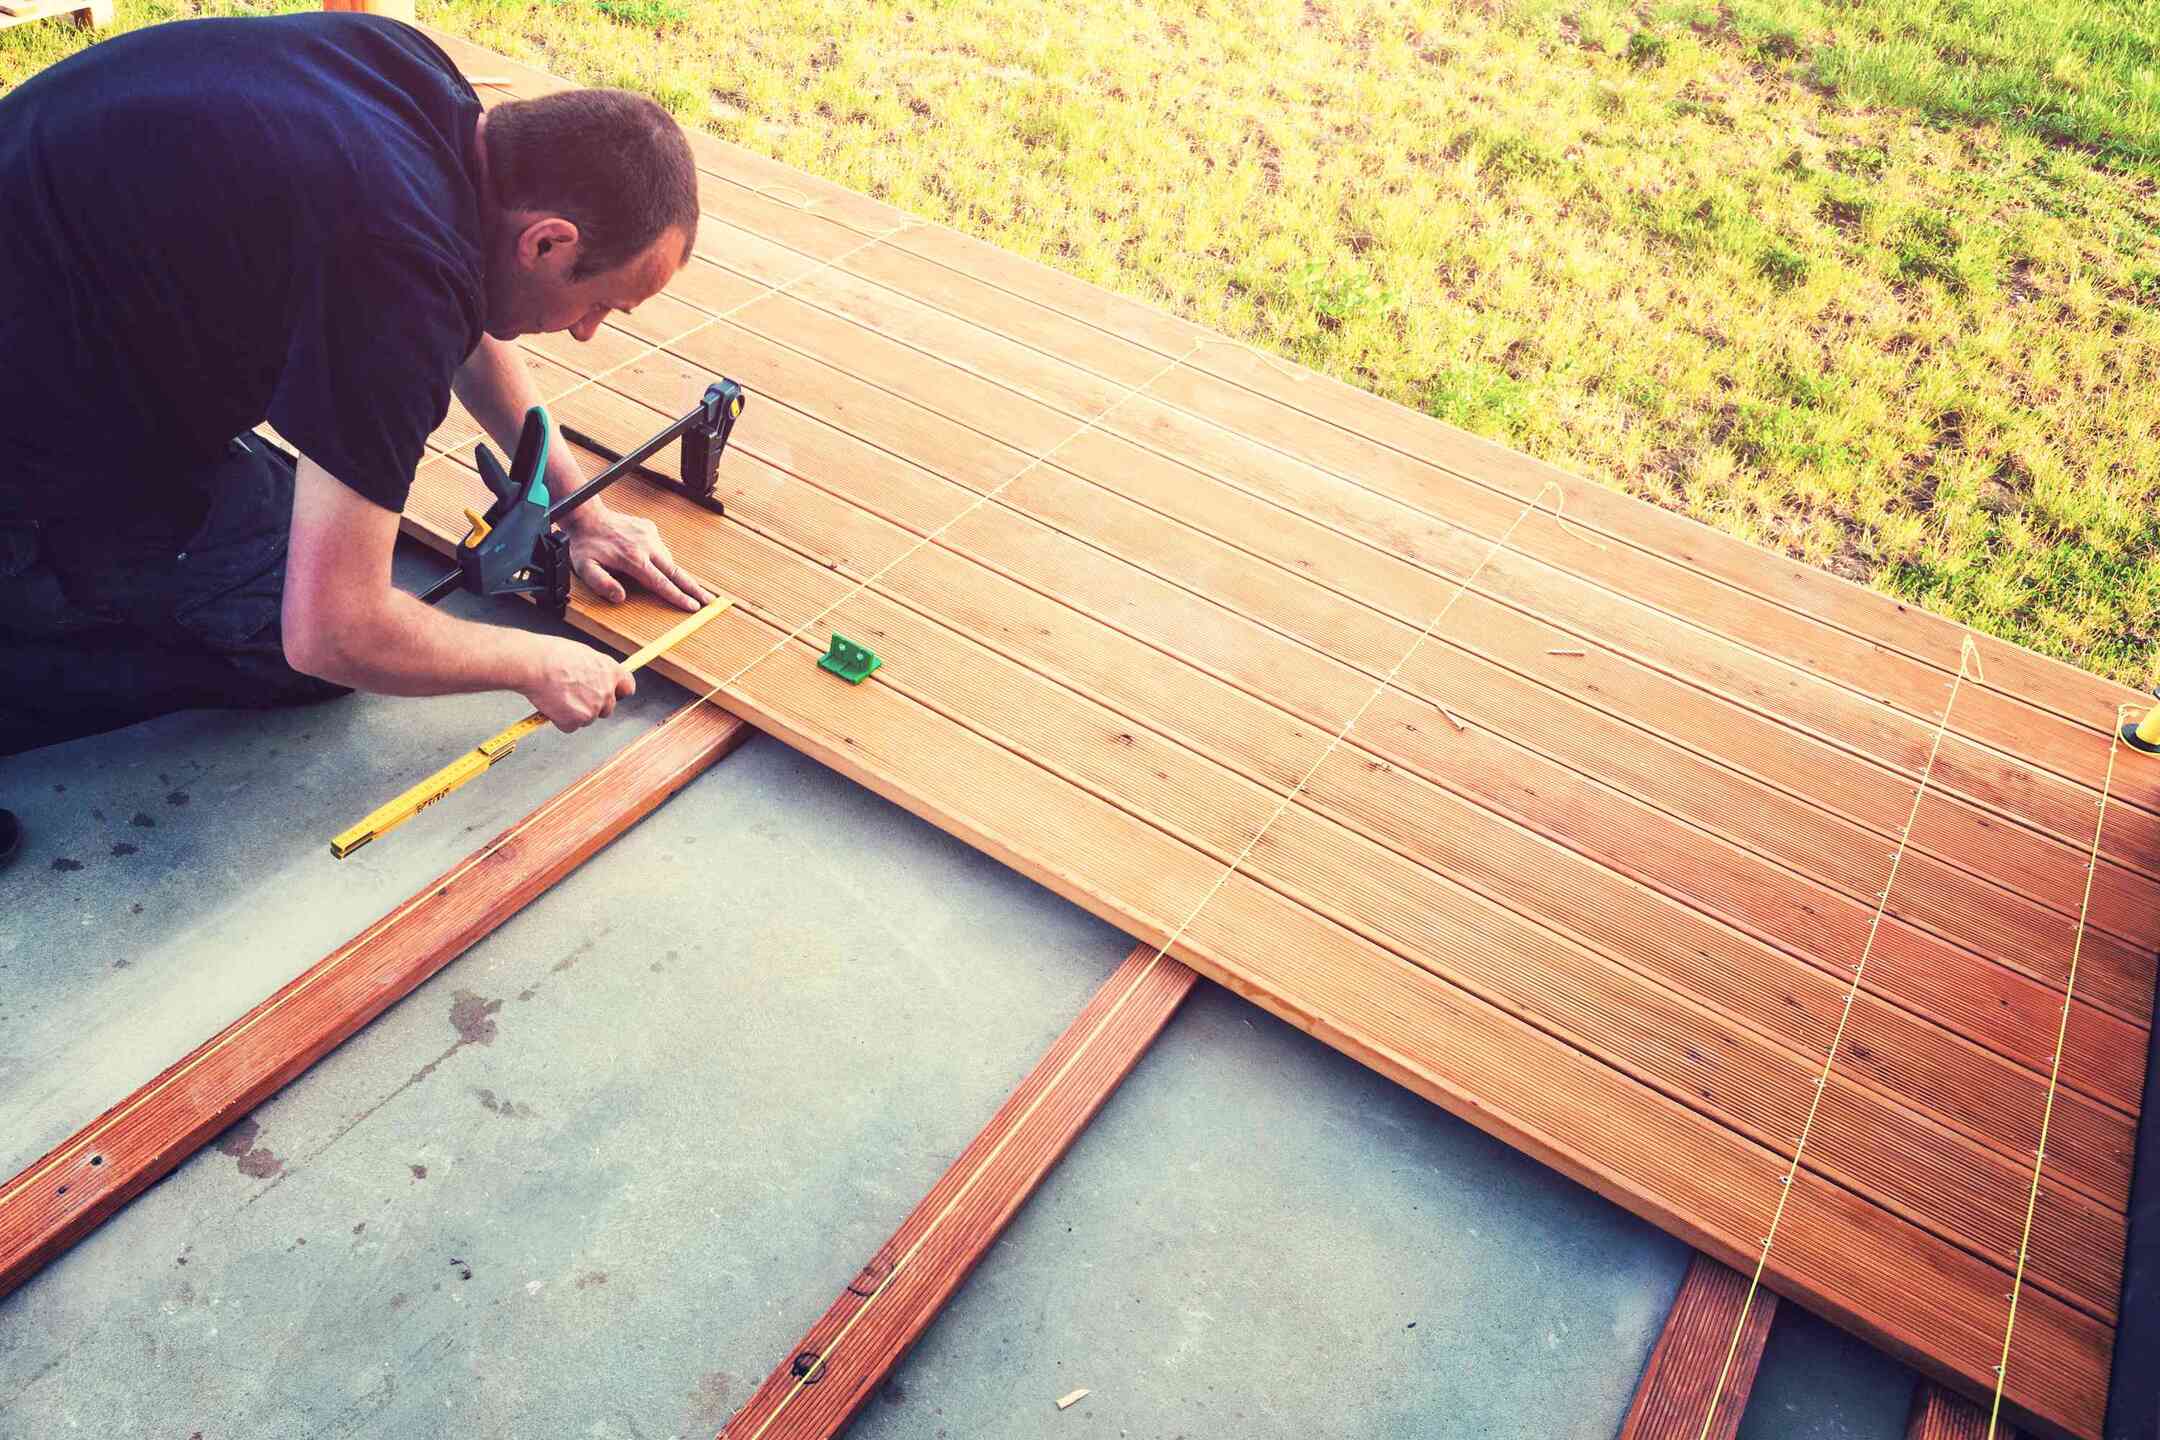
Step 6: Securing the Deck Boards
With the joists in place, it’s time to secure the deck boards to create the surface of your angled deck. Securing the deck boards involves attaching them to the joists using appropriate fasteners and ensuring they are properly aligned.
Start by laying the first deck board along the angled edge of your deck. Align it with the reference line and make sure it is flush with the outer edge of the joists. Use deck screws or nails to secure the board to each joist, ensuring a tight and secure connection.
Continue installing the remaining deck boards, making sure to leave a small gap between each board for proper drainage and expansion. Use spacers or nails as temporary guides to maintain consistent spacing between the boards.
If necessary, cut the deck boards to fit the angled corner using a circular saw or a jigsaw, following the same angle measurement obtained in Step 2.
As you install the deck boards, periodically check for alignment, ensuring that they are straight and even. Use a carpenter’s square or a straight edge to confirm that the boards are parallel and perpendicular to the joists.
Finally, inspect the installed deck boards for any signs of warping or damage. Replace any boards that are warped or have visible defects to maintain the overall appearance and structural integrity of your deck.
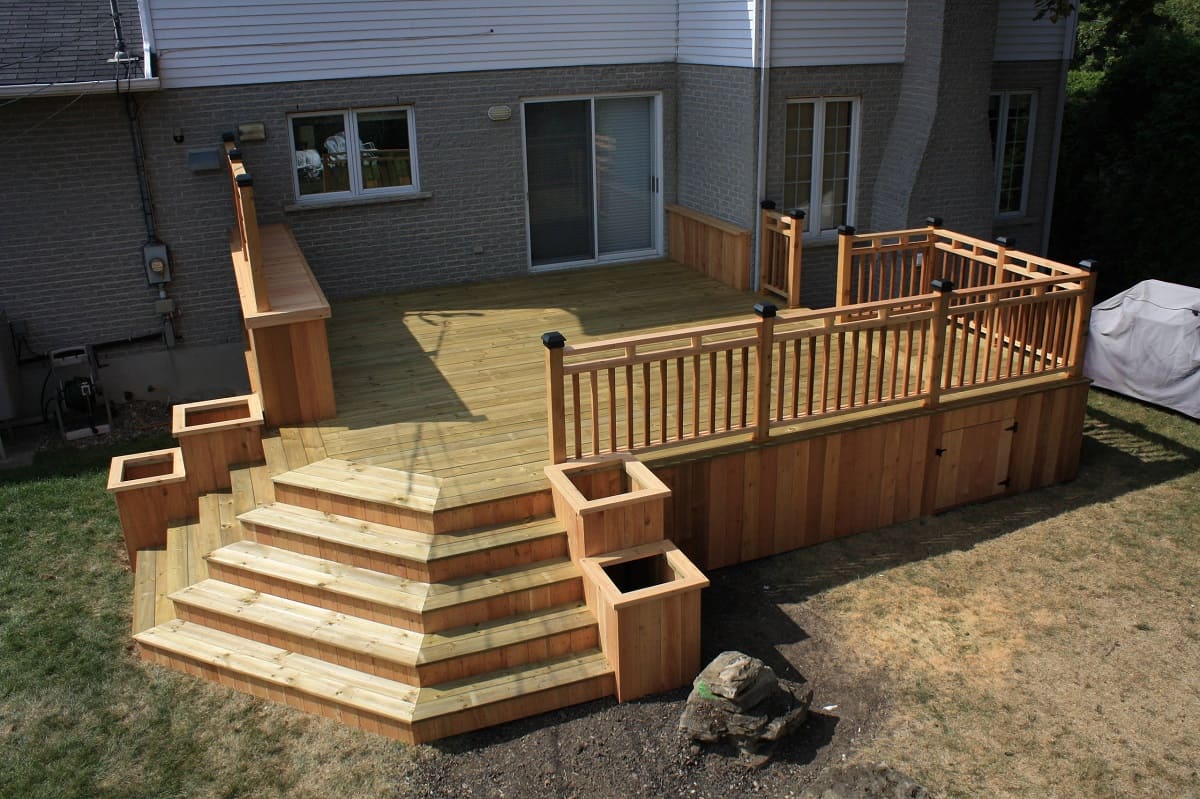
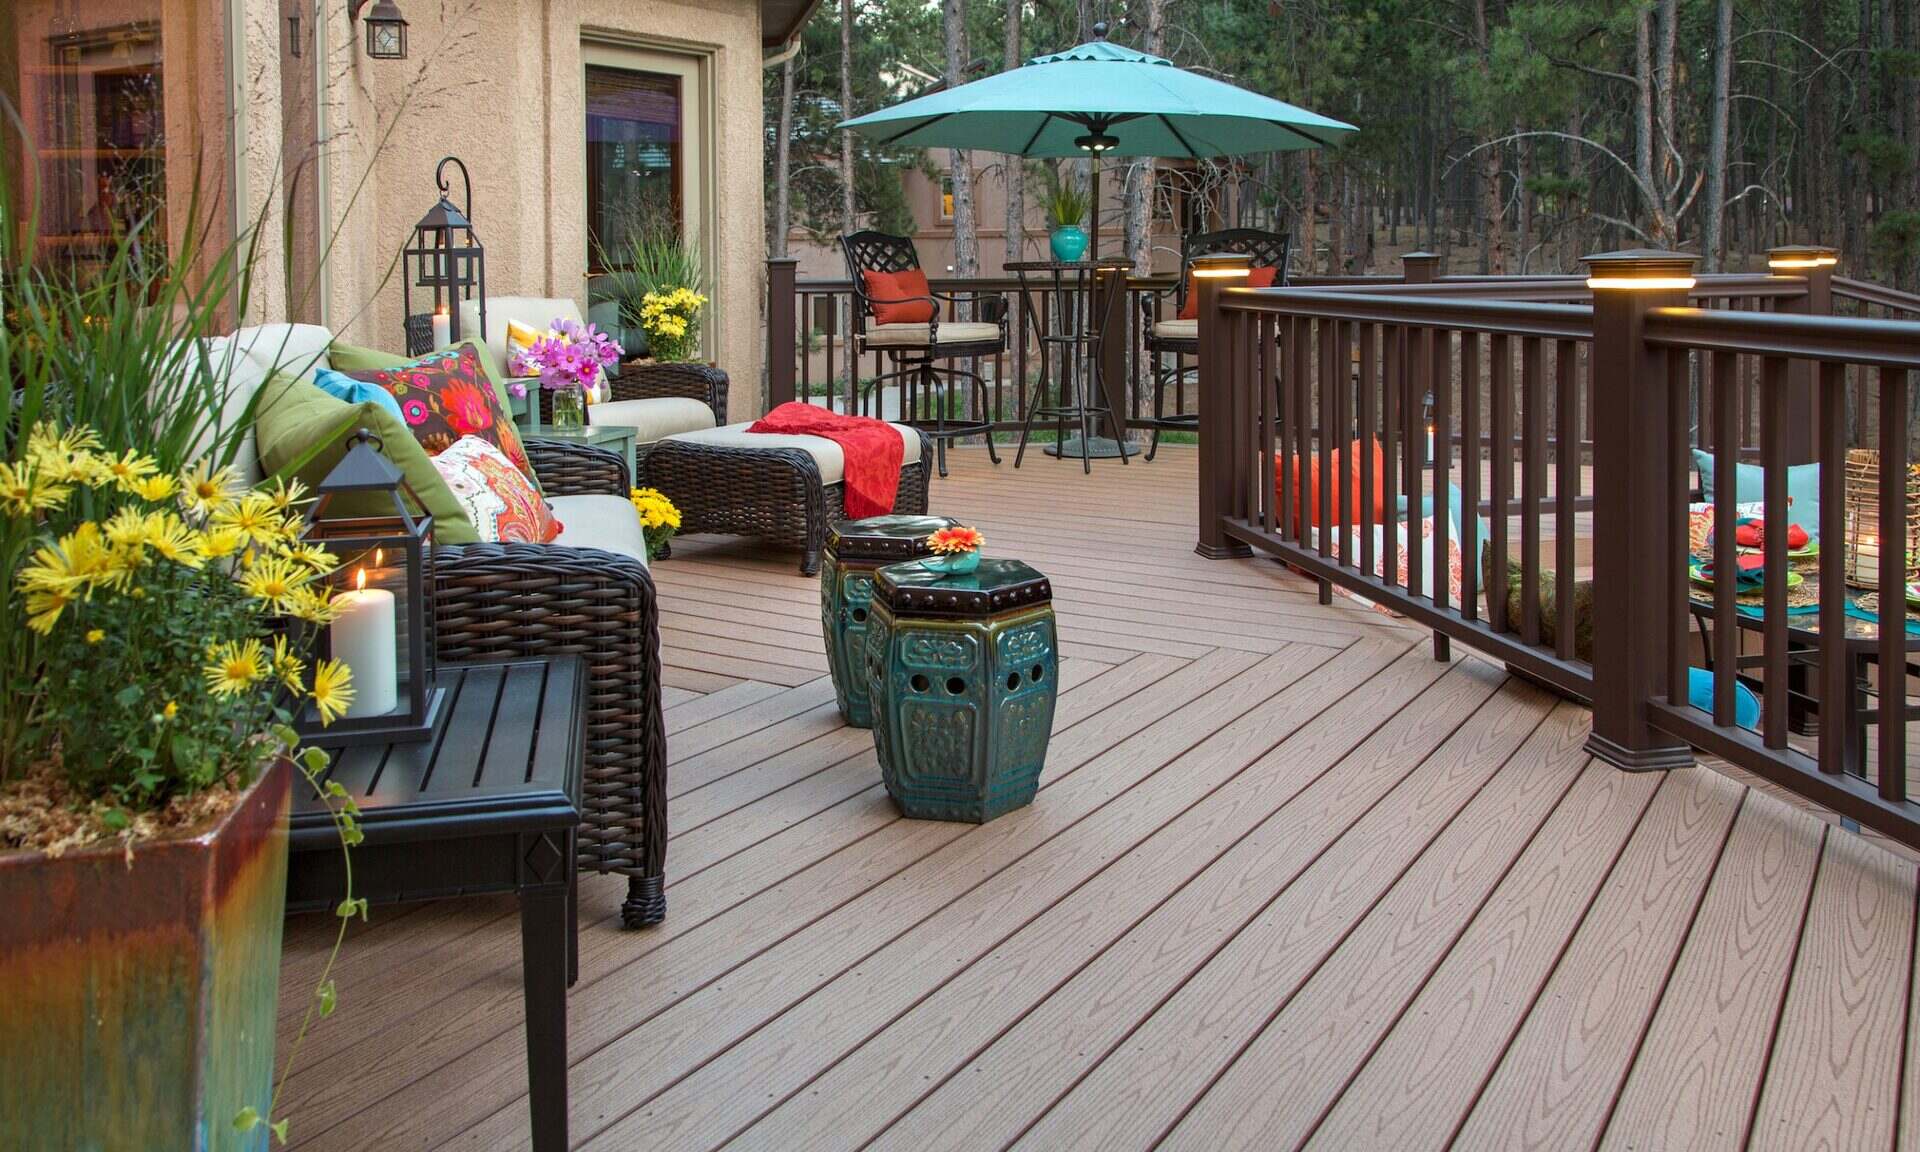
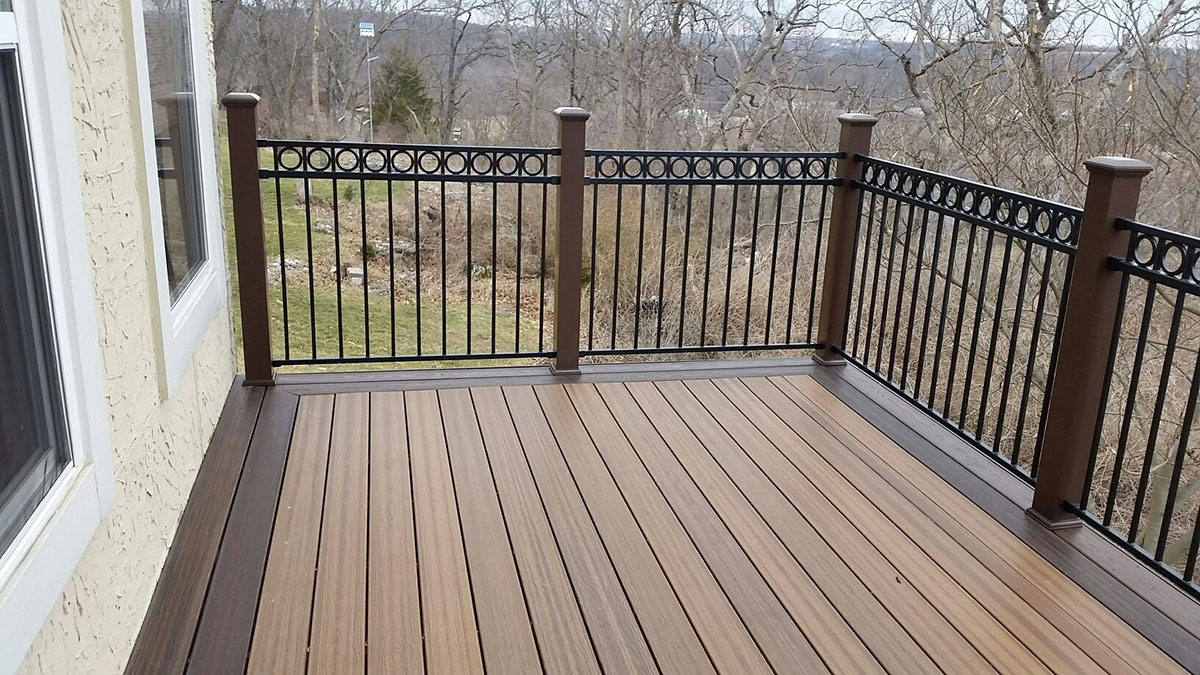
Once all the deck boards are securely in place, take a step back and admire your beautifully angled deck surface. It’s now ready to be finished and customized with paint, stain, or any other desired finishes.
Remember to follow local building codes and regulations during the installation process to ensure a safe and structurally sound deck.
With the deck boards secured, you have successfully added an angled corner and joists to your deck framing. Congratulations!
Conclusion
Adding an angled corner and joists to your deck framing can elevate the design and create a visually striking outdoor space. By following the step-by-step process outlined in this article, you can confidently incorporate angled features into your deck construction.
From evaluating the area and measuring the angle to cutting the angled corner and preparing the joists, each step is essential in ensuring a precise and sturdy construction. With careful attention to detail and adherence to building codes, you can create a deck that not only looks impressive but also provides a durable and long-lasting structure.
Remember to prioritize safety throughout the construction process. Use the appropriate tools and safety equipment, and consult with a professional if you have any doubts or concerns regarding your abilities.
Once the angled corner and joists are in place, securing the deck boards completes the transformation of your deck. Take pride in your work and enjoy the fruits of your labor, whether it’s relaxing in an inviting seating area or entertaining friends and family in a stylish outdoor setting.
Now that you have the knowledge and skills to add an angled corner and joists to your deck framing, you are ready to embark on this exciting project. Get started today and create a stunning deck that will be the envy of your neighbors!
Excited about your new deck? Keep that DIY spirit alive with our upcoming features. Dive into the world of craftsmanship with our carefully curated guide on best woodworking for 2024. You'll find everything from beginner tips to advanced techniques for your next creation. Not stopping there, uncover why great about DIY projects are more than just a way to save money; they're a journey into building skills and creating something uniquely yours. Don't miss out—each article is packed with insights to fuel your next project!
Frequently Asked Questions about How To Add An Angled Corner And Joists For Angled Deck Framing
Was this page helpful?
At Storables.com, we guarantee accurate and reliable information. Our content, validated by Expert Board Contributors, is crafted following stringent Editorial Policies. We're committed to providing you with well-researched, expert-backed insights for all your informational needs.

0 thoughts on “How To Add An Angled Corner And Joists For Angled Deck Framing”