
Articles
How To Add Skylight
Modified: January 8, 2024
Learn how to add skylight to your home with these informative articles. Discover different installation methods, benefits, and tips to make the process easier.
(Many of the links in this article redirect to a specific reviewed product. Your purchase of these products through affiliate links helps to generate commission for Storables.com, at no extra cost. Learn more)
Introduction
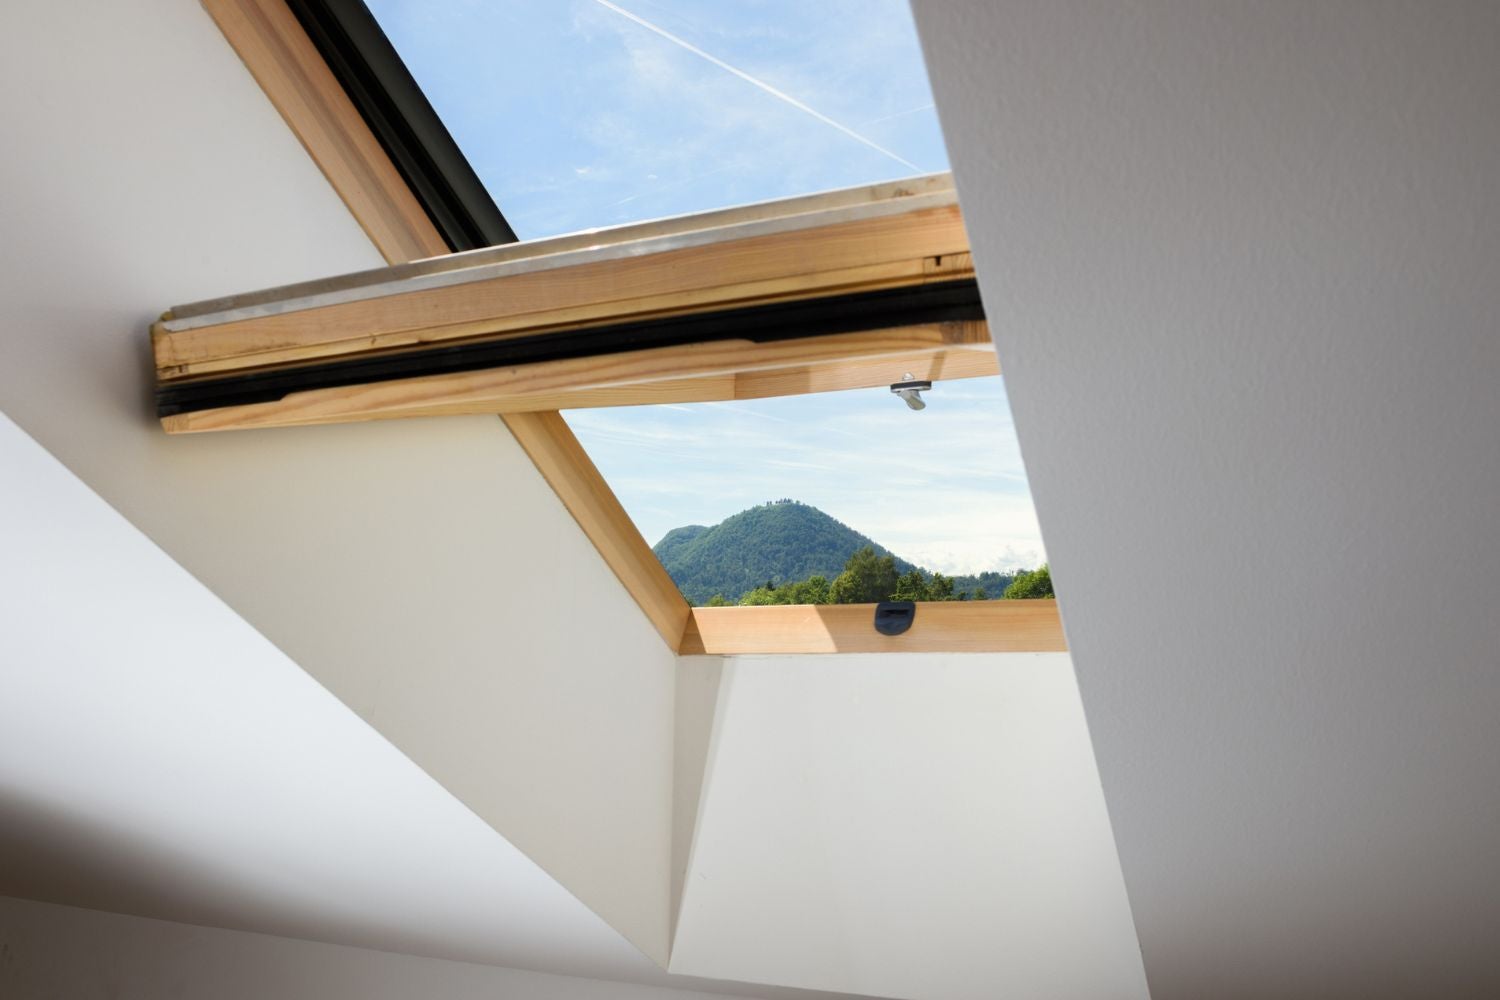
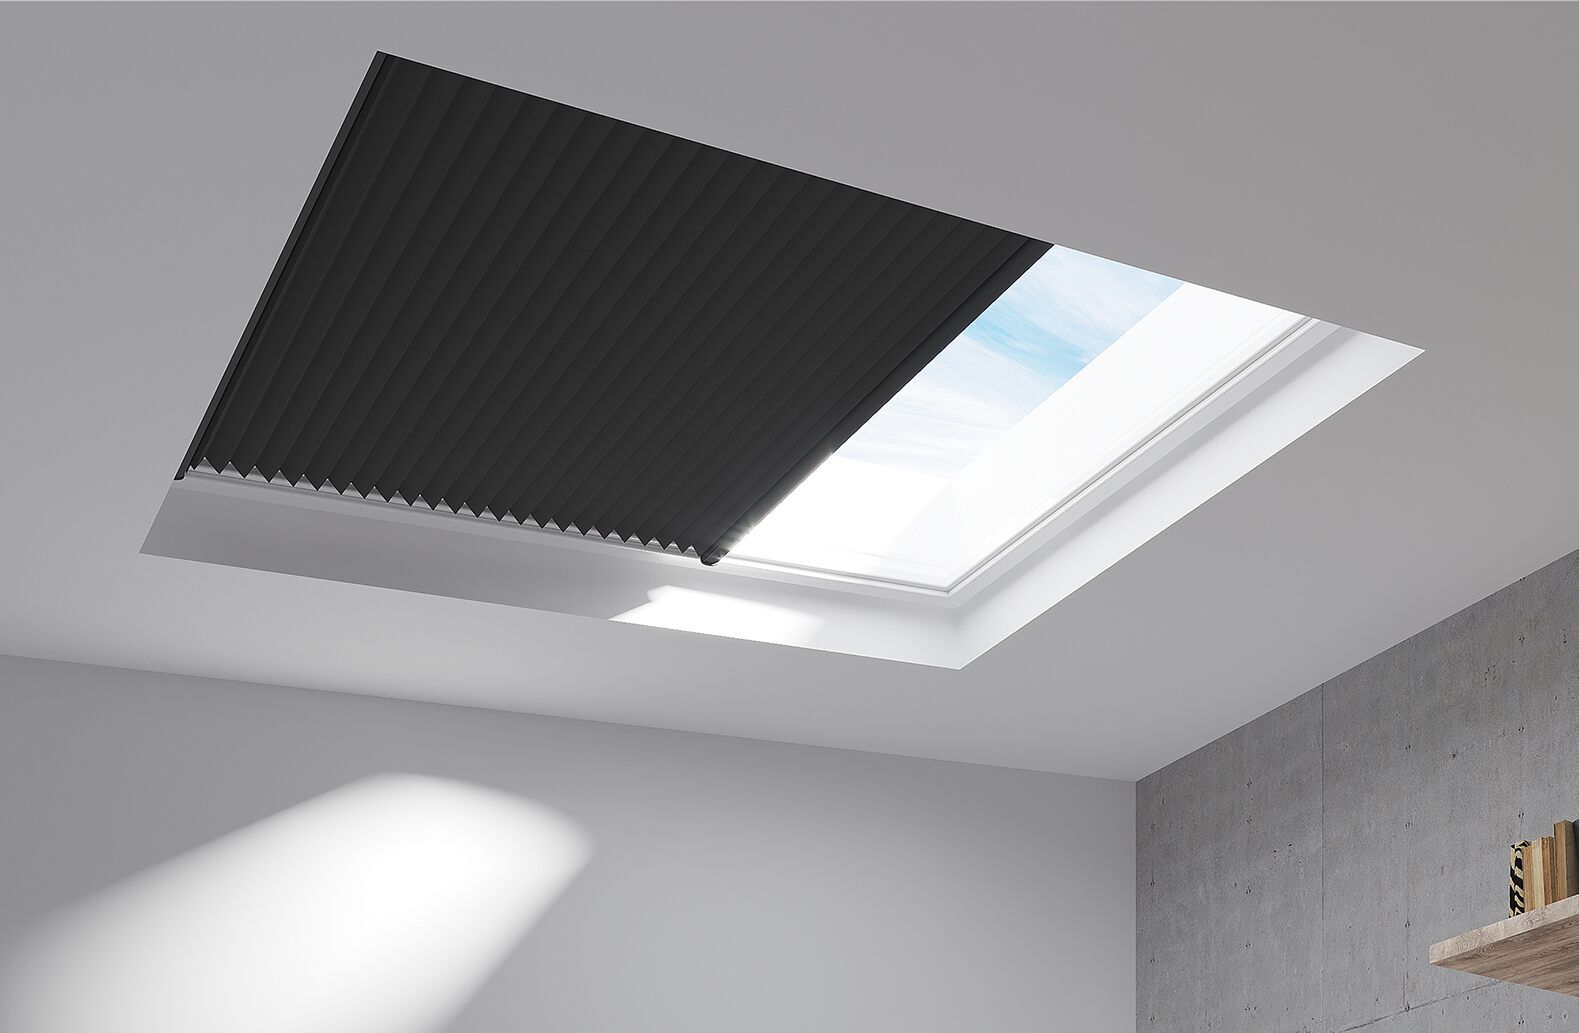
Adding a skylight to your home can be a game-changer. Not only does it bring natural light into your space, but it also adds an element of architectural beauty. Skylights can transform dark, gloomy rooms into bright and inviting spaces, creating a sense of open and airy living. Whether you want to brighten up a dimly lit hallway, a bathroom, or a living area, installing a skylight is the perfect solution.
In this article, we will guide you through the step-by-step process of adding a skylight to your home. From gathering the necessary tools and materials to finishing up the interior and exterior, we’ll cover everything you need to know to achieve a successful skylight installation.
Before we dive into the installation process, it’s essential to mention that adding a skylight requires some basic home improvement skills and knowledge. If you don’t feel comfortable tackling this project on your own, it’s recommended to hire a professional contractor who specializes in skylight installations.
Now, let’s get started on this exciting journey to bring natural light into your home and enhance its overall aesthetic appeal. With the right tools and a clear understanding of the process, you’ll be well on your way to enjoying the benefits of a stunning skylight in no time.
Key Takeaways:
- Transform your home with natural light and architectural beauty by following the step-by-step guide to installing a skylight. Enjoy a brighter, more inviting space with a seamless and effective installation process.
- Prioritize safety, gather the right tools, and maintain your skylight to maximize its benefits. Elevate your home’s ambiance and well-being with a well-placed skylight, creating a bright and uplifting atmosphere for you and your loved ones to enjoy.
Read more: How To Add Pictures To Skylight Frame
Step 1: Gather the necessary tools and materials
Before you begin the skylight installation process, it’s important to gather all the necessary tools and materials. Having everything ready beforehand will save you time and ensure a smooth installation. Here’s a list of the items you’ll need:
- Skylight kit: Purchase a skylight kit that includes all the required components, including the skylight window, frame, flashing, and any other accessories needed for installation.
- Measuring tape: You’ll need a measuring tape to accurately measure the opening size and ensure a proper fit for the skylight.
- Screwdriver: A screwdriver will be necessary for securing the skylight frame and window in place. Make sure you have both flathead and Phillips head screwdrivers on hand.
- Caulk gun: A caulking gun is essential for applying caulk around the skylight frame to create a weatherproof seal.
- Roofing nails: Roofing nails will be used to secure the skylight frame to the roof structure. Make sure you choose nails that are appropriate for the type of roofing material you have.
- Safety equipment: Don’t forget to prioritize safety during the installation process. Wear gloves to protect your hands and goggles to shield your eyes from any debris or flying particles.
It’s essential to have all these tools and materials ready before you start the installation. This will help you avoid delays and ensure that you can complete the project efficiently and effectively.
Step 2: Choose the ideal location for the skylight
Choosing the right location for your skylight is crucial to maximize its benefits and enhance the overall aesthetics of your home. Here are some factors to consider when selecting the ideal spot:
- Consider the room’s layout and natural lighting conditions: Analyze the layout of the room and identify the areas that could benefit the most from additional natural light. Consider the orientation of the room and assess how sunlight moves throughout the day.
- Ensure no structural obstacles or wiring are present: Before finalizing the location, inspect the ceiling and roof structure for any structural obstacles, such as beams or rafters. Additionally, check for any wiring or electrical components that could be affected by the installation.
- Evaluate the roof’s slope and orientation for optimal sunlight exposure: Take into account the slope and orientation of your roof to determine the best position for the skylight. South-facing roofs tend to receive the most sunlight throughout the day, while north-facing roofs receive indirect light.
Once you have considered these factors, you can determine the ideal location for your skylight. Remember that skylights typically work best in rooms where natural light is most desired, such as living areas, kitchens, bathrooms, or hallways.
Choosing the right location for your skylight will ensure that you maximize the amount of natural light entering your home and enhance the overall visual appeal of the space. It’s important to take the time to carefully assess these factors before proceeding to the next steps of the installation process.
Step 3: Measure and prepare the opening
Once you have chosen the ideal location for your skylight, it’s time to measure and prepare the opening. This step is crucial to ensure a proper fit and seamless installation. Here’s what you need to do:
- Mark the desired skylight dimensions on the ceiling: Use a measuring tape to determine the precise dimensions of the skylight. Mark these dimensions on the ceiling, ensuring they align with the chosen location.
- Ensure proper spacing from rafters or joists: Take into account the spacing of the rafters or joists in the ceiling. You’ll need to leave enough space between them to accommodate the skylight frame. Measure and mark the appropriate spacing on the ceiling.
- Cut the opening carefully using a drywall saw or reciprocating saw: With the dimensions and spacing marked, carefully cut the opening in the ceiling using a drywall saw or reciprocating saw. Take your time during this process to ensure a clean and precise cut.
As you cut the opening, make sure to follow the marked lines carefully. Take note of any electrical wiring or other obstacles that may be present in the area. It’s important to cut the opening with precision to ensure a proper fit for the skylight frame.
Once you have completed the cutting process, clean up any debris or dust from the area. This will help create a clean and smooth surface for the skylight installation.
Preparing the opening accurately is a vital step that sets the foundation for a successful skylight installation. Take your time, double-check your measurements, and ensure a clean and precise cut to achieve the best results.
Step 4: Install the skylight frame
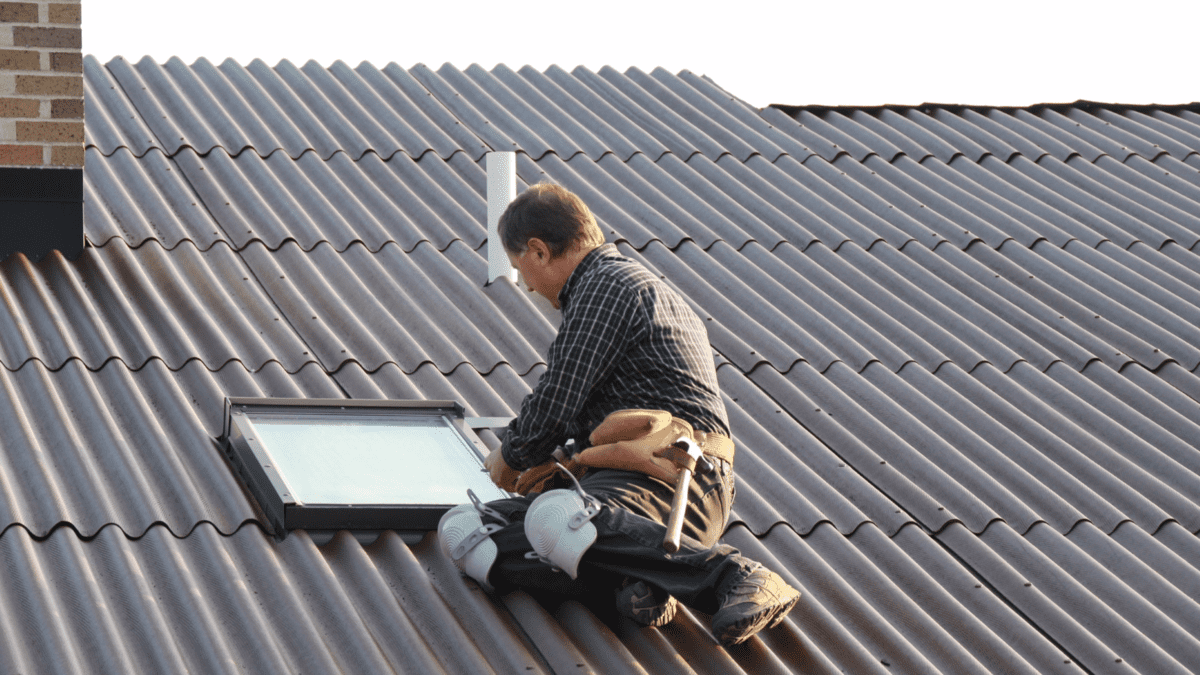
With the opening prepared, it’s time to install the skylight frame. The frame provides structural support and forms a secure base for the skylight window. Follow these steps to properly install the frame:
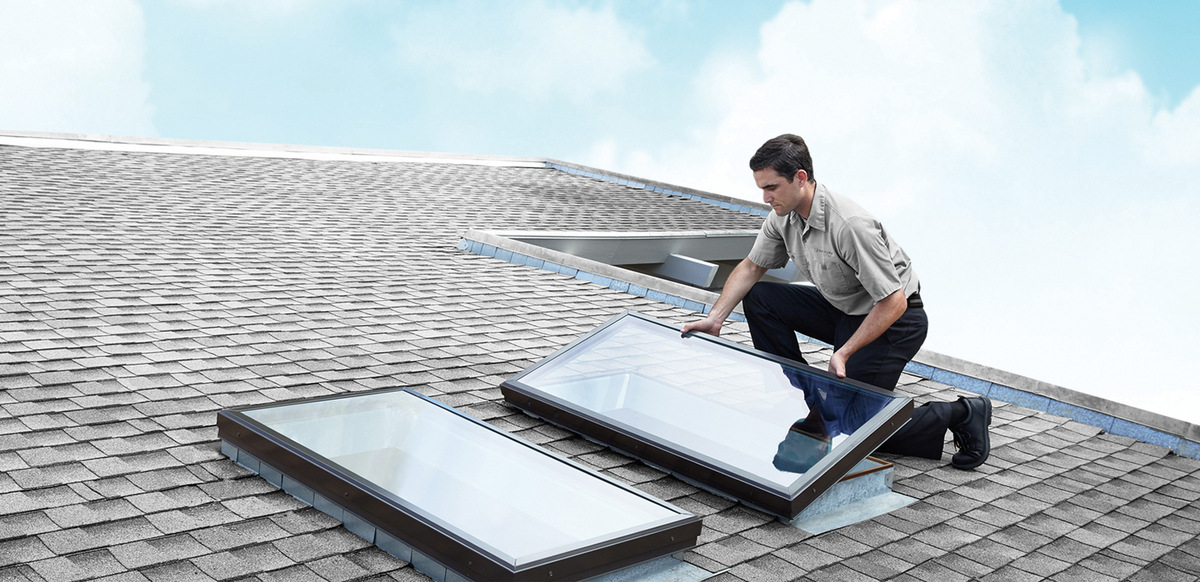
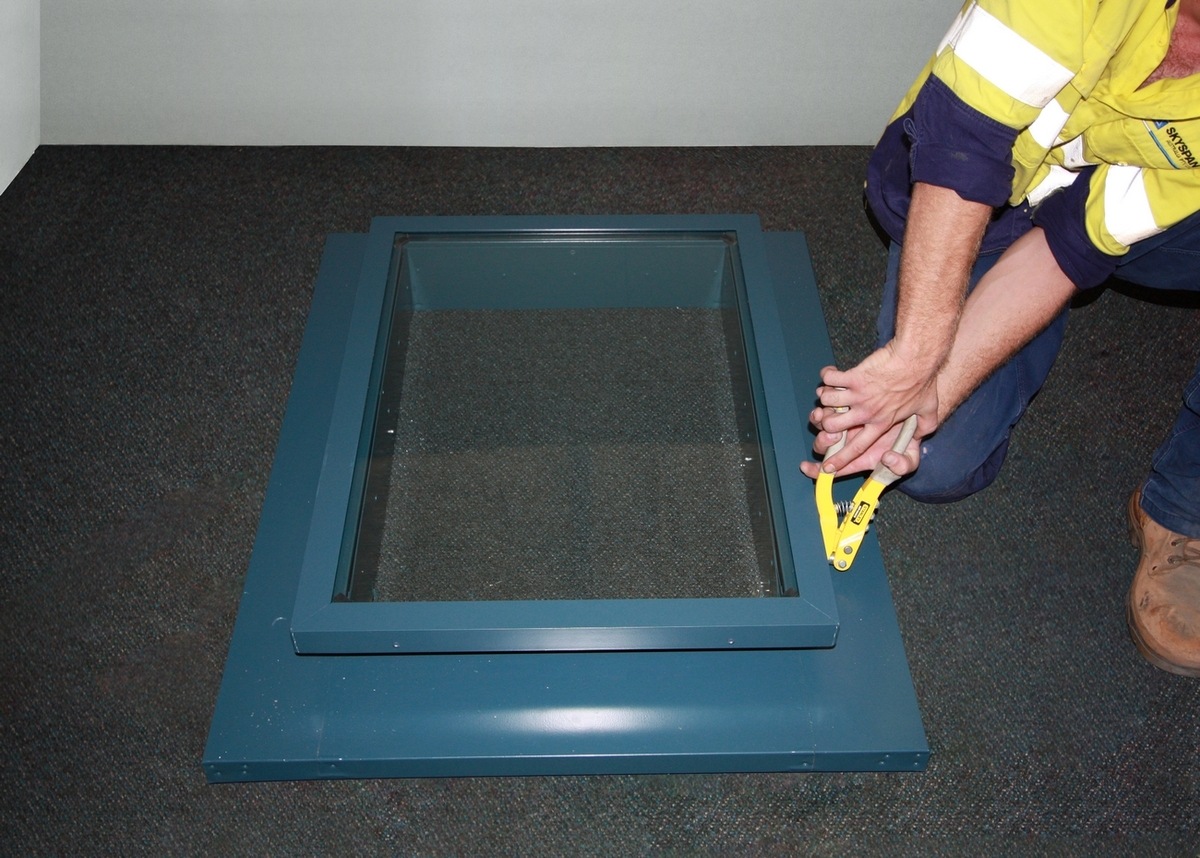
- Position the frame into the opening and align it properly: Carefully position the skylight frame into the opening, ensuring it is aligned properly with the ceiling and the surrounding areas. Take your time to adjust the frame as needed to achieve a precise fit.
- Secure the frame using roofing nails or screws: Once the frame is properly positioned, secure it in place using roofing nails or screws. Make sure to choose the appropriate fasteners based on the material of your roof. Drive them through the frame and into the roof structure to ensure a stable installation.
- Apply a layer of caulk around the edges for weatherproofing: To provide additional weatherproofing, apply a layer of caulk around the edges of the skylight frame. This will help create a tight seal and prevent any water or air leaks. Use a caulk gun to apply the caulk evenly, ensuring it covers the gaps between the frame and the roof structure.
As you install the skylight frame, it’s important to pay attention to the alignment and stability. Double-check that the frame is level and plumb, making any necessary adjustments as you go. This will ensure that the skylight window fits properly and functions optimally.
Applying caulk around the frame is a crucial step to protect against water damage and maintain the energy efficiency of your home. Make sure to use a high-quality caulk that is designed for outdoor use and can withstand changing weather conditions.
By properly installing the skylight frame, you’ll create a solid foundation for the skylight window and ensure a leak-free and durable installation.
When adding a skylight, make sure to consider the direction of the sun to maximize natural light. Also, choose a skylight with UV protection to prevent furniture fading.
Read more: How To Make Skylight
Step 5: Install the skylight window
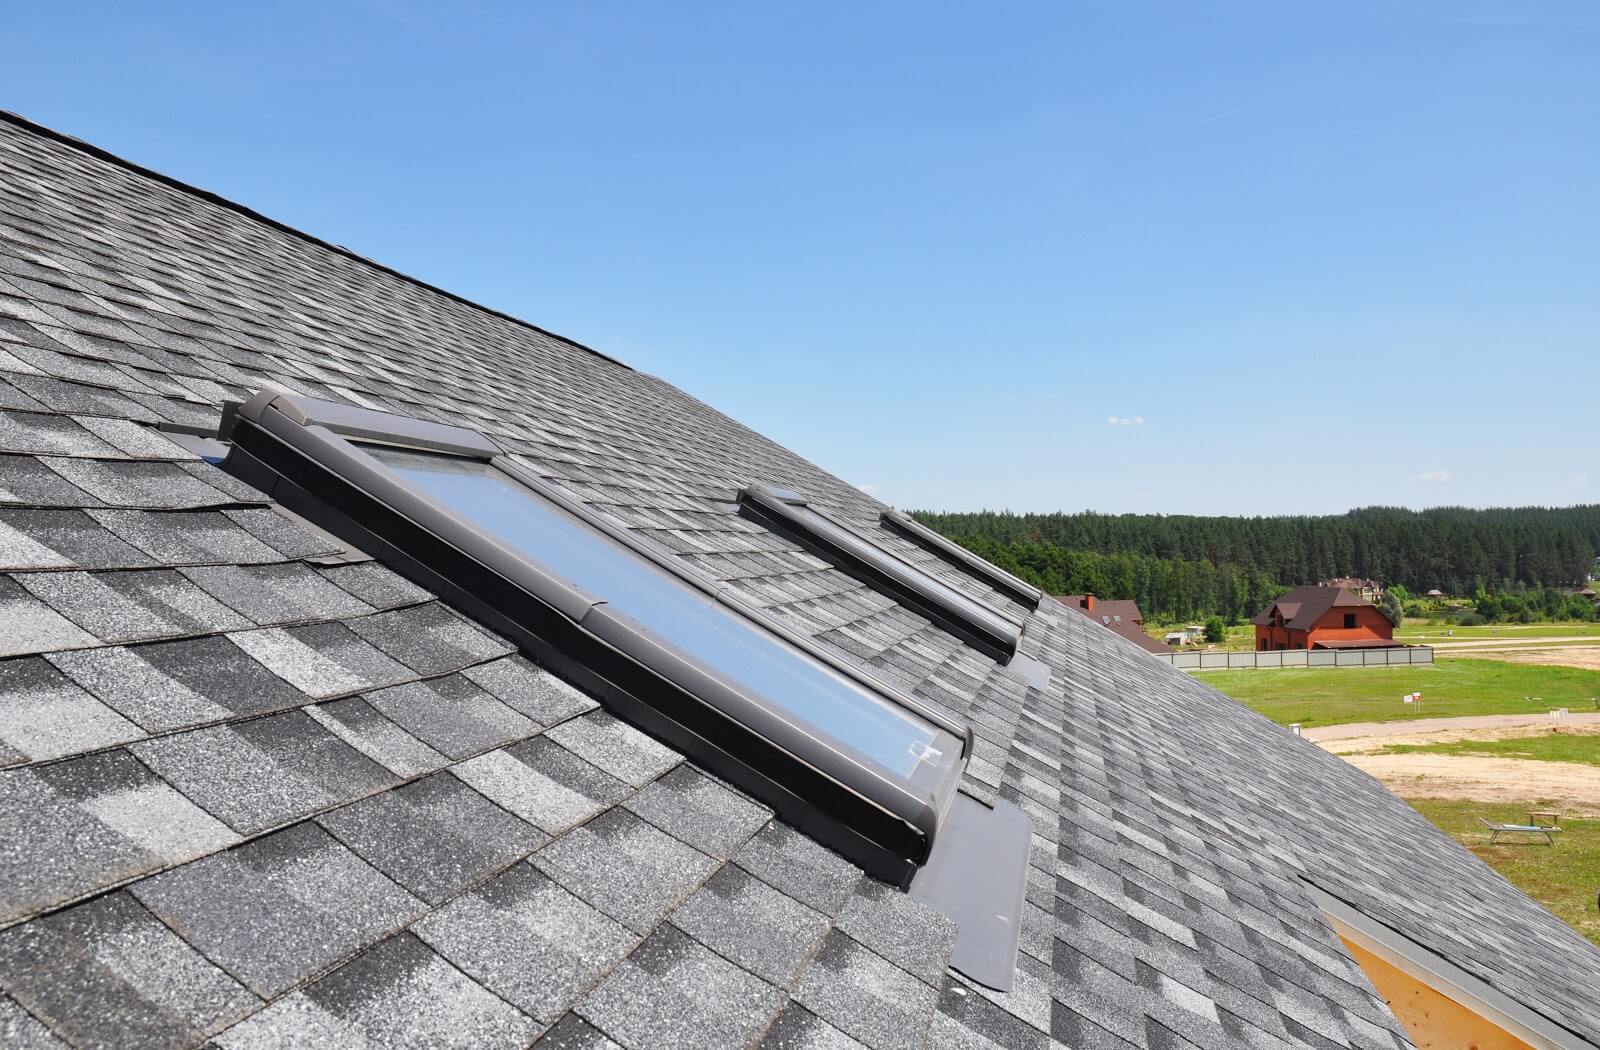
Now that the skylight frame is securely in place, it’s time to install the skylight window. The window is the centerpiece of your skylight and allows natural light to enter your space. Follow these steps to properly install the skylight window:
- Attach the skylight window to the frame: Carefully position the skylight window onto the frame, ensuring it fits snugly. Follow the manufacturer’s instructions to properly attach the window to the frame. This may involve using screws or other fasteners provided with the skylight kit.
- Ensure a tight seal by applying additional caulk: To create a watertight and airtight seal, apply an additional layer of caulk around the edges of the skylight window. This will help prevent any water leakage or drafts. Use a caulk gun to apply the caulk evenly and ensure it covers any gaps between the window and the frame.
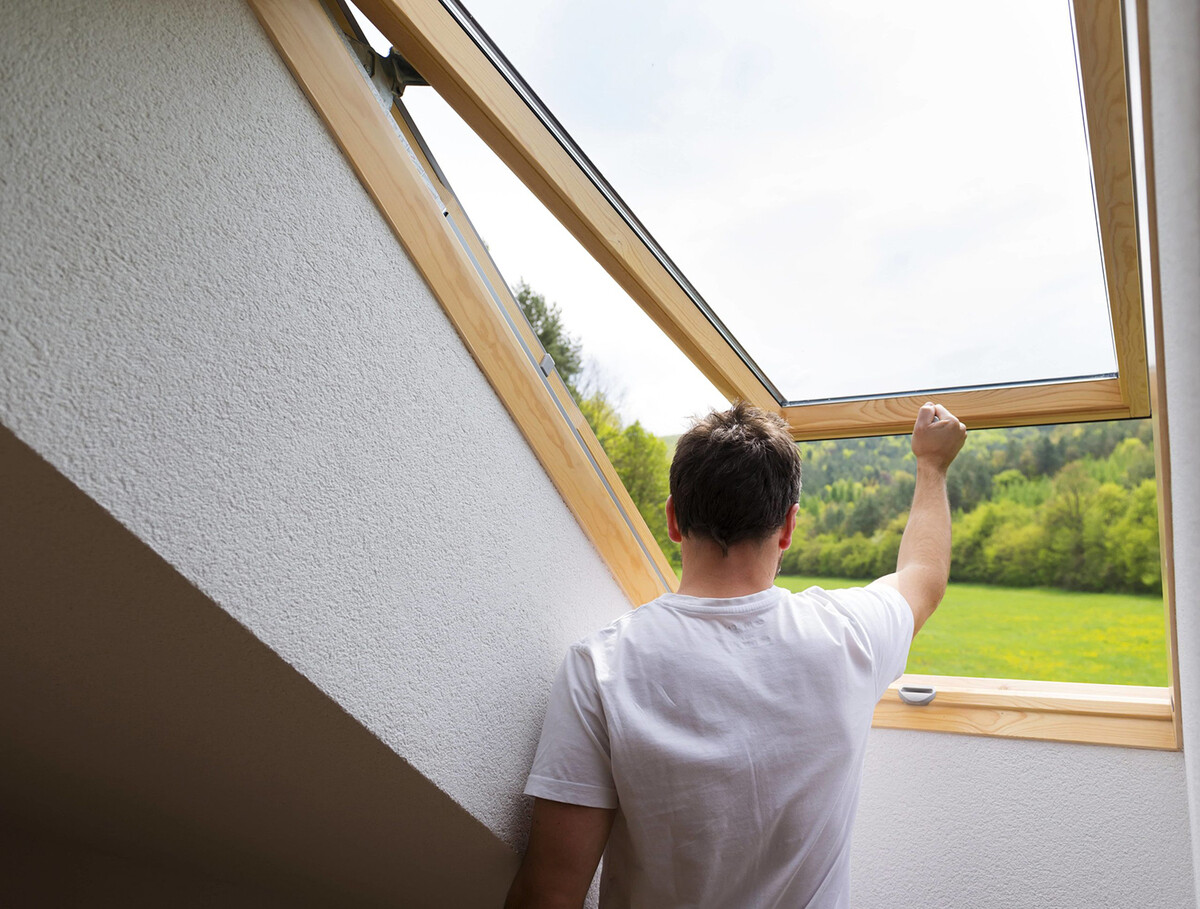
- Test the window’s functionality and fix any issues: After installing the skylight window, test its functionality by opening and closing it. Ensure that it operates smoothly and securely. If you encounter any issues, such as difficulty opening or closing, or gaps in the seal, address them promptly. Make any necessary adjustments or apply more caulk as needed to ensure proper function.
Installing the skylight window requires careful attention to detail to ensure it is properly fitted and sealed. Take your time during this step and follow the manufacturer’s instructions closely.
Testing the window’s functionality is essential to ensure that it operates smoothly and provides optimal performance. It’s important to fix any issues as soon as you notice them to avoid any future problems or potential water damage.
Once the skylight window is securely installed and properly functioning, you’re one step closer to enjoying the natural light and beauty it brings into your home.
Step 6: Finish the interior and exterior
With the skylight window installed, it’s time to complete the finishing touches both on the interior and the exterior. This step will ensure a polished look and provide added protection against leaks and weather elements. Follow these steps to finish the skylight installation:
- Install drywall or trim around the skylight on the inside: To create a finished and seamless look on the interior, install drywall or trim around the skylight frame. This will cover any gaps or rough edges and give the skylight a clean and professional appearance. Secure the drywall or trim using appropriate fasteners, such as screws or nails.
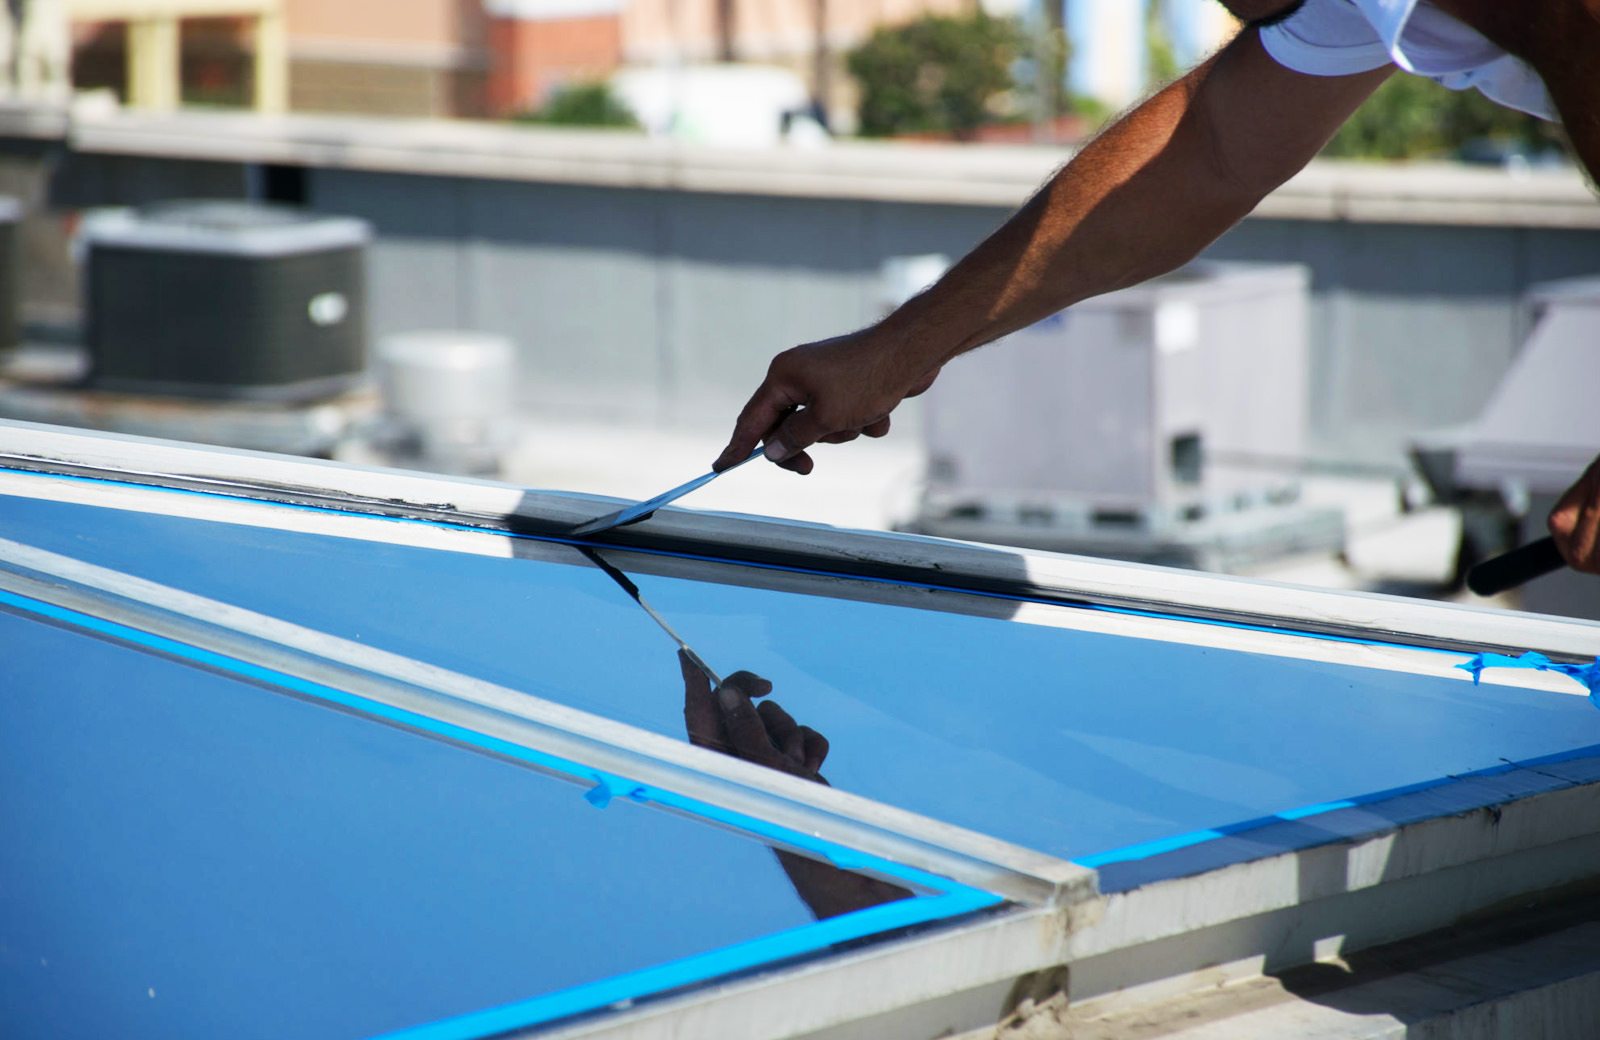
- Apply exterior flashing around the skylight to prevent leaks: On the exterior, apply flashing around the skylight to provide additional protection against water infiltration. The flashing should be installed around the perimeter of the skylight, forming a waterproof barrier between the skylight frame and the roof. Consult the manufacturer’s instructions for proper installation techniques.
- Seal any gaps with caulk for added weather resistance: Finally, inspect both the interior and exterior of the skylight for any gaps or cracks that may have been left during the installation process. Use exterior-grade caulk to seal any gaps or openings, both on the interior and exterior of the skylight. This will help enhance the weather resistance of the skylight and ensure a tight seal against drafts and moisture.
Finishing the interior and exterior of the skylight is essential to achieve a professional and aesthetically pleasing result. The drywall or trim installation on the inside will provide a polished look that seamlessly integrates the skylight into the surrounding ceiling. The exterior flashing and caulk will then enhance the skylight’s weatherproofing capabilities, guarding against potential leaks and weather damage.
Take your time during this step to ensure thoroughness and attention to detail. Keep in mind that a well-finished skylight installation will not only improve the visual appeal of your space but also provide long-lasting functionality and protection.
Step 7: Clean up and Maintenance Tips
Congratulations, you’ve successfully installed your skylight! However, the job isn’t quite finished just yet. It’s important to properly clean up and maintain your skylight to ensure it continues to perform optimally over time. Here are some essential clean up and maintenance tips:
- Remove any debris or construction materials: After completing the installation, thoroughly clean up any debris or construction materials that may have accumulated during the process. This includes dust, dirt, and any leftover materials like packaging or fasteners. Dispose of them properly to leave the area clean and hazard-free.
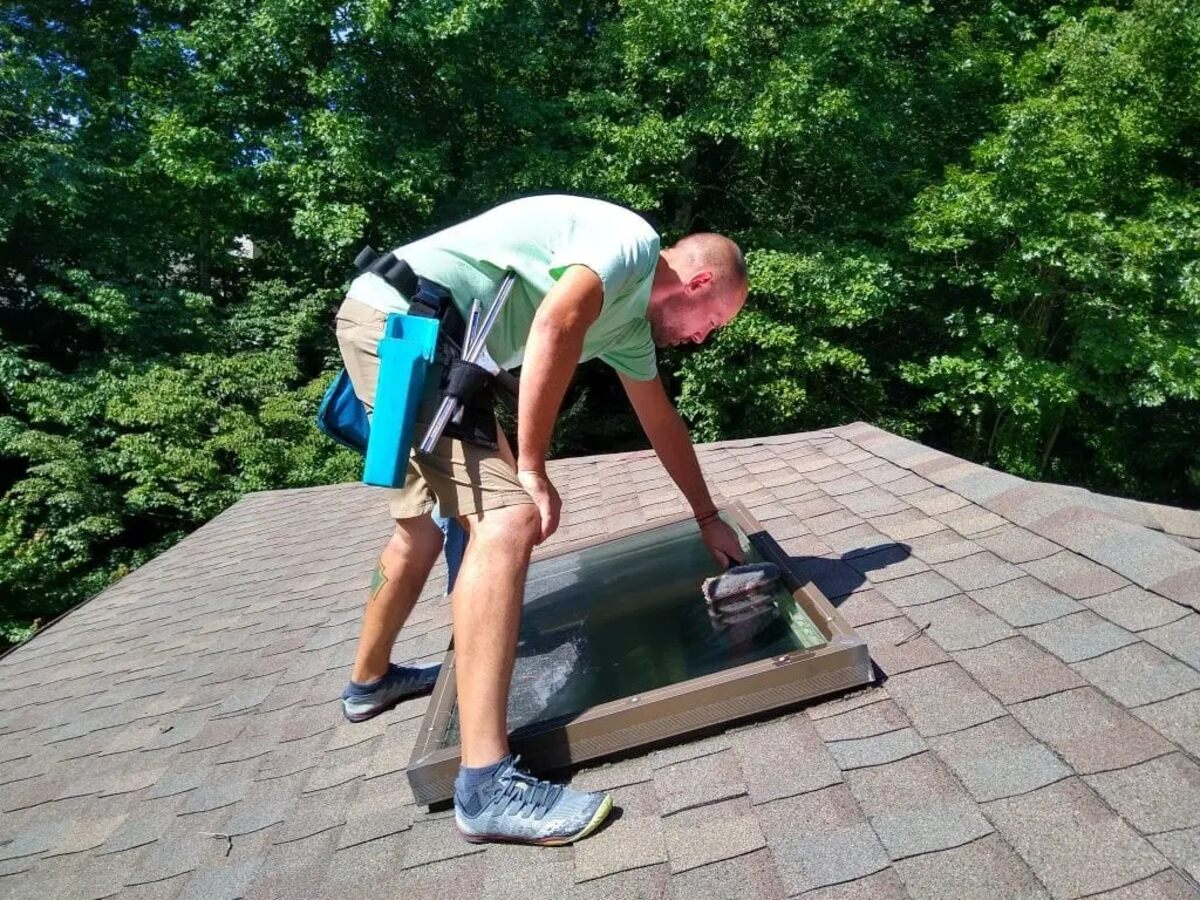
- Regularly inspect and clean the skylight for optimal performance: Regular inspections are crucial to keep your skylight in good condition. Inspect the window and frame periodically to ensure they’re free from debris, such as leaves or branches. Clean the skylight using a non-abrasive glass cleaner and a soft cloth. Avoid using harsh chemicals or abrasive materials, as they could damage the skylight’s surface.
- Check for leaks or damage and address them promptly: As part of your regular maintenance routine, check for any signs of leaks or damage around the skylight area. Look for water stains, dampness, or discoloration on the ceiling or walls near the skylight. If you notice any issues, such as leaks or cracks, address them promptly to prevent further damage. Consult a professional if needed to ensure proper repairs and prevent any potential water intrusion.
By keeping your skylight clean and well-maintained, you’ll maximize its lifespan and ensure it continues to enhance the natural lighting and beauty of your home. Regular inspections and prompt repairs will help prevent any major issues and save you from costly repairs down the line.
Remember, proper maintenance not only keeps your skylight looking its best but also ensures it operates efficiently and effectively, providing you with all the benefits of natural light and a bright, welcoming space.
Conclusion
Adding a skylight to your home is a wonderful way to invite natural light into your living space and elevate its overall ambiance. By following the step-by-step process outlined in this article, you can successfully install a skylight and enjoy its many benefits.
From gathering the necessary tools and materials to selecting the ideal location, measuring and preparing the opening, installing the frame and window, and finishing the interior and exterior, each step is essential in achieving a seamless and effective skylight installation.
Remember, safety should always be a priority during any home improvement project. Take necessary precautions, wear appropriate safety equipment, and consider hiring a professional if you’re not confident in your skills or knowledge.
Once the skylight is installed, it’s important to keep up with regular maintenance. Take the time to clean and inspect the skylight periodically to ensure it remains in top condition. Address any leaks or damage promptly to avoid further issues.
With a well-placed skylight, you can transform any room into a brighter, more inviting space. Whether it’s a living area, kitchen, bathroom, or hallway, the addition of a skylight can enhance the aesthetics of your home and improve your overall well-being by bringing in natural light.
So go ahead, embark on the journey of installing a skylight and see how it transforms your home. Enjoy the beauty, warmth, and natural light it brings, creating a bright and uplifting atmosphere for you and your loved ones to enjoy.
Frequently Asked Questions about How To Add Skylight
Was this page helpful?
At Storables.com, we guarantee accurate and reliable information. Our content, validated by Expert Board Contributors, is crafted following stringent Editorial Policies. We're committed to providing you with well-researched, expert-backed insights for all your informational needs.

0 thoughts on “How To Add Skylight”