
Articles
How to Adjust GPU Fan Speed
Modified: October 28, 2024
Learn how to adjust GPU fan speed with these helpful articles. Keep your graphics card running cool and optimize performance.
(Many of the links in this article redirect to a specific reviewed product. Your purchase of these products through affiliate links helps to generate commission for Storables.com, at no extra cost. Learn more)
Introduction
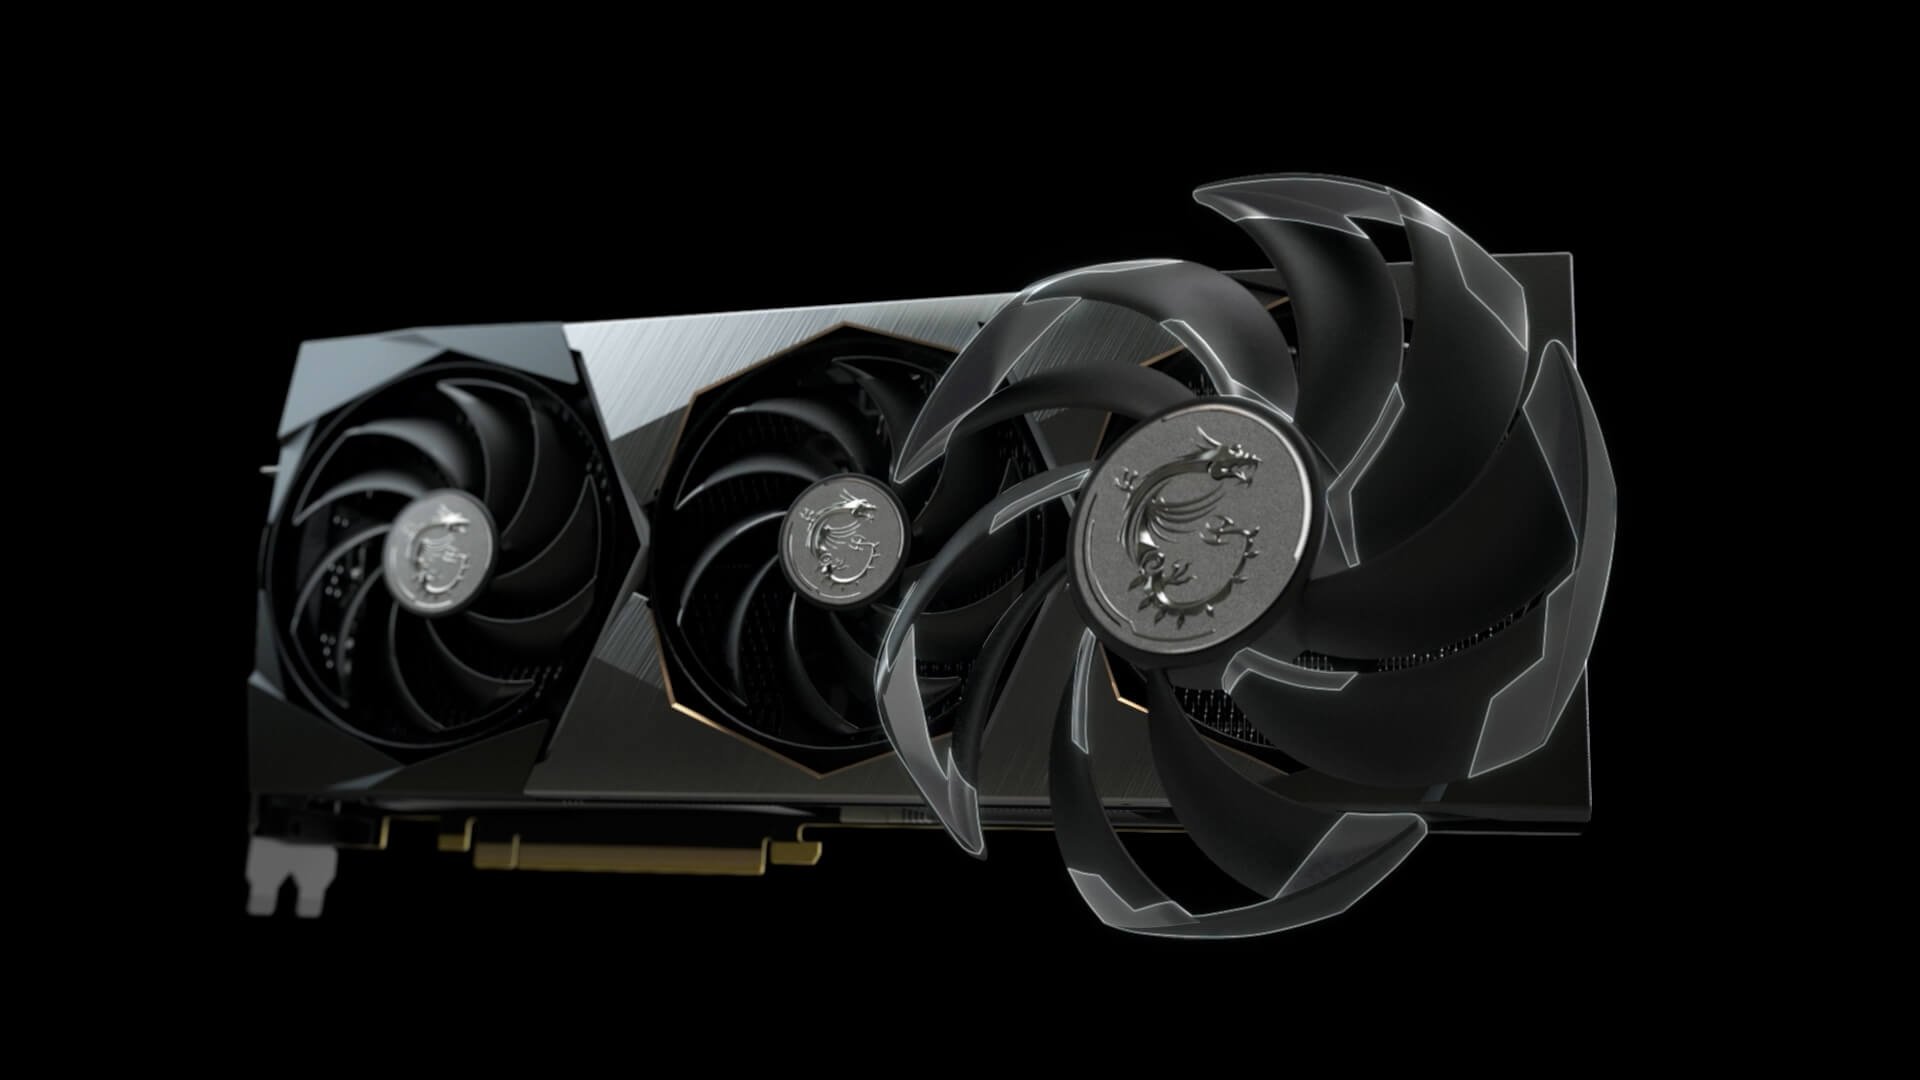
When it comes to gaming or resource-intensive tasks like video editing or 3D rendering, a key component of your computer’s hardware that plays a crucial role in keeping everything running smoothly is the Graphics Processing Unit (GPU). The GPU generates a significant amount of heat while performing these tasks, and to prevent overheating and potential damage, GPUs are equipped with cooling systems, including fans.
The fans on a GPU are responsible for dissipating the heat by circulating cool air over the GPU’s heat sink, ensuring that it stays within safe operating temperatures. However, sometimes the default fan settings on a GPU might not be optimal for your specific needs. This could lead to excessive heat buildup, reduced performance, or even system crashes.
That’s where adjusting the GPU fan speed comes into play. By manually adjusting the fan speed of your GPU, you can optimize the cooling performance and maintain a stable temperature for your GPU even under demanding workloads. In this article, we will delve into the importance of adjusting the GPU fan speed and explore different methods to achieve this.
Key Takeaways:
- Adjusting GPU fan speed is crucial for maintaining optimal performance, temperature control, and longevity of your graphics card. It allows for efficient cooling, prevents overheating, and maximizes the potential of your GPU.
- Methods such as manual fan curve adjustment, GPU overclocking tools, and third-party fan control software provide diverse options for customizing GPU fan speed. Careful monitoring of temperatures and performance is essential for finding the right balance between cooling efficiency and noise levels.
Read more: How To Adjust HVAC Fan Speed
Understanding GPU Fan Speed
Before we dive into adjusting the GPU fan speed, let’s first understand what GPU fan speed actually means. The fan speed of a GPU refers to the rotational speed at which the fans attached to the GPU are operating. It is usually measured in revolutions per minute (RPM).
GPU fan speed is directly proportional to the cooling performance of the GPU. As the fan speed increases, more cool air is circulated over the GPU, dissipating heat more effectively. On the other hand, reducing the fan speed can help reduce noise levels and power consumption. It’s important to strike the right balance based on your specific requirements.
The default fan speed settings of a GPU are typically set by the manufacturer to ensure optimal cooling under normal operating conditions. However, these settings may not be suitable for everyone, especially in scenarios where you are pushing your GPU to its limits, overclocking it, or working in a particularly hot environment.
Adjusting the GPU fan speed allows you to customize the cooling performance of your GPU according to your needs. By increasing the fan speed, you can keep the GPU temperature lower, ensuring stable performance even during demanding tasks. Conversely, decreasing the fan speed can help reduce noise levels, making for a quieter computing experience.
It’s worth noting that adjusting the GPU fan speed may have an impact on the overall system noise levels, power consumption, and potentially the lifespan of the fans. Therefore, it’s recommended to monitor the temperature and performance of your GPU while making adjustments to ensure you strike the right balance between cooling and noise levels.
Now that we have a better understanding of GPU fan speed and its importance, let’s explore why it is crucial to adjust the fan speed to suit your needs.
Importance of Adjusting GPU Fan Speed
Adjusting the fan speed of your GPU is an important aspect of maintaining optimal performance and longevity of your graphics card. Here are some key reasons why adjusting the GPU fan speed is crucial:
1. Temperature Control: The primary purpose of adjusting the GPU fan speed is to control the temperature of your graphics card. By increasing the fan speed, you can enhance the cooling performance, preventing the GPU from overheating. This is especially important during intensive tasks like gaming or video editing, where the GPU is under heavy load for extended periods. Maintaining lower temperatures prevents thermal throttling, which can result in reduced performance and potential system instability.
2. Performance Optimization: When a GPU operates at higher temperatures, it may start to throttle its clock speeds to protect itself from damage. This can lead to reduced performance and a subpar gaming or computing experience. By adjusting the fan speed to keep the GPU temperature in check, you can ensure that the graphics card consistently operates at its maximum potential, delivering smoother gameplay and faster rendering times.
3. Noise Reduction: Many graphics cards come with default fan settings that prioritize cooling performance over noise levels. This can result in loud fan noise, which can be distracting and disruptive while gaming or working. By adjusting the fan speed, you can find the right balance between temperature control and noise reduction. This allows you to enjoy a quieter computing environment without compromising on cooling efficiency.
4. Overclocking Potential: Overclocking is the process of running a GPU at higher clock speeds than the ones specified by the manufacturer. This can lead to increased performance, but it also generates more heat. By adjusting the fan speed, you can effectively dissipate the additional heat generated during overclocking, allowing for more stable and sustained overclocking performance.
5. Extended Lifespan: Excessive heat can be detrimental to the longevity of your GPU. By keeping the GPU temperature in check through proper fan speed adjustment, you can help prolong the lifespan of your graphics card. Cooler temperatures result in less stress on the GPU components, reducing the risk of premature failure or degradation.
Now that we understand the importance of adjusting the GPU fan speed, let’s explore different methods to achieve this.
Methods to Adjust GPU Fan Speed
The fan speed of a GPU can be adjusted using various methods, depending on your specific graphics card model and the software available to you. Here are some popular methods to adjust the GPU fan speed:
1. Manual Fan Curve Adjustment: Most modern graphics cards come with software utilities that allow you to control and adjust the fan speed manually. These utilities provide a graphical interface where you can set the desired fan speed at different temperature points. This allows you to create a custom fan curve that determines how the fan speed should respond based on the GPU temperature. Adjusting the fan curve gives you precise control over cooling performance and noise levels.
2. Using GPU Overclocking Tools: Some GPU overclocking tools also offer fan speed control as a part of their feature set. These tools usually provide options to adjust the core clock, memory clock, and voltage of the GPU, along with fan speed control. By using such tools, you can not only boost the performance of your graphics card but also optimize the fan speed to match the increased heat generation during overclocking.
3. Third-Party Fan Control Software: Third-party software applications, such as MSI Afterburner or EVGA Precision X1, offer advanced fan control options for various GPU models. These software tools provide extensive customization features, including fan speed adjustment, temperature monitoring, and overclocking capabilities. They are compatible with a wide range of graphics cards, making them a popular choice for enthusiasts who want to fine-tune their system’s cooling performance.
4. BIOS Settings: Some graphics cards allow you to adjust the fan speed settings directly from the system BIOS. This method requires accessing the BIOS menu during system boot-up and navigating to the GPU-related settings. While adjusting the fan speed through the BIOS offers a basic level of control, it may lack the flexibility and customization options provided by dedicated software utilities.
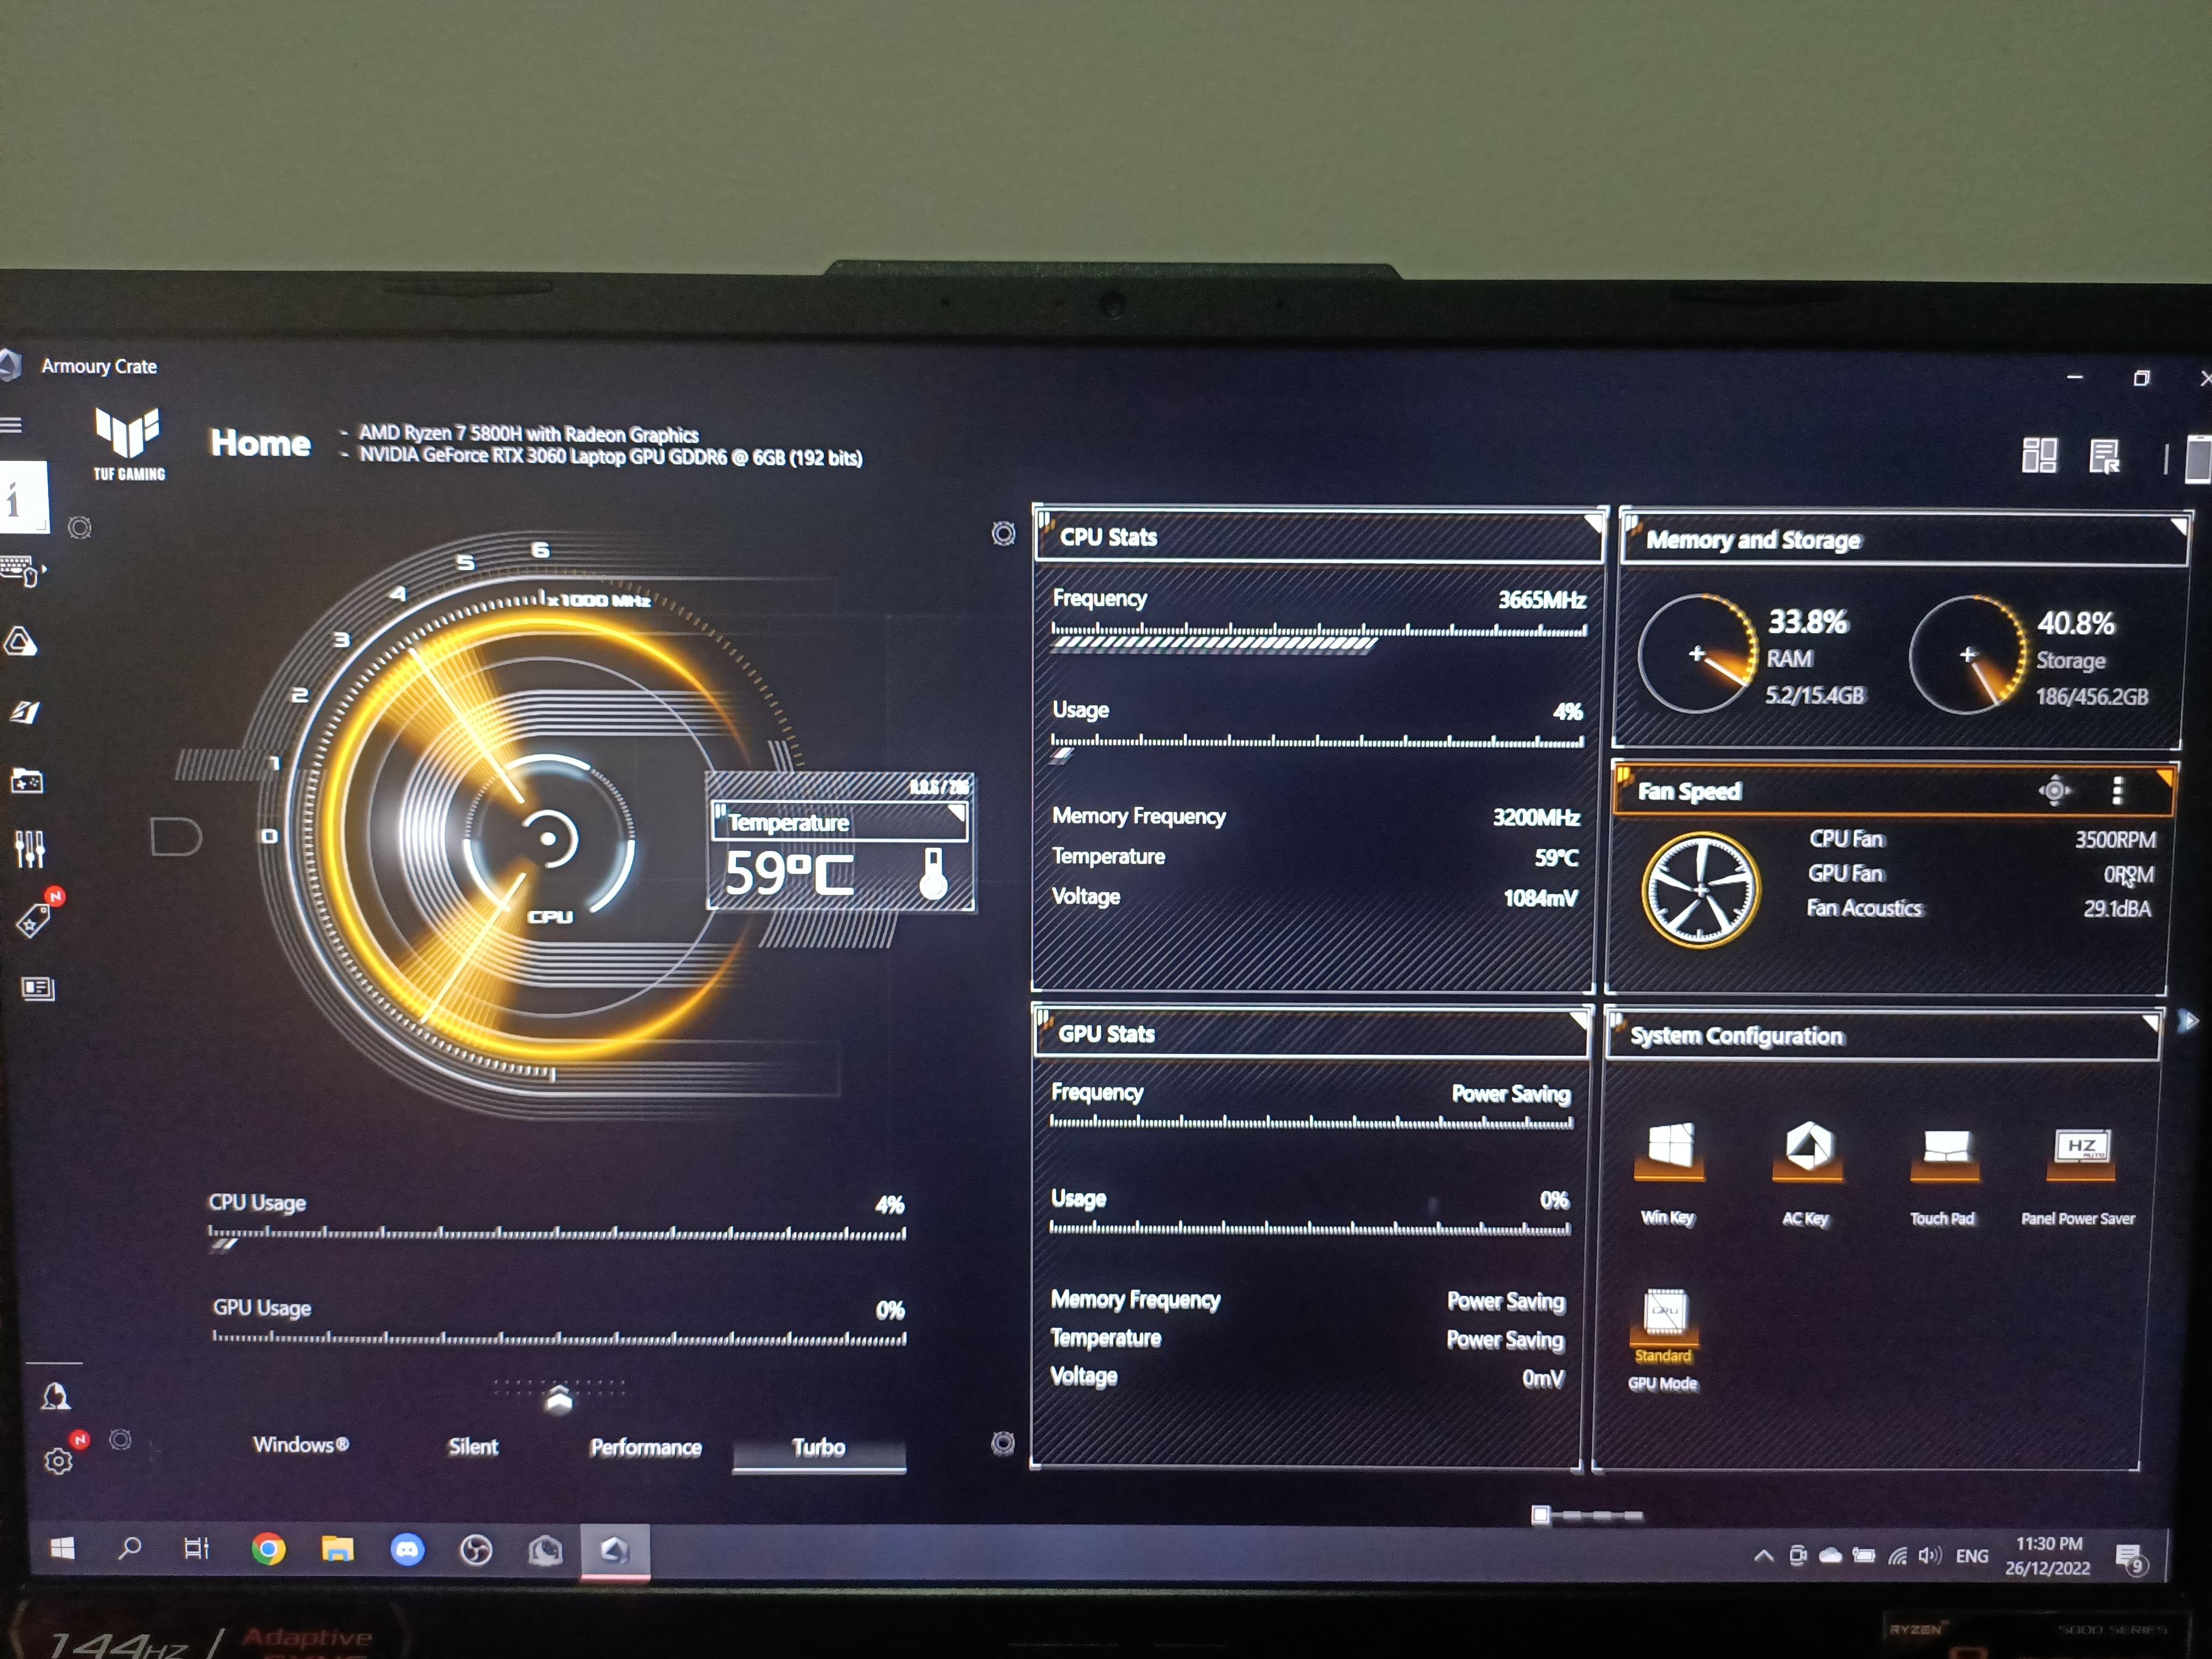
5. Manufacturer-Specific Software: Graphics card manufacturers often provide their own software utilities that allow users to customize various settings, including fan speed. These utilities are specifically designed for their graphics card models and may offer additional features such as RGB lighting control or performance monitoring. Checking the manufacturer’s website for the latest software for your GPU is a good starting point.
It’s important to note that not all GPUs have the same level of customization options for adjusting the fan speed. Some older or budget graphics cards may have limited or no fan speed control available. In such cases, you may have to rely on the default fan settings provided by the manufacturer.
With these methods at your disposal, you have the flexibility to adjust the GPU fan speed to suit your specific requirements, ensuring optimal cooling and performance.
Now, let’s wrap up our discussion.
You can adjust your GPU fan speed using software like MSI Afterburner or the manufacturer’s own software. Be cautious when increasing fan speed to avoid excessive noise and wear on the fan.
Manual Fan Curve Adjustment
One of the most common and effective methods to adjust the GPU fan speed is through manual fan curve adjustment. This method allows you to create a custom fan curve, specifying the desired fan speed at different GPU temperature points. By adjusting the fan curve, you can optimize the cooling performance and noise levels of your graphics card.
To perform manual fan curve adjustment, you will need to use the software utility provided by the graphics card manufacturer, such as NVIDIA Control Panel or AMD Radeon Settings. Here is a step-by-step guide to adjusting the GPU fan curve:
- Open the software utility for your graphics card, which can usually be found in the system tray or through the Start menu.
- Look for the fan settings or overclocking section within the software. The exact location may vary depending on the manufacturer and software version.
- Once you have accessed the fan control settings, you should see a graph representing the fan curve. The X-axis represents the GPU temperature, and the Y-axis represents the corresponding fan speed in RPM.
- By default, the fan curve will usually have a gradual slope, increasing the fan speed as the GPU temperature rises. You can click and drag the points on the graph to adjust the fan speed at different temperature points.
- Consider your specific needs and preferences when adjusting the fan curve. For example, if you want to prioritize lower temperatures, you can set the fan speed to increase more aggressively as the temperature rises. On the other hand, if noise reduction is a priority, you can set a more gradual fan curve.
- Once you are satisfied with the adjustments, apply the changes and monitor the GPU temperature and fan speed to ensure everything is functioning as desired.
It’s important to find the right balance when adjusting the fan curve. Setting the fan speed too low may result in higher temperatures and potential performance issues, while setting it too high may create excessive noise. Continuous monitoring of GPU temperatures and performance while adjusting the fan curve is recommended to ensure optimal results.
Remember that the availability of fan curve adjustment may depend on the specific graphics card model and software. Older or budget graphics cards may not offer this level of customization, requiring you to rely on the default fan settings provided by the manufacturer.
By utilizing the manual fan curve adjustment method, you can effectively control the cooling performance and noise levels of your GPU, ensuring optimal temperature management and system stability.
Now, let’s explore another method to adjust the GPU fan speed.
Read more: How To Adjust Fan Speed On Pc
Using GPU Overclocking Tools
In addition to overclocking your GPU, many overclocking tools also offer the ability to adjust the fan speed of your graphics card. These tools provide a convenient way to fine-tune both performance and cooling aspects of your GPU. By using GPU overclocking tools, you can maximize the potential of your graphics card while ensuring it stays within safe temperature limits.
Here’s how you can adjust the GPU fan speed using GPU overclocking tools:
- Download and install a reputable GPU overclocking tool such as MSI Afterburner or EVGA Precision X1. These tools are often provided by the graphics card manufacturer or developed by third-party software developers specifically for graphics card overclocking.
- Launch the overclocking tool and familiarize yourself with the interface. Each tool may have a slightly different layout and feature set, but the basic functionality remains the same.
- Locate the fan control section within the overclocking tool’s interface. This section typically allows you to adjust the core clock, memory clock, voltage, and fan speed of the GPU.
- Adjust the fan speed slider or set numerical values to increase or decrease the fan speed, depending on your needs. Some tools may also allow you to create a custom fan curve by specifying the fan speed at different GPU temperature points.
- It’s recommended to incrementally increase or decrease the fan speed and test the GPU under heavy load to assess the impact on temperature and performance. This will help you find the optimal balance between cooling and noise levels.
- Once you are satisfied with the adjustments, apply the changes and monitor the GPU temperature and fan speed to ensure stability and desired cooling performance.
GPU overclocking tools provide additional benefits beyond adjusting the fan speed. They allow you to push your graphics card to higher clock speeds, resulting in improved gaming performance and faster rendering times. However, it’s crucial to monitor the GPU temperature closely while overclocking and adjusting the fan speed to prevent overheating or instability.
It’s worth noting that not all GPUs support overclocking, and the level of customization options may vary depending on the specific graphics card model and software. It’s always recommended to consult the documentation provided by the manufacturer or visit their official website to ensure compatibility and learn about the specific features offered by the overclocking tool.
Using GPU overclocking tools to adjust the fan speed provides an integrated solution for optimizing both performance and cooling, giving you more control over your graphics card’s behavior. However, if you prefer more extensive customization options, you can explore third-party fan control software, which we will discuss in the next section.
Now, let’s move on to explore third-party fan control software.
Third-Party Fan Control Software
If you’re looking for more extensive customization options and advanced control over your GPU’s fan speed, third-party fan control software can be a valuable tool. These software applications offer comprehensive fan control features, allowing you to fine-tune the cooling performance of your graphics card to suit your specific needs and preferences.
Here are a few examples of popular third-party fan control software:
1. MSI Afterburner: MSI Afterburner is a widely used and highly regarded GPU overclocking and fan control utility. It provides a user-friendly interface with advanced fan control options, enabling you to adjust fan speed curves, define fan profiles, and monitor crucial metrics like temperature, usage, and clock speeds. It is compatible with a wide range of graphics cards from different manufacturers.
2. EVGA Precision X1: EVGA Precision X1 is an overclocking and GPU management tool that also offers extensive fan control capabilities. It allows you to adjust the fan speed manually using a slider or create custom fan speed profiles based on GPU temperature. The software provides real-time monitoring of GPU parameters and supports EVGA graphics cards.
3. GPU Tweak II: GPU Tweak II is a software utility developed by ASUS for their graphics cards. In addition to overclocking features, it offers comprehensive fan control options, including the ability to adjust fan speed based on GPU temperature. The software provides an intuitive interface with real-time monitoring and customization capabilities.
4. SpeedFan: SpeedFan is a popular third-party fan control software that supports a wide range of hardware components, including GPUs. It allows you to manually control fan speed, create custom fan curves, and monitor system temperatures. While it may not offer as many features specific to graphics cards as the aforementioned tools, it provides a versatile solution for fan control across various components of your system.
These are just a few examples of third-party fan control software available in the market. When choosing a software application, consider factors such as compatibility with your graphics card brand and model, user interface preferences, and the specific fan control features you require.
It’s important to note that using third-party fan control software may require installation and additional configuration. Be sure to follow the instructions provided by the software manufacturer to ensure proper setup and usage.
By utilizing third-party fan control software, you can gain greater control over the fan speed of your GPU, enabling you to customize the cooling performance to your liking. These tools provide extensive options for fan speed adjustment, monitoring, and customization, allowing you to strike the perfect balance between cooling efficiency and noise levels.
Now that we’ve explored different methods to adjust GPU fan speed, let’s wrap up our discussion.
Conclusion
Adjusting the fan speed of your GPU is a crucial aspect of maintaining optimal performance, temperature control, and longevity of your graphics card. By carefully managing the GPU fan speed, you can ensure efficient cooling, prevent overheating, and maximize the potential of your GPU.
In this article, we explored different methods for adjusting the GPU fan speed. Manual fan curve adjustment allows you to create a custom fan curve, specifying the desired fan speed at different temperature points. This method provides precise control over cooling performance and noise levels.
Using GPU overclocking tools not only enables you to enhance the performance of your graphics card by increasing clock speeds but also allows you to optimize the fan speed to match the increased heat generation during overclocking.
Third-party fan control software provides extensive customization options and advanced control over the fan speed of your GPU. These software applications offer diverse features such as fan speed curves, fan profiles, and real-time monitoring, empowering you to fine-tune the cooling performance to your exact requirements.
It’s important to remember that adjusting the GPU fan speed should be accompanied by careful monitoring of GPU temperatures and performance. Finding the right balance between cooling efficiency and noise levels is essential to ensure stability, longevity, and an optimal computing experience.
When choosing a method to adjust the GPU fan speed, consider factors such as the compatibility with your graphics card model, the level of customization you desire, and the user-friendliness of the software or tool.
By effectively adjusting the GPU fan speed, you can optimize the cooling performance of your graphics card, maximize its potential, and enhance your overall gaming and computing experience.
We hope this article has provided valuable insights into the importance of adjusting GPU fan speed and the methods available to achieve it. Keep your GPU running cool and enjoy seamless performance!
Frequently Asked Questions about How To Adjust GPU Fan Speed
Was this page helpful?
At Storables.com, we guarantee accurate and reliable information. Our content, validated by Expert Board Contributors, is crafted following stringent Editorial Policies. We're committed to providing you with well-researched, expert-backed insights for all your informational needs.




0 thoughts on “How to Adjust GPU Fan Speed”