Home>Gardening & Outdoor>Outdoor Structures>How To Adjust A Sunsetter Awning
Outdoor Structures
How To Adjust A Sunsetter Awning
Modified: March 2, 2024
Learn how to adjust your Sunsetter awning for optimal shade and comfort. Our outdoor structures experts provide step-by-step instructions for a seamless process.
(Many of the links in this article redirect to a specific reviewed product. Your purchase of these products through affiliate links helps to generate commission for Storables.com, at no extra cost. Learn more)
Introduction
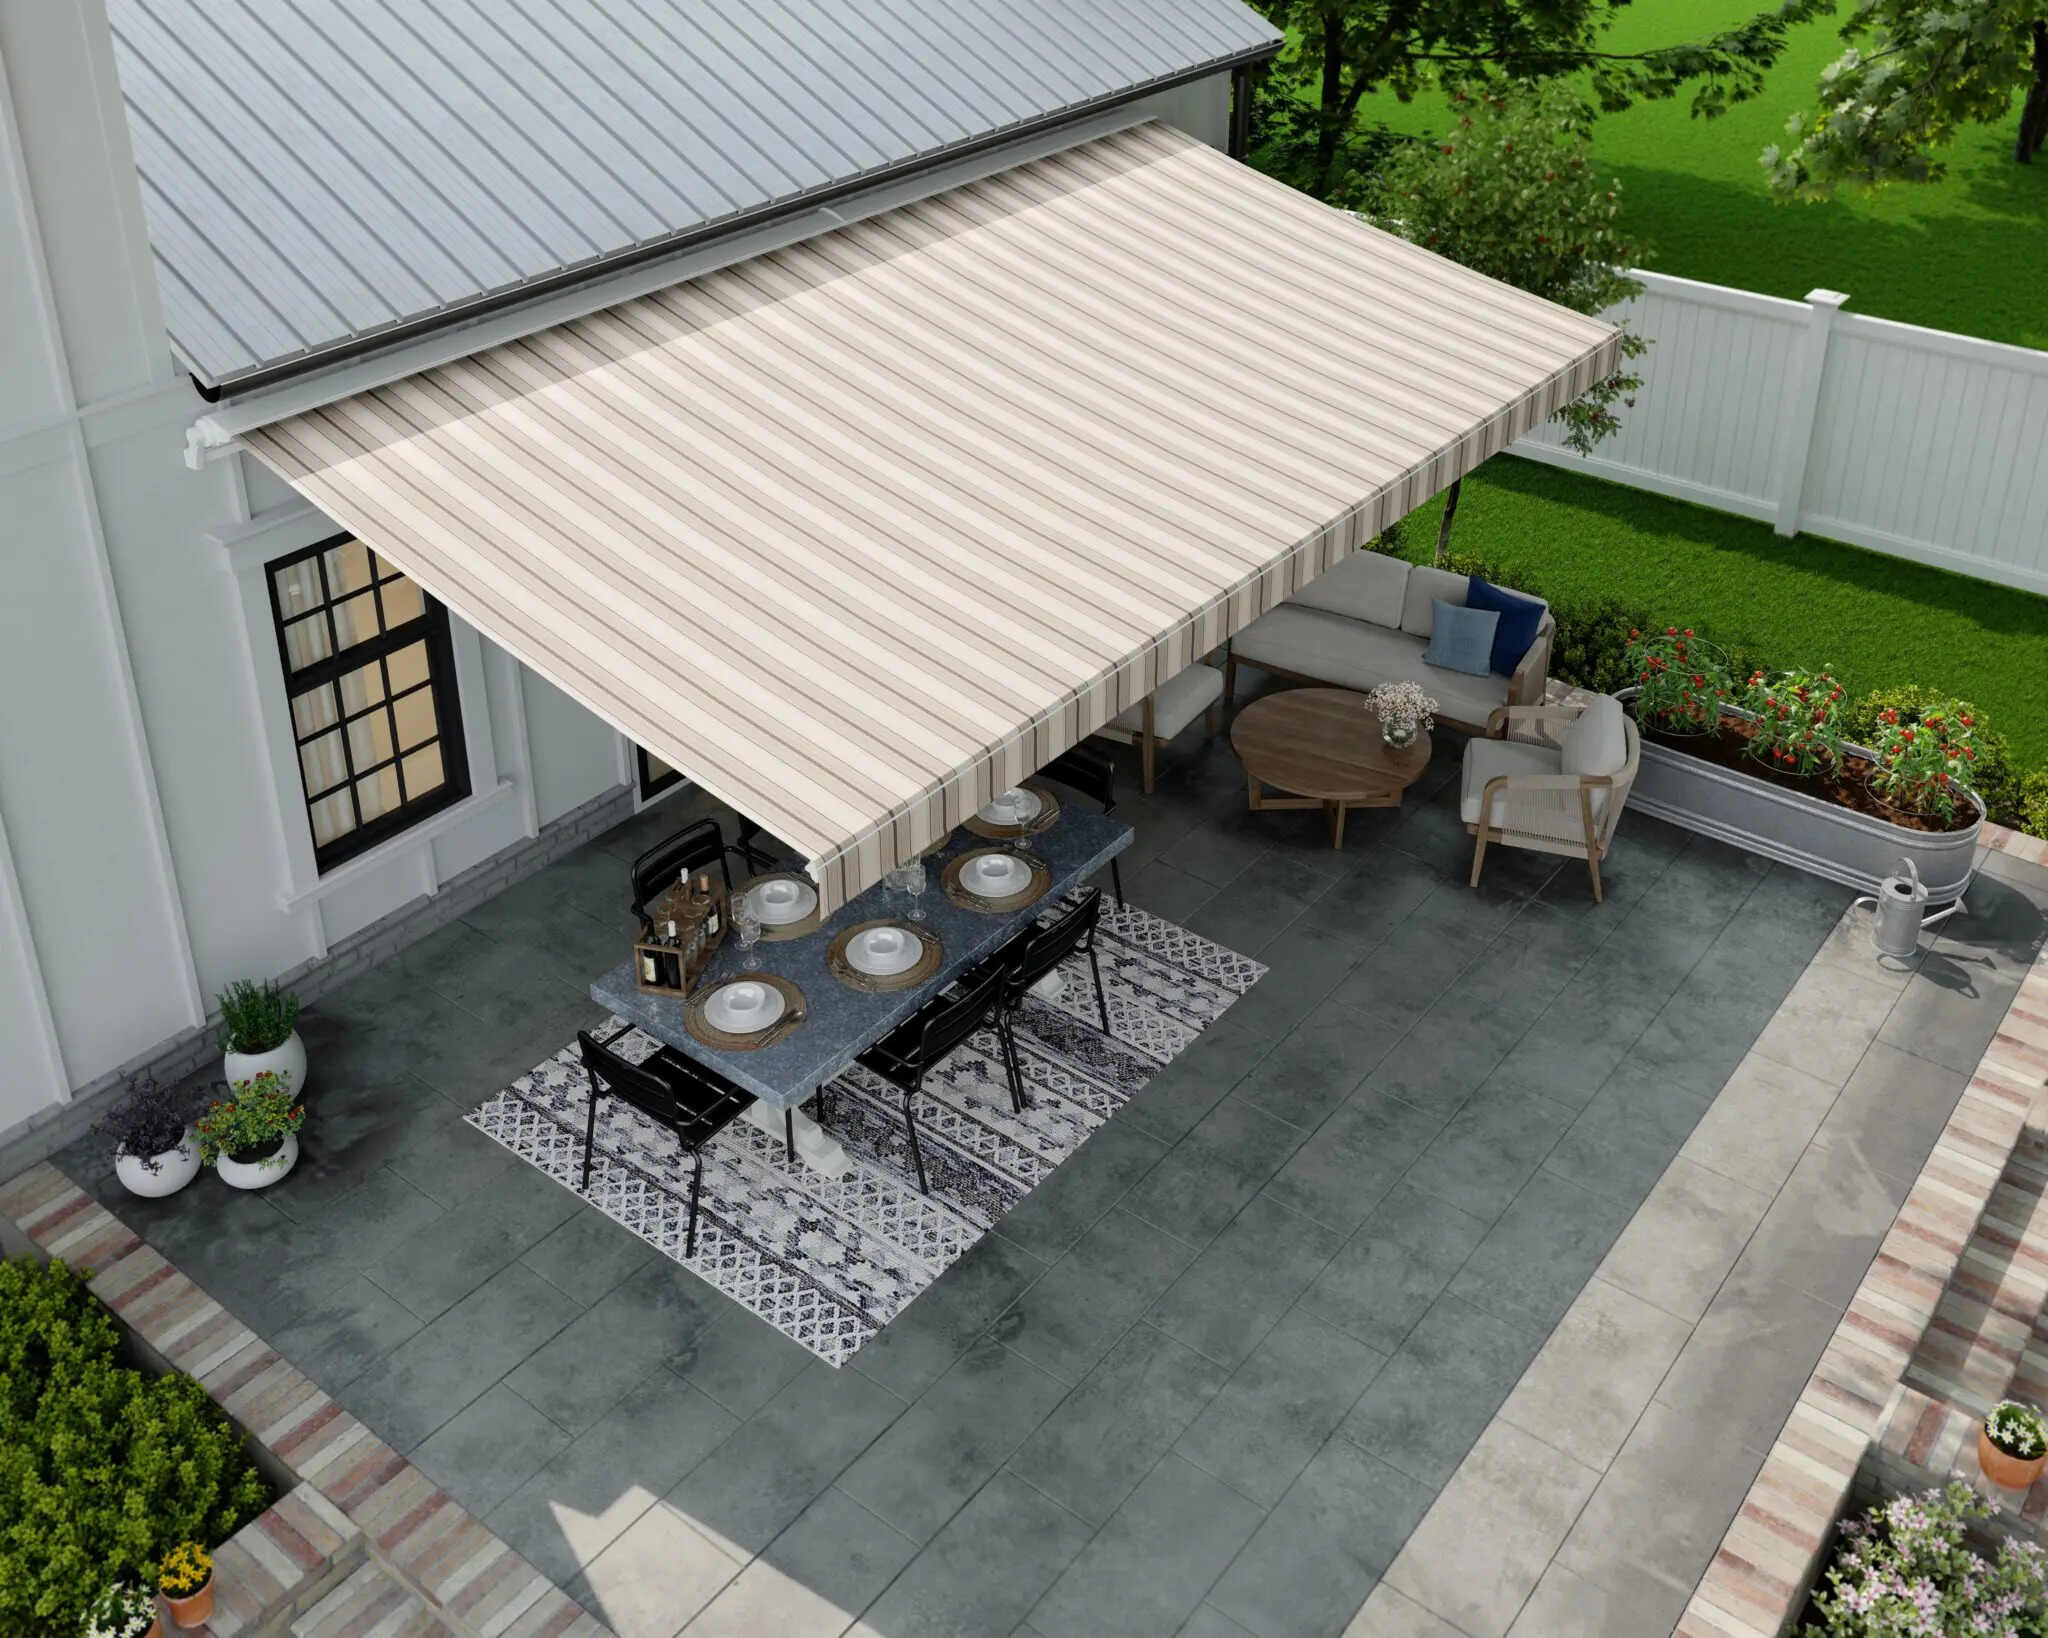
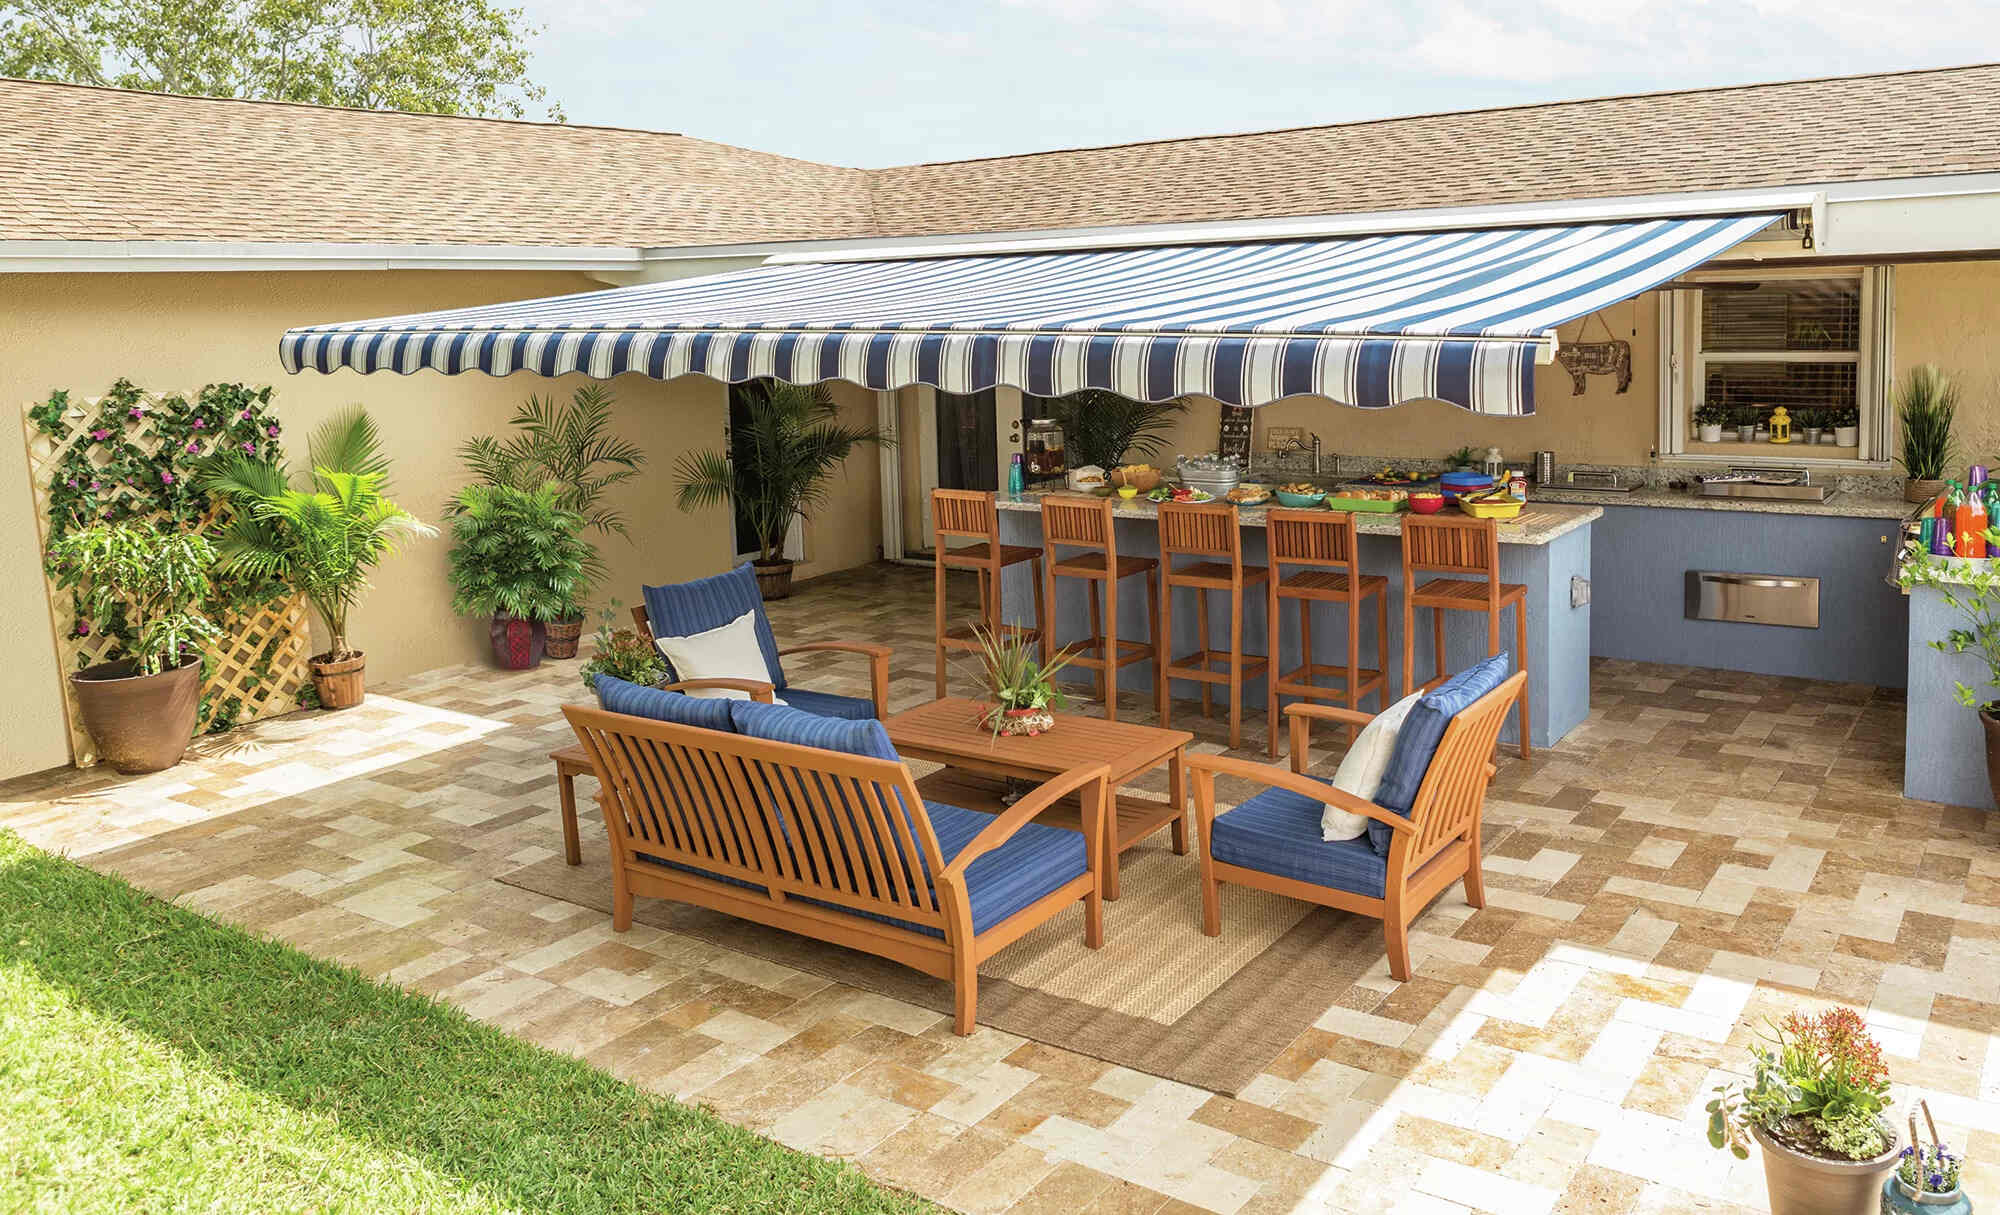
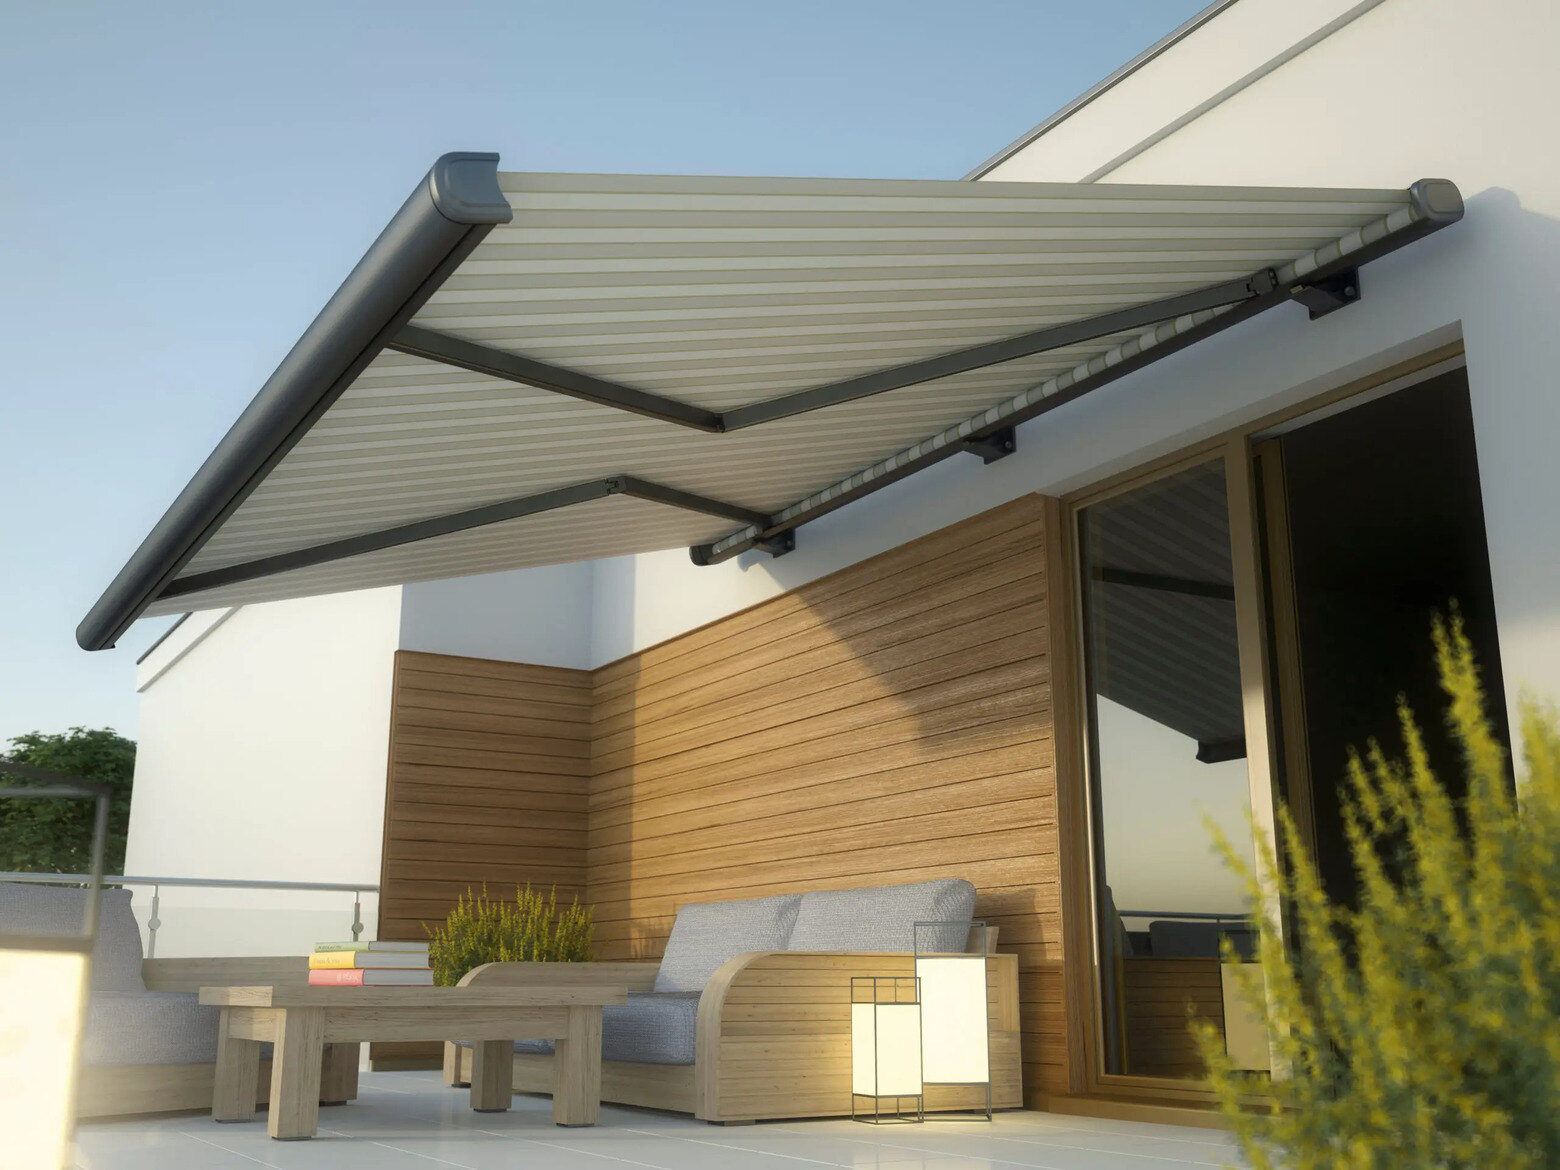
Welcome to the world of Sunsetter awnings! These wonderful outdoor structures can transform your patio or deck into a shaded oasis, providing relief from the sun's rays and allowing you to enjoy the outdoors in comfort. However, as with any mechanical device, adjustments may be necessary to ensure that your Sunsetter awning operates optimally.
In this comprehensive guide, we will walk you through the process of adjusting your Sunsetter awning with ease. Whether you're a seasoned Sunsetter owner or a newcomer to the world of outdoor structures, this step-by-step tutorial will equip you with the knowledge and confidence to make the necessary adjustments to your awning.
By the end of this guide, you'll be well-versed in identifying the adjustment mechanism, modifying the awning angle, and conducting a thorough testing process. So, grab your tools and let's dive into the world of Sunsetter awnings!
Key Takeaways:
- Adjusting your Sunsetter awning is easy with the right tools and knowledge. Precision and attention to detail yield a well-aligned and efficient awning, enhancing your outdoor comfort.
- Regular maintenance is essential for outdoor structures like Sunsetter awnings. By periodically assessing and fine-tuning your awning, you can prolong its lifespan and enjoyment.
Read more: How Much Is A Sunsetter Awning
Step 1: Gather Your Tools
Before embarking on the journey of adjusting your Sunsetter awning, it’s essential to gather the necessary tools. Having the right equipment at your disposal will streamline the adjustment process and ensure that you can make precise modifications with ease.
Here’s a list of tools you’ll need:
- Step ladder or sturdy platform
- Adjustable wrench
- Phillips head screwdriver
- Level
- Assistant (optional but helpful for larger awnings)
Once you’ve assembled these tools, you’ll be well-prepared to tackle the adjustment process. The step ladder or sturdy platform will provide safe access to the awning, while the adjustable wrench and Phillips head screwdriver will enable you to interact with the adjustment mechanisms effectively. Additionally, the level will aid in ensuring that the awning is perfectly aligned during the adjustment process.
Having an assistant on hand can be beneficial, especially for larger awnings, as they can provide support and an extra set of eyes to ensure that the adjustments are made accurately. With your tools at the ready, you’re now equipped to proceed to the next step of adjusting your Sunsetter awning.
Step 2: Locate the Adjustment Mechanism
Locating the adjustment mechanism is the crucial first step in the process of adjusting your Sunsetter awning. The specific location of the adjustment mechanism may vary depending on the model of your awning, so it’s essential to familiarize yourself with the structure and components of your particular awning.
Here are the general steps to locate the adjustment mechanism:
- Consult the Owner’s Manual: The owner’s manual that came with your Sunsetter awning is a valuable resource. It typically contains detailed information about the components of the awning, including the location of the adjustment mechanism. If you have the manual, refer to the section that discusses adjustments or troubleshooting.
- Inspect the Awning Frame: Begin by visually inspecting the frame of the awning. Look for any visible knobs, bolts, or levers that may be part of the adjustment mechanism. These components are often located near the arms or support structure of the awning.
- Check the Motorized Components (If Applicable): If your Sunsetter awning is motorized, the adjustment mechanism may be integrated into the motorized components. In this case, the owner’s manual will provide specific instructions for accessing and adjusting the motorized mechanism.
Once you’ve successfully located the adjustment mechanism, take note of its position and any components that may require adjustment. Familiarizing yourself with the mechanism will set the stage for the next step of modifying the awning angle to suit your preferences and outdoor conditions.
Remember, patience and attentiveness are key during this process. Taking the time to thoroughly understand the adjustment mechanism will contribute to a smooth and successful adjustment of your Sunsetter awning.
To adjust a Sunsetter awning, use the hand crank to extend or retract the awning. Make sure to secure the awning in place with the locking pins to prevent it from moving.
Step 3: Adjust the Awning Angle
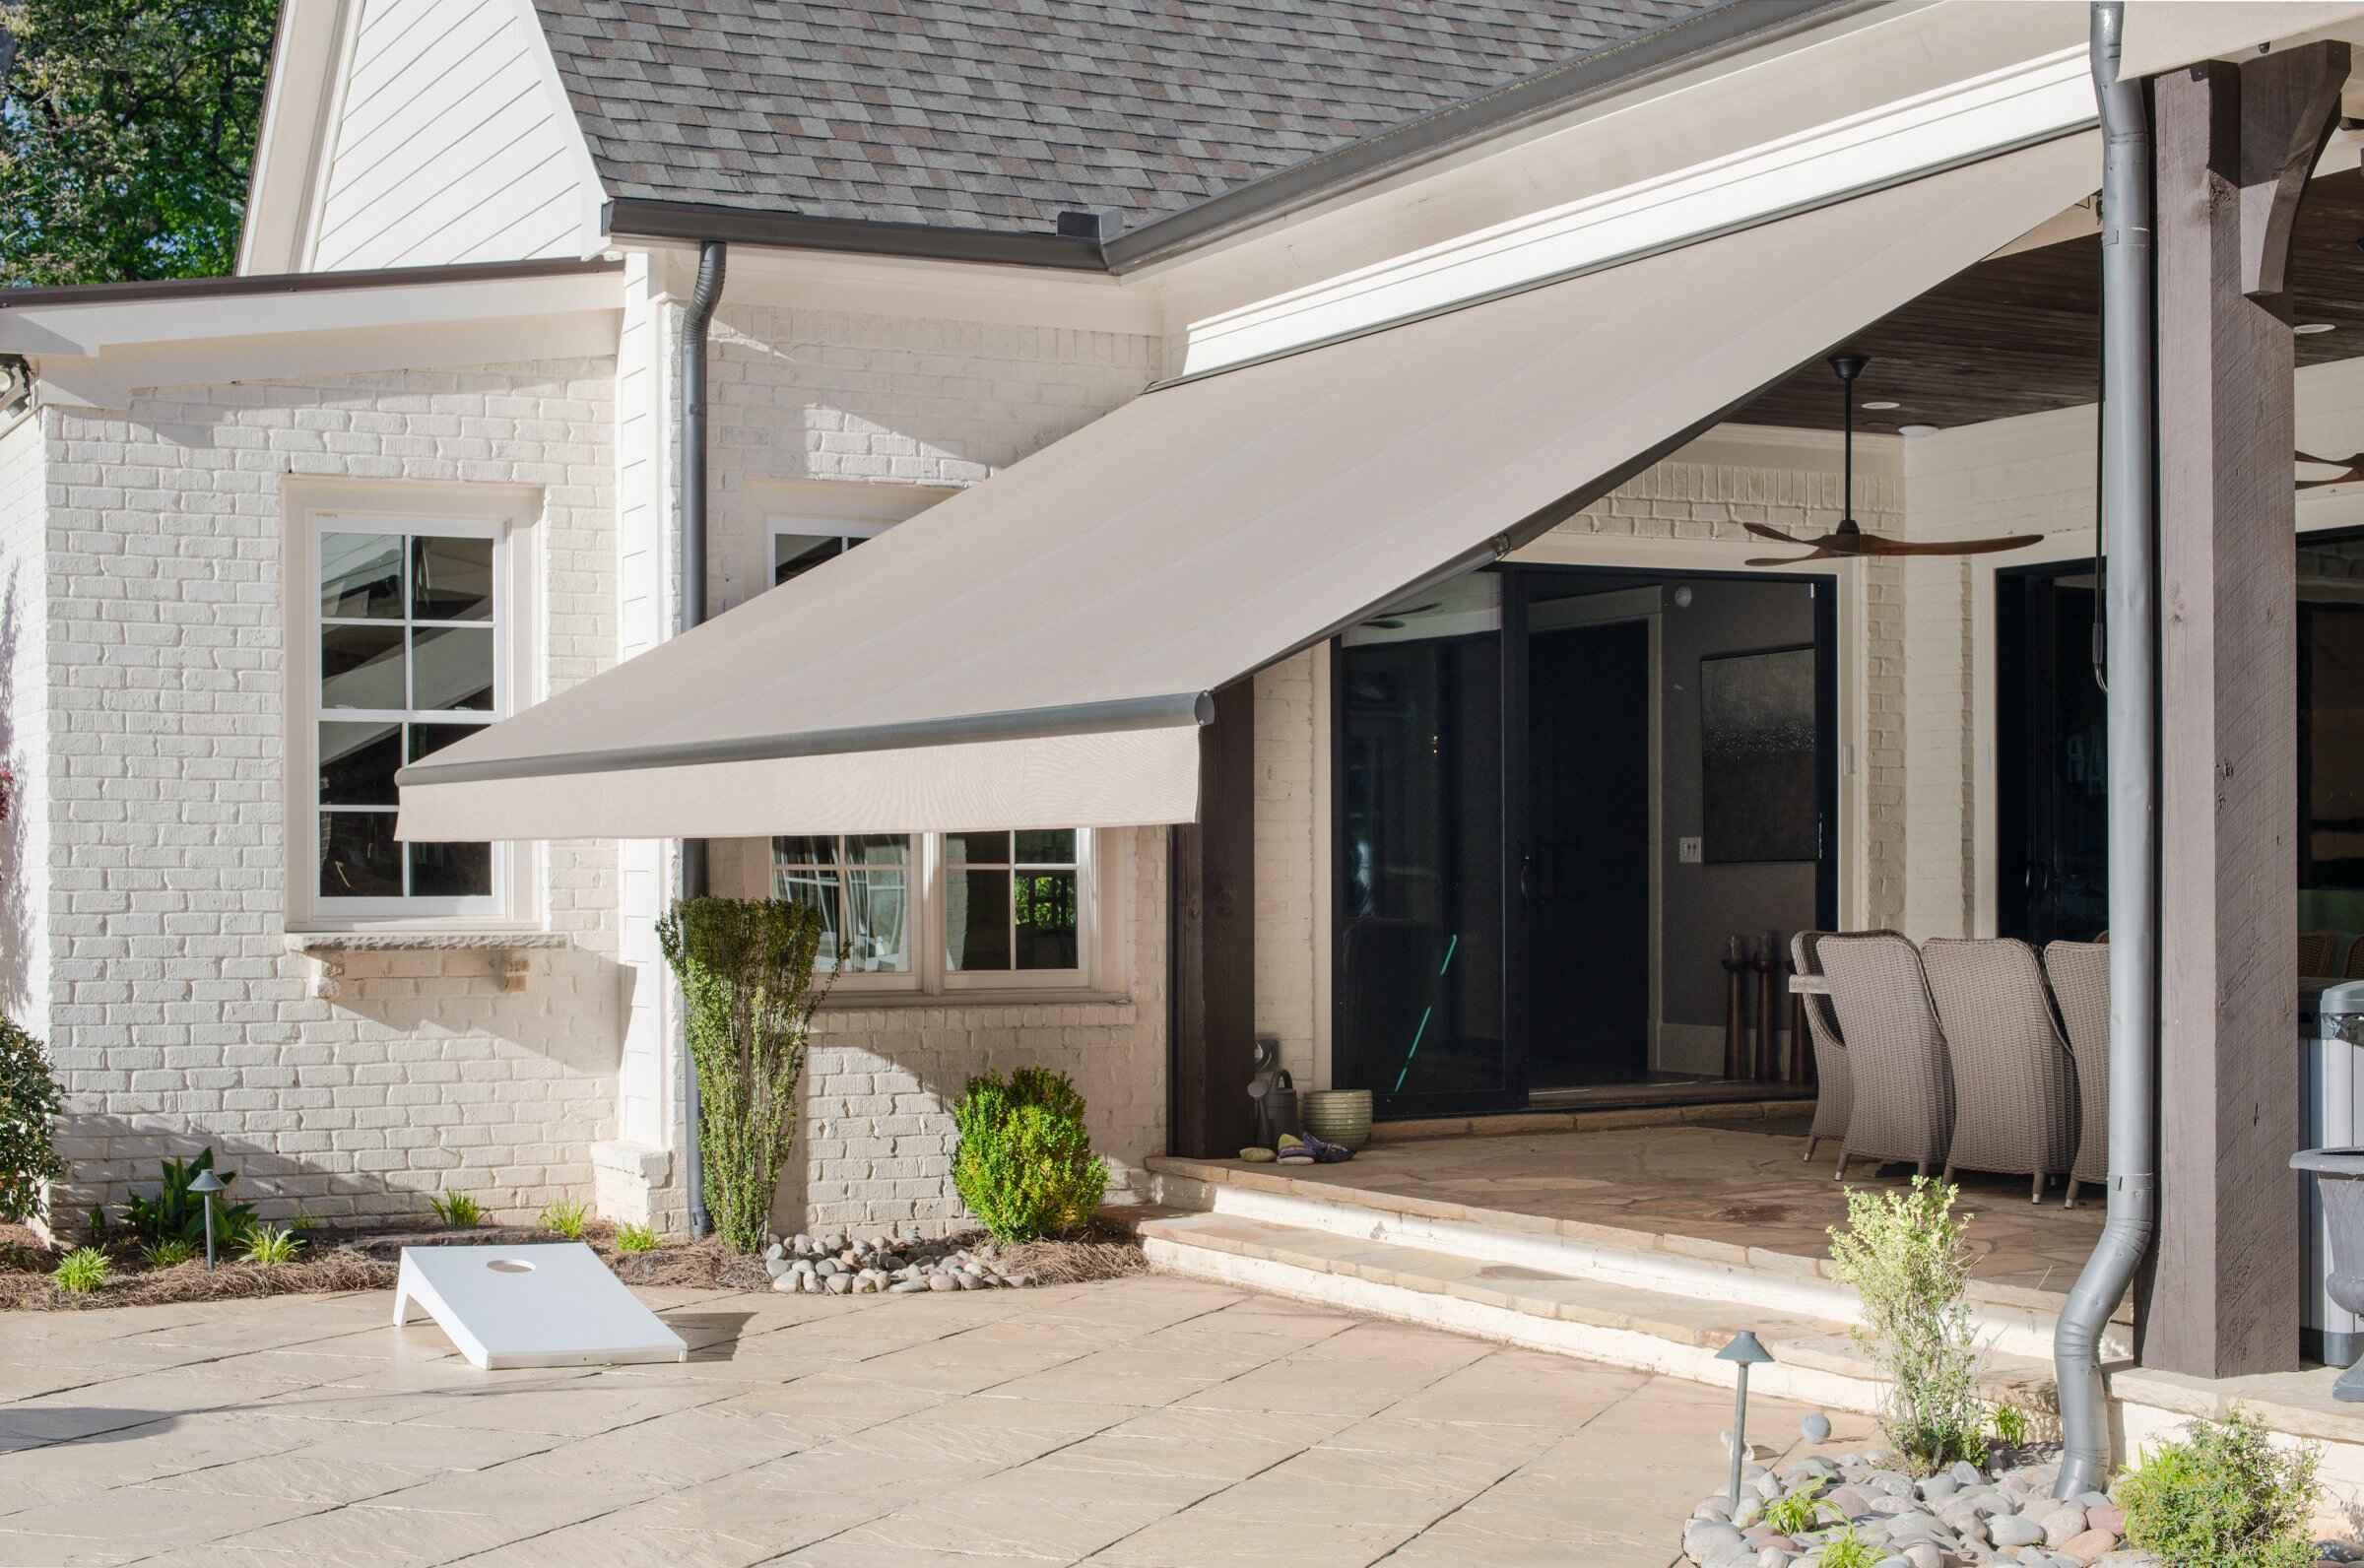
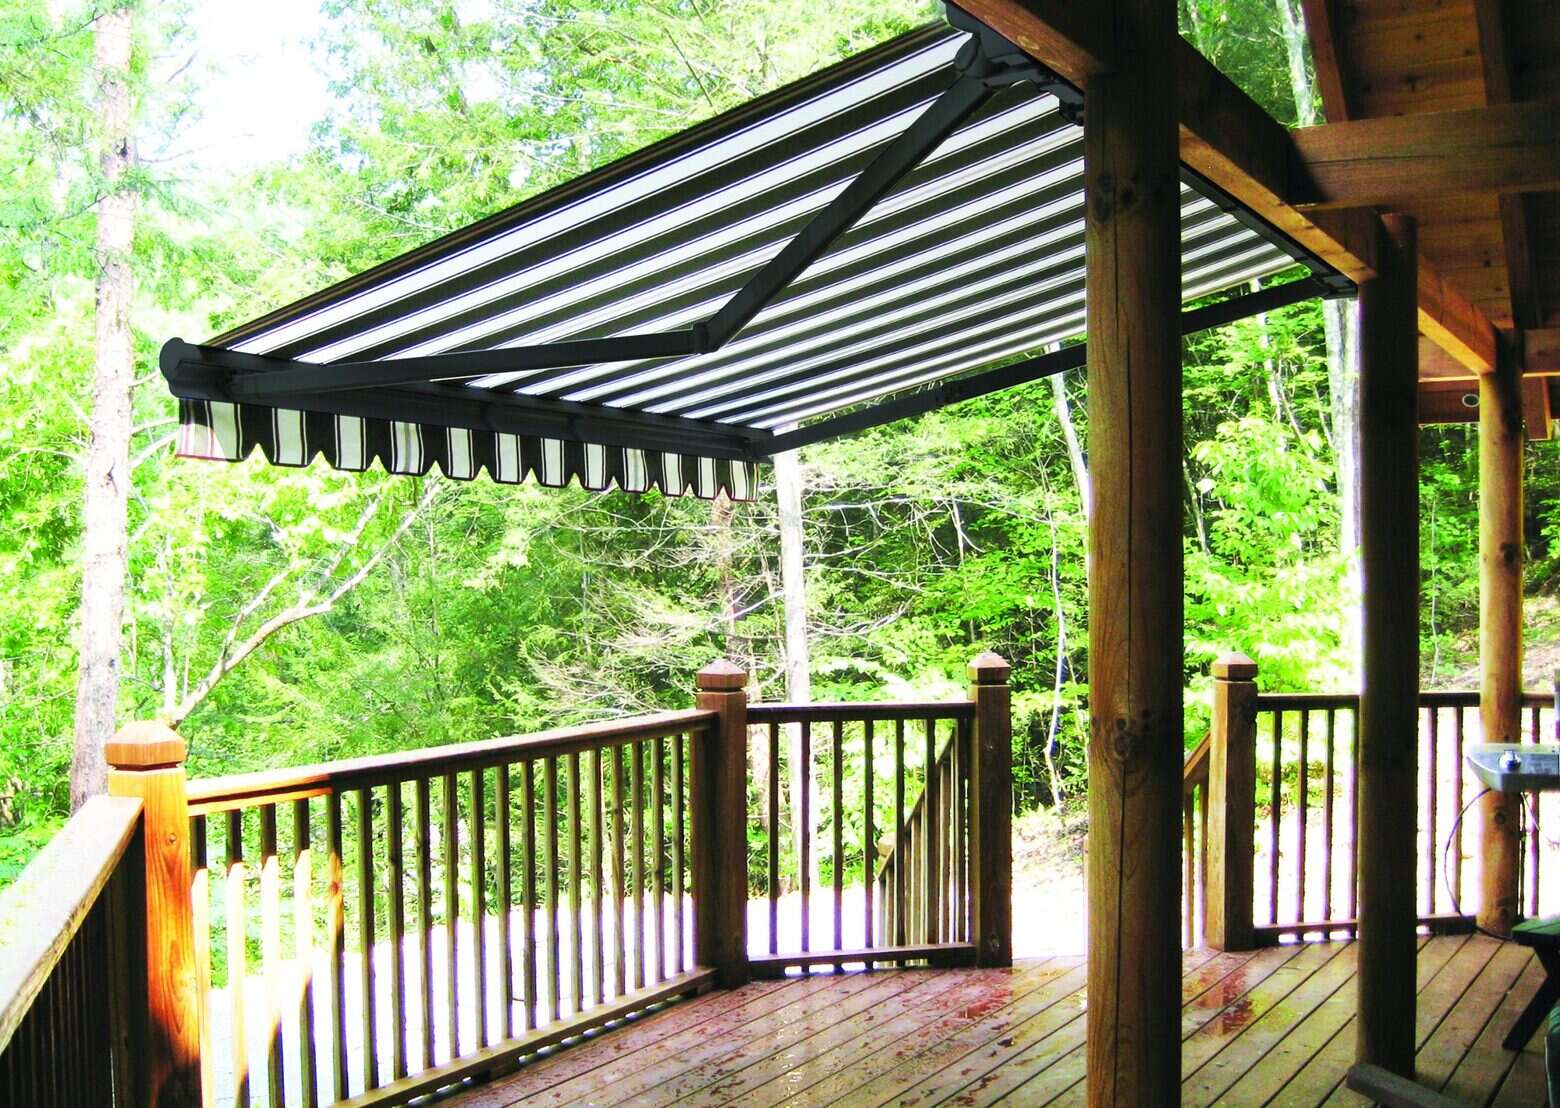
Now that you’ve located the adjustment mechanism, it’s time to delve into the process of modifying the angle of your Sunsetter awning. This step is pivotal in ensuring that the awning provides optimal shade and protection based on your specific preferences and the prevailing outdoor conditions.
Here’s a comprehensive guide to adjusting the awning angle:
- Assess the Current Angle: Before making any adjustments, take a moment to observe the current angle of the awning. This will serve as a reference point for the desired modifications. If the awning is motorized, use the control mechanism to extend or retract the awning to the desired position for assessment.
- Engage the Adjustment Mechanism: Depending on the type of Sunsetter awning you have, use the appropriate tool, such as an adjustable wrench or screwdriver, to engage the adjustment mechanism. Follow the instructions provided in the owner’s manual to ensure that you interact with the mechanism correctly.
- Modify the Angle: With the adjustment mechanism engaged, carefully begin modifying the angle of the awning. This may involve turning a knob, tightening or loosening a bolt, or using a specific lever mechanism. Pay close attention to the changes in the awning’s position as you make adjustments.
- Use a Level for Precision: To achieve an optimal and even angle, use a level to ensure that the awning is perfectly aligned during the adjustment process. This will help prevent any uneven shading and ensure that the awning provides consistent coverage across its surface.
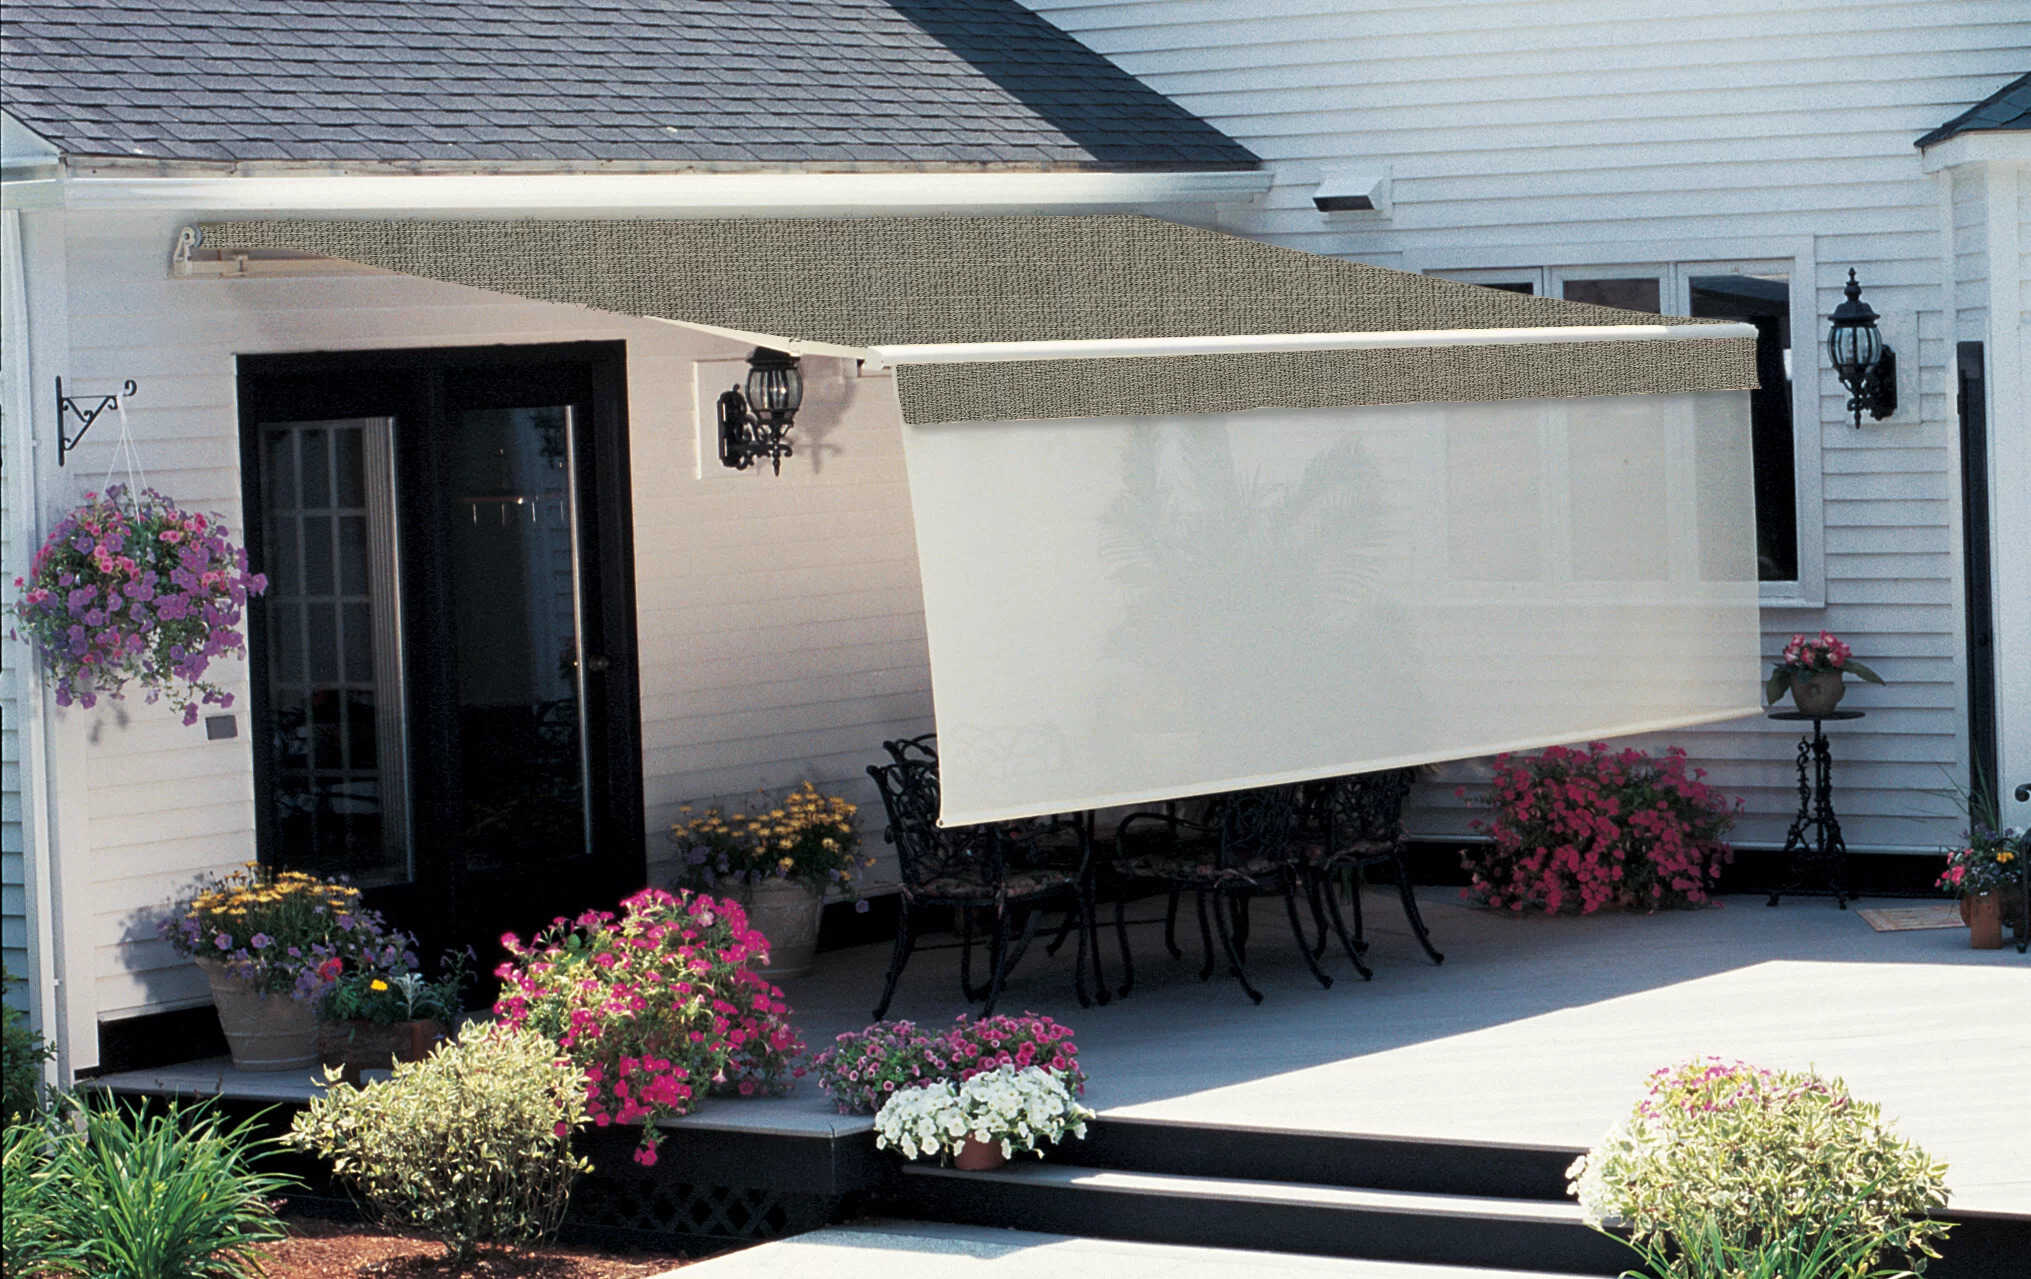
- Consider Outdoor Conditions: Take into account the outdoor conditions, such as the position of the sun and potential wind direction, when adjusting the awning angle. Positioning the awning to provide maximum shade during peak sunlight hours and adjusting for wind resistance can enhance its functionality.
By following these steps, you’ll be able to fine-tune the angle of your Sunsetter awning to suit your specific needs and create an outdoor environment that is both comfortable and protected. Once the desired angle is achieved, you’re ready to proceed to the next step of testing the awning to ensure that it operates smoothly and effectively.
Step 4: Test the Awning
After adjusting the angle of your Sunsetter awning, it’s crucial to conduct a thorough testing process to ensure that the modifications have been successful and that the awning operates seamlessly. Testing the awning will allow you to verify its functionality, assess its coverage, and make any final adjustments if necessary.
Here’s a comprehensive approach to testing your Sunsetter awning:
- Extend and Retract the Awning: Utilize the control mechanism, whether manual or motorized, to extend and retract the awning multiple times. Observe the movement of the awning and ensure that it operates smoothly without any unusual sounds or resistance.
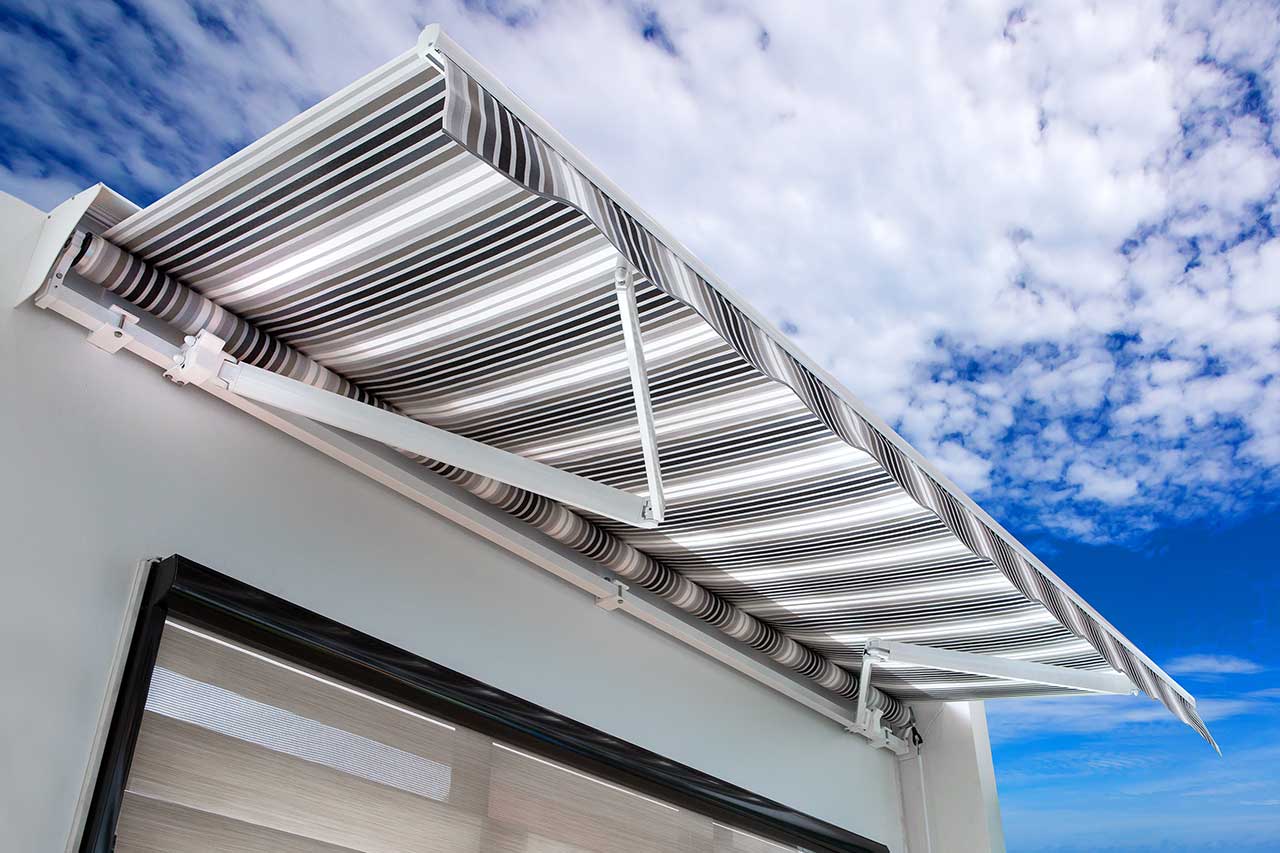
- Assess Shading Coverage: While the awning is extended, evaluate the shading coverage it provides to the designated outdoor area. Verify that the modified angle effectively blocks the sun’s rays and creates a comfortable shaded space.
- Check for Uneven Alignment: Examine the alignment of the awning to confirm that it is level and evenly extended. Use a level to verify that the awning surface is parallel to the ground, minimizing the risk of uneven shading or potential damage to the structure.
- Test Wind Resistance: If applicable, conduct a wind resistance test by gently introducing airflow to the area where the awning is extended. Observe how the awning responds to the simulated wind conditions, ensuring that it remains stable and secure.
- Make Final Adjustments if Necessary: Based on the testing outcomes, make any final adjustments to the awning angle or mechanism if needed. Fine-tune the angle to achieve the desired shading and make any additional tweaks to ensure optimal functionality.
By systematically testing the awning, you’ll gain confidence in its performance and make any refinements to guarantee a satisfying outdoor experience. Once you’re satisfied with the testing results and the functionality of your Sunsetter awning, you can rest assured that it will continue to provide shade and comfort for your outdoor activities.
Read more: How To Open A Sunsetter Awning
Conclusion
Congratulations! You’ve successfully navigated the process of adjusting your Sunsetter awning, empowering yourself to optimize its performance and tailor its shading capabilities to your specific needs. By following the steps outlined in this guide, you’ve gained valuable insights into the adjustment process and acquired the skills to maintain and enhance your outdoor living space.
As you reflect on this journey, remember the key takeaways from this experience:
- Knowledge is Empowerment: Familiarizing yourself with the components and mechanisms of your Sunsetter awning has equipped you with the confidence to make adjustments and ensure its optimal functionality.
- Precision Yields Results: The attention to detail and precision applied during the adjustment process has resulted in a well-aligned and efficiently operating awning, enhancing your outdoor comfort.
- Regular Maintenance is Essential: The adjustment process serves as a reminder of the importance of regular maintenance for outdoor structures. By periodically assessing and fine-tuning your Sunsetter awning, you can prolong its lifespan and enjoyment.
As you bask in the shaded tranquility provided by your Sunsetter awning, take pride in the knowledge that you’ve taken an active role in optimizing your outdoor environment. Whether you’re hosting gatherings, enjoying solitary moments, or simply appreciating the beauty of nature, your adjusted awning stands as a testament to your dedication to comfort and quality.
With your newfound expertise, you can confidently share your knowledge with others and inspire them to embark on their own awning adjustment journeys. By paying it forward, you contribute to a community of outdoor enthusiasts who value both functionality and relaxation in their outdoor spaces.
So, as you savor the benefits of your adjusted Sunsetter awning, remember that the skills and insights gained from this experience extend beyond this specific task. They serve as a reminder of the empowerment that comes with understanding and enhancing the elements that enrich our daily lives.
Now, go forth and revel in the comfort and serenity of your thoughtfully adjusted Sunsetter awning!
Frequently Asked Questions about How To Adjust A Sunsetter Awning
Was this page helpful?
At Storables.com, we guarantee accurate and reliable information. Our content, validated by Expert Board Contributors, is crafted following stringent Editorial Policies. We're committed to providing you with well-researched, expert-backed insights for all your informational needs.


0 thoughts on “How To Adjust A Sunsetter Awning”