Home>Gardening & Outdoor>Outdoor Structures>How To Adjust An RV Awning

Outdoor Structures
How To Adjust An RV Awning
Modified: March 2, 2024
Learn how to adjust your RV awning for optimal shade and protection. Our step-by-step guide covers everything you need to know about outdoor structures.
(Many of the links in this article redirect to a specific reviewed product. Your purchase of these products through affiliate links helps to generate commission for Storables.com, at no extra cost. Learn more)
Introduction
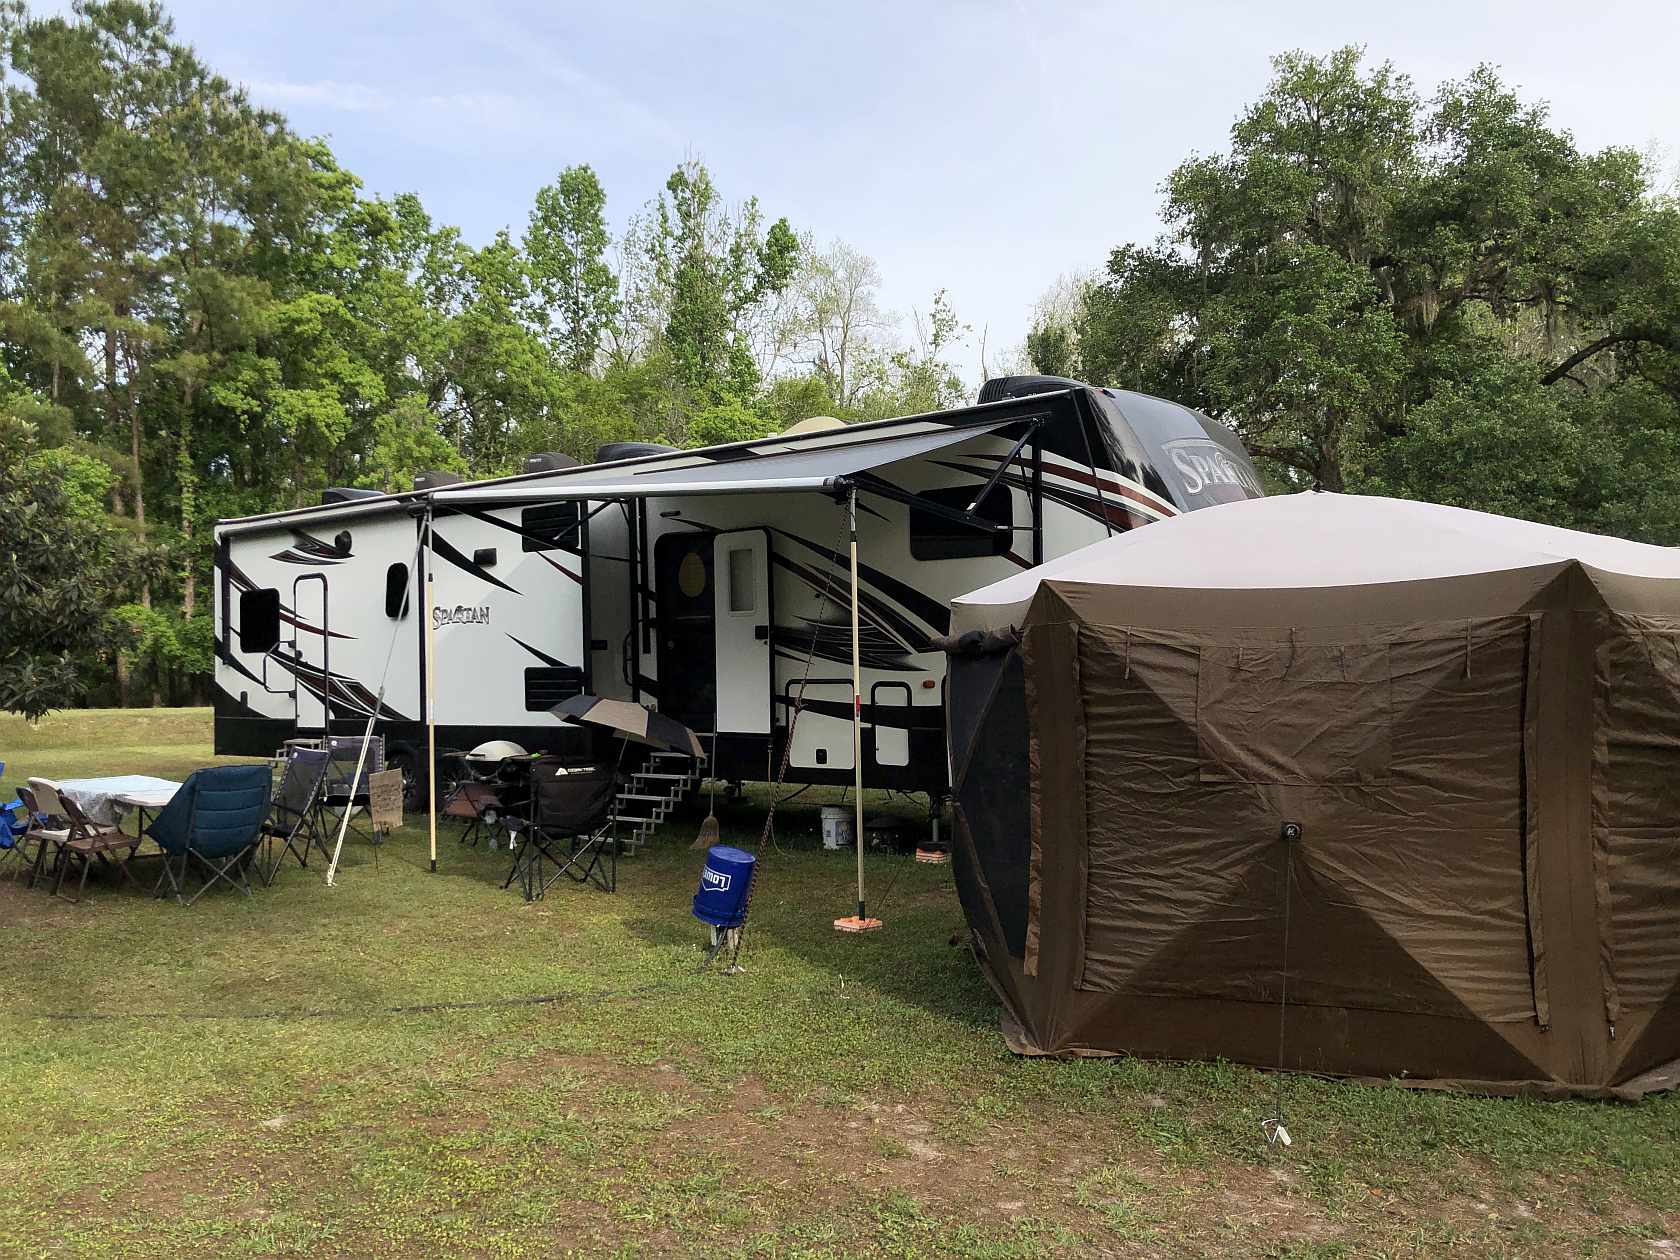
Adjusting an RV awning is an essential task for any outdoor enthusiast. Whether you're setting up camp for a weekend getaway or embarking on a cross-country road trip, a properly adjusted awning can make a world of difference in your outdoor experience. From providing shade on scorching summer days to sheltering you from unexpected rain showers, an awning is a versatile and valuable addition to your recreational vehicle.
In this comprehensive guide, we'll walk you through the step-by-step process of adjusting your RV awning to ensure optimal functionality and performance. By following these instructions, you'll be able to customize the angle and tension of your awning, allowing you to adapt to various weather conditions and create a comfortable outdoor living space.
Whether you're a seasoned RV enthusiast or a novice adventurer, mastering the art of adjusting your RV awning will empower you to make the most of your outdoor escapades. So, grab your tools and let's dive into the process of fine-tuning your RV awning for maximum enjoyment and convenience.
Key Takeaways:
- Mastering the art of adjusting your RV awning empowers you to create a comfortable outdoor space tailored to your needs, enhancing your outdoor adventures and relaxation.
- By following the comprehensive steps in this guide, you can fine-tune your RV awning to adapt seamlessly to varying weather conditions, ensuring optimal comfort and protection for your outdoor living space.
Read more: How To Adjust A Sunsetter Awning
Step 1: Gather Necessary Tools
Before embarking on the task of adjusting your RV awning, it's crucial to gather the necessary tools to ensure a smooth and efficient process. Having the right equipment at your disposal will not only streamline the adjustment procedure but also contribute to the overall safety and effectiveness of the task.
Here's a comprehensive list of tools and materials you'll need to gather before initiating the awning adjustment:
-
Ladder: A sturdy and reliable ladder is essential for reaching the awning and accessing the adjustment mechanisms safely. Ensure that the ladder is in good condition and securely positioned to provide stable support during the adjustment process.
-
Adjustment Rod or Wrench: Depending on the type of awning mechanism, you may require an adjustment rod or wrench to loosen and tighten the adjustment knobs. It's important to use the appropriate tool specified by the awning manufacturer to avoid causing damage to the components.
-
Safety Gear: Prioritize safety by wearing appropriate gear such as gloves and safety glasses to protect your hands and eyes during the adjustment process. Additionally, consider using a hat or sunscreen to shield yourself from direct sunlight if you're working outdoors.
-
Assistance: While not a traditional tool, having a helping hand can significantly facilitate the awning adjustment process. Enlist the assistance of a friend or family member to provide support, hold the ladder steady, or assist with certain steps that may require an extra set of hands.
-
Owner's Manual: Keep the RV awning's owner's manual handy for reference. The manual contains valuable information, including specific instructions for adjusting the awning and important safety guidelines. Familiarizing yourself with the manual's content will ensure that you proceed with the adjustment in accordance with the manufacturer's recommendations.
By gathering these essential tools and materials, you'll be well-prepared to embark on the process of adjusting your RV awning with confidence and efficiency. With safety as a top priority, having the right tools at your disposal sets the stage for a successful awning adjustment experience.
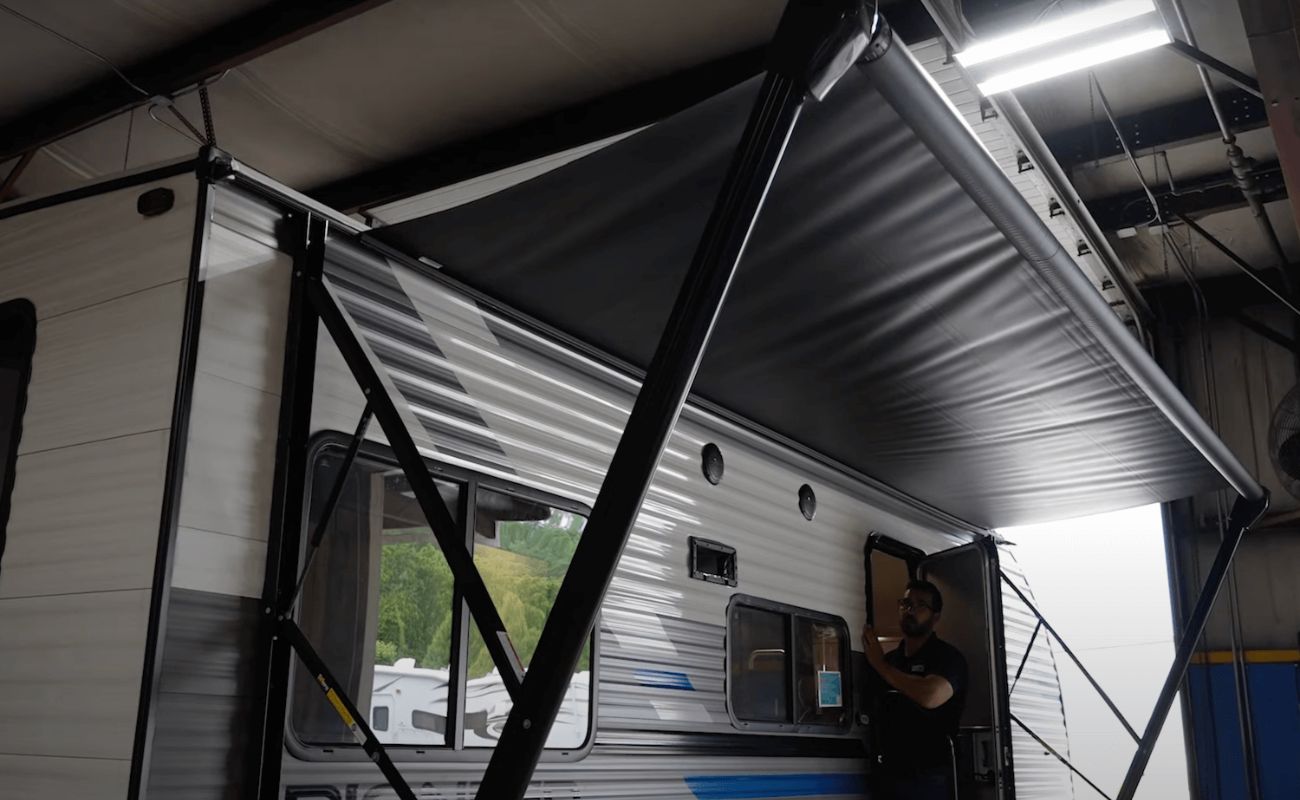
Step 2: Extend the Awning
Before diving into the adjustment process, it's essential to extend the RV awning to its full length. This step allows for easier access to the adjustment mechanisms and ensures that the awning is properly positioned for the subsequent adjustments.
To extend the awning, follow these simple steps:
-
Unlock the Awning Latch: Begin by unlocking the awning latch, typically located near the RV's exterior. Depending on the awning type, this may involve releasing a locking mechanism or simply pulling a release lever to free the awning.
-
Gently Unroll the Awning: With the latch released, carefully unroll the awning by applying gentle and even pressure. As the awning extends, pay attention to any signs of resistance or unusual noises, which could indicate potential issues with the awning mechanism.
-
Ensure Proper Alignment: As the awning extends, ensure that it aligns evenly and smoothly, without any obstructions or misalignments. This step is crucial for preventing any strain on the awning components and ensuring that it extends to its full length without any complications.
-
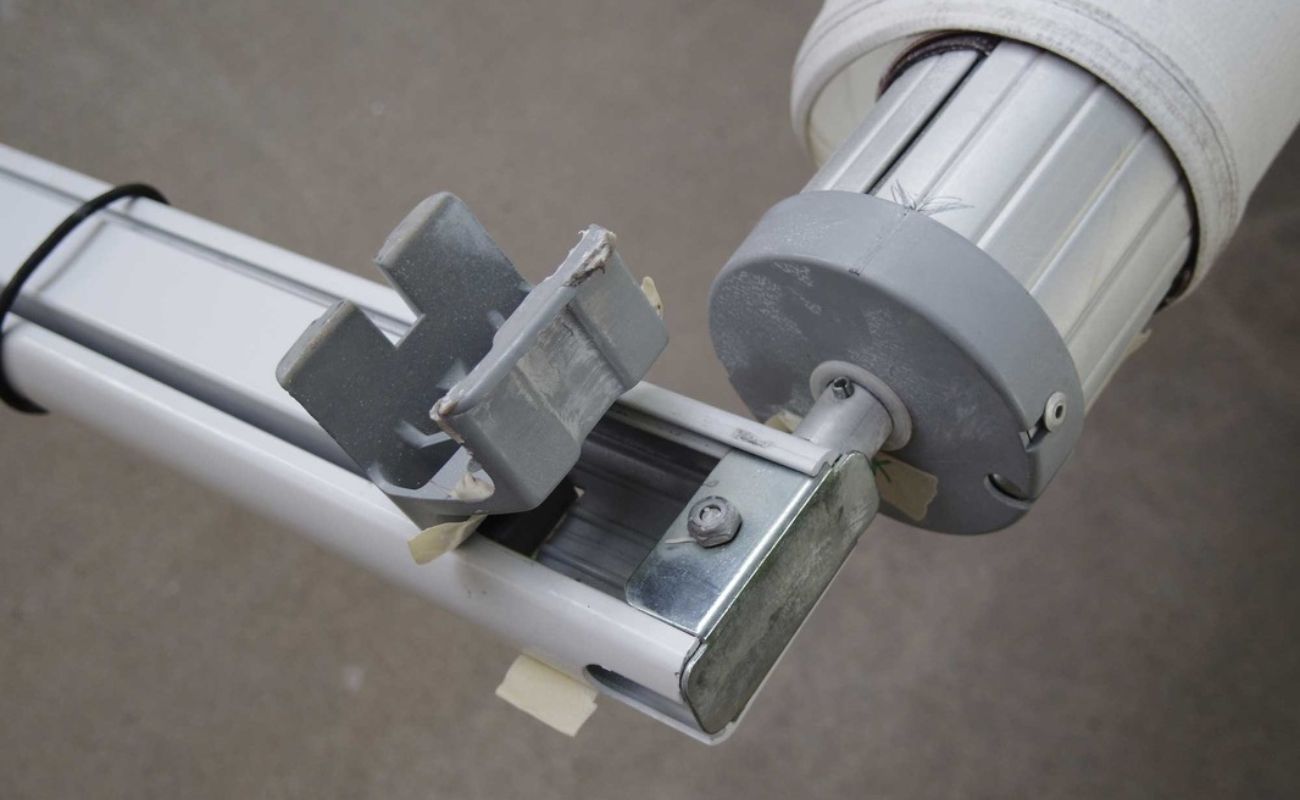
Secure the Awning Arms: Once the awning is fully extended, secure the awning arms in place to prevent any unintended retraction. Most awnings are equipped with locking mechanisms or pins that hold the arms in the extended position, providing stability and security during the adjustment process.
By extending the awning to its full length, you set the stage for the subsequent adjustment steps, allowing for easier access to the adjustment knobs and ensuring that the awning is in the optimal position for fine-tuning. This preparatory step lays the foundation for a seamless and effective awning adjustment process, setting the stage for a comfortable and functional outdoor living space.
With the awning fully extended, you're now ready to proceed to the next step of loosening the adjustment knobs to initiate the angle adjustment.
Step 3: Loosen the Adjustment Knobs
Loosening the adjustment knobs is a critical step in the process of fine-tuning your RV awning. By releasing the tension in the adjustment mechanisms, you'll gain the flexibility to modify the awning's angle according to your specific preferences and the prevailing weather conditions. Here's a detailed guide on how to effectively loosen the adjustment knobs:
-
Locate the Adjustment Knobs: Depending on the design of your RV awning, the adjustment knobs are typically situated near the arms or support mechanisms. These knobs are responsible for controlling the tension and angle of the awning, allowing for customized adjustments to suit your outdoor setup.
-
Use the Appropriate Tool: Before proceeding, ensure that you have the correct tool, such as an adjustment rod or wrench, as specified by the awning manufacturer. Using the wrong tool can lead to damage or ineffective loosening of the adjustment knobs.
-
Apply Gentle Pressure: With the appropriate tool in hand, carefully position it on the adjustment knob and apply gentle pressure in the counterclockwise direction. It's crucial to exercise caution and avoid applying excessive force, as this can lead to damage or stripping of the adjustment mechanism.
-
Monitor the Tension Release: As you begin to loosen the adjustment knobs, pay close attention to the tension release in the awning. You should notice a gradual reduction in the resistance as the knobs are loosened, indicating that the awning's angle is becoming more adjustable.
-
Repeat for Multiple Knobs: If your RV awning features multiple adjustment knobs, ensure that you systematically loosen each one to achieve uniform tension release across the entire awning structure. This step is essential for maintaining balance and consistency in the angle adjustment process.
-
Exercise Patience and Precision: Throughout the process of loosening the adjustment knobs, patience and precision are key. Take your time to ensure that each knob is adequately loosened without rushing the process, as this can lead to oversight or potential damage to the awning components.
By effectively loosening the adjustment knobs, you pave the way for the subsequent step of adjusting the awning angle to suit your specific requirements. This preparatory phase sets the stage for a seamless and personalized adjustment process, allowing you to optimize the functionality and comfort of your outdoor living space.
When adjusting an RV awning, always make sure to secure the awning arms in place before extending or retracting the awning. This will prevent any potential accidents or damage to the awning.
Step 4: Adjust the Awning Angle
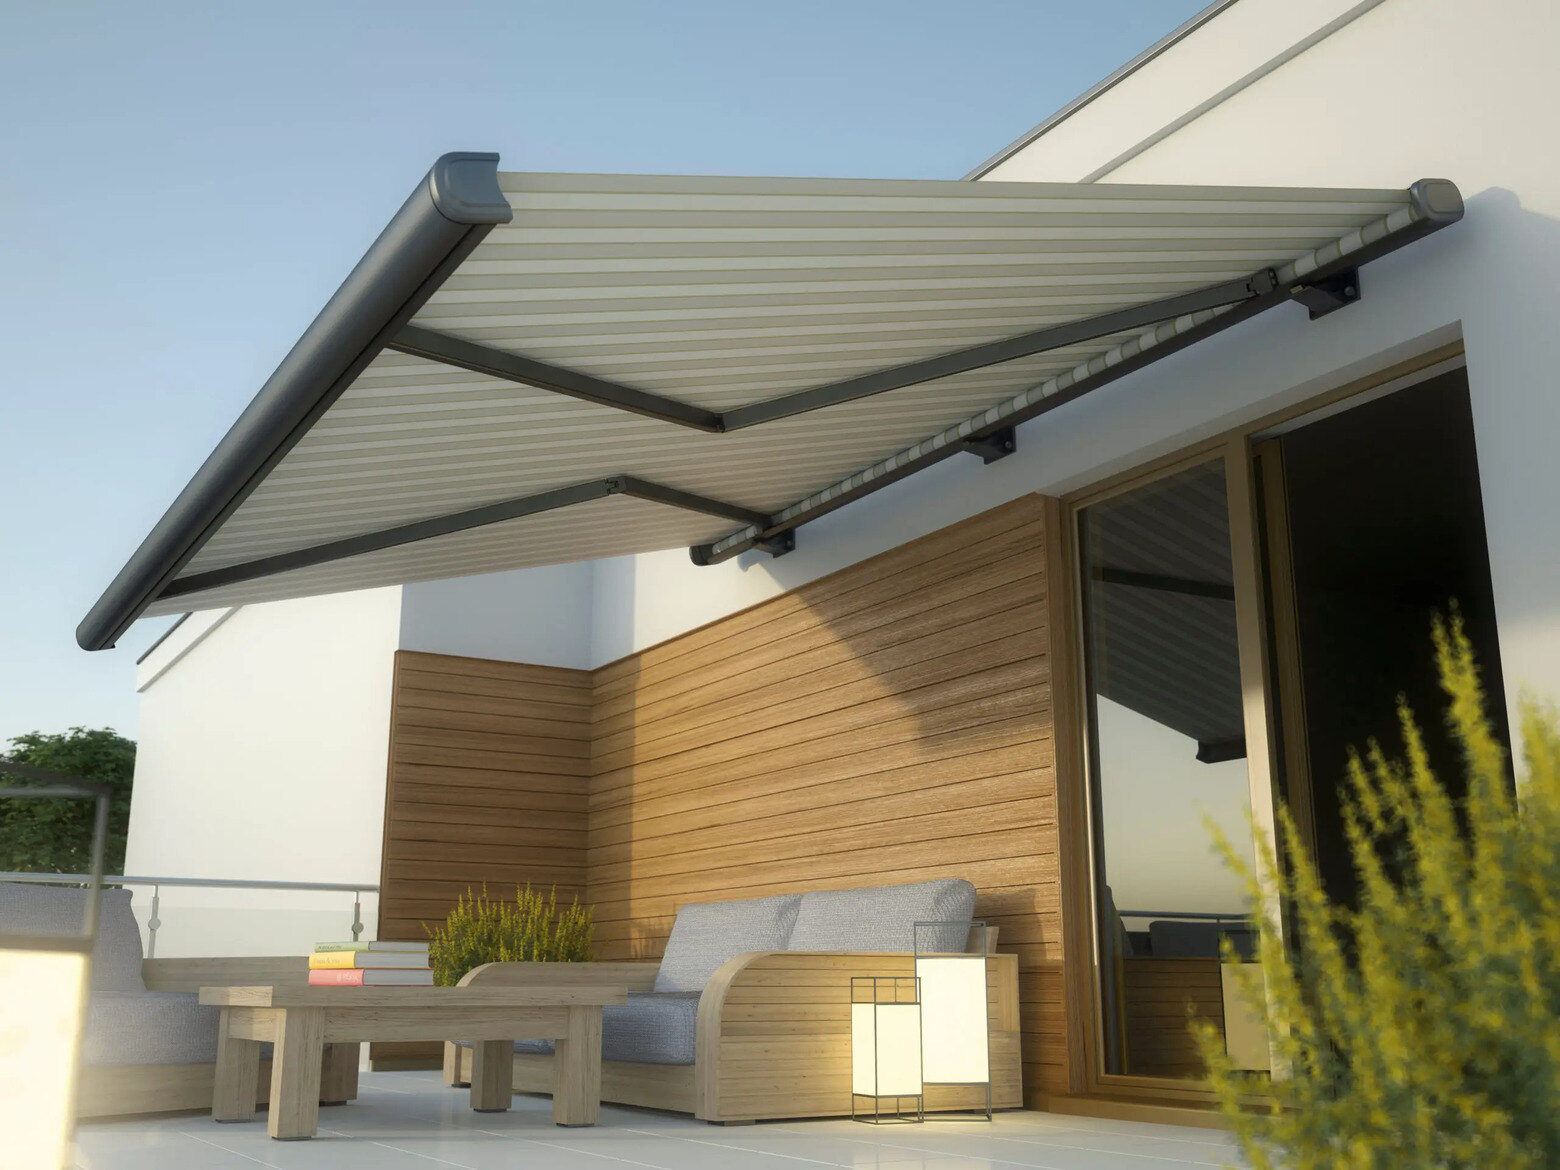
With the adjustment knobs loosened and the awning fully extended, you're now poised to fine-tune the angle of your RV awning to align with your specific preferences and the prevailing outdoor conditions. Adjusting the awning angle is a pivotal step that empowers you to optimize shade coverage, enhance wind resistance, and create a comfortable outdoor environment tailored to your needs.
Here's a detailed guide on how to effectively adjust the awning angle:
-
Assess Environmental Factors: Before proceeding with the angle adjustment, take a moment to assess the environmental factors such as the position of the sun, wind direction, and any potential precipitation. Understanding these elements will guide you in determining the ideal angle for your awning to maximize shade and protection.
-
Positioning for Adjustment: Stand at a vantage point where you can clearly observe the awning's coverage area and its interaction with the surrounding environment. This perspective will enable you to make informed decisions regarding the angle adjustment based on your specific outdoor activities and comfort requirements.
-
Gradual Angle Modification: Using the designated adjustment tool, begin modifying the awning's angle by carefully rotating the adjustment knobs. Whether you're seeking increased shade during a sunny afternoon or better wind deflection during breezy conditions, gradual and deliberate adjustments will allow you to fine-tune the awning's position accordingly.
-
Observe and Test: As you make incremental changes to the awning angle, observe the resulting impact on the shaded area and the overall stability of the awning. Additionally, consider testing the angle adjustments by simulating potential wind gusts to gauge the awning's resilience and effectiveness in different configurations.
-
Balance and Symmetry: Strive for balance and symmetry in the awning's angle adjustment, ensuring that both ends of the awning are uniformly positioned to maintain structural integrity and aesthetic appeal. A harmonious angle adjustment contributes to the overall visual appeal of the RV setup while optimizing functionality.
-
Fine-Tuning for Comfort: Tailor the awning angle to align with your desired outdoor experience, whether it involves creating a cozy lounging area, accommodating outdoor dining, or providing a sheltered space for recreational activities. The ability to fine-tune the awning angle empowers you to curate a personalized outdoor environment that enhances your overall enjoyment.
By meticulously adjusting the awning angle, you harness the versatility of your RV awning to adapt to diverse outdoor scenarios, ensuring that you can bask in the comfort of a well-shaded and sheltered outdoor space. This step marks a pivotal stage in the process of optimizing your RV awning for a seamless and enjoyable outdoor living experience.
Read more: How To Fix An RV Awning
Step 5: Tighten the Adjustment Knobs
Having meticulously adjusted the angle of your RV awning to suit your specific preferences and environmental conditions, the next crucial step is to tighten the adjustment knobs to secure the desired angle and tension. This pivotal phase ensures that the awning remains steadfast and stable, capable of withstanding varying wind speeds and providing reliable shade coverage.
Here's a detailed guide on effectively tightening the adjustment knobs:
-
Assess Angle Stability: Before proceeding with tightening the adjustment knobs, carefully assess the stability and positioning of the awning angle. Ensure that the desired angle aligns with your outdoor requirements and provides optimal shade coverage, taking into account potential changes in weather conditions.
-
Use the Appropriate Tool: Retrieve the designated adjustment tool, such as an adjustment rod or wrench, as specified by the awning manufacturer. It's essential to utilize the correct tool to avoid causing damage to the adjustment knobs and ensure effective tightening.
-
Apply Even Pressure: Position the tool on the adjustment knobs and apply even pressure in a clockwise direction to gradually tighten the knobs. Exercise caution to avoid over-tightening, as this can lead to excessive strain on the awning components and compromise its functionality.
-
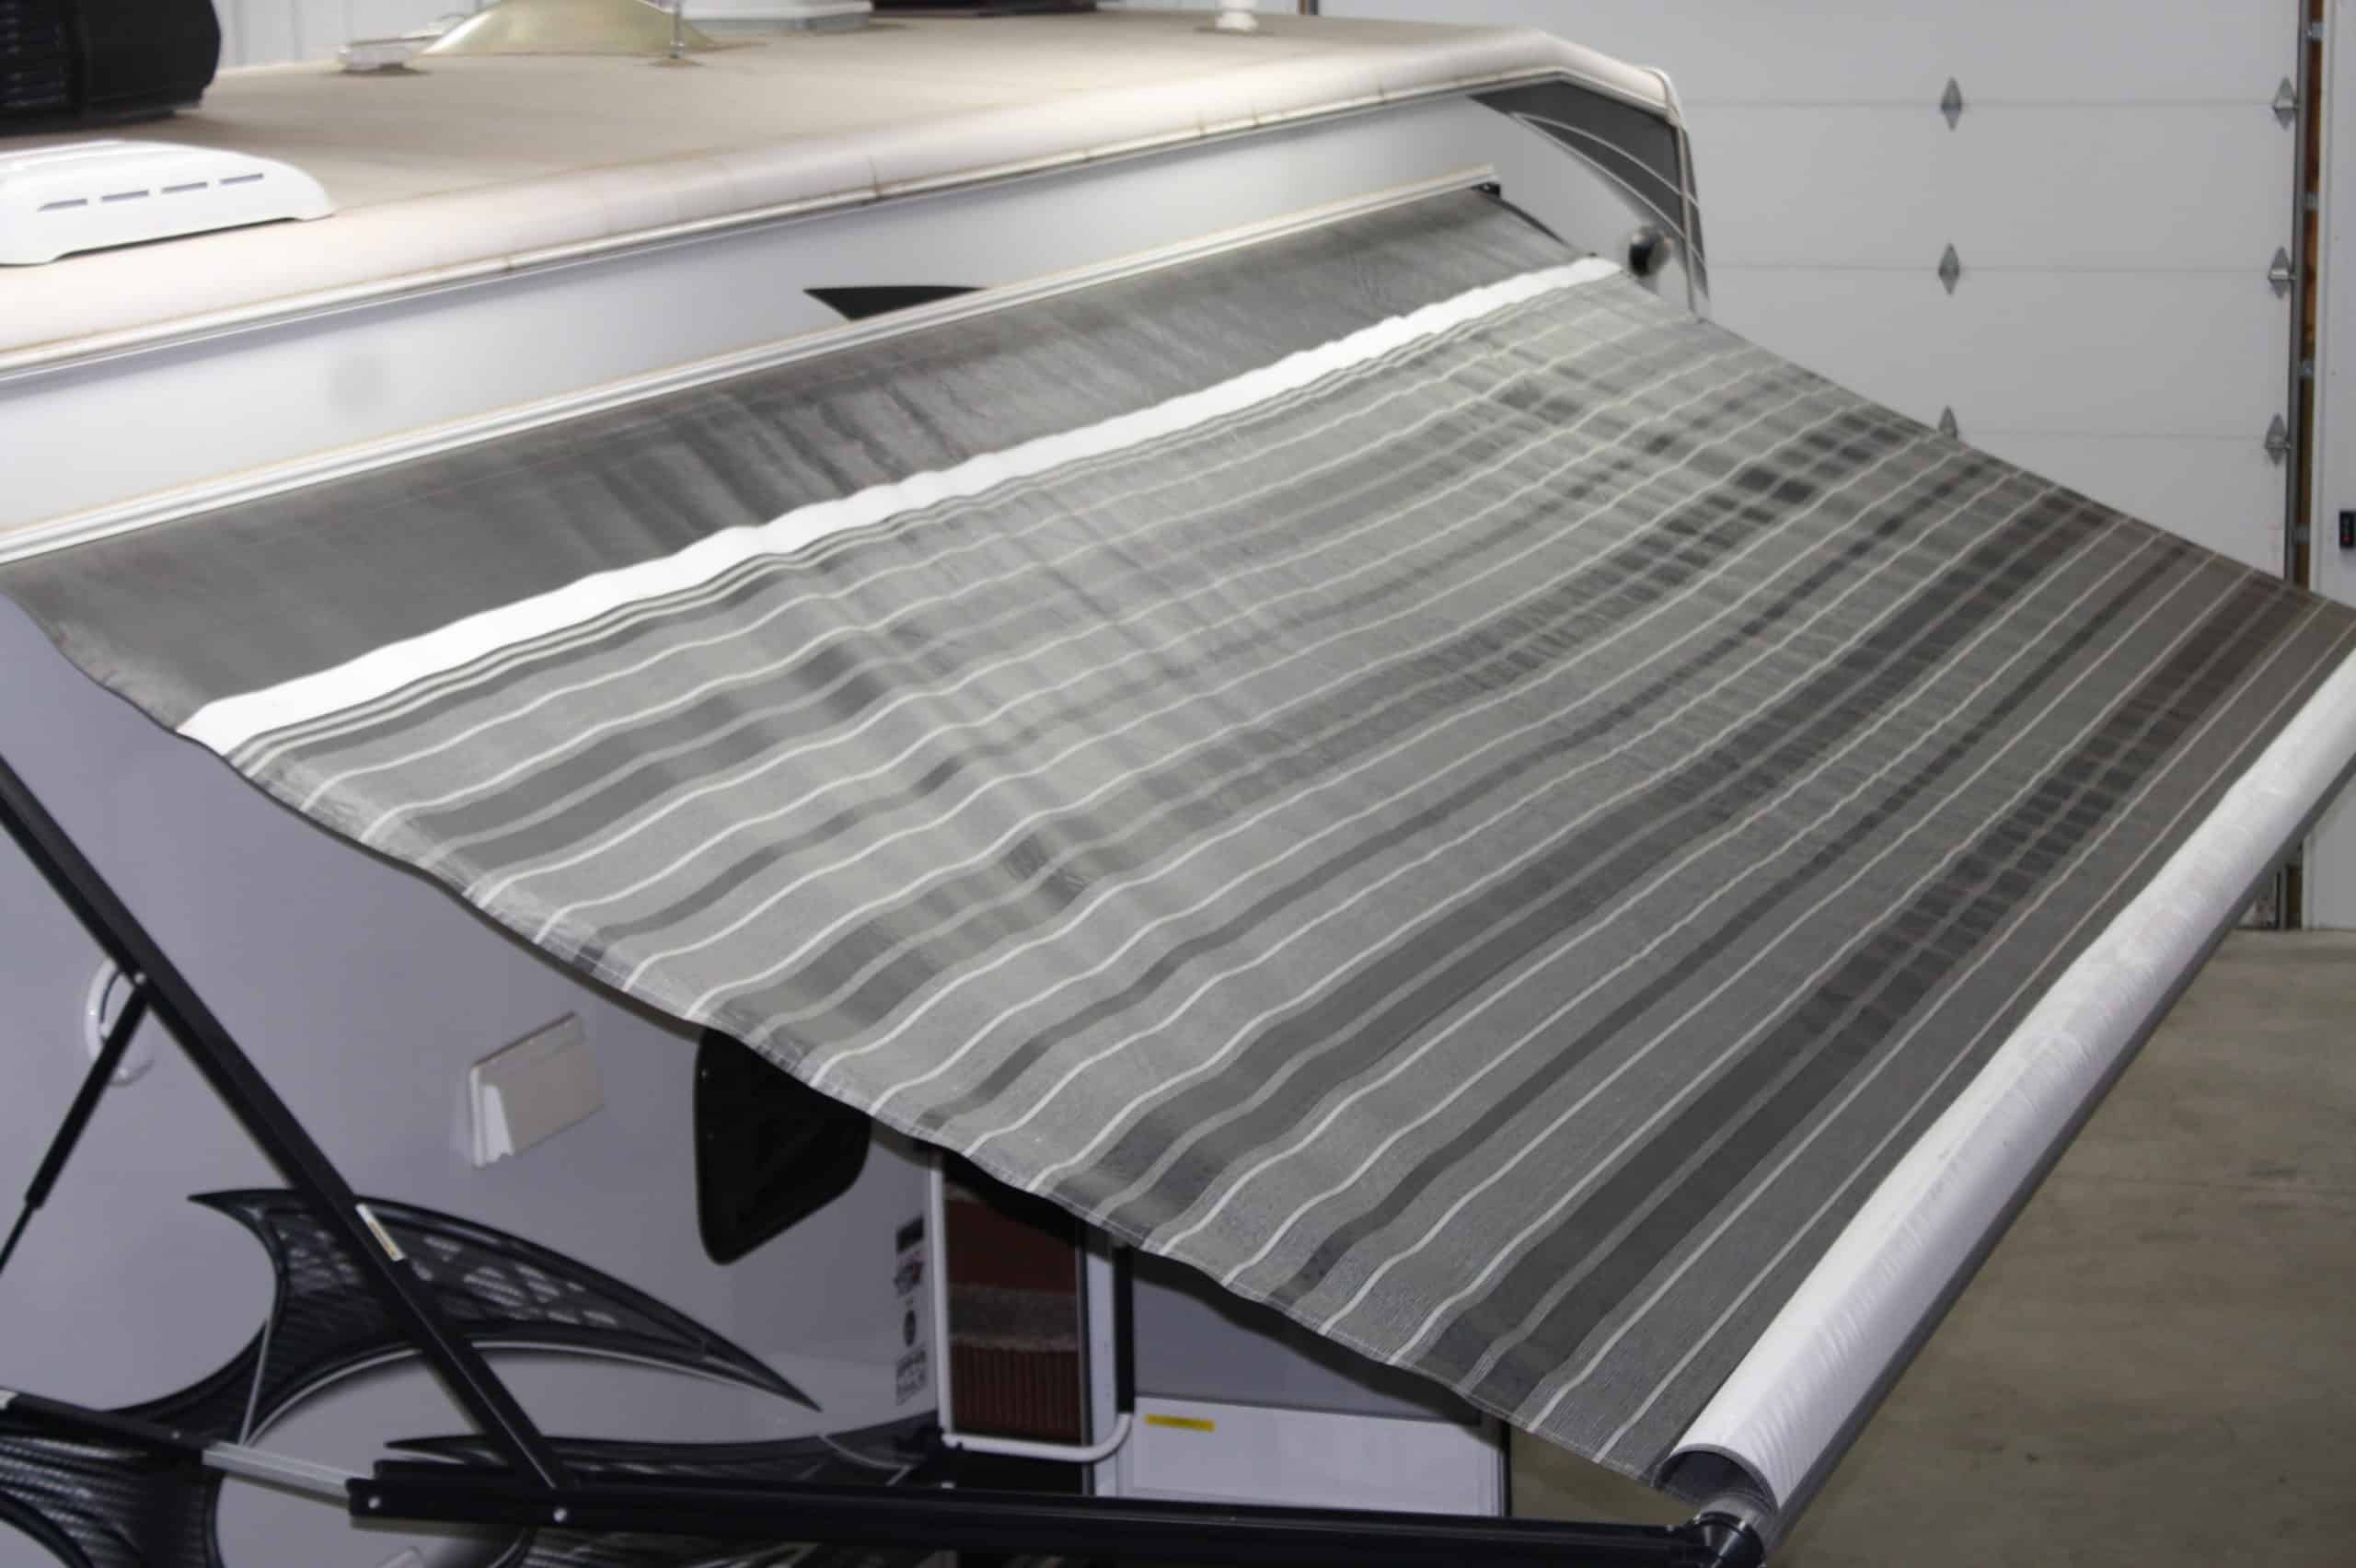
Monitor Tension and Alignment: As you tighten the adjustment knobs, pay close attention to the tension and alignment of the awning. Ensure that the angle remains consistent and that the awning fabric is taut without being overly stretched, striking a balance between stability and flexibility.
-
Verify Secure Locking: Confirm that the adjustment knobs are securely locked in place, preventing any unintended loosening or shifting of the awning angle. This step is crucial for maintaining the integrity of the angle adjustment and ensuring the awning's resilience in the face of varying outdoor conditions.
-
Final Checks and Balancing: Conduct a final inspection of the awning angle and tension, making any minor adjustments as necessary to achieve optimal balance and symmetry. A well-balanced and securely tightened awning contributes to the overall aesthetic appeal and functionality of your outdoor living space.
By effectively tightening the adjustment knobs, you solidify the customized angle and tension of your RV awning, ensuring that it remains steadfast and reliable in providing shade and shelter. This pivotal step marks the culmination of the adjustment process, setting the stage for you to enjoy a comfortable and versatile outdoor environment tailored to your preferences and needs.
Step 6: Test the Awning
After completing the meticulous process of adjusting the angle and tension of your RV awning, it's imperative to conduct a comprehensive test to ensure that the adjustments have been executed effectively. Testing the awning allows you to validate its stability, functionality, and adaptability to varying outdoor conditions, providing you with the confidence that your outdoor living space is equipped to deliver optimal comfort and protection.
Here's a detailed guide on how to effectively test your RV awning:
-
Operational Functionality: Begin by retracting and extending the awning multiple times to assess its operational functionality. Pay close attention to any unusual sounds, resistance, or misalignments during the retraction and extension process, as these could indicate underlying issues that require attention.
-
Wind Resistance: Simulate varying wind conditions by introducing gentle gusts of air or utilizing a fan to gauge the awning's resistance. Observe how the adjusted angle and tension respond to the simulated wind, ensuring that the awning remains stable and capable of withstanding moderate wind speeds without excessive swaying or strain.
-
Shade Coverage: Evaluate the shade coverage provided by the adjusted awning angle, taking note of any areas that may require further fine-tuning. Assess the extent of shade cast by the awning and its alignment with your outdoor seating or activity areas, ensuring that it effectively shields you from direct sunlight.
-
Rainwater Drainage: If possible, conduct a water drainage test by gently spraying the awning with water to mimic light rain. Observe the flow and drainage of water from the awning, ensuring that it effectively channels water away from the RV and outdoor living space to prevent pooling and potential water damage.
-
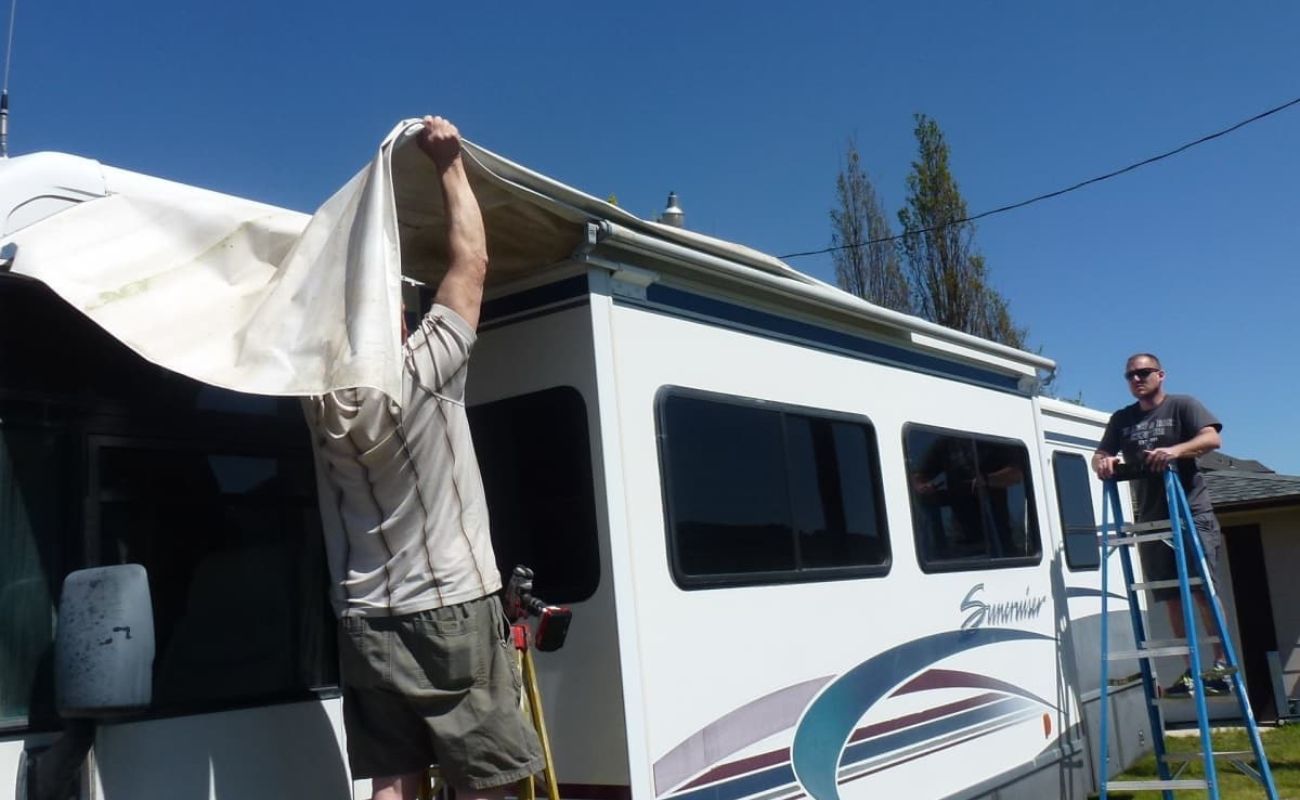
Visual Inspection: Perform a visual inspection of the entire awning structure, including the fabric, support arms, and adjustment mechanisms. Look for any signs of wear, damage, or misalignment that may have been exacerbated during the adjustment process, addressing any issues promptly to maintain the awning's integrity.
-
User Experience: Enlist the feedback of family members or fellow travelers who will be utilizing the outdoor space. Gather their input on the comfort, functionality, and overall experience of the adjusted awning, incorporating their perspectives to fine-tune the setup further.
By conducting a thorough test of your RV awning, you validate the effectiveness of the adjustments and ensure that your outdoor living space is equipped to deliver a comfortable and versatile experience. This final step in the adjustment process empowers you to make any necessary refinements and enhancements, setting the stage for memorable outdoor adventures and relaxation under the shelter of your meticulously adjusted RV awning.
Conclusion
In conclusion, mastering the art of adjusting your RV awning is a valuable skill that empowers outdoor enthusiasts to create a comfortable and versatile outdoor living space. By following the comprehensive steps outlined in this guide, you've gained the knowledge and confidence to fine-tune the angle and tension of your RV awning, ensuring that it adapts seamlessly to varying weather conditions and enhances your overall outdoor experience.
The process begins with gathering the necessary tools and materials, emphasizing the importance of safety gear, appropriate adjustment tools, and the RV awning's owner's manual for reference. Extending the awning to its full length sets the stage for subsequent adjustments, providing easier access to the adjustment mechanisms and ensuring that the awning is positioned optimally for fine-tuning.
Loosening the adjustment knobs allows for flexibility in modifying the awning's angle, empowering you to tailor the shade coverage and wind resistance to your specific needs. The subsequent step of adjusting the awning angle involves a meticulous assessment of environmental factors, gradual angle modification, and fine-tuning for comfort, culminating in a personalized outdoor environment that enhances your overall enjoyment.
Tightening the adjustment knobs secures the desired angle and tension, ensuring that the awning remains steadfast and reliable in providing shade and shelter. Finally, conducting a comprehensive test of the adjusted awning validates its stability, functionality, and adaptability to varying outdoor conditions, providing the assurance that your outdoor living space is equipped to deliver optimal comfort and protection.
By mastering the process of adjusting your RV awning, you've unlocked the potential to curate a personalized outdoor oasis that caters to your unique preferences and enhances your outdoor adventures. Whether it's creating a shaded lounging area for relaxation, accommodating outdoor dining, or providing a sheltered space for recreational activities, your meticulously adjusted RV awning is poised to elevate your outdoor escapades.
As you embark on your next outdoor journey, armed with the knowledge and expertise gained from this guide, may your RV awning stand as a testament to your dedication to comfort, versatility, and enjoyment in the great outdoors. Embrace the freedom to customize your outdoor living space and savor the unforgettable moments under the shelter of your finely tuned RV awning.
Frequently Asked Questions about How To Adjust An RV Awning
Was this page helpful?
At Storables.com, we guarantee accurate and reliable information. Our content, validated by Expert Board Contributors, is crafted following stringent Editorial Policies. We're committed to providing you with well-researched, expert-backed insights for all your informational needs.

0 thoughts on “How To Adjust An RV Awning”