Home>Gardening & Outdoor>Outdoor Structures>How To Lay Underlayment Roof Paper On A Tool Shed

Outdoor Structures
How To Lay Underlayment Roof Paper On A Tool Shed
Modified: October 18, 2024
Learn how to properly lay underlayment roof paper on your outdoor structure with this step-by-step guide. Ensure the longevity and durability of your tool shed with these expert tips.
(Many of the links in this article redirect to a specific reviewed product. Your purchase of these products through affiliate links helps to generate commission for Storables.com, at no extra cost. Learn more)
Introduction
Welcome to the world of outdoor structures! Building a tool shed not only adds functionality to your outdoor space but also enhances its aesthetic appeal. When constructing a tool shed, it’s crucial to ensure that the roof is well-protected from the elements, and laying underlayment roof paper is a key step in achieving this goal. Underlayment serves as a protective barrier, shielding the roof from moisture and preventing leaks, ultimately extending the lifespan of the roof. In this guide, we’ll walk you through the process of laying underlayment roof paper on a tool shed, providing you with the knowledge and confidence to tackle this essential task.
Key Takeaways:
- Protect your tool shed by laying underlayment roof paper to shield it from moisture, prevent leaks, and extend its lifespan. Follow the steps to ensure a resilient and durable roofing system.
- Ensure your tool shed’s longevity by meticulously preparing the roof, cutting and laying the underlayment, and securing it effectively. Your attention to detail will yield a robust and enduring outdoor structure.
Read more: How To Apply Underlayment To A Roof
Materials Needed
Before embarking on the underlayment installation process, it’s essential to gather the necessary materials and tools. Here’s a comprehensive list of items you’ll need:
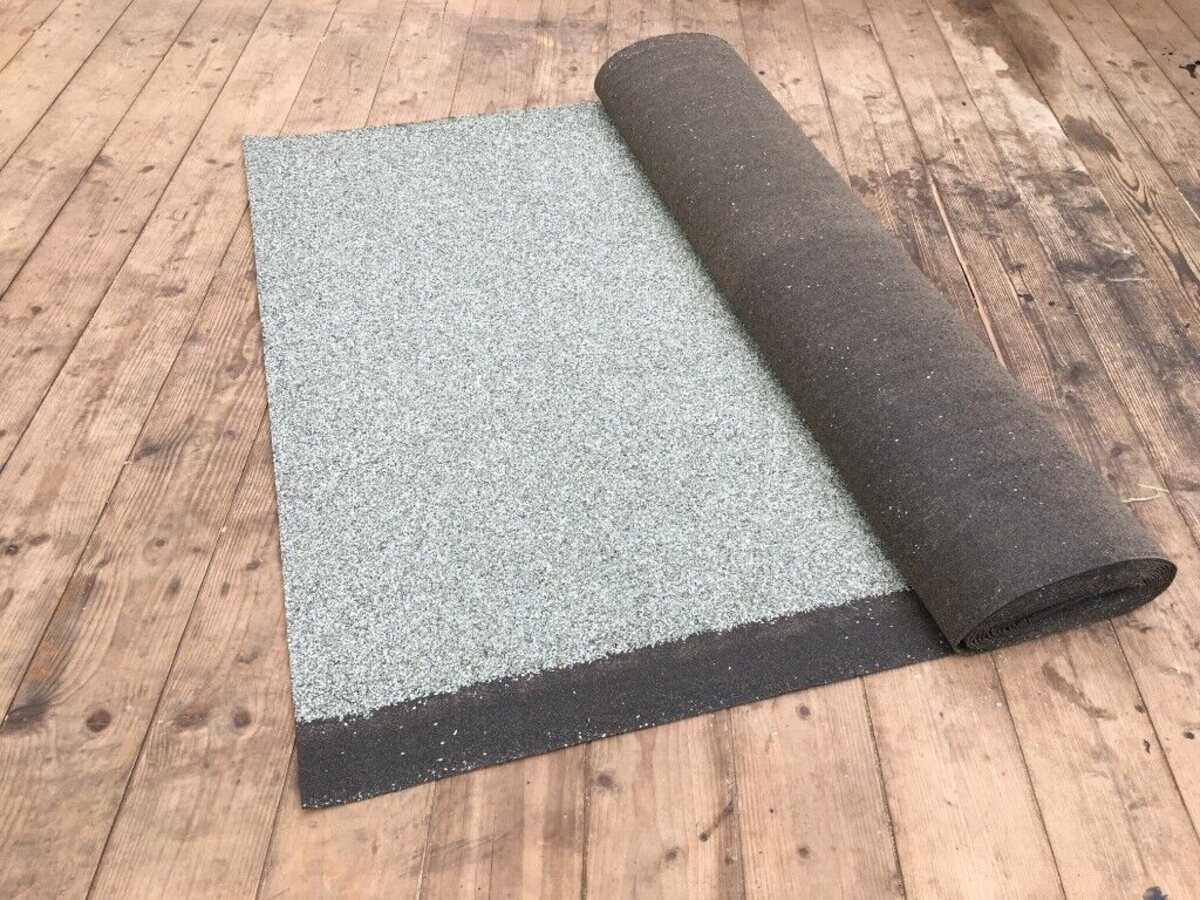
- Roofing underlayment paper
- Staples or roofing nails
- Tape measure
- Straightedge or chalk line
- Utility knife or roofing scissors
- Hammer or staple gun
- Roofing cement or adhesive (if required)
- Safety goggles and gloves
- Ladder or scaffolding
It’s crucial to ensure that the underlayment paper you select is suitable for the specific weather conditions in your area. Additionally, be mindful of any local building codes or regulations related to roofing materials and installation.
By having these materials at your disposal, you’ll be well-prepared to carry out the underlayment installation process efficiently and effectively.
Preparing the Roof Surface
Before laying the underlayment, it’s imperative to prepare the roof surface to ensure optimal performance and longevity. Here’s a step-by-step guide to preparing the roof surface for underlayment installation:
- Clean the Surface: Begin by clearing the roof of any debris, such as leaves, branches, and dirt. Use a broom or blower to ensure the surface is clean and free from obstructions.
- Inspect for Damage: Thoroughly inspect the roof for any signs of damage, such as rot, mold, or structural issues. Address any underlying problems before proceeding with the underlayment installation.
- Repair Any Leaks: If there are existing leaks or areas of concern, it’s essential to address these issues before laying the underlayment. Apply roofing cement or sealant to any vulnerable areas to prevent water infiltration.
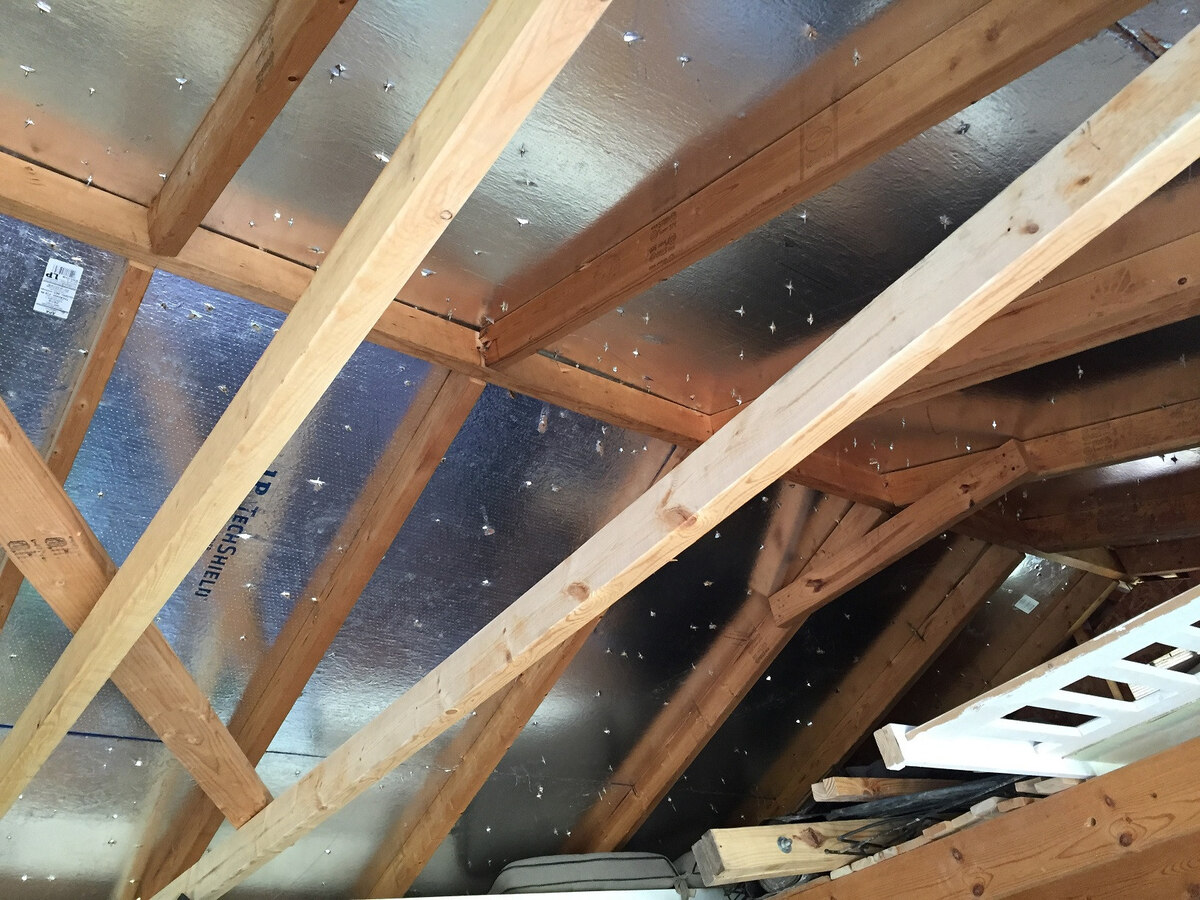
- Ensure Proper Ventilation: Check that the roof has adequate ventilation to prevent moisture buildup, which can compromise the underlayment and the overall roofing system.
- Apply a Primer (if necessary): In some cases, applying a primer to the roof surface can enhance adhesion and promote a more secure installation of the underlayment.
By meticulously preparing the roof surface, you’ll create a solid foundation for the underlayment, ensuring that it functions optimally in protecting the shed from the elements. This proactive approach can contribute to the long-term durability and resilience of the roofing system.
Before laying underlayment roof paper on a tool shed, make sure to clean the roof surface and remove any debris. Start at the bottom and work your way up, overlapping the paper to prevent leaks. Use a staple gun to secure the paper in place.
Cutting and Laying the Underlayment
With the roof surface prepared, it’s time to proceed with cutting and laying the underlayment. This crucial phase sets the stage for the protective barrier that will safeguard your tool shed from the elements. Here’s a detailed overview of the process:
- Measure and Cut: Begin by measuring the dimensions of the roof to determine the amount of underlayment needed. Use a tape measure to accurately assess the length and width of the roof, allowing for a slight overhang at the edges for proper coverage.
- Cut the Underlayment: Using a utility knife or roofing scissors, carefully cut the underlayment to the required size. Exercise caution to achieve clean, precise cuts that align with the roof’s dimensions.
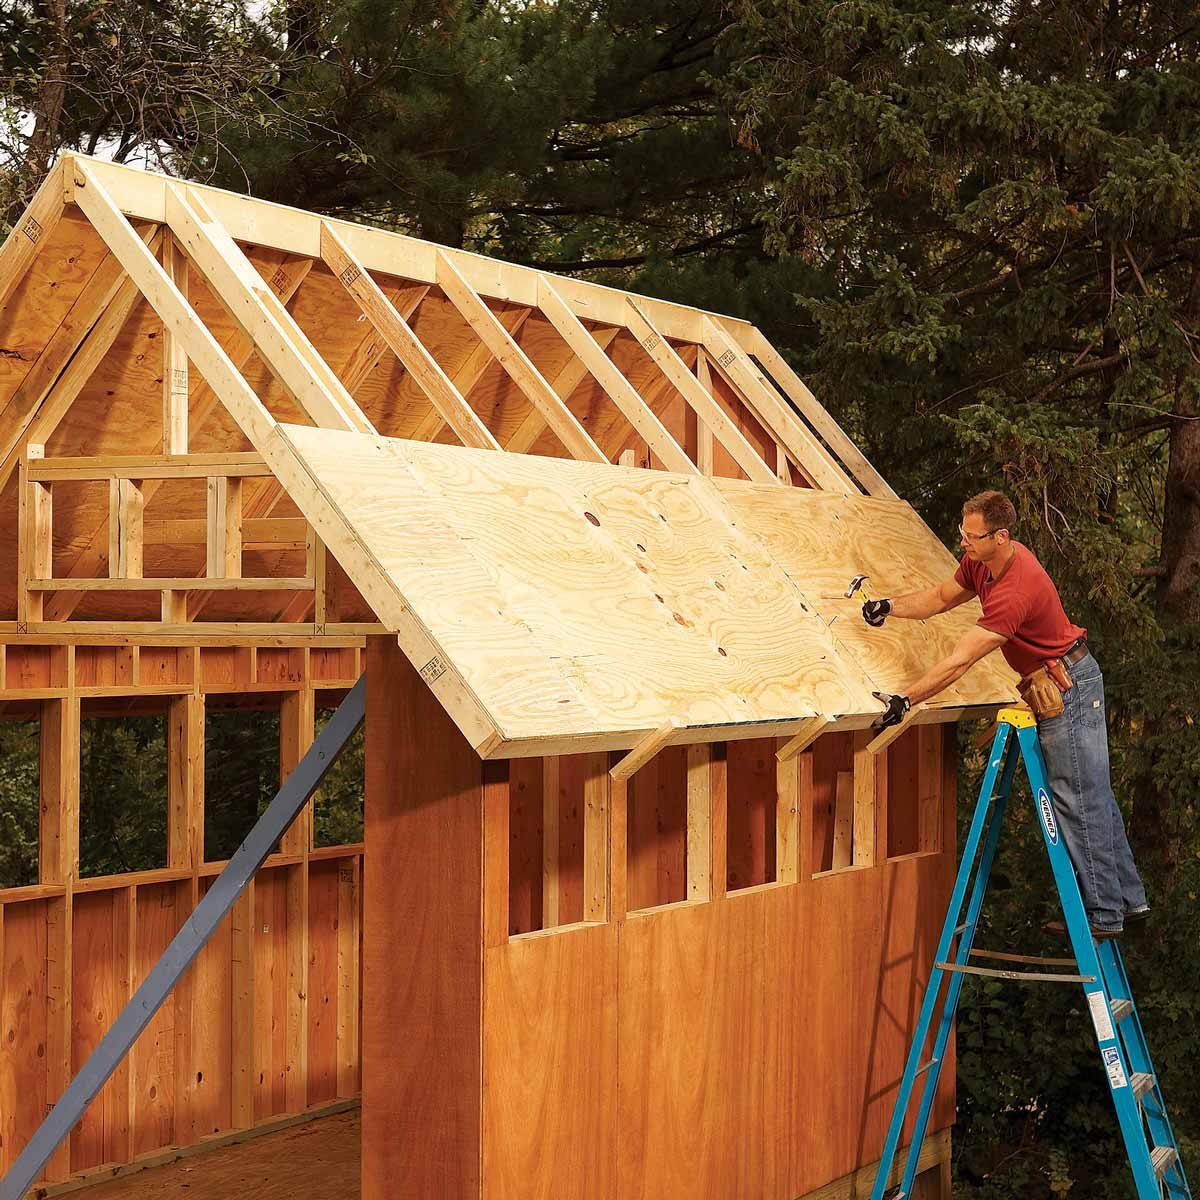
- Start at the Bottom: Commence the installation at the bottom edge of the roof, positioning the first piece of underlayment with care. Ensure that it overlaps any lower eaves or edges, providing a secure barrier against water infiltration.
- Overlap Seam Placement: When laying subsequent rows of underlayment, overlap the seams according to the manufacturer’s guidelines. This ensures a watertight seal and reinforces the protective layer.
- Smooth and Align: As you progress with laying the underlayment, smooth out any wrinkles or air pockets to promote even coverage and adhesion to the roof surface. Align the underlayment meticulously to maintain a uniform and secure installation.
By meticulously executing the cutting and laying process, you’ll establish a resilient underlayment barrier that shields your tool shed from moisture and environmental stressors, enhancing its structural integrity and longevity.
Securing the Underlayment
Once the underlayment is accurately positioned on the roof, the next critical step is to secure it in place to ensure its stability and resilience in the face of varying weather conditions. Properly securing the underlayment is essential to prevent it from shifting or becoming compromised. Here’s a comprehensive guide to effectively securing the underlayment:
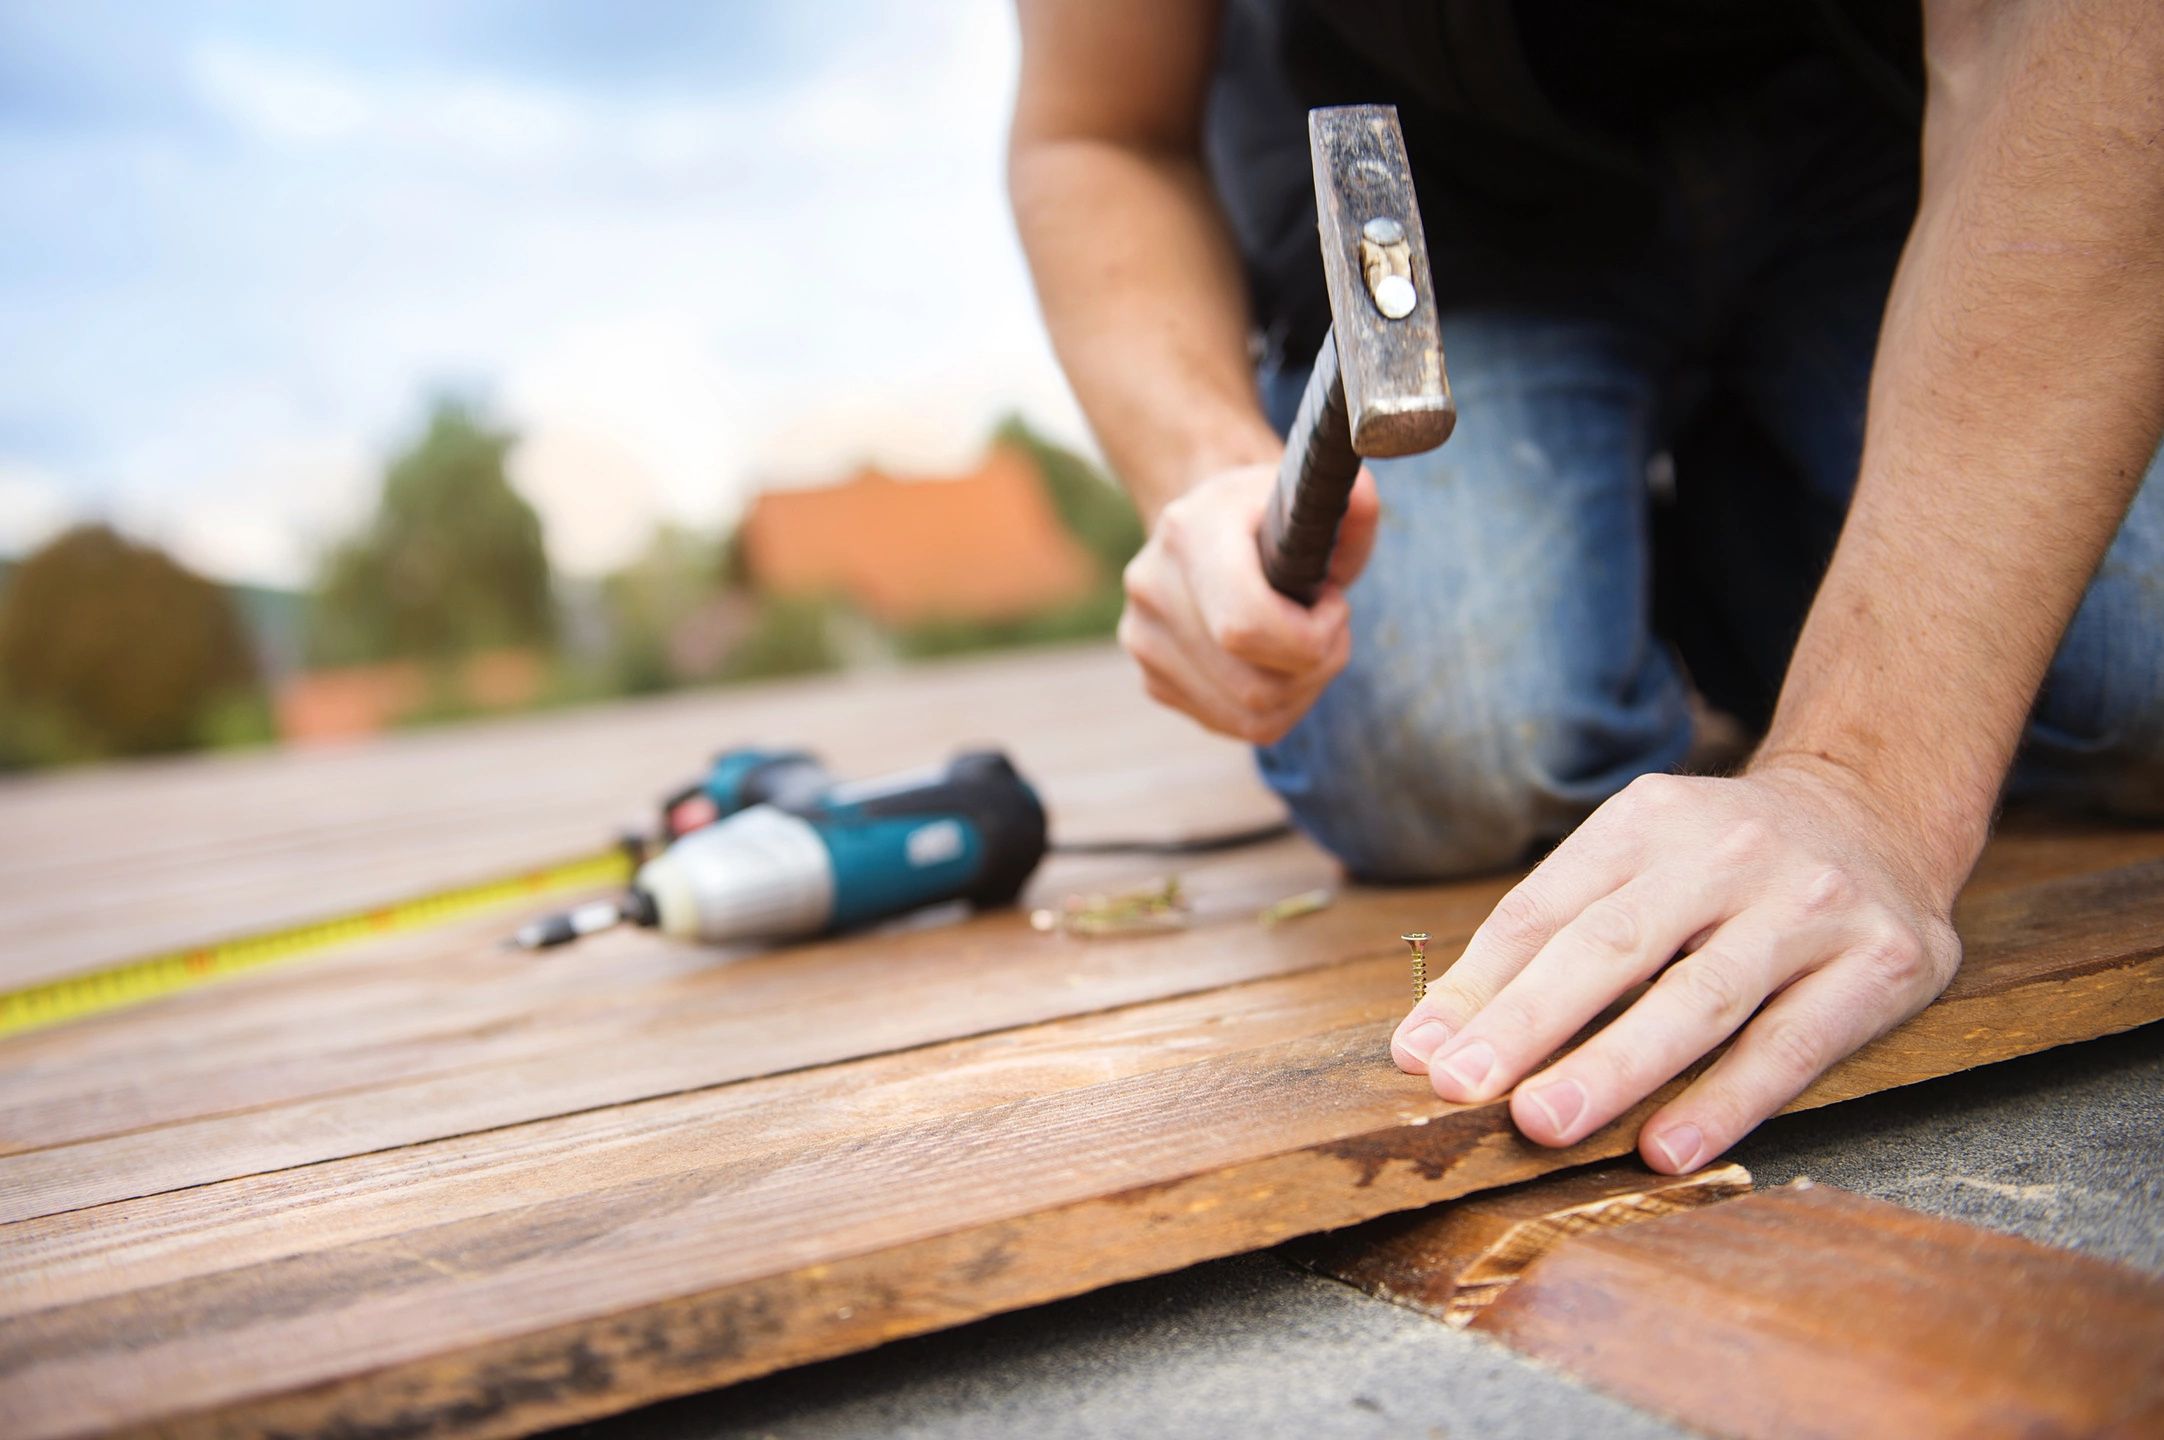
- Stapling or Nailing: Utilize roofing staples or nails to secure the underlayment to the roof structure. Position the fasteners according to the manufacturer’s recommendations, typically along the edges and at specified intervals across the surface. Ensure that the fasteners penetrate the underlayment and securely anchor it to the roof.
- Adhere to Guidelines: Follow the specific guidelines provided by the underlayment manufacturer regarding the recommended fastener type, spacing, and installation method. Adhering to these instructions is crucial for achieving optimal performance and longevity.
- Seal Around Penetrations: If your tool shed roof features protrusions such as vents or chimneys, take care to seal around these penetrations to prevent water intrusion. Utilize roofing cement or an appropriate sealant to create a watertight barrier at these vulnerable points.
- Inspect for Adequate Coverage: After securing the underlayment, conduct a thorough inspection to ensure that the entire roof surface is uniformly covered and that the underlayment is securely fastened. Address any areas that may require additional fasteners or adjustments.
- Protective Overlap: Confirm that the underlayment’s overlapping sections are securely fastened and provide a protective overlap to safeguard against water seepage and wind-driven rain.
By diligently securing the underlayment, you’ll bolster the shed’s defense against the elements, fortifying its structural integrity and promoting long-term durability. This meticulous approach contributes to a robust roofing system that offers reliable protection and peace of mind.
Read more: How To Lay Roof Decking
Conclusion
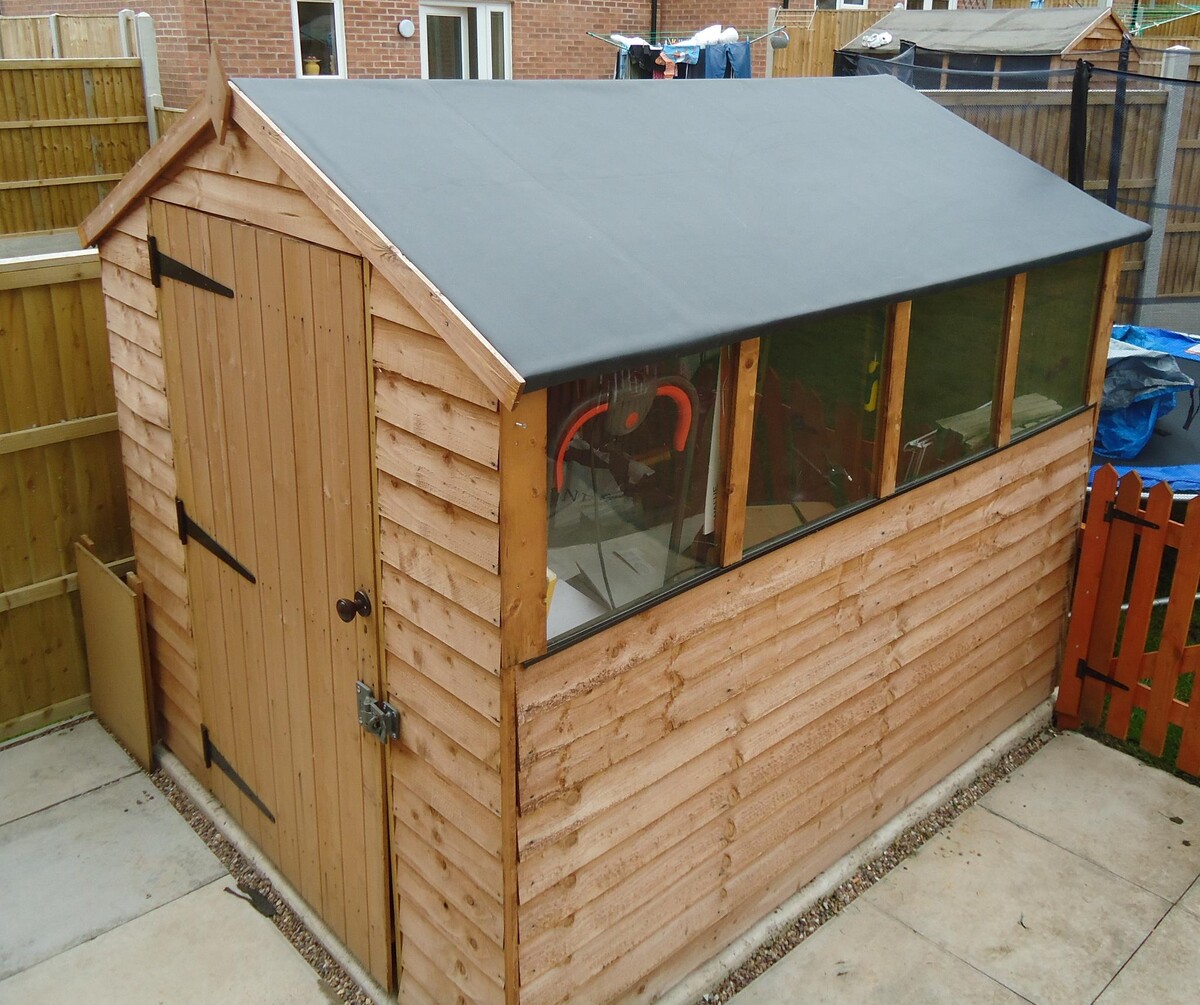
Congratulations on successfully navigating the process of laying underlayment roof paper on your tool shed! By meticulously following the steps outlined in this guide, you’ve taken a proactive approach to safeguarding your shed’s roof from the elements, ultimately contributing to its resilience and longevity.
As you reflect on the completion of this essential task, it’s important to recognize the significance of a well-installed underlayment in fortifying the shed’s structural integrity and protecting its contents from environmental stressors. The underlayment serves as a vital barrier, shielding the roof from moisture, preventing leaks, and enhancing the shed’s overall durability.
Moreover, by preparing the roof surface, cutting and laying the underlayment with precision, and securing it effectively, you’ve demonstrated a commitment to quality craftsmanship and proactive maintenance. Your dedication to this process not only ensures the immediate protection of your shed but also contributes to its long-term resilience against the elements.
As you admire your newly fortified tool shed, take pride in the knowledge that your attention to detail and commitment to best practices have culminated in a roofing system that offers reliable protection and peace of mind. Your investment of time and effort in laying underlayment roof paper will undoubtedly yield dividends in the form of a robust and enduring outdoor structure.
Remember, the underlayment is a foundational element of the shed’s roofing system, and its proper installation is a testament to your commitment to quality and durability. With the underlayment in place, your tool shed is well-equipped to weather storms, resist moisture, and stand the test of time, providing a secure haven for your tools and equipment.
As you continue to enhance and maintain your outdoor structures, may the knowledge and skills gained from this endeavor serve as a valuable asset in your future projects, ensuring that each undertaking is marked by resilience, quality, and enduring strength.
Frequently Asked Questions about How To Lay Underlayment Roof Paper On A Tool Shed
Was this page helpful?
At Storables.com, we guarantee accurate and reliable information. Our content, validated by Expert Board Contributors, is crafted following stringent Editorial Policies. We're committed to providing you with well-researched, expert-backed insights for all your informational needs.


0 thoughts on “How To Lay Underlayment Roof Paper On A Tool Shed”