Articles
How To Build Ranch Fence
Modified: October 20, 2024
Discover helpful articles on how to build a ranch fence, covering everything from materials needed to step-by-step instructions. Enhance your DIY skills and create a sturdy and beautiful fence.
(Many of the links in this article redirect to a specific reviewed product. Your purchase of these products through affiliate links helps to generate commission for Storables.com, at no extra cost. Learn more)
Introduction
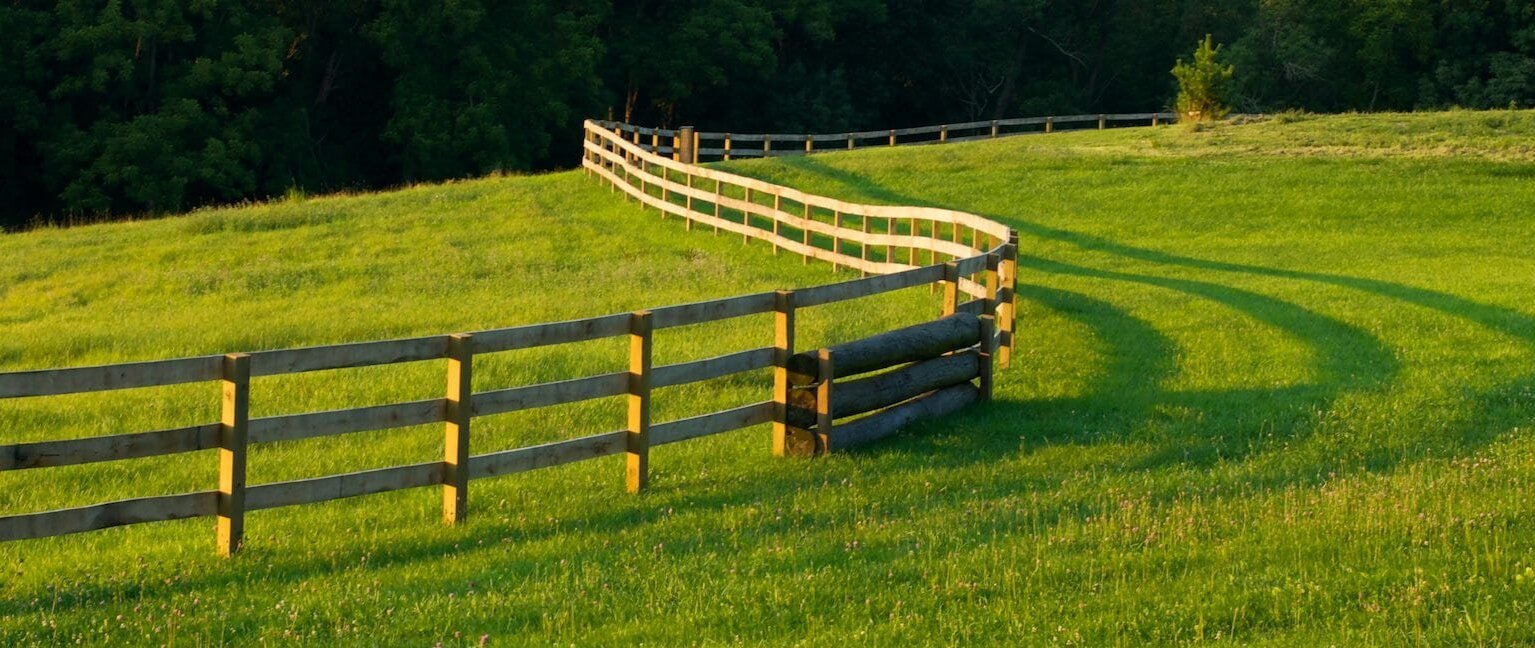
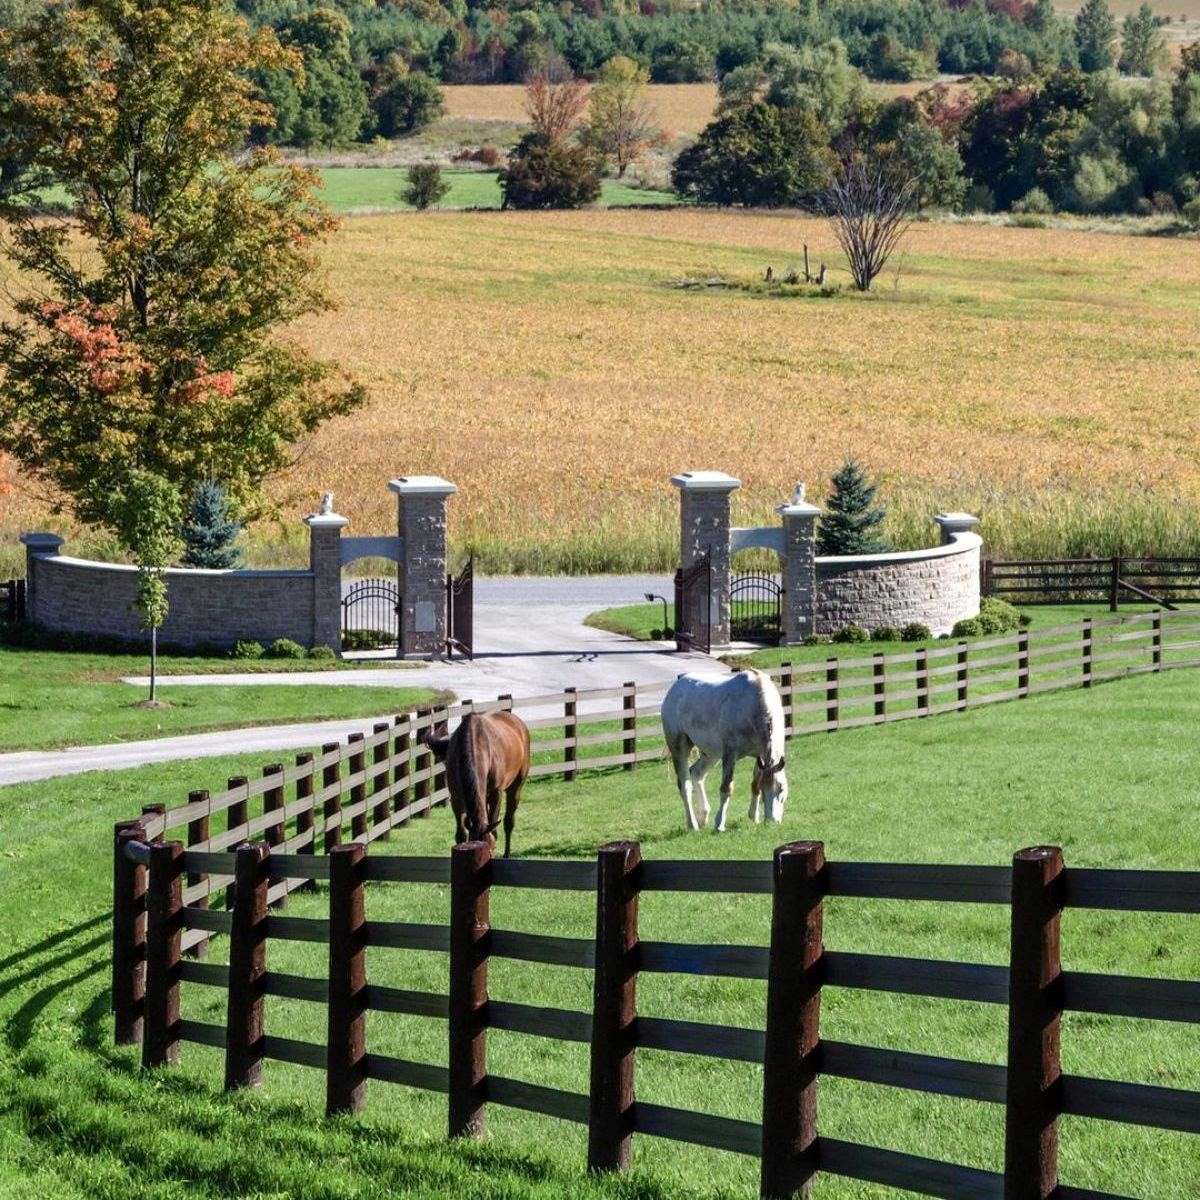
Building a ranch fence is a great way to enhance the aesthetics and functionality of your property. Whether you have livestock that needs to be contained or simply want to add a rustic charm to your land, a well-built ranch fence can serve both practical and decorative purposes.
In this article, we will outline the step-by-step process of building a ranch fence. From gathering materials to adding the finishing touches, we will provide you with all the information you need to successfully complete this project.
Before we delve into the details, it is important to note that building a ranch fence requires some basic carpentry skills and physical labor. It is recommended to have a clear plan in mind and gather all the necessary tools and materials before you start.
Now, let’s get started on this exciting journey of building your own ranch fence!
Key Takeaways:
- Building a ranch fence requires careful planning, quality materials, and attention to detail. From setting the corner posts to adding finishing touches, each step contributes to creating a sturdy and visually appealing fence.
- A well-constructed ranch fence not only serves practical purposes but also enhances the aesthetics of your property. By following the step-by-step process outlined in this article, you can create a long-lasting and reliable fence that adds rustic charm to your landscape.
Read more: How To Build A Wattle Fence
Step 1: Gathering Materials
The first step in building a ranch fence is to gather all the necessary materials. Here is a list of the commonly used items:
- Wooden fence posts
- Fence rails
- Fence boards or panels
- Nails or screws
- Gates and hinges
- Post hole digger or auger
- Level
- Tape measure
- String or chalk line
- Hammer or drill
- Saw or wire cutter
- Protective gear (gloves, safety glasses)
When selecting the materials, it is important to choose high-quality, durable items that are suitable for outdoor use. Pressure-treated or cedar wood is commonly used for fence posts and rails due to their resistance to rot and decay.
Estimating the amount of materials needed will depend on the length and height of the fence you plan to build. Measure the perimeter of the area and consult a fencing calculator or consult with a fencing professional to determine the quantity of materials required.
Once you have gathered all the materials, it is crucial to inspect them for any defects or damages. Replace any faulty items to ensure a sturdy and long-lasting ranch fence.
With the materials ready, you are now prepared to move on to the next step of preparing the ground.
Step 2: Preparing the Ground
Properly preparing the ground is essential for the stability and longevity of your ranch fence. Follow these steps to ensure a solid foundation:
- Clear the area: Start by removing any vegetation, rocks, or debris along the fence line. This will create a clean and even surface for your fence.
- Mark the fence line: Use stakes and string or a chalk line to mark the desired fence line. This will serve as a guide for the installation of the fence posts.
- Measure and mark post spacing: Determine the spacing between the fence posts based on the length of the rails or fence panels you plan to use. Typically, posts are spaced around 6 to 8 feet apart.
- Dig post holes: Use a post hole digger or auger to dig holes at the marked spots. The depth of the holes will depend on various factors, including the height of the fence and local building codes. As a general rule, aim for a depth that is one-third the height of the post.
- Check for level: As you dig the holes, periodically check for level using a level tool. This will ensure that your fence is straight and properly aligned.
Once all the post holes are dug, it’s time to proceed to the next step of setting the corner posts. By properly preparing the ground, you are laying the groundwork for a sturdy and visually appealing ranch fence.
Step 3: Setting the Corner Posts
Setting the corner posts is a crucial step in building a ranch fence as they provide support and stability to the entire structure. Follow these steps to properly set the corner posts:
- Start by placing one of the corner posts in one of the post holes. Ensure that the post is plumb and level.
- Fill the hole around the post with concrete or gravel. This will help secure the post in place and provide stability.
- Use a level to double-check that the post is straight and vertically aligned. Adjust as necessary.
- Repeat the process for the other corner post on the opposite side of the fence line.
- Connect a string or line tightly between the two corner posts at the desired height of the ranch fence. This will serve as a guide for the installation of the intermediate posts.
Once the corner posts are securely set, you can move on to the next step of installing the line posts. These posts will provide support and additional stability for the ranch fence.
It’s important to note that the height of the fence posts should be consistent throughout the entire fence line. This will ensure a uniform and aesthetically pleasing appearance.
By properly setting the corner posts, you are establishing a solid foundation for your ranch fence. This will ultimately contribute to its durability and structural integrity.
Step 4: Installing Line Posts
Installing line posts is the next crucial step in building your ranch fence. These posts provide additional support and structure between the corner posts. Follow these steps to install the line posts:
- Starting from one of the corner posts, measure the distance between the two corner posts and divide it by the desired spacing of your line posts.
- Mark the locations of the line posts along the fence line, ensuring they are evenly spaced.
- Use a post hole digger or auger to dig a hole for each line post. The depth of the holes should be around one-third the height of the post.
- Place a line post into each hole, making sure they are plumb and level. Adjust as necessary.
- Fill the holes around the line posts with concrete or gravel to secure them in place. Ensure the posts are firmly set.
- Using a level, check that the line posts are all aligned horizontally. Adjust if needed.
It is important to note that the height of the line posts should be consistent with the corner posts. This will ensure a uniform and visually appealing ranch fence.
By installing the line posts properly, you are reinforcing the structure of your fence. This will help ensure its stability and longevity. Once the line posts are securely in place, you can move on to the next step of adding rails and braces.
When building a ranch fence, make sure to use durable materials such as treated wood or vinyl to withstand weather and animal wear. Properly set the posts deep in the ground for stability.
Read more: How To Build A Brick Fence
Step 5: Adding Rails and Braces
Adding rails and braces to your ranch fence is an important step in ensuring its strength and stability. Follow these steps to properly install the rails and braces:
- Measure the distance between the corner and line posts to determine the length of the fence rails.
- Cut the fence rails to the appropriate length using a saw or other cutting tool.
- Attach the rails to the posts using nails or screws. Make sure the rails are level and evenly spaced.
- Install braces on both sides of the corners to provide additional support. Braces are typically diagonal pieces of wood that connect the top of the corner post to the bottom of the next post in line.
- Attach the braces securely using nails or screws, ensuring they are at a 45-degree angle.
It is important to note that the number of rails will depend on the height of your fence and the desired level of visibility or containment. Typically, ranch fences have two to four horizontal rails.
In addition to the rails, adding braces is crucial for maintaining the structural integrity of the fence, especially at the corners. This helps prevent sagging and keeps the fence stable and sturdy.
Once the rails and braces are securely in place, you are ready to move on to the next step of hanging gates, which will provide access to your fenced area.
Step 6: Hanging Gates
Hanging gates is the next step in completing your ranch fence. Gates provide access to the fenced area and play a crucial role in the functionality of your fence. Follow these steps to hang your gates:
- Measure the width of the gate opening and determine the appropriate size for the gate.
- Purchase or construct the gate to the desired width and height, ensuring it is sturdy and well-built.
- Place the gate in the desired position between the two gate posts.
- Attach the hinges to the gate and the gate posts, ensuring they are secure and properly aligned.
- Check that the gate swings freely and opens and closes smoothly. Make any necessary adjustments to the hinges if needed.
- Add a latch or lock to the gate for security if desired.
It is important to ensure that the gate is in line with the fence rails and properly aligned. A gate that is uneven or misaligned can cause issues with functionality and durability.
When hanging a gate, it is recommended to have another person assist you, as gates can be heavy and require careful positioning.
By properly hanging your gates, you can complete the functional aspect of your ranch fence and have convenient access to your enclosed area.
Step 7: Finishing Touches
After completing the major construction of your ranch fence, it’s time to add the finishing touches. These final steps will not only enhance the appearance of your fence but also contribute to its overall durability. Follow these steps to complete your ranch fence:
- Trim and sand any rough edges or splinters on the fence boards or panels.
- Apply a protective sealant or stain to the wood to enhance its resistance to weathering, rot, and pests.
- Inspect the entire fence for any loose or protruding nails or screws. Secure any loose hardware to ensure the fence is safe and secure.
- Remove any construction debris or excess materials from the surrounding area.
- Maintain your fence regularly by checking for any signs of damage, such as rot or warping, and performing necessary repairs.
Additionally, consider adding decorative elements to personalize your ranch fence. This can include adding post caps, decorative finials, or even painting the fence with a color that complements your property.
By paying attention to these finishing touches, you can ensure that your ranch fence not only serves its practical purpose but also adds beauty and value to your property.
With the completion of these final steps, your ranch fence project is now finished. Congratulations on a job well done!
Conclusion
Building a ranch fence can be a rewarding and fulfilling project that adds both functionality and aesthetics to your property. By following the step-by-step process outlined in this article, you can successfully construct a sturdy and visually appealing fence.
From gathering the materials to adding the finishing touches, each step plays a crucial role in creating a long-lasting and reliable ranch fence. It is important to take the time to properly prepare the ground, set the corner posts, install the line posts, add rails and braces, hang gates, and complete the finishing touches.
Throughout the process, it is recommended to maintain a focus on quality and attention to detail. Use high-quality materials, ensure proper alignment and stability, and regularly inspect and maintain your fence to prolong its lifespan.
A well-constructed ranch fence not only serves practical purposes, such as containing livestock or providing security, but also enhances the overall aesthetics of your property. It adds a touch of rustic charm and can be a defining feature of your landscape.
Remember, building a ranch fence requires some basic carpentry skills and physical labor. It is important to have a clear plan, gather all the necessary tools and materials, and take safety precautions during the construction process.
So, whether you’re looking to enclose a pasture, create a boundary, or simply add a touch of country charm to your property, building a ranch fence is a worthwhile endeavor. By following the steps outlined in this article, you’ll be well on your way to enjoying the benefits of a well-built ranch fence for years to come.
Frequently Asked Questions about How To Build Ranch Fence
Was this page helpful?
At Storables.com, we guarantee accurate and reliable information. Our content, validated by Expert Board Contributors, is crafted following stringent Editorial Policies. We're committed to providing you with well-researched, expert-backed insights for all your informational needs.


0 thoughts on “How To Build Ranch Fence”