Articles
How To Attach Electrical Box To Concrete Wall
Modified: October 20, 2024
Learn how to attach an electrical box to a concrete wall with our informative articles. Discover step-by-step instructions and expert tips for a secure installation.
(Many of the links in this article redirect to a specific reviewed product. Your purchase of these products through affiliate links helps to generate commission for Storables.com, at no extra cost. Learn more)
Introduction
Attaching an electrical box to a concrete wall can be a challenging task, but with the right tools and techniques, it can be accomplished successfully. Whether you are installing electrical outlets, light switches, or other components, securing the electrical box properly is crucial to ensure safety and functionality.
In this article, we will guide you through the step-by-step process of attaching an electrical box to a concrete wall. From gathering the necessary tools and materials to connecting the wiring, we will provide you with all the information you need to complete the task efficiently and with confidence.
Before we dive into the steps, it’s essential to emphasize the importance of safety when working with electricity. Always turn off the power to the circuit you are working on at the main electrical panel and use appropriate protective gear, such as gloves and safety glasses.
Now, let’s get started with the first step: gathering the necessary tools and materials.
Key Takeaways:
- Securely attach an electrical box to a concrete wall by gathering the right tools, choosing the appropriate box, and following step-by-step installation instructions. Prioritize safety and ensure stable, code-compliant installations for reliable power sources.
- Prioritize safety and precision when attaching electrical boxes to concrete walls. From marking positions to connecting wiring, follow each step carefully for a secure and compliant installation. Always consult a professional if uncertain about electrical work.
Read more: How To Attach Metal Electrical Box To Stud
Step 1: Gather the necessary tools and materials
Before you begin attaching an electrical box to a concrete wall, it is essential to gather all the necessary tools and materials. Here’s a list of items you will need:
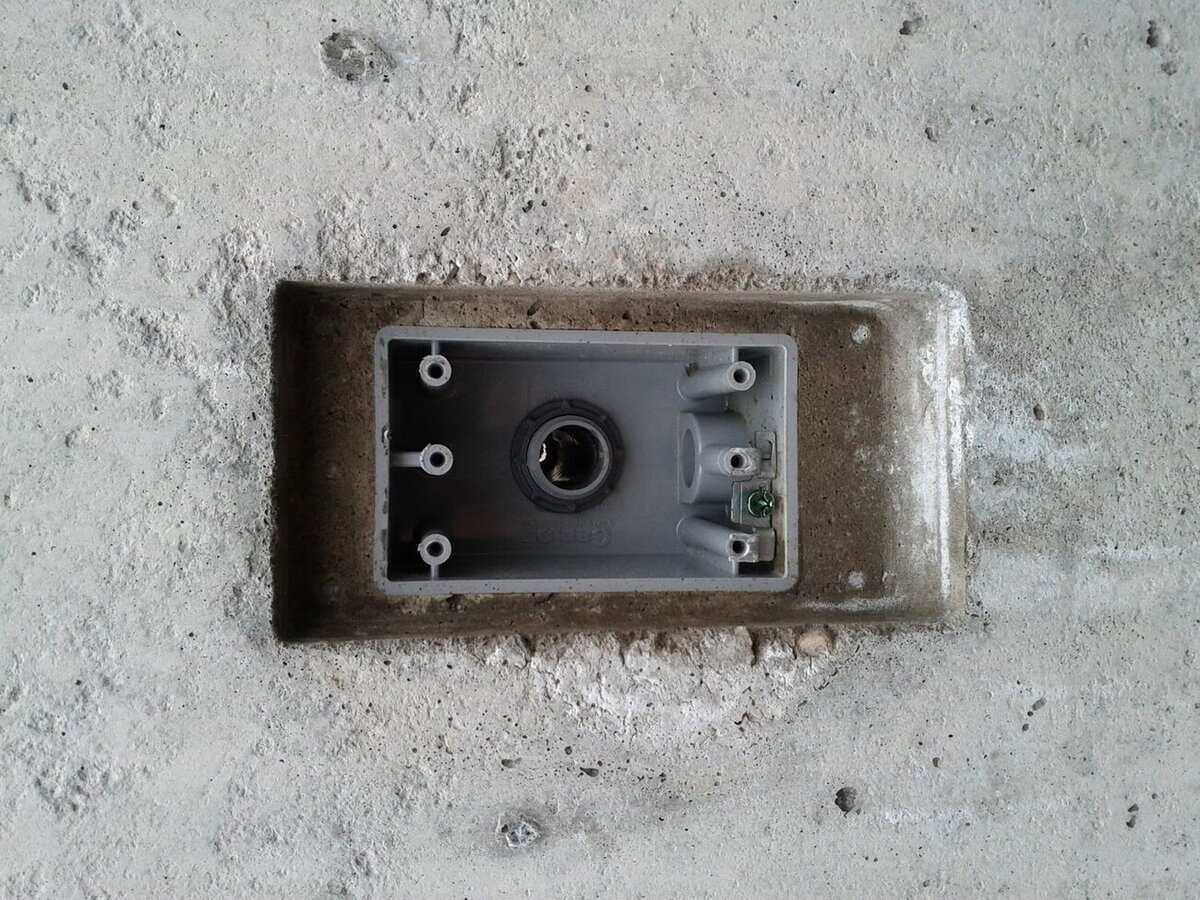
- Electrical box: Choose an appropriate electrical box that suits your specific needs. Make sure it is designed for surface mounting on a concrete wall.
- Anchor bolts: These bolts will be used to secure the electrical box to the concrete wall. Select anchor bolts that are suitable for concrete installations.
- Drill: You will need a power drill with a masonry bit to pre-drill holes in the concrete wall.
- Hammer: A hammer will be required to insert the anchor bolts into the pre-drilled holes.
- Socket wrench: This tool will be used to tighten the anchor bolts securely.
- Screwdriver: You will need a screwdriver to fasten screws and secure the electrical box to the anchor bolts.
- Level: To ensure the electrical box is properly aligned and straight, a leveling tool is necessary.
- Pencil or marker: You will need a pencil or marker to mark the position for the electrical box on the concrete wall.
- Safety gear: To protect yourself from potential hazards, wear safety glasses, gloves, and a dust mask.
Having all these tools and materials ready before starting the installation process will save you time and ensure a smooth workflow.
Once you have gathered everything you need, proceed to the next step: choosing the appropriate electrical box.
Step 2: Choose the appropriate electrical box
Choosing the right electrical box is crucial for a successful installation. It’s important to select a box that is designed for surface mounting on a concrete wall and meets the necessary electrical code requirements. Here are some factors to consider when choosing an electrical box:
- Size and capacity: Determine the size and capacity needed for the electrical box based on the number and type of devices you will be installing. Make sure it is large enough to comfortably accommodate all the wiring and devices.
- Material: Electrical boxes are available in various materials, such as plastic, metal, or fiberglass. Consider the environment and conditions where the box will be installed to select a suitable material that can withstand any potential challenges, such as moisture or corrosion.
- Mounting options: Look for an electrical box specifically designed for surface mounting on a concrete wall. These boxes often have built-in flanges or brackets that simplify the installation process.
- Accessibility: If the electrical box will be located in an area that requires frequent access, consider choosing a box with a hinged or removable cover for easier maintenance and troubleshooting.
- Compliance with electrical codes: Ensure that the electrical box you select adheres to local electrical codes and regulations. This ensures the safety and compliance of the electrical installation.
Take your time to research and select the right electrical box that suits your specific needs. Consult with a professional electrician if you have any doubts or questions regarding your choice.
Once you have chosen the appropriate electrical box, it’s time to mark the position for the box on the concrete wall, which we will cover in the next step.
Step 3: Mark the position for the electrical box on the concrete wall
Before attaching the electrical box to the concrete wall, it’s essential to mark the position where it will be installed. This helps ensure that the box is properly aligned and positioned for optimal functionality. Follow these steps to mark the position:
- Measure and determine the desired height for the electrical box. Consider factors such as accessibility and convenience when selecting the height.
- Hold the electrical box against the concrete wall at the desired height. Use a level to make sure the box is straight and aligned properly.
- Once the box is in the correct position, use a pencil or marker to trace around the edges of the box, marking its outline on the concrete wall. Make sure the markings are clear and visible.
- Double-check the accuracy of the markings to ensure they align with your original measurements and desired placement.
- If you will be installing multiple electrical boxes, repeat the process for each box, making sure they are evenly spaced and aligned.
Take your time and be precise when marking the position for the electrical box. This will help ensure a neat and professional installation. Once you have accurately marked the position, you can proceed to the next step: pre-drilling holes in the concrete wall.
Step 4: Pre-drill holes in the concrete wall
Pre-drilling holes in the concrete wall is necessary to create anchor points for securing the electrical box. Follow these steps to pre-drill the holes:
- Put on your safety glasses and dust mask to protect yourself from debris.
- Select a masonry bit that is appropriate for the size of anchor bolts you will be using. Refer to the manufacturer’s instructions for the recommended bit size.
- Insert the chosen masonry bit into the power drill.
- Position the drill bit at one of the marked positions on the concrete wall.
- Hold the drill with a firm grip, applying steady downward pressure. Start drilling at a slow speed to create a pilot hole.
- Continue drilling, gradually increasing the speed until the bit penetrates the concrete wall. Keep the drill bit perpendicular to the wall to ensure straight and accurate holes.
- Repeat the drilling process for each marked position, creating holes that are deep enough to accommodate the length of the anchor bolts.
- Once all the holes have been drilled, use a brush or compressed air to remove any dust or debris from the holes.
Remember to take your time and maintain a steady pace while drilling. Applying excessive pressure or drilling too quickly can cause the drill bit to overheat or break.
Now that the holes have been pre-drilled, you can move on to the next step: inserting and securing the anchor bolts.
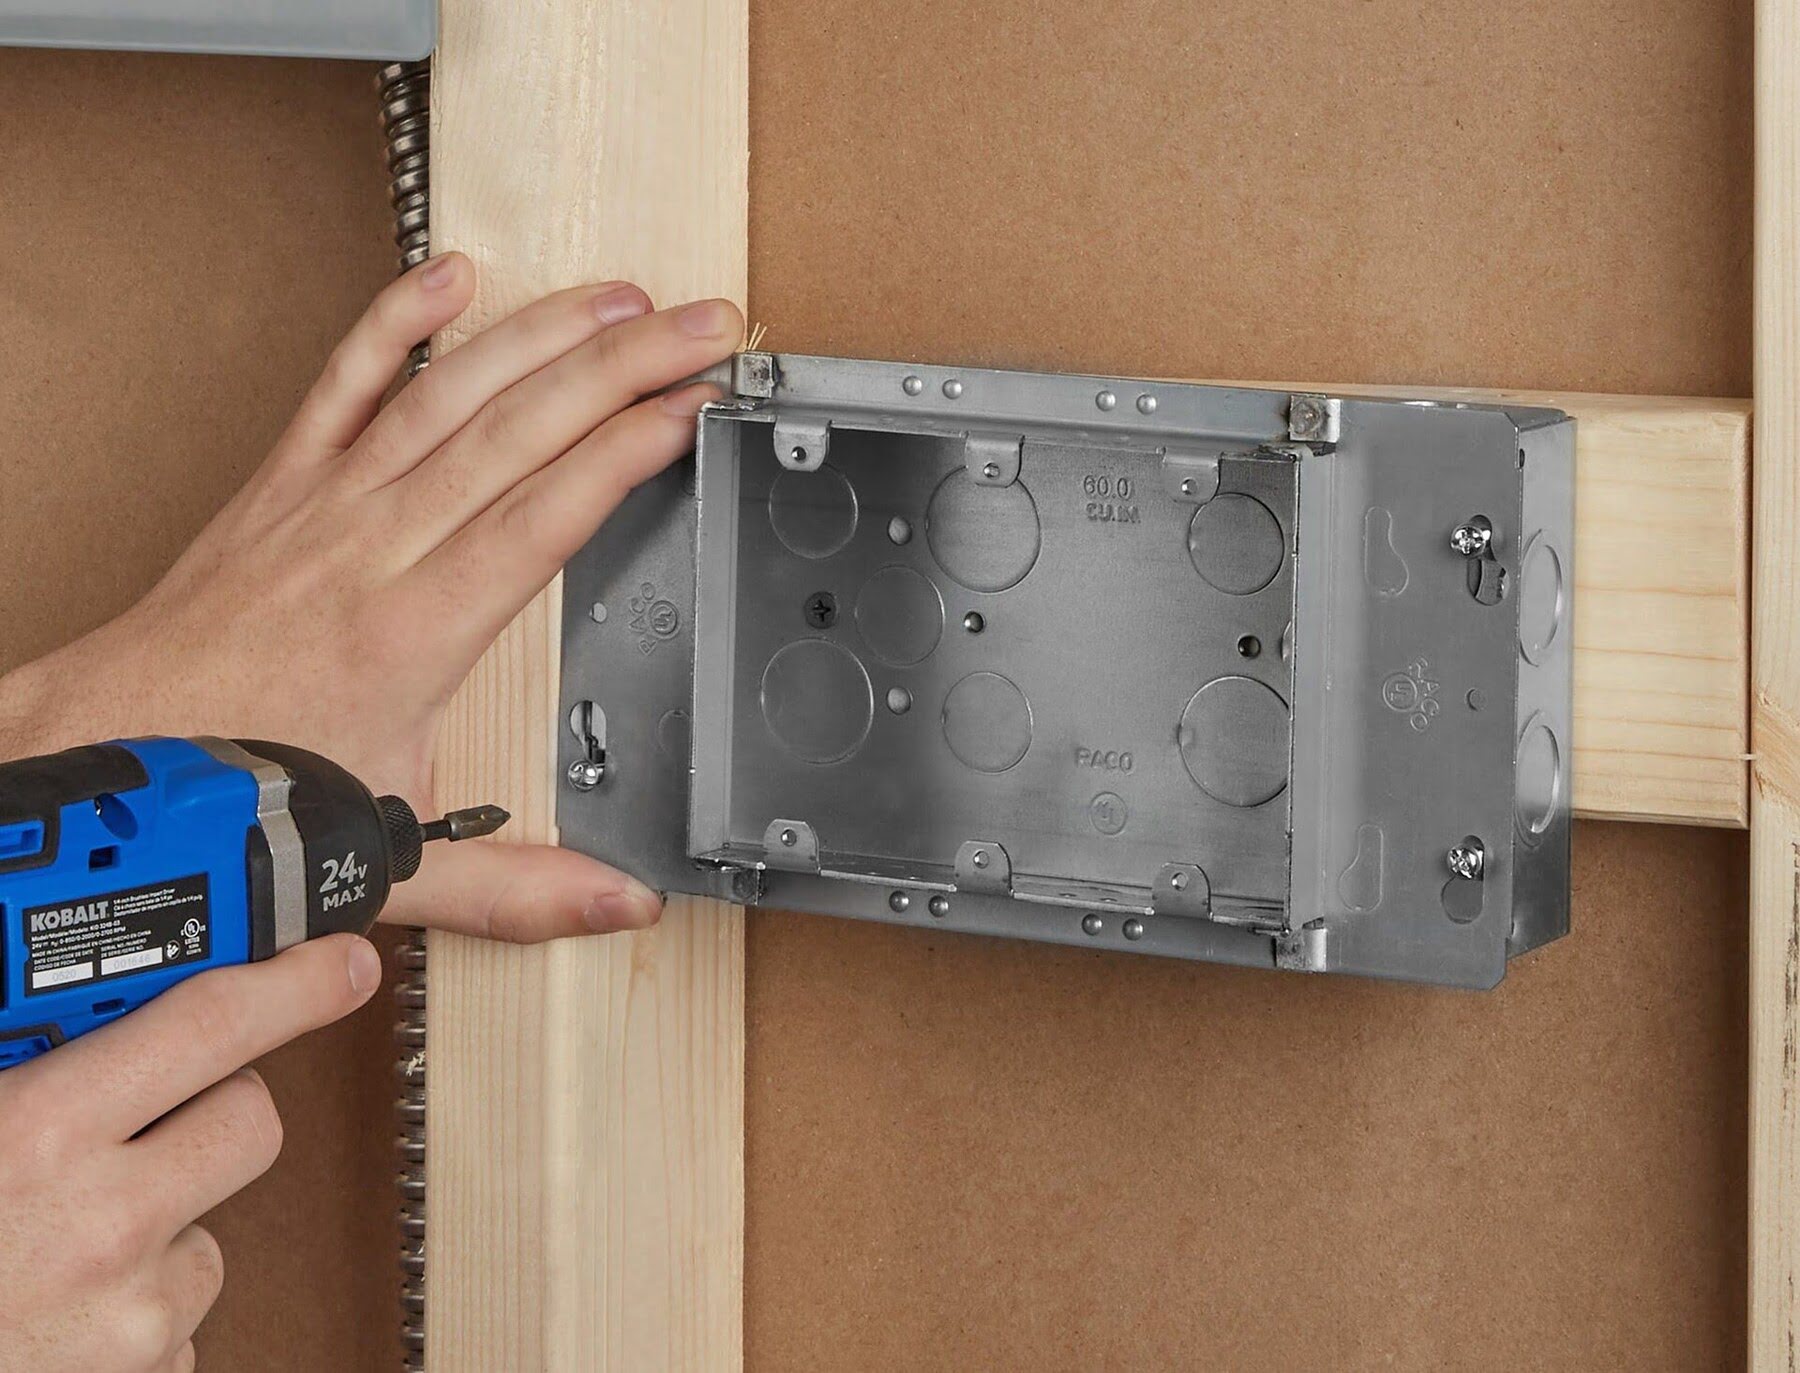
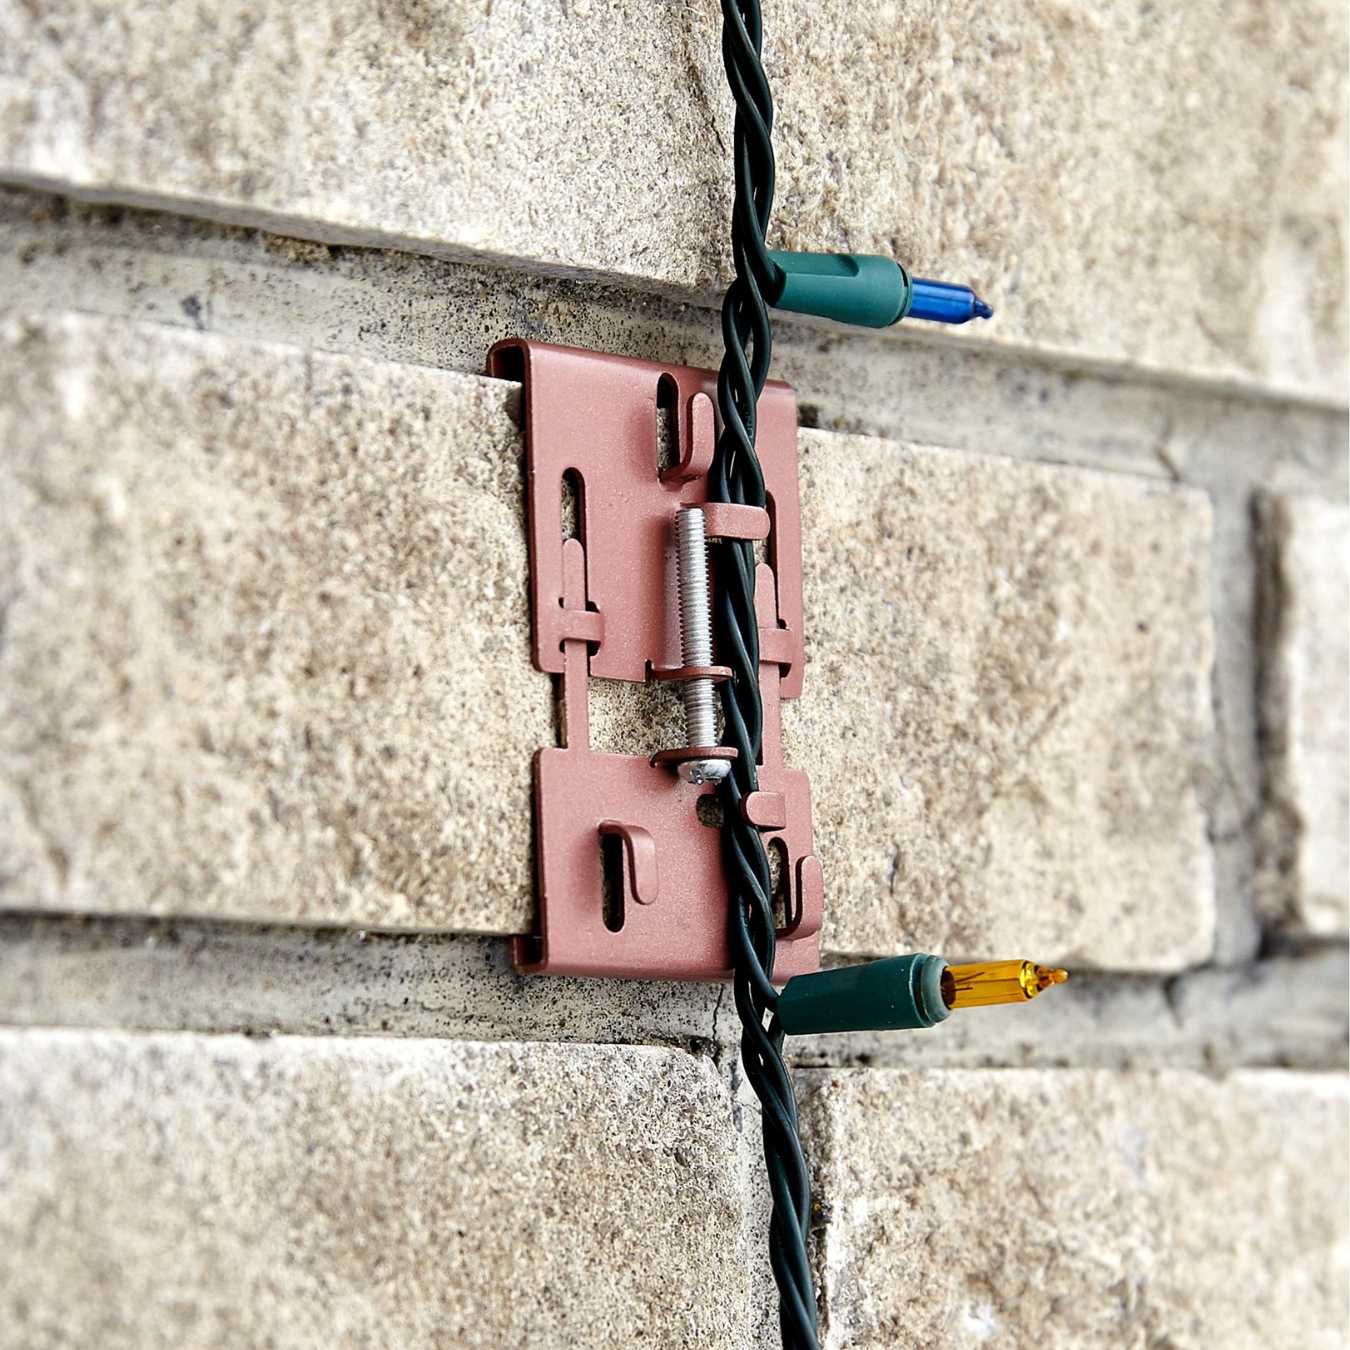
Use concrete screws and a hammer drill to attach the electrical box to the concrete wall. Pre-drill holes in the concrete, then use the screws to secure the box in place.
Read more: How To Run Electrical Wire On Concrete Wall
Step 5: Insert and secure anchor bolts
After pre-drilling the holes in the concrete wall, the next step is to insert and secure the anchor bolts. The anchor bolts will provide a strong and secure foundation for attaching the electrical box. Follow these steps to insert and secure the anchor bolts:
- Take the anchor bolts that are appropriate for your installation and ensure they are clean and free of any debris.
- Insert one anchor bolt into each pre-drilled hole, making sure they are fully inserted and flush with the surface of the wall.
- If necessary, gently tap the anchor bolts with a hammer to ensure a snug fit and proper alignment.
- Once all the anchor bolts are inserted, use a socket wrench to tighten them securely. Apply firm and even pressure to ensure they are properly secured in place.
- Double-check to ensure that all the anchor bolts are tightened to the same level and have a consistent depth.
Note: It’s important not to overtighten the anchor bolts, as this could damage the concrete wall or strip the threads. Use caution and stop tightening once you feel resistance.
With the anchor bolts securely in place, you can proceed to the next step: attaching the electrical box to the anchor bolts.
Step 6: Attach the electrical box to the anchor bolts
Now that the anchor bolts are securely inserted into the concrete wall, it’s time to attach the electrical box to them. Follow these steps to properly attach the box:
- Position the electrical box over the anchor bolts, ensuring that the holes in the box align with the bolts.
- Slide the box down onto the anchor bolts, making sure it sits flush against the wall.
- If needed, adjust the box’s position to ensure it is level and properly aligned.
- Insert screws through the holes in the box and into the anchor bolts.
- Tighten the screws using a screwdriver, ensuring that the box is securely fastened to the anchor bolts.
- Double-check the stability and alignment of the box, making any necessary adjustments before proceeding.
It’s important to tighten the screws evenly and avoid over-tightening, as this could damage the electrical box or strip the threads.
Once the box is securely attached to the anchor bolts, you’re ready to move on to the next step: securing the electrical box to the concrete wall.
Step 7: Secure the electrical box to the concrete wall
With the electrical box attached to the anchor bolts, the next step is to secure the box to the concrete wall. This step ensures the stability and durability of the installation. Follow these steps to properly secure the electrical box:
- Inspect the box to ensure it is properly aligned and level.
- Using a socket wrench, tighten the anchor bolts further to securely fasten the electrical box to the concrete wall.
- Check for any movement or wobbling of the box. If necessary, retighten the anchor bolts to eliminate any looseness.
- Verify the stability of the box by gently pushing and pulling it to check for any give or movement.
- If the box feels stable and secure, proceed to the next step. Otherwise, make any necessary adjustments or retighten the anchor bolts until the box is firmly fastened.
Remember, it’s important to ensure that the electrical box is securely attached to the concrete wall. This helps prevent any potential hazards or damage caused by loose or unstable installations.
With the electrical box now securely in place, you can proceed to the final step: connecting the electrical wiring to the box.
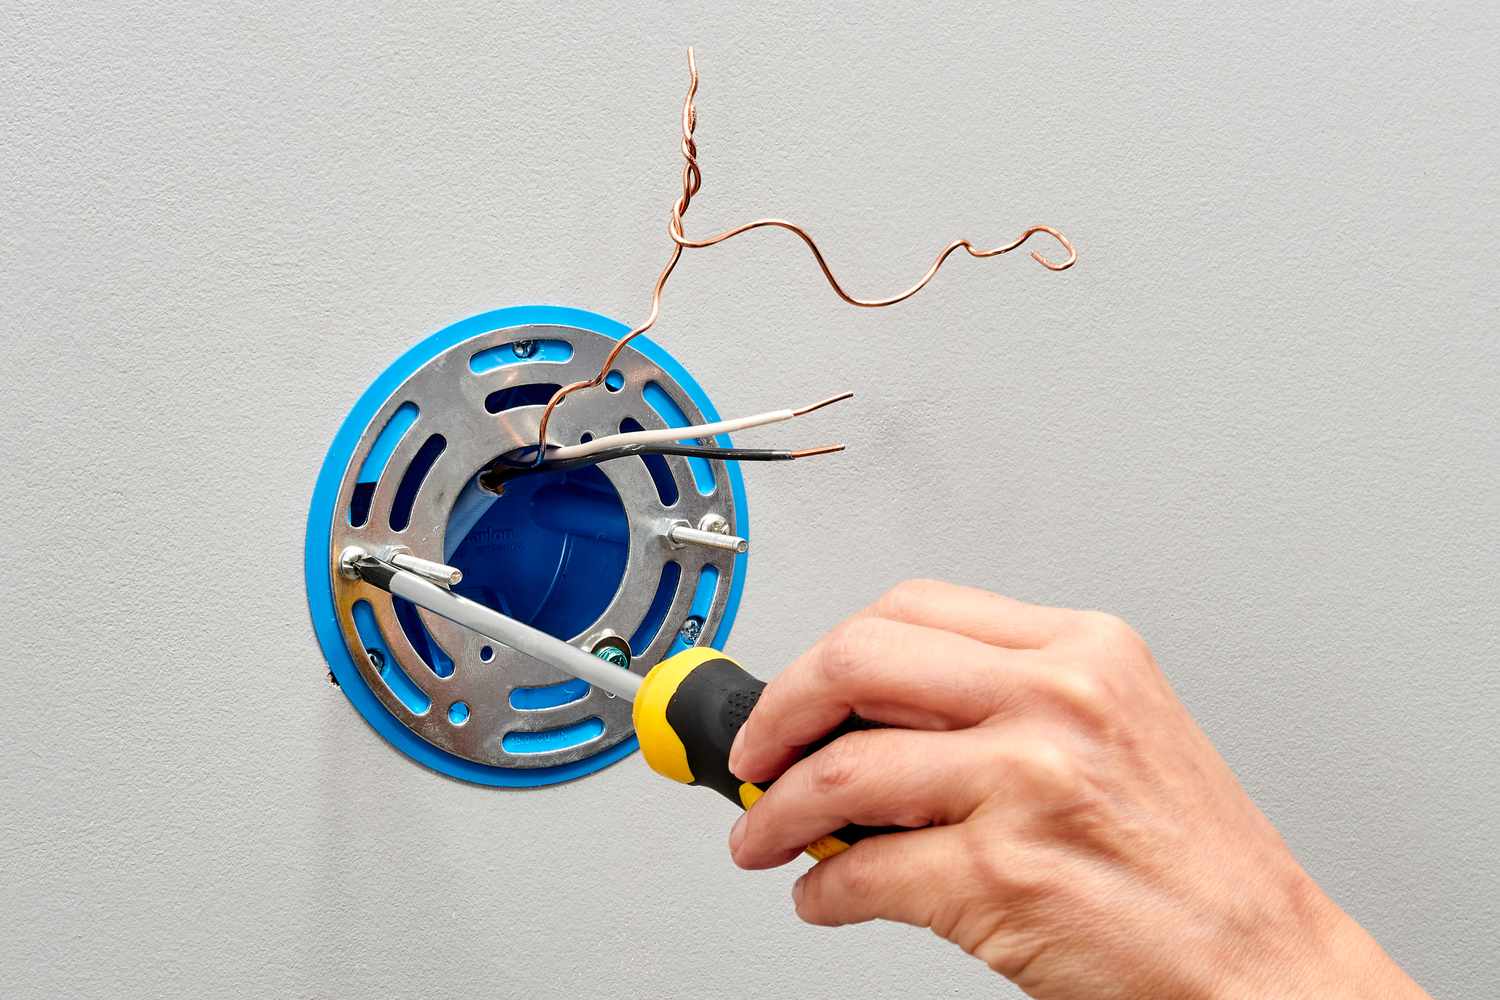
Step 8: Connect electrical wiring to the box
Connecting the electrical wiring to the box is the final step in attaching an electrical box to a concrete wall. Follow these steps to safely and correctly connect the wiring:
- Before working with the electrical wiring, ensure that the power is turned off at the main electrical panel to prevent any accidents or electrocution.
- Carefully remove the cover or knockout from the electrical box to access the wiring area.
- Strip the insulation off the ends of the electrical wires, exposing approximately 0.5-0.75 inches of bare wire.
- Inside the box, identify the grounding wire (usually green or bare copper) and connect it to the grounding terminal of the box.
- Connect the black (hot) wires together using wire nuts, ensuring a secure and tight connection.
- Connect the white (neutral) wires together in the same manner, using wire nuts.
- If applicable, connect the bare copper or green wires (used for grounding) together and secure them with wire nuts.
- Push the connected wires into the box, making sure they are not pinched or strained.
- Replace the cover or knockout on the electrical box, securing it in place.
Note: If you are unsure or uncomfortable working with electrical wiring, it is highly recommended to consult a licensed electrician to ensure the proper and safe connection of the wiring.
Once the electrical wiring is properly connected to the box, you can turn the power back on at the main electrical panel and test the functionality of the installed components.
Congratulations! You have successfully attached an electrical box to a concrete wall and connected the electrical wiring. The secure and functional installation will provide a reliable power source for your electrical devices or lighting fixtures.
Always remember to follow local electrical codes and safety guidelines to ensure the safety and compliance of your electrical installations.
With the completion of all the steps, you have now successfully attached an electrical box to a concrete wall. Enjoy the benefits of your well-installed electrical system!
Read more: How To Hide Electrical Box On Wall
Conclusion
Attaching an electrical box to a concrete wall may seem like a daunting task, but with the right tools, materials, and steps, it can be accomplished successfully. By following the step-by-step guide in this article, you have learned how to securely attach an electrical box to a concrete wall, ensuring safety and functionality.
Throughout the process, it’s important to prioritize safety. Always turn off the power at the main electrical panel before working with the wiring or electrical components. Additionally, wear appropriate protective gear like safety glasses and gloves to minimize the risk of accidents or injuries.
From gathering the necessary tools and materials to connecting the electrical wiring, each step plays a vital role in the overall installation. By choosing the appropriate electrical box, marking the position on the concrete wall, pre-drilling holes, inserting and securing the anchor bolts, attaching the electrical box, and connecting the wiring, you have completed a comprehensive and secure installation.
Remember to double-check and ensure the stability of the electrical box after each step. The box should be snug, level, and firmly attached to the concrete wall to prevent any unexpected movement or damage.
Lastly, if you are uncertain or uncomfortable working with electrical systems or if you have any doubts, it is always best to consult a licensed electrician. They have the expertise to ensure a safe and compliant installation, giving you peace of mind.
By following this guide and exercising caution, you can successfully attach electrical boxes to concrete walls, ensuring a reliable power source for your electrical devices and lighting fixtures.
Now that you've mastered securing an electrical box to a concrete wall, why not broaden your handy skills even further? For those eager to take on more projects around the house, brushing up on DIY home improvement techniques will prove invaluable. Plus, knowing which power tools are essential will make any task quicker and more efficient. Ready to tackle more and transform your space? Check out these insightful guides and get cracking on your next home project!
Frequently Asked Questions about How To Attach Electrical Box To Concrete Wall
Was this page helpful?
At Storables.com, we guarantee accurate and reliable information. Our content, validated by Expert Board Contributors, is crafted following stringent Editorial Policies. We're committed to providing you with well-researched, expert-backed insights for all your informational needs.


0 thoughts on “How To Attach Electrical Box To Concrete Wall”