
Articles
How To Blow Insulation In Walls
Modified: February 27, 2024
Learn how to blow insulation in walls with these informative articles. Discover the benefits, process, and tips for achieving maximum energy efficiency in your home.
(Many of the links in this article redirect to a specific reviewed product. Your purchase of these products through affiliate links helps to generate commission for Storables.com, at no extra cost. Learn more)
Introduction
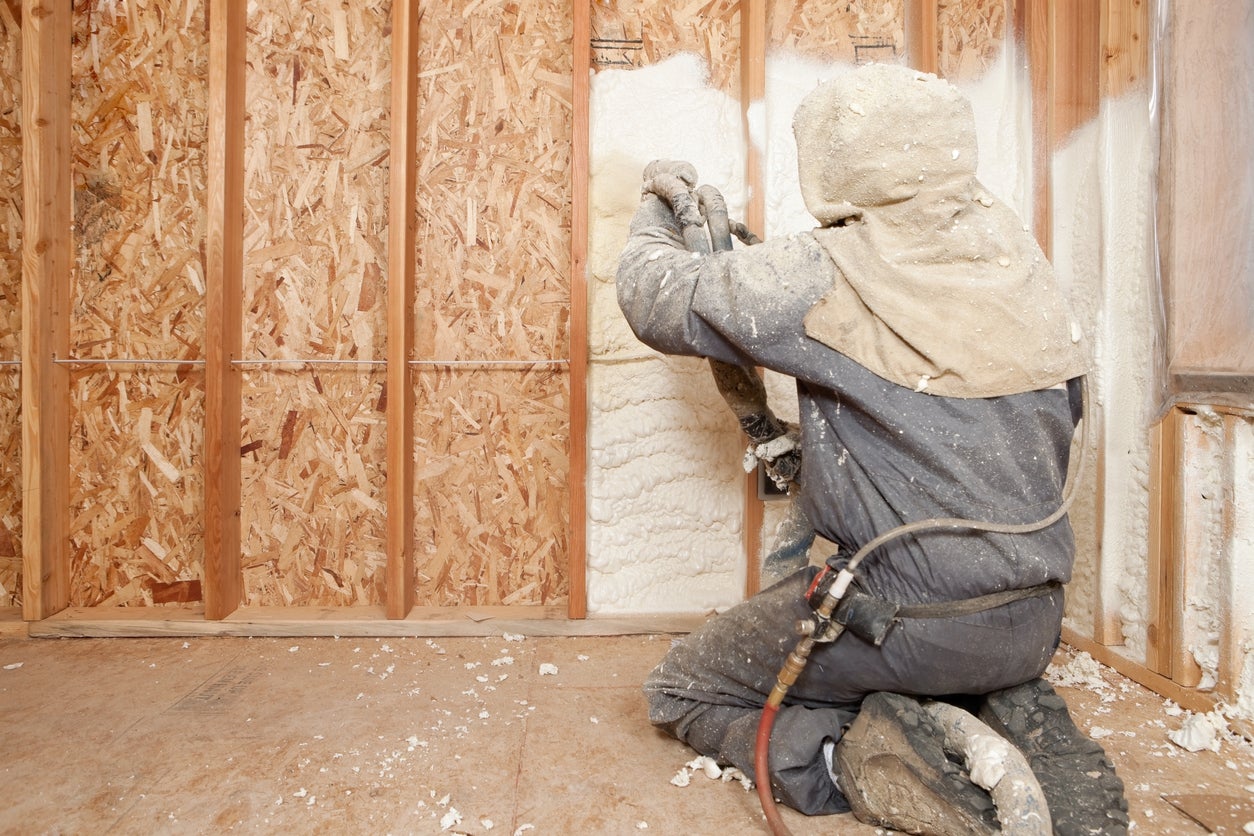
Welcome to the world of insulation! If you’re looking to improve your home’s energy efficiency and reduce your utility bills, blowing insulation in your walls is a great option. This method is effective in filling the gaps and crevices within the walls, creating a thermal barrier that keeps the indoor temperature stable and prevents air leakage. Not only does blown insulation provide excellent thermal performance, but it also reduces noise transmission, improves indoor air quality, and increases the overall comfort of your living space.
In this article, we’ll guide you through the process of how to blow insulation in walls. We’ll cover the necessary equipment, the preparation steps, and the detailed procedure to ensure a successful insulation installation.
Before we dive into the specifics, it’s important to clarify that blowing insulation into existing walls requires a certain level of expertise and safety precautions. Therefore, if you’re unsure or uncomfortable with DIY installations, it’s strongly recommended to hire a professional insulation contractor who can handle the job.
Now, let’s get started with the equipment you’ll need for the insulation process.
Key Takeaways:
- Properly insulating your walls through the process of blowing insulation not only improves energy efficiency but also enhances comfort, reduces noise transmission, and contributes to a sustainable living environment.
- While DIY installation is possible, it’s crucial to prioritize safety and expertise. Consulting a professional insulation contractor ensures a successful and effective insulation process, leading to long-term energy savings and home comfort.
Read more: What Is Blow-In Insulation
Equipment Needed
Before you begin blowing insulation in your walls, it’s essential to gather all the necessary equipment. Having the right tools will make the process smoother and ensure a successful installation. Here’s a list of the equipment you’ll need:
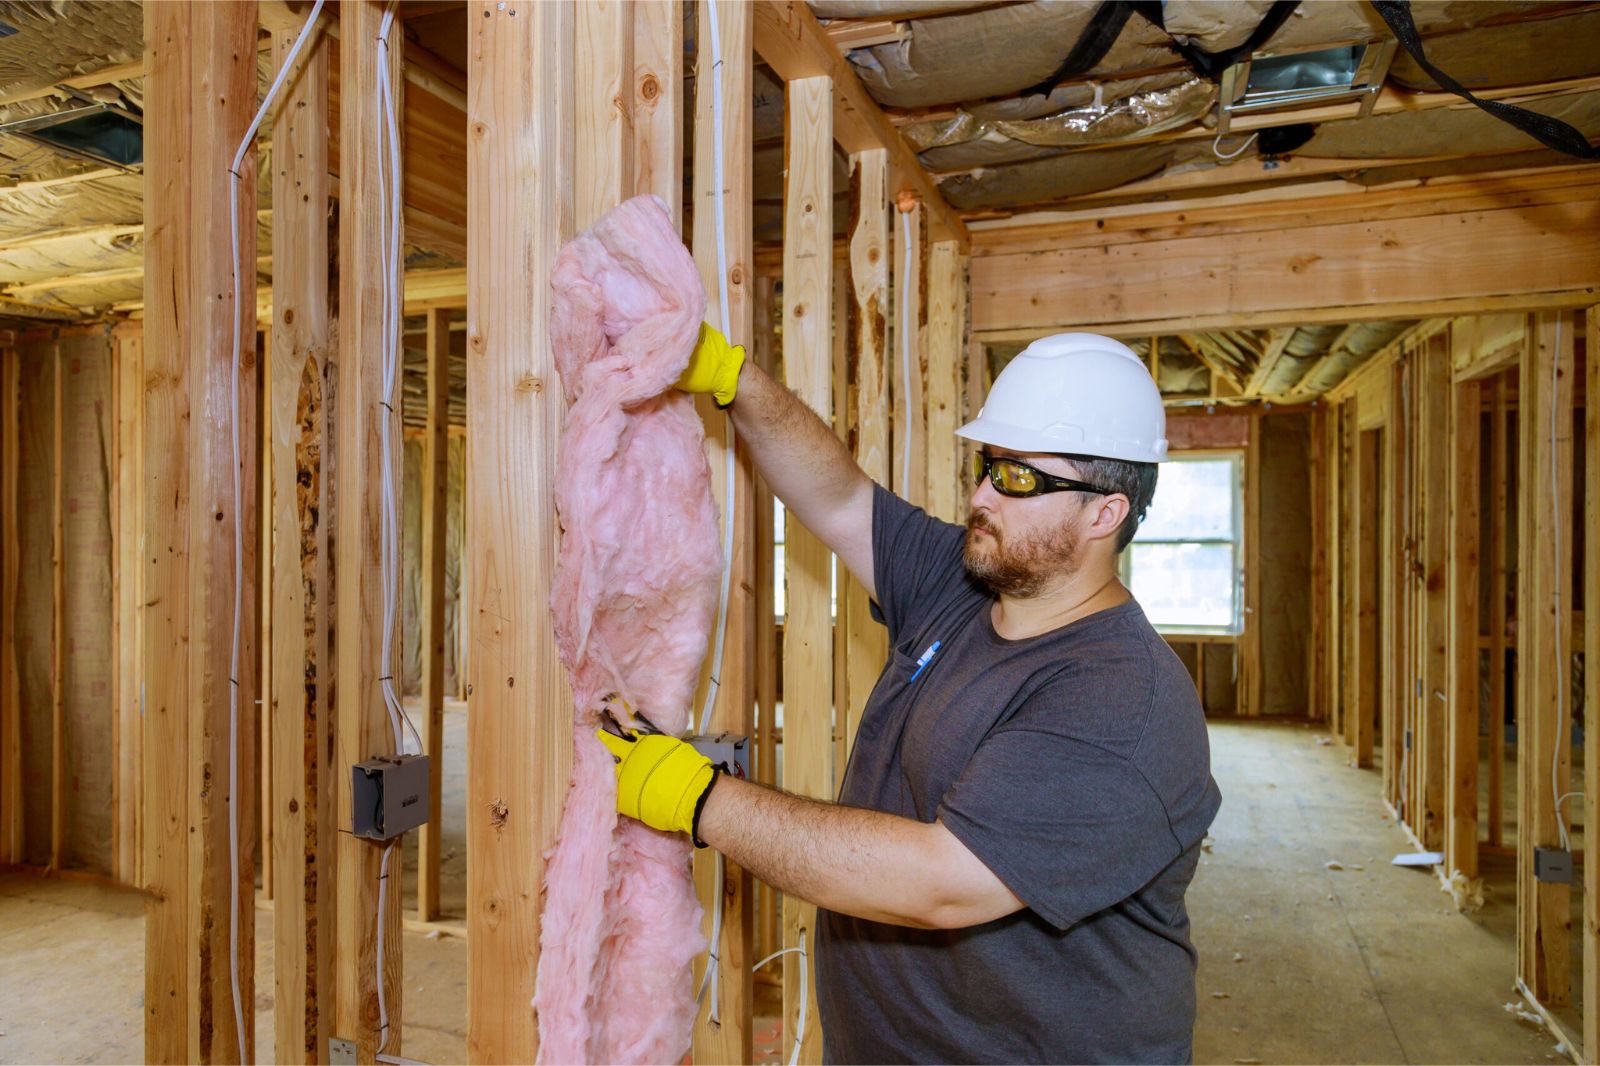
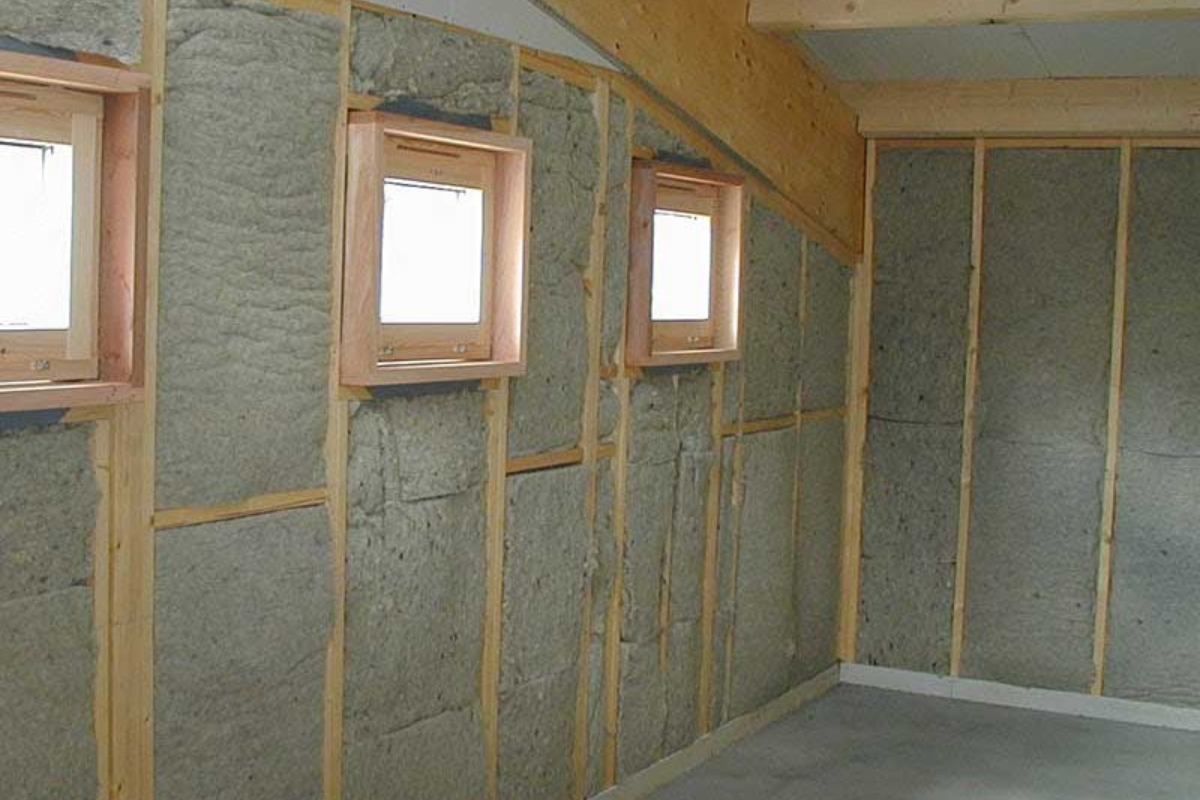
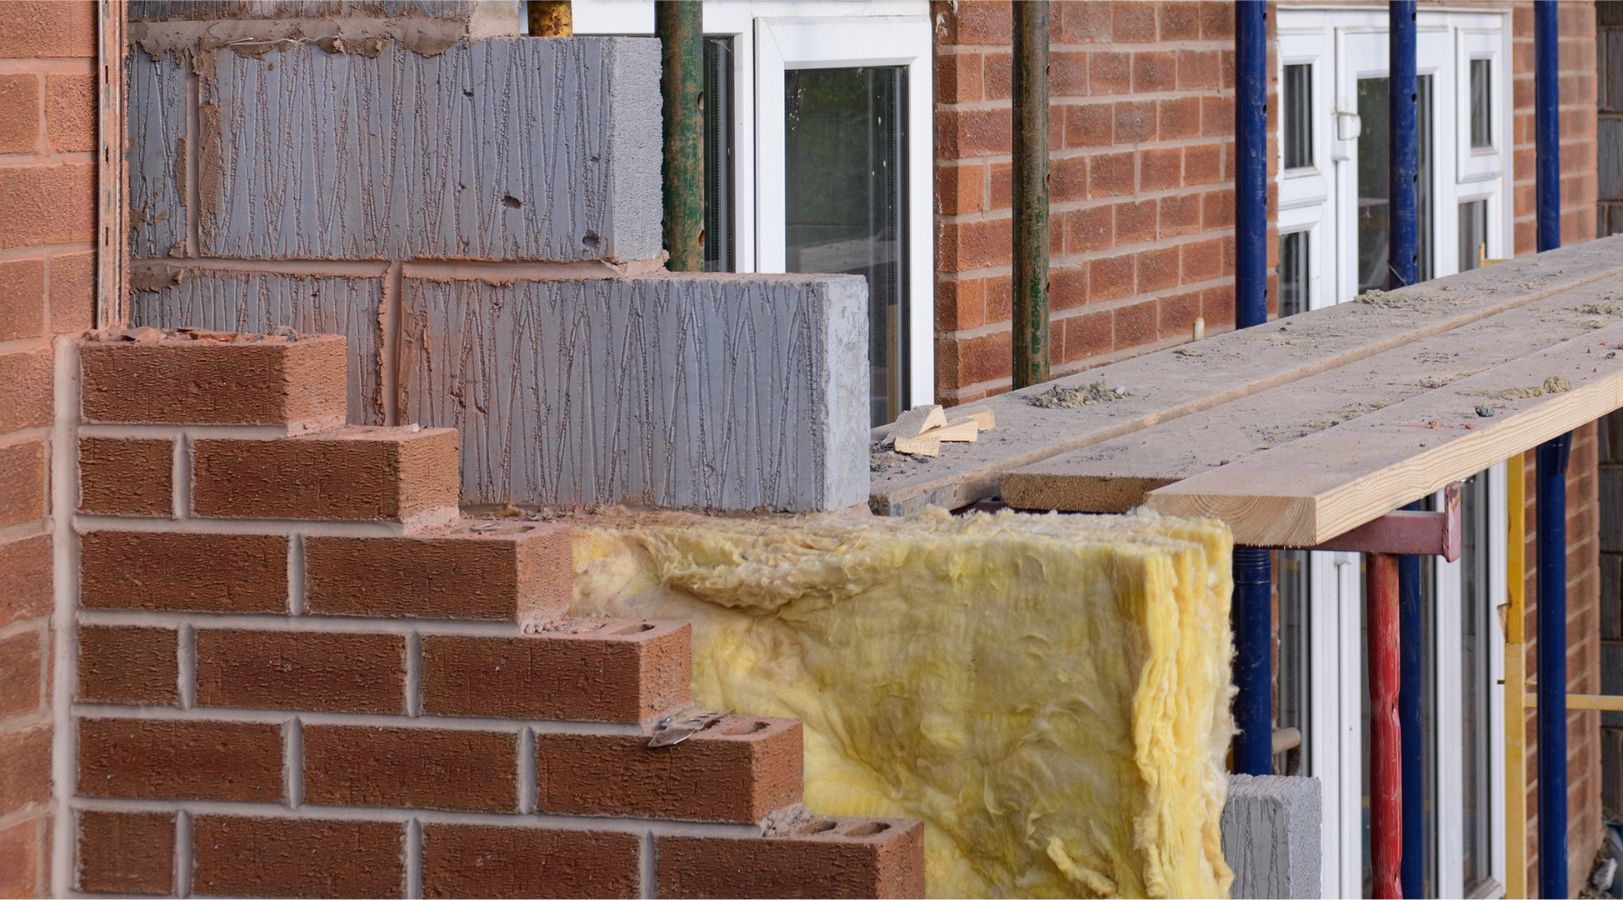
- Insulation Material: Choose the appropriate type of insulation material for your walls. Common options include cellulose, fiberglass, or mineral wool. Each has its advantages and considerations, so research which one would work best for your specific needs.
- Insulation Blower Machine: This machine will be used to break up the insulation material into small particles and blow it into the walls. You can rent an insulation blower machine from a home improvement store or borrow one from a friend.
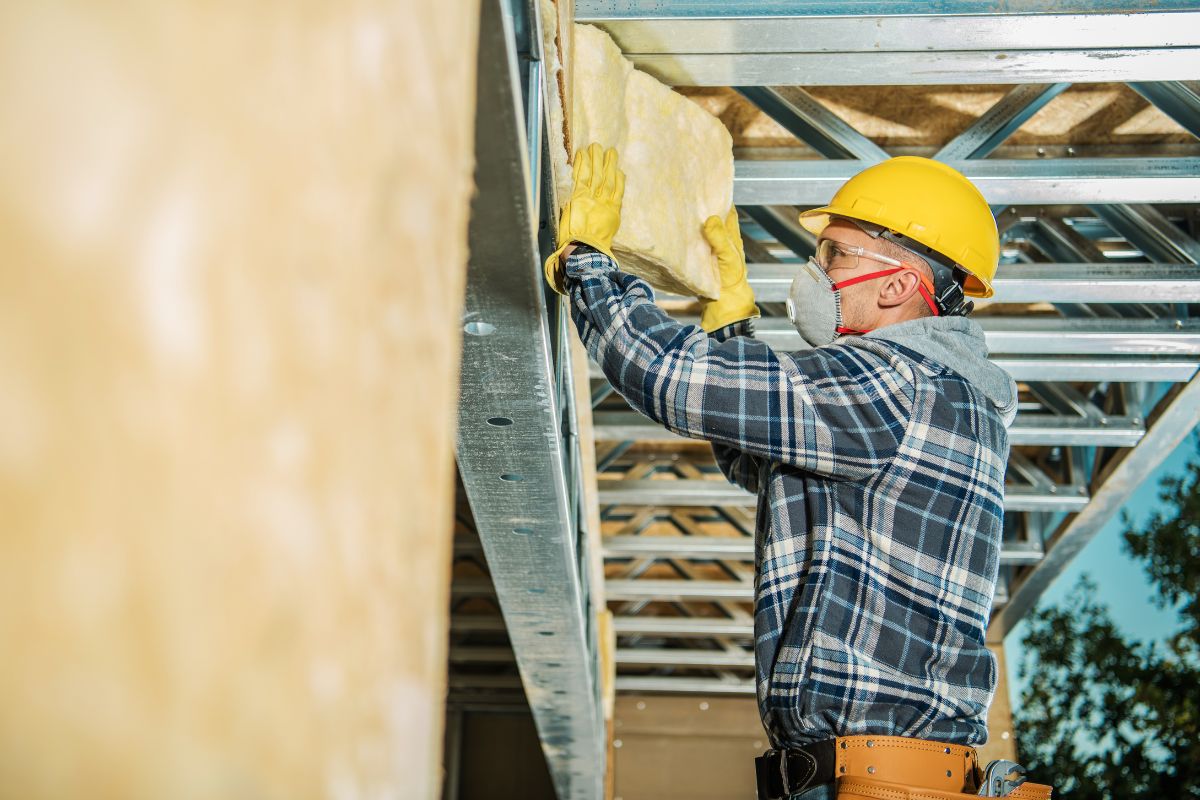
- Safety Gear: Protect yourself during the installation process by wearing safety goggles, a dust mask, and gloves. This will prevent any potential allergic reactions or respiratory issues from the insulation material.
- Measuring Tape: You’ll need a measuring tape to determine the dimensions of your walls and calculate the amount of insulation material required.
- Drill: A power drill is necessary to create access holes in the walls, allowing you to inject the insulation material.
- Drill Bits: Depending on the wall material, you may need different types of drill bits, such as wood, metal, or masonry bits.
- Hose: You’ll need a long, flexible hose that connects the blower machine to the access holes in the walls. Make sure the hose is the appropriate size and securely attaches to both the machine and the wall.
- Plastic Sheeting: To protect your floors and furniture from potential debris or dust, lay down plastic sheeting in the work area.
- Caulk and Sealant: After the installation is complete, you’ll need caulk or sealant to seal the access holes and any gaps in the walls to prevent air leakage.
- Step Ladder or Scaffolding: Depending on the height of your walls, you may need a step ladder or scaffolding to access the higher areas safely.
Now that you have all the necessary equipment, it’s time to prepare for the insulation process. We’ll cover the preparation steps in the next section.
Preparation
Before you start blowing insulation in your walls, it’s crucial to properly prepare the area to ensure a smooth and efficient installation. Follow these steps to prepare for the insulation process:
- Clear the work area: Remove any furniture, decorations, or obstacles near the walls where you’ll be installing the insulation. This will provide you with enough space to work comfortably and prevent any damage or obstruction during the process.
- Protect your floors and furniture: Lay down plastic sheeting or drop cloths to protect your floors and furniture from potential debris or dust. Insulation materials can create a mess, so taking this precaution will make the cleanup process easier.
- Locate electrical wires and outlets: Use a stud finder or other electronic device to locate any electrical wires or outlets within the walls where you’ll be blowing insulation. Mark these areas to avoid any potential damage or contact with live wires during the installation.
- Inspect for moisture or mold: Before proceeding with the insulation installation, check the walls for any signs of moisture or mold. If you notice any issues, it’s essential to address them before adding insulation to prevent further damage and ensure a healthy environment.
- Calculate the insulation material: Measure the dimensions of your walls and use a calculator to determine the amount of insulation material needed. Consult the manufacturer’s recommendations or seek guidance from a professional to ensure you’re using the correct quantity for optimal performance.
- Read the instructions: Familiarize yourself with the manufacturer’s instructions for the insulation material and the blower machine. Understanding the proper usage and safety guidelines will help you navigate the process smoothly.
Once you’ve completed these preparation steps, you’re ready to embark on the process of blowing insulation in your walls. In the next section, we’ll guide you through the step-by-step procedure to successfully install the insulation.
Step 1: Drill Access Holes
The first step in blowing insulation in your walls is to drill access holes. These holes will allow you to inject the insulation material into the wall cavities. Follow these steps to drill the access holes:
- Locate the stud cavities: Use a stud finder or other means to determine the location of the wall studs. The studs provide structural support and are typically spaced 16 or 24 inches apart.
- Mark the access hole locations: Measure and mark the desired locations for the access holes on the wall, keeping in mind the spacing between the studs. It’s best to place the access holes towards the top of the wall to ensure thorough coverage.
- Select the appropriate drill bit: Choose a drill bit that matches the size of the hose nozzle you’ll be using to blow in the insulation material. The diameter of the bit should allow for a snug fit with the nozzle.
- Put on safety gear: Before drilling, put on your safety goggles, dust mask, and gloves to protect yourself from any debris or dust that may be produced during the drilling process.
- Drill the access holes: Set your drill to the appropriate speed and carefully drill into the marked locations on the wall. Apply slight pressure and keep the drill straight to create clean access holes. Be cautious not to drill into electrical wires or plumbing lines.
- Repeat the process: Continue drilling the access holes at the designated locations along the wall. Remember to space them according to the stud cavities to ensure even distribution of the insulation material.
Once you’ve completed drilling the access holes, you’re ready to move on to the next step, which involves setting up the blower machine. We’ll cover this in the following section.
Step 2: Set Up the Blower Machine
After drilling the access holes in the walls, it’s time to set up the blower machine. The machine is responsible for breaking up the insulation material and blowing it into the wall cavities. Follow these steps to properly set up the blower machine:
- Position the blower machine: Find a stable and easily accessible spot near the work area to place the blower machine. It should be close enough to reach the access holes with the hose but not in the way of your movement.
- Ensure power supply: Make sure the blower machine is connected to a power source and that it’s in good working condition. Check that all control switches and safety features are functioning properly.
- Inspect the agitator mechanism: The agitator mechanism inside the blower machine is responsible for breaking up the insulation material. Inspect it to ensure there are no blockages or damage that could hinder its performance.
- Check the airflow settings: Adjust the airflow settings on the blower machine according to the manufacturer’s instructions and the type of insulation material you’re using. This will optimize the blowing process and ensure even distribution of the insulation.
- Verify the hose attachment: Check that the hose attachment is securely connected to the blower machine. Ensure there are no leaks or loose fittings that could affect the insulation installation.
- Test the blower machine: Before proceeding, test the blower machine to ensure it’s functioning correctly. Activate the machine and observe the airflow and consistency of the insulation material being blown out.
Once you’ve set up the blower machine and ensured its proper functionality, you’re ready to connect the hose and start blowing insulation into the walls. We’ll cover these steps in the next section.
Read more: How To Do Blow-In Insulation
Step 3: Connect the Hose to the Machine
With the blower machine set up and ready to go, the next step is to connect the hose to the machine. The hose is the pathway through which the insulation material will be blown into the wall cavities. Follow these steps to properly connect the hose to the machine:
- Inspect the hose: Before use, inspect the hose for any damage or blockages. Ensure that there are no holes, cracks, or kinks that could impede the flow of insulation material.
- Attach the hose to the machine: Locate the hose attachment point on the blower machine. It is usually located on the side or the front of the machine. Align the hose connector with the attachment point and firmly push it in until it locks into place.
- Secure the connection: Once the hose is attached to the machine, ensure a tight and secure connection. Give it a gentle tug to check for any looseness or disconnection. It’s important to have a tight seal to prevent any leakage or loss of pressure during the insulation process.
- Route the hose to the access holes: Determine the most efficient path for the hose to reach the access holes in the walls. Avoid any sharp bends or obstacles that could restrict the flow of insulation material.
- Secure the hose along the route: Use duct tape or zip ties to secure the hose along its route to prevent it from moving or getting tangled during the blowing process.
- Ensure accessibility to the access holes: Double-check that the hose is long enough to reach all the access holes without stretching or becoming strained. Additionally, make sure it’s not obstructing your movement or causing any safety hazards.
Once the hose is properly connected to the blower machine, securely attached, and routed to the access holes, you’re ready to load the insulation material into the blower machine. We’ll cover this step in the next section.
Step 4: Load the Insulation Material
Now that the hose is connected to the blower machine, it’s time to load the insulation material into the machine. The insulation material will be broken up and blown into the walls through the hose. Follow these steps to properly load the insulation material:
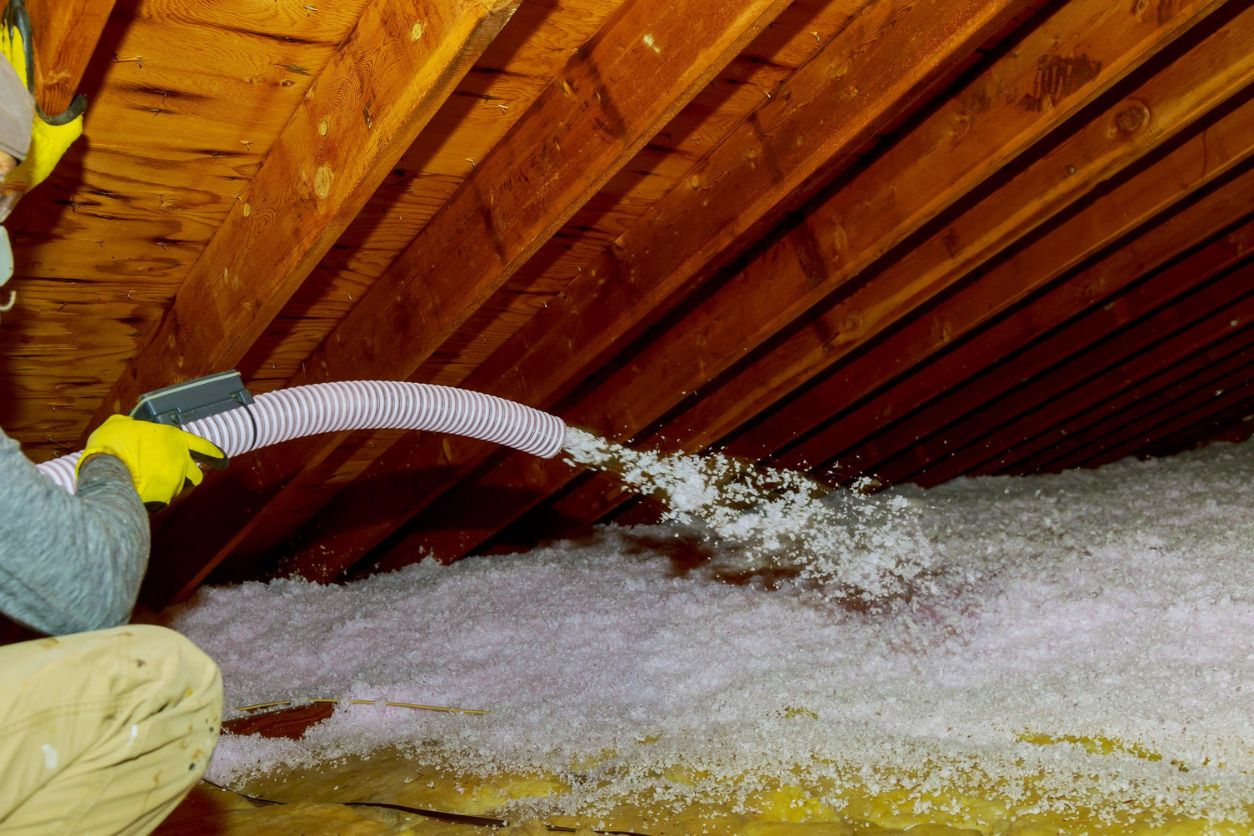
- Prepare the insulation material: If you’re using loose-fill insulation material such as cellulose or fiberglass, make sure it’s properly prepared for loading. Fluff it up with your hands or use a rake to break up any clumps or compacted sections for optimal flow.
- Open the hopper lid: Locate the hopper lid on top of the blower machine. Open it by either twisting or unlatching it, depending on the specific design of your machine.
- Pour the insulation material: Carefully pour the prepared insulation material into the hopper of the blower machine. Take your time to ensure an even distribution and prevent overloading.
- Avoid overfilling: Pay attention to the manufacturer’s guidelines on the maximum capacity of the blower machine. Avoid overfilling the hopper, as it can lead to clogs or inefficient blowing of the insulation material.
- Close the hopper lid: Once the insulation material is loaded, securely close the hopper lid. Make sure it is tightly sealed to prevent any dust or debris from escaping the machine.
By following these steps, you have successfully loaded the insulation material into the blower machine. The next step is to start blowing insulation into the wall cavities, which we will discuss in the following section.
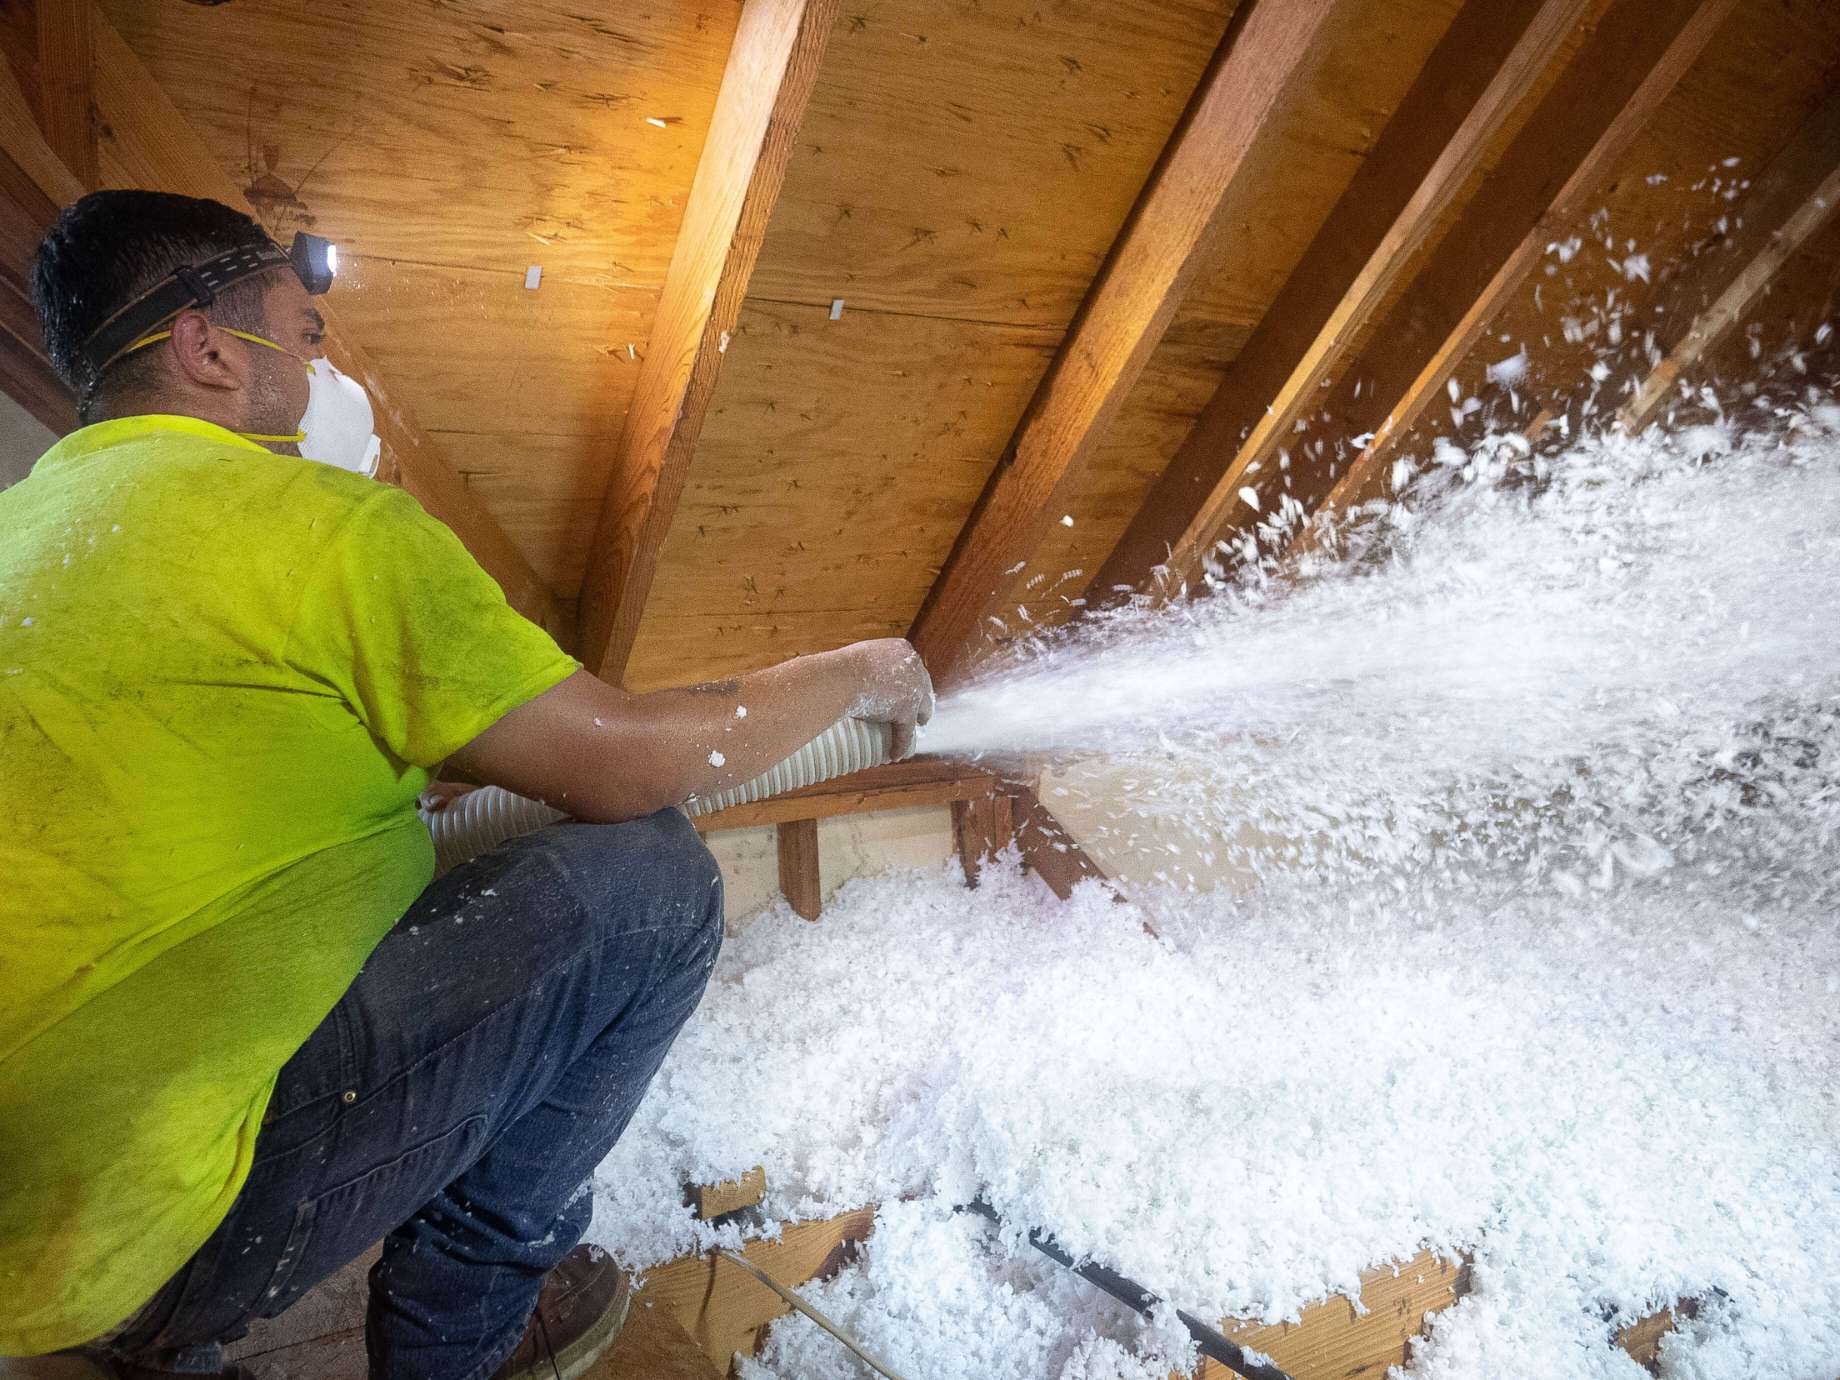
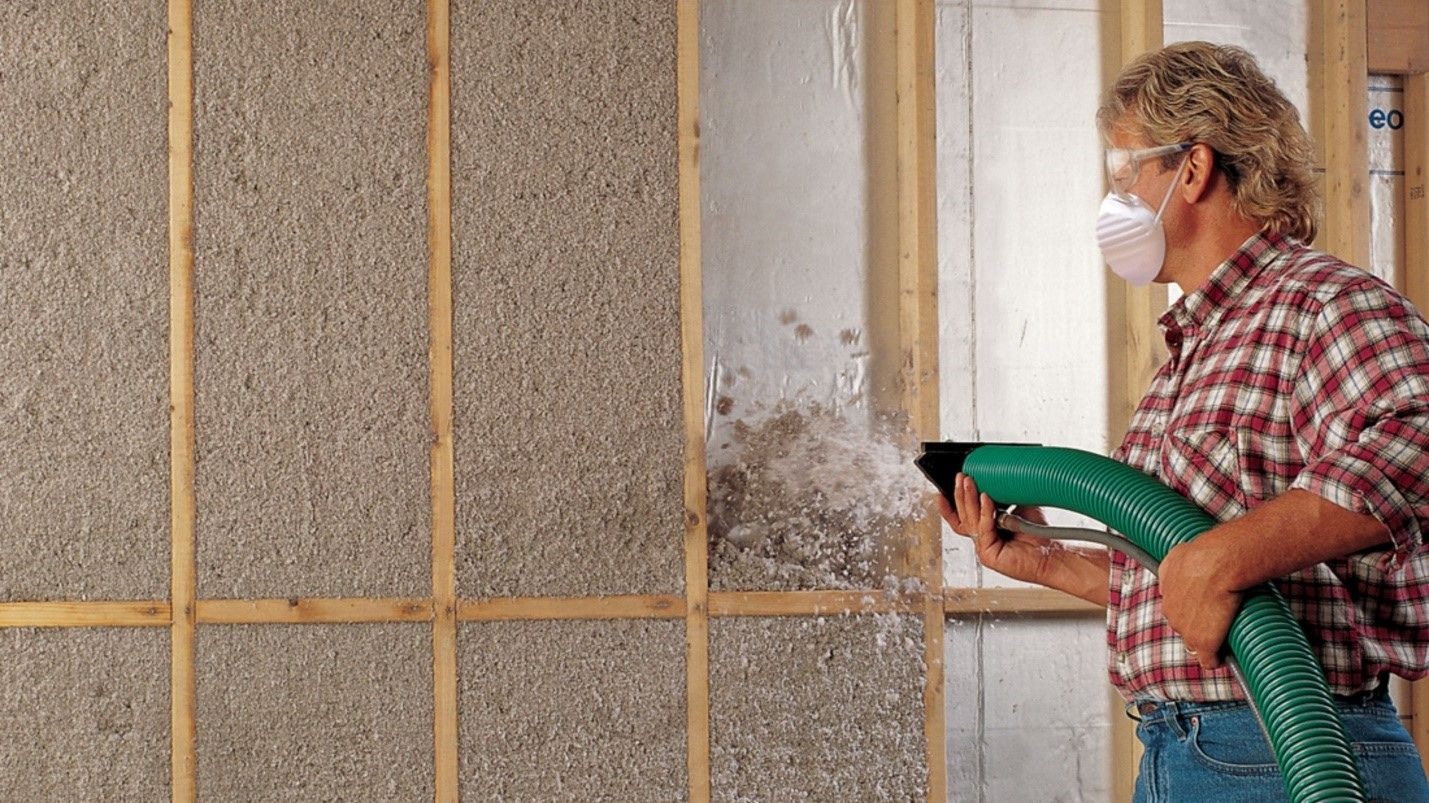
Make sure to wear protective gear, such as a mask and goggles, when blowing insulation into walls to protect yourself from inhaling fibers. Also, be sure to follow the manufacturer’s instructions for the specific type of insulation being used.
Step 5: Start Blowing Insulation
With the insulation material loaded into the blower machine, it’s time to start blowing insulation into the wall cavities. Follow these steps to begin the insulation process:
- Position yourself near the first access hole: Stand near the first access hole where you’ll be injecting the insulation material. Make sure you have a clear view of the opening and can easily access the controls of the blower machine.
- Turn on the blower machine: Power on the blower machine and adjust the settings according to the manufacturer’s instructions. Start with a lower setting and gradually increase the airflow as you become more comfortable with the process.
- Control the insulation flow: Use the control panel or device on the blower machine to control the flow of insulation material into the walls. Monitor the flow and ensure it is consistent but not excessive to avoid overfilling or causing damage.
- Insert the hose into the access hole: Carefully insert the end of the hose into the access hole, ensuring a tight seal. Hold it in place firmly to prevent any leakage or loss of pressure during the blowing process.
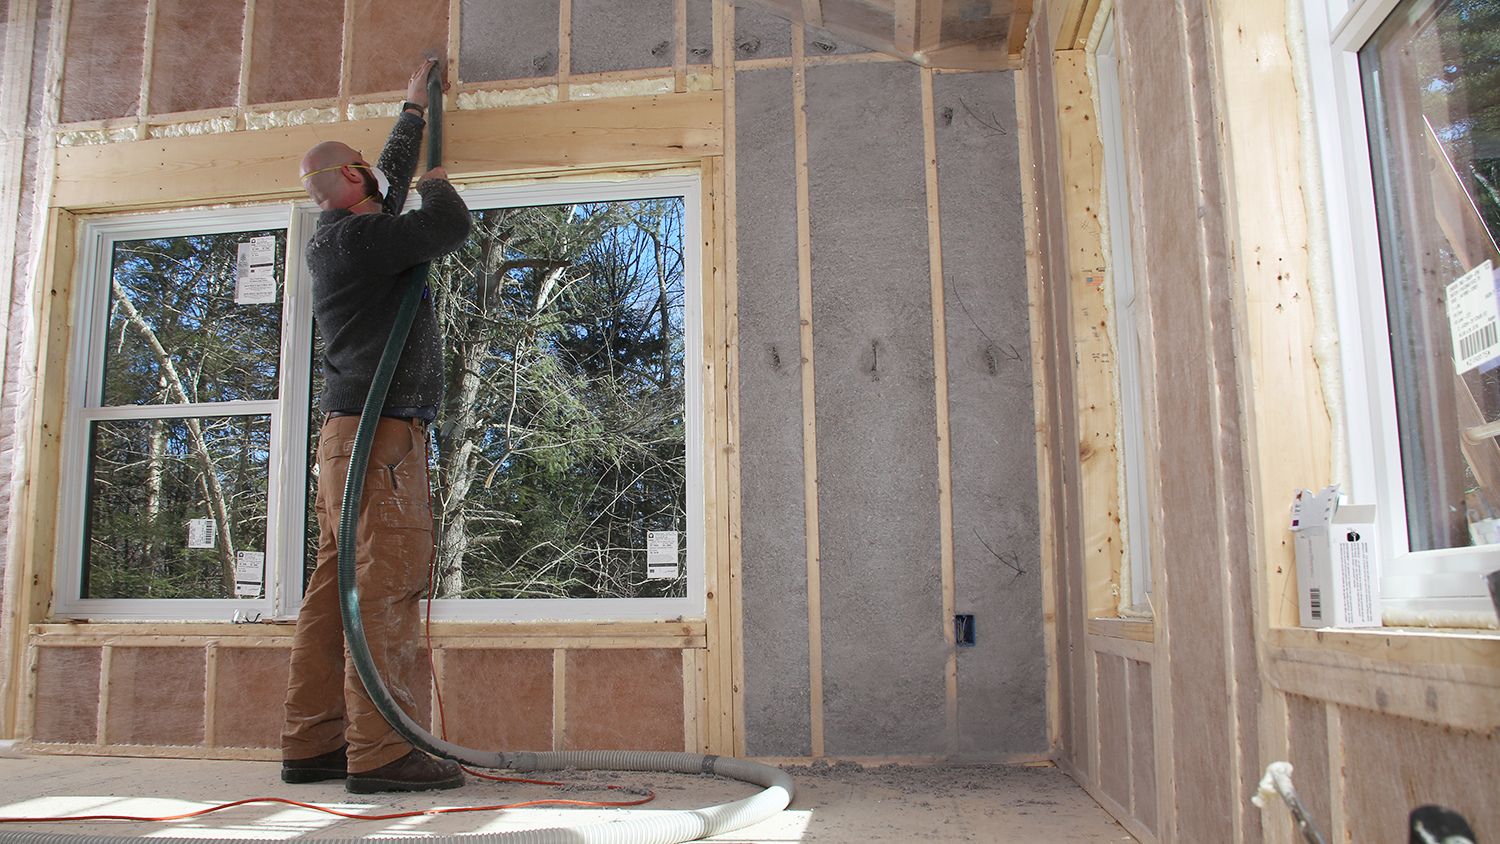
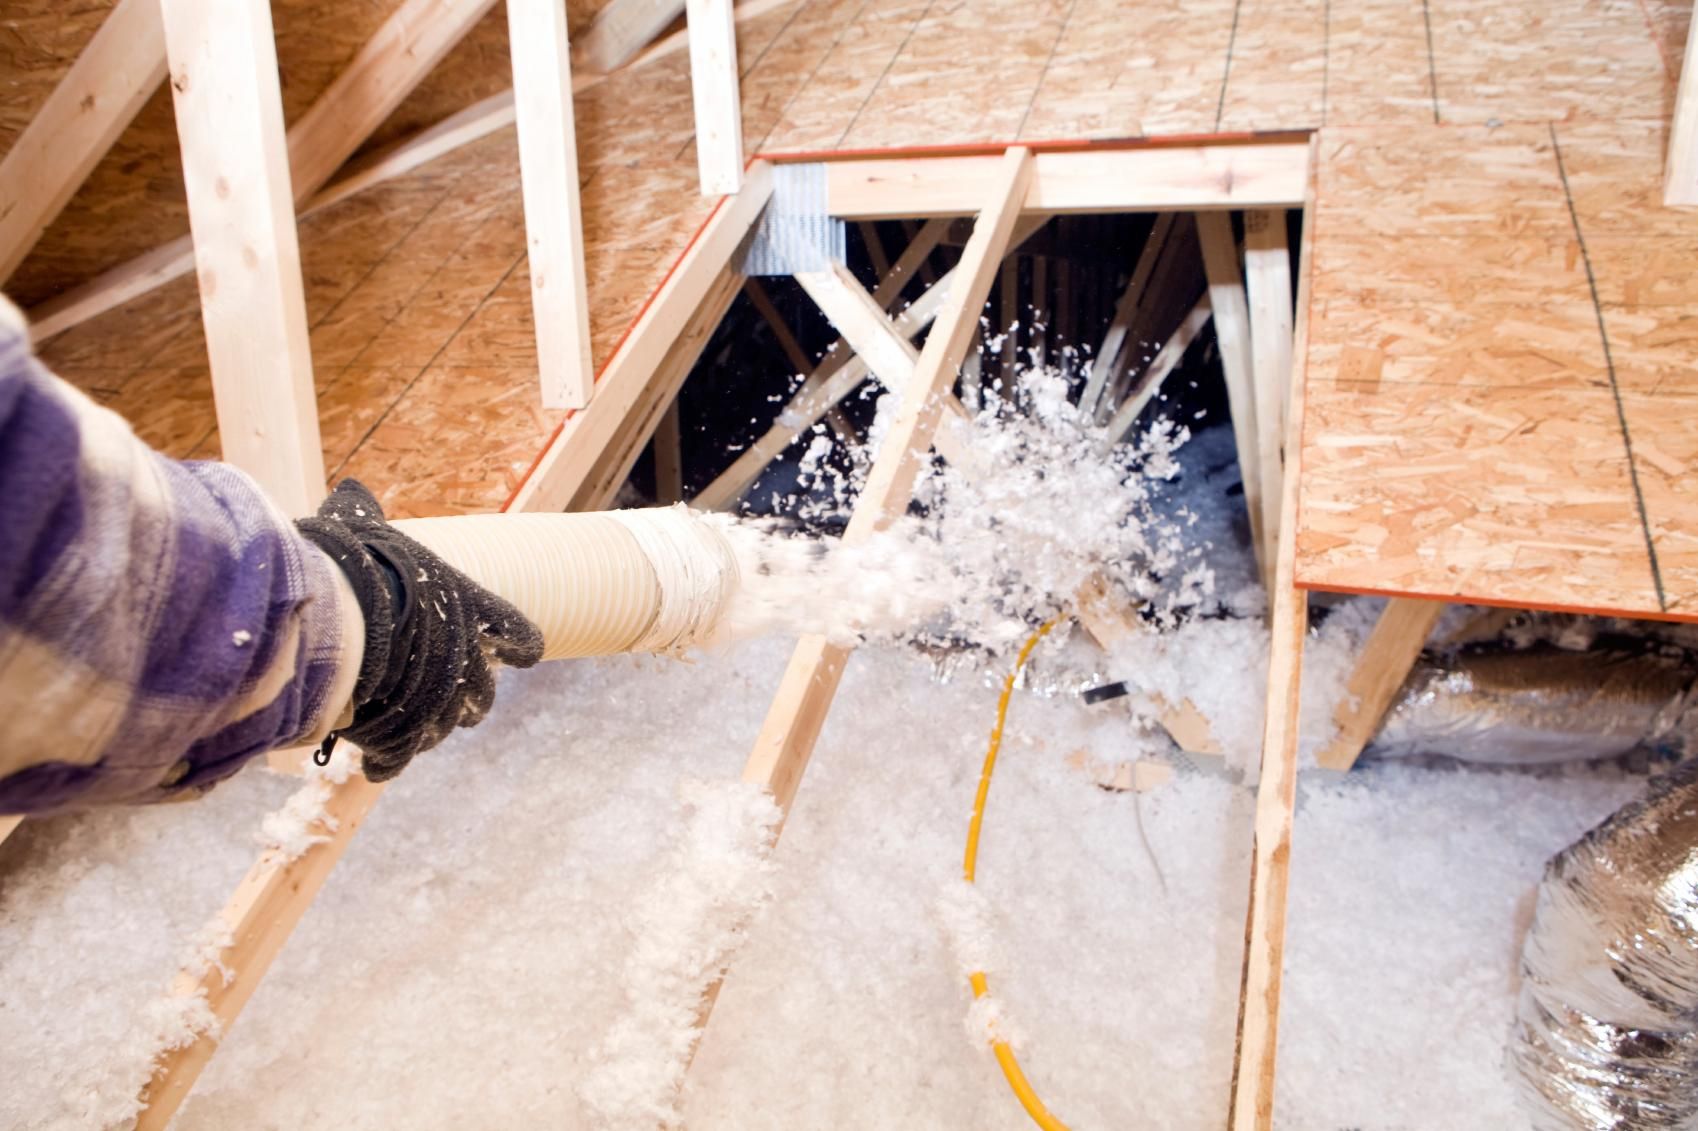
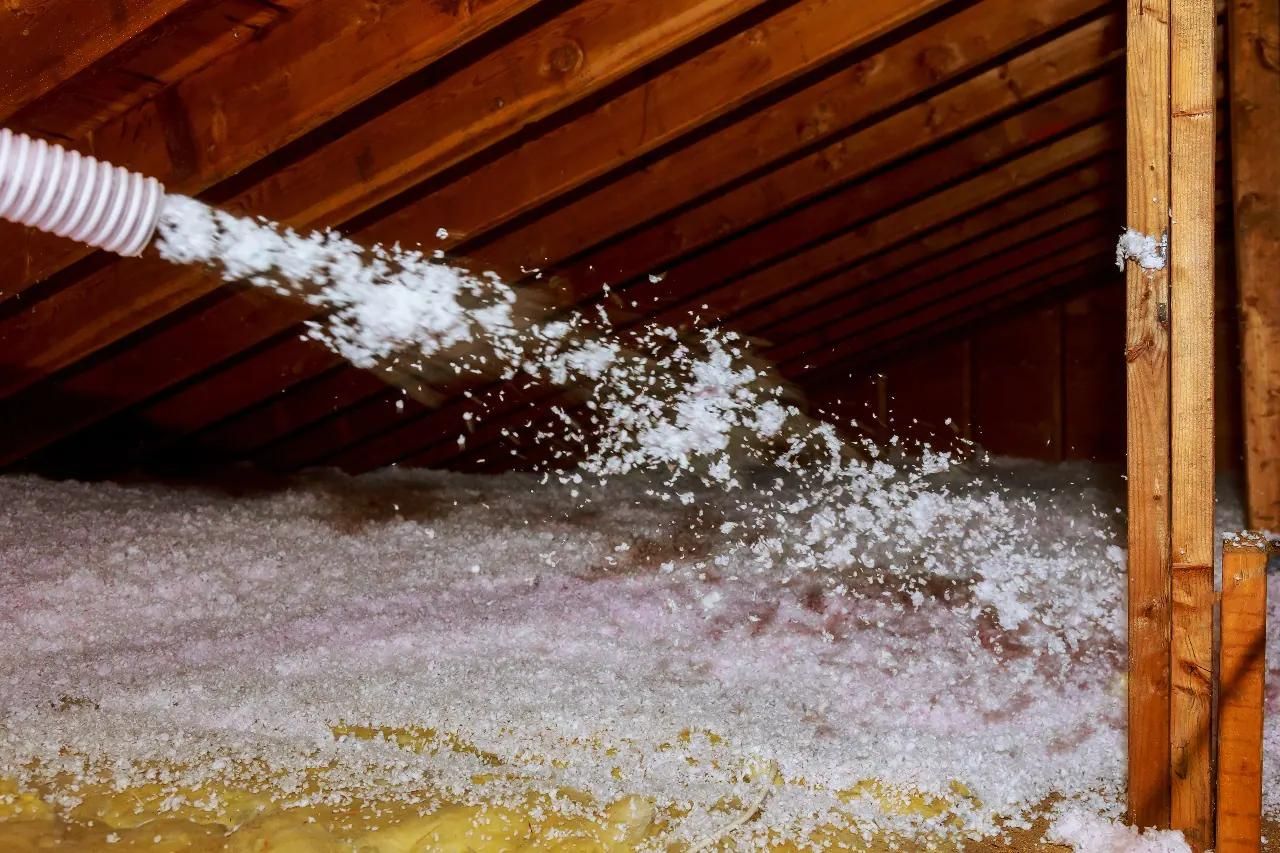
- Begin blowing insulation: Once the hose is securely in place, activate the blower machine to start blowing insulation into the wall cavity. Move the hose in a slow and controlled manner, allowing the insulation material to evenly distribute throughout the cavity.
- Continue blowing insulation: Gradually move along the wall, inserting the hose into each access hole and filling the cavities with insulation material. Maintain a steady pace and ensure that each cavity receives sufficient coverage.
- Monitor the cavity filling: Keep an eye on the access hole to observe how the cavity is being filled. Adjust the flow of insulation material or the movement of the hose if necessary to ensure an even distribution.
By following these steps, you will effectively blow insulation into the wall cavities. As you move along the walls, continue the process of inserting the hose into each access hole, controlling the insulation flow, and monitoring the filling of the cavities. Once all the wall cavities are adequately filled, it’s time to move on to the next step, which is filling any remaining gaps.
Step 6: Fill Each Wall Cavity
With the insulation material blown into the wall cavities, it’s time to focus on filling each cavity thoroughly. This step ensures that the walls are properly insulated, preventing any gaps or voids. Follow these steps to fill each wall cavity:
- Inspect the wall cavities: Take a moment to visually inspect each access hole and the surrounding wall to identify any gaps or areas that may require additional insulation.
- Direct the insulation flow: Position the hose nozzle towards the cavity and direct the insulation flow towards the areas that need to be filled. Adjust the position and angle of the nozzle as necessary to ensure complete coverage.
- Move the hose in a sweeping motion: Use a sweeping motion as you move the hose inside the access hole, distributing the insulation material throughout the cavity. Make sure to reach all corners and angles to achieve uniform coverage.
- Fill the cavity to the appropriate level: Continue blowing insulation into the cavity until it reaches the recommended level or reaches the point where the insulation starts to back up in the access hole.
- Avoid overfilling: Be mindful not to overfill the cavity, as this can lead to compression of the insulation and decrease its effectiveness. Refer to the manufacturer’s guidelines or consult a professional to determine the appropriate level of insulation for your walls.
- Repeat for each access hole: Repeat the process for each access hole, ensuring that every wall cavity is filled adequately. Take your time and be thorough to maximize the performance of the insulation.
By following these steps, you will successfully fill each wall cavity with insulation material. This will ensure that there are no gaps or voids, providing optimal thermal performance and energy efficiency. Once you’ve filled all the cavities, it’s time to address any remaining gaps in the walls, which we will cover in the next step.
Read more: How To Blow-In Cellulose Insulation
Step 7: Fill Any Remaining Gaps
After filling each wall cavity with insulation material, it’s important to address any remaining gaps in the walls. These gaps can occur around electrical outlets, pipes, or other fixtures, and it’s essential to seal them to prevent air leakage and maintain the integrity of the insulation. Follow these steps to fill any remaining gaps:
- Identify the gaps: Inspect the walls and take note of any noticeable gaps or openings that may need to be filled. Focus on areas around electrical outlets, light switches, windows, doors, and any other points of entry or fixtures.
- Prepare the appropriate sealant: Select the appropriate sealant based on the material of the wall and the size of the gaps. Common options include caulk, expanding foam, or weatherstripping tape.
- Apply the sealant: Follow the instructions provided with the chosen sealant to properly apply it to the gaps. For caulk, use a caulk gun to squeeze a consistent bead of sealant along the gap. For expanding foam, carefully fill the gap with the foam and allow it to expand and harden.
- Smooth and level the sealant: Use a putty knife or a caulking tool to smooth and level the applied sealant. This helps to ensure a clean and neat finish, while also providing an effective seal.
- Allow the sealant to dry: Check the drying time specified on the product label and allow the sealant to dry completely before proceeding. This will ensure that the sealant forms a solid and durable barrier.
- Inspect for any missed gaps: After the initial sealing, carefully inspect the walls once more to ensure that no gaps have been missed. If you identify any additional gaps, repeat the aforementioned steps to fill them.
By following these steps, you can effectively fill any remaining gaps in your walls, ensuring that your insulation is air-tight and efficient. Sealing these gaps will help maintain a consistent temperature within your home and prevent energy loss through air leakage. Once all the gaps have been filled and sealed, it’s time to move on to the next step, which involves sealing the access holes.
Step 8: Seal Access Holes
After completing the insulation installation and filling any remaining gaps, it’s important to seal the access holes in the walls. Sealing the access holes ensures a finished, clean appearance and prevents any potential air leakage. Follow these steps to seal the access holes:
- Inspect the access holes: Take a moment to inspect each access hole to ensure that there are no stray insulation materials or debris protruding from them. Use a brush or your gloved hand to remove any excess insulation, dust, or debris.
- Prepare the appropriate sealant: Depending on the wall material and personal preference, choose the appropriate sealant to use. Common options include caulk, spackling compound, or drywall joint compound.
- Apply the sealant: Use a putty knife or a caulking gun to fill each access hole with the chosen sealant. Apply enough sealant to completely cover the hole and create a smooth, level surface.
- Smooth and blend the sealant: Use the putty knife or a damp cloth to smooth and blend the applied sealant with the surrounding wall surface. This will ensure a seamless finish, making the access holes virtually invisible.
- Allow the sealant to dry: Check the drying time specified on the product label and allow the sealant to dry completely. This typically takes a few hours or overnight, depending on the type of sealant used.
- Sand and paint (optional): If desired, once the sealant is fully dry, you may choose to sand the area around the access holes to create an even smoother surface. After sanding, paint the repaired areas to match the color of the walls for a seamless finish.
By following these steps, you can effectively seal the access holes, leaving your walls with a clean and finished appearance. Sealing the access holes not only improves the aesthetic appeal but also ensures that your insulation is protected and remains intact. With the access holes sealed and the installation completed, it’s time to move on to the final step: cleaning up.
Step 9: Clean Up
After successfully blowing insulation, filling gaps, and sealing access holes, it’s important to clean up the work area to leave it tidy and safe. Follow these steps to properly clean up:
- Turn off the blower machine: Switch off the blower machine and disconnect it from the power source.
- Remove the hose: Carefully detach the hose from the blower machine, taking care to prevent any insulation material from spilling out.
- Dispose of any excess insulation: Dispose of any excess insulation material appropriately, following local regulations and guidelines. Check with your local waste management authority for proper disposal methods.
- Collect and remove debris: Gather any loose insulation, dust, or debris that may have accumulated during the installation process. Use a broom, vacuum cleaner, or damp cloth to clean the work area thoroughly.
- Dispose of plastic sheeting and protective coverings: If you had laid down plastic sheeting or protective coverings, carefully remove and dispose of them. Fold or roll them up to contain any debris, and dispose of them accordingly.
- Store equipment: Clean and store the equipment properly. This includes the blower machine, hoses, drills, and any other tools used during the installation process. Store them in a safe and dry place for future use.
- Inspect the area: Take a final look around the work area to ensure that all equipment has been properly stored, and the space is clean and free of any debris.
Cleaning up after blowing insulation is important for safety, as well as maintaining a neat and tidy living environment. By following these steps, you’ll leave the work area in a clean and organized state.
With the clean-up complete, you’ve successfully blown insulation in your walls and completed the installation process. Properly insulating your walls contributes to energy efficiency, comfort, and reduced utility bills in your home. Enjoy the benefits of a well-insulated living space!
Conclusion
Congratulations! You have successfully learned how to blow insulation into your walls. By following the steps outlined in this guide, you have taken an important step towards improving the energy efficiency, comfort, and overall performance of your home. Properly insulated walls create a thermal barrier, preventing heat loss in the winter and heat gain in the summer, ultimately reducing your energy consumption and lowering your utility bills.
Throughout the installation process, you learned about the equipment needed, the importance of preparation, and the step-by-step procedure for blowing insulation into your walls. From drilling access holes to connecting the blower machine, filling wall cavities, and sealing any remaining gaps, each step was crucial in ensuring a successful installation.
Remember, if at any point you feel uncomfortable or unsure about the installation process, it’s always best to consult a professional insulation contractor. They have the necessary expertise and experience to handle the job safely and effectively.
Proper insulation not only improves your home’s energy efficiency but also provides numerous benefits, including reduced noise transmission, improved indoor air quality, and increased overall comfort. It’s a long-term investment that pays off by creating a more sustainable and comfortable living environment.
As you enjoy the benefits of your newly insulated walls, take the time to monitor your energy consumption and assess the improvements in your home’s efficiency. Regular maintenance and periodic checks on your insulation will ensure its effectiveness and longevity.
Thank you for embarking on this insulation journey with us. By taking the initiative to insulate your walls, you’ve made a positive impact on your home and the environment. Remember to share your knowledge with others, as energy efficiency is a collective effort towards a more sustainable future.
Frequently Asked Questions about How To Blow Insulation In Walls
Was this page helpful?
At Storables.com, we guarantee accurate and reliable information. Our content, validated by Expert Board Contributors, is crafted following stringent Editorial Policies. We're committed to providing you with well-researched, expert-backed insights for all your informational needs.


0 thoughts on “How To Blow Insulation In Walls”