
Articles
How To Add Insulation To Exterior Walls
Modified: January 5, 2024
Learn how to add insulation to exterior walls with our informative articles. Increase energy efficiency and reduce utility costs today!
(Many of the links in this article redirect to a specific reviewed product. Your purchase of these products through affiliate links helps to generate commission for Storables.com, at no extra cost. Learn more)
Introduction
Welcome to our comprehensive guide on how to add insulation to exterior walls. Proper insulation is essential for maintaining a comfortable indoor environment, reducing energy consumption, and saving money on utility bills. Insulating your exterior walls not only helps keep your home warm in the winter and cool in the summer but also improves soundproofing and prevents drafts.
Assessing the insulation needs of your home is the first step in this process. While older homes may have insufficient or outdated insulation, even newer homes can benefit from additional insulation to meet modern energy efficiency standards. In this article, we will provide you with a step-by-step guide on assessing your insulation needs, choosing the right insulation materials, preparing your exterior walls, and performing the insulation installation.
Before we dive into the process, it’s important to note that insulation requirements may differ based on your location and climate. Consulting with a professional or doing some research specific to your area can help you determine the best insulation options for your home. With that in mind, let’s get started!
Key Takeaways:
- Ensure proper insulation by assessing the need, choosing the right materials, and preparing walls. Prioritize ventilation, sealing gaps, and finishing touches for a well-insulated, energy-efficient, and comfortable home.
- Insulating exterior walls involves thorough preparation, proper installation, and finishing touches. By addressing insulation needs and ensuring ventilation and sealing, you can create a comfortable and energy-efficient living space.
Read more: What Insulation To Use For Exterior Walls
Assessing the Need for Insulation
Before adding insulation to your exterior walls, it’s important to assess the current insulation situation in your home. This will help you determine whether insulation needs to be added or if the existing insulation needs to be replaced or upgraded.
There are a few indicators that can help you determine if your exterior walls need additional insulation. One of the most obvious signs is if your home feels drafty or if there are significant temperature variations between different rooms or areas of your home. High energy bills can also be a sign that your insulation is inadequate, as your heating or cooling systems may be working overtime to compensate for the loss of heat or cool air.
Another way to assess the need for insulation is to visually inspect your exterior walls. If you can see gaps or cracks, or if the walls feel noticeably cold to the touch, this indicates that heat is escaping through the walls. Additionally, condensation or moisture buildup on the walls can be a sign of poor insulation, as it indicates that warm, moist air is reaching the cold surface of the walls and causing condensation.
It’s worth noting that while assessing the need for insulation, you should also consider the age of your home. Older homes, especially those built before the 1970s, may have little to no insulation in their walls. In these cases, insulation should be added for energy efficiency and to improve overall comfort.
Once you’ve determined that your exterior walls need insulation, the next step is to choose the right insulation materials for your project. This will depend on factors such as your climate, budget, and personal preferences. In the next section, we’ll explore the different types of insulation materials available and their respective benefits.
Choosing the Right Insulation Materials
When it comes to choosing the right insulation materials for your exterior walls, there are several factors to consider. Each type of insulation has its own advantages and benefits, so it’s important to select the one that best suits your needs and budget. Here are some common insulation materials used for exterior walls:
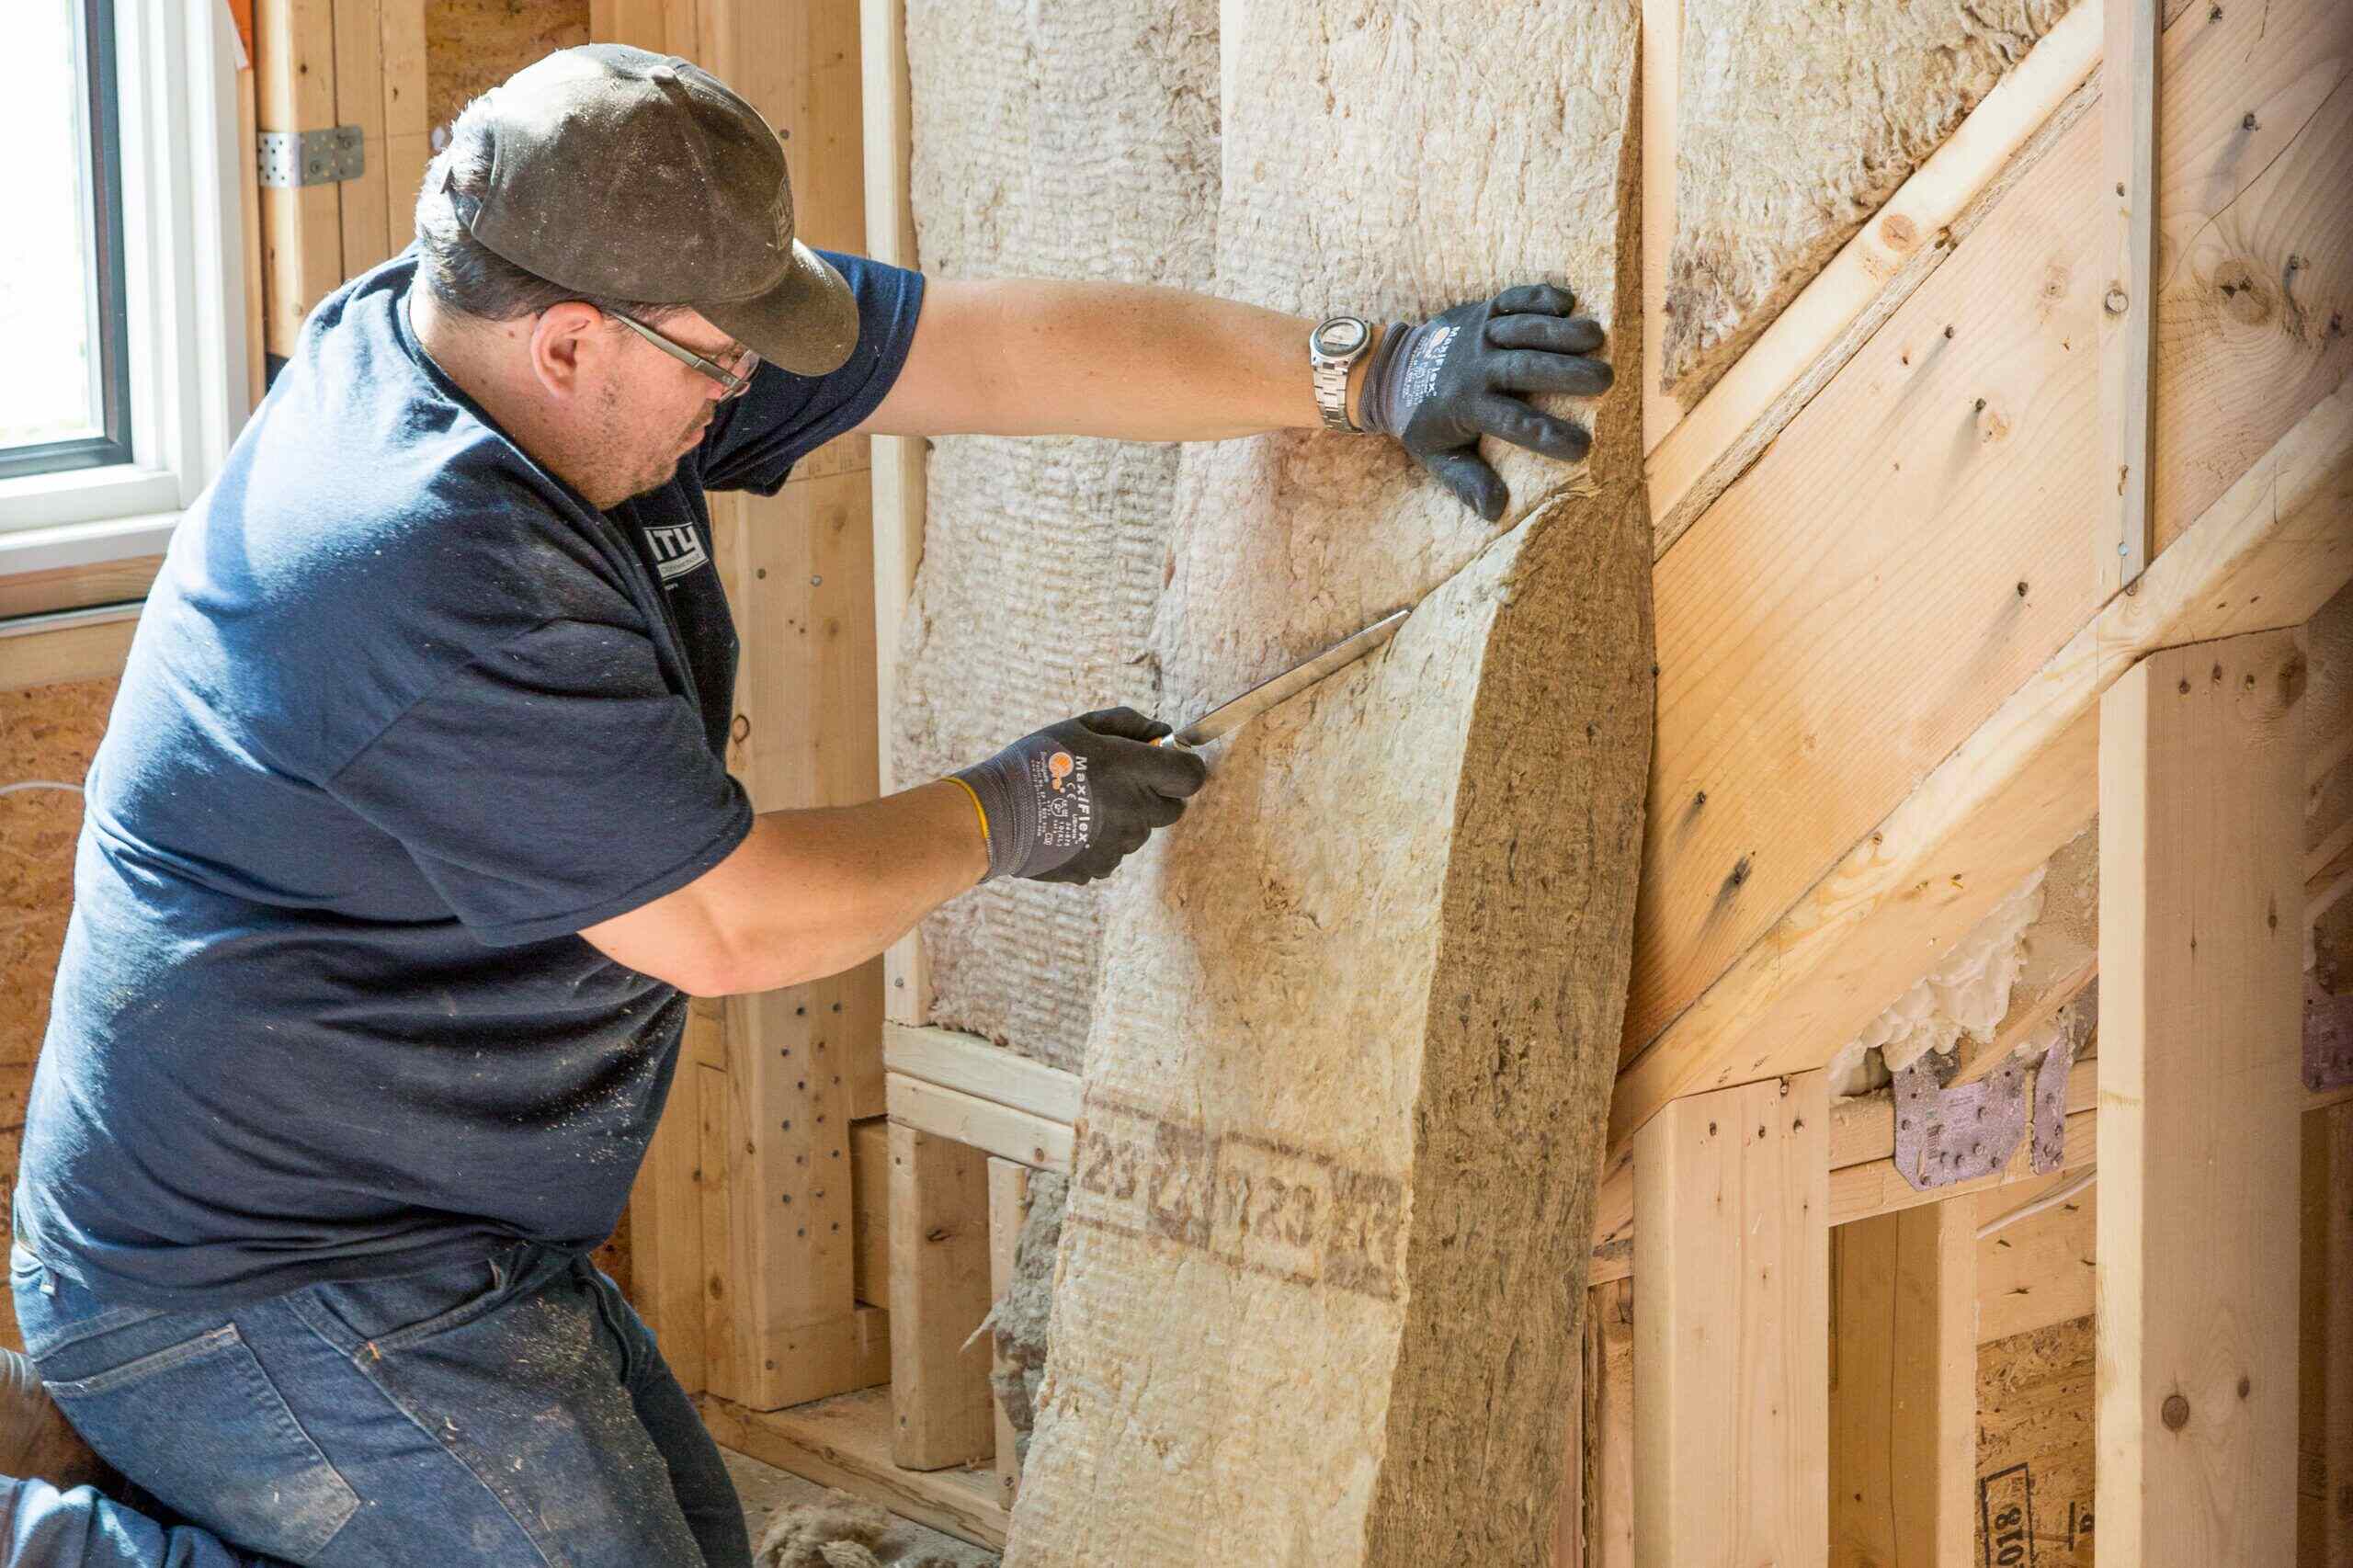
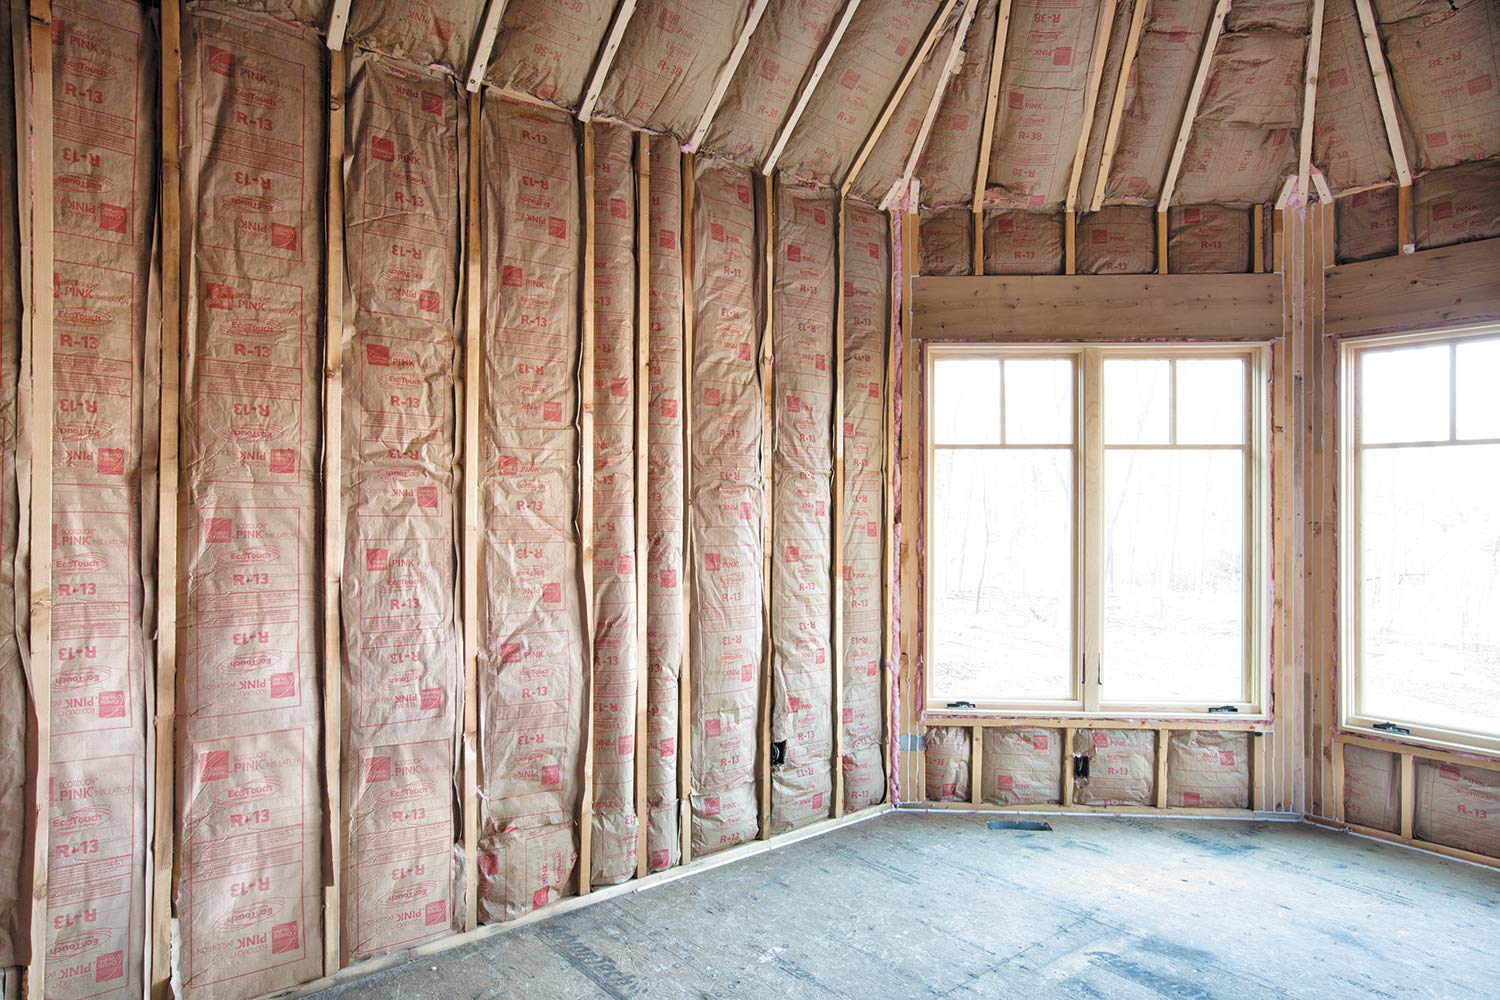
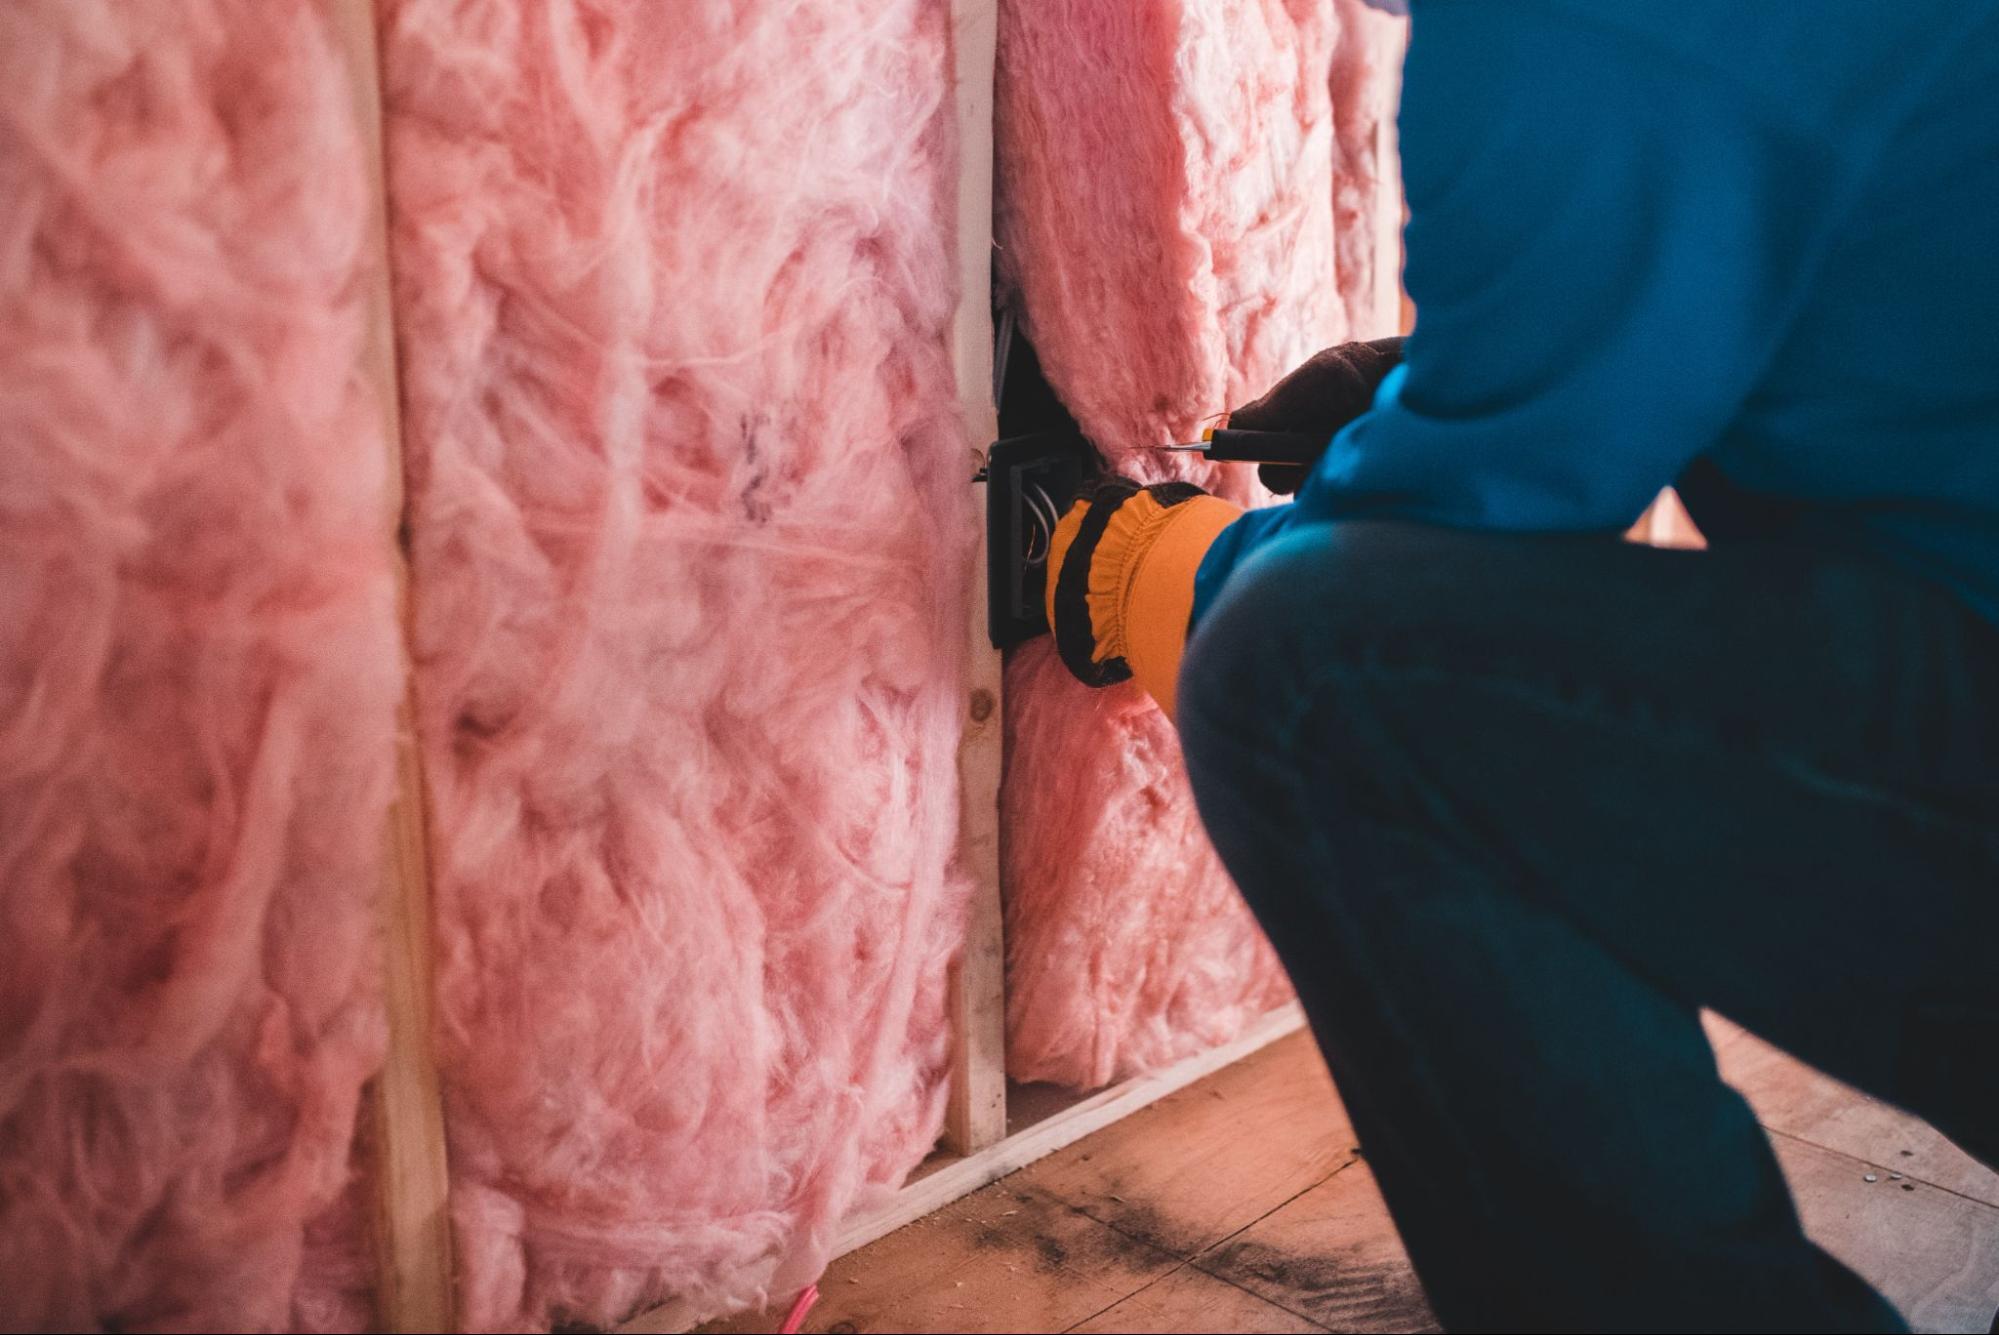
- Fiberglass insulation: Fiberglass insulation is one of the most common and affordable options. It comes in rolls or batts and is made of tiny glass fibers. It provides excellent thermal performance and is relatively easy to install. Fiberglass insulation is also fire-resistant and doesn’t absorb moisture, which helps prevent mold and mildew growth.
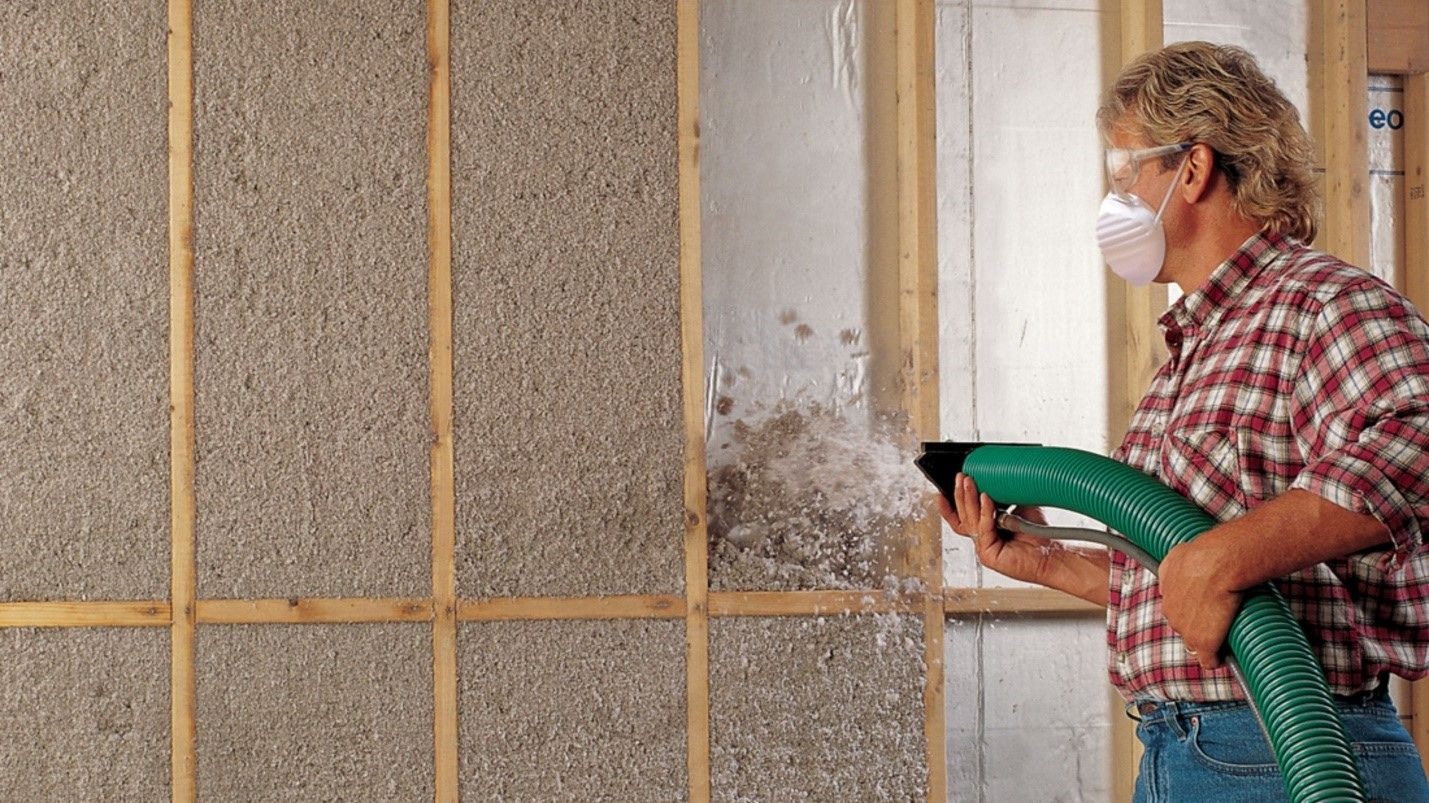
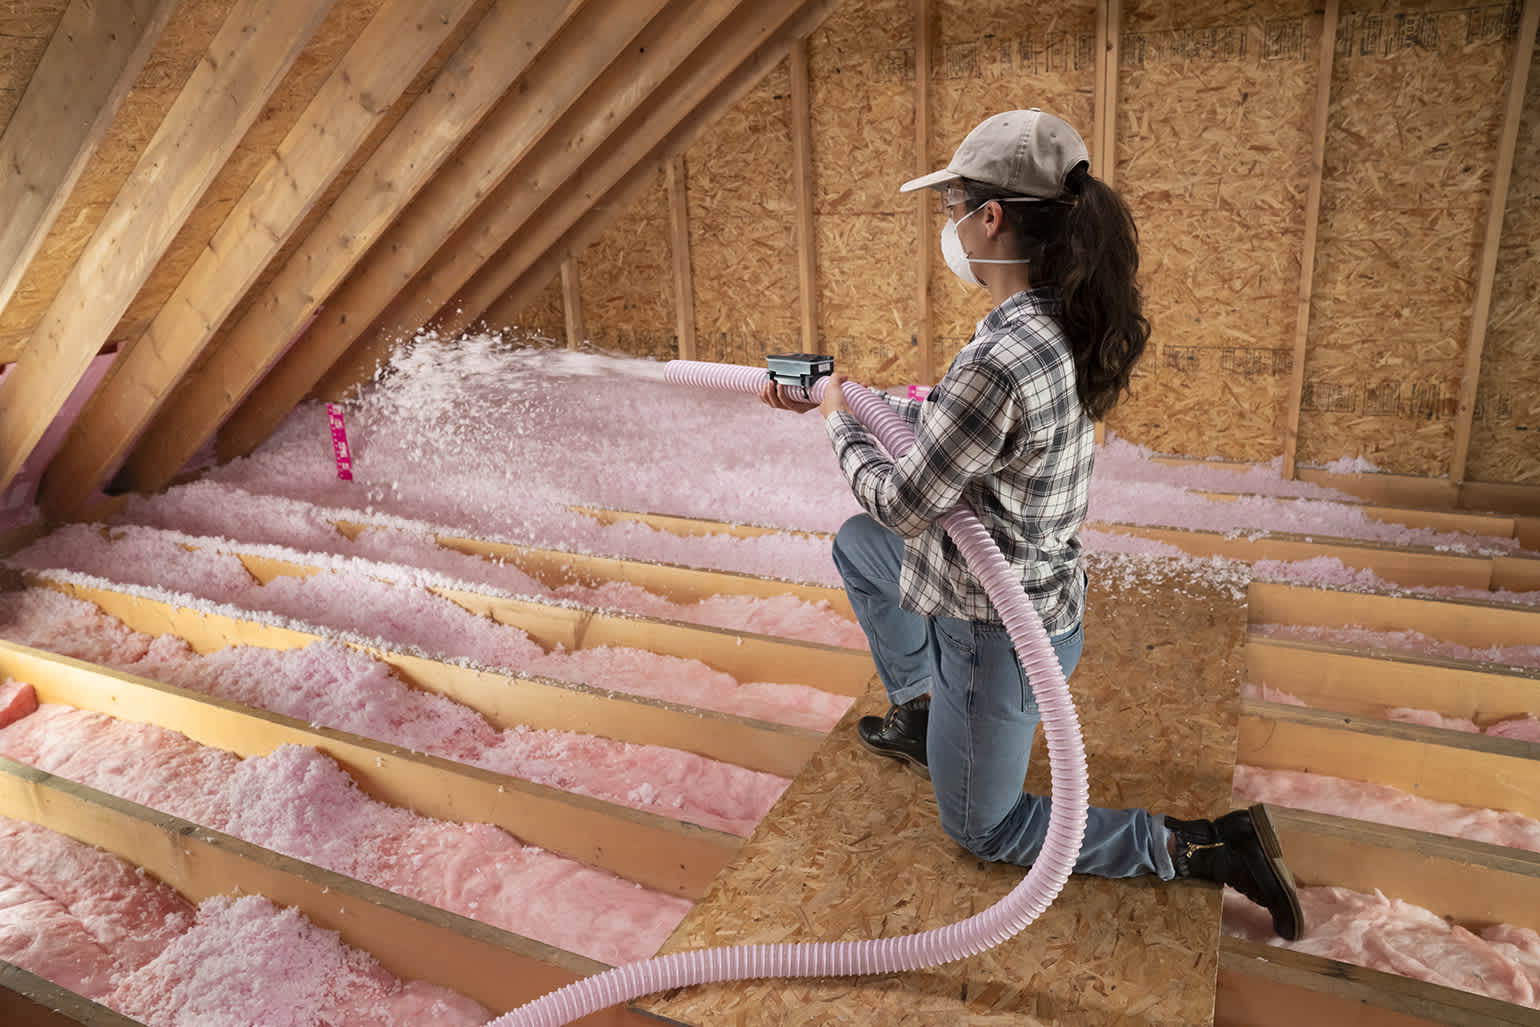
- Cellulose insulation: Cellulose insulation is made from recycled paper treated with fire-retardant chemicals. It is a great option for environmentally-conscious homeowners. Cellulose insulation is blown-in using specialized equipment and provides excellent thermal and soundproofing capabilities.
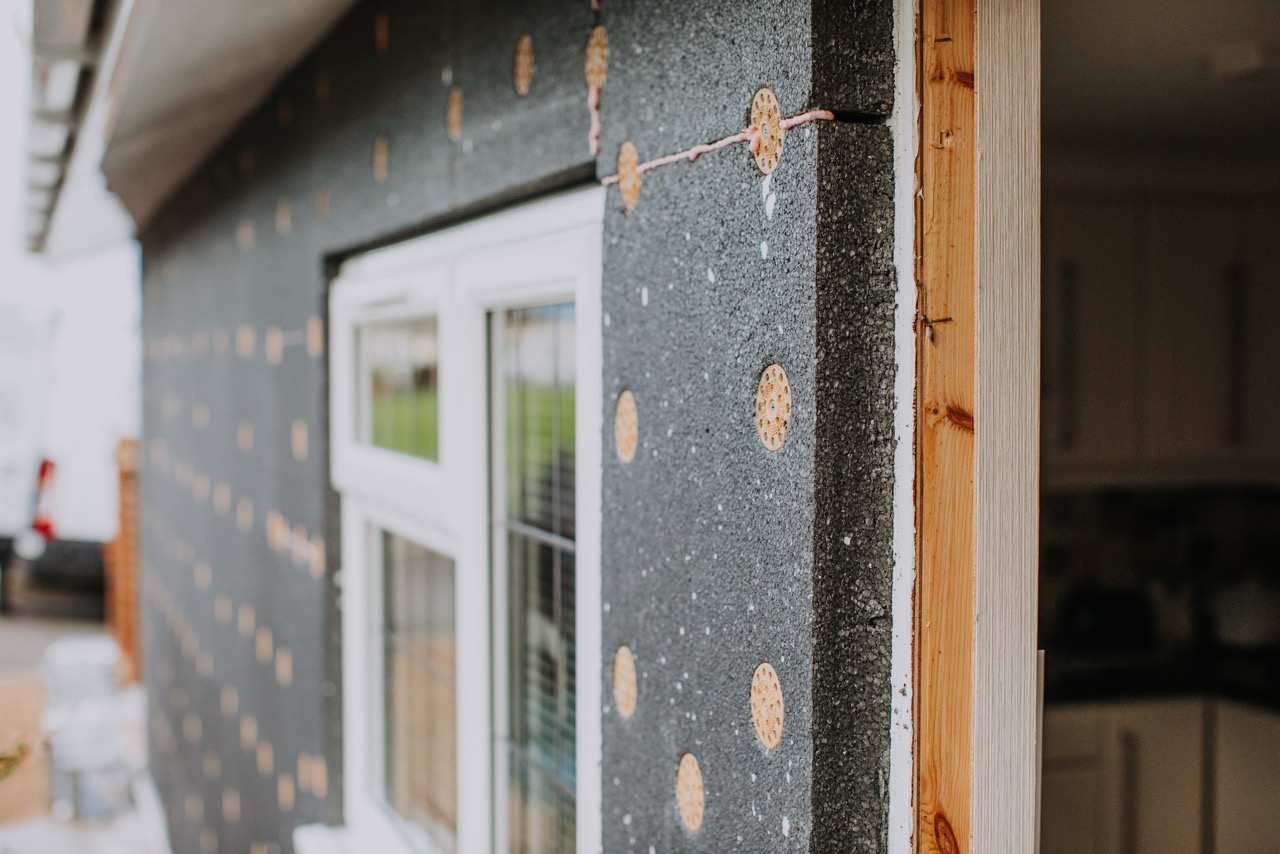
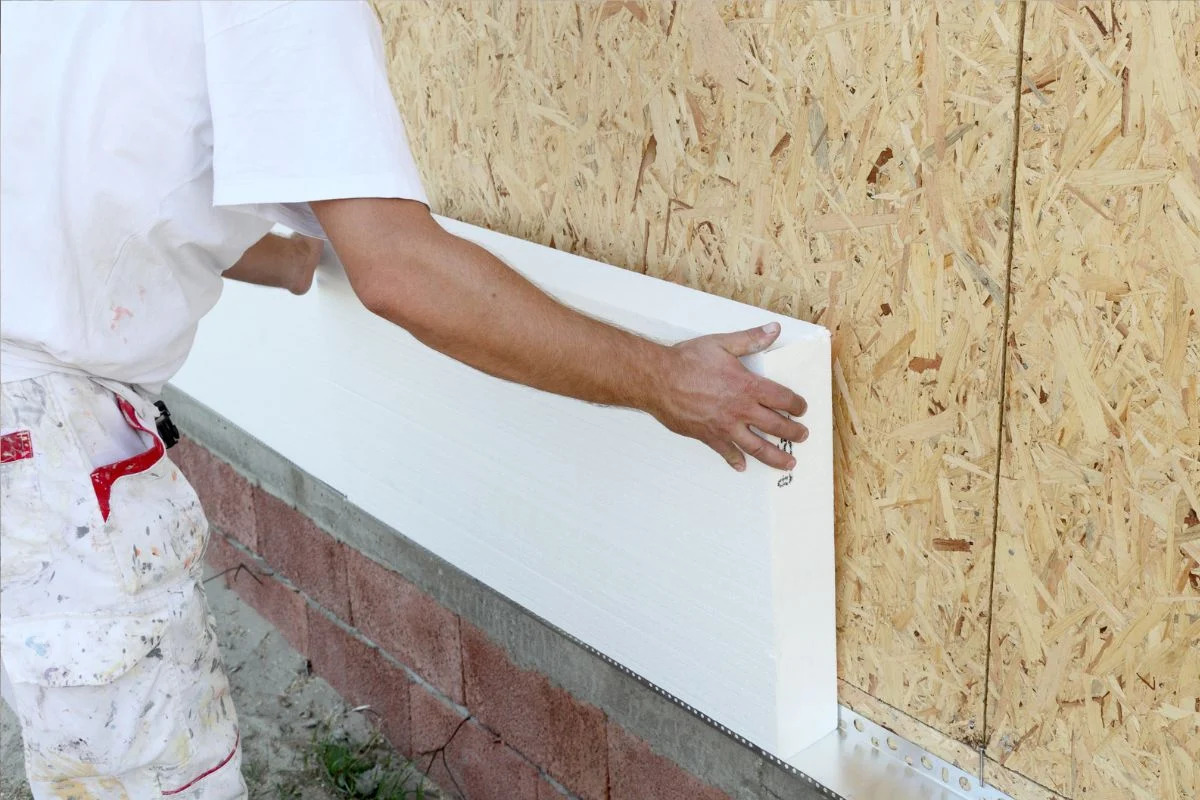
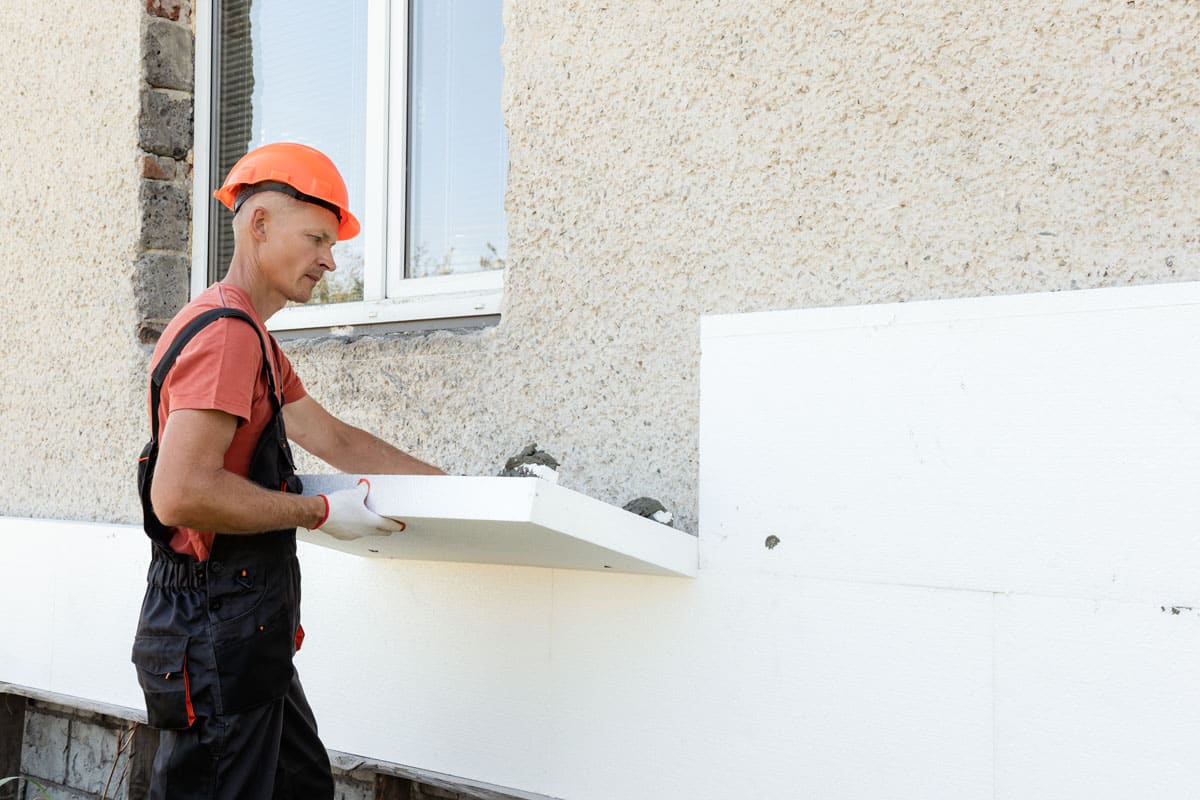
- Rigid foam insulation: Rigid foam insulation boards are made from polystyrene, polyisocyanurate, or polyurethane. They offer high R-values (a measure of insulation effectiveness) and provide great thermal resistance. Rigid foam insulation is easy to cut to size and can be installed directly on the wall surface.
- Spray foam insulation: Spray foam insulation is a popular choice for exterior walls, especially for hard-to-reach areas. It is applied as a liquid and expands to fill gaps and cracks, providing a seamless and airtight barrier. Spray foam insulation has excellent thermal insulation properties and helps improve energy efficiency.
- Aerogel insulation: Aerogel insulation is a relatively new and high-performance insulation material. It is lightweight, has excellent thermal properties, and is extremely effective at insulating against both heat and cold. However, aerogel insulation can be more expensive than other options.
When choosing insulation materials, it’s important to consider factors such as the R-value required for your climate, moisture resistance, fire resistance, and any special considerations for your home, such as allergies or environmental concerns. Consulting with a professional contractor or insulation supplier can help you make an informed decision.
Once you’ve chosen the insulation material, it’s time to gather the necessary tools and materials for the installation. In the next section, we’ll discuss the essential items you’ll need for a successful insulation project.
Gathering the Necessary Tools and Materials
Before you begin the installation process, it’s important to gather all the necessary tools and materials for adding insulation to your exterior walls. Having everything prepared and within reach will make the installation process smoother and more efficient. Here are the essential items you’ll need:
- Insulation material: Depending on the type of insulation you choose, you’ll need the appropriate amount of insulation material. This could be rolls or batts for fiberglass or rolls of cellulose insulation. Make sure to measure the area accurately to determine how much material you’ll need.
- Utility knife: A sharp utility knife will be handy for cutting insulation material to the desired size and shape.
- Measuring tape: Use a measuring tape to measure the dimensions of your walls and accurately cut the insulation material to fit.
- Stapler or insulation supports: You’ll need a stapler and staple gun or insulation supports (such as wire hangers) to secure the insulation in place.
- Protective gear: It’s important to prioritize safety during installation. Wear gloves, safety goggles, and a dust mask to protect against any potential irritants or particles released during the installation process.
- Extension ladder: If you’re insulating higher parts of the exterior walls, an extension ladder will be necessary to reach those areas safely.
- Caulking gun and caulk: To seal any gaps or cracks, you’ll need a caulking gun and caulk. This will help improve the overall insulation effectiveness.
- Sealant tape: Sealant tape is useful for providing an extra layer of air and moisture sealing around windows and doors.
- Wire mesh or plastic sheeting: If you’re installing spray foam insulation, you may need wire mesh or plastic sheeting to create a barrier between the insulation and the rest of the wall.
- Work lights: Depending on the lighting conditions, additional work lights may be necessary to properly see and work efficiently during the installation process.
Make sure to have all these tools and materials ready before you begin the insulation installation process. Having everything on hand will save you time and ensure a smoother workflow. In the next section, we’ll cover the steps for preparing your exterior walls for insulation installation.
Preparing the Exterior Walls for Insulation Installation
Properly preparing your exterior walls before installing insulation is essential for ensuring a successful and effective insulation project. Taking the time to prepare the walls will help maximize the insulation’s performance and longevity. Follow these steps to prepare your exterior walls:
- Clean the walls: Start by cleaning the exterior walls to remove any dirt, debris, or loose materials. Use a brush or broom to sweep away dust, and if necessary, use a power washer to remove stubborn dirt or stains. Allow the walls to dry completely before proceeding to the next step.
- Repair any damage: Inspect the walls for any damage, such as cracks, holes, or rot. Repair any structural damage before installing insulation. Fill cracks and holes with an appropriate filler or patching compound, and replace any rotted or damaged sections of the wall as needed.
- Seal gaps and cracks: Seal any gaps, cracks, or crevices in the walls using caulk or foam sealant. Pay close attention to areas around windows, doors, electrical outlets, and plumbing penetrations. Properly sealing these areas will prevent air and moisture leakage, improving the overall effectiveness of the insulation.
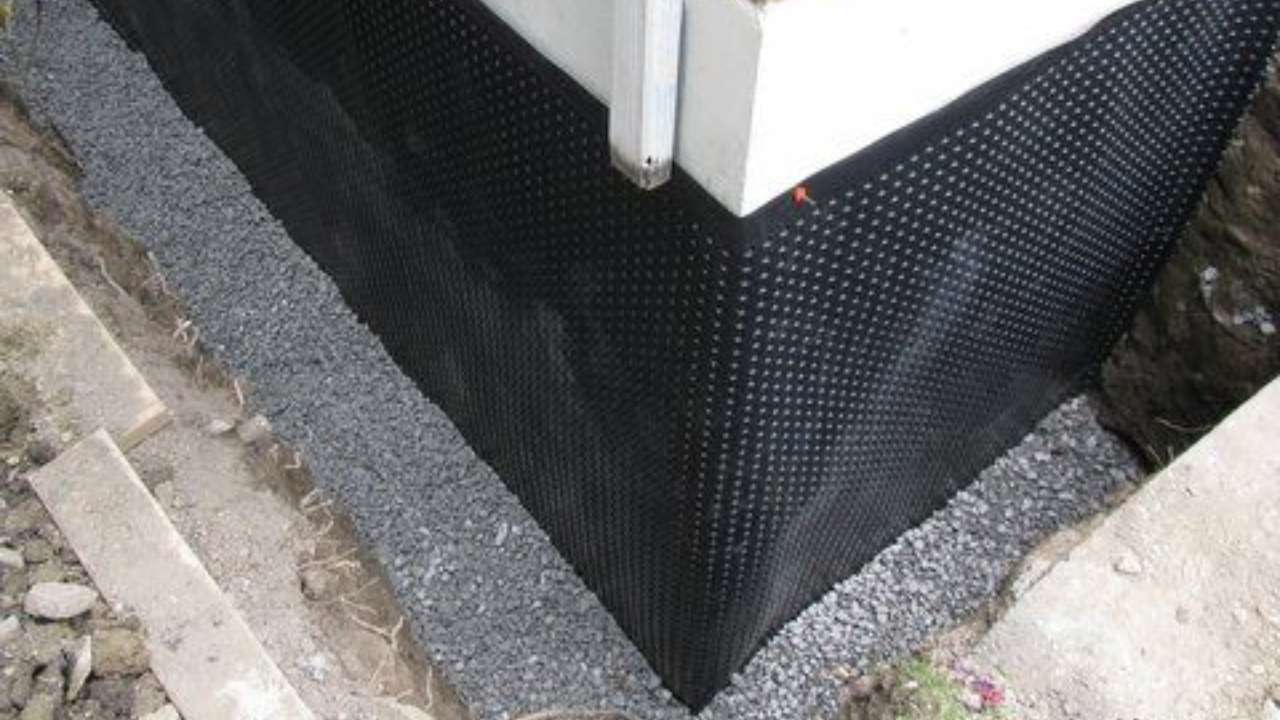
- Install vapor barrier: In some cases, it may be necessary to install a vapor barrier to prevent moisture buildup. Consult with a professional or research local building codes to determine if a vapor barrier is required in your area. If needed, install the vapor barrier according to the manufacturer’s instructions.
- Remove obstacles: Clear the area around the walls by moving any obstacles such as furniture, decorations, or plants. This will provide you with ample space to work and ensure a smooth installation process.
By thoroughly preparing your exterior walls, you’ll create a clean and stable surface for the insulation installation. This will help optimize the insulation’s performance and prevent any potential issues down the line. Once the walls are prepped, you’re ready to move on to the next step, which is installing the insulation in the exterior walls.
When adding insulation to exterior walls, make sure to properly seal any gaps or cracks to prevent air leakage and maximize the effectiveness of the insulation.
Installing the Insulation in Exterior Walls
With your exterior walls prepared, it’s time to start installing the insulation. Proper installation is key to achieving optimal thermal performance and energy efficiency. Follow these steps to ensure a successful installation:
- Cut the insulation: Measure the height and width of the wall cavity and cut the insulation material to fit accordingly. Use a utility knife to make clean and precise cuts.
- Fit the insulation: Insert the insulation into the wall cavity, ensuring a snug fit. Be careful not to apply too much pressure, as this can compress the insulation and reduce its effectiveness. If necessary, use insulation supports or staples to secure the insulation in place.
- Fill gaps and corners: Pay special attention to filling any gaps, corners, or hard-to-reach areas. Use smaller pieces of insulation or scraps to fill these spaces and ensure a consistent layer of insulation throughout the wall.
- Handle obstacles: When encountering obstacles such as electrical outlets or plumbing pipes, gently cut or shape the insulation to fit around them. Be cautious not to damage any wiring or plumbing during this process.
- Repeat the process: Continue cutting and fitting the insulation until the entire wall cavity is filled. If using multiple layers of insulation, make sure to overlap the seams to avoid any gaps or thermal bridging.
- Inspect the installation: Once the insulation is installed, take a step back and inspect the walls to ensure there are no visible gaps or areas of missing insulation. Address any deficiencies before proceeding.
During the installation process, it’s important to prioritize safety. Wear protective gear such as gloves and a dust mask to minimize exposure to any irritants that may be present in the insulation material. If working at heights, use caution and secure an extension ladder properly to prevent accidents.
After completing the insulation installation, it’s time to move on to the next crucial step: ensuring proper ventilation and moisture control in your exterior walls. We’ll cover this in detail in the next section.
Ensuring Proper Ventilation and Moisture Control
Proper ventilation and moisture control are essential for maintaining a healthy and efficient home. When insulating your exterior walls, it’s crucial to ensure that you have adequate airflow and moisture prevention measures in place. Here are some steps to help you achieve proper ventilation and moisture control:
- Inspect existing ventilation: Assess the current ventilation system in your home, particularly in the areas where you’ve added insulation. Ensure that air can still flow freely through vents and openings to prevent moisture buildup and allow for proper air circulation.
- Add or upgrade ventilation: If necessary, consider adding or upgrading ventilation components to improve airflow. This may include installing additional vents, exhaust fans, or mechanical ventilation systems. Consult with a professional to determine the best options for your home.
- Seal air leaks: Insulation alone is not enough to prevent air leaks. Inspect the exterior walls for any gaps or cracks and seal them using caulk or weatherstripping. This will help maintain proper airflow and prevent moisture infiltration.
- Install a vapor barrier: Depending on your climate and local building codes, you may need to install a vapor barrier to prevent moisture from entering the walls. This barrier should be installed on the warm side of the insulation, typically facing the interior of your home.
- Monitor humidity levels: Regularly monitor the humidity levels in your home, especially in areas where insulation has been added. High humidity levels can lead to condensation and moisture-related issues. Use a hygrometer to measure humidity and take necessary steps, such as using a dehumidifier, to maintain appropriate levels.
- Inspect for moisture problems: Keep an eye out for any signs of moisture problems, such as condensation on windows, musty odors, or water stains on walls. If you notice any issues, address them promptly to prevent further damage and potential mold growth.
By ensuring proper ventilation and moisture control, you can mitigate the risk of moisture-related problems, such as mold and mildew growth, and ensure the longevity and effectiveness of your insulation. Regular maintenance and monitoring are key to keeping your home’s interior environment healthy and comfortable.
Once you have implemented proper ventilation and moisture control measures, it’s important to seal any remaining gaps and cracks in your exterior walls. This will further enhance the insulation’s effectiveness and energy efficiency. We’ll discuss this in detail in the next section.
Sealing and Insulating Exterior Wall Gaps and Cracks
Sealing and insulating gaps and cracks in your exterior walls is an important step to prevent air leakage, improve energy efficiency, and ensure the effectiveness of your insulation. Even with proper insulation installation, small gaps and cracks can allow air to escape or enter, reducing the overall performance of your insulation. Here’s how you can seal and insulate exterior wall gaps and cracks:
- Inspect for gaps and cracks: Carefully inspect the exterior walls for any visible gaps, cracks, or openings. Check around windows, doors, utility penetrations, and any other areas where the wall may have been compromised.
- Clean the area: Before sealing, clean the gaps and cracks to ensure proper adhesion. Remove any loose debris, dirt, or old sealant using a brush or vacuum cleaner.
- Choose the appropriate sealant: Select a sealant that is suitable for the type of material you are sealing. Common options include silicone caulk for gaps and cracks in exterior walls and expanding foam sealant for larger openings or gaps.
- Apply the sealant: With the chosen sealant and a caulk gun, carefully apply a continuous bead of sealant in the gap or crack. Ensure that the sealant fills the entire opening and creates an airtight and watertight seal. Smooth out the sealant using a caulk smoothing tool or a wet finger for a neat and professional finish.
- Allow for drying and curing: Follow the manufacturer’s instructions for drying and curing time for the sealant. This will vary depending on the type of sealant used.
- Insulate the sealed areas: After the sealant has cured, you can further enhance the insulation by adding insulation material around the sealed gaps and cracks. Cut small pieces of insulation and fit them snugly into the areas surrounding the sealed gaps. This will help to minimize air leakage and improve energy efficiency.
- Repeat the process: Repeat the sealing and insulation process for any additional gaps or cracks that you find in the exterior walls. Remember to check both the interior and exterior of the walls for any openings.
Sealing and insulating exterior wall gaps and cracks not only improves energy efficiency but also helps prevent drafts, moisture infiltration, and the potential for pests to enter your home. It’s important to regularly inspect and maintain these sealed areas to ensure their effectiveness over time.
After sealing and insulating the gaps and cracks in your exterior walls, you’re now ready to move on to the final step: applying finishing touches to complete the insulation project. We’ll explore this in detail in the next section.
Applying Finishing Touches
After completing the insulation installation and sealing any gaps or cracks in your exterior walls, it’s time to apply the finishing touches. These final steps will help ensure a clean and polished appearance, as well as provide additional protection and insulation. Here are some important finishing touches to consider:
- Trim and molding: Install or replace trim and molding around windows, doors, and baseboards. This not only enhances the aesthetic appeal but also helps seal any small gaps between the wall and the opening.
- Paint or finish: Apply a fresh coat of paint or finish to the walls to create a nice, finished look. Not only does this improve the overall appearance, but it also provides a protective layer and helps seal the surfaces.
- Insulate electrical outlets and switches: Install foam gaskets behind electrical outlets and switches to prevent air leakage. These inexpensive foam gaskets can easily be inserted behind the plates and help improve energy efficiency.
- Install weatherstripping: Install weatherstripping around windows and doors to create a tight seal, preventing drafts and improving insulation. Choose weatherstripping suitable for your specific needs, such as adhesive strips or door sweeps.
- Consider insulation upgrades: While insulating your exterior walls, it’s a good opportunity to also consider upgrading insulation in other areas of your home. This could include the attic, crawl spaces, or basement. Upgrading insulation in these areas will further enhance energy efficiency and overall comfort.
- Inspect the insulation: After applying the finishing touches, inspect the insulation in your exterior walls to ensure it’s properly installed and that there are no visible gaps, sagging, or areas of damage. Address any issues promptly to maintain the insulation’s effectiveness.
- Maintain and monitor: Regularly maintain and monitor your insulation to ensure its long-term performance. Check for any signs of damage, moisture, or air leakage and address them promptly. Pay attention to changes in energy bills and the overall comfort of your home to determine if any adjustments or additional insulation measures are needed.
By applying these finishing touches, you’ll not only enhance the appearance of your insulated exterior walls but also improve the insulation’s efficiency and longevity. Remember to keep up with regular maintenance to ensure optimal performance and energy savings over time.
Congratulations! You have now completed the insulation and finishing process for your exterior walls. A properly insulated home not only provides comfort but also contributes to energy savings and a reduced environmental impact. Take pride in your work and enjoy the benefits of a well-insulated home!
Excited to enhance your home’s energy efficiency further? Check out our article on cutting-edge wall insulation options set to make a big impact in 2024. And if you're itching to roll up your sleeves on more personal projects, our article on DIY home projects is brimming with insights and tips to get you started.
Frequently Asked Questions about How To Add Insulation To Exterior Walls
Was this page helpful?
At Storables.com, we guarantee accurate and reliable information. Our content, validated by Expert Board Contributors, is crafted following stringent Editorial Policies. We're committed to providing you with well-researched, expert-backed insights for all your informational needs.

0 thoughts on “How To Add Insulation To Exterior Walls”