Articles
How To Build A Fireplace Chimney
Modified: October 20, 2024
Learn how to build a durable and functional fireplace chimney with our informative articles. Step-by-step guides, expert tips, and essential tools for a successful project.
(Many of the links in this article redirect to a specific reviewed product. Your purchase of these products through affiliate links helps to generate commission for Storables.com, at no extra cost. Learn more)
Introduction
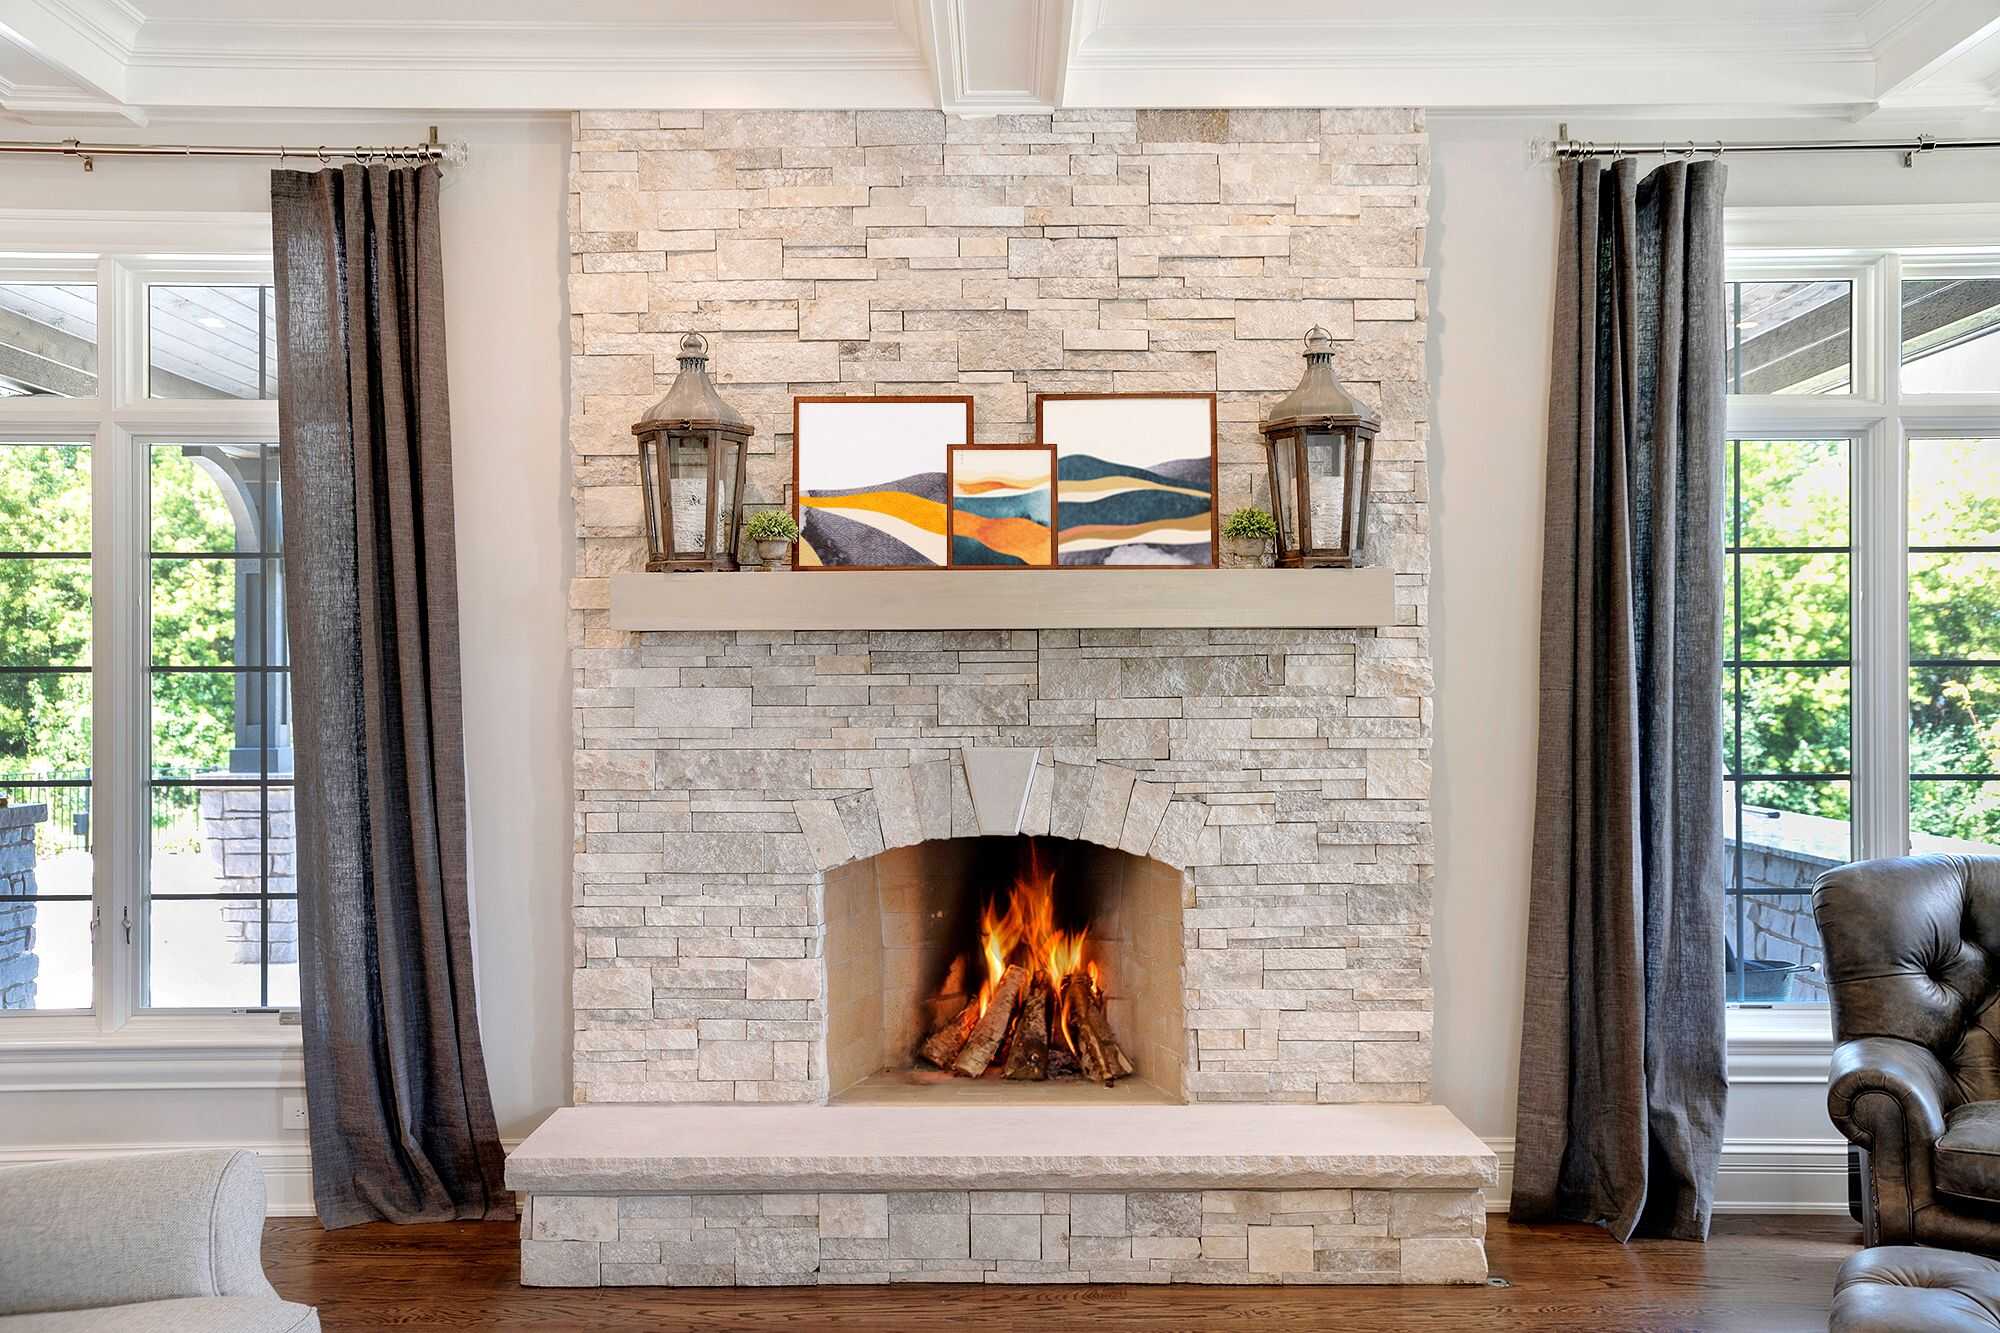
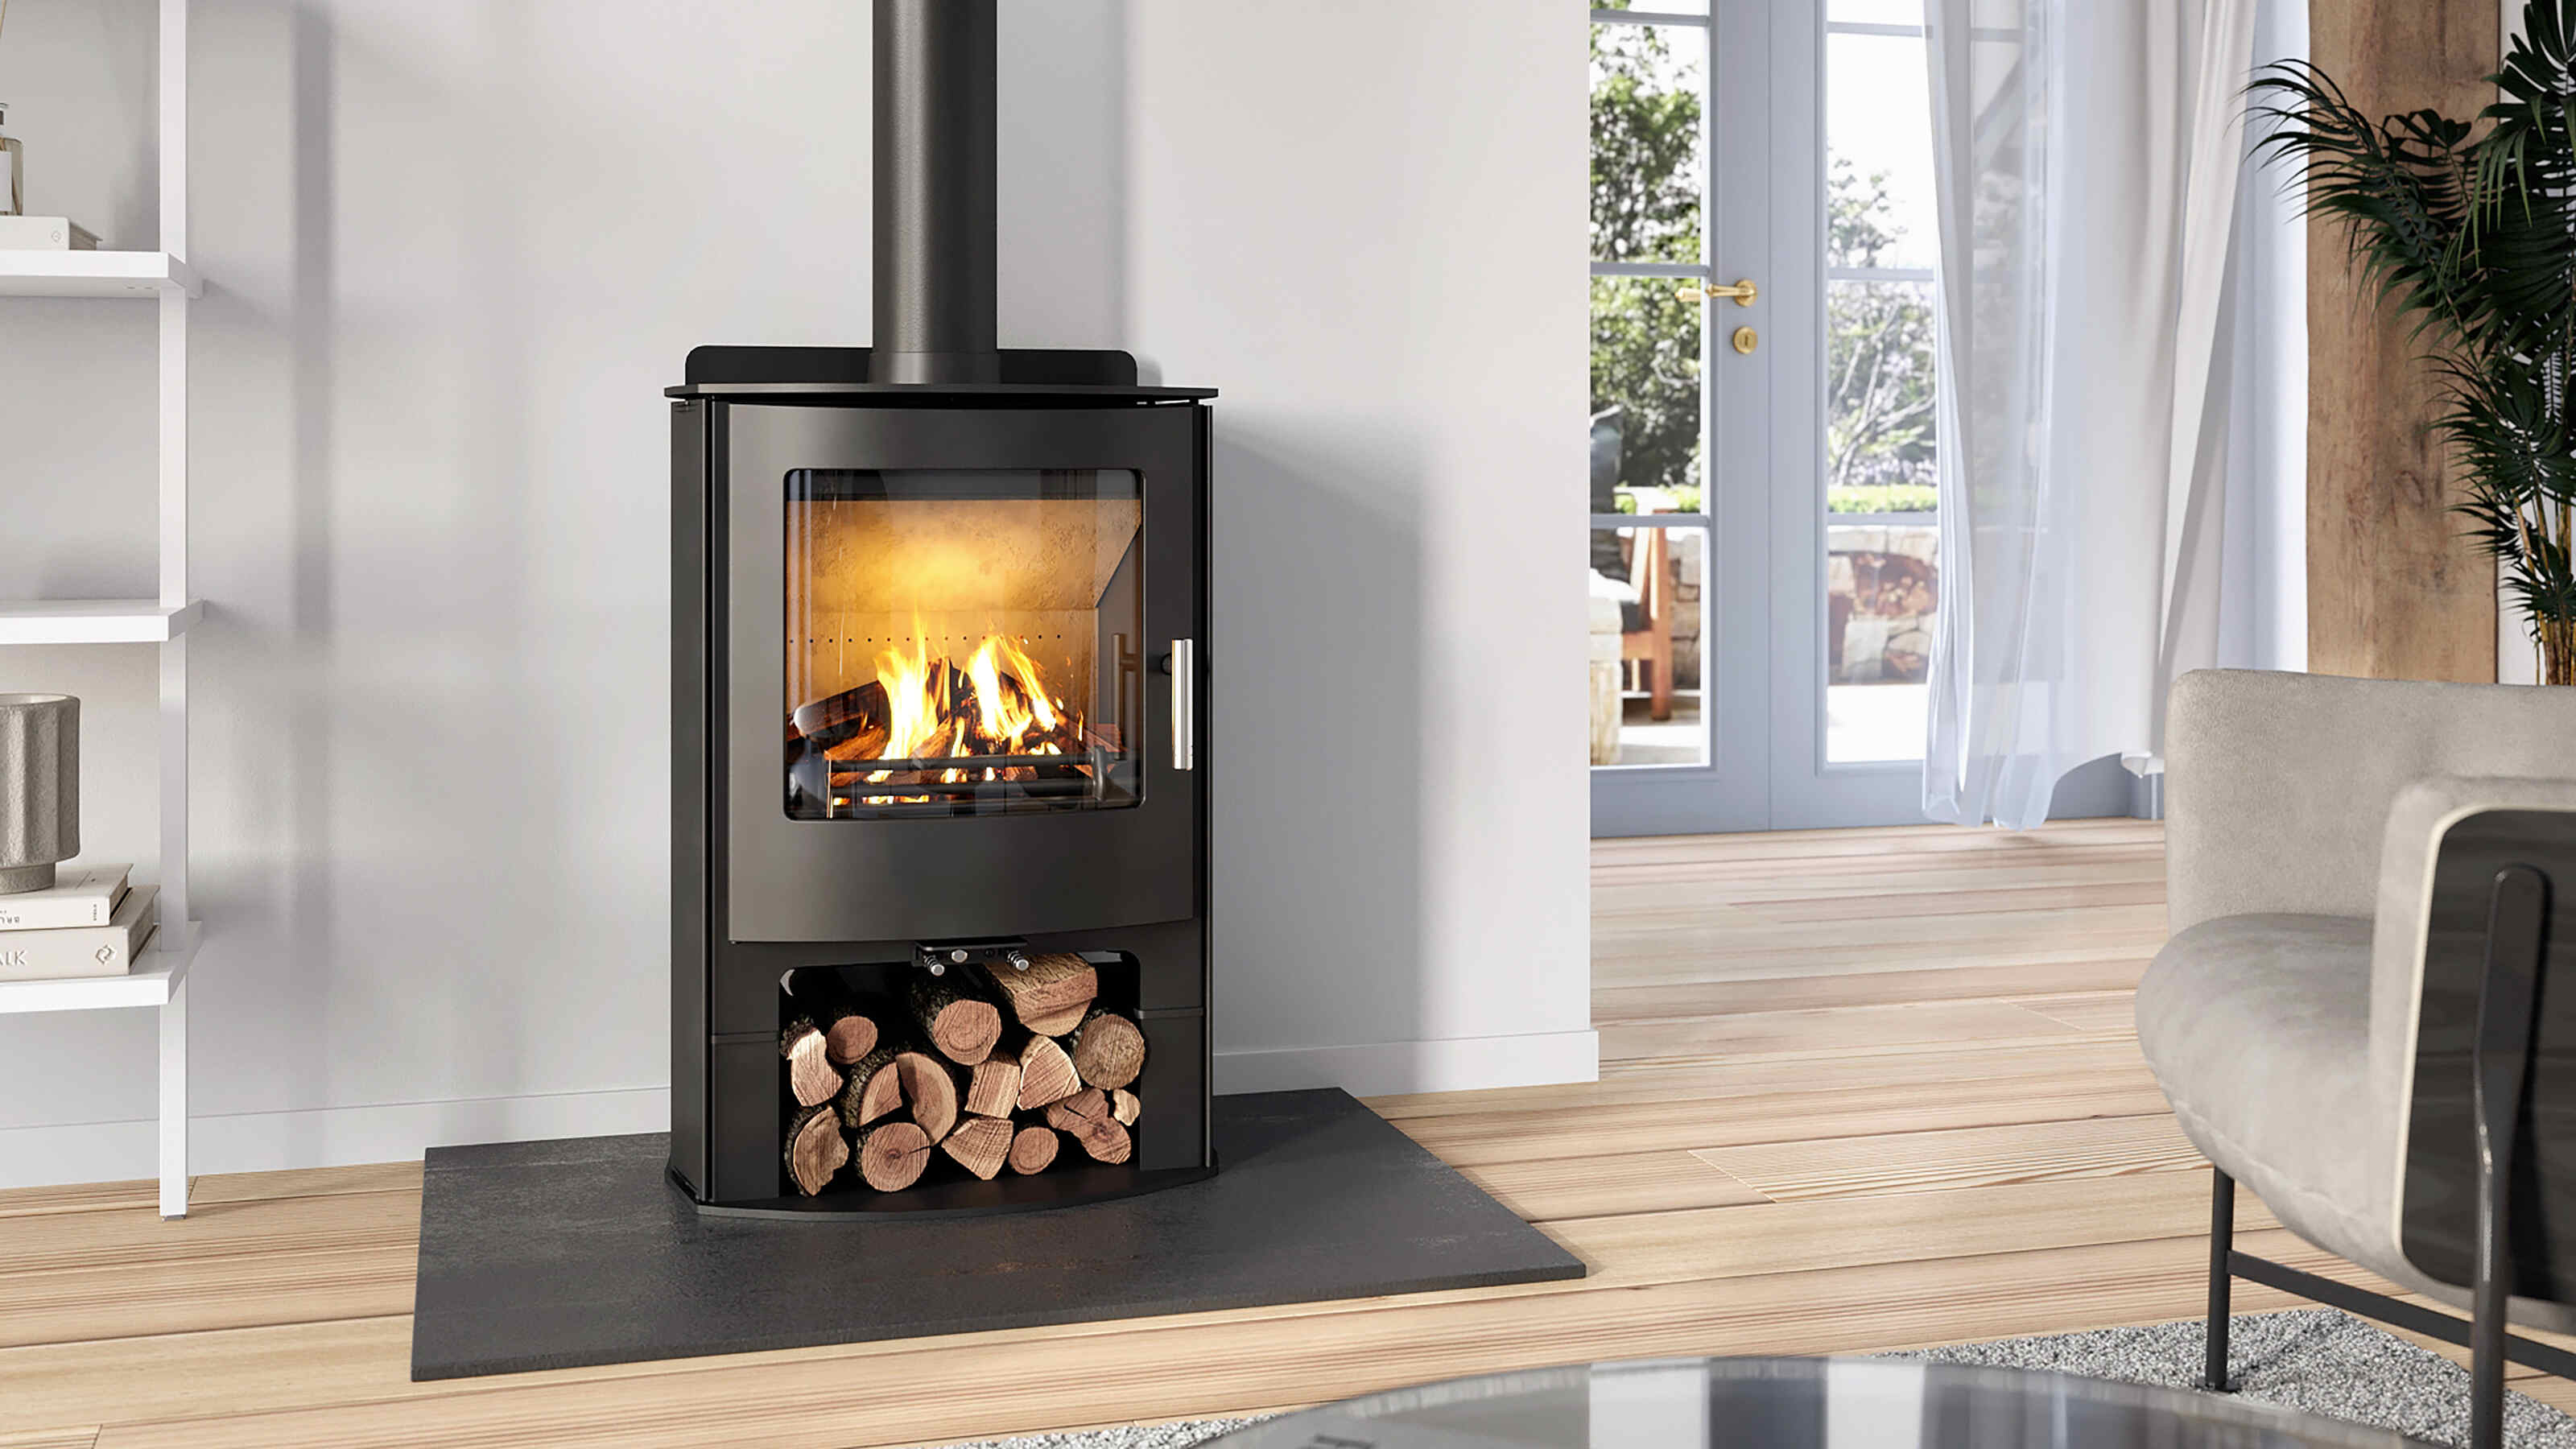
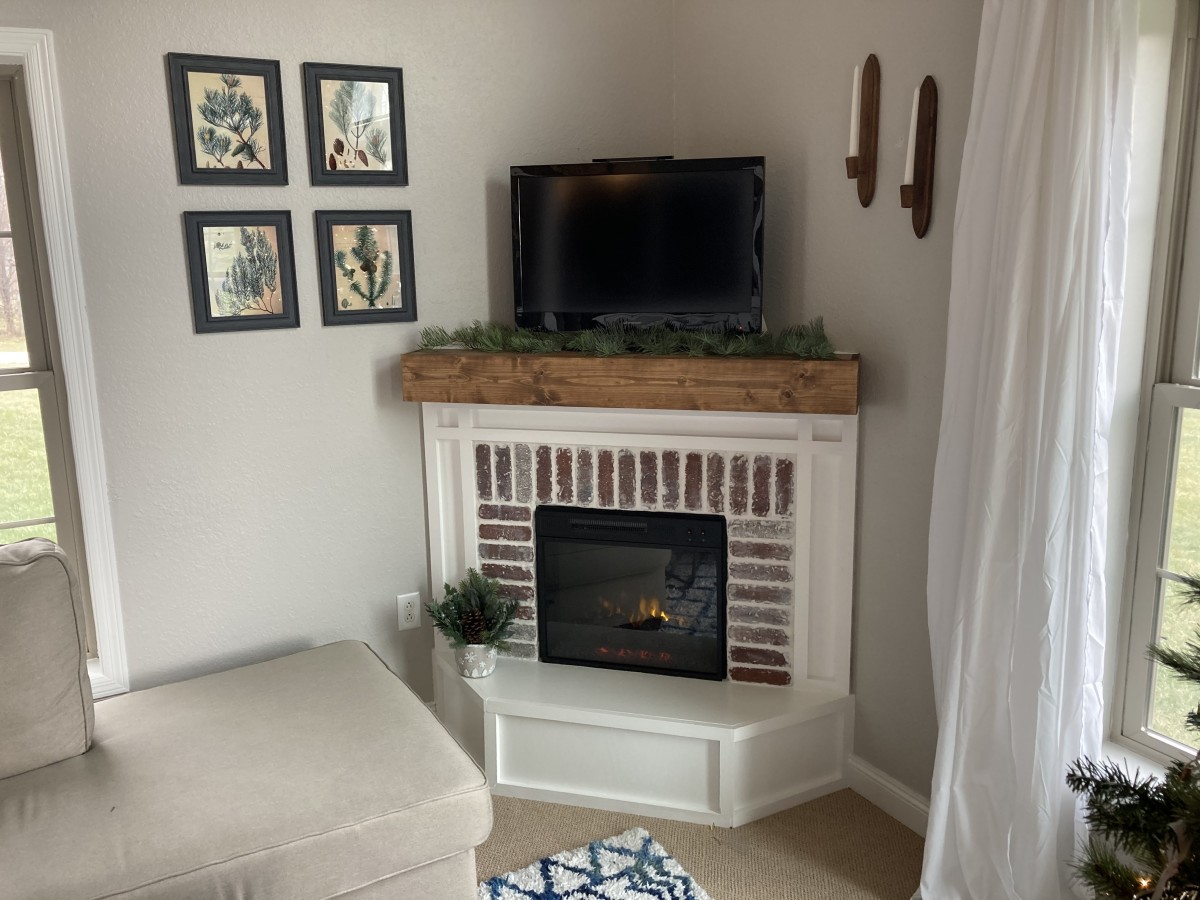
Building a fireplace chimney is a rewarding project that adds warmth, beauty, and charm to any home. A fireplace not only provides a cozy ambiance but also serves as a functional source of heat during the colder months. A well-built chimney is the key to ensuring the efficient and safe operation of a fireplace.
In this comprehensive guide, we will take you through the process of building a fireplace chimney, step by step. Whether you are a seasoned DIY enthusiast or a beginner, this article will provide you with the knowledge and guidance needed to successfully complete this project.
Before we dive into the details, it’s important to note that building a fireplace chimney requires careful planning, adherence to local building codes, and proper safety precautions. It may also necessitate the assistance of a professional if you’re not confident in your abilities. Safety should always be the top priority when working on any construction project.
Now, let’s explore the fascinating world of fireplace chimneys, starting with an understanding of their anatomy.
Key Takeaways:
- Building a fireplace chimney requires careful planning, adherence to local building codes, and proper safety precautions. Understanding the anatomy, gathering the right tools and materials, and preparing the building site are crucial steps for a successful construction.
- Finishing and decorating the fireplace chimney adds the final touches to enhance its visual appeal and seamlessly integrate it into your home’s design aesthetic. Prioritize safety, consult professionals, and enjoy the warmth and ambiance of your beautifully constructed fireplace chimney.
Read more: How To Build A Stone Fireplace And Chimney
Understanding the Anatomy of a Fireplace Chimney
Before embarking on the construction of a fireplace chimney, it’s essential to have a basic understanding of its anatomy. A fireplace chimney consists of several key components that work together to provide proper ventilation and ensure the safe operation of the fireplace. Here are the main elements:
- Firebox: The firebox is the area where the fire is contained. It is typically made of fire-resistant materials such as brick or stone and is designed to withstand high temperatures.
- Smoke Chamber: Located directly above the firebox, the smoke chamber funnels the smoke and gases produced by the fire upwards into the chimney.
- Flue: The flue is the vertical passage within the chimney that allows the smoke and gases to escape to the outside. It must be properly sized to ensure efficient airflow.
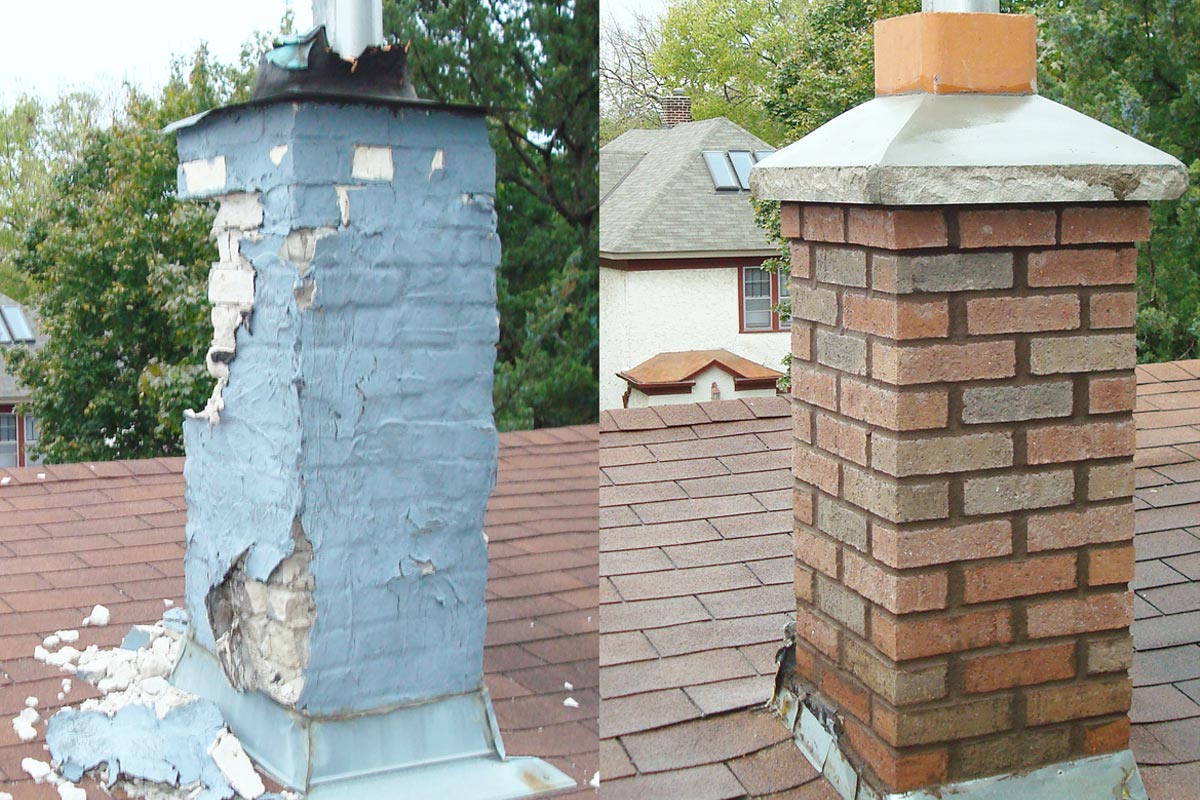
- Chimney Crown: The chimney crown is the topmost exterior surface of the chimney. It is typically made of cement or masonry and helps protect the chimney from water damage.
- Chimney Cap: The chimney cap is a metal or masonry cover that sits on top of the chimney. It prevents rain, debris, and animals from entering the chimney while also serving as a spark arrestor.
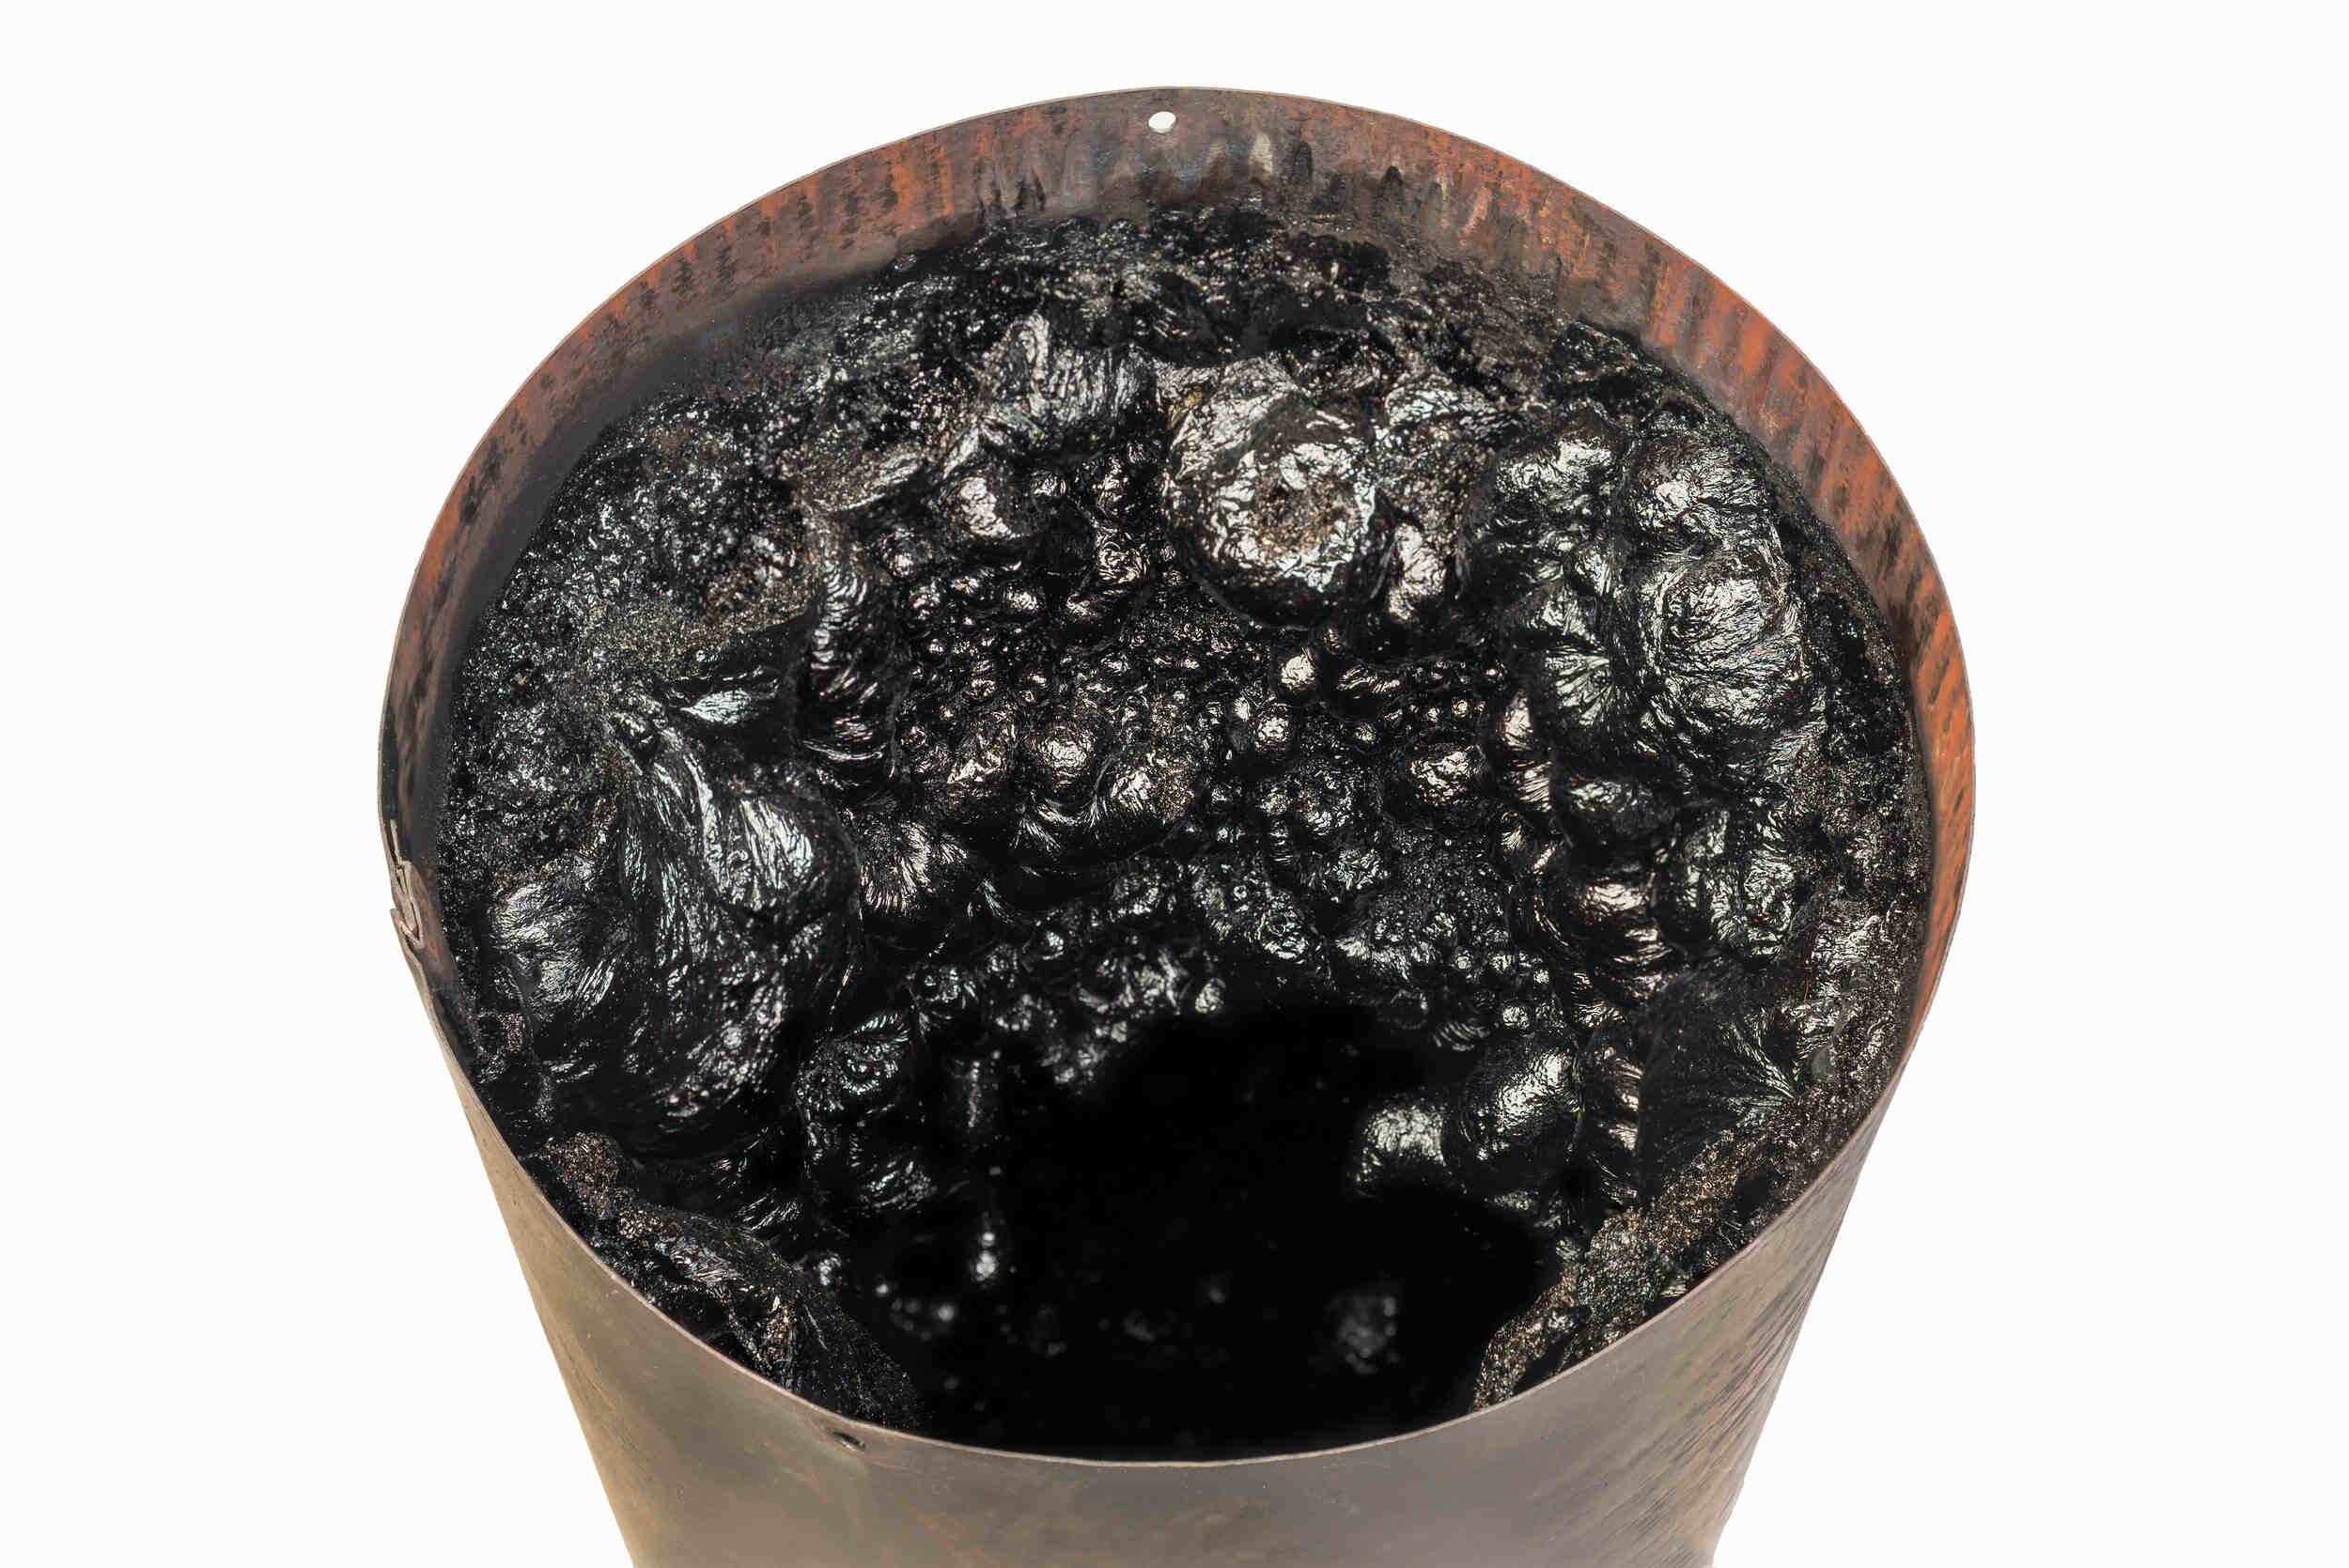
- Chimney Flue Liner: The flue liner is a protective barrier that lines the interior of the chimney. It helps to contain heat and prevent the buildup of creosote, a byproduct of burning wood that can lead to chimney fires.
Each component of the fireplace chimney plays a crucial role in its overall functionality and safety. Understanding the purpose of each part will guide you in building a chimney that meets the necessary standards.
Now that we have a solid grasp of the anatomy of a fireplace chimney, let’s move on to the next step: gathering the necessary tools and materials for the construction process.
Gathering the Necessary Tools and Materials
Building a fireplace chimney requires a variety of tools and materials. Having the right equipment at hand will ensure a smoother construction process and help you achieve the desired results. Here’s a list of the essential tools and materials you’ll need:
Tools:
- Safety goggles and gloves
- Tape measure
- Level
- Mason’s hammer
- Trowel
- Mortar mixing tub
- Brick jointer
- Masonry brush
- Chimney brush
- Chisel or cold chisel
- Wheelbarrow
- Concrete mixer (if needed)
- Scaffolding or ladder
Materials:
- Bricks or stones
- Mortar mix
- Concrete (if building a foundation)
- Reinforcing bar (rebar)
- Flue liners
- Chimney cap
- Flashing
- Weatherproof sealant
- Fireproof insulation
It’s important to choose high-quality materials that are suitable for the specific type of chimney you plan to build. Consult with a local building supply store or a professional to ensure you select the right products for your project.
Additionally, remember to prioritize safety by wearing appropriate protective gear, such as safety goggles and gloves, throughout the construction process. This will help prevent injuries and ensure a safer working environment.
With all the necessary tools and materials in hand, you are now ready to move on to the next step: preparing the building site.
Preparing the Building Site
Before you begin constructing the fireplace chimney, it is crucial to prepare the building site properly. Proper preparation will ensure a stable foundation and create an optimal environment for the chimney construction. Here are the steps to follow:
- Determine the Location: Choose the ideal location for your chimney, considering factors such as proximity to the fireplace, structural support, and clearance from surrounding structures.
- Clear the Area: Clear the ground of any debris, vegetation, or obstructions in the designated area. This will provide a clean workspace and prevent potential hazards during construction.
- Excavate the Site: Dig a hole for the foundation of your chimney. The depth and dimensions will depend on the specific requirements of your project and local building codes. Use a tape measure and level to ensure accurate measurements.
- Prepare the Foundation: Once the hole is excavated, lay a solid foundation for the chimney. This may involve pouring a concrete slab or setting concrete footings with reinforcing bars (rebar) for added stability. Follow local building codes and guidelines for proper foundation construction.
- Create Access Points: While constructing the chimney, you will need access points for cleaning and maintenance. Install a cleanout door at the base of the chimney and provide an access panel for the smoke chamber.
- Consider Safety Measures: When building a chimney, it’s essential to consider fire safety. Make sure there is sufficient clearance from combustible materials such as wood beams, walls, or roof overhangs. Consult local building codes and regulations for specific clearance requirements.
Thoroughly planning and preparing the building site will facilitate a smoother construction process and ensure the stability and longevity of your fireplace chimney. Take the time to complete these steps carefully before proceeding to the next phase: constructing the foundation for the chimney.
Constructing the Foundation for the Chimney
The foundation of a fireplace chimney is a critical component that provides stability and support for the entire structure. Building a solid and level foundation is essential to ensure the durability and safety of the chimney. Here’s a guide on how to construct the foundation:
- Mark the Foundation: Based on the dimensions and design of your chimney, mark the outline of the foundation on the prepared building site. Use a tape measure, level, and string to ensure accurate and straight lines.
- Excavate the Foundation: Dig a trench along the marked outline, ensuring a depth and width that comply with local building codes and guidelines. Remove any loose soil or debris from the trench.
- Create a Base Layer: Fill the excavated trench with a layer of gravel or crushed stone. This base layer helps with drainage and prevents the foundation from sinking into the ground.
- Build Concrete Footings: Depending on the size and design of your chimney, you may need to construct concrete footings to provide additional support. Place rebar within the footings for added reinforcement.
- Pour Concrete: Mix concrete according to the manufacturer’s instructions and pour it into the trench, ensuring it covers the footings and fills the entire foundation area. Smooth the surface using a trowel or float.
- Check for Levelness: Use a level to ensure that the poured concrete is level and evenly distributed. Adjust as necessary to achieve a level surface.
- Cure the Concrete: Allow the poured concrete to cure according to the manufacturer’s recommendations. This typically involves covering the foundation with a curing compound or a plastic sheet and keeping it moist for a specified period.
Remember to follow local building codes and guidelines for the construction of the chimney foundation. It is also recommended to consult a professional or structural engineer for specific requirements or if you are unsure about the foundation design and construction.
With the foundation completed, you are ready to move on to the next step: building the chimney base.
Building the Chimney Base
The chimney base serves as the starting point of the vertical structure and provides stability and support for the rest of the chimney. Building a solid and well-constructed base is crucial to ensure the integrity and longevity of the chimney. Here’s a step-by-step guide on how to build the chimney base:
- Prepare the Mortar: Mix mortar according to the manufacturer’s instructions. Ensure the mortar has the right consistency for easy application and bonding.
- Lay the First Course: Start by laying a thick layer of mortar on the foundation where the chimney base will be situated. Place the first row of bricks or stones on top of the mortar, ensuring they are level and properly aligned. Use a level and mason’s hammer to adjust as necessary.
- Apply Mortar Bed: Apply a layer of mortar on top of the first row of bricks or stones. Use a trowel to spread the mortar evenly, ensuring full coverage.
- Set the Second Course: Place the second row of bricks or stones on top of the mortar bed, staggering the joints for added strength and stability.
- Repeat the Process: Continue repeating the process of laying mortar and setting bricks or stones until you have reached the desired height for the chimney base. Use a level and tape measure to ensure each course is level and evenly spaced.
- Check for Plumb: To ensure the chimney base is perfectly vertical, use a plumb bob or level. Make adjustments as necessary by tapping the bricks or stones with a mason’s hammer.
- Clean and Finish: Once the chimney base is complete, use a stiff-bristled brush or masonry brush to clean off any excess mortar. Allow the mortar to dry and cure according to the manufacturer’s instructions.
It is important to note that the exact method of building the chimney base may vary depending on the design and materials used. Always refer to the specific instructions provided by the manufacturer or consult with a professional to ensure proper construction.
With the chimney base successfully built, you are ready to move on to the next phase: installing the chimney flue.
When building a fireplace chimney, make sure to use the appropriate materials such as fire-resistant bricks and mortar. It’s also important to follow local building codes and regulations to ensure safety and compliance.
Installing the Chimney Flue
The chimney flue is a crucial component that provides a passage for the smoke and gases to escape from the fireplace. Proper installation of the flue ensures the efficient and safe operation of the chimney. Here’s a step-by-step guide on how to install the chimney flue:
- Measure and Cut the Flue Liner: Measure the height of the chimney base and cut the chimney flue liner to the appropriate length. Use a diamond-blade saw or a grinder designed for cutting masonry.
- Apply Mortar: Apply a layer of mortar to the top of the last course of bricks or stones in the chimney base. This mortar will serve as the bedding for the flue liner.
- Place the Flue Liner: Carefully lower the chimney flue liner into the chimney base, ensuring it rests securely on the mortar bed. Align the flue liner with the center of the chimney base.
- Check for Levelness: Use a level to ensure that the flue liner is level and straight. Adjust as necessary by tapping lightly with a rubber mallet.
- Secure the Flue Liner: Depending on the type of flue liner being used, secure the flue liner to the chimney base using appropriate fasteners or brackets. Follow the manufacturer’s instructions for proper installation.
- Seal the Joints: Use high-temperature sealant or mortar to seal the joints between the individual sections of the flue liner. This will prevent any leakage or seepage of smoke or gases.
- Install the Flue Cap: Place a flue cap on top of the chimney flue liner. The flue cap will help prevent rain, debris, and animals from entering the chimney while allowing for proper ventilation.
It is important to consult local building codes and guidelines when installing the chimney flue to ensure compliance and safety. Additionally, for more complex chimney systems or if you are unsure about the installation process, it is recommended to seek professional assistance to guarantee proper installation.
With the chimney flue successfully installed, you are now ready to proceed to the next step: building the chimney walls.
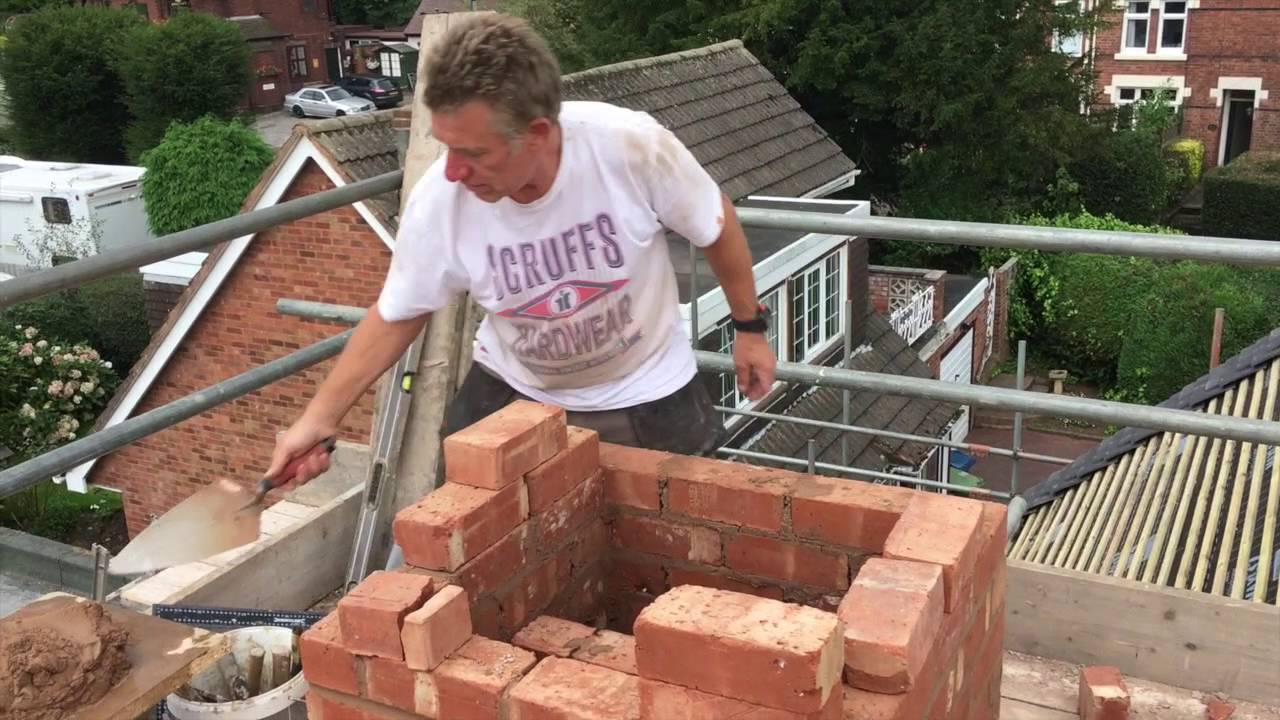
Building the Chimney Walls
Building the chimney walls is a crucial step in constructing a fireplace chimney. The walls provide the structure and enclosure for the chimney, ensuring proper ventilation and stability. Here’s a step-by-step guide on how to build the chimney walls:
- Prepare the Mortar: Mix mortar according to the manufacturer’s instructions, ensuring the right consistency for easy application and bonding.
- Place Mortar Bed: Apply a generous layer of mortar to the top of the chimney flue liner. This mortar bed will serve as the foundation for the chimney walls.
- Lay Bricks or Stones: Place the bricks or stones on top of the mortar bed, starting at the corner of the chimney base. Lay them in a staggered pattern, interlocking with the previous course, to provide strength and stability.
- Apply Mortar: Apply mortar between each brick or stone, ensuring full coverage and a strong bond. Use a trowel to spread the mortar evenly and fill any gaps or voids.
- Check for Levelness and Plumb: Use a level to check that each course is level horizontally and vertically. Make adjustments as needed by tapping the bricks or stones with a mason’s hammer.
- Continuously Build the Walls: Keep laying courses of bricks or stones, applying mortar and checking for levelness and plumb with each course. Remember to stagger the joints for added strength.
- Insert Lintels: If required, insert metal or concrete lintels above the openings for a fireplace or windows. Lintels provide structural support and help distribute the weight of the chimney evenly.
- Build the Chimney Breast: Depending on the design and style of your chimney, you may need to build a chimney breast. This is the projecting portion of the chimney that surrounds the fireplace opening.
- Finish the Walls: Once the desired height is reached, finish the walls by smoothing out any excess mortar and cleaning off any debris. Allow the mortar to dry and cure according to the manufacturer’s instructions.
It’s important to consider local building codes and guidelines when building the chimney walls to ensure compliance and safety. Additionally, consulting a professional or following specific instructions provided by the manufacturer can help ensure a successful chimney wall construction.
With the chimney walls complete, the next step is to install the chimney cap to provide protection and a proper finish for your fireplace chimney.
Installing the Chimney Cap
The chimney cap is a crucial component that provides protection and functionality to your chimney. It serves as a cover, preventing rain, debris, and animals from entering the chimney while also acting as a spark arrestor. Here’s a step-by-step guide on how to install the chimney cap:
- Choose the Correct Chimney Cap: Select a chimney cap that is appropriate for the size and style of your chimney. Consider factors such as material, design, and local building codes.
- Prepare the Chimney: Ensure that the top of your chimney is clean and free of debris. Remove any loose mortar or obstructions that may hinder the installation process.
- Apply Sealant: Apply a generous amount of weatherproof sealant around the outer rim of the chimney to create a watertight seal.
- Position the Chimney Cap: Carefully position the chimney cap onto the chimney, ensuring that it aligns properly and covers the opening securely. In some cases, the cap may slide onto the chimney or require fasteners for attachment.
- Secure the Chimney Cap: Depending on the design of the chimney cap, secure it to the chimney using appropriate fasteners or brackets. Follow the manufacturer’s instructions for the proper installation method.
- Check for Stability: Ensure that the chimney cap is stable and securely attached. Give it a gentle but firm shake to confirm that it is securely in place.
- Clean and Inspect: Clean off any excess sealant or debris from the chimney cap. Inspect the cap and surrounding area for any signs of damage or cracks. Address any issues promptly.
Proper installation of the chimney cap is vital to protect your chimney from water damage, prevent animals from nesting, and reduce the risk of sparks causing external fires. Consult local building codes and guidelines to ensure compliance when installing the chimney cap.
With the chimney cap securely in place, your fireplace chimney construction is nearing completion. The final step involves adding finishing touches and decorating the chimney to enhance its visual appeal and integrate it seamlessly into your home.
Read more: How To Build A Chimney
Finishing and Decorating the Fireplace Chimney
Finishing and decorating your fireplace chimney adds the final touches to enhance its visual appeal and seamlessly integrate it into your home’s design aesthetic. Here are some ideas and steps to consider for finishing and decorating your fireplace chimney:
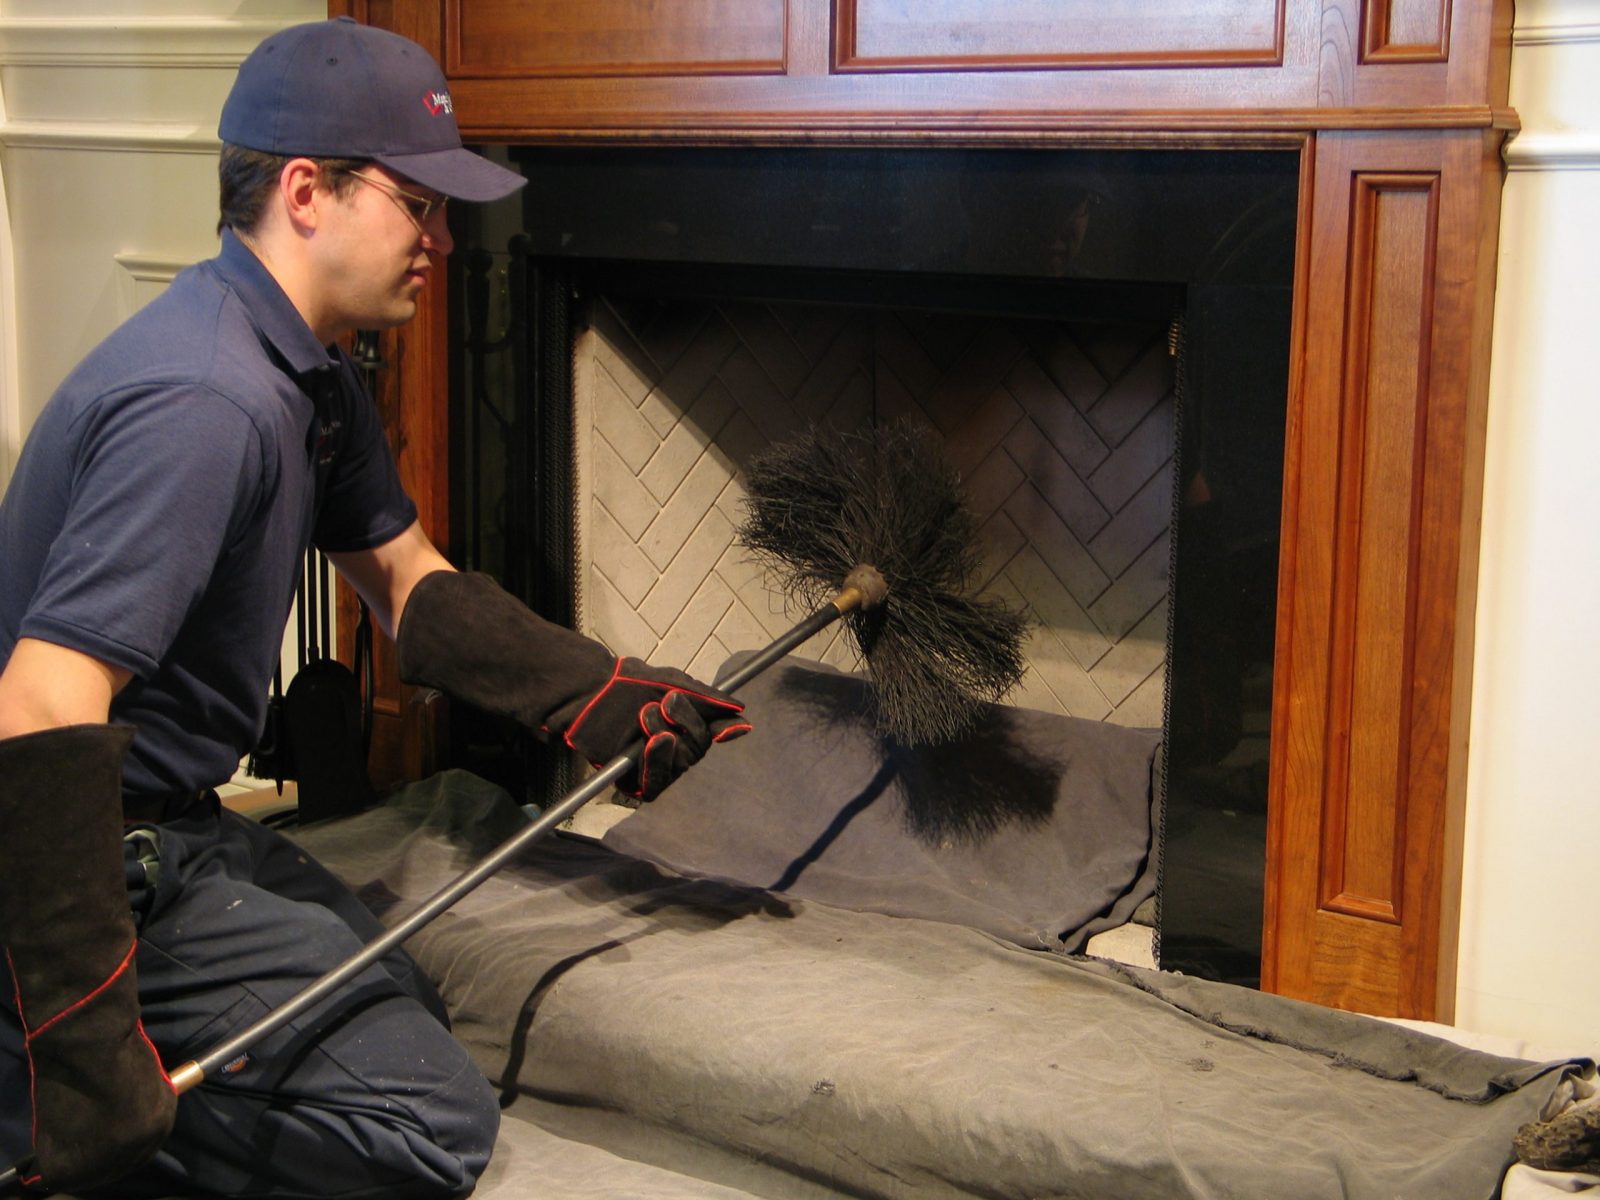
- Clean the Chimney: Before proceeding with any finishing touches, ensure that the chimney is clean and free of any construction residue. Use a stiff-bristled brush or a chimney brush to remove any loose debris or soot.
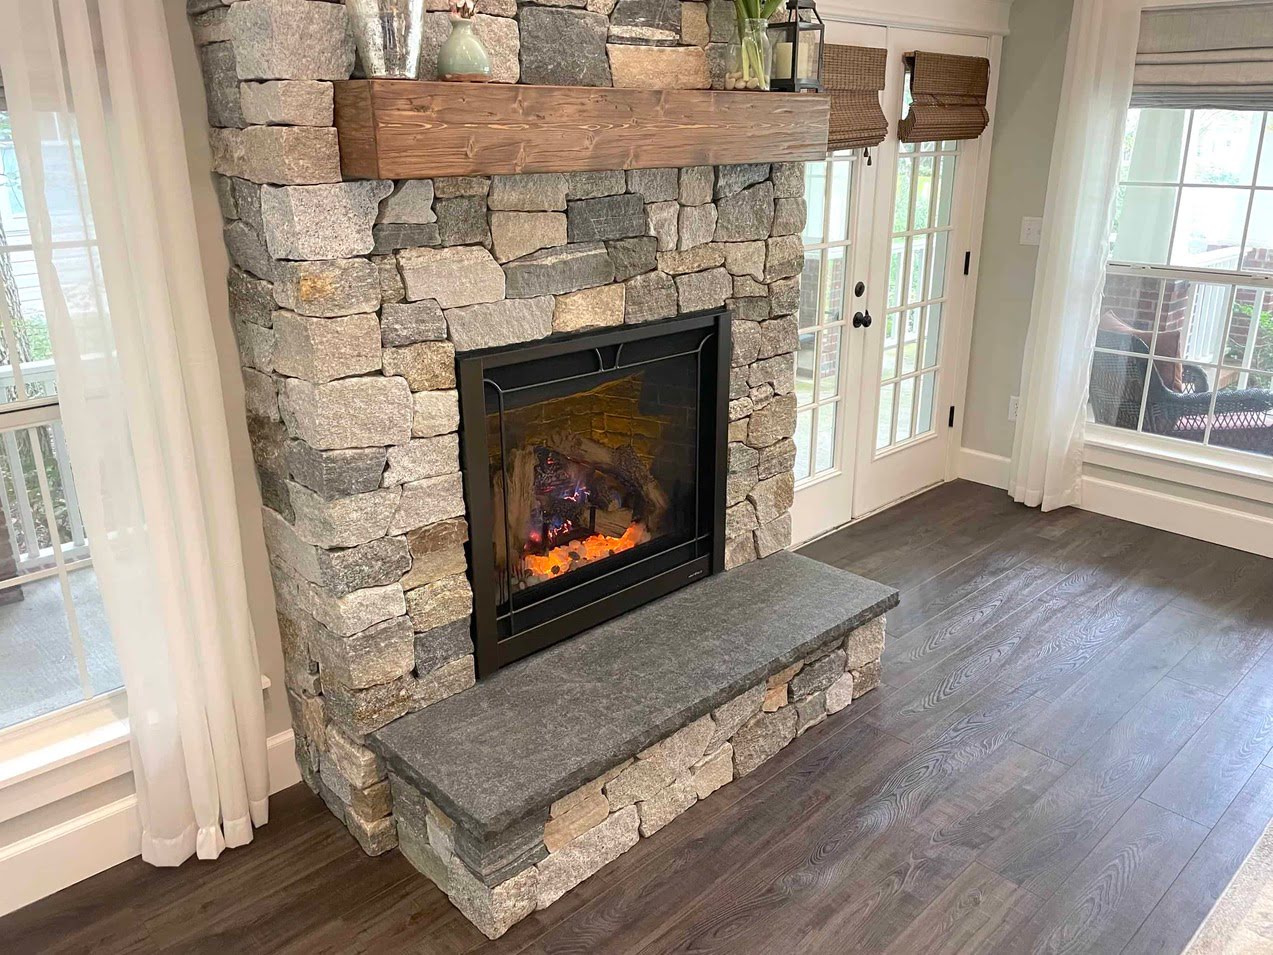
- Choose a Finish: Select a finish that complements the overall style and decor of your home. This can include options such as brick veneer, stone cladding, stucco, or paint.
- Apply the Finish: If you choose to use brick veneer or stone cladding, carefully adhere the material to the chimney surface, following the manufacturer’s instructions. If you prefer stucco, apply a layer of stucco over the chimney walls, ensuring a smooth and even finish. Alternatively, you can paint the chimney using high-temperature paint that is designed for masonry surfaces.
- Consider Accent Features: Incorporate accent features to further enhance the chimney’s appearance. This can include decorative chimney pots, corbels, or custom-designed ornaments.
- Install Lighting: Lighting can add ambiance and highlight the beauty of your chimney. Consider installing outdoor sconces or uplights positioned strategically to showcase the chimney’s architectural features.
- Add Landscaping: Enhance the surroundings of your chimney by adding landscaping elements such as shrubs, flowers, or potted plants. This will create a visually appealing and harmonious environment around your fireplace.
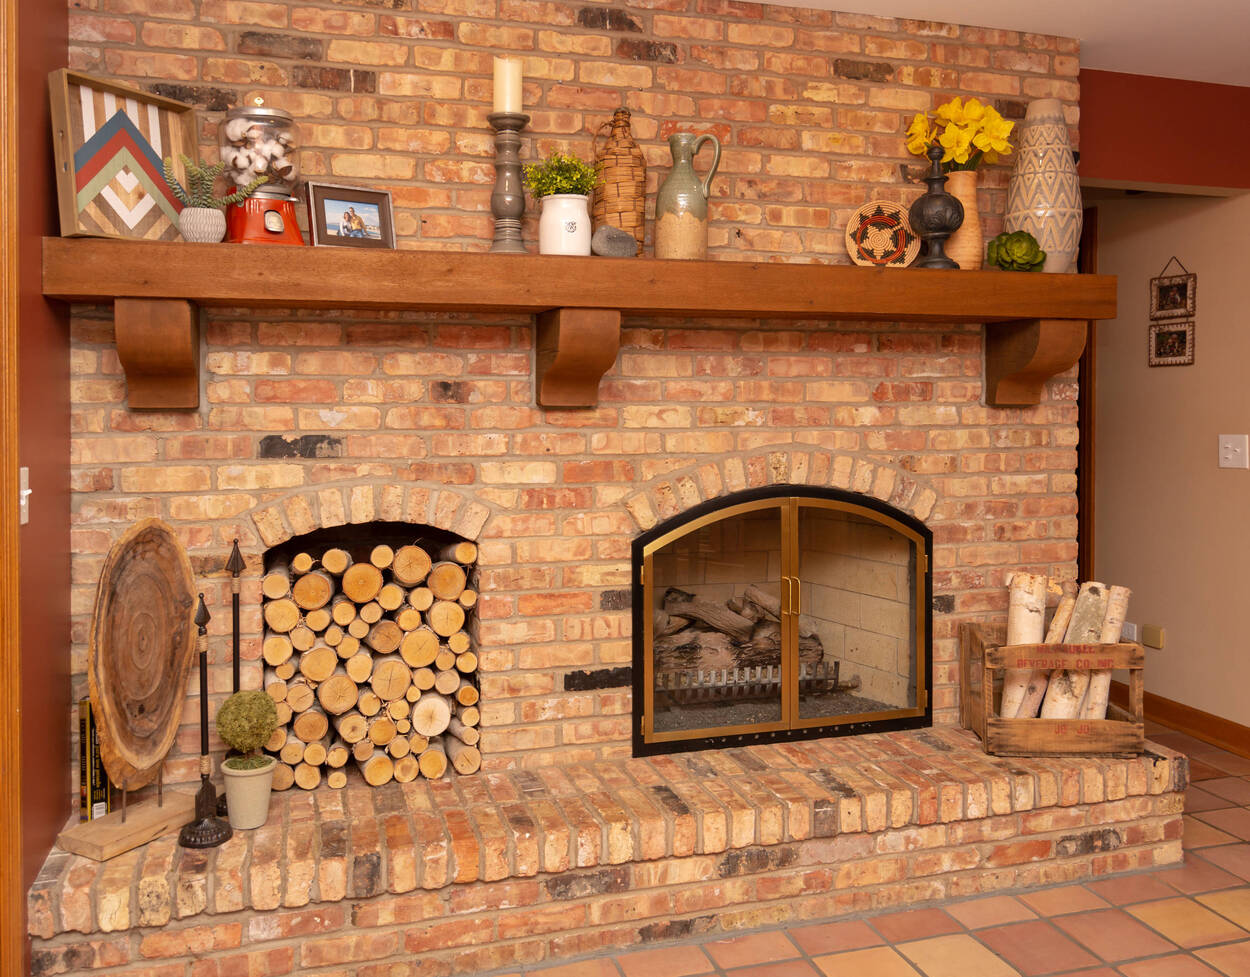
- Personalize with Accessories: Add your personal touch by accessorizing the area around the fireplace. Place decorative items such as fireplace tools, firewood holders, or artwork to create a cozy and inviting atmosphere.
Remember to take into consideration local building codes and regulations when selecting finishes and accessories for your fireplace chimney. Consult with professionals, such as architects or interior designers, for expert guidance in creating a cohesive and visually appealing chimney design.
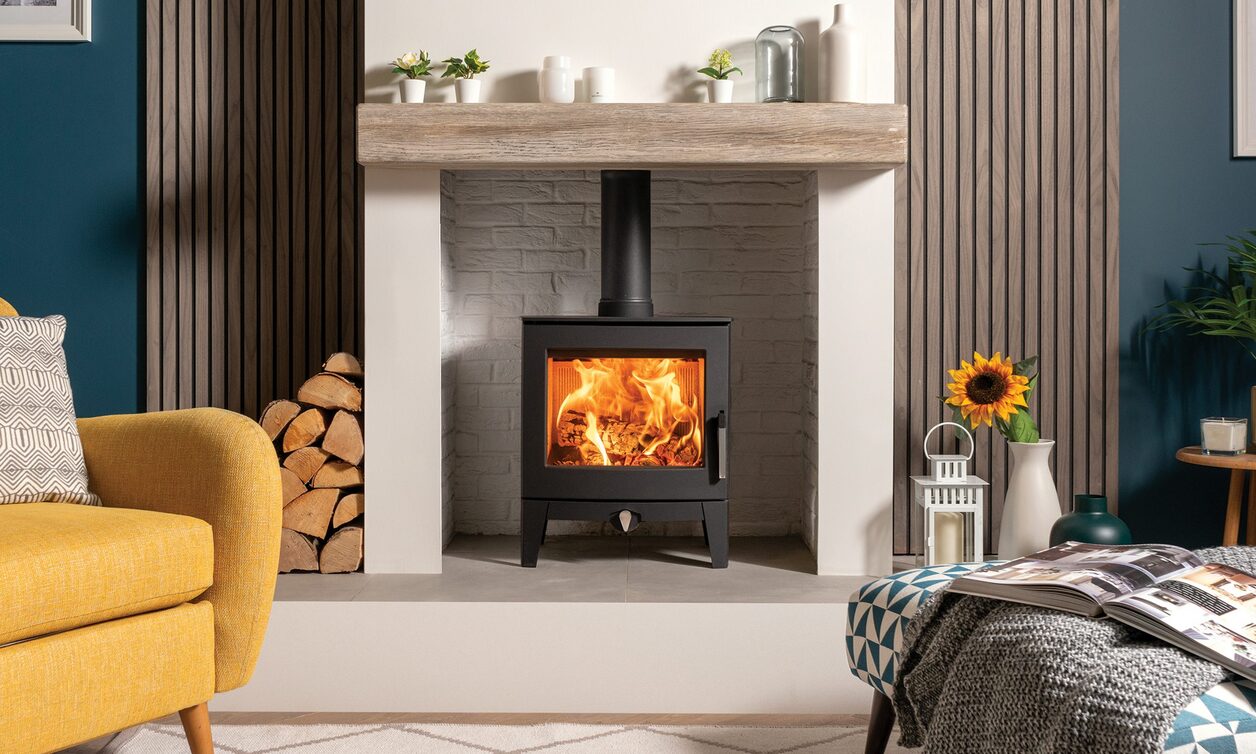
By taking the time to properly finish and decorate your fireplace chimney, you can transform it into a striking focal point that enhances the overall beauty and charm of your home.
With the finishing touches complete, all that’s left to do is to enjoy the warmth and ambiance of your beautiful fireplace chimney. Remember to practice proper fireplace maintenance and safety precautions to ensure years of comfort and satisfaction.
Conclusion
Building a fireplace chimney is a rewarding project that adds both functionality and aesthetic appeal to your home. By following the steps outlined in this guide, you can successfully construct a fireplace chimney that provides warmth, beauty, and a cozy ambiance to your living space.
Understanding the anatomy of a fireplace chimney is the first step towards a successful construction. Knowing the purpose and function of each component, from the firebox to the chimney cap, ensures that you build a chimney that meets safety standards and operates efficiently.
Gathering the necessary tools and materials, preparing the building site, constructing a solid foundation, building the chimney base, installing the chimney flue, constructing the chimney walls, and installing the chimney cap are all vital steps in the construction process. Each step contributes to the stability, functionality, and longevity of your fireplace chimney.
Once the structural aspects are complete, finishing and decorating the chimney adds the final touches. Choosing an appropriate finish, incorporating accent features, installing lighting, and adding landscaping elements personalize the chimney and seamlessly incorporate it into your home’s design.
Throughout the construction process, it is important to prioritize safety. Adhere to local building codes and regulations, wear appropriate protective gear, and consult professionals when needed. Safety is paramount when working on any construction project, and a fireplace chimney is no exception.
With your fireplace chimney complete, you can now enjoy the warmth and cozy ambiance it brings to your home. Remember to practice proper fireplace maintenance, including regular cleaning and inspection, to ensure the continued safety and functionality of your chimney.
Whether you are a seasoned DIY enthusiast or a beginner, building a fireplace chimney is a rewarding experience. It not only adds value to your home but also creates a gathering place for family and friends, filled with the comforting glow of a crackling fire. So take on this project with confidence, and enjoy the benefits of a well-built and beautifully decorated fireplace chimney!
Frequently Asked Questions about How To Build A Fireplace Chimney
Was this page helpful?
At Storables.com, we guarantee accurate and reliable information. Our content, validated by Expert Board Contributors, is crafted following stringent Editorial Policies. We're committed to providing you with well-researched, expert-backed insights for all your informational needs.


0 thoughts on “How To Build A Fireplace Chimney”