Home>Articles>How To Build An Outdoor Fireplace With Cinder Blocks
Articles
How To Build An Outdoor Fireplace With Cinder Blocks
Modified: October 28, 2024
Learn how to build an outdoor fireplace with cinder blocks in this informative article. Discover step-by-step instructions and essential tips for a successful DIY project.
(Many of the links in this article redirect to a specific reviewed product. Your purchase of these products through affiliate links helps to generate commission for Storables.com, at no extra cost. Learn more)
Introduction
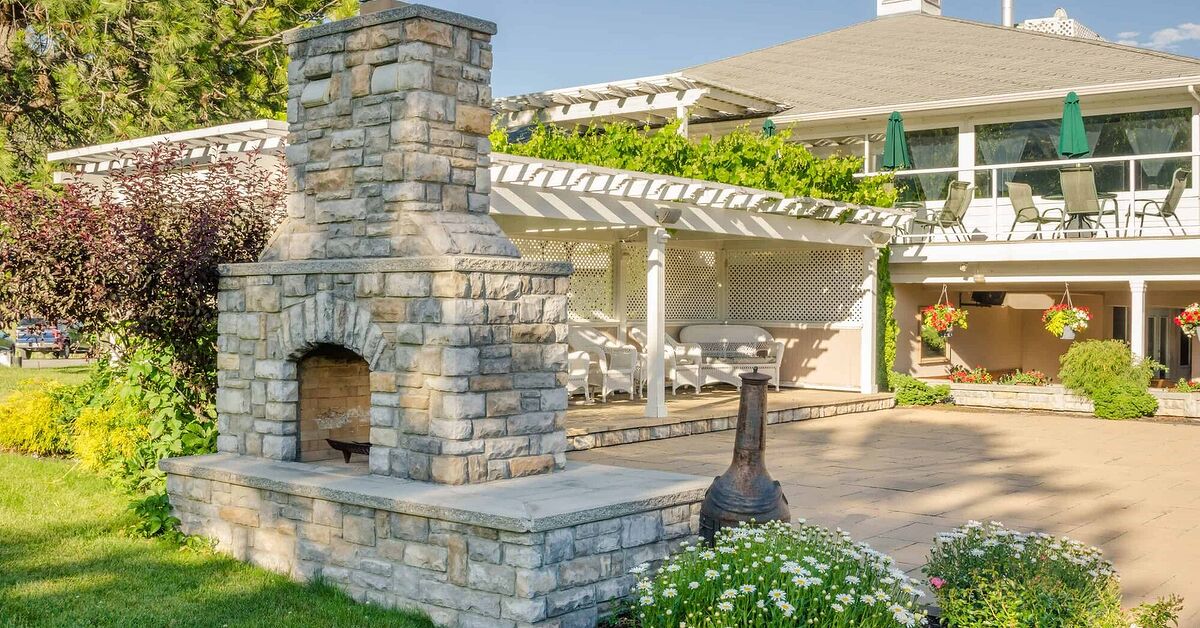
Building an outdoor fireplace can be a fantastic addition to your backyard. Not only does it create a cozy and inviting ambiance, but it also allows you to extend the use of your outdoor space throughout the year. And what better way to build your outdoor fireplace than using cinder blocks?
Cinder blocks, also known as concrete blocks, are affordable, durable, and readily available at most home improvement stores. Building an outdoor fireplace with cinder blocks is a relatively straightforward DIY project that can be completed over a weekend with the right tools and materials.
In this article, we will guide you through the step-by-step process of building an outdoor fireplace with cinder blocks. From choosing the perfect location to adding the finishing touches, we’ve got you covered. So, grab your tool belt and let’s get started!
Before we dive into the construction process, it’s important to note that building codes and regulations can vary depending on your location. It’s always a good idea to check with your local authorities or consult a professional to ensure that your outdoor fireplace meets all the necessary safety requirements. Safety should always be the top priority when undertaking any DIY project.
Now that we’ve covered the necessary disclaimers, let’s move on to the materials and tools you’ll need for this project.
Key Takeaways:
- Building an outdoor fireplace with cinder blocks is a rewarding DIY project that can transform your backyard into a cozy and inviting space. From choosing the perfect location to adding finishing touches, this guide provides a comprehensive step-by-step process for creating a functional and aesthetically pleasing outdoor fireplace.
- Safety, compliance with local building codes, and proper maintenance are crucial elements in the construction and enjoyment of an outdoor fireplace. With the use of durable and affordable cinder blocks, DIY enthusiasts of all skill levels can successfully create a warm and inviting focal point for gatherings and relaxation in their outdoor space.
Read more: How To Build A Cinder Block Outdoor Kitchen
Materials Required
Before you start building your outdoor fireplace with cinder blocks, it’s essential to gather all the necessary materials and tools. Here’s a list of what you’ll need:
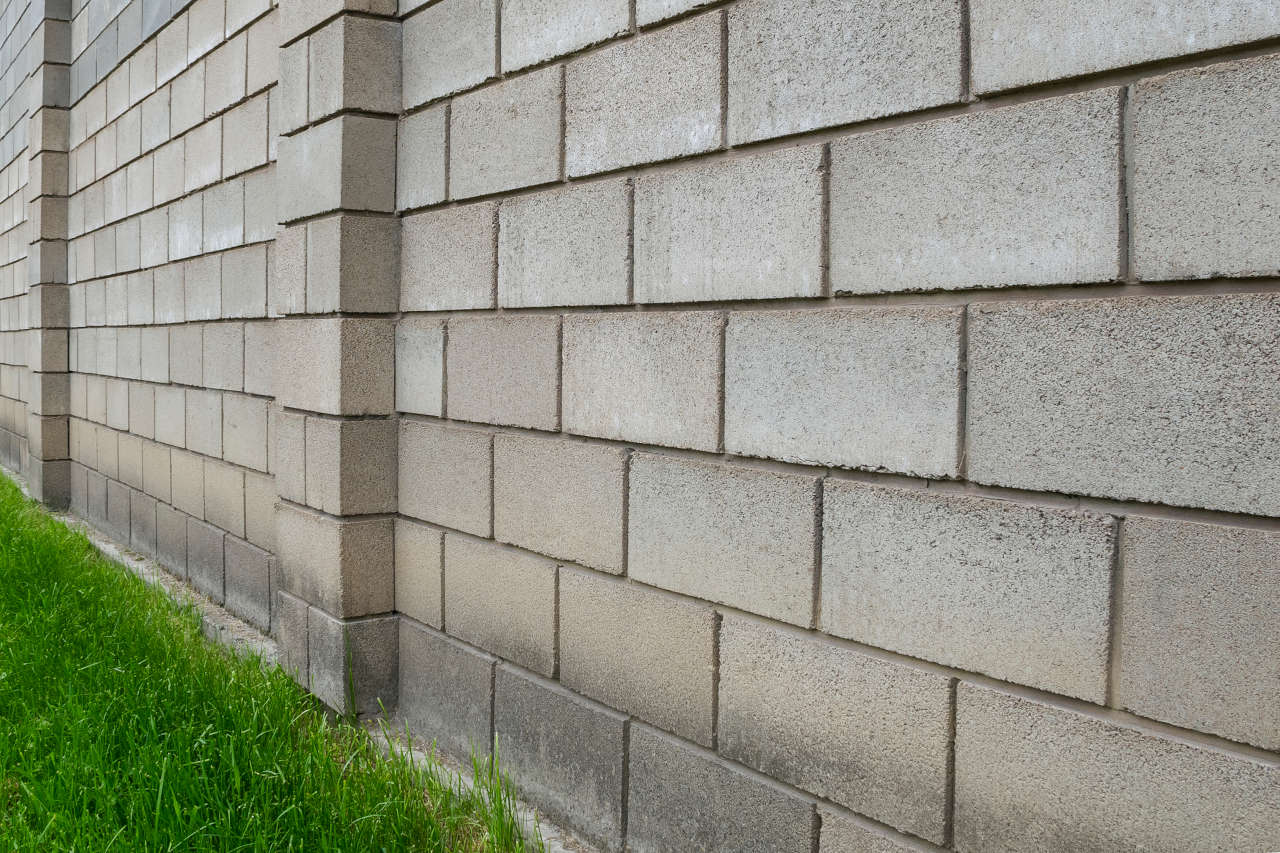
- Cinder blocks: Determine the number of blocks needed based on the size of your desired fireplace. It’s a good idea to purchase a few extra blocks in case of any mistakes or breakages.
- Mortar mix: Choose a high-quality mortar mix specifically designed for outdoor use. This will ensure a strong bond between the cinder blocks.
- Firebrick: Firebrick is important for lining the firebox of your outdoor fireplace. It can withstand high temperatures and is essential for safety and longevity.
- Rebar: Reinforcing bars, 3/8-inch thick, will provide additional strength to the structure. You’ll need them to create a solid foundation and secure the cinder blocks.
- Gravel: Gravel acts as a foundation for the fireplace. It helps with drainage and stability.
- Cement board: Cement board is necessary for protecting the surrounding structure from heat and potential fire hazards.
- Fireplace accessories: Depending on your preferences, you might want to add a steel fire grate, a spark arrestor, a chimney cap, and other accessories to enhance the functionality and safety of your outdoor fireplace.
- Tools: Gather the following tools for the construction process: a shovel, a wheelbarrow, a level, a masonry trowel, a masonry brush, a rubber mallet, safety goggles, work gloves, and a tape measure.
Having all the necessary materials and tools readily available will ensure a smooth and efficient building process. Now that you have everything you need, let’s move on to the first step: choosing the perfect location for your outdoor fireplace.
Step 1: Choosing the Location
The first step in building an outdoor fireplace with cinder blocks is selecting the perfect location. Here are a few factors to consider when choosing the right spot:
- Safety: Ensure that the location you choose is away from any flammable materials, such as trees, shrubs, or wooden structures. It’s important to maintain a safe distance to prevent fire hazards.
- Ventilation: Make sure the area has proper ventilation to allow for the smoke and fumes to dissipate. Avoid placing the fireplace near windows or doors where the smoke might enter the house.
- Accessibility: Consider how easily accessible the fireplace will be for you and your guests. It should be in close proximity to your outdoor seating area while allowing enough space for movement and comfort.
- Aesthetics: Think about how the fireplace will complement the overall design and layout of your backyard. Choose a location that enhances the visual appeal and creates a focal point for your outdoor space.
Once you’ve taken these factors into account, mark the chosen location using stakes or spray paint. This will give you a clear reference point for the rest of the construction process.
Before proceeding, it’s a good idea to check with your local authorities or homeowners’ association for any regulations or restrictions regarding outdoor fireplaces. Some areas may have specific guidelines regarding setback distances, height restrictions, or permits that you need to adhere to.
Now that you’ve chosen the perfect location for your outdoor fireplace, it’s time to gather the necessary tools for the construction process. In the next step, we will take a look at the tools you’ll need to bring your fireplace to life.
Step 2: Gathering the Tools
Before you begin the construction of your outdoor fireplace with cinder blocks, it’s essential to gather all the necessary tools. Here’s a list of the tools you’ll need for the project:
- Shovel: A shovel will come in handy for digging the foundation and moving gravel.
- Wheelbarrow: Use a wheelbarrow to transport materials like gravel, mortar mix, and cinder blocks to the construction site.
- Level: A level is essential for ensuring that your fireplace is perfectly straight and level during the construction process.
- Masonry Trowel: A masonry trowel will be your primary tool for applying the mortar mix to secure the cinder blocks.
- Masonry Brush: Use a masonry brush to clean the surfaces of the cinder blocks and remove excess mortar for a neat and professional finish.
- Rubber Mallet: A rubber mallet will help you gently tap the cinder blocks into place without damaging them.
- Safety Equipment: Don’t forget to wear safety goggles and work gloves to protect yourself from any potential hazards during construction.
- Tape Measure: A tape measure will be essential for ensuring accurate measurements and spacing between the cinder blocks.
Having these tools readily available before you begin building your outdoor fireplace will save you time and ensure a smoother construction process.
Once you have gathered all the necessary tools, you’re ready to move on to the next step: preparing the foundation. This crucial step will provide stability and support for your outdoor fireplace. In the following section, we will guide you through the process of preparing the foundation using gravel and rebar. Stay tuned!
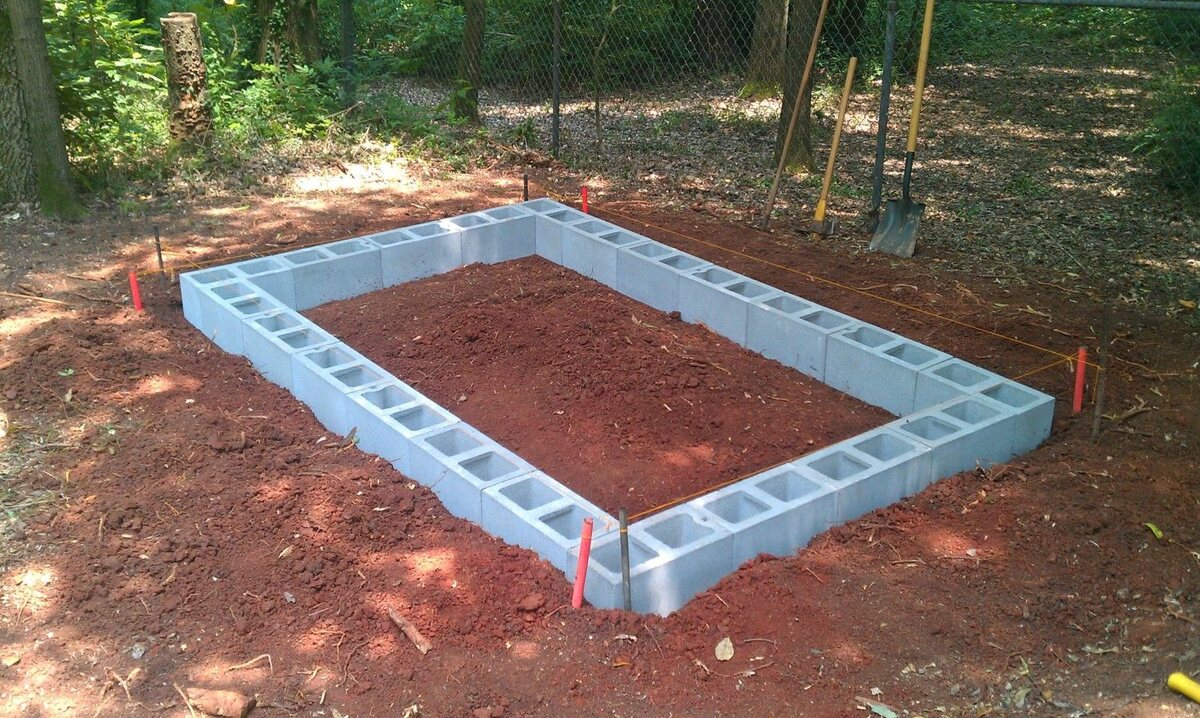
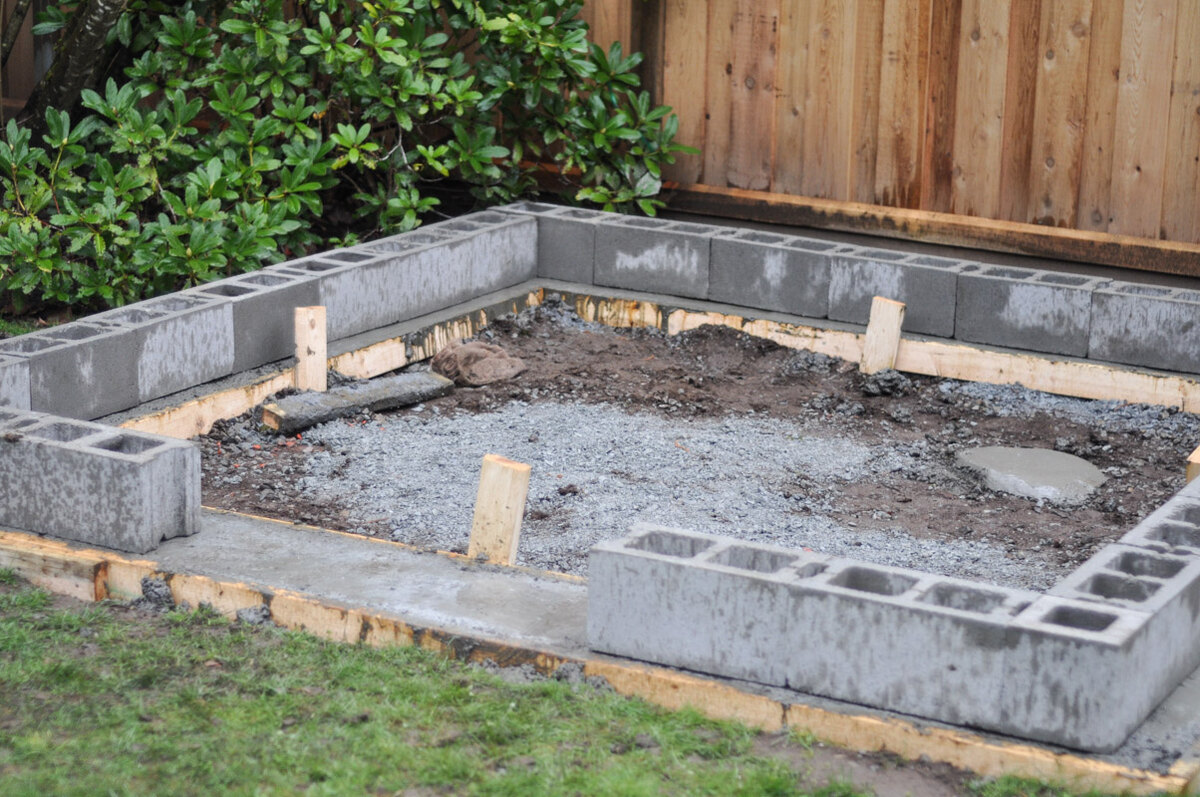
Step 3: Preparing the Foundation
Creating a solid foundation is a crucial step in building your outdoor fireplace with cinder blocks. The foundation provides stability and ensures the longevity of your structure. Follow these steps to prepare the foundation:
- Clear the Area: Start by clearing the chosen location of any vegetation, rocks, or debris. Use the shovel to remove any grass and create a clean working space.
- Mark the Foundation: Use stakes and string to mark the perimeter of the foundation. This will ensure that your fireplace is properly aligned and sized.
- Excavate the Foundation: With the shovel, dig a trench along the marked perimeter. The depth of the trench will depend on your local building codes and the size of your planned fireplace. Generally, a depth of about 8-12 inches is sufficient.
- Level the Bottom: Use the shovel and a level to ensure that the bottom of the trench is level and even. This will provide a solid base for the foundation.
- Add Gravel: Fill the trench with gravel, distributing it evenly along the entire length. Use the shovel to compact the gravel, creating a stable base for the cinder blocks.
- Install Rebar: To reinforce the foundation, place lengths of rebar horizontally within the trench. Use a mallet to drive the rebar into the gravel, ensuring it is firmly in place.
Once you have completed these steps, check the levelness and alignment of the foundation. Make any necessary adjustments before moving on to the next step.
With the foundation prepared, you’re ready to proceed with laying the first layer of cinder blocks. In the following section, we will guide you through the steps of setting the foundation for your outdoor fireplace. Let’s keep the construction process going!
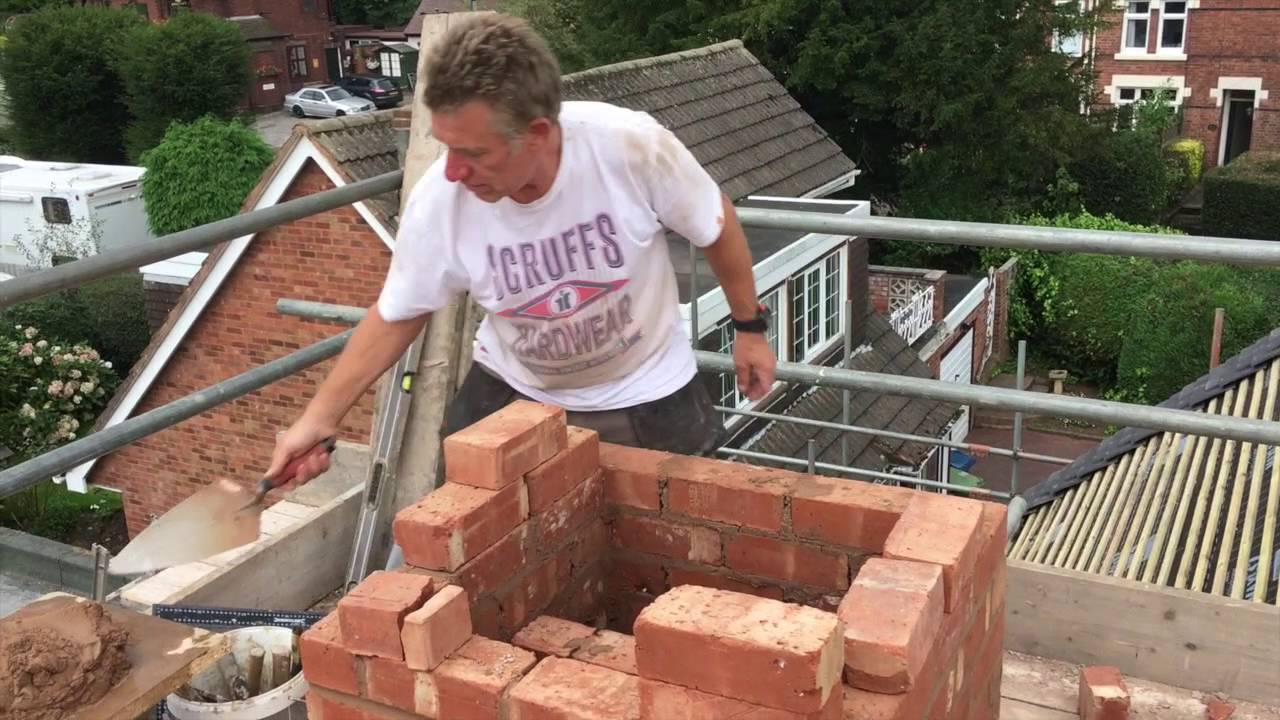
Step 4: Laying the First Layer of Cinder Blocks
Now that you have prepared the foundation, it’s time to start building the walls of your outdoor fireplace with cinder blocks. The first step in this process is to lay the first layer of cinder blocks. Here’s how you can do it:
- Mix Mortar: Follow the instructions on the mortar mix packaging to prepare the mortar. It should have a consistency similar to thick peanut butter.
- Moisten the Foundation: Before laying the cinder blocks, use a hose or spray bottle to moisten the foundation. This will help the blocks adhere better to the mortar.
- Apply Mortar: Using a trowel, spread a layer of mortar on the foundation along the marked perimeter. Make sure the mortar is evenly distributed and about 1/2 to 3/4 inch thick.
- Place the Cinder Blocks: Carefully place the first cinder block on top of the mortar, gently pressing it down to ensure it sticks. Use a level to ensure the block is straight and level. Repeat this process for the remaining blocks in the first layer.
- Check for Levelness: As you lay each block, use the level to check for both horizontal and vertical levelness. Adjust the position of the blocks by tapping them gently with a rubber mallet if needed.
- Fill Gaps: If there are any gaps between the blocks, use the mortar mix to fill them in. This will provide a stronger and more secure structure.
- Clean Excess Mortar: Use a wet masonry brush to clean off any excess mortar on the blocks and to achieve a neat finish.
Continue this process until the first layer of cinder blocks is complete. Remember to work methodically and carefully, ensuring each block is positioned correctly and securely attached to the mortar.
With the first layer in place, you’re ready to move on to building the walls of your outdoor fireplace. In the next step, we will guide you through the process of stacking additional layers of cinder blocks to create a sturdy and functional structure. Let’s keep building!
When building an outdoor fireplace with cinder blocks, make sure to use fire-rated materials for the firebox and chimney to ensure safety and longevity of the structure.
Step 5: Building the Walls
Now that you have successfully laid the first layer of cinder blocks, it’s time to start building the walls of your outdoor fireplace. Building up the walls requires stacking additional layers of cinder blocks on top of the existing layer. Follow these steps to build the walls:
- Mix Mortar: Prepare another batch of mortar following the instructions on the packaging. Ensure the consistency is appropriate for easy application.
- Add Mortar Between Blocks: With a trowel, apply a layer of mortar onto the top surface of the first layer of cinder blocks. This will create a strong bonding layer for the next layer.
- Position the Blocks: Carefully place the cinder blocks on top of the mortar, aligning them with the blocks in the lower layer. Use a level to check for both horizontal and vertical alignment.
- Add Mortar and Repeat: Apply mortar on top of each cinder block in the second layer before placing the next block. Repeat this process for each subsequent layer until you have reached the desired height for your outdoor fireplace.
- Check for Levelness: As you stack the blocks, regularly use the level to ensure the walls are straight and level. Make adjustments by tapping the blocks with a rubber mallet if necessary.
- Fill Gaps and Clean: Fill in any gaps between the blocks with mortar to create a sturdy structure. Use a wet masonry brush to clean off any excess mortar and achieve a clean finish.
Continue this process until you have built the walls to your desired height. Be mindful of maintaining the structural integrity and levelness of the walls as you progress.
Remember, safety is paramount during construction, so take your time and ensure each block is securely attached to the mortar. With the walls in place, you’re one step closer to enjoying your outdoor fireplace made with cinder blocks.
In the next step, we will guide you through creating the firebox, the central element that will hold the fire and provide warmth. Keep reading to learn more!
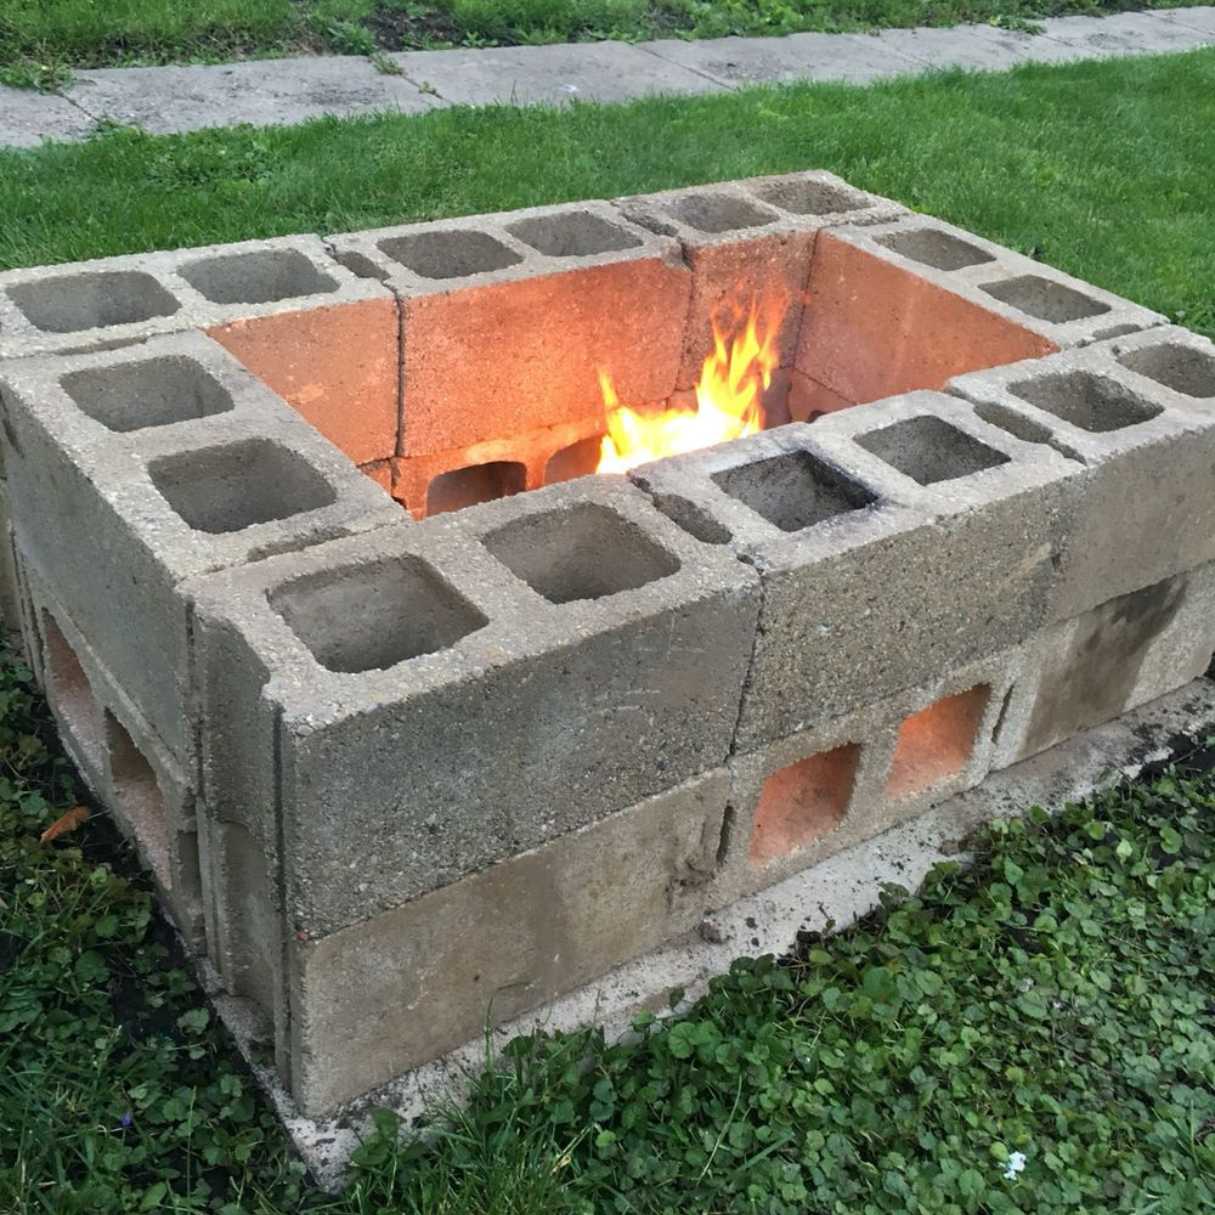
Step 6: Creating the Firebox
The firebox is the core component of your outdoor fireplace where the fire will be contained. In this step, we will guide you through the process of creating the firebox using cinder blocks. Follow these steps to create the firebox:
- Measure and Plan: Determine the dimensions of your firebox based on your preferences and the size of the cinder blocks. Take into account the firebrick that will be used to line the firebox.
- Apply Mortar: Mix another batch of mortar according to the instructions. Apply a layer of mortar on the inside surface of the walls that will form the firebox.
- Place Firebricks: Position firebricks within the mortar layer, creating the interior walls of the firebox. Make sure the bricks are tightly butted against each other with no gaps.
- Continue Layering: Add additional layers of cinder blocks and mortar, alternating between the cinder blocks and firebricks. This will create a sturdy and heat-resistant firebox structure.
- Check for Levelness: As you build the firebox, use a level to ensure the walls are straight and level. Adjust the position of the blocks by tapping them with a rubber mallet if needed.
- Fill Gaps and Clean: Fill in any gaps between the bricks and blocks with mortar to create a solid and secure firebox. Clean off any excess mortar with a wet masonry brush.
Throughout the construction process, remember to prioritize safety. Ensure that the firebox is properly built to contain and control the fire, minimizing any risk of accidents. Additionally, be mindful of the materials used, as firebricks are designed to withstand high temperatures and provide insulation.
With the firebox properly constructed, you have now created the heart of your outdoor fireplace, ready to bring warmth and ambiance to your outdoor space. In the next step, we will guide you through adding the chimney, an important element to ensure proper airflow and smoke ventilation. Let’s keep the construction process going!
Step 7: Adding the Chimney
The chimney is a crucial component of your outdoor fireplace as it helps with proper airflow, smoke ventilation, and directing the heat away from the firebox. In this step, we will guide you through adding the chimney to your outdoor fireplace. Follow these steps to add the chimney:
- Determine Chimney Height: Decide on the desired height for your chimney, taking into account both aesthetic preferences and the functionality of proper smoke ventilation.
- Build Chimney Base: Start by applying mortar on top of the existing walls of your fireplace to create a sturdy base for the chimney. Make sure it is level and aligned with the walls.
- Place Cinder Blocks: Begin stacking cinder blocks vertically on the chimney base, using mortar to secure each block in place. Ensure that the blocks are straight and level as you build the chimney.
- Leave Openings: In certain courses of blocks, leave openings for the flue, which will help channel the smoke out of the fireplace. Use fire-rated flue liners for added safety and protection.
- Continue Stacking: Continue building the chimney by adding additional layers of cinder blocks and mortar until you reach the desired height. Use a level to check for straightness and make any necessary adjustments.
- Seal Joints: Once the chimney is built, go back and seal any gaps or joints between the blocks with mortar. This will improve the structural integrity and prevent any potential leaks.
- Ensure Stability: To ensure the stability of the chimney, make sure it is securely anchored to the existing walls of the fireplace. Use additional mortar or metal brackets as necessary.
It’s important to follow local building codes and regulations when constructing the chimney for your outdoor fireplace. These codes often include requirements for chimney height, clearance from combustible materials, and proper ventilation.
With the chimney in place, your outdoor fireplace is almost complete! In the next step, we will guide you through adding the finishing touches to enhance the functionality and aesthetic appeal of your creation. Let’s move forward and complete this exciting project!
Read more: How To Repair Cinder Block Foundation
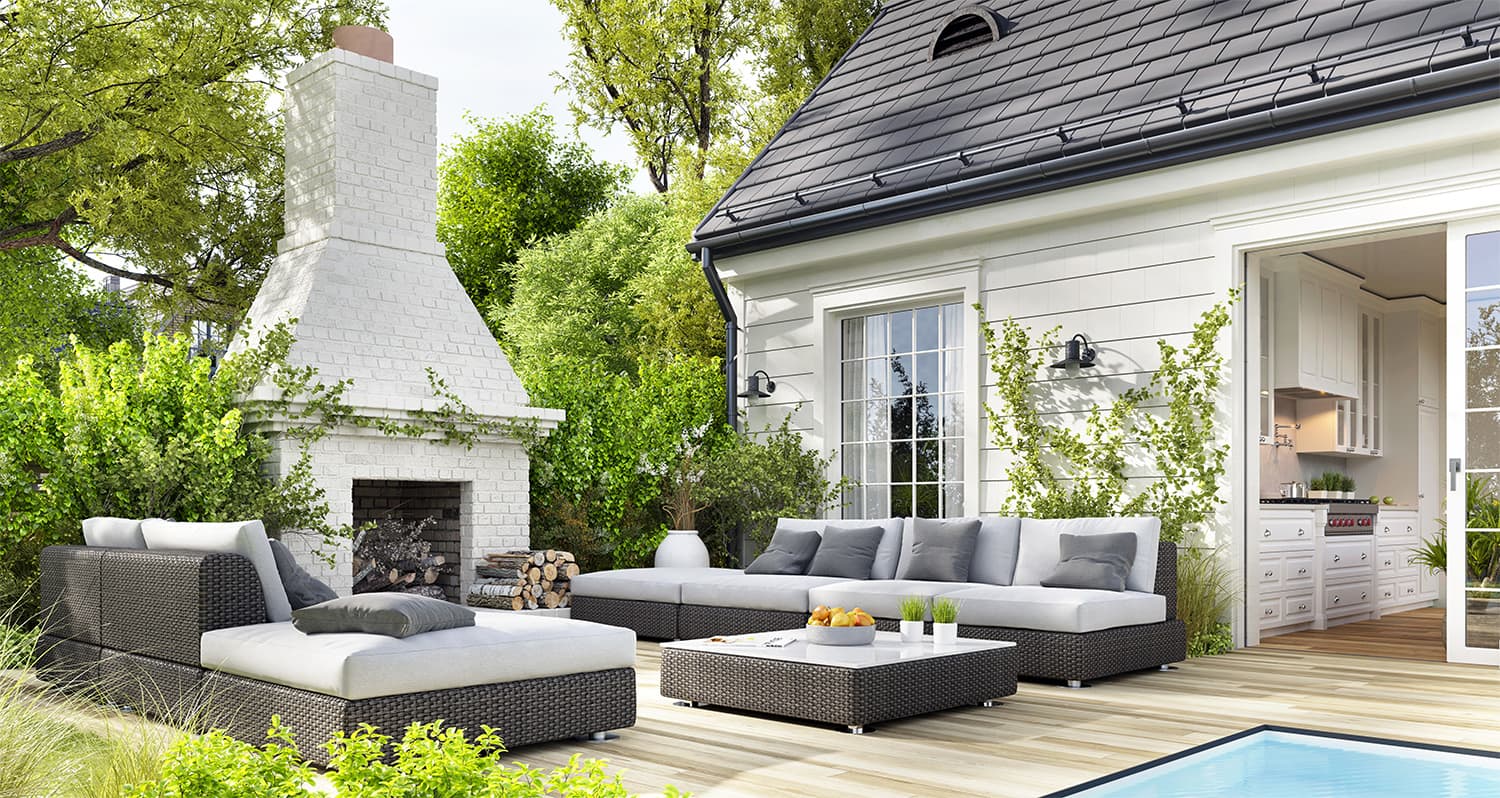
Step 8: Finishing Touches
Now that you have built the main structure of your outdoor fireplace, it’s time to add the finishing touches that will enhance its functionality and aesthetic appeal. Follow these steps to complete your outdoor fireplace:
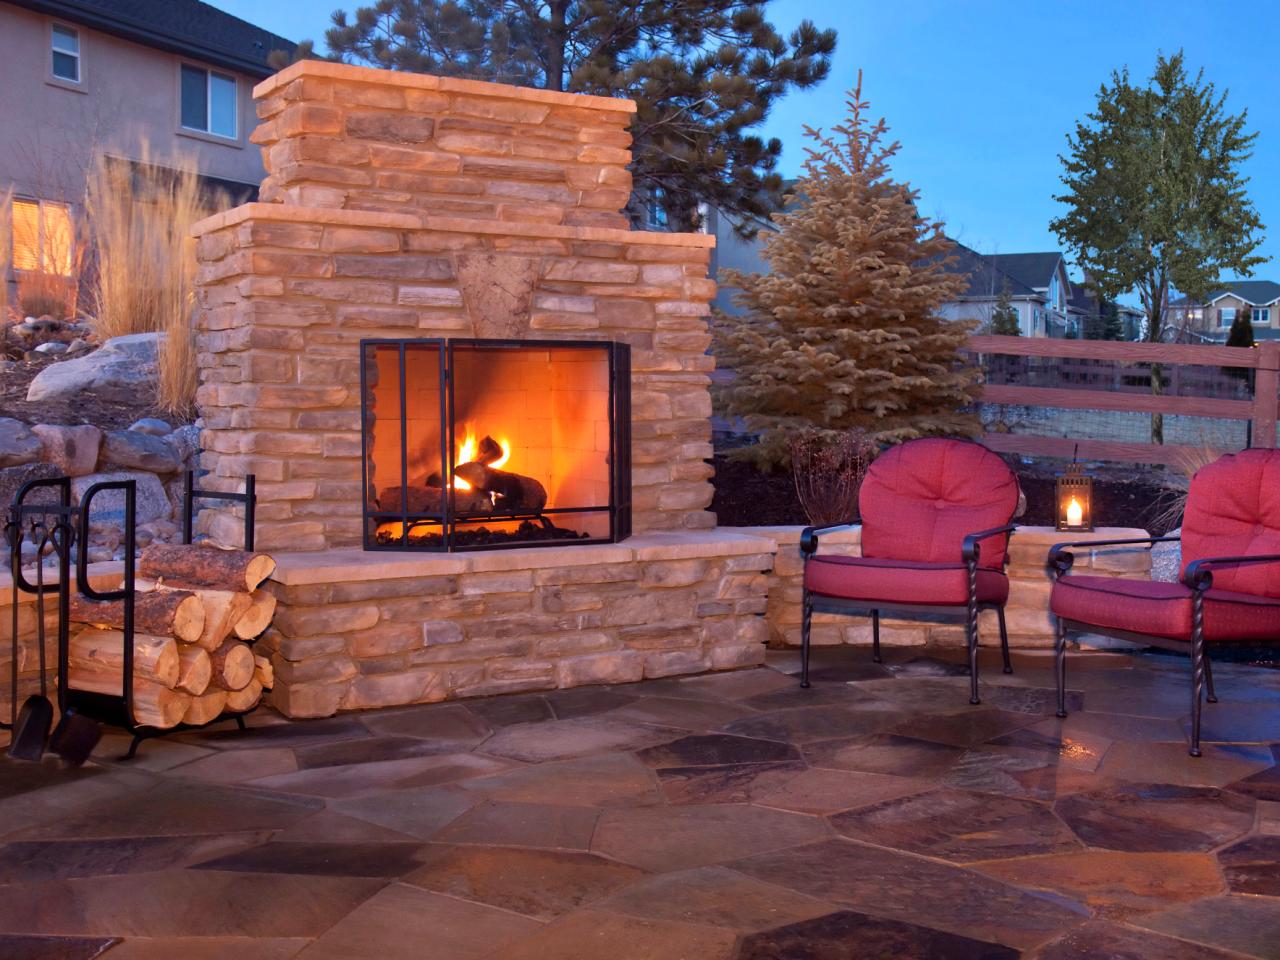
- Add a Fire Grate: Place a steel fire grate inside the firebox to elevate the wood or fuel off the ground and allow for better airflow. This will help create a more efficient and controlled fire.
- Install a Spark Arrestor: Attach a spark arrestor to the top of the chimney to prevent stray sparks and embers from escaping and potentially causing a fire.
- Add a Chimney Cap: Install a chimney cap at the top of the chimney to protect it from debris, rain, and animals. This will also help improve the airflow and prevent downdrafts.
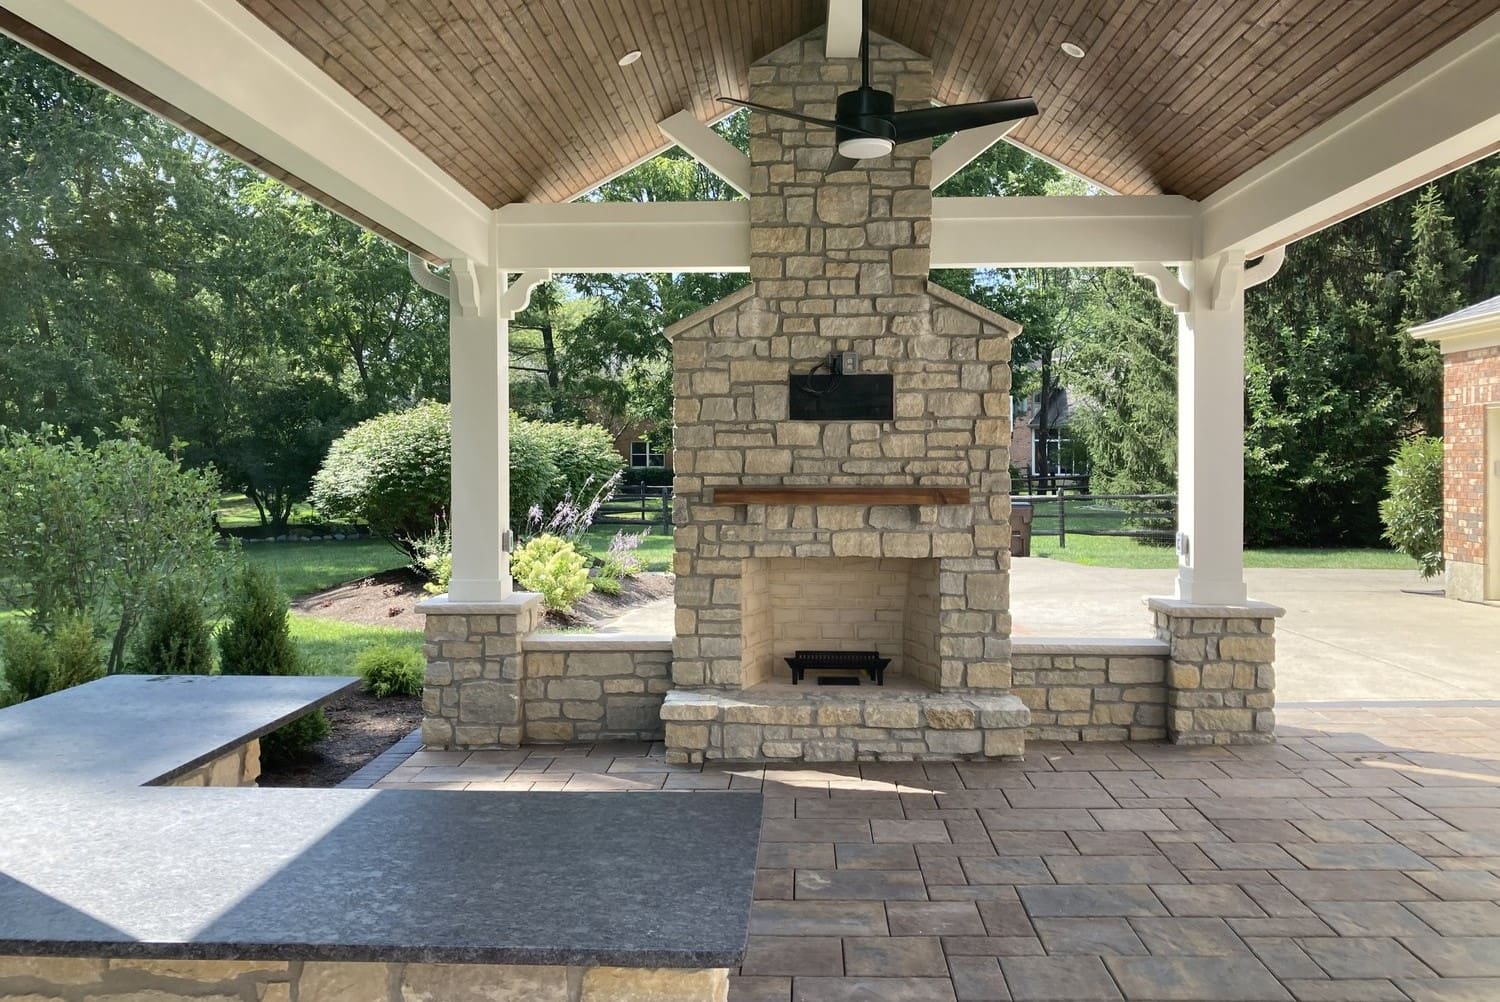
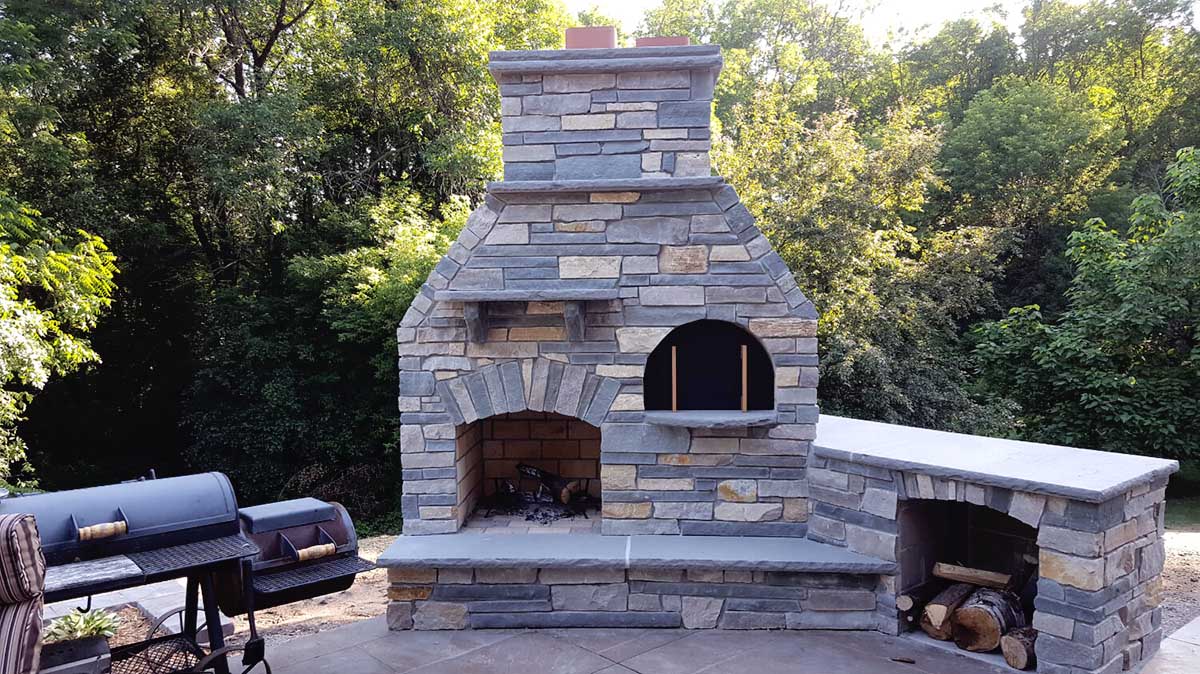
- Finish the Exterior: If desired, you can apply a decorative finish to the exterior of the cinder blocks using paint, stucco, or stone veneer to match your outdoor decor.
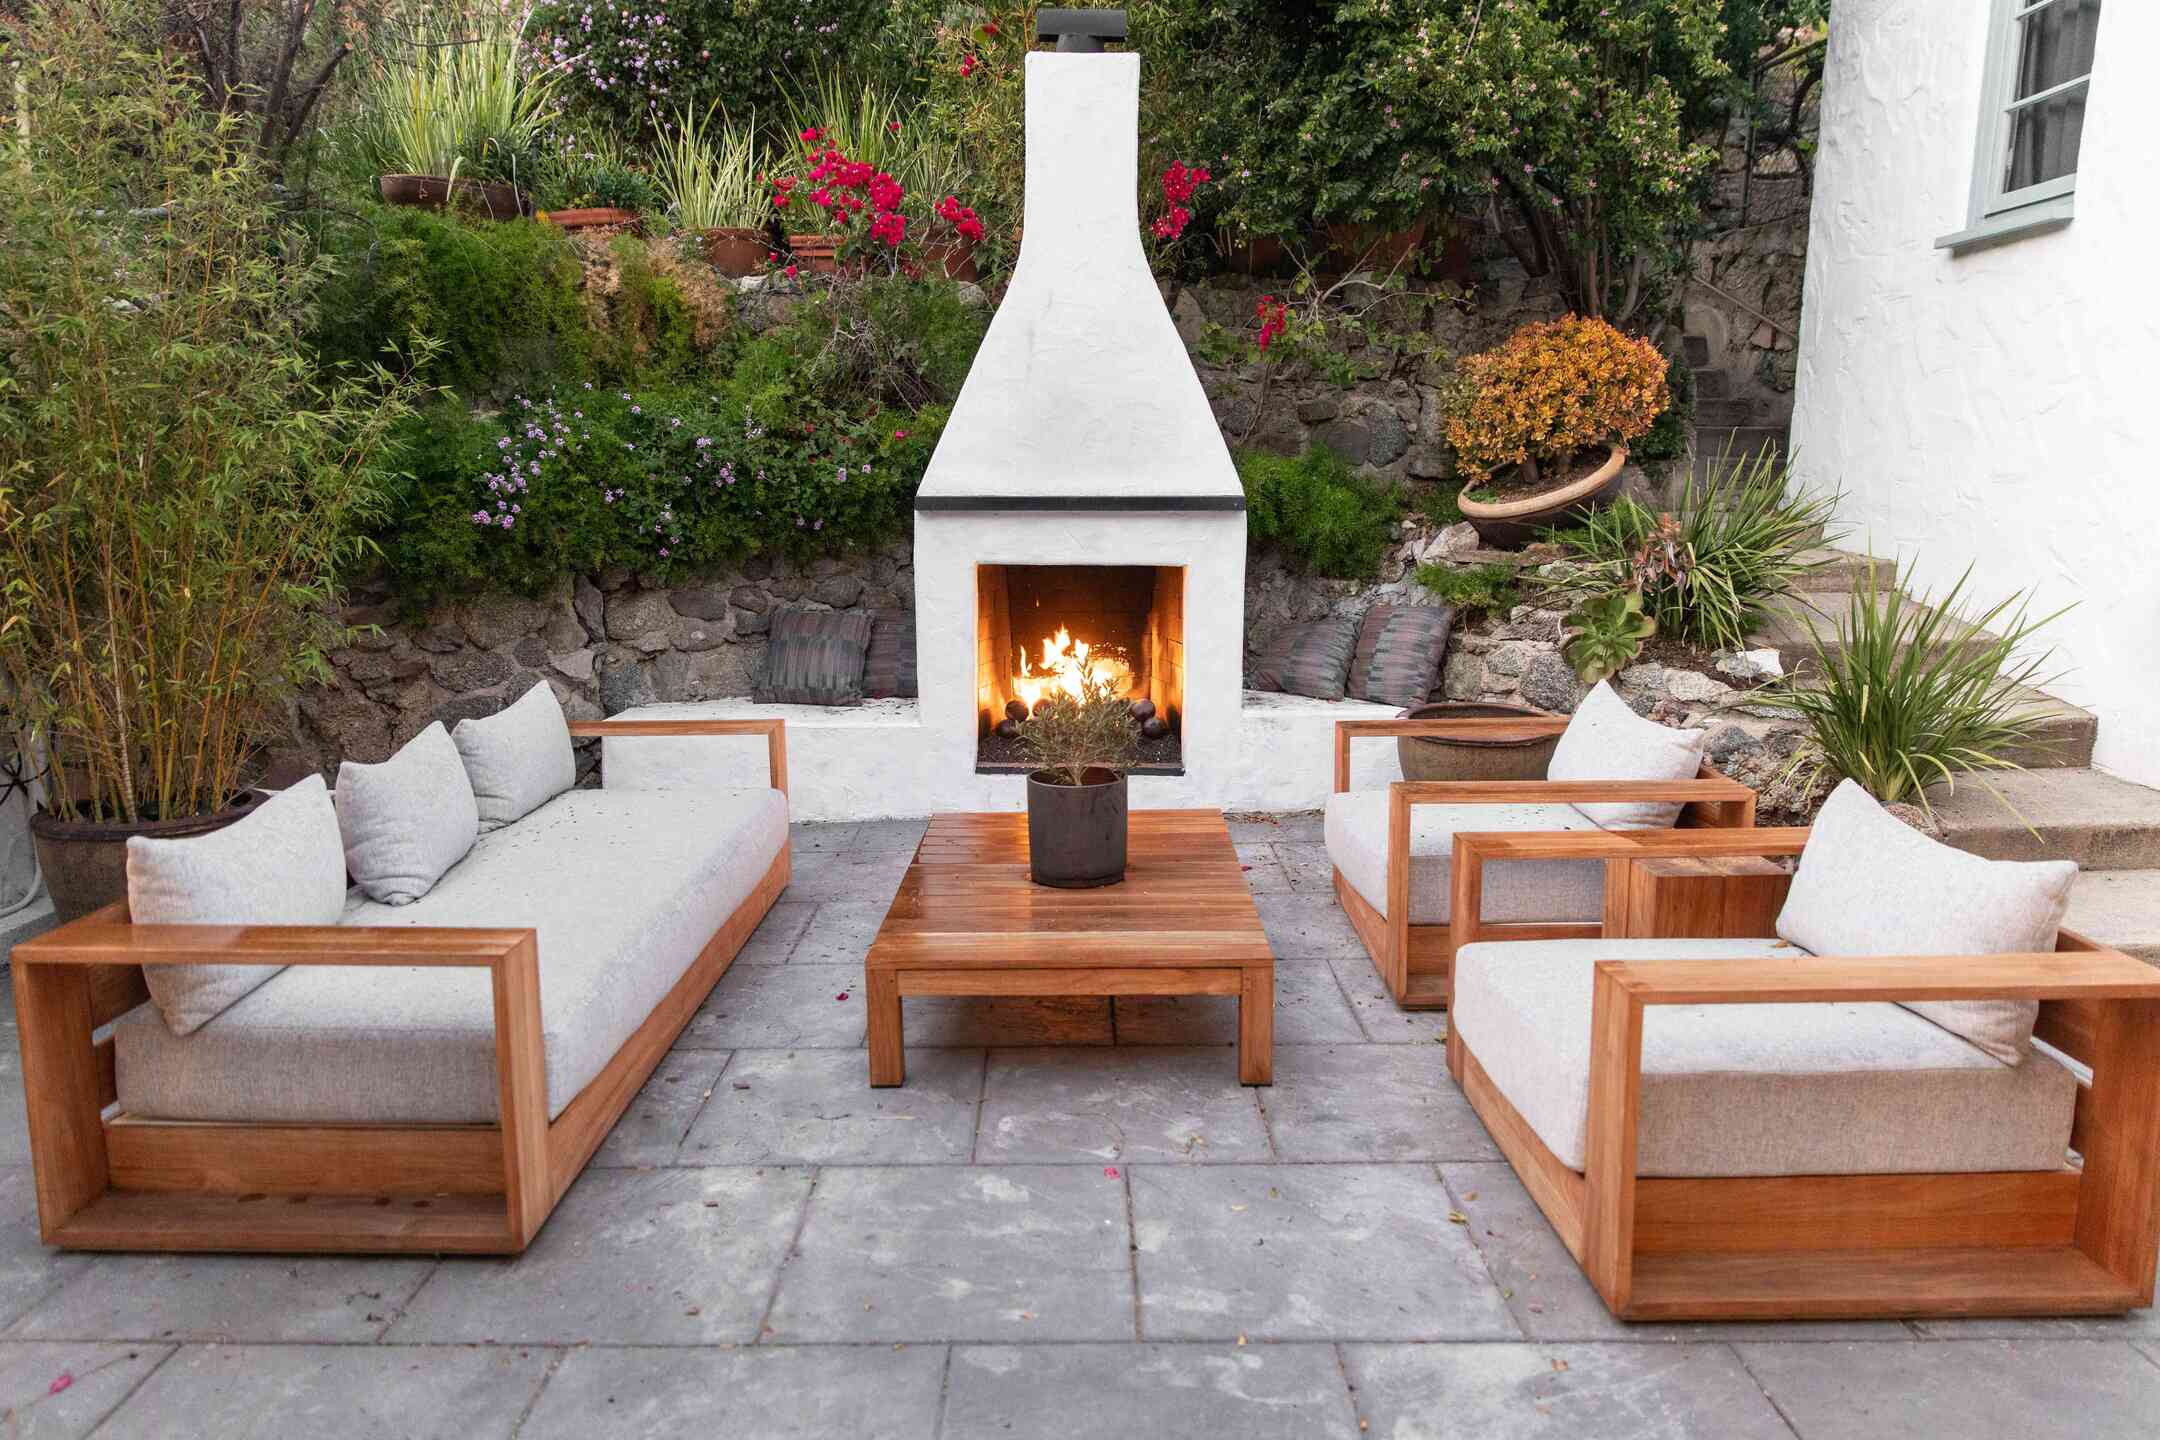
- Add Seating: Create a comfortable seating area around your outdoor fireplace, such as outdoor lounge chairs or built-in bench seating, to make it a cozy gathering spot.
- Accessorize: Consider adding additional accessories to enhance the functionality of your outdoor fireplace, such as a fire poker, firewood storage, or a fire extinguisher for safety.
Once these finishing touches are complete, take some time to ensure that your outdoor fireplace is clean, free from any debris or ashes, and properly maintained. Regularly clean out the firebox and chimney to prevent buildup and maintain the efficiency of your fireplace.
Lastly, remember to practice proper fire safety precautions. Keep a fire extinguisher nearby, never leave the fire unattended, and ensure that the fire is fully extinguished before leaving the area.
Congratulations! You have successfully built your outdoor fireplace with cinder blocks. It’s time to gather around, light a crackling fire, and enjoy the warmth and ambiance of your new outdoor focal point.
With proper care and maintenance, your outdoor fireplace will provide countless memorable gatherings and cozy evenings for years to come. Stay safe and enjoy the fruits of your hard work!
Conclusion
Building an outdoor fireplace with cinder blocks is a rewarding DIY project that can transform your backyard into a cozy and inviting space. Throughout the construction process, you have learned how to choose a suitable location, gather the necessary materials and tools, prepare the foundation, lay the cinder blocks, build the walls, create the firebox, add the chimney, and apply the finishing touches.
By following these steps and paying attention to safety precautions, you have successfully constructed a functional and aesthetically pleasing outdoor fireplace. The use of cinder blocks ensures durability and affordability, making it an ideal choice for DIY enthusiasts of all skill levels.
Remember to always check local building codes and regulations, ensuring compliance and safety. Safety should be the top priority when undertaking any construction project, and it is crucial to follow guidelines to protect yourself, your property, and your loved ones.
Now that your outdoor fireplace is complete, take the time to enjoy its warmth and ambiance. Invite family and friends to gather around, share stories, and create lasting memories. It’s a perfect spot for cozy evenings, roasting marshmallows, or simply enjoying a quiet moment in nature.
Maintain your outdoor fireplace by regularly cleaning out ashes and debris, inspecting for any signs of damage, and ensuring proper ventilation. With proper care, your outdoor fireplace will continue to bring warmth and joy for many seasons to come.
Thank you for joining us on this journey of building an outdoor fireplace with cinder blocks. We hope that this guide has been informative and helpful in bringing your vision to life. Now, go ahead and enjoy the warmth and beauty of your outdoor oasis!
Now that you've mastered building an outdoor fireplace with cinder blocks, why not turn that deck into a haven for relaxation and social gatherings? Our next guide offers creative ideas on using colorful decor and simple additions to enhance any deck space for year-round enjoyment. From comfy furnishings to ambient lighting, see how easy it is to transform your outdoor area into a perfect setting for both quiet afternoons and lively parties.
Frequently Asked Questions about How To Build An Outdoor Fireplace With Cinder Blocks
Was this page helpful?
At Storables.com, we guarantee accurate and reliable information. Our content, validated by Expert Board Contributors, is crafted following stringent Editorial Policies. We're committed to providing you with well-researched, expert-backed insights for all your informational needs.


0 thoughts on “How To Build An Outdoor Fireplace With Cinder Blocks”