
Articles
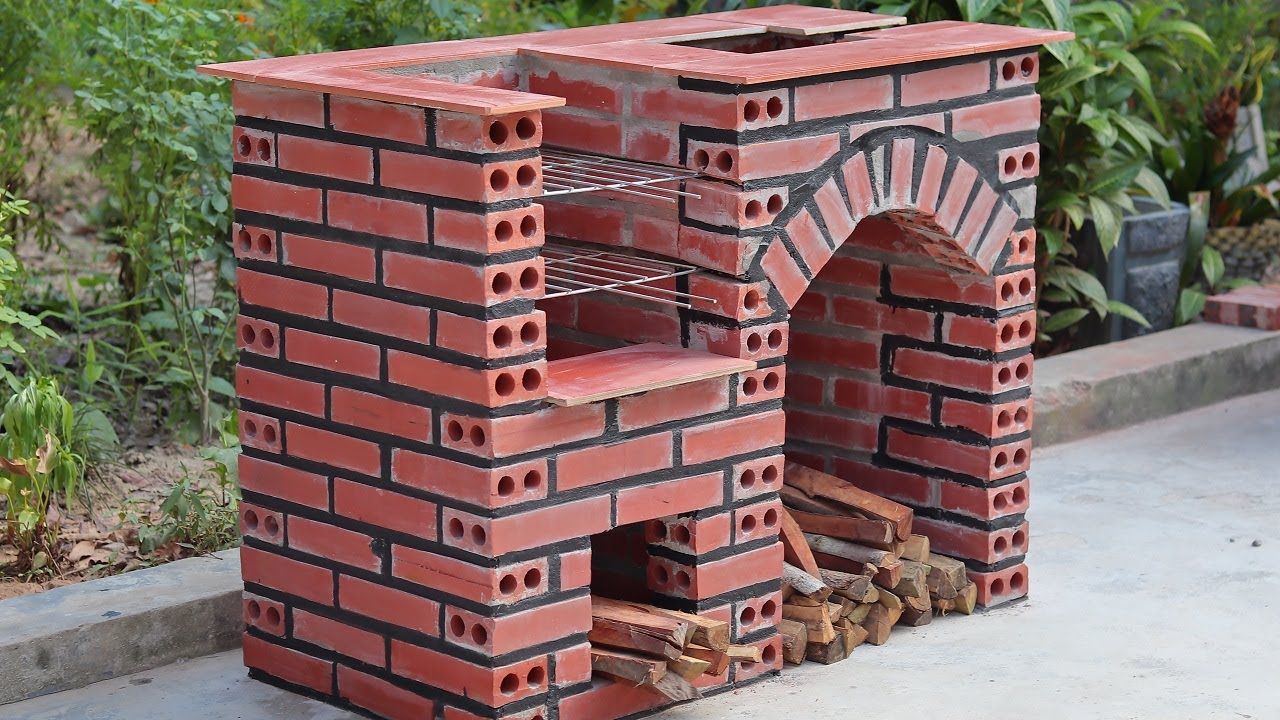
How To Build A Brick Chimney
Modified: August 22, 2024
Learn how to build a sturdy and efficient brick chimney with our comprehensive articles. Discover expert tips and step-by-step instructions for a successful construction process.
(Many of the links in this article redirect to a specific reviewed product. Your purchase of these products through affiliate links helps to generate commission for Storables.com, at no extra cost. Learn more)
Introduction
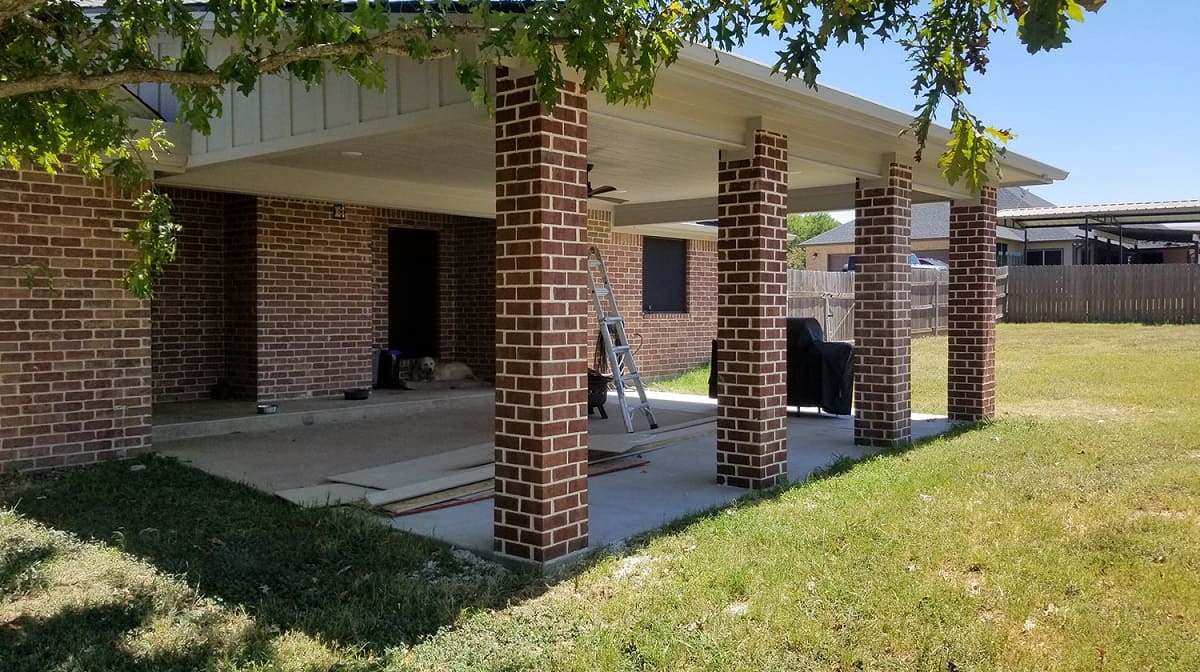
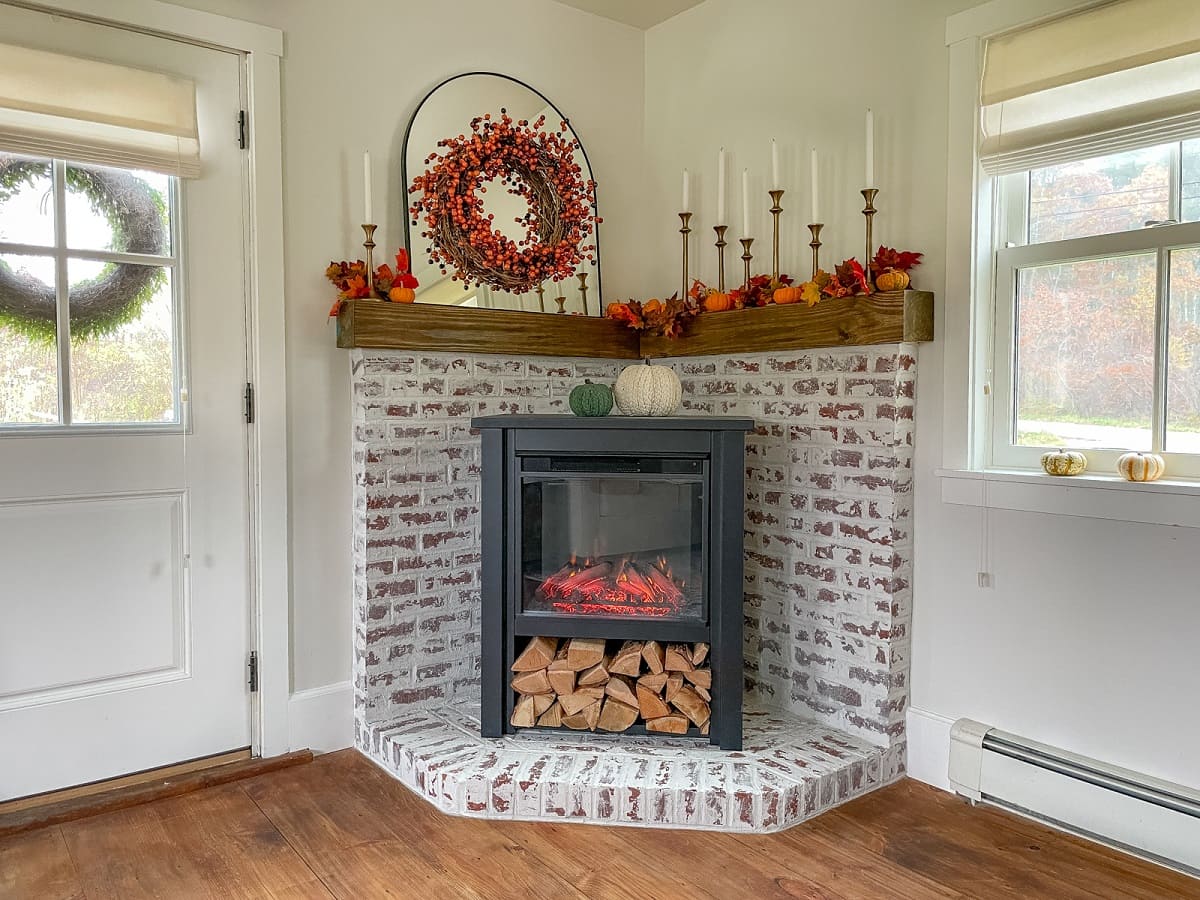
Building a brick chimney is a great way to add functionality and aesthetic appeal to your home. Not only does it provide an efficient means of venting smoke and gases from your fireplace or wood-burning stove, but it also serves as a charming architectural feature. Whether you’re a seasoned DIY enthusiast or a novice looking to take on a new challenge, constructing a brick chimney can be a rewarding project.
In this comprehensive guide, we will walk you through the step-by-step process of building a brick chimney from start to finish. From gathering the necessary materials and tools to adding the finishing touches, we’ll cover everything you need to know to successfully complete this project.
Before starting any construction project, it’s important to ensure you have the required permits and that you comply with building codes and regulations in your area. Additionally, consider consulting with a professional or experienced builder to ensure your chimney meets safety requirements and local standards.
Now, let’s dive into the details of each step involved in building a brick chimney!
Key Takeaways:
- Building a brick chimney requires careful planning, precise construction, and adherence to safety regulations. From gathering materials to adding finishing touches, prioritize safety, proper ventilation, and regular maintenance for a durable and beautiful chimney.
- Constructing a brick chimney is a rewarding project that adds functionality and charm to your home. By following the step-by-step process and considering safety considerations, you can enjoy the warmth and ambiance of a well-built chimney for years to come.
Read more: How To Repair Brick Chimney
Step 1: Gathering Materials and Tools
Before you begin building your brick chimney, it’s essential to gather all the necessary materials and tools. This will ensure that you have everything you need at hand and avoid delays during the construction process. Here is a list of the items you’ll need:
- Bricks: Choose high-quality bricks that are suitable for chimney construction. Firebricks or clay bricks are commonly used due to their durability and heat-resistant properties.
- Cement: You’ll need both mortar and cement to bond the bricks together and create a strong structure. Select a type of cement that is suitable for masonry projects.
- Steel reinforcement bars: These bars, also known as rebar, provide additional structural support to the chimney. Be sure to choose the appropriate thickness and length for your specific project.
- Flue liner: The flue liner is responsible for directing smoke and gases out of the chimney. It is essential to choose a liner that complies with local building codes and meets safety standards.
- Chimney cap: A chimney cap is installed at the top of the chimney to prevent water, debris, and animals from entering. Choose a durable and weather-resistant cap that fits your chimney dimensions.
- Firestop material: Firestop material is used to seal any gaps or openings in the chimney to prevent the spread of fire. It is crucial for the safety and efficiency of your chimney.
In addition to the materials mentioned above, you will also need a variety of tools to complete the construction:
- Masonry trowel: This tool is used for applying mortar and cement to the bricks.
- Masonry hammer: A masonry hammer is essential for cutting bricks and shaping them to fit specific areas of the chimney.
- Level: A level is used to ensure that the chimney is straight and level during construction.
- Measuring tape: Accurate measurements are crucial for a sturdy and well-built chimney. Use a measuring tape to ensure precise dimensions throughout the construction process.
- Brick jointer: A brick jointer is a specialized tool used to create uniform and aesthetically pleasing mortar joints between the bricks.
- PPE (Personal Protective Equipment): Safety should always be a priority when engaging in construction projects. Wear safety glasses, gloves, and a dust mask to protect yourself during the chimney-building process.
Once you have gathered all the necessary materials and tools, you are ready to move on to the next step: site preparation.
Step 2: Site Preparation
Before you start building your brick chimney, it’s crucial to prepare the site properly. Site preparation involves clearing the area, ensuring a solid foundation, and making necessary measurements. Follow these steps to prepare the site for your chimney construction:
- Clear the area: Remove any obstacles, vegetation, or debris from the site where you plan to build your chimney. This includes tree branches, bushes, rocks, and other items that might interfere with the construction process.
- Mark the chimney location: Use stakes and string to mark the exact location where the chimney will be built. This will help you visualize the position and make accurate measurements.
- Excavate the foundation: Dig a hole for the foundation of the chimney. The depth and dimensions of the foundation will depend on the size of your chimney and local building codes. It’s essential to dig below the frost line to prevent the chimney from shifting due to freezing temperatures.
- Compact the soil: After excavating the foundation, compact the soil at the bottom using a hand tamper or a plate compactor. This will ensure a stable base for your chimney.
- Level the foundation: Use a level to ensure that the foundation is level and even. Adjust the soil as necessary to achieve a flat surface for building.
- Install a concrete footing (optional): If required by local building codes or for added stability, you may need to pour a concrete footing at the bottom of the foundation. This will provide a solid base for the chimney and distribute the weight evenly.
- Add gravel or drainage material: Place a layer of gravel or drainage material on top of the compacted soil. This will improve water drainage and prevent moisture-related issues in the future.
Once the site has been properly prepared, the foundation is ready, and the necessary measurements have been taken, you can proceed to the next step: laying the foundation of the chimney.
Step 3: Laying the Foundation
Once the site is prepared, it’s time to lay the foundation for your brick chimney. The foundation provides stability and support for the entire structure. Follow these steps to lay the foundation:
- Prepare the mortar: Mix the mortar according to the manufacturer’s instructions. The consistency should be thick enough to hold the bricks together but not too dry or too wet.
- Start with the first layer: Begin by applying a layer of mortar on the compacted soil or concrete footing (if applicable). This layer acts as a bedding for the first course of bricks.
- Place the bricks: Carefully lay the first course of bricks on top of the mortar, ensuring they are aligned correctly. Use a level to check for straightness and adjust as needed.
- Apply mortar and continue building: Apply mortar between each brick to create a strong bond. As you build each subsequent course, stagger the bricks to improve stability and strength. Use a trowel to smooth and shape the mortar joints as you go.
- Check for level: Regularly check the level of the bricks vertically and horizontally to ensure a straight and even foundation. Adjust as necessary by adding or removing mortar underneath the bricks.
- Leave space for the flue liner: Ensure there is space left for the flue liner to be inserted later on. This can be accomplished by leaving open spaces or using special flue tile supports, depending on the design of your chimney.
- Allow the mortar to cure: Once the foundation is built, allow the mortar to cure for at least 24-48 hours before proceeding to the next step. This will ensure that the foundation is strong and ready to support the weight of the chimney walls.
Remember to follow proper safety precautions and wear protective equipment while working with mortar and bricks. It’s vital to have a stable and well-laid foundation for the rest of the chimney construction.
After the foundation is set and cured, you can move on to the next step: constructing the base of the chimney.
Step 4: Constructing the Base
With the foundation in place, it’s time to move on to constructing the base of your brick chimney. The base provides stability, support, and a platform for the rest of the chimney structure. Follow these steps to construct the base:
- Prepare the mortar: Mix the mortar according to the manufacturer’s instructions. Ensure it has the right consistency for easy application and bonding.
- Start with the first course: Apply a layer of mortar along the top of the foundation, where the base of the chimney will sit. This will act as a bedding for the first course of bricks.
- Lay the first course of bricks: Carefully place the bricks on top of the mortar, ensuring they are level and aligned with the foundation. Use a level to check for accuracy.
- Apply mortar and continue building: Apply mortar between each brick to create a strong bond. As you build each subsequent course, stagger the bricks for stability and strength. Use a trowel to smooth and shape the mortar joints as you go.
- Check for level: Regularly check the level of the bricks vertically and horizontally to ensure a straight and balanced base. Adjust as necessary by adding or removing mortar.
- Insert steel reinforcement bars: To provide additional support, insert steel reinforcement bars into the mortar joints of the base. Place them at strategic intervals and ensure they align with the courses above.
- Continue building the base: Keep adding courses of bricks, applying mortar, and checking for level until you reach the desired height for the base. This may vary depending on the specific design of your chimney.
- Leave openings for access panels: Depending on your chimney design, you may need to leave openings in the base for access panels. These panels will allow for cleaning and maintenance of the chimney flue in the future.
- Allow the mortar to cure: Once the base is constructed, allow the mortar to cure for at least 24-48 hours before proceeding to the next step. This will ensure a strong and stable base for the rest of the chimney.
Remember to follow safety guidelines and wear appropriate protective gear while working with mortar and bricks. Building a solid and well-constructed base is essential for the structural integrity of your brick chimney.
With the base complete, you can now move forward to the next step: building the walls of the chimney.
When building a brick chimney, make sure to use high-quality bricks and mortar to ensure durability and safety. It’s also important to follow local building codes and regulations to ensure proper construction.
Read more: How To Paint Brick Chimney
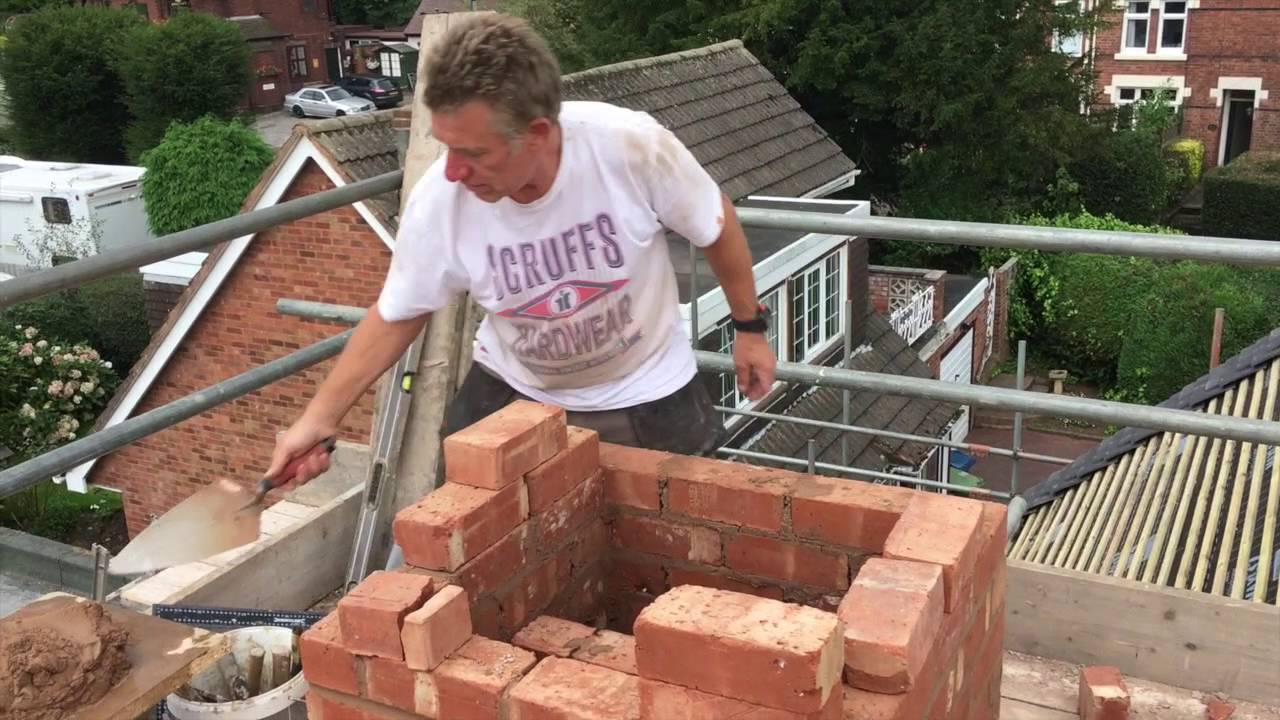
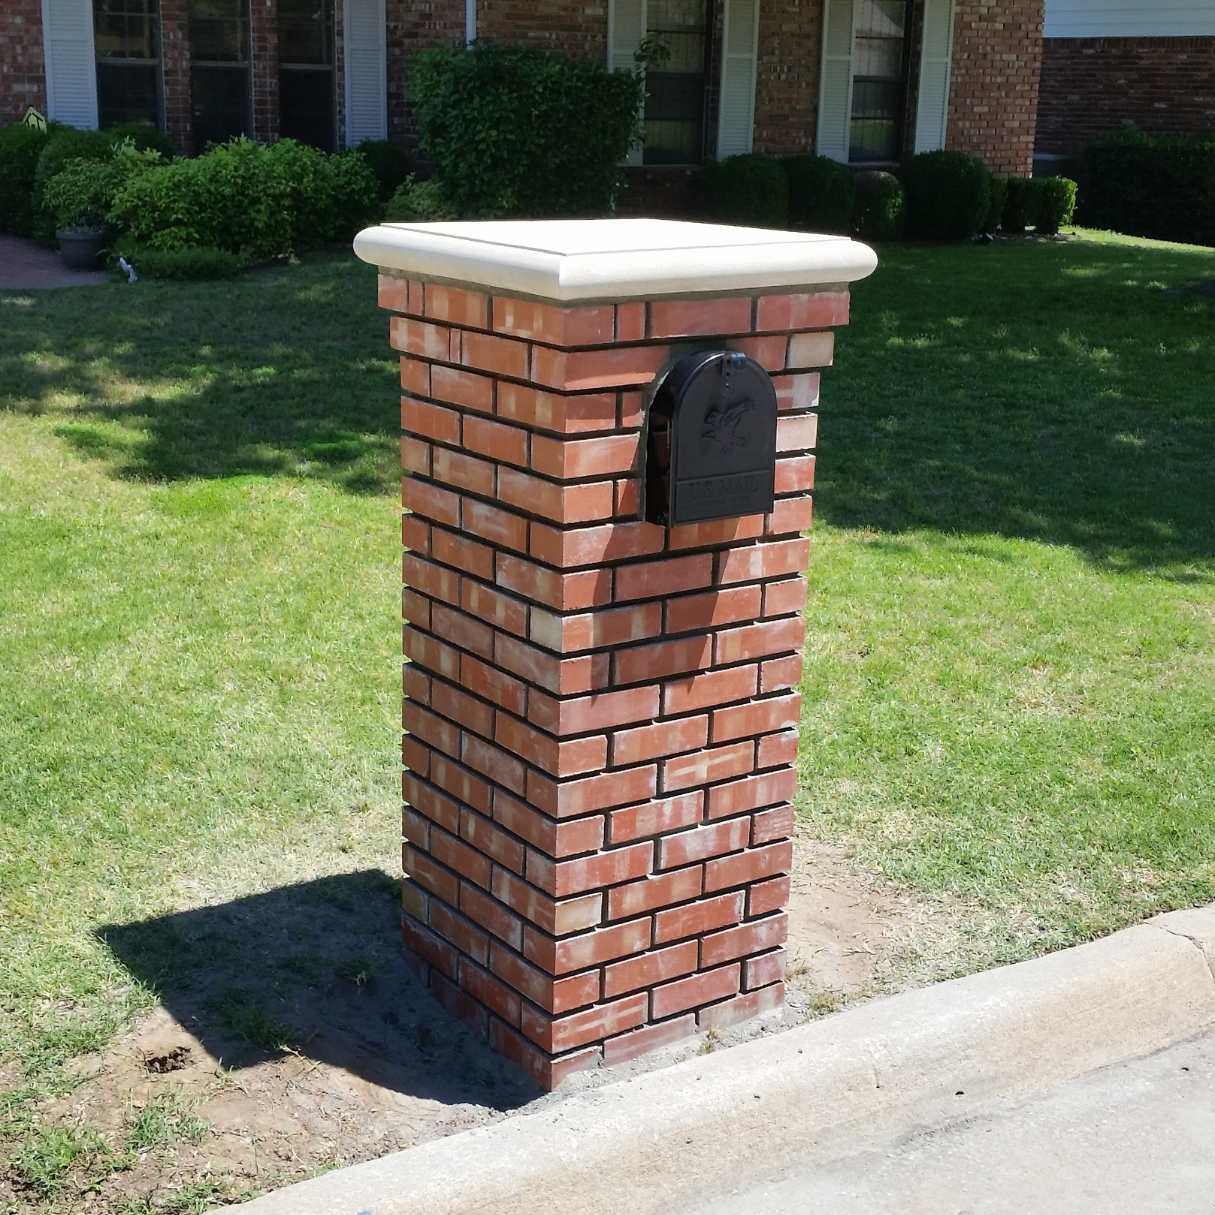
Step 5: Building the Chimney Walls
Now that the base of your brick chimney is complete, it’s time to move on to building the walls. The walls will define the shape and structure of your chimney. Follow these steps to build the chimney walls:
- Prepare the mortar: Mix the mortar to the recommended consistency, ensuring it is easy to work with and provides a strong bond.
- Start with the first course: Apply a layer of mortar along the top of the base, where the first course of bricks will sit. This will act as a bedding for the bricks.
- Lay the bricks: Carefully place the bricks on top of the mortar, ensuring they are level and aligned with the base. Use a level to check for accuracy.
- Apply mortar and continue building: Apply mortar between each brick to create a sturdy bond. As you build each subsequent course, stagger the bricks for added stability. Use a trowel to shape the mortar joints and create a neat appearance.
- Check for plumb and level: Regularly check the vertical and horizontal alignment of the chimney walls to ensure they are plumb and level. Adjust as necessary by adding or removing mortar.
- Insert steel reinforcement bars: Similar to the base, insert steel reinforcement bars into the mortar joints of the walls for added strength and stability.
- Continue building the walls: Keep adding courses of bricks, applying mortar, and checking for plumb and level until you reach the desired height for your chimney.
- Leave openings for flue liners: Depending on the design of your chimney, leave openings in the walls to accommodate the flue liners. These liners will facilitate the safe and efficient flow of smoke and gases out of the chimney.
- Allow the mortar to cure: Once the chimney walls are built, allow the mortar to cure for the recommended time as per the manufacturer’s instructions. This will ensure a solid and durable chimney structure.
Throughout the process, ensure that the walls are straight and well-aligned. Use a level, plumb line, and measuring tape to maintain accuracy and precision.
Remember to prioritize safety by using appropriate protective gear and following proper procedures while working with mortar and bricks.
With the walls completed, you’re one step closer to finishing your brick chimney. Next, we’ll discuss installing the chimney throat and flue.
Step 6: Installing the Chimney Throat and Flue
After building the walls of your brick chimney, it’s time to install the chimney throat and flue. The chimney throat acts as the transition point between the fireplace or stove and the chimney, while the flue is responsible for directing the smoke and gases out of the chimney. Follow these steps to install the chimney throat and flue:
- Measure and cut the flue liner: Measure the height of the chimney walls and cut the flue liner to the appropriate length. Ensure the liner fits snugly within the chimney walls.
- Insert the flue liner: Carefully lower the flue liner into the chimney, ensuring it is aligned with the open space left for it in the walls. Use caution to avoid damaging the liner or the surrounding bricks.
- Seal the gaps: Apply high-temperature caulk or refractory mortar to seal any gaps between the flue liner and the chimney walls. This will prevent leaks and ensure a tight fit.
- Build the chimney throat: Construct the chimney throat using firebricks or refractory bricks. These bricks can withstand high temperatures and are suitable for creating a durable and heat-resistant throat. Use mortar to bond the bricks together and follow the design and dimensions specified in your chimney plans.
- Create a sloping throat: Ensure the chimney throat slopes downward towards the flue to facilitate the proper flow of smoke and gases. This will help prevent any backdraft or accumulation of debris.
- Install a damper (optional): If your chimney design includes a damper, position it within the chimney throat. A damper is a hinged metal plate that can be opened or closed to control the airflow and energy efficiency of the chimney.
- Maintain clearances: Follow local building codes and manufacturer recommendations to maintain proper clearances between the flue liner, chimney throat, and any combustible materials. This is crucial for safety and compliance.
- Allow the mortar to cure: Once the chimney throat and flue liner are installed, allow the mortar to cure for the recommended time. This will ensure that the throat is solid and securely bonded to the surrounding bricks.
Proper installation of the chimney throat and flue is essential for the safe operation and functionality of your brick chimney. Ensure that any joints or connections are tightly sealed to prevent the leakage of smoke or gases.
With the chimney throat and flue in place, we’re nearing the completion of your brick chimney. In the next step, we’ll discuss constructing the chimney cap.
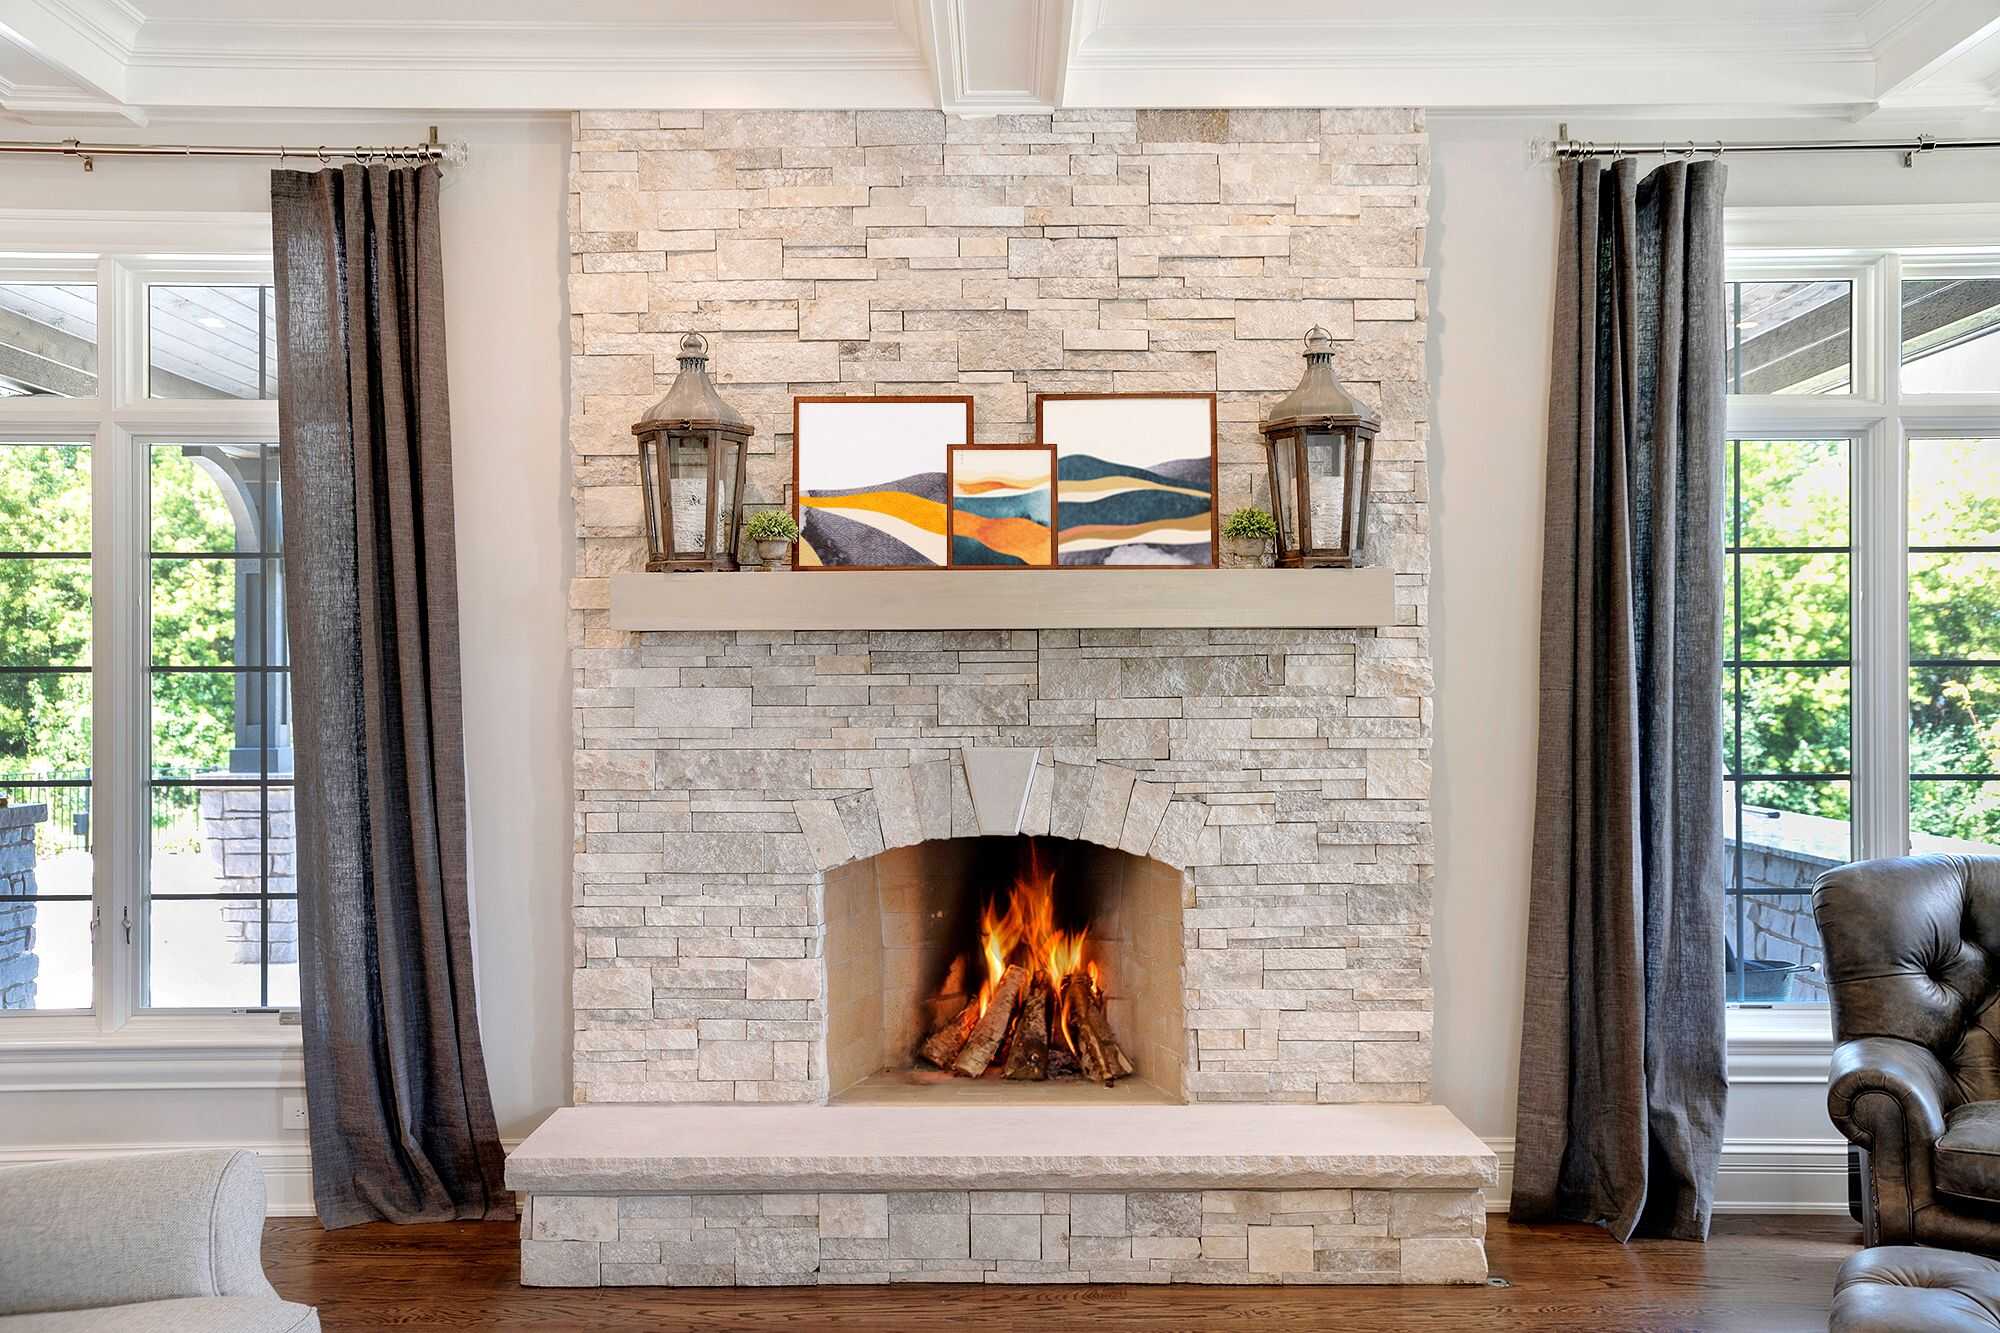
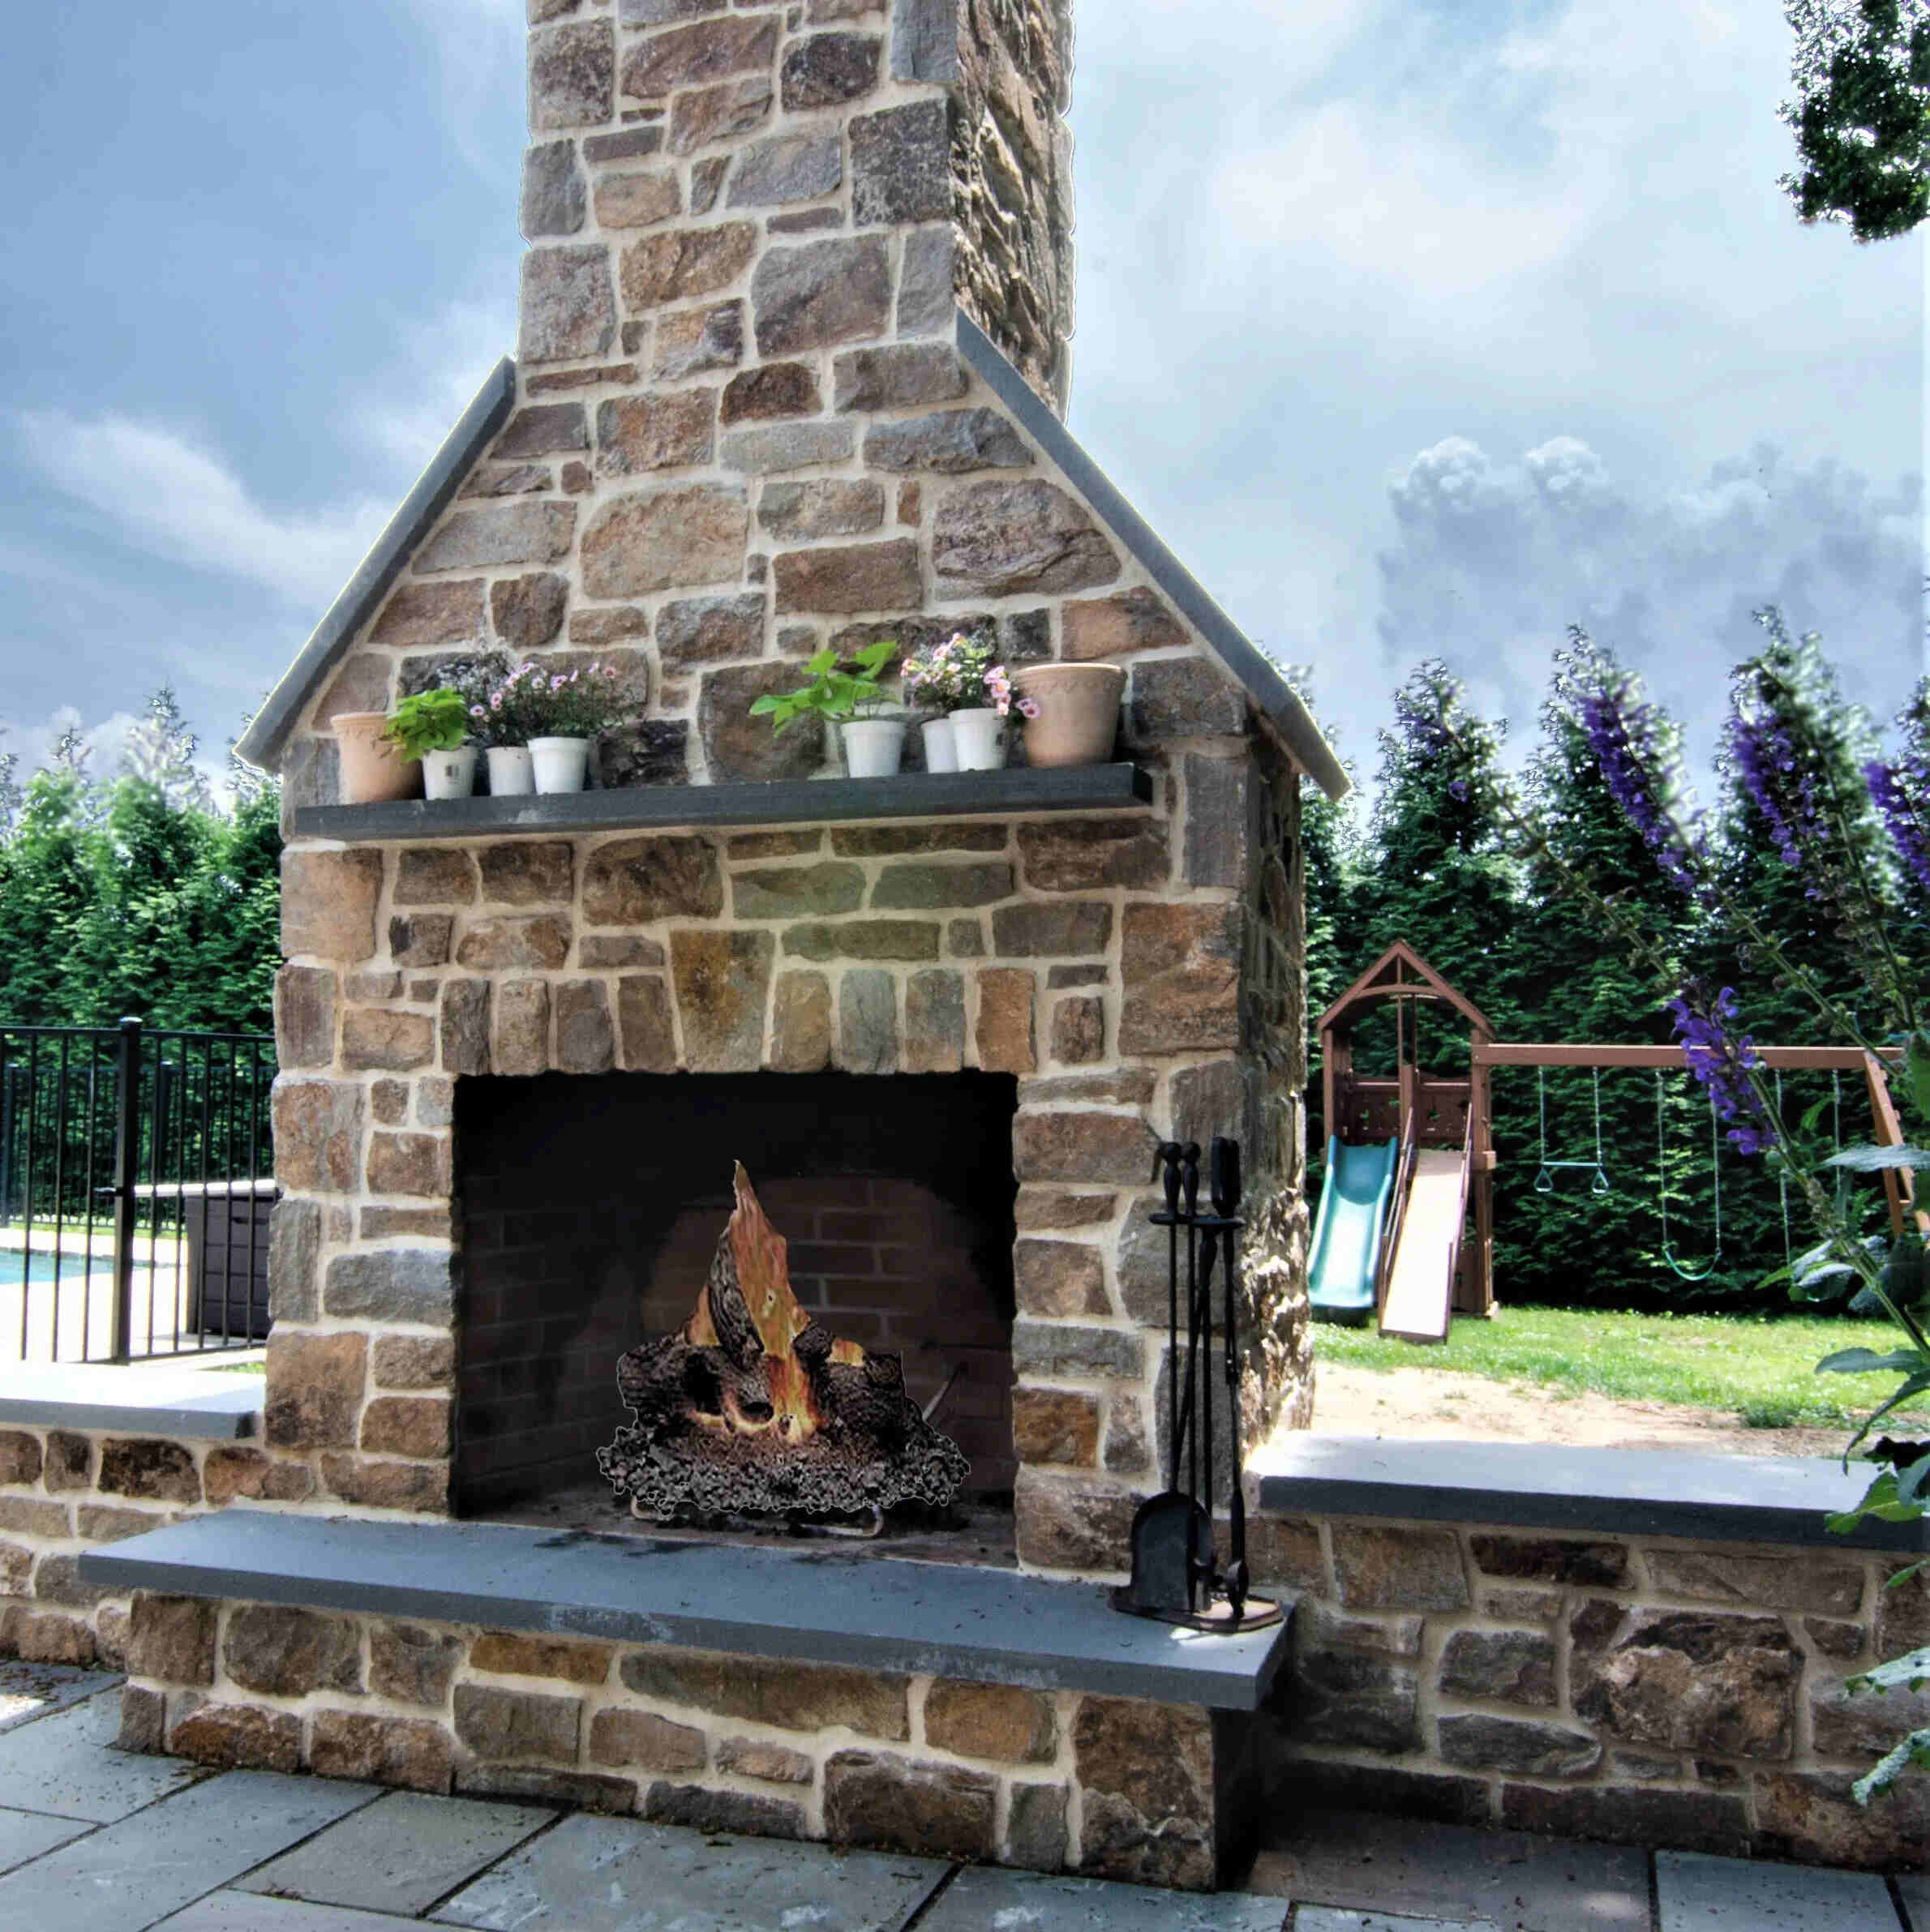
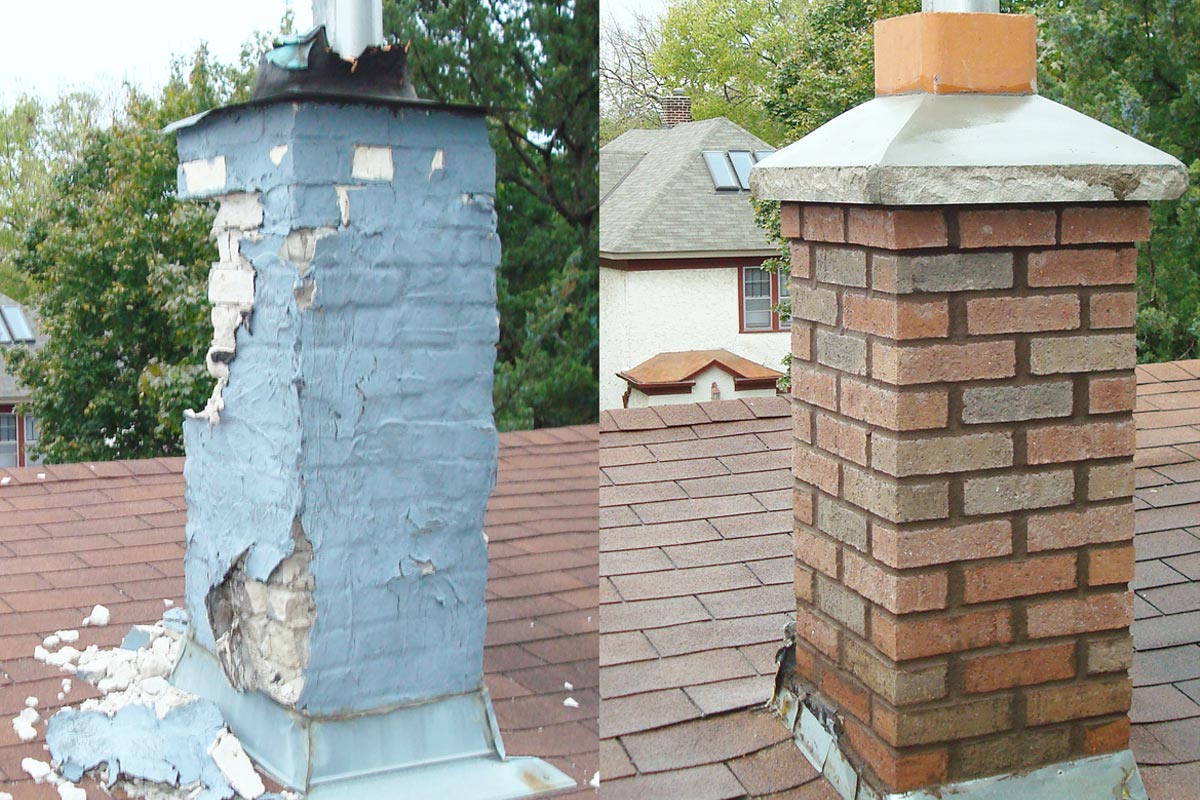
Step 7: Constructing the Chimney Cap
When it comes to building a brick chimney, constructing a sturdy and effective chimney cap is crucial. The chimney cap serves as a protective barrier at the top of the chimney, preventing water, debris, and animals from entering while also helping to improve airflow. Follow these steps to construct the chimney cap:
- Measure the chimney dimensions: Measure the width and length of the chimney opening to determine the size of the chimney cap. Ensure that the cap will extend beyond the edges of the chimney to provide adequate coverage.
- Gather the necessary materials: The materials required for the chimney cap construction include metal flashing, wire mesh or spark arrestor, mortar, and bricks to match your chimney design.
- Construct the chimney cap frame: Start by creating a frame using metal flashing. Cut the flashing to the dimensions of the chimney opening and bend it into a box shape with sides that will overhang the chimney walls.
- Attach wire mesh or spark arrestor: Fasten wire mesh or a spark arrestor to the top of the chimney cap frame. This will prevent sparks and debris from escaping while allowing proper airflow.
- Test the fit: Place the constructed chimney cap frame on top of the chimney to ensure a proper fit and alignment. Make any necessary adjustments before permanently affixing it.
- Secure the chimney cap: Apply mortar to the edges of the chimney walls and carefully position the chimney cap on top. Press it firmly into place to create a strong bond between the cap and the chimney walls.
- Smooth the mortar joints: Use a trowel to smooth and shape the mortar joints, ensuring an aesthetically pleasing finish. This will provide additional stability and improve the overall appearance of the chimney cap.
- Allow the mortar to cure: Once the chimney cap is in place, allow the mortar to cure for the recommended time to ensure a solid and durable cap.
A well-constructed and properly installed chimney cap will help protect your chimney from the elements, reduce the risk of chimney fires, and prolong the lifespan of the structure.
With the chimney cap complete, you’re almost finished! In the final step, we’ll cover the finishing touches and safety considerations for your brick chimney.
Step 8: Finishing Touches and Safety Considerations
Congratulations! You’re in the final step of building your brick chimney. Now it’s time to add the finishing touches and take into account important safety considerations. Let’s go through what you need to do:
- Inspect the chimney: Before using your newly built chimney, thoroughly inspect it to ensure that all components are in good condition. Check for any cracks, loose bricks, or gaps in the mortar joints. If you notice any issues, repair them promptly.
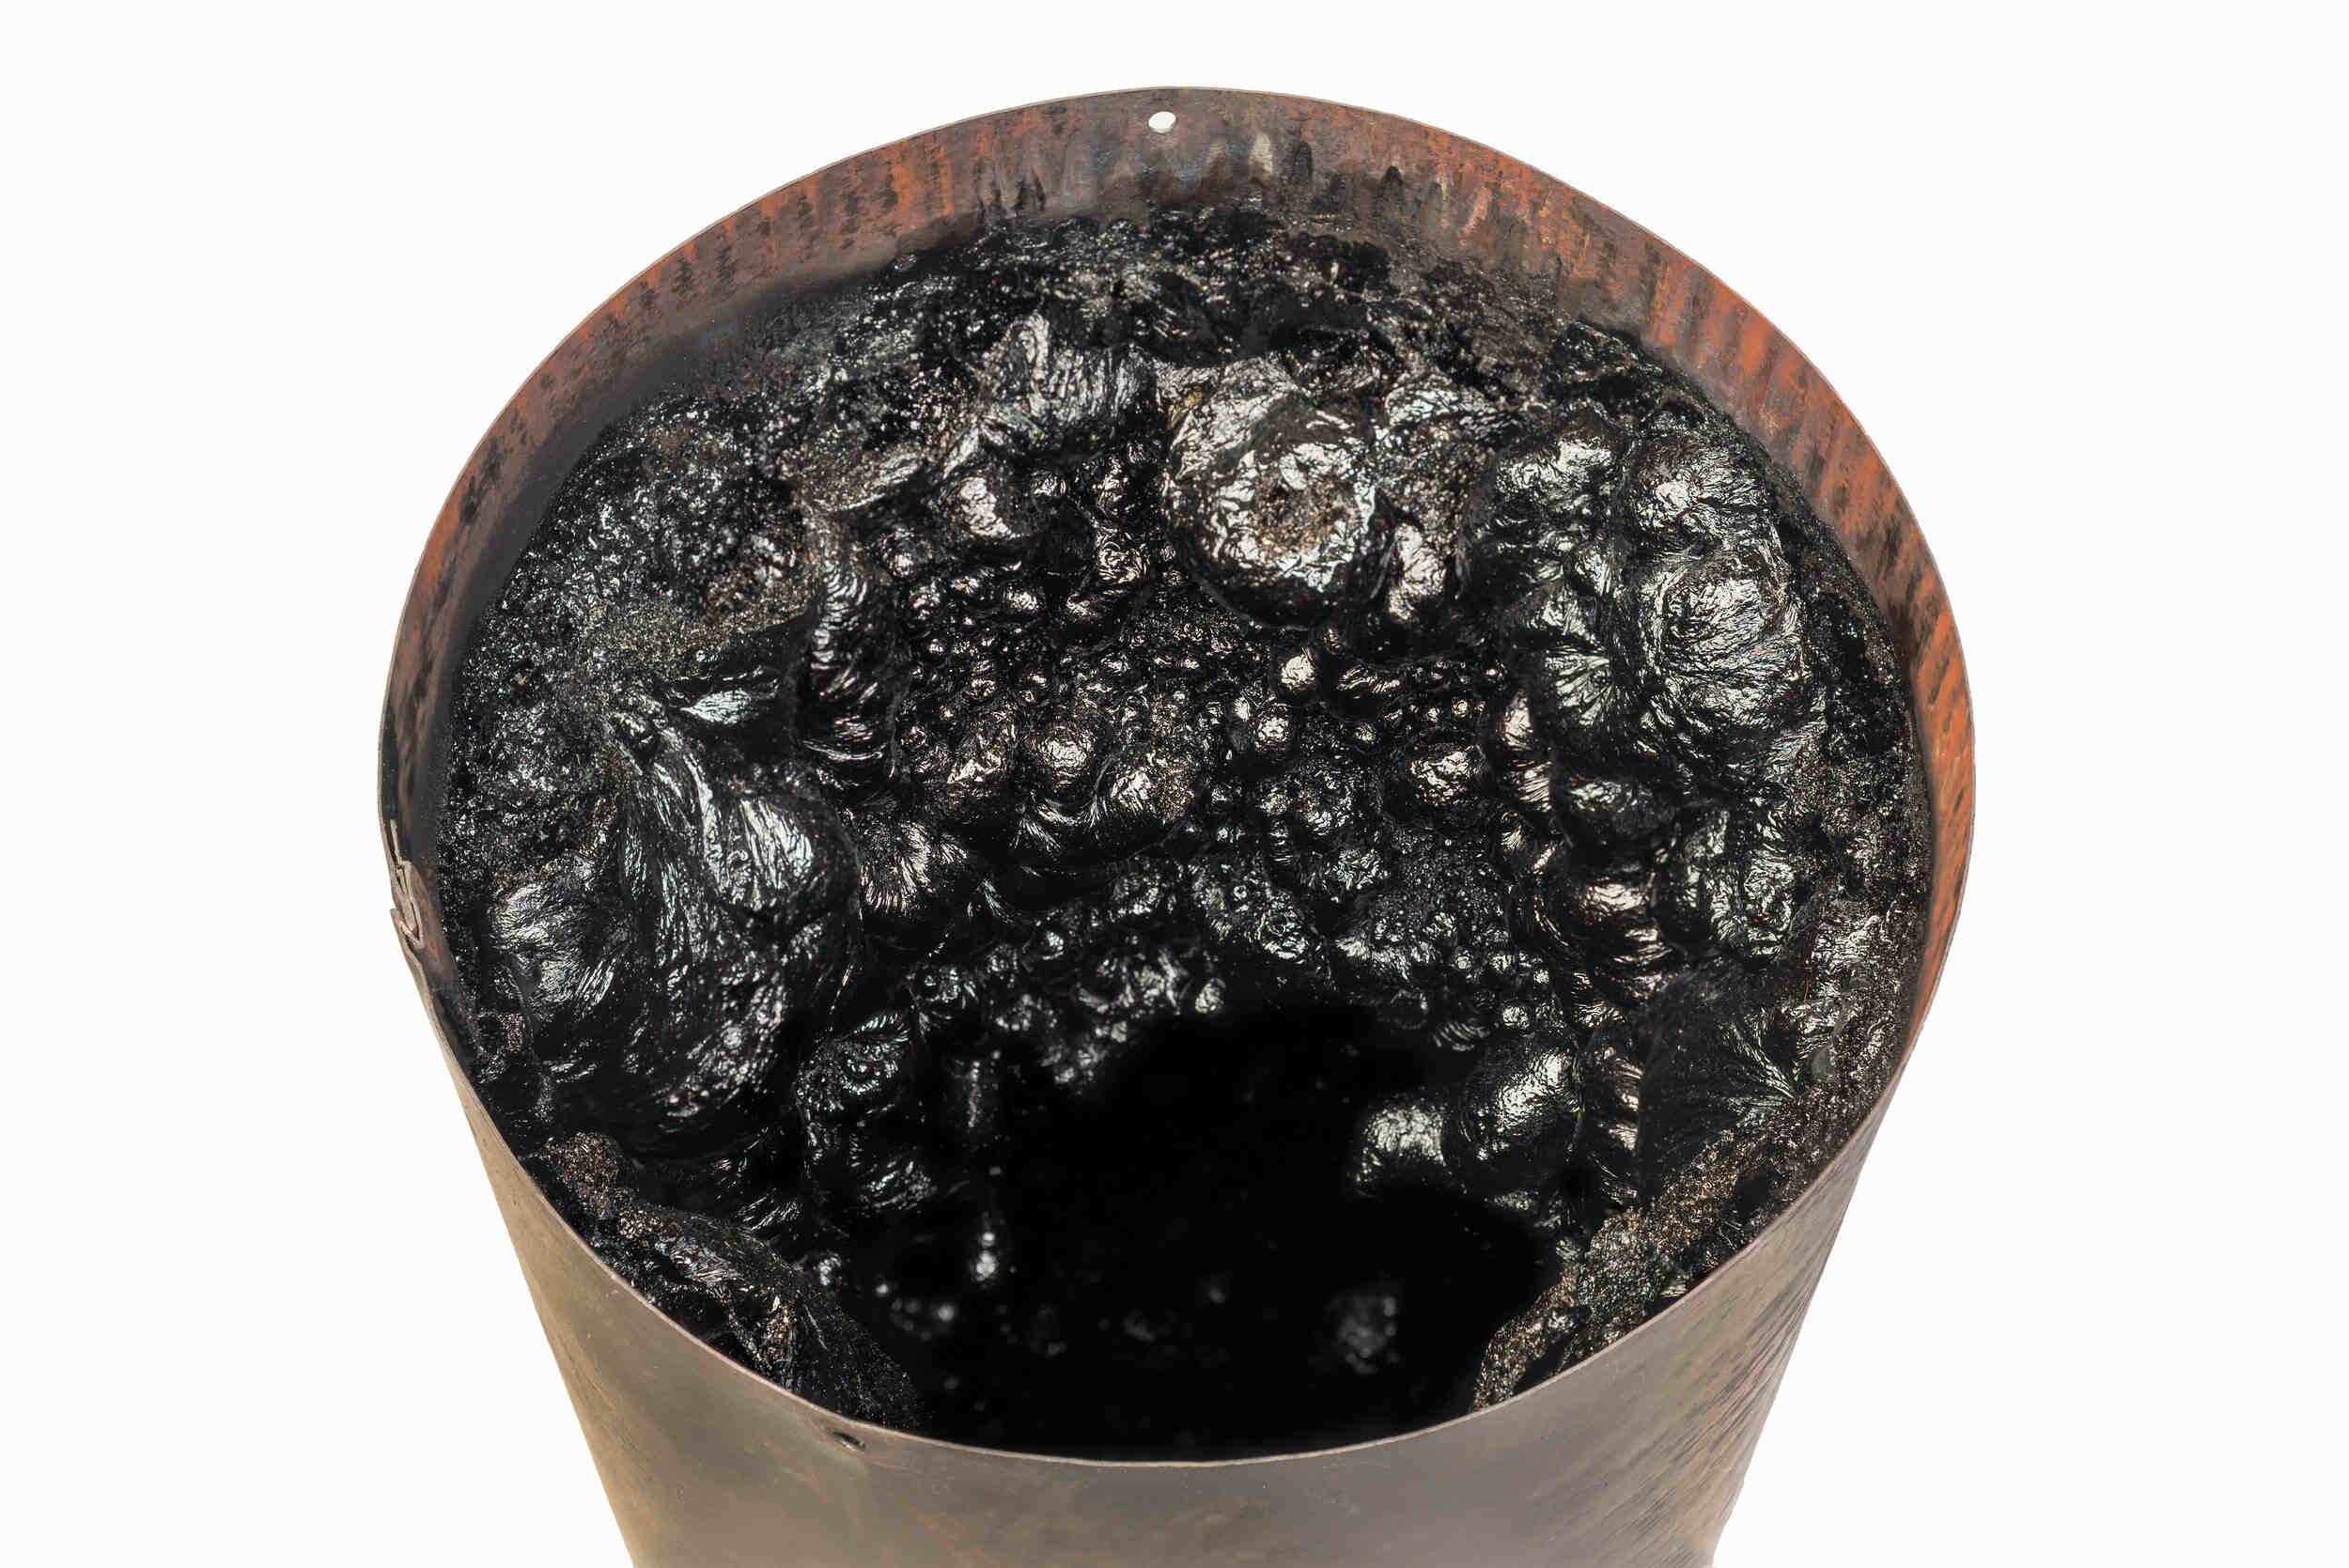
- Clean the chimney: Depending on the construction process, your chimney may have accumulated dirt and debris. Clean the interior of the chimney using chimney brushes and rods to remove any loose materials or obstructions before its first use.
- Install a spark arrestor: For added safety, consider installing a spark arrestor on top of the chimney cap. This device prevents sparks or embers from escaping the chimney and potentially causing a fire.
- Consider chimney liners: If your chimney does not already have a flue liner, consider installing one. A chimney liner helps improve draft efficiency and protects the brickwork by reducing the impact of combustion byproducts.
- Check for proper ventilation: Ensure that your chimney has adequate ventilation to prevent the buildup of harmful gases. Regularly inspect and clean the chimney flue to maintain proper airflow.
- Place chimney caps on any unused flues: If your chimney has multiple flues and some of them are not in use, it is recommended to install chimney caps on those openings. This prevents rainwater, debris, and animals from entering through the unused flues.
- Maintain and clean the chimney regularly: Regular chimney maintenance is essential to ensure its proper functioning and longevity. Schedule annual inspections and cleanings by a professional chimney sweep to remove creosote buildup and identify any potential issues.
- Follow fire safety precautions: Always practice proper fire safety when using your chimney. Use a screen or glass doors to contain sparks, never leave a fire unattended, and keep flammable materials away from the fireplace or stove.
- Comply with local regulations: Be aware of and adhere to local building codes and regulations regarding chimney construction and maintenance. This ensures that your chimney meets safety standards and avoids potential legal issues.
By attending to these finishing touches and safety considerations, you can enjoy a well-built and safe brick chimney for years to come. Remember to prioritize regular maintenance and address any issues promptly to maintain optimal performance.
Congratulations on successfully completing the construction of your brick chimney. Enjoy the warmth and ambiance it adds to your home!
Read more: How To Build A Chimney
Conclusion
Building a brick chimney is a rewarding project that adds functional value and aesthetic appeal to your home. By following the step-by-step process outlined in this comprehensive guide, you can successfully construct a durable and beautiful chimney.
Throughout the construction process, it’s essential to prioritize safety by wearing protective gear, following building codes and regulations, and ensuring proper ventilation and clearances. Additionally, regular maintenance, inspections, and cleanings are crucial to keep your chimney in optimal condition.
Remember that each step, from gathering materials and preparing the site to constructing the base, walls, chimney throat, flue, and cap, requires careful attention to detail. Taking the time to ensure proper alignment, levelness, and strength will result in a well-built chimney that will serve you for years to come.
We hope this guide has been informative and helpful in guiding you through the process of building a brick chimney. Whether you’re a seasoned DIY enthusiast or a beginner looking for a new project, with the right materials, tools, and knowledge, you can successfully complete this undertaking.
Now, it’s time to enjoy the comfort and warmth of your fireplace or wood-burning stove while appreciating the craftsmanship of your newly built brick chimney. Sit back, relax, and savor the cozy atmosphere that only a chimney can provide.
Happy building!
Frequently Asked Questions about How To Build A Brick Chimney
Was this page helpful?
At Storables.com, we guarantee accurate and reliable information. Our content, validated by Expert Board Contributors, is crafted following stringent Editorial Policies. We're committed to providing you with well-researched, expert-backed insights for all your informational needs.


0 thoughts on “How To Build A Brick Chimney”