Home>Articles>How To Build A Mortar-Free Wall With Interlocking Retaining Wall Blocks
Articles
How To Build A Mortar-Free Wall With Interlocking Retaining Wall Blocks
Modified: August 24, 2024
Learn how to build a durable and mortar-free wall with interlocking retaining wall blocks. Our articles provide expert tips and guidance for your DIY project.
(Many of the links in this article redirect to a specific reviewed product. Your purchase of these products through affiliate links helps to generate commission for Storables.com, at no extra cost. Learn more)
Introduction
Building a mortar-free wall with interlocking retaining wall blocks offers a versatile and efficient solution for various landscaping projects. Whether you’re looking to create a raised garden bed, a decorative border, or a functional retaining wall, interlocking blocks provide a durable and aesthetically pleasing option. In this article, we will guide you through the process of building a mortar-free wall using these innovative blocks.
Interlocking retaining wall blocks are designed with a unique locking mechanism, allowing them to fit together seamlessly without the need for mortar or adhesive. This makes them easy to install, modify, and remove when necessary. Additionally, interlocking blocks come in a variety of shapes, sizes, and colors, providing endless design possibilities to suit your individual preferences and project requirements.
Before embarking on your project, it is essential to have a clear understanding of the steps involved in constructing a mortar-free wall with interlocking retaining wall blocks. This article will walk you through each stage, from choosing the right blocks and preparing the site to backfilling the wall and adding the finishing touches.
By following the instructions outlined here, you can confidently undertake your own DIY project and create a beautiful, functional wall that will stand the test of time.
Key Takeaways:
- Create a durable and visually appealing mortar-free wall using interlocking retaining wall blocks. Follow the step-by-step guide to choose the right blocks, prepare the site, and build a sturdy structure that stands the test of time.
- Enhance the stability and longevity of your mortar-free wall by backfilling with appropriate materials and adding finishing touches. From cleaning the surface to landscaping, elevate the aesthetic appeal and functionality of your DIY project.
Read more: How To Build Stairs In A Retaining Wall
Choosing the Right Interlocking Retaining Wall Blocks
When it comes to selecting interlocking retaining wall blocks for your project, there are several factors to consider. The right choice will depend on the purpose of the wall, the desired aesthetic, and the specific requirements of your site. Here are some key considerations to keep in mind:
- Wall height and load-bearing capacity: Determine the height of your wall and the weight it will need to support. Different blocks have varying load-bearing capacities, so choose blocks that can handle the anticipated weight.
- Block shape and size: Interlocking retaining wall blocks come in various shapes and sizes, including rectangular, square, and curved options. Consider the design and aesthetic you are aiming for and choose blocks that align with your vision.
- Color options: Many manufacturers offer interlocking blocks in a range of colors. Consider the surrounding environment and select a color that complements the landscape or matches the overall design scheme.
- Durability and weather resistance: Look for blocks that are specifically designed to withstand the elements and maintain their structural integrity over time. This is particularly important if your wall will be exposed to harsh weather conditions.
- Ease of installation: Some interlocking blocks have unique features that make them easier to install, including built-in alignment guides or pins. These can reduce installation time and ensure a more precise result.
- Budget: Consider your budget and compare prices from different suppliers. Remember to factor in not only the cost of the blocks themselves but also any additional materials or equipment needed for installation.
Once you have considered these factors, visit local home improvement stores or contact manufacturers to see samples and gather information about the available options. Take your time to compare different blocks, and don’t hesitate to seek advice from professionals or experienced builders.
Remember, choosing the right interlocking retaining wall blocks is crucial for the success and longevity of your project. By carefully evaluating your needs and preferences, you can select the blocks that best meet your requirements and create a stunning and durable mortar-free wall.
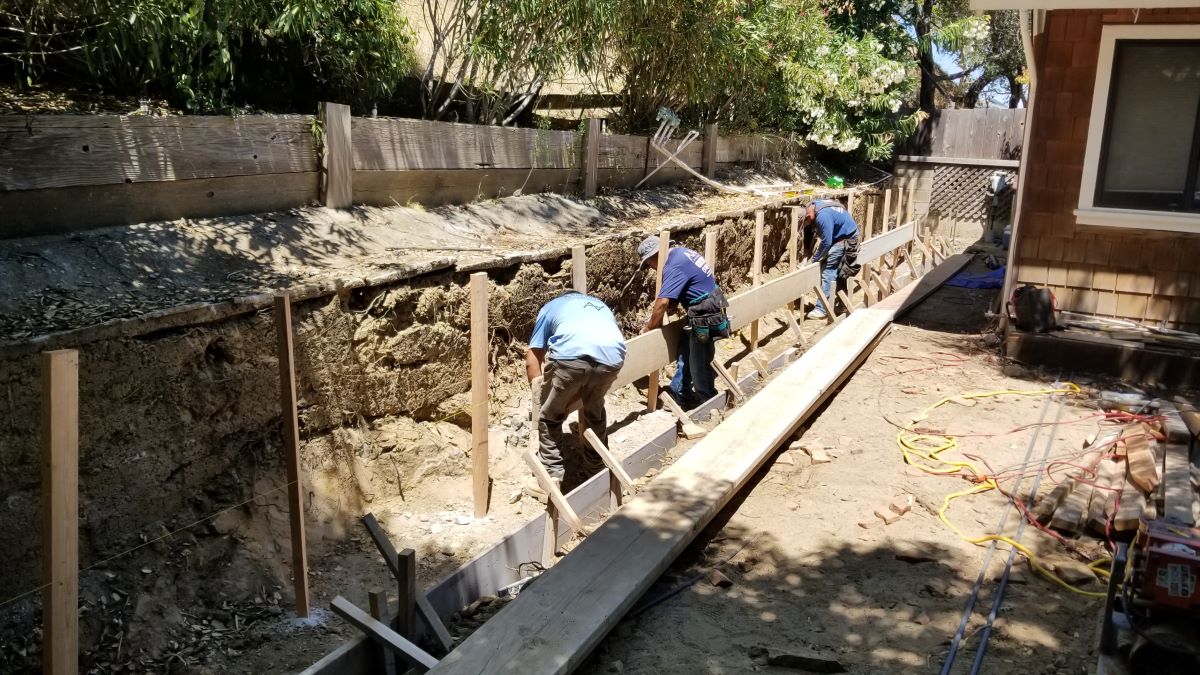
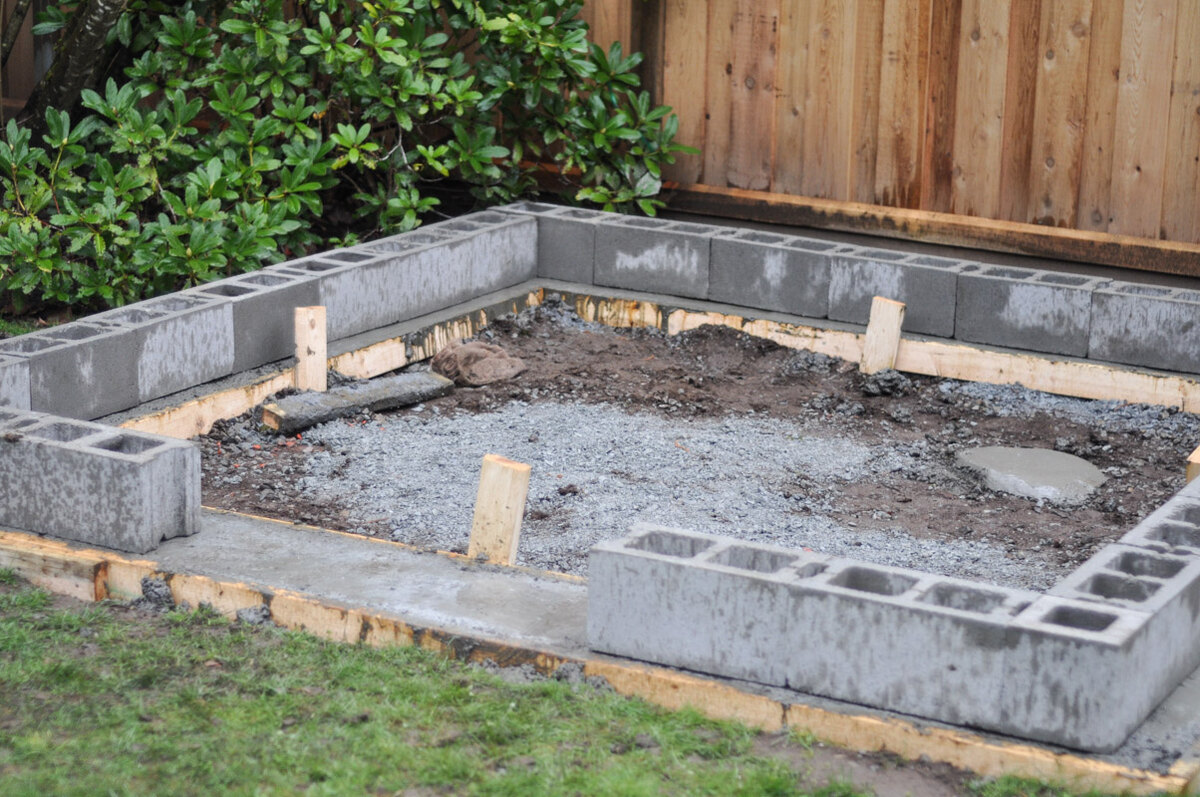
Preparing the Site
Before you start building your mortar-free wall with interlocking retaining wall blocks, it’s essential to properly prepare the site. This preparation phase will ensure a solid foundation and help to prevent issues such as shifting or settling of the wall over time. Here are the key steps to follow:
- Mark the area: Begin by clearly marking the boundaries of the wall using stakes and string or spray paint. This will give you a visual guide when excavating and leveling the site.
- Check for utility lines: Before digging, contact your local utility companies to identify and mark any underground lines such as gas, water, or electrical. This will help you avoid damaging utilities and ensure a safe working environment.
- Clear the site: Remove any vegetation, rocks, or debris from the area where the wall will be constructed. Clearing the site will provide a clean foundation and prevent potential obstructions during installation.
- Excavate the area: Use a shovel, pickaxe, or mechanical excavation equipment to dig a trench along the marked boundary. The depth and width of the trench will depend on the design and height of the wall. Typically, the trench should be about 6-12 inches deep and wide enough to accommodate the base and first few rows of blocks.
- Ensure proper drainage: Evaluate the site’s drainage conditions and make any necessary adjustments. It’s crucial to direct water away from the wall to prevent water damage or erosion. If needed, incorporate a perforated drain pipe or gravel behind the wall to facilitate proper drainage.
- Compact the soil: Use a compactor or tamper to compact the soil in the trench and create a stable base. This will help prevent the wall from sinking or shifting in the future.
By taking the time to prepare the site correctly, you’ll establish a solid foundation that ensures the stability and longevity of your mortar-free wall. Remember to follow any local regulations or permits that might be required for excavation work. With the site properly prepared, you are now ready to move on to the next steps of the installation process.
Excavating the Area
Excavating the area is a critical step in building a mortar-free wall with interlocking retaining wall blocks. This process involves digging out the soil within the marked boundaries to create a trench that will accommodate the base and first few rows of blocks. Here are the key steps to follow when excavating the area:
- Start with the perimeter: Begin by carefully excavating along the perimeter of the marked area. Use a shovel or excavation equipment to remove the soil and create a clear boundary line.
- Measure the depth: Measure the desired depth of the trench, taking into account the height of the blocks and the base material. Typically, the trench should be about 6-12 inches deep, but refer to the manufacturer’s instructions for specific recommendations.
- Keep the trench even: As you dig, ensure that the trench remains even and level throughout the entire area. Use a long straight board and a level to check the depth and alignment at multiple points along the trench.
- Dispose of excavated soil: As you excavate, you’ll accumulate a significant amount of soil. Make arrangements for its disposal, whether through a designated waste collection service or by repurposing it elsewhere in your landscaping project.
- Check for compaction: After excavating the entire area, use a compactor or tamper to compact the soil at the bottom of the trench. This will create a firm and stable base for the wall.
- Verify the dimensions: Measure the width and length of the trench to ensure it matches the planned dimensions of your wall. Make any necessary adjustments before proceeding.
It’s important to take your time and be meticulous during the excavation process. A well-prepared trench will provide a solid foundation for the wall and ensure its stability and durability. Once the area is excavated, you are ready to move on to the next step in building your mortar-free wall – leveling the base.
Leveling the Base
Leveling the base is a crucial step in building a mortar-free wall with interlocking retaining wall blocks. It ensures that the first row of blocks sits evenly and securely, providing a solid foundation for the rest of the wall. Here are the steps to follow when leveling the base:
- Add a layer of base material: Start by adding a layer of base material, such as compacted gravel or crushed stone, to the bottom of the excavated trench. This layer serves as a stable and level surface for the blocks.
- Distribute the base material: Use a rake or shovel to evenly distribute the base material across the trench. Aim for a uniform thickness of 2-4 inches, depending on the manufacturer’s recommendations.
- Compact the base material: After spreading the base material, use a compactor or tamper to compact it firmly. This will create a solid and level surface for the blocks to rest on.
- Check for levelness: Use a long straight board or a level to check the levelness of the base across the entire trench. Adjust the base material as needed to ensure a uniform surface.
- Make minor adjustments: If you encounter low spots or uneven areas in the base, add or remove base material as necessary to achieve a consistent level. Use a hand tamper to compact any adjustments.
- Double-check the level: Once the base is properly leveled, recheck its levelness using a straight board or level. This ensures that the base is even and ready for the first row of blocks.
Leveling the base is a critical step in the construction of a mortar-free wall. It provides a solid and stable foundation for the blocks, minimizing the risk of shifting or leaning over time. Take the time to properly level the base to ensure the structural integrity and longevity of your wall.
Read more: How To Build A Brick Retaining Wall
Installing the First Row of Blocks
Installing the first row of blocks is an important step in building a mortar-free wall with interlocking retaining wall blocks. This initial row sets the foundation for the rest of the wall and serves as a guide for the subsequent rows. Here’s how to install the first row:
- Apply a layer of adhesive: While these blocks are designed to interlock without mortar, applying a thin layer of adhesive along the bottom of the trench can provide extra stability. This step is optional but can help prevent the blocks from shifting.
- Place the first block: Begin by placing the first block at one end of the trench. Press it firmly into the base material, ensuring that it rests evenly and securely.
- Check for levelness: Use a level to ensure that the first block is level horizontally and vertically. Make any necessary adjustments to the base material to achieve a level position.
- Interlock the second block: Place the second block next to the first, interlocking the two with their unique locking mechanism. Ensure a snug fit between the blocks, with no gaps or spaces.
- Continue with the remaining blocks: Repeat the process of placing and interlocking blocks along the entire length of the trench. Check the levelness of each block as you go to maintain a straight and even first row.
- Measure and cut blocks if necessary: If you need to fill smaller spaces or create corners, you may need to cut blocks to fit. Use a saw or chisel to carefully cut the blocks to the desired size and shape.
- Verify alignment: Periodically check the alignment of the blocks to ensure they are straight and properly interlocked. Make any adjustments as needed to maintain a consistent and level first row.
By installing the first row of blocks with precision and attention to detail, you establish a solid foundation for the rest of the wall. Remember to follow the manufacturer’s instructions regarding adhesive application and interlocking techniques for their specific blocks.
Once the first row is successfully installed, you can proceed to interlock and build the subsequent rows, gradually building the height of your mortar-free wall with interlocking retaining wall blocks.
When building a mortar-free wall with interlocking retaining wall blocks, make sure to properly compact the base material and use a level to ensure the first row is perfectly straight. This will provide a stable foundation for the rest of the wall.
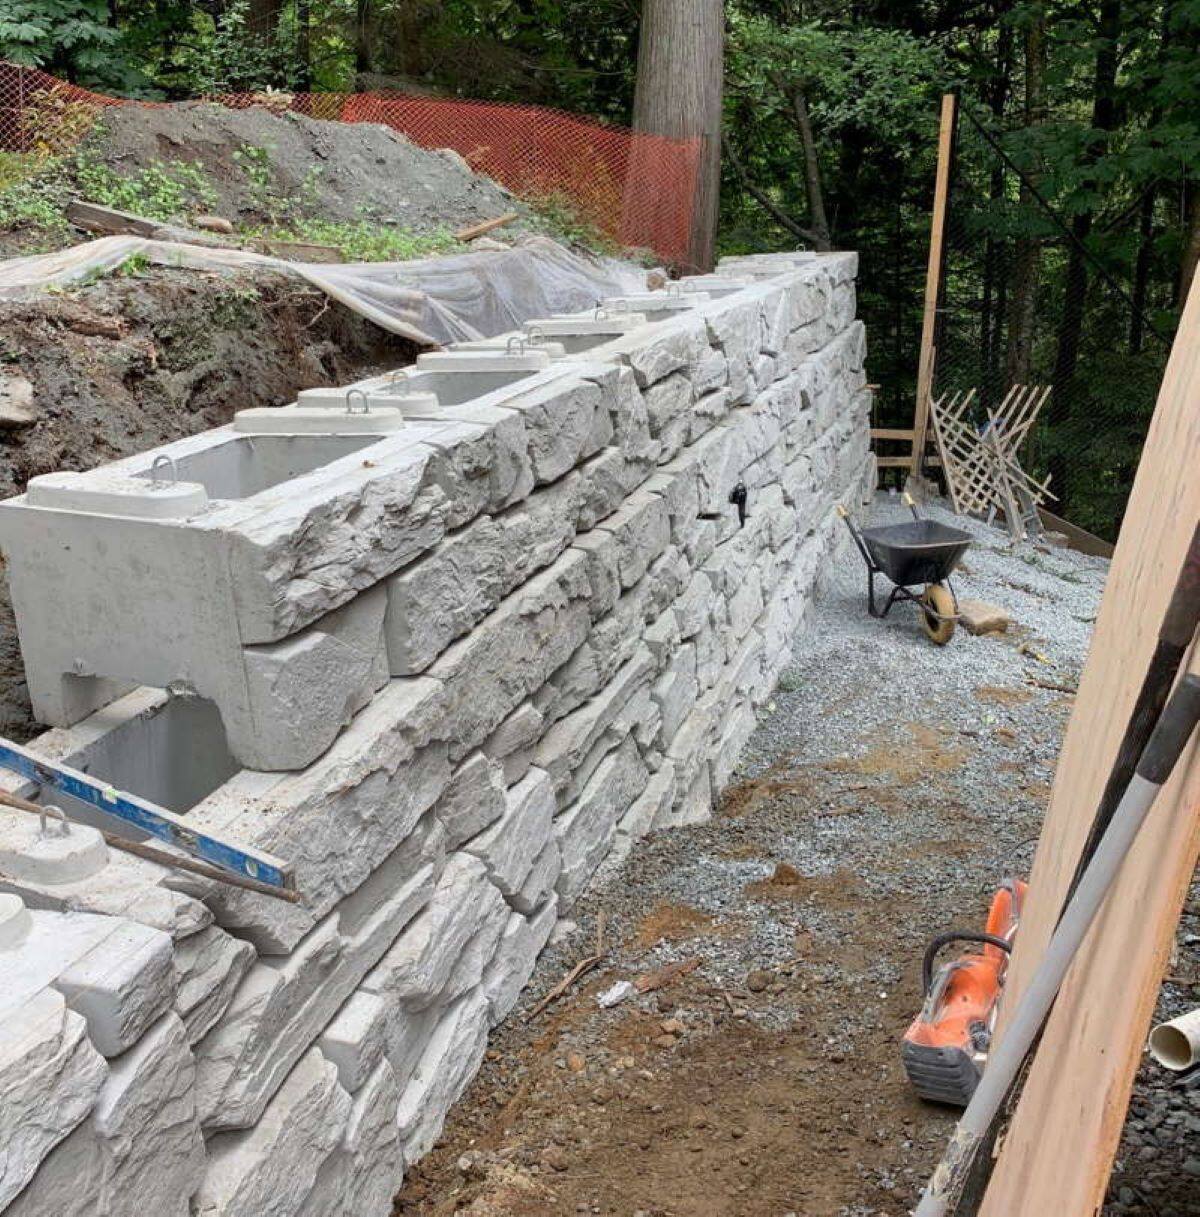
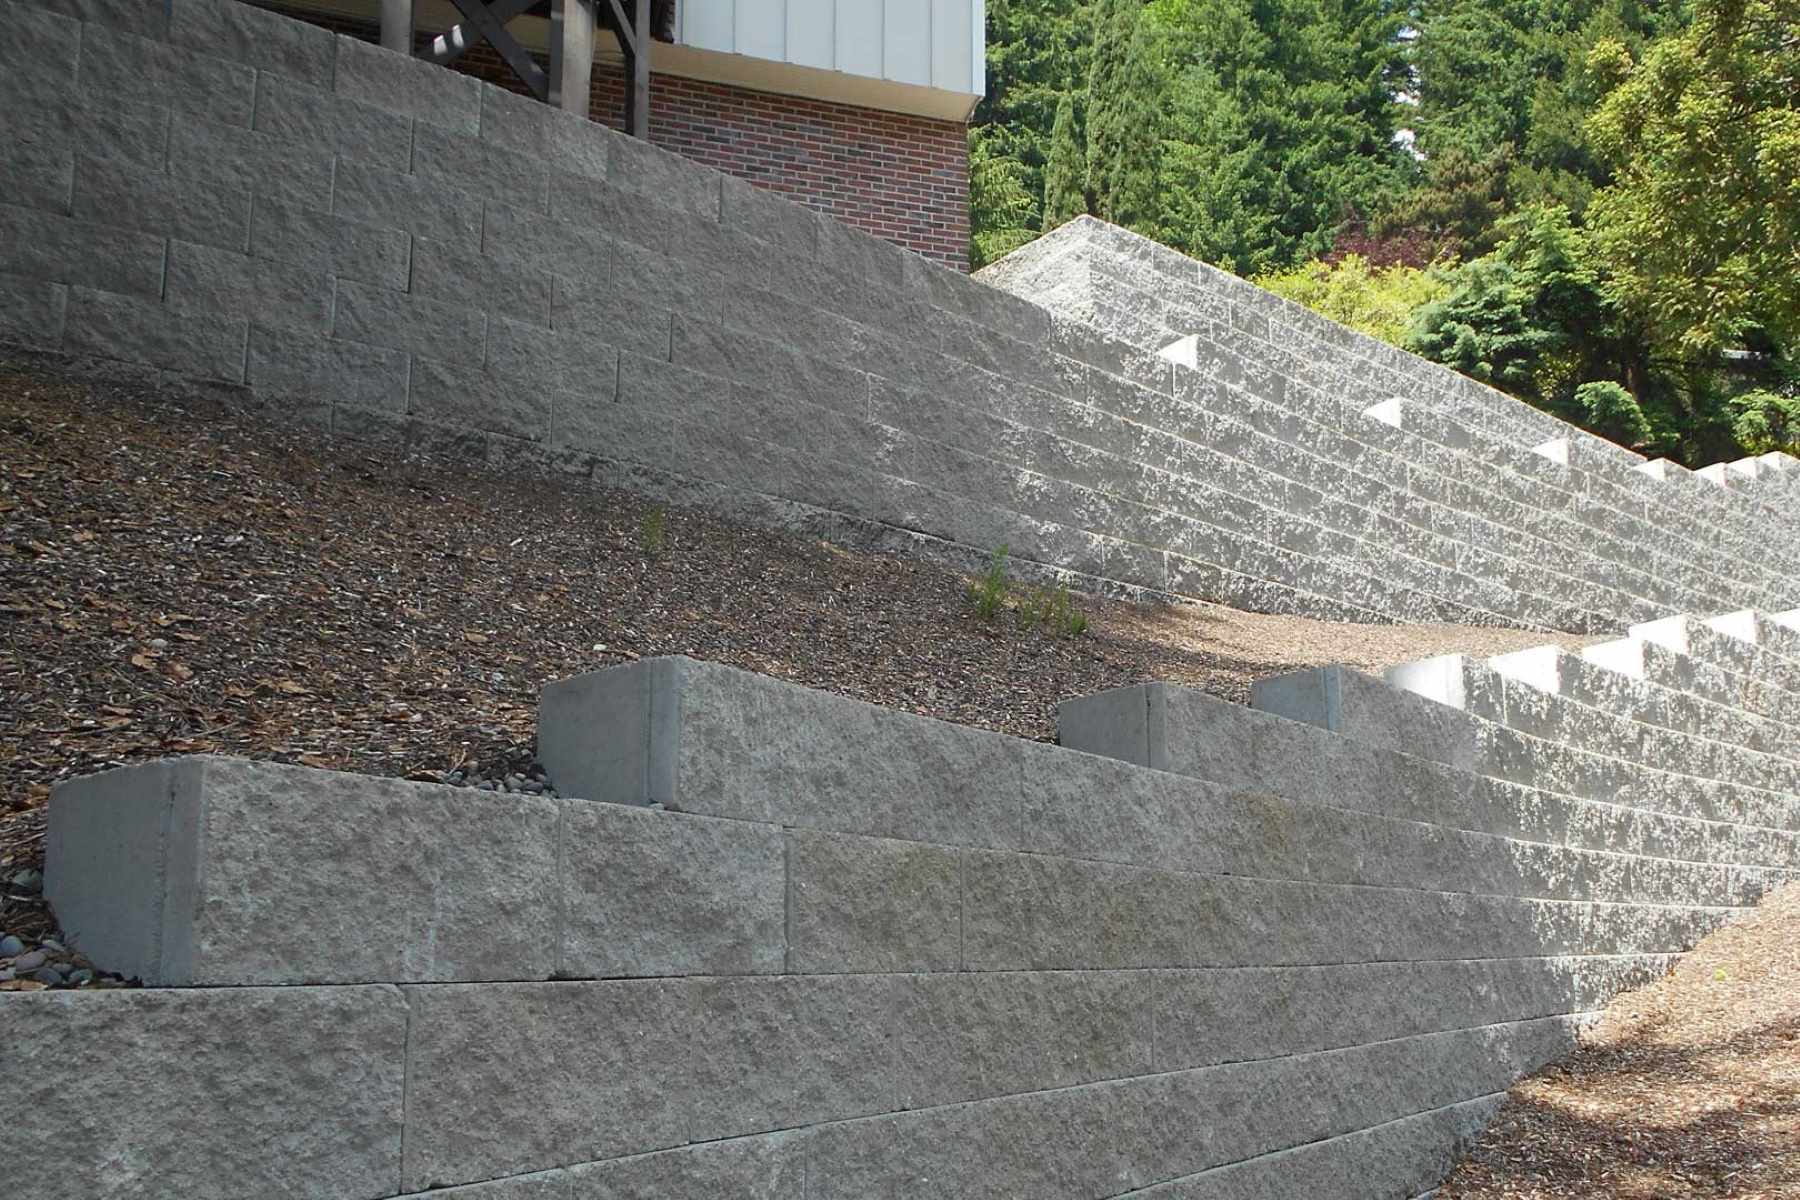
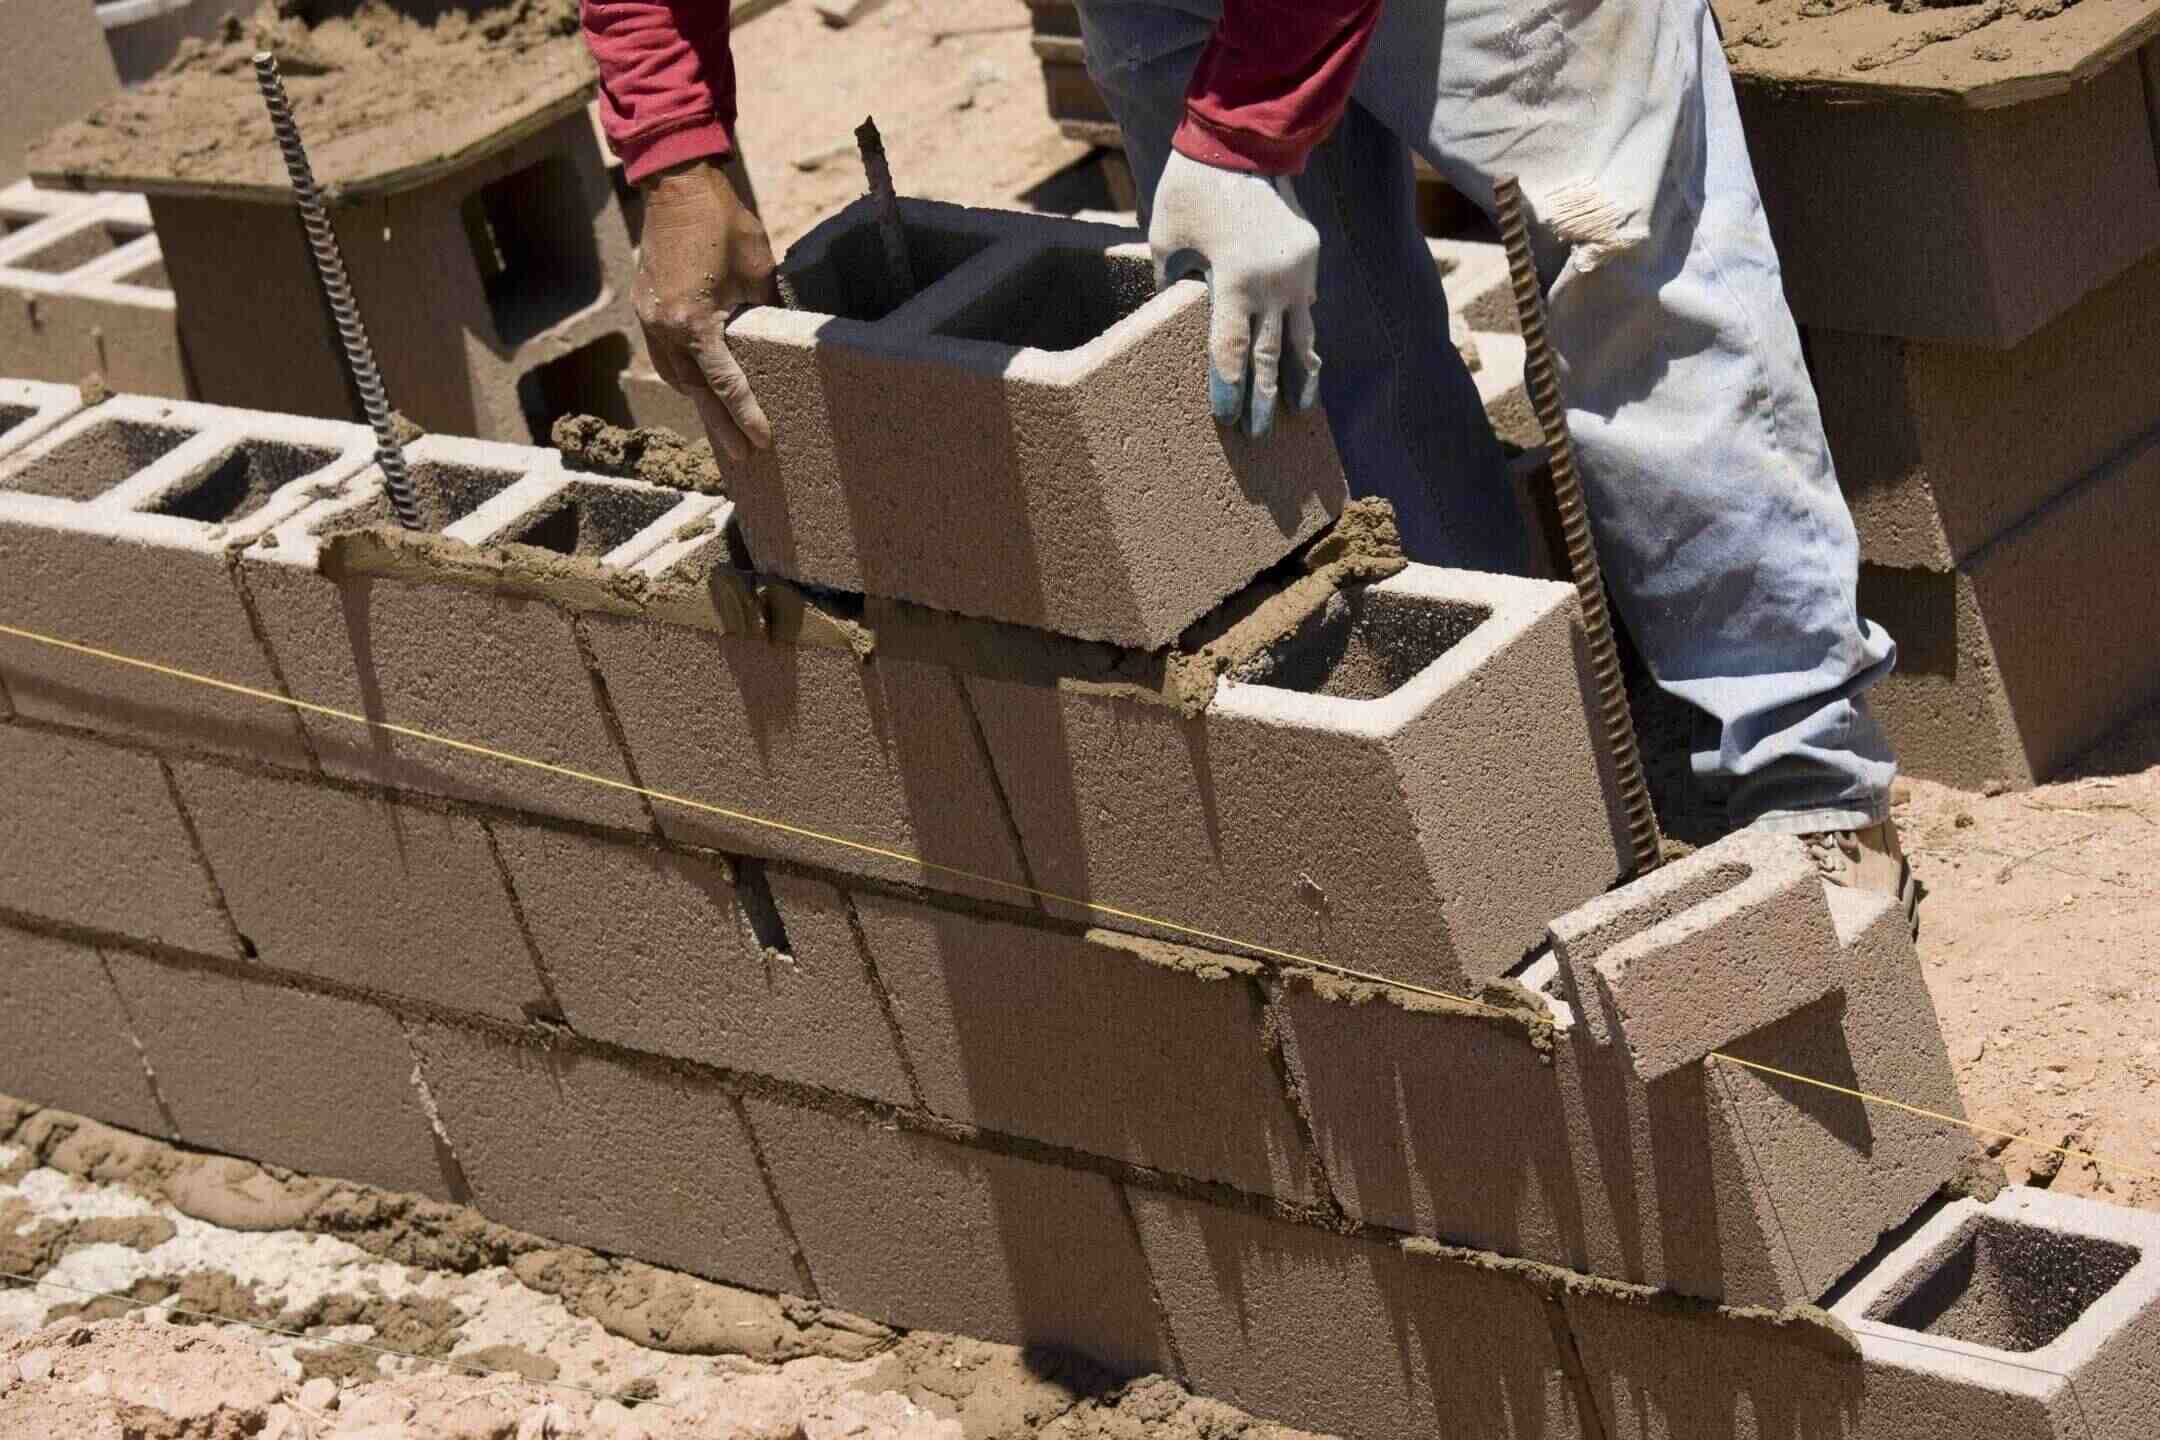
Interlocking the Blocks
The interlocking mechanism of the retaining wall blocks is what sets them apart from traditional wall construction methods. This unique design allows the blocks to fit together tightly, creating a stable and sturdy wall without the need for mortar or adhesive. Here are the steps to follow for interlocking the blocks:
- Align the blocks: Start by aligning the next block with the previous block, ensuring that they are tightly fitted together horizontally and vertically. The interlocking design typically consists of male and female connectors that fit into each other.
- Slide the block into place: Once the blocks are properly aligned, slide the new block into position. Apply pressure to firmly connect the male and female connectors, ensuring a secure fit.
- Confirm the lock: Once the blocks are interlocked, check that they are securely connected and there are no gaps or spaces between them. Gently tap the top of the block with a rubber mallet to ensure a tight fit.
- Repeat the process: Continue interlocking the blocks in the same manner as you build each row, maintaining proper alignment and ensuring a tight fit between the blocks.
- Check for levelness: Regularly check the levelness of the blocks as you build the wall. Use a level to confirm that the blocks are straight horizontally and vertically. Make any necessary adjustments to maintain a level wall.
- Vary block placement: To achieve a visually appealing and structurally sound wall, vary the placement of the blocks in each row. This staggered pattern helps to distribute weight evenly and provides added strength.
Interlocking the blocks is a crucial step in creating a mortar-free wall. The tight fit between blocks ensures stability and structural integrity, allowing the wall to withstand external forces and maintain its shape over time. Regularly checking for levelness and maintaining a precise interlock will result in a professional and well-built wall.
Continue interlocking the blocks row by row until you reach the desired height for your retaining wall. As you progress, take care to maintain alignment, levelness, and a secure interlock between each block. With each row, you will see your mortar-free wall with interlocking retaining wall blocks gradually taking shape.
Adding the Second Row and Beyond
Once you have successfully interlocked the first row of blocks in your mortar-free wall, you can proceed to add the second row and continue building your wall. Here are the steps to follow as you add subsequent rows:
- Apply adhesive (optional): While not necessary for interlocking blocks, you may choose to apply a thin layer of adhesive to provide extra stability between the rows. If using adhesive, follow the manufacturer’s instructions.
- Place the first block of the second row: Begin by interlocking the first block of the second row with the last block of the first row. Ensure a snug fit between the blocks, maintaining a consistent level and alignment.
- Continue interlocking the blocks: Work your way along the second row, interlocking each block with the previous row and with adjacent blocks. Pay attention to the proper alignment, levelness, and secure interlock between the blocks.
- Check for levelness: Periodically check the levelness of the blocks in each row, using a level to ensure they are straight horizontally and vertically. Adjust the base material if necessary to maintain a level wall.
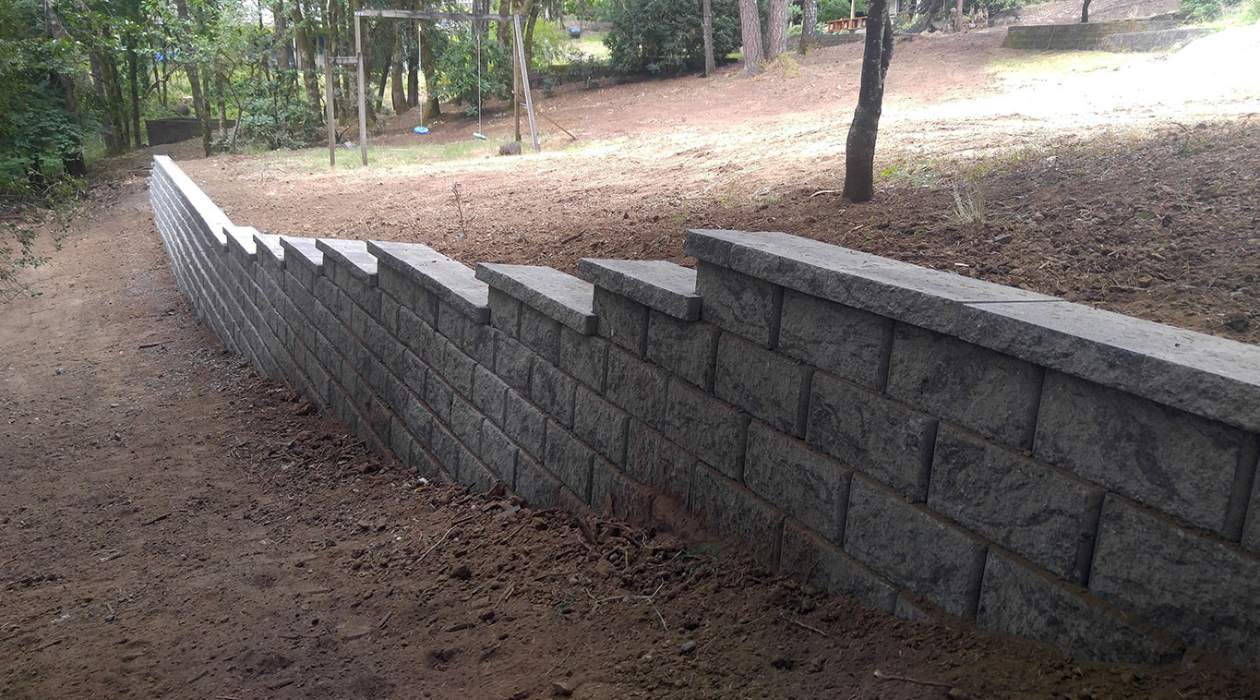
- Stagger the blocks: As you add more rows, remember to stagger the blocks to provide structural stability and a visually appealing pattern. This alternating placement helps distribute weight evenly and improves the overall strength of the wall.
- Repeat the process for subsequent rows: Continue adding blocks and interlocking them row by row until you reach the desired height for your mortar-free wall. Take care to maintain alignment, levelness, and a secure interlock with each new row.
- Trim blocks if needed: If you encounter areas where standard-sized blocks don’t fit, you may need to trim or cut blocks to fit the space. Use a saw or chisel to carefully adjust the size and shape of the blocks as required.
As you add each row and progress higher, keep a close eye on the levelness and alignment of the wall. Take the time to ensure a proper interlock between the blocks, as this will contribute to the overall strength and stability of your mortar-free wall.
Continue building the rows until you reach the desired height, making sure to follow any manufacturer’s instructions and design guidelines. With each row, your wall will take shape and start to showcase its structural integrity and visual appeal.
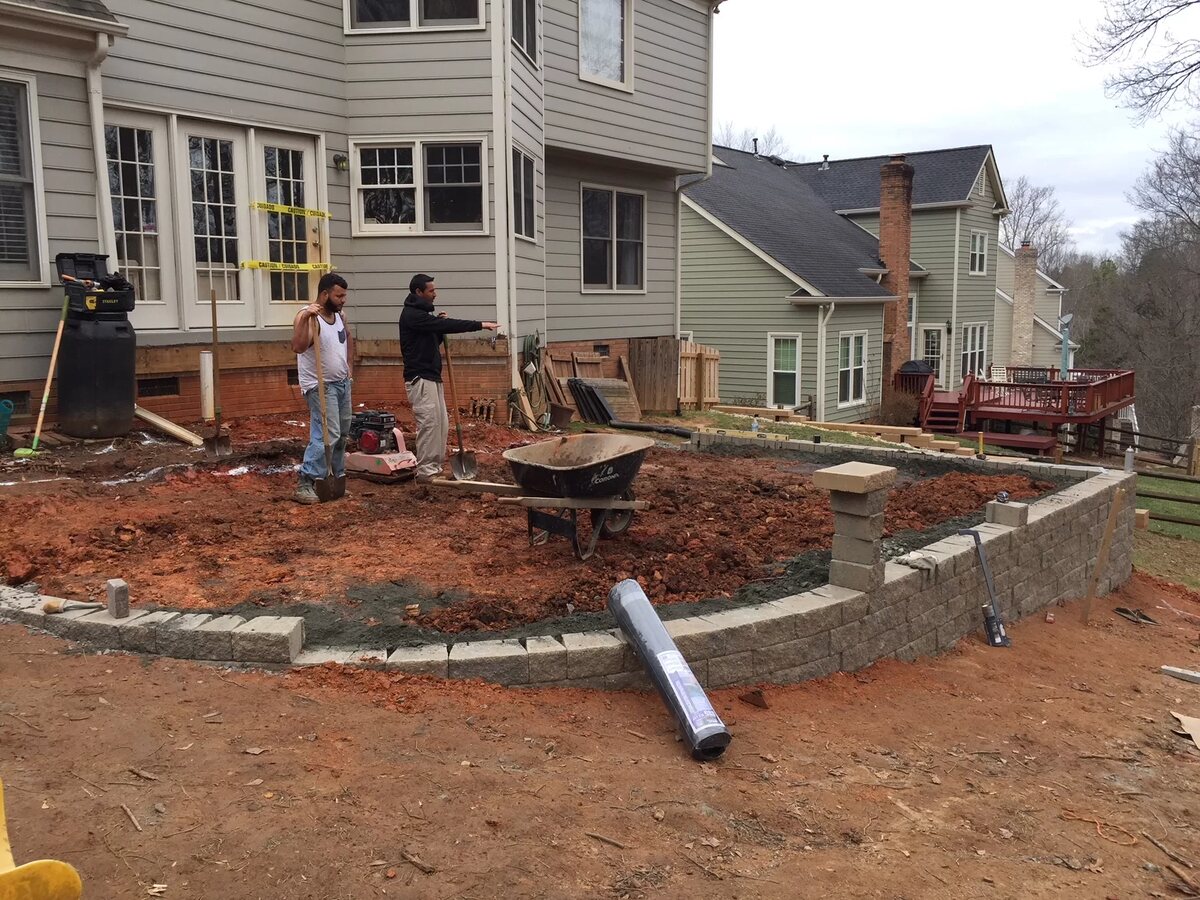
Backfilling the Wall
After you have completed the construction of your mortar-free wall with interlocking retaining wall blocks, the next step is to backfill the wall. Backfilling involves filling the space behind the wall with appropriate materials to enhance stability, drainage, and overall performance. Here’s how to backfill the wall effectively:
- Choose the right backfill material: Select a suitable material for backfilling, such as crushed stone or gravel. These materials offer good drainage and allow for proper compaction.
- Start filling behind the first row: Begin the backfilling process by adding the chosen material behind the first row of blocks. Use a shovel or rake to distribute the material evenly, ensuring it fills the spaces between the blocks.
- Compact the backfill material: Compact the backfill material using a compactor or tamper to minimize settling and create a stable support system behind the wall. This step is crucial for maintaining the structural integrity of the wall.
- Continue layer by layer: Add backfill material layer by layer, compacting each layer thoroughly before adding the next. Aim to fill the space evenly and avoid any voids that could lead to uneven settling or drainage issues.
- Consider fabric or geogrid: Depending on the height and purpose of your wall, you may need to incorporate fabric or geogrid into the backfill. These materials provide additional reinforcement, preventing soil erosion and improving the overall stability of the wall.
- Leave a gap for drainage: Ensure there is a gap between the top layer of backfill and the surrounding ground. This allows for proper drainage of water away from the wall, preventing hydrostatic pressure and potential damage.
- Compact the final layer: Once the backfill is complete, use a compactor or tamper to compact the final layer of material, ensuring it is firmly in place and well-settled.
Proper backfilling is essential for the long-term performance and stability of your mortar-free wall. It helps to distribute forces evenly, prevents excessive pressure on the wall, and promotes proper drainage. Take the time to backfill the wall correctly to ensure its longevity and durability.
Remember to consult local regulations and guidelines regarding drainage and backfilling materials specific to your region. This will help you choose the most suitable backfill materials and ensure compliance with local requirements.
Read more: How To Build A Retaining Wall For A Driveway
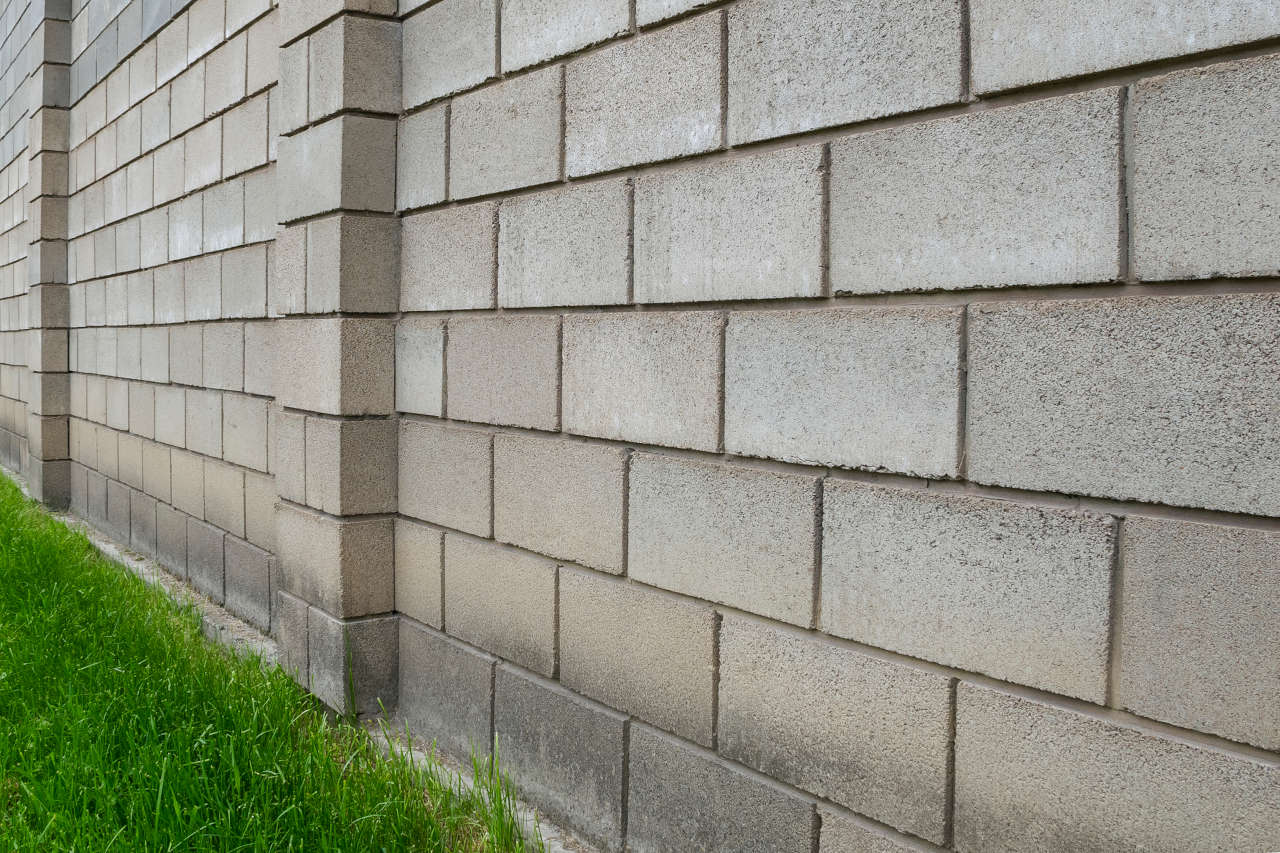
Finishing Touches
After completing the construction and backfilling of your mortar-free wall with interlocking retaining wall blocks, it’s time to add the finishing touches. These final steps will not only enhance the overall appearance of the wall but also improve its functionality and longevity. Here are some essential finishing touches to consider:
- Clean the surface: Remove any debris, dirt, or excess materials from the surface of the wall. Use a broom or brush to sweep away any loose particles, ensuring a clean and polished look.
- Seal the blocks (optional): Depending on the material used for the blocks, you may choose to apply a sealant to protect against staining, fading, or weathering. Follow the manufacturer’s instructions for the specific sealant and application process.
- Install drainage solutions: Consider adding drainage solutions, such as downspout extensions or French drains, to direct water away from the wall and prevent excessive water buildup behind it. This will help to maintain the structural integrity of the wall and prevent potential damage.
- Add a cap or coping: Install a cap or coping on top of the wall for a polished and finished look. Caps or copings provide a flat and level surface, adding an extra layer of protection to the blocks and creating a visually appealing appearance.
- Decorate and landscape: Use your creativity to incorporate decorative elements or landscaping around the wall. Plant flowers, shrubs, or climbing plants nearby to soften the appearance of the wall and create a harmonious integration with the surrounding environment.
- Maintain the wall: Regularly inspect the wall for any signs of damage, settlement, or erosion. Address any issues promptly to prevent further deterioration. Additionally, keep the wall clean and free from debris, taking care not to use any abrasive cleaning materials that may damage the surface.
By paying attention to these finishing touches, you can ensure that your mortar-free wall with interlocking retaining wall blocks not only serves its purpose effectively but also adds beauty and value to your landscape. Remember that proper maintenance and care will prolong the lifespan of your wall and keep it looking great for years to come.
Enjoy the results of your hard work and take pride in the stunning and functional mortar-free wall you have created with interlocking retaining wall blocks.
Conclusion
Building a mortar-free wall with interlocking retaining wall blocks offers a versatile, durable, and visually appealing solution for various landscaping projects. The interlocking mechanism of these blocks eliminates the need for mortar or adhesive, making them easy to install, modify, and remove when needed. By following the steps outlined in this article, you can confidently undertake your own DIY project and create a stunning and functional wall.
From choosing the right interlocking blocks and preparing the site to installing the first row and adding subsequent rows, each step in the process is crucial for the stability and longevity of the wall. With proper alignment, levelness, and interlocking, you will create a sturdy structure that can withstand the test of time.
Backfilling the wall with the appropriate materials enhances stability and ensures proper drainage. Applying the finishing touches, such as cleaning the surface, sealing the blocks, adding a cap or coping, and landscaping, elevates the aesthetic appeal of the wall and protects it from potential damage.
Remember to follow manufacturer’s instructions and seek professional advice if needed. Regular maintenance and care will help preserve the integrity and appearance of your mortar-free wall. Inspect the wall periodically and address any issues promptly.
Enjoy the satisfaction of witnessing your DIY project come to life as you create a functional and beautiful mortar-free wall with interlocking retaining wall blocks. Let your creativity shine and transform your landscape with this innovative construction method.
So, gather your tools, choose your blocks, and embark on this exciting journey of building a mortar-free wall with interlocking retaining wall blocks. Get ready to showcase your craftsmanship and revel in the beauty of your finished wall.
Frequently Asked Questions about How To Build A Mortar-Free Wall With Interlocking Retaining Wall Blocks
Was this page helpful?
At Storables.com, we guarantee accurate and reliable information. Our content, validated by Expert Board Contributors, is crafted following stringent Editorial Policies. We're committed to providing you with well-researched, expert-backed insights for all your informational needs.

0 thoughts on “How To Build A Mortar-Free Wall With Interlocking Retaining Wall Blocks”