Articles
How To Build A Cheap Fence
Modified: February 23, 2024
Discover cost-effective methods and tips for building a budget-friendly fence in our comprehensive articles. Enhance your outdoor space without breaking the bank!
(Many of the links in this article redirect to a specific reviewed product. Your purchase of these products through affiliate links helps to generate commission for Storables.com, at no extra cost. Learn more)
Introduction
Building a fence is a great way to add privacy, security, and curb appeal to your property. However, the cost of fencing materials and installation can often put a dent in your budget. If you’re looking to build a fence on a tight budget, you’re in the right place. In this article, we will guide you through the process of building a cheap fence without sacrificing quality or aesthetics.
Before diving into the nitty-gritty of fence construction, it’s important to have a clear understanding of your reasons for building a fence. Are you looking to create a boundary for your property, keep pets and children safe, or enhance the overall aesthetic appeal of your home? Identifying your goals will help you determine the type and style of fence that best suits your needs.
Once you have a clear vision in mind, the next step is to plan and design your fence. Take measurements of the area where you want to install the fence and decide on the desired height. Consider any slope or uneven terrain that may affect the installation process. Planning ahead will ensure that you have all the necessary materials and tools on hand.
Now, let’s get started on building a cheap fence that looks great and serves its purpose. From gathering the necessary materials to installing the fence panels, we will walk you through each step of the process. With a little bit of creativity and resourcefulness, you can have a beautiful and affordable fence that adds value to your property.
Key Takeaways:
- Building a cheap fence involves careful planning, accurate measurements, and resourceful material selection. By following the step-by-step process, you can achieve a high-quality, affordable fence that enhances your property’s value and functionality.
- Attention to detail, proper installation of posts and panels, and adding finishing touches such as gates and protective coatings are essential for constructing a durable and visually appealing cheap fence. Regular maintenance ensures its long-term functionality and aesthetic appeal.
Read more: How To Build A Cheap Dog Fence
Step 1: Planning and Designing the Fence
Before you start building your cheap fence, it’s crucial to carefully plan and design it. This step will help you determine the type of fence that suits your needs and the materials you’ll need to purchase. Here’s how you can efficiently plan and design your fence:
- Identify Your Purpose: Start by identifying the primary purpose of your fence. Are you looking for privacy, security, or simply adding aesthetic appeal to your property? This will help you choose the right style and design for your fence.
- Check Local Regulations: Before proceeding, check with your local zoning authorities or homeowner’s association to understand any rules or restrictions regarding fence construction. This will ensure that you follow the required guidelines and avoid any legal issues.
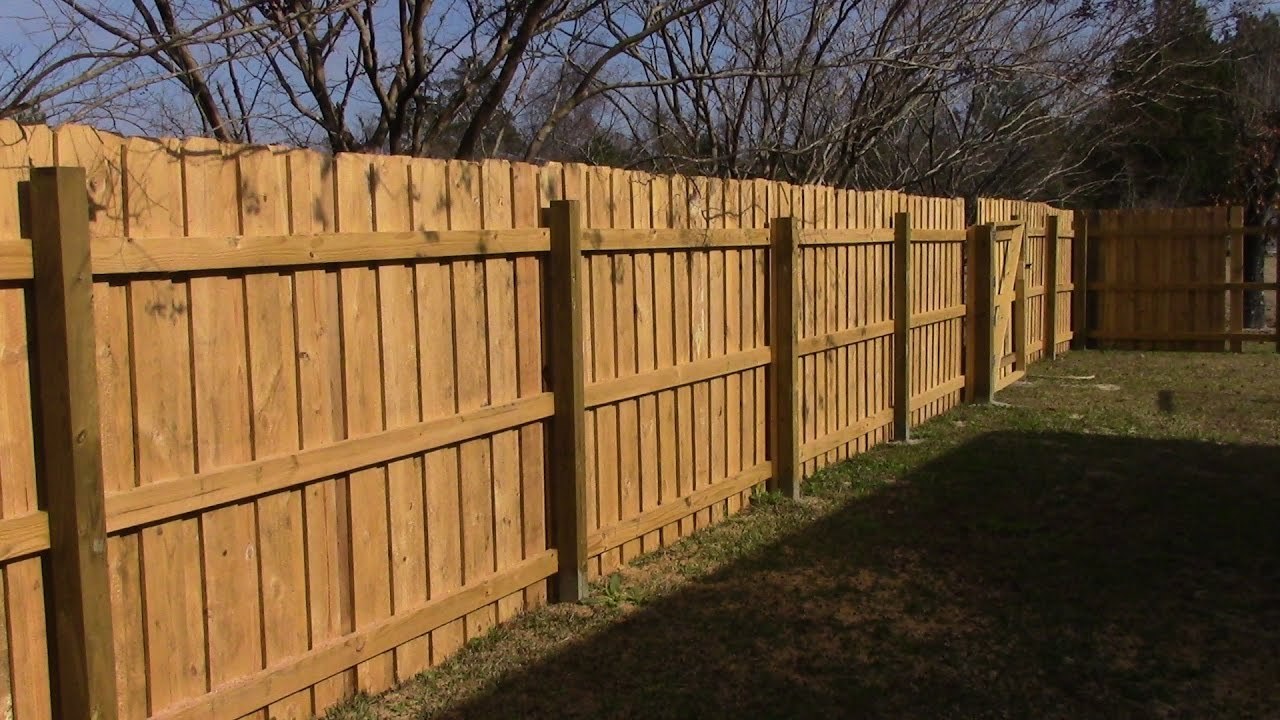
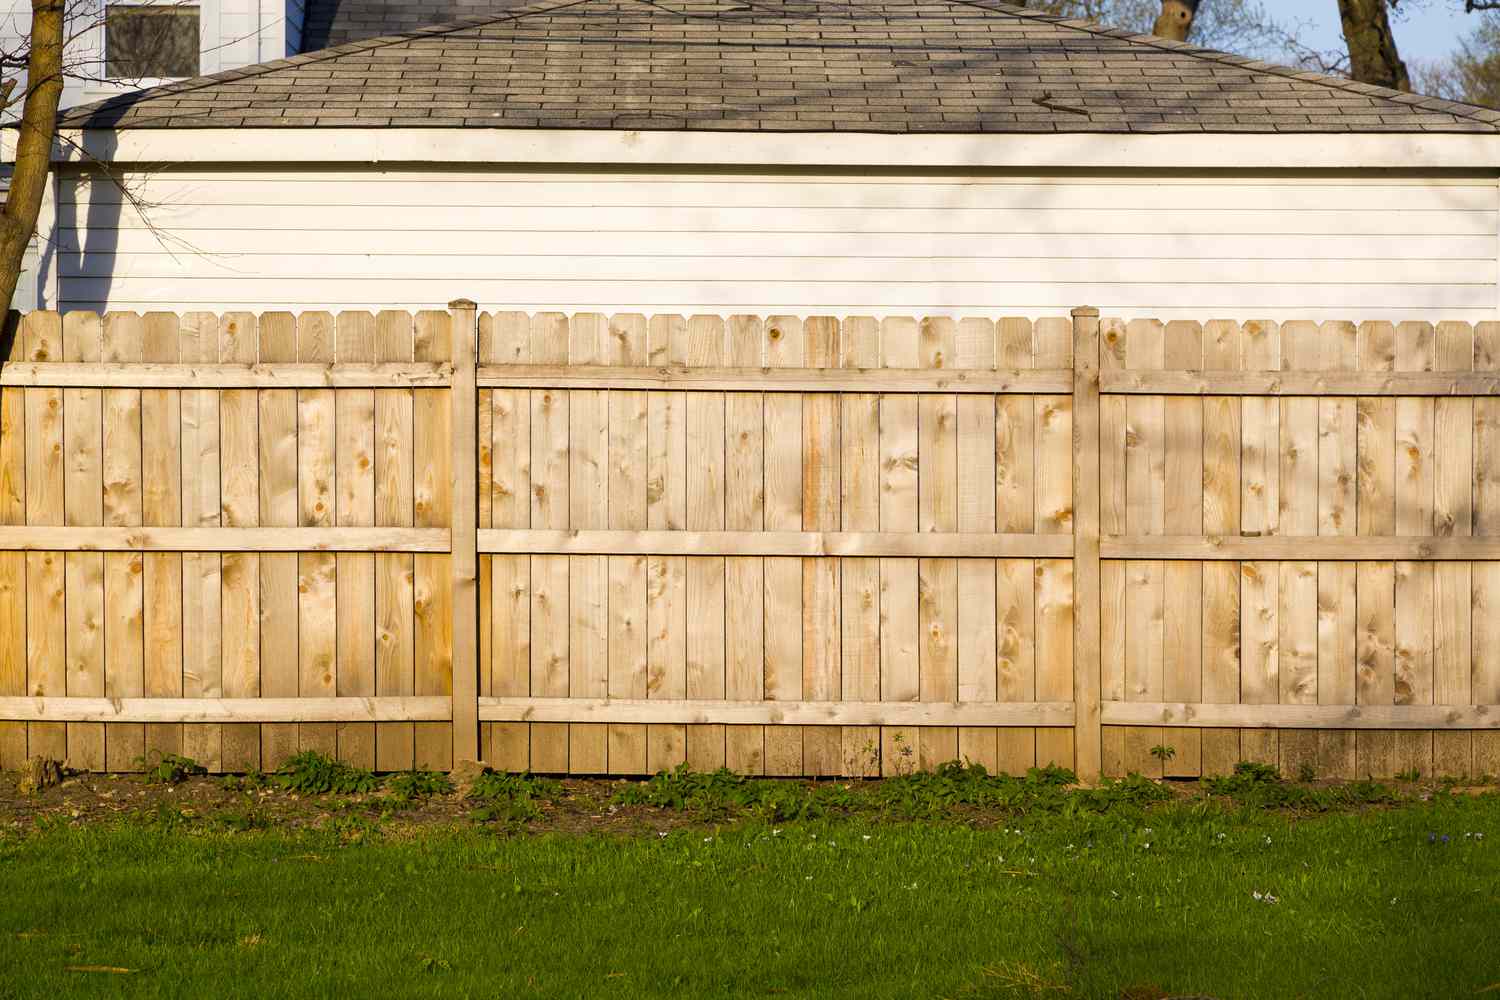
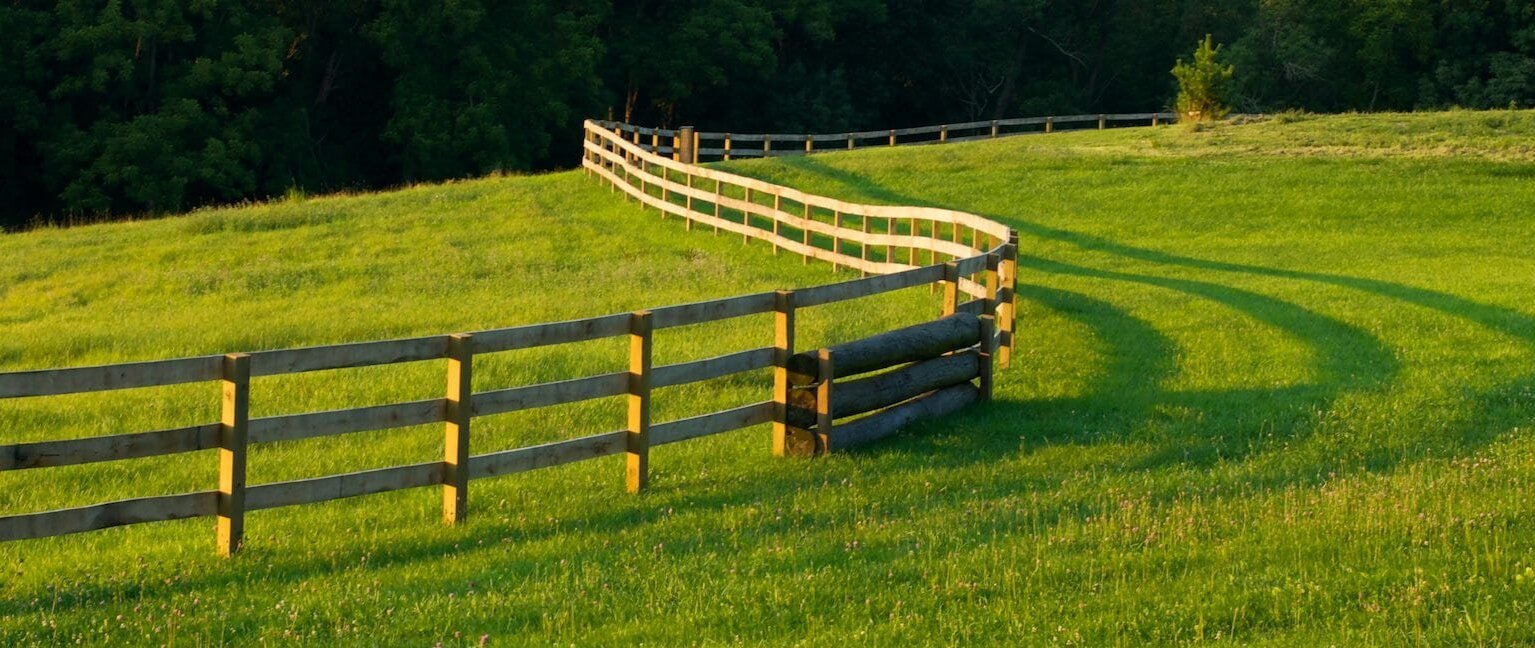
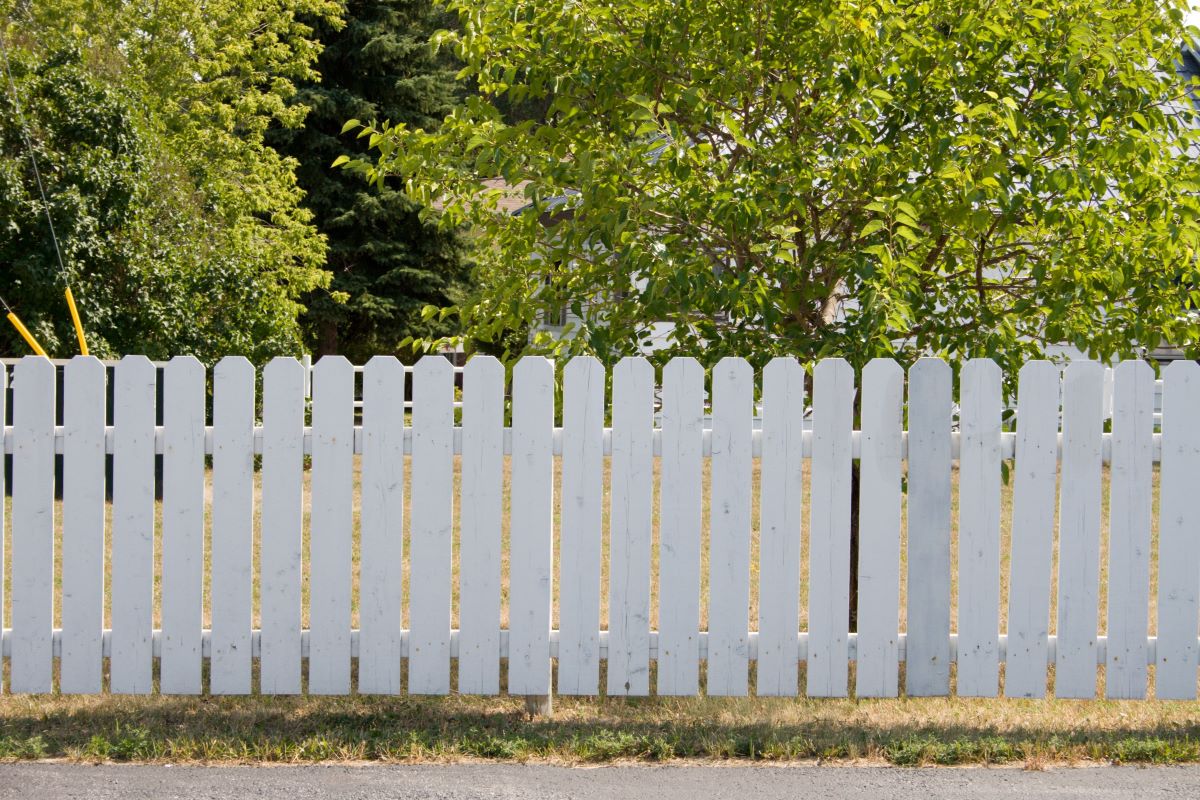
- Select the Fence Type: There are various types of fences available, such as wood, vinyl, chain link, or metal. Research the pros and cons of each type and choose the one that fits your budget and desired aesthetics. For a cheap fence, wood is often a popular and cost-effective choice.
- Determine the Fence Height: Consider the purpose of your fence and the level of privacy or security you require. Decide on the ideal height for your fence, keeping in mind any local regulations that may limit the maximum height allowed.
- Plan the Fence Layout: Measure the perimeter of the area where you want to install the fence. Use stakes and string to mark the boundary lines. Pay attention to any slopes or uneven terrain that may affect the installation process. This will help you determine the necessary length of the fence panels and the number of posts required.
- Consider Gate Placement: Think about where you want to install gates in your fence. Identify the main entrance points and allocate space accordingly. Gates not only provide access but also enhance the overall functionality of the fence.
- Research and Estimate Costs: Research the cost of materials and labor in your area. Visit local home improvement stores or contact fencing contractors to get an accurate estimate of the expenses involved. This will help you determine your budget and make necessary adjustments to keep costs low.
By carefully planning and designing your fence, you will have a clear roadmap for the rest of the construction process. Take your time during this step to ensure that you make informed decisions and avoid any costly mistakes later on. Once you have finalized your plan, you’re ready to move on to the next step: gathering the necessary materials and tools.
Step 2: Gathering Necessary Materials and Tools
Now that you have a well-thought-out plan in place, it’s time to gather the necessary materials and tools for building your cheap fence. Here’s a list of items you’ll need:
- Fence Materials: Depending on the type of fence you’ve chosen, you’ll need the appropriate materials. For a wooden fence, you’ll require fence posts, fence panels, rails, nails, screws, and concrete for securing the posts. Make sure to calculate the required amount of material based on your fence’s measurements.
- Tools: To complete the construction, you’ll need a variety of tools. These may include a shovel, post hole digger, level, tape measure, circular saw or handsaw, power drill, hammer, string line, pliers, and safety equipment such as gloves and safety glasses.
- Hardware: Don’t forget to gather the necessary hardware for installing the fence, such as gate hinges, latches, and brackets. Ensure you choose hardware that is durable and suitable for the type of fence you’re building.
- Protective Coatings: If you’re using wood for your fence, consider applying protective coatings such as stain or paint to increase its durability and longevity. These coatings help protect the wood from weathering, rot, and insect damage.
- Delivery or Transportation: If you’re purchasing materials in bulk or if they are too large to fit in your vehicle, arrange for delivery or make sure you have access to a truck or trailer for transportation.
Prior to purchasing any materials, it’s recommended to compare prices from different suppliers and look for any deals or discounts available. Additionally, double-check your measurements and calculations to ensure you’re buying the right amount of materials.
Take the time to gather all the necessary tools and equipment before starting the construction process. This will avoid any unnecessary delays or interruptions once you begin building your fence. With the materials and tools in hand, you’re now ready to move on to the next step: marking and measuring the fence line.
Step 3: Marking and Measuring the Fence Line
After gathering the necessary materials and tools, the next step in building your cheap fence is to mark and measure the fence line. This process ensures that your fence is installed in the correct location and aligns with your planned layout. Here’s how you can mark and measure the fence line:
- Gather Your Tools: Before you begin, ensure you have your tape measure, stakes, string line, and a marker or spray paint to mark the fence line. Having these tools handy will make the process much smoother.
- Locate Property Lines: It’s crucial to locate your property lines accurately before marking the fence line. Utilize property documents or consult with a surveyor if needed to ensure you’re within your property boundaries.
- Place Corner Stakes: Start at one corner of your property and drive a stake into the ground. Use a mallet or hammer to secure it firmly. Repeat this step at the opposite corner of your fence line.
- Run a String Line: Attach the string line to one corner stake and extend it to the other corner stake. Make sure it is pulled tightly and runs parallel to the ground. This string line will serve as a guide for the rest of the fence installation.
- Mark Fence Post Locations: Use your tape measure to mark the desired spacing for the fence posts along the string line. Typically, posts are spaced 6 to 8 feet apart, but this may vary depending on the type of fence you’re building. Measure and mark each post location with a marker or spray paint.
- Double-Check Measurements: Before proceeding further, double-check all your measurements to ensure accuracy. This will help avoid any errors during the fence installation process.
- Mark Gate Placement: If you plan on installing gates, mark their locations on the fence line. Ensure sufficient space is allocated for the gate size you intend to use.
By accurately marking and measuring the fence line, you establish a precise guide for the installation process. This step is crucial in ensuring that your fence is straight, even, and correctly positioned within your property. Once the fence line is marked, you’re ready to move on to the next step: digging post holes.
Step 4: Digging Post Holes
After marking and measuring the fence line, the next step in building your cheap fence is to dig post holes. These holes will provide the foundation and stability for your fence posts. Here’s how you can efficiently dig post holes:
- Gather Your Tools: Before you begin digging, gather your post hole digger, shovel, and wheelbarrow. Ensure that your tools are in good condition and ready for use.
- Measure Hole Depth: Determine the ideal depth for your post holes, taking into account the length of your fence posts. As a general rule, a third of the length of the post should be buried underground for stability. For example, if your fence posts are 6 feet tall, your holes should be at least 2 feet deep.
- Start Digging: Begin digging the first post hole at one of the marked locations along the fence line. Use your post hole digger or shovel to break through the soil and remove it. Work systematically, digging in a circular motion to create a round hole.
- Maintain Consistent Hole Diameter: Ensure that the diameter of each hole is consistent to achieve a uniform look for your fence. Regularly check the diameter using a tape measure or by comparing it to the width of your fence posts.
- Remove Excess Soil: As you dig, place the excess soil into a wheelbarrow or designated area. This will help keep the workspace tidy and make it easier to backfill the holes later.
- Double-Check Hole Depth: Periodically measure the depth of the hole as you dig to ensure that it matches your desired depth. Adjust the depth as needed, removing or adding soil as necessary.
- Repeat for Each Post: Once the first hole is complete, move on to the next marked location and repeat the process. Take your time to ensure that each hole is dug to the appropriate depth and diameter.
- Keep Holes Aligned: Pay attention to the alignment of the post holes along the fence line. The holes should be evenly spaced and in line with your string guide. Adjust as necessary to maintain a straight and consistent fence line.
Digging post holes is a physically demanding task, so it’s important to take breaks when needed and stay hydrated. Once all the post holes are dug, you’re ready to move on to the next step: installing the fence posts.
Consider using recycled materials such as pallets or old wood to build a cheap fence. These materials can often be found for free or at a low cost, making them a budget-friendly option for fencing.
Read more: How To Build A Carport Cheap
Step 5: Installing Fence Posts
With the post holes dug, it’s time to move on to installing the fence posts. The posts provide the structural support for your fence and are essential for its stability. Here’s a guide on how to install the fence posts:
- Prepare the Posts: Before installing the posts, ensure they are clean and free from any debris. If you’re using wooden posts, consider applying a wood preservative or sealant to protect them from rot and decay.
- Place Gravel in the Bottom of Each Hole: To aid in drainage and prevent the posts from sitting in stagnant water, add a layer of gravel at the bottom of each post hole. This will help prolong the life of your fence posts.
- Insert the Fence Post: Carefully lower the first fence post into its respective hole. Ensure that the post is plumb (vertically straight) using a level. Make adjustments as necessary by adding or removing soil from the hole.
- Secure the Post: Once the post is plumb, add concrete mix into the hole, following the manufacturer’s instructions. As you pour the concrete, periodically check the post for plumb and make adjustments if needed.
- Use Bracing for Support: For added support and stability, use temporary braces to hold the post in place while the concrete cures. Secure the braces to the post and the ground, ensuring they are firmly in place.
- Repeat for Remaining Posts: Move on to the next post hole and repeat the process of inserting the post, securing it, and using braces for support. Take extra care to ensure each post is plumb and properly aligned with the fence line.
- Allow Concrete to Cure: It’s important to let the concrete cure according to the manufacturer’s instructions before proceeding with the next steps. This typically takes around 24 to 48 hours.
- Remove Bracing: Once the concrete has cured, remove the temporary braces. Ensure that the posts are securely set in the ground and stable.
Installing the fence posts correctly is crucial for the overall stability and longevity of your cheap fence. Take your time during this step to ensure that each post is plumb and securely anchored in the ground. With the fence posts installed, you’re ready to move on to the next step: attaching the horizontal rails.
Step 6: Attaching the Horizontal RailsWith the fence posts securely installed, it’s time to move on to attaching the horizontal rails. These rails provide additional support and help to connect the fence panels. Here’s a step-by-step guide on attaching the horizontal rails:
- Gather Your Materials: Ensure you have all the necessary materials, including the pre-cut rails, screws or nails, a measuring tape, and a level.
- Measure and Cut Rails: Measure the distance between two adjacent fence posts to determine the length of your horizontal rails. Cut the rails to the appropriate length using a saw, ensuring they fit snugly between the posts.
- Position the First Rail: Start at one end of the fence and position the first rail between the two adjacent posts. Use a level to ensure the rail is perfectly horizontal. Adjust the position if necessary.
- Secure the Rail: Once the rail is aligned, attach it to the posts using screws or nails. Use multiple fasteners for each connection to ensure stability. Repeat this process for each rail along the fence line.
- Spacing the Rails: Determine the desired spacing between the rails. This will depend on your preference and the type of fence panels you’re using. Use a measuring tape to ensure consistent spacing between each rail.
- Install Remaining Rails: Proceed to install the remaining rails using the same method as described above. Ensure they are level and securely attached to the fence posts.
- Double-Check Alignment: Once all the rails are installed, use a level to double-check the alignment. Adjust the rails as necessary to ensure they are all perfectly horizontal and aligned with each other.
Attaching the horizontal rails is an important step in ensuring the stability and overall appearance of your cheap fence. Taking the time to measure and position the rails correctly will result in a professionally finished fence. With the horizontal rails in place, you’re ready to move on to the next step: installing the fence panels.
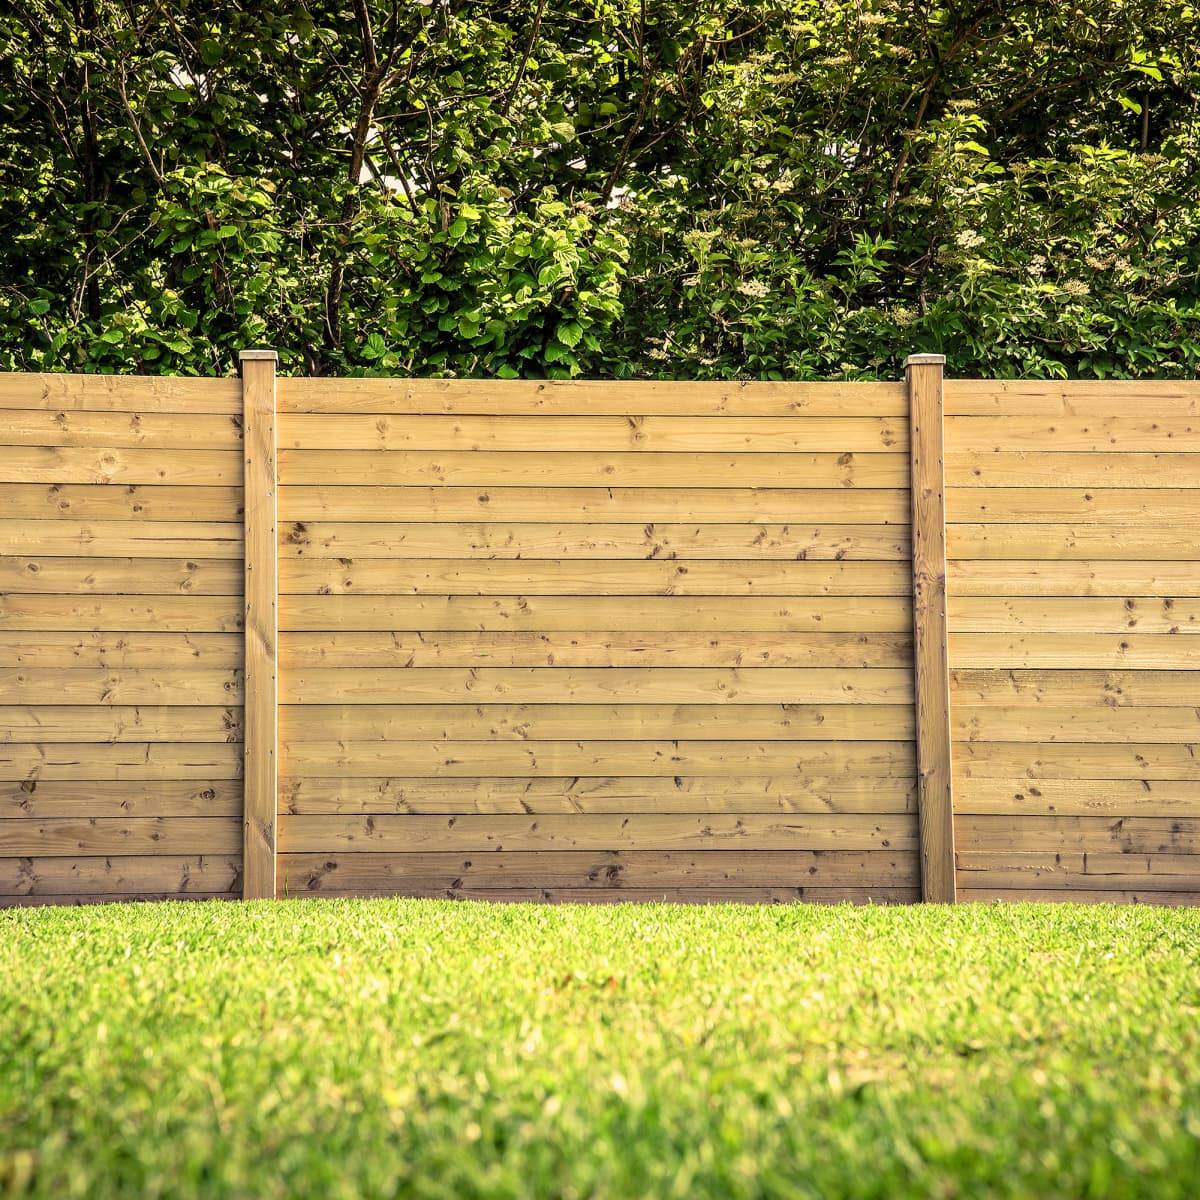
Step 7: Installing the Fence Panels
With the horizontal rails securely attached, it’s time to install the fence panels. The panels not only enhance the privacy and security of your cheap fence but also add aesthetic appeal. Here’s a step-by-step guide on how to install the fence panels:
- Gather Your Materials: Make sure you have all the necessary materials, including the pre-assembled fence panels, screws or nails, and a level.
- Start at a Corner: Begin at a corner of your fence line and position the first fence panel against the two adjacent posts. Ensure that the panel is level and plumb using a level. Adjust the position if needed.
- Secure the Panel: Once the panel is in the correct position, attach it to the top and bottom horizontal rails using appropriate screws or nails. Ensure that the panel is securely fastened to prevent any movement or sagging.
- Check for Alignment: After securing the first panel, use a level to check for proper alignment. Adjust the panel if necessary to ensure it is perfectly vertical and aligned with the adjacent posts and rails.
- Install Remaining Panels: Move on to the next panel and repeat the process of positioning and securing it between the posts. Check for proper alignment with each panel and make any necessary adjustments.
- Ensure Consistent Spacing: Maintain a consistent spacing between the fence panels to achieve a uniform look. Use a measuring tape to ensure equal spacing between each panel.
- Trimming the Last Panel: If needed, trim the last fence panel to fit the remaining space. Measure and cut the panel to the appropriate size using a saw.
- Inspect and Adjust: Once all the fence panels are installed, inspect the entire fence line for any gaps, loose fasteners, or unevenness. Make any necessary adjustments to ensure a seamless and polished appearance.
Installing the fence panels is the final step in constructing your cheap fence. Proper alignment, secure fastening, and consistent spacing are key to achieving a professional and visually appealing result. With the fence panels in place, you’re almost done. The next step is to add gates and apply any finishing touches to complete your fence.
Step 8: Adding Gates and Finishing Touches
With the fence panels installed, it’s time to add gates and apply the finishing touches to complete your cheap fence. Here’s a step-by-step guide on how to add gates and add those final details:
- Gather Your Materials: Make sure you have all the necessary materials for the gates, including gate panels, hinges, latches, and any additional hardware. Ensure that the size and style of the gate panels match the rest of your fence.
- Position the Gate Posts: Determine the location of your gate and position the gateposts accordingly. The gateposts should be sturdy and secured in the ground, similar to the fence posts. Use a level to ensure the gateposts are plumb.
- Install Gate Hinges: Attach the gate hinges to the gate panel and the gatepost according to the manufacturer’s instructions. Use screws or nails to secure the hinges, ensuring that they provide smooth operation for opening and closing the gate.
- Attach Gate Latch: Install a gate latch on the opposite side of the gate panel from the hinges. This will ensure that the gate stays securely closed when not in use. Test the latch to ensure it functions properly.
- Check Alignment and Functionality: Double-check the alignment of the gate panel with the rest of the fence. Ensure that it opens and closes smoothly without any obstructions. Make any necessary adjustments to achieve proper alignment and functionality.
- Add Fence Caps or Finials: Consider adding fence caps or finials to the top of your fence posts for added aesthetic appeal. These decorative elements can give your cheap fence a more polished and finished look.
- Apply Protective Coatings: If you’re using wood for your fence, consider applying a protective coating such as stain or paint. This will help protect the wood from weathering, rot, and insect damage. Follow the manufacturer’s instructions for proper application.
- Clean Up and Inspect: Finally, clean up the worksite and remove any construction debris. Inspect the entire fence for loose screws or nails and tighten them as necessary. Ensure that the fence is secure and all components are properly installed.
Adding gates and attending to the finishing touches completes the construction of your cheap fence. Take the time to ensure that the gate operates smoothly and that all elements add to the functionality and appearance of your fence. With the gates in place and the final touches complete, you can now enjoy the privacy, security, and aesthetic appeal of your newly constructed fence.
Remember, building a fence can be a rewarding DIY project. However, if you’re not comfortable with any part of the process or if you have specific requirements, it’s always recommended to consult with a professional to ensure the best results.
Read more: How To Build A Cheap Carport
Conclusion
Congratulations! You have successfully learned how to build a cheap fence without compromising on quality or aesthetics. By following the steps outlined in this article, you have taken the necessary measures to ensure privacy, security, and curb appeal for your property, all within your budget.
Throughout the process, you started by carefully planning and designing your fence, considering its purpose and the local regulations. You gathered the necessary materials and tools, ensuring you had everything needed for the construction. You marked and measured the fence line, ensuring accuracy and a straight fence. You dug post holes and securely installed the fence posts, providing a solid foundation for your fence. Attaching the horizontal rails added stability and support. Installing the fence panels enhanced privacy and security, and adding gates completed the functionality of your fence. Finally, the finishing touches, such as decorative elements and protective coatings, added the desired aesthetic appeal.
Building a cheap fence requires attention to detail, resourcefulness, and a bit of elbow grease. By opting for cost-effective materials and utilizing DIY techniques, you have achieved a beautiful and affordable fence that adds value to your property.
Remember, proper maintenance is essential to ensure the longevity of your fence. Regularly inspect for any loose screws or nails, repair any damaged parts, and apply protective coatings as needed. By taking care of your fence, it will continue to serve its purpose for years to come.
Thank you for joining us on this journey to build a cheap fence. We hope this article has provided you with valuable insights and guidance. Enjoy the privacy, security, and enhanced curb appeal that your new fence brings to your home!
Frequently Asked Questions about How To Build A Cheap Fence
Was this page helpful?
At Storables.com, we guarantee accurate and reliable information. Our content, validated by Expert Board Contributors, is crafted following stringent Editorial Policies. We're committed to providing you with well-researched, expert-backed insights for all your informational needs.


0 thoughts on “How To Build A Cheap Fence”