Home>Furniture>Living Room Furniture>How To Build A Cheap TV Stand
Living Room Furniture
How To Build A Cheap TV Stand
Modified: August 28, 2024
Looking for affordable living room furniture? Learn how to build a cheap TV stand with step-by-step instructions in this easy DIY guide.
(Many of the links in this article redirect to a specific reviewed product. Your purchase of these products through affiliate links helps to generate commission for Storables.com, at no extra cost. Learn more)
Introduction
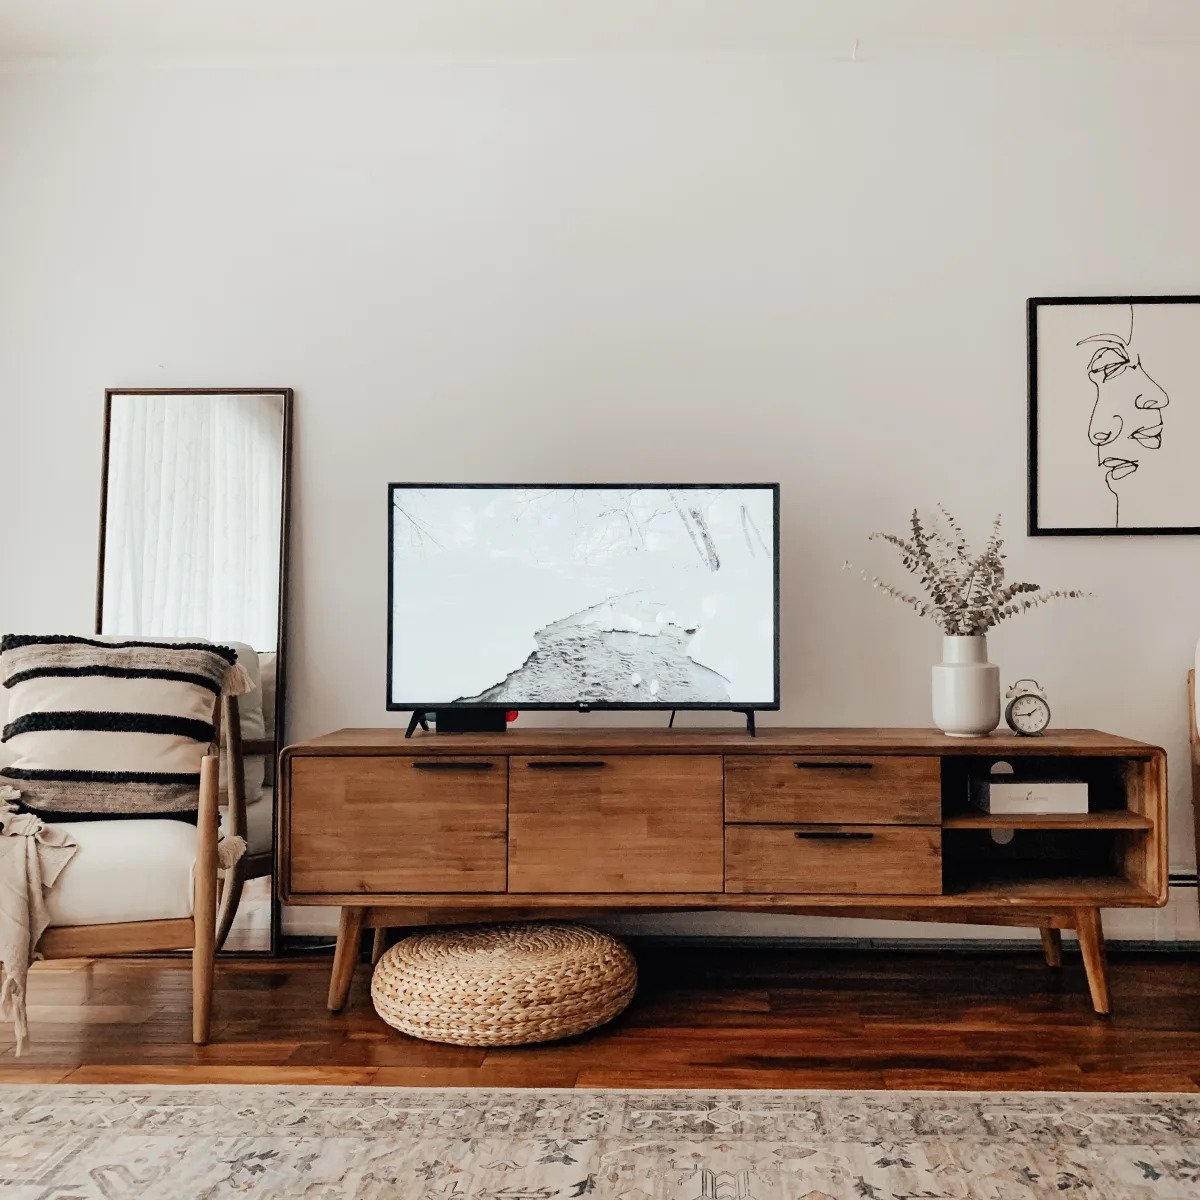
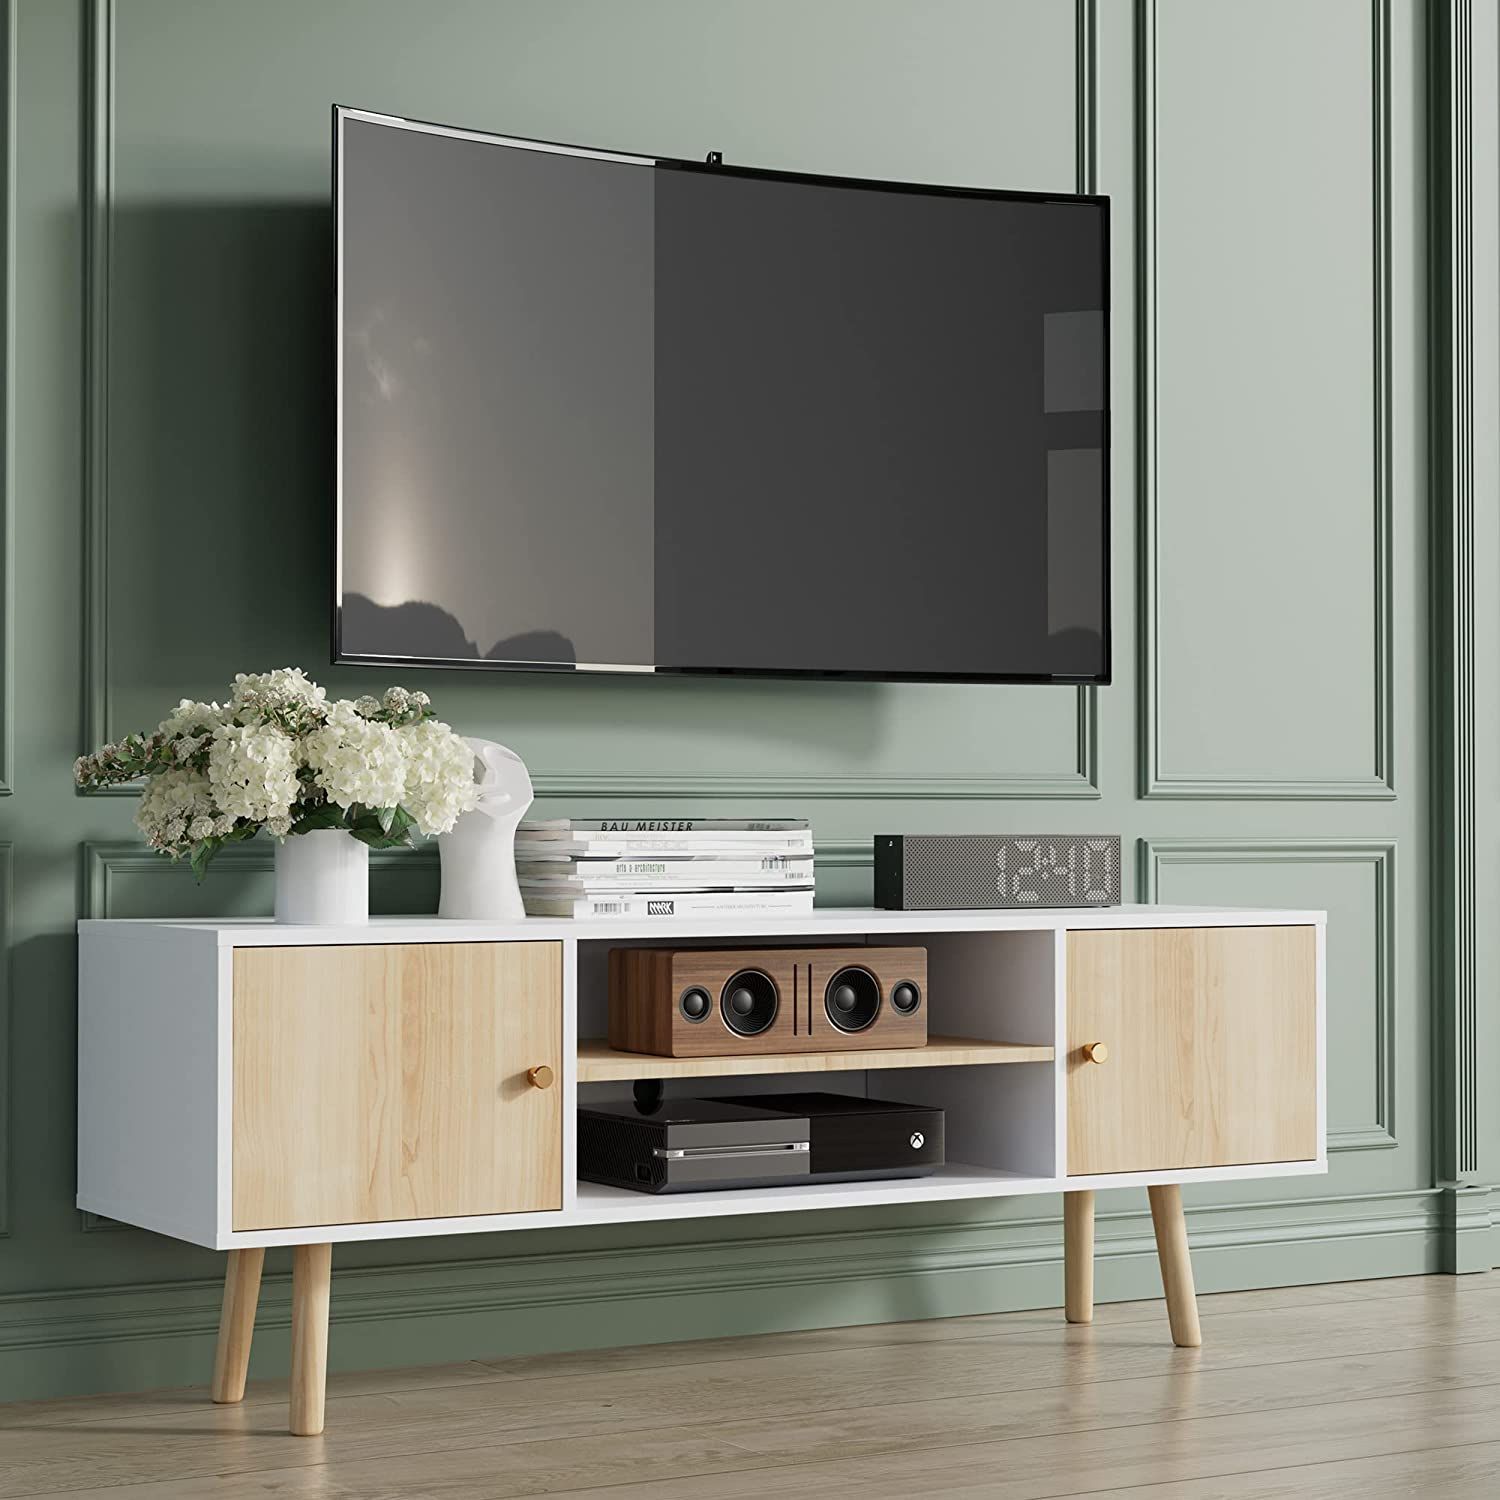
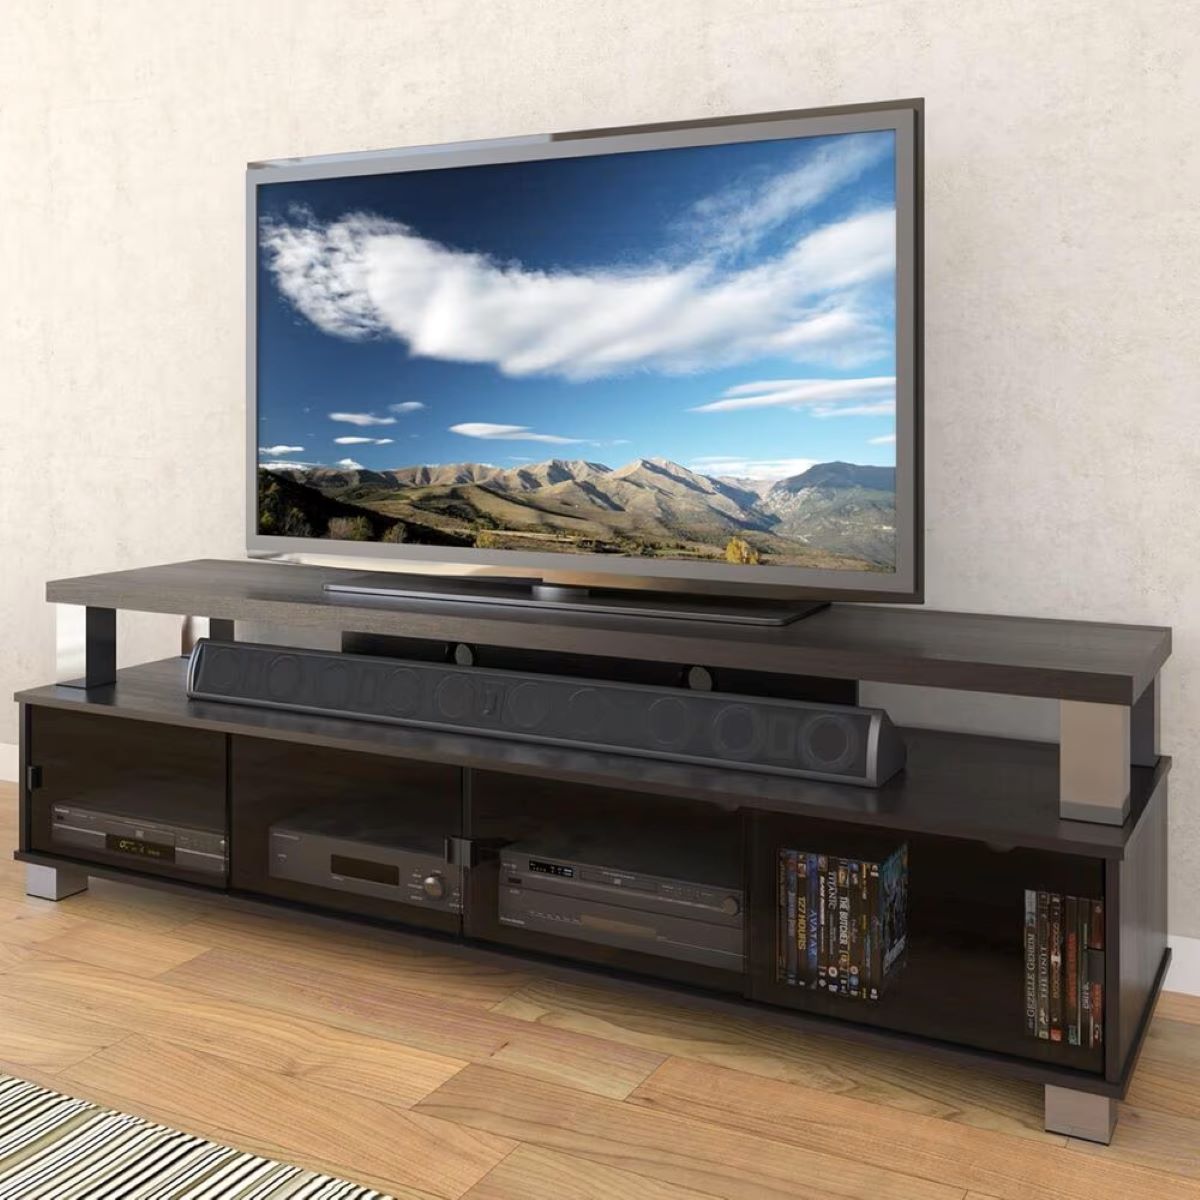
When it comes to designing the perfect living room, one of the most important elements to consider is the TV stand. A TV stand not only holds your television securely, but it also serves as a focal point in the room, adding style and functionality. However, finding a TV stand that fits your budget and matches your design preferences can be a challenge.
In this article, we will guide you through the process of building a cheap TV stand that is both practical and aesthetically pleasing. Whether you have limited funds or simply enjoy the satisfaction of creating something yourself, this DIY project is a great way to customize your living room furniture while saving money.
Before we dive into the details, it’s important to note that while this project is budget-friendly, it does require some basic carpentry skills and tools. If you’re a beginner, don’t worry! We will break down the steps and provide helpful tips along the way.
So, roll up your sleeves and let’s get started on building your own cheap TV stand!
Key Takeaways:
- Building a cheap TV stand is a fun DIY project that saves money and lets you showcase your personal style. With basic carpentry skills and creativity, you can create a budget-friendly and stylish addition to your living room.
- By measuring, planning, and assembling carefully, you can confidently build a TV stand that fits your space and needs. Adding finishing touches like paint or decorative elements makes it unique and truly yours.
Read more: How To Build A TV Stand With Fireplace
Materials Needed
Before you begin constructing your cheap TV stand, it’s essential to gather all the necessary materials. Here’s a list of items you’ll need:
- 3/4 inch plywood sheets
- 2×4 lumber
- Screws
- Wood glue
- Sanding paper
- Paint or stain
- Paintbrush or foam roller
- Measuring tape
- Saw
- Drill
- Screwdriver
These materials are readily available at most home improvement stores, and you can choose the type of wood and finish that best suits your preferences.
Before purchasing the materials, measure the area where your TV stand will be placed to ensure it fits correctly and doesn’t obstruct any other furniture or pathways.
Now that you have gathered all the necessary materials, let’s move on to the next step: measuring and planning.
Step 1: Measure and Plan
The first step in building your cheap TV stand is to measure the space where it will be located and plan out the design. Grab your measuring tape and carefully measure the length, width, and height of the area to ensure that your TV stand fits perfectly.
Next, consider the size of your television and any additional equipment you want to store on the stand, such as a DVD player or gaming console. Make sure to leave enough space for these items.
Once you have your measurements, sketch out a rough design of your TV stand. Consider the overall shape, the number of shelves or compartments you want, and any other features you’d like to incorporate.
Take some time to think about how you want your TV stand to look. Do you prefer a minimalist design or something more rustic? This is a great opportunity to let your personal style shine through.
Having a clear plan in place will make the construction process smoother and help you avoid any costly mistakes.
With your measurements and design in hand, you’re ready for the next step: choosing and gathering materials.
Step 2: Choose and Gather Materials
Now that you have a clear plan in place, it’s time to choose the materials for your cheap TV stand. Head to your local home improvement store and look for 3/4 inch plywood sheets and 2×4 lumber. These materials are sturdy and affordable, making them perfect for this project.
When selecting the plywood sheets, consider the finish you want for your TV stand. If you prefer a natural wood look, opt for plywood with a smooth and even grain. Alternatively, you can choose plywood with a veneer that mimics the appearance of a different type of wood.
For the 2×4 lumber, you’ll need it for the frame and shelves of the TV stand. Select straight and smooth pieces without any warping or cracks. If you prefer a specific type of wood, such as pine or oak, you can find 2x4s in different varieties.
While you’re at the store, don’t forget to pick up screws, wood glue, sanding paper, and any paint or stain you’d like to use for finishing touches.
Remember, it’s always a good idea to buy a little extra of each material, just in case you make any mistakes or need to make adjustments during the construction process.
Once you have all your materials gathered, you’re ready to move on to the next step: preparing the base of the TV stand.
Step 3: Prepare the Base
With your materials in hand, it’s time to start building your cheap TV stand. The first step is to prepare the base, which will provide stability and support for the entire structure.
Begin by cutting the plywood sheet to the desired dimensions for the base. This will be the bottom part of your TV stand. Use a saw to make clean and precise cuts.
Next, take your 2×4 lumber and cut four pieces to the same length as the width of the base. These will serve as the support beams for the base.
Position the support beams along the edges of the plywood base and attach them using screws. Make sure they are securely fastened and flush with the edges.
Once the support beams are attached, flip the base over and reinforce the joints with wood glue. This will add extra strength to the base and ensure its durability.
Allow the wood glue to dry completely before moving on to the next step. This may take a couple of hours, so be patient and resist the temptation to rush the process.
After the wood glue is dry, you can sand the base to smooth any rough edges or imperfections. Use sanding paper with a fine grit to achieve a smooth finish. This step will not only improve the aesthetics but also prevent any potential splinters.
Once the base is sanded, you’re ready to move on to the next step: assembling the frame of your cheap TV stand.
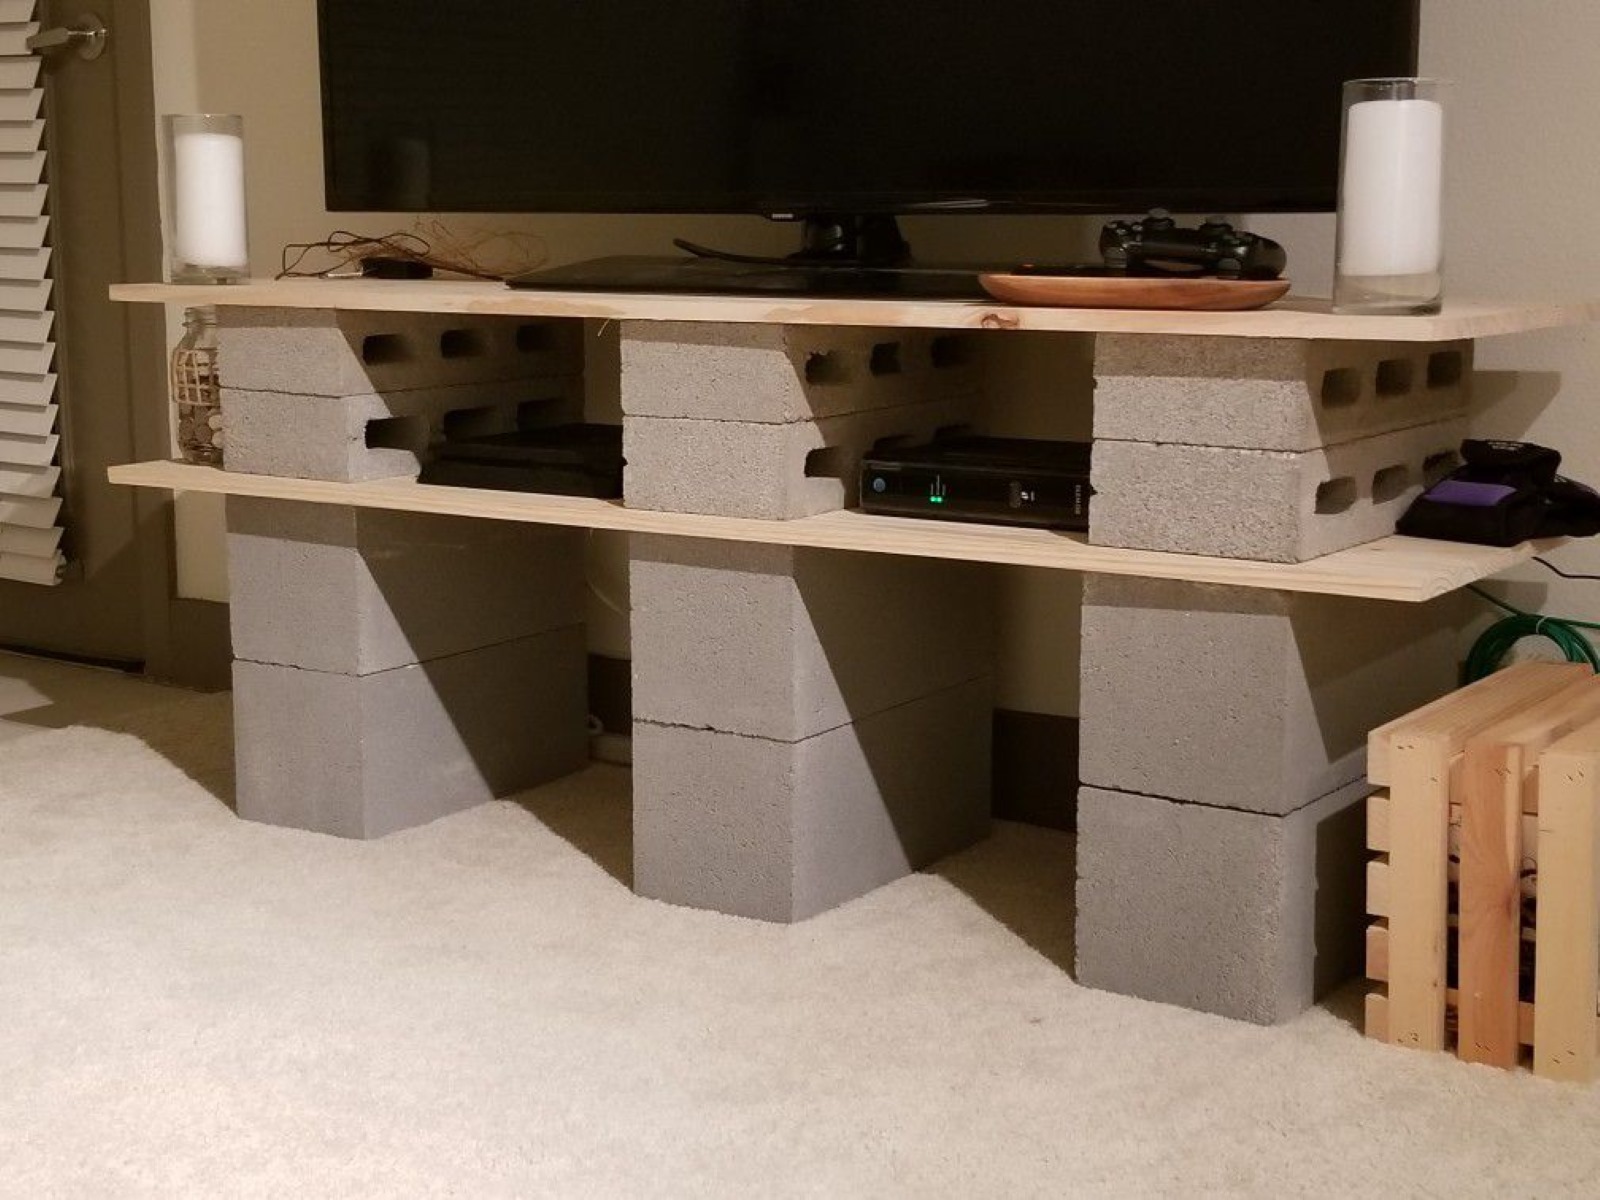
When building a cheap TV stand, consider using inexpensive materials like plywood or MDF. You can also repurpose old furniture or crates to save money. Be creative and think outside the box for cost-effective solutions.
Read more: How To Build A Rolling TV Stand
Step 4: Assemble the Frame
Now that you have prepared the base of your cheap TV stand, it’s time to assemble the frame. The frame will provide the structure and support for the shelves and other components.
Start by cutting the 2×4 lumber into pieces to create the vertical supports for the frame. Measure and cut the pieces according to your desired height for the TV stand. Remember to account for the thickness of the base when determining the length of the vertical supports.
Next, position the vertical supports at each corner of the base and attach them using screws. Ensure that they are plumb and straight before fastening them securely. It’s helpful to have a second person assist you with holding the pieces in place while you screw them in.
Once the vertical supports are in place, cut additional pieces of 2×4 lumber to create the horizontal supports that will connect the vertical supports. These horizontal supports will provide stability and rigidity to the frame.
Attach the horizontal supports to the vertical supports, spacing them evenly along the width of the TV stand. Use screws to secure them firmly. This step may require the use of a drill to create pilot holes for the screws, especially if you are working with hardwood.
Double-check that the frame is level and sturdy, making any necessary adjustments as needed. This is the foundation of your TV stand, so it’s crucial to ensure it is stable and well-constructed.
Once the frame is assembled and secure, take a moment to admire your progress. You’re halfway there! The next step is to attach the shelves to the frame.
Step 5: Attach the Shelves
Now that the frame of your cheap TV stand is complete, it’s time to add the shelves. The shelves will provide storage space for your electronics, DVDs, or decorative items.
Measure and cut pieces of plywood to the desired dimensions for your shelves. Take into consideration the width and depth of the TV stand and the spacing you prefer between each shelf.
Starting from the bottom, position the first shelf on the horizontal supports and ensure it is level. Secure the shelf in place by driving screws through the plywood into the support beams.
Repeat this process for each additional shelf, making sure they are evenly spaced and securely fastened. Take your time and double-check the alignment as you go.
If you want to add extra stability, you can also apply wood glue to the edges of the plywood before attaching the shelves. This will reinforce the connection between the shelves and the frame.
Once all the shelves are attached, give the TV stand a gentle shake to ensure it is sturdy and doesn’t wobble. If there is any instability, make necessary adjustments and reinforce the joints where needed.
With the shelves securely in place, you can now move on to the final step: adding any optional finishing touches to personalize your cheap TV stand.
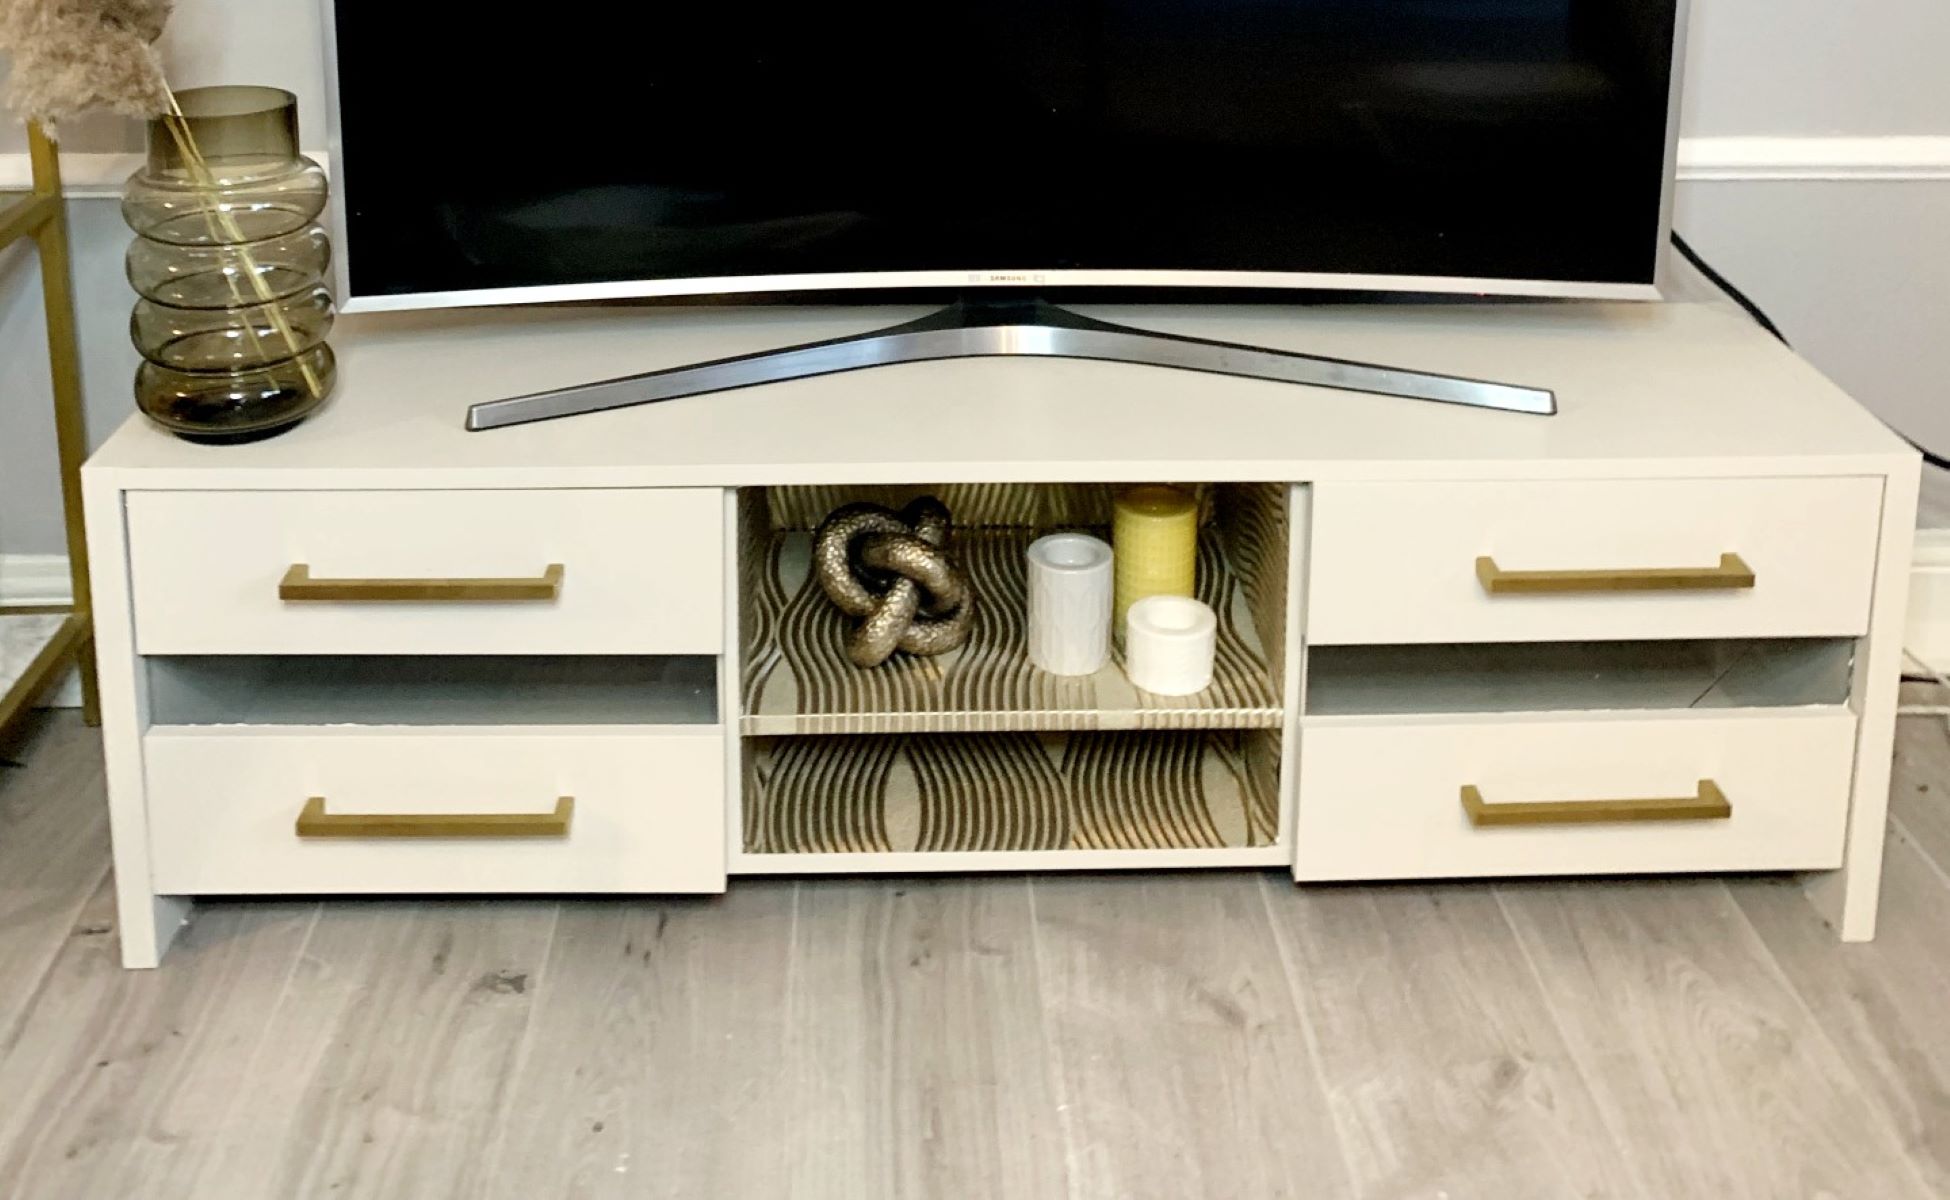
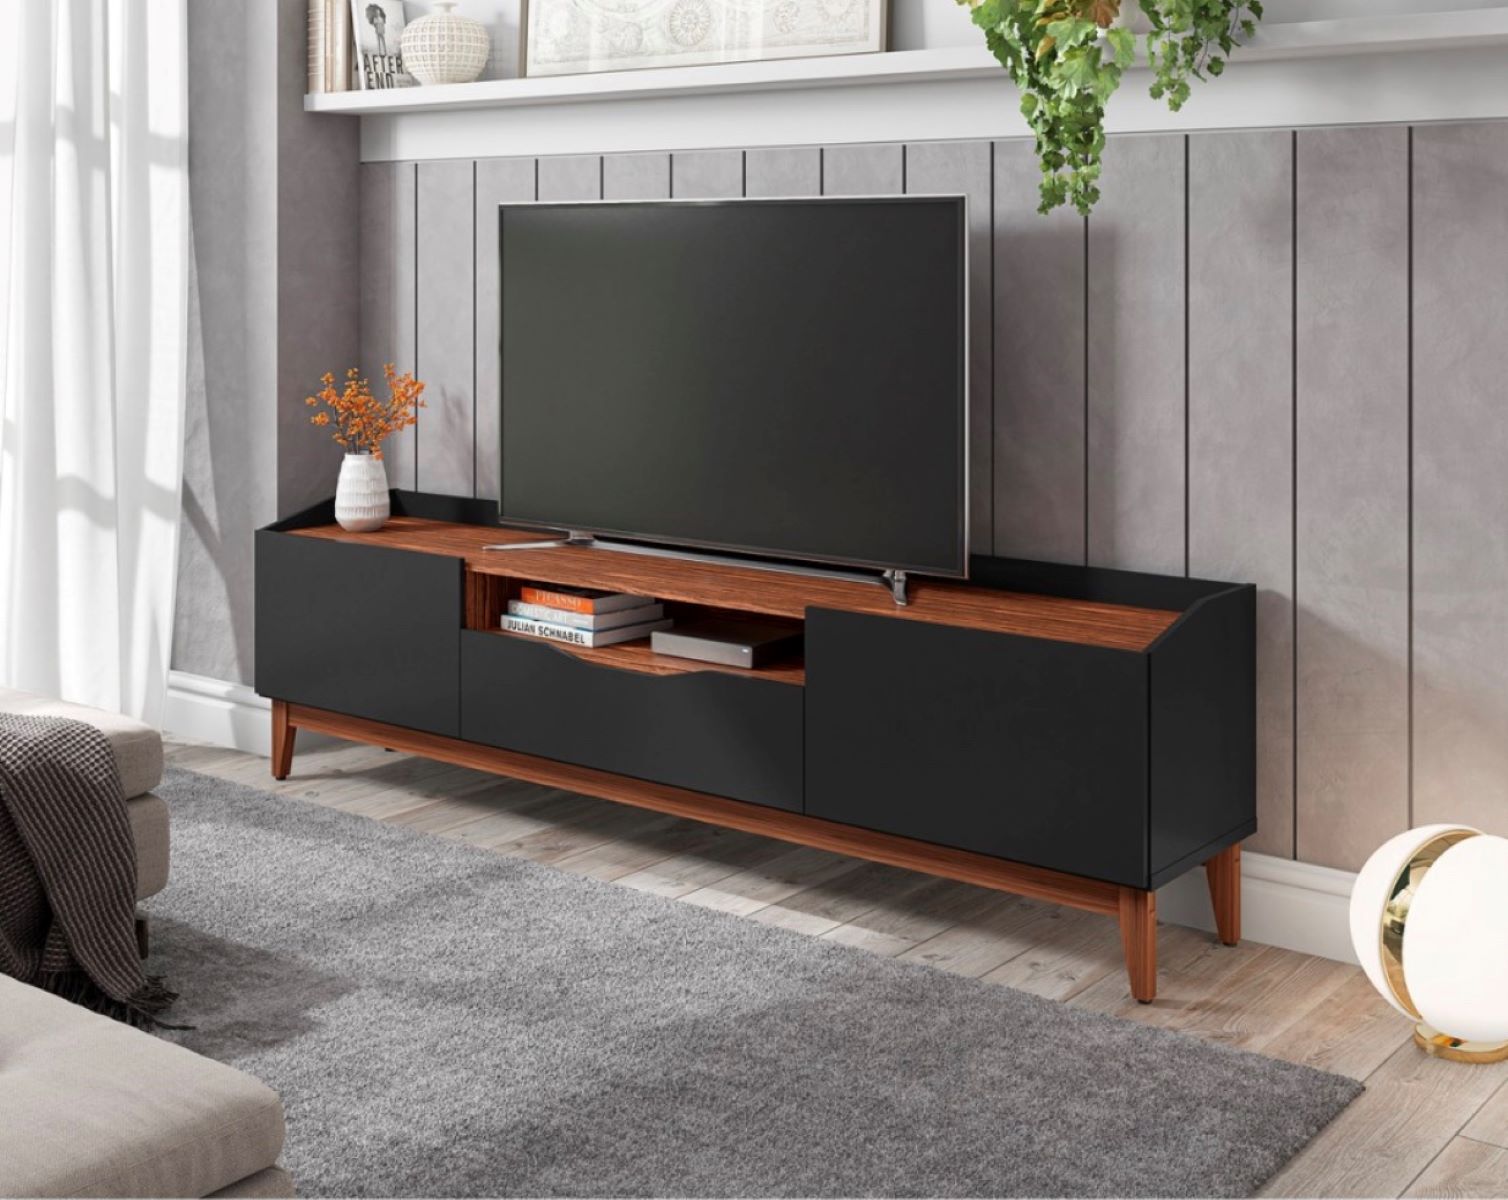
Step 6: Optional Finishing Touches
Congratulations! You’ve successfully built your own cheap TV stand. Now it’s time to add those final touches that will make it truly unique and customized to your style.
First, you might consider sanding the surfaces of the TV stand to ensure they are smooth and free of any rough spots. This will not only create a more polished look, but it will also prevent any splinters or snags.
If you prefer a natural wood look, you can choose to apply a clear coat or wood stain to enhance the grain and protect the wood. Use a paintbrush or foam roller to apply an even coat, following the manufacturer’s instructions. Allow the stain to dry completely before proceeding.
If you prefer a pop of color or want to match your existing furniture, you can also choose to paint the TV stand. Select a paint color that complements your living room decor. Consider using a primer before applying the paint to ensure better adhesion and coverage. Apply two or more coats of paint, allowing each coat to dry before applying the next.
Once the finish is dry, you can further personalize your TV stand by adding decorative elements such as knobs or handles to the front of the shelves. This can give your TV stand a unique and custom look.
Additionally, you have the option to add cable management solutions to keep the cords and cables organized and out of sight. There are various options available, such as adhesive cable clips or a built-in cable management system.
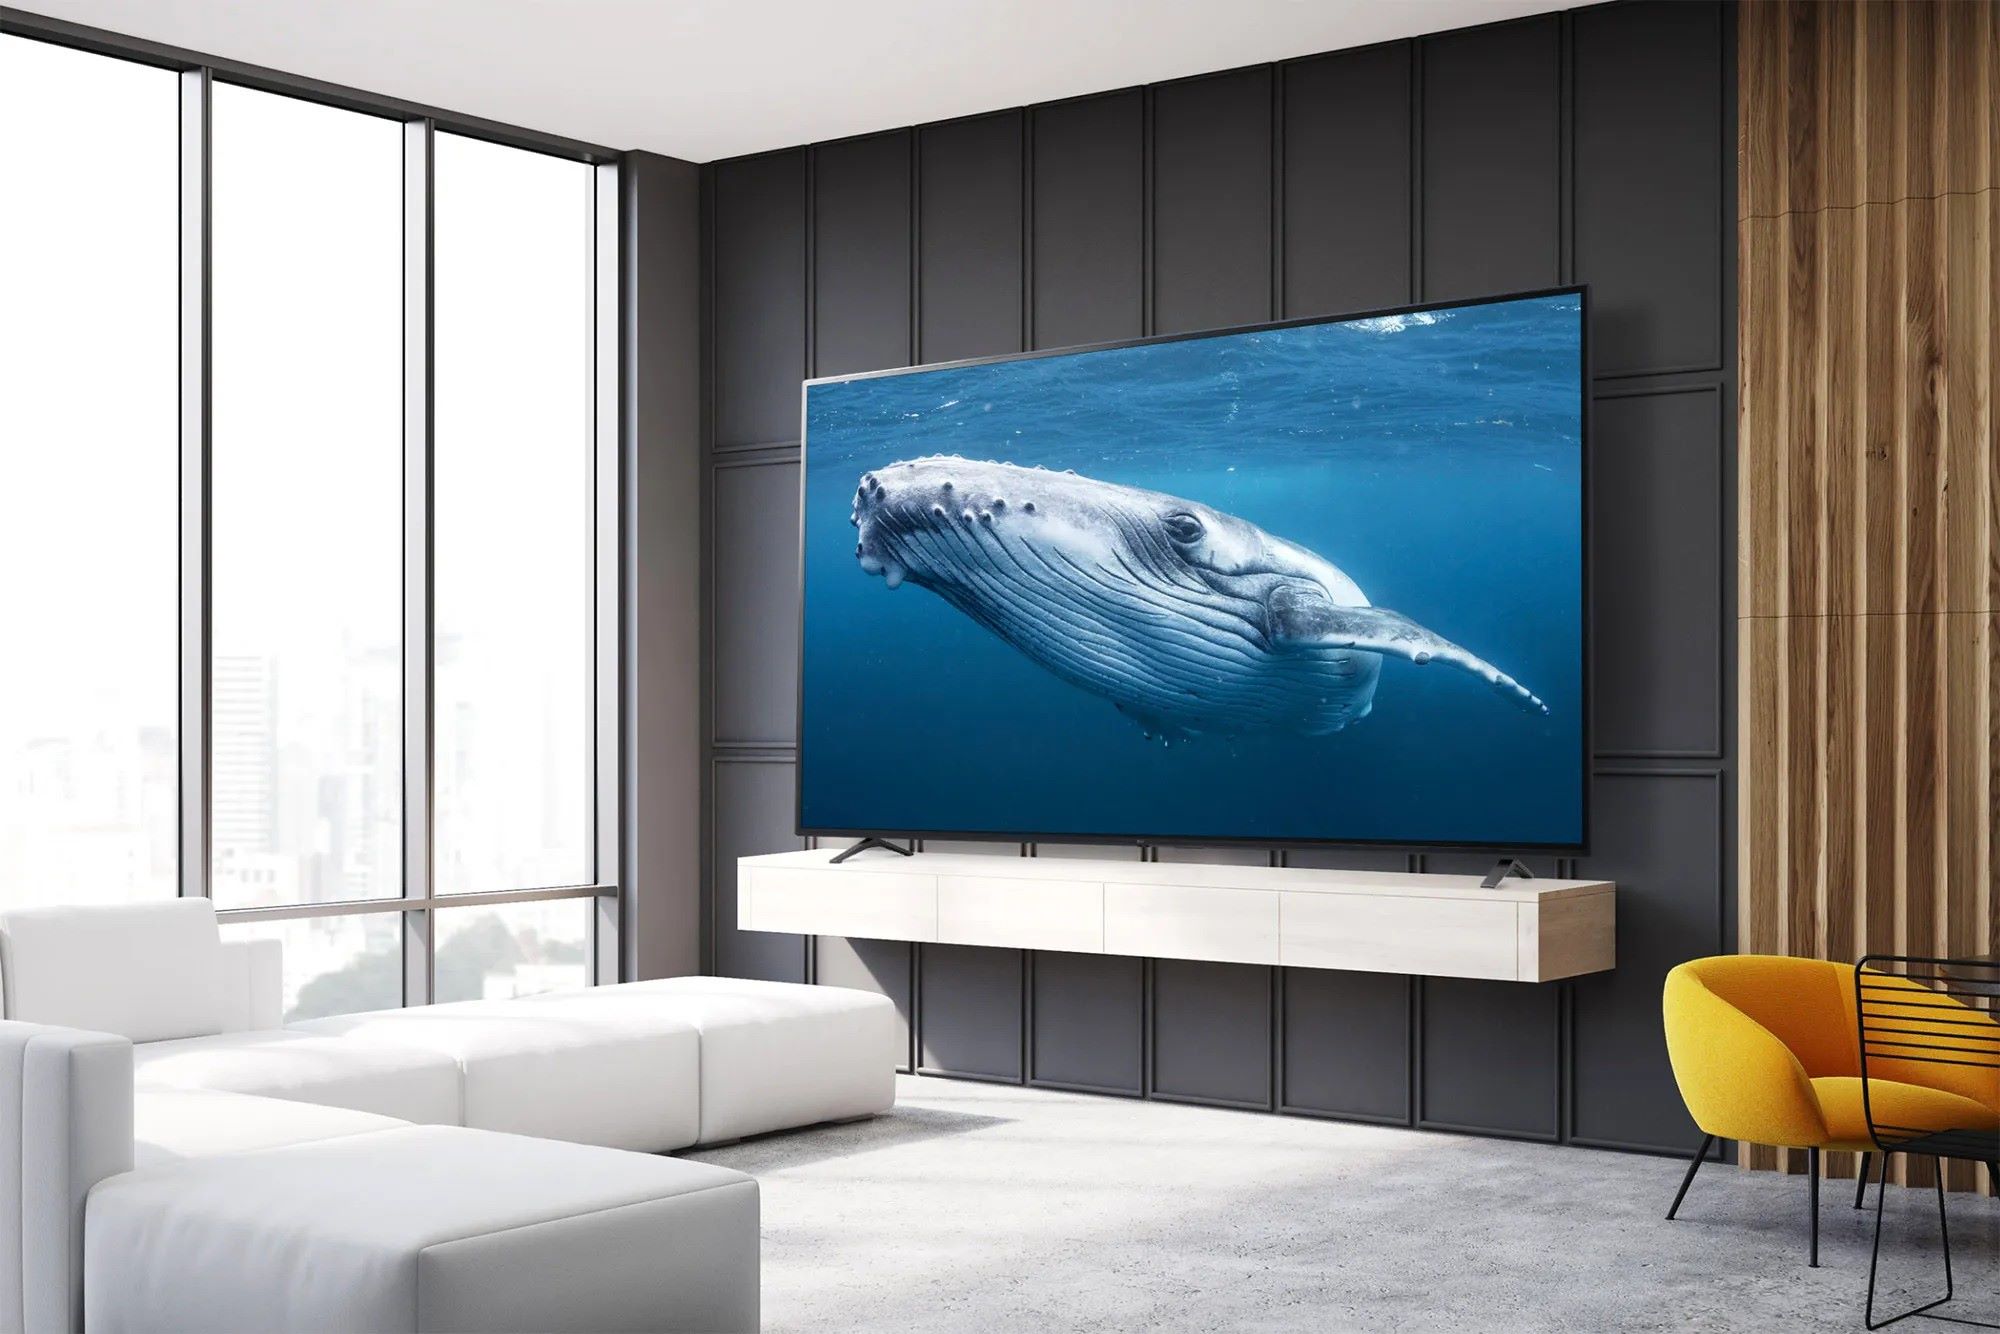
Finally, take a step back and admire your creation. Your DIY cheap TV stand is now complete and ready to hold your television and other entertainment essentials.
Remember to regularly clean and maintain your TV stand to keep it looking its best and prolong its lifespan. Clean it using a damp cloth and mild soap, and avoid using harsh cleaners or abrasive materials that could damage the finish.
With your new TV stand, you now have a functional and attractive piece of furniture that adds charm to your living room without breaking the bank.
Conclusion
Building a cheap TV stand doesn’t mean compromising on quality or style. With a little creativity and some basic carpentry skills, you can create a personalized and budget-friendly TV stand that perfectly fits your living room.
Throughout this article, we have guided you through the process of building your own TV stand, from measuring and planning to assembling the frame and attaching the shelves. We also discussed optional finishing touches that allow you to customize and make it your own.
By taking the time to measure the space, gather the necessary materials, and follow the steps outlined, you can confidently construct a TV stand that meets your unique needs.
Remember, building your own TV stand not only saves you money but also gives you a sense of accomplishment and pride. It allows you to showcase your DIY skills and create a piece of furniture that reflects your personal style.
Don’t be afraid to get creative and experiment with different finishes, colors, and decorative elements. The possibilities are endless when it comes to making your TV stand stand out!
Lastly, always put safety first. Ensure you are using proper tools and taking necessary precautions throughout the construction process. If you are unsure about any step, seek guidance or assistance from a professional.
Now, it’s time to roll up your sleeves and start building your own cheap TV stand. Get ready to enjoy a functional and stylish addition to your living room that you can proudly say you made yourself!
Frequently Asked Questions about How To Build A Cheap TV Stand
Was this page helpful?
At Storables.com, we guarantee accurate and reliable information. Our content, validated by Expert Board Contributors, is crafted following stringent Editorial Policies. We're committed to providing you with well-researched, expert-backed insights for all your informational needs.


0 thoughts on “How To Build A Cheap TV Stand”