Articles
How To Build Indoor Fireplace
Modified: January 23, 2024
Learn how to build an indoor fireplace with step-by-step articles on construction, safety precautions, and design inspiration. Create a cozy and inviting atmosphere in your home.
(Many of the links in this article redirect to a specific reviewed product. Your purchase of these products through affiliate links helps to generate commission for Storables.com, at no extra cost. Learn more)
Introduction
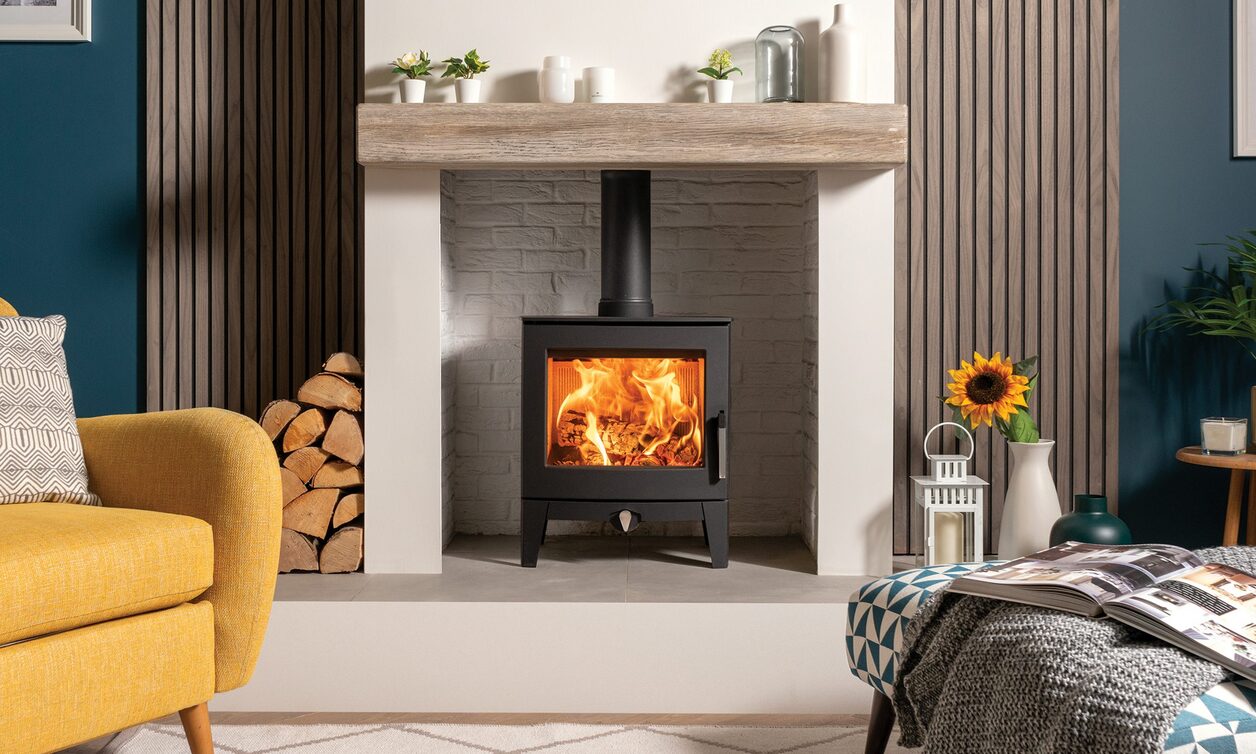
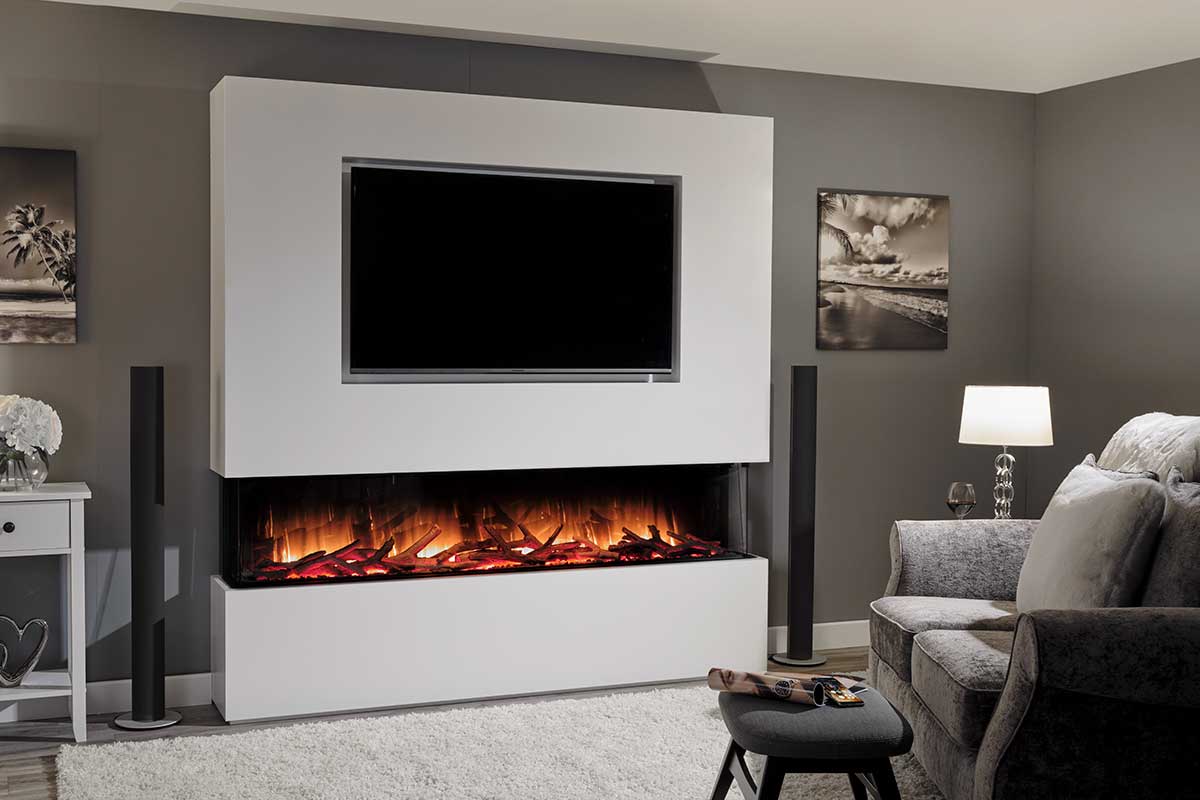
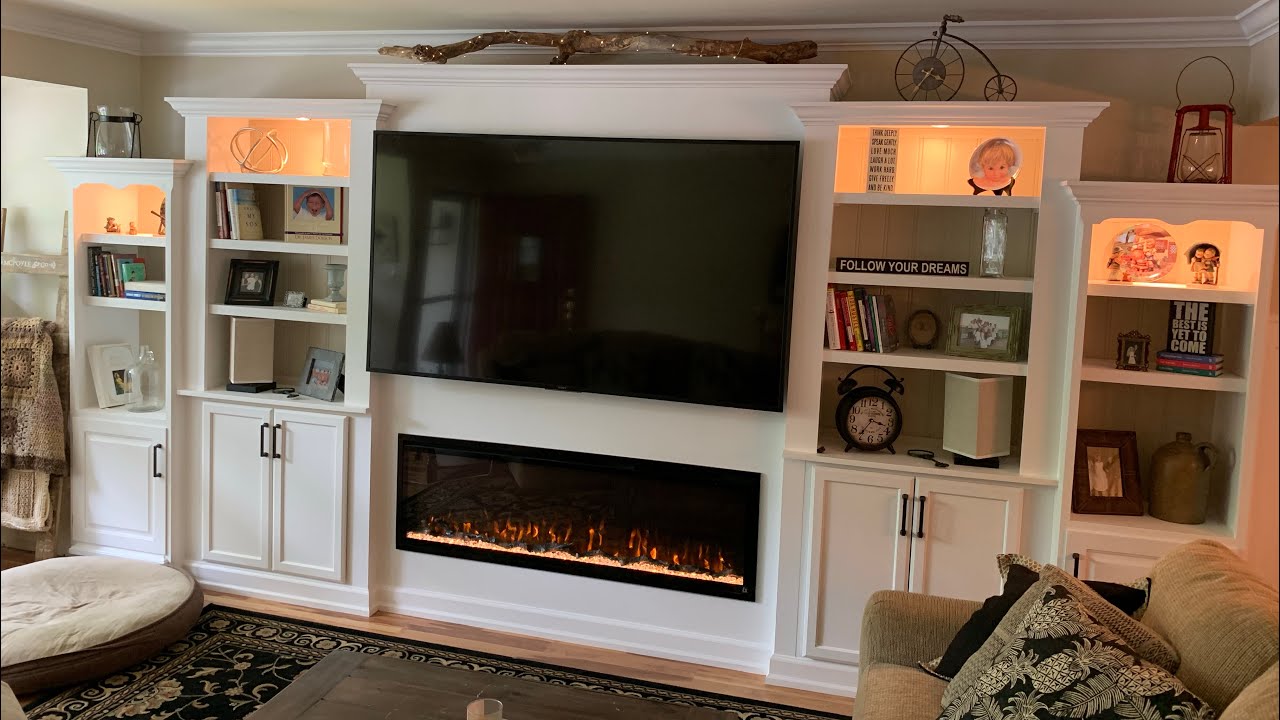
Welcome to the world of cozy warmth and captivating ambiance – the world of indoor fireplaces. There’s something undeniably comforting about sitting by a crackling fire, mesmerized by dancing flames on a chilly evening. An indoor fireplace can add a touch of luxury and charm to any home, creating an inviting atmosphere and providing a reliable source of heat during the cold months.
But how do you go about building an indoor fireplace? Whether you’re a dedicated DIY enthusiast or simply looking to embark on a fun home improvement project, this guide will take you through the step-by-step process of creating your very own indoor fireplace.
Before we dive in, it’s important to note that building an indoor fireplace requires careful planning and adherence to local building codes and regulations. Be sure to check with your local authorities and obtain any necessary permits before starting the construction process.
Now, let’s get started on this exciting journey to create a warm and inviting focal point in your home.
Key Takeaways:
- Building an indoor fireplace requires careful planning, adherence to local building codes, and the use of high-quality materials. From choosing the location to adding finishing touches, each step contributes to creating a safe, functional, and beautiful fireplace.
- The construction process involves building a solid foundation, constructing the firebox, installing the chimney, and adding essential components. Attention to detail, safety considerations, and regular maintenance are crucial for enjoying the warmth and charm of an indoor fireplace.
Read more: How To Build A Fireplace
Step 1: Choose the Location
The first step in building an indoor fireplace is to carefully choose the location where it will be installed. Consider both the practical and aesthetic aspects when selecting the perfect spot for your fireplace.
Start by assessing the available space in your home. Look for an area that is spacious enough to accommodate the fireplace without causing any obstructions or safety concerns. Keep in mind that clearance requirements may vary depending on the type of fireplace you choose.
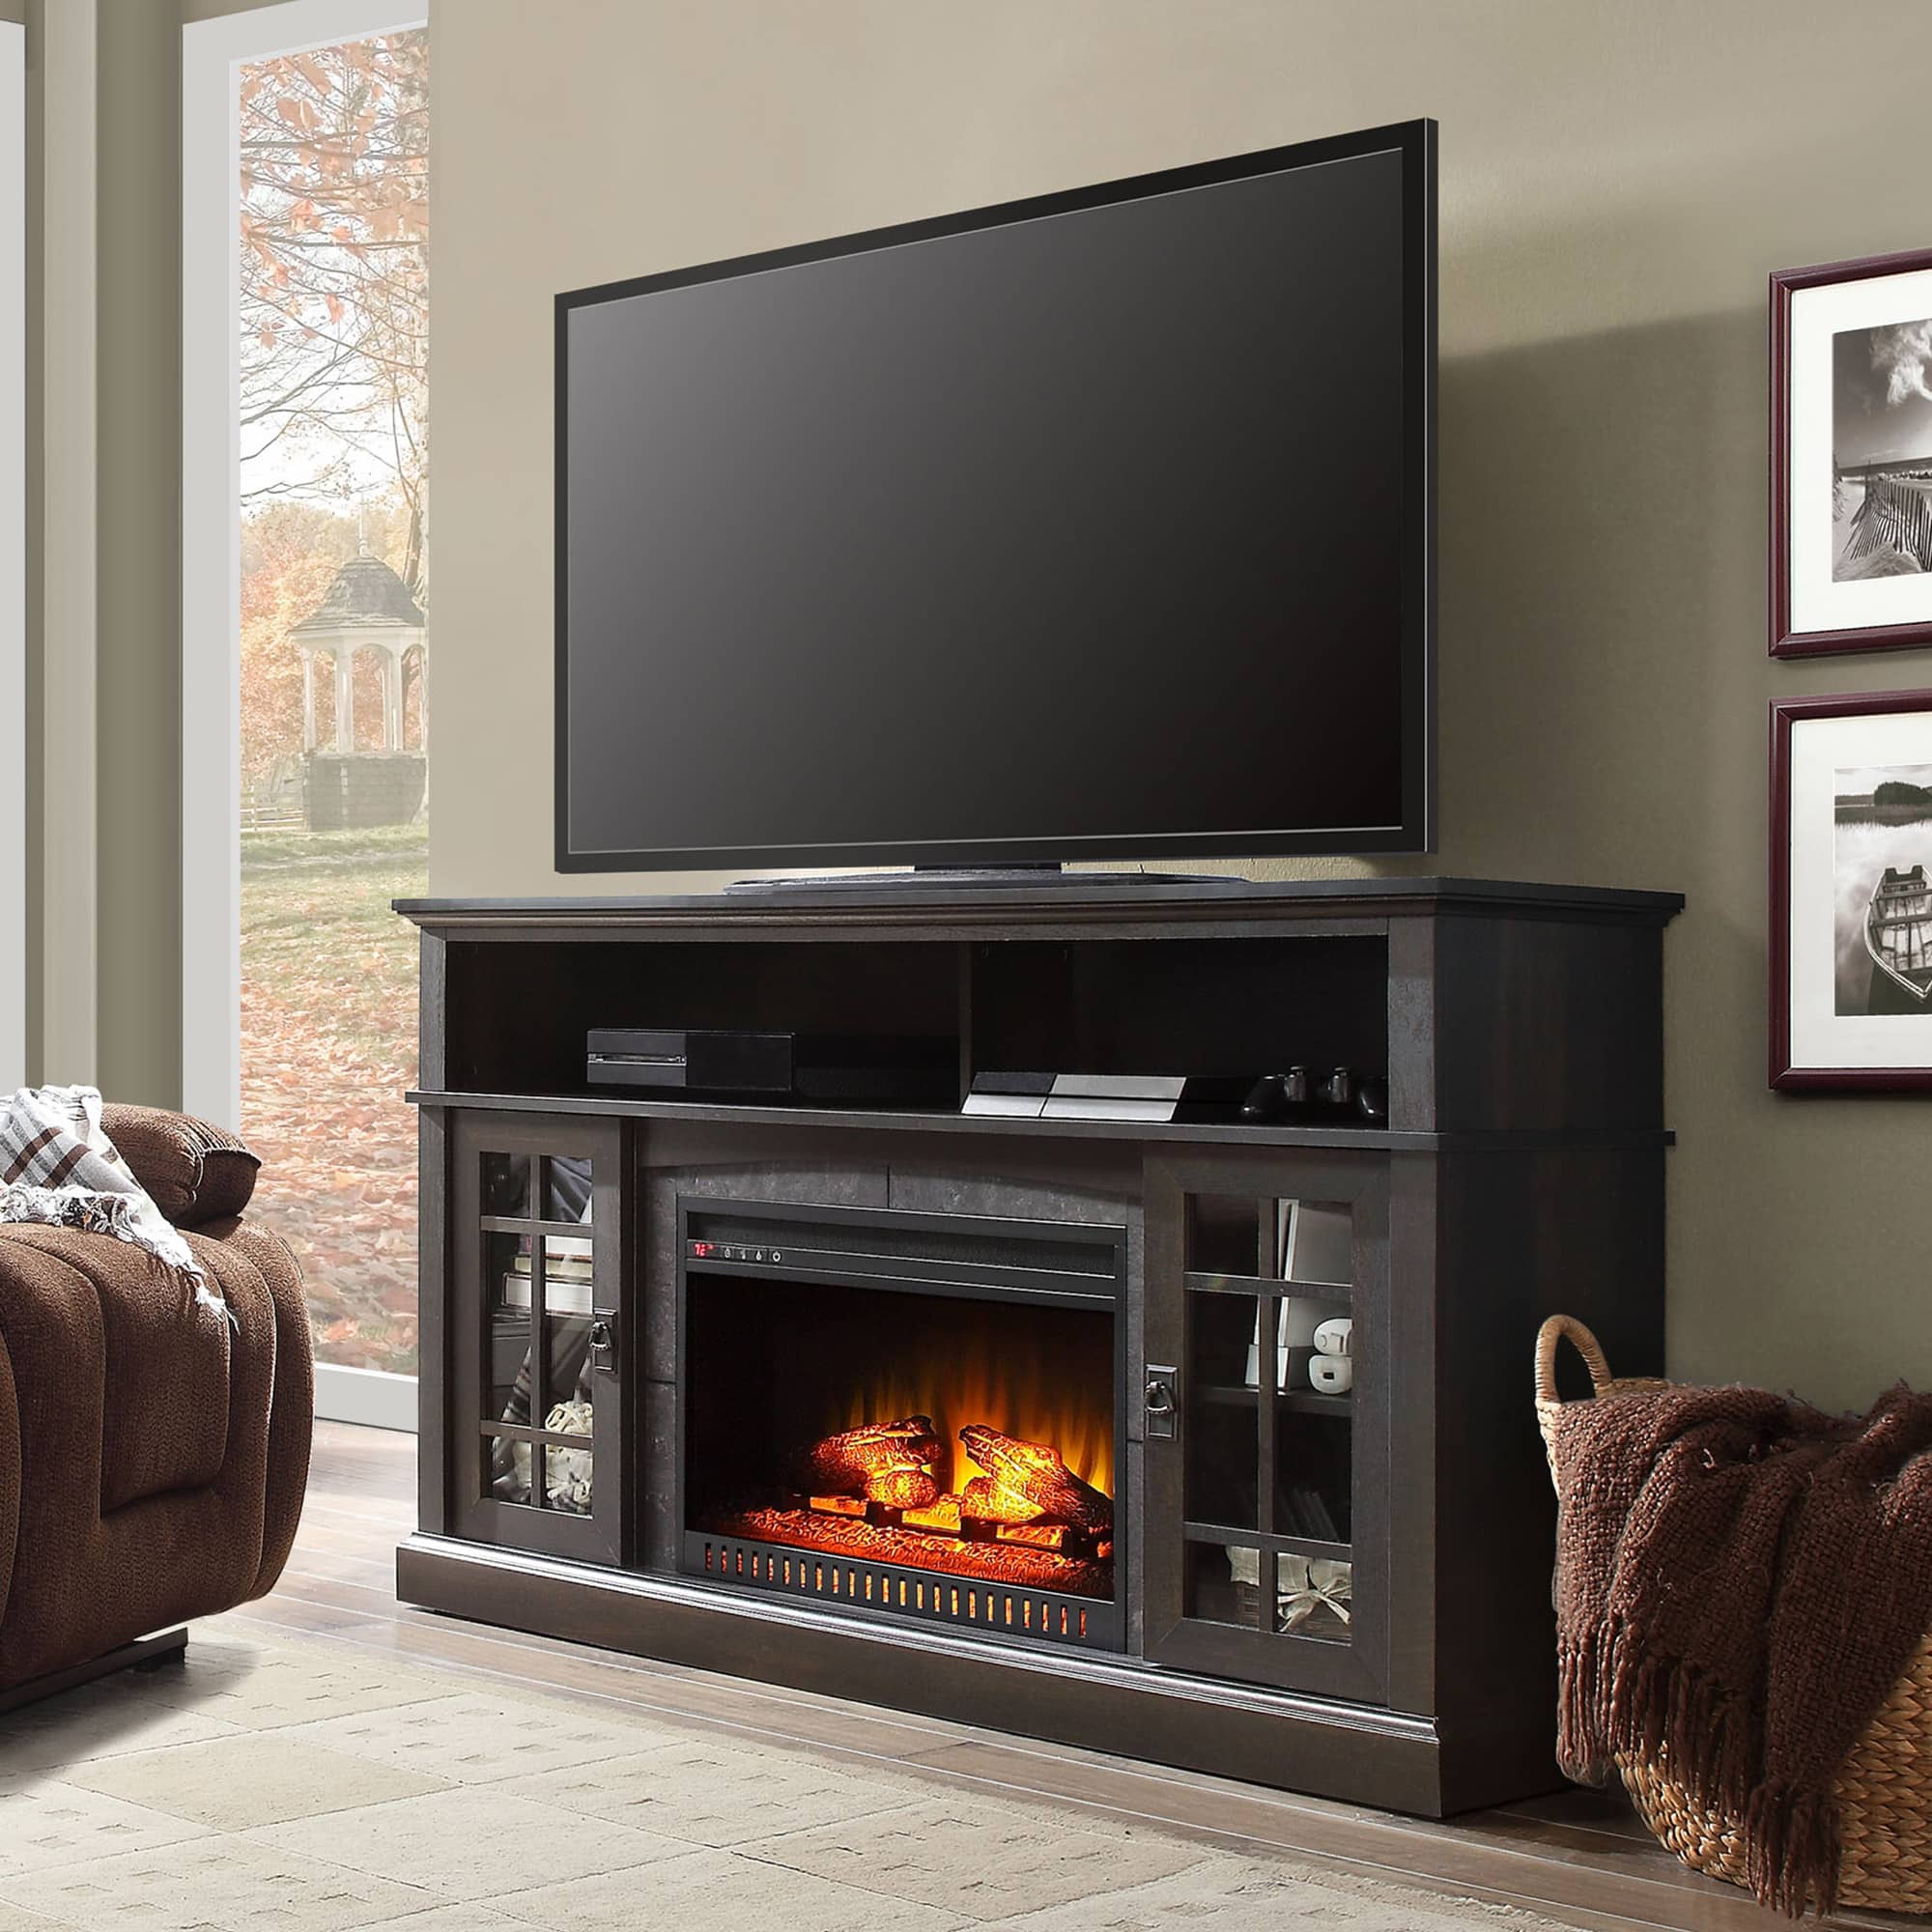
Next, consider the layout and flow of your home. An indoor fireplace can serve as a focal point, so choose a location that will enhance the overall design and aesthetics of the room. It can be a beautiful addition to a living room, dining area, or even a bedroom.
Additionally, consider the proximity to combustible materials. Make sure there is enough distance between the fireplace and any flammable objects like curtains, furniture, or walls. Safety should always be a top priority when selecting the location.
Lastly, think about the ventilation requirements. An indoor fireplace requires proper ventilation to ensure the release of smoke and harmful gases. Plan for the installation of a chimney or venting system that complies with local building codes.
Once you’ve carefully considered these factors, you’ll be ready to move on to the next step: gathering the necessary tools and materials.
Step 2: Gather Necessary Tools and Materials
Before diving into the construction of your indoor fireplace, make sure you have all the necessary tools and materials prepared. Having everything at hand will ensure a smooth and efficient building process.
Here is a list of some essential tools and materials you will need:
- Masonry saw
- Trowel
- Level
- Tape measure
- Drill with masonry bits
- Hammer
- Chisel
- Firebrick
- Heat-resistant mortar
- Fireproof insulation
- Fireplace doors or screens
- Chimney flue liner
- Chimney cap
- Fireplace grate or log holder
Make sure to have these items readily available before starting the construction process. You may also need additional tools or materials depending on the specific design and requirements of your indoor fireplace.
It’s important to choose high-quality materials that are specially designed for fireplace construction. Firebrick is a popular choice for building the firebox due to its ability to withstand high temperatures. Heat-resistant mortar will be used to bond the bricks together, ensuring the durability and safety of the structure.
Don’t forget to wear the necessary personal protective equipment (PPE) while working with tools and materials. This includes safety goggles, gloves, and a dust mask to protect yourself from debris and harmful particles.
With all the tools and materials gathered, you’re now ready to move on to the next step: preparing the area for fireplace construction.
Step 3: Prepare the Area
Preparing the area is a crucial step in building an indoor fireplace. Proper preparation will ensure a stable and secure foundation for your fireplace, as well as minimize any potential damage to surrounding surfaces.
Start by clearing the area of any furniture, decorations, or other obstacles. Create a clean and spacious work zone to allow for easy movement and access during the construction process.
Next, protect the surrounding flooring or surfaces. Lay down drop cloths or protective sheets to shield the area from any damage caused by dust, debris, or accidental spills. If necessary, cover nearby walls or furniture with plastic sheets to prevent any staining or damage from mortar or other building materials.
Once the area is clear and protected, it’s time to assess the existing flooring and make any necessary modifications. Depending on the type of fireplace you’re building, you may need to install a non-combustible hearth or fireproof insulation beneath the firebox area.
Check local building codes and regulations to ensure compliance with safety requirements. This may include specific dimensions for the hearth, clearance distances from combustible materials, and other guidelines for the construction of indoor fireplaces.
During the preparation process, it’s also important to plan for the installation of any required electrical or gas connections. If you’re incorporating features like a blower or gas log sets into your indoor fireplace, consult with a professional to ensure proper installation and compliance with safety standards.
By taking the time to properly prepare the area, you’ll be setting the stage for a successful and safe construction process. The next step involves building the foundation of your indoor fireplace.
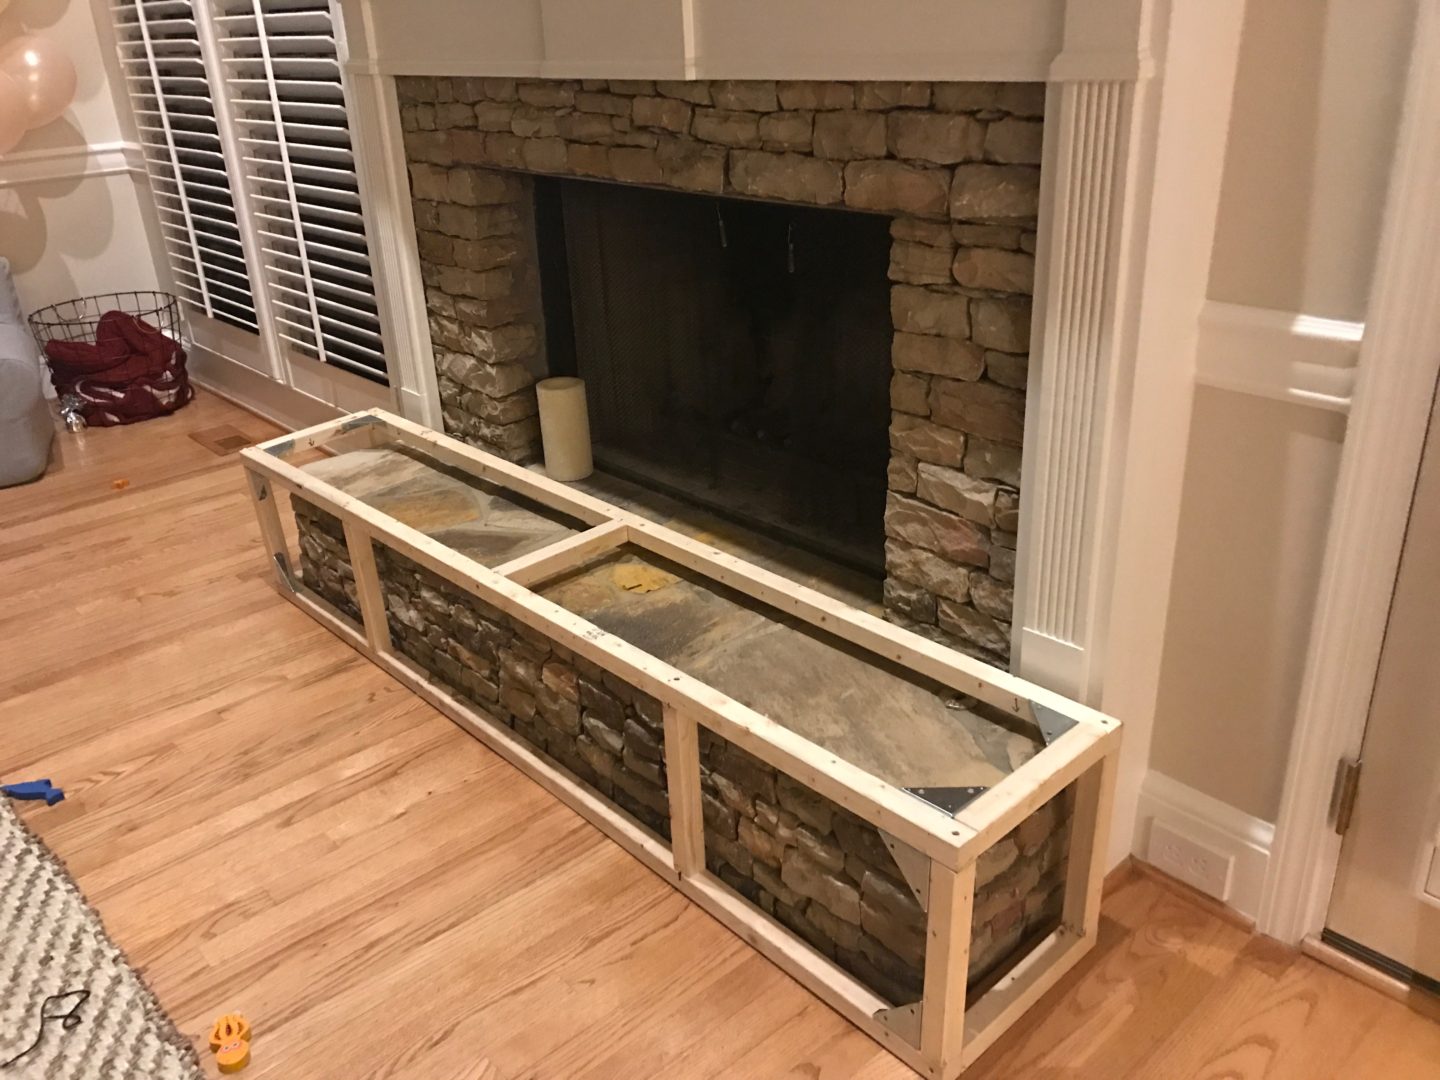
Step 4: Build the Foundation
The foundation of your indoor fireplace is the base on which the entire structure will be built. It provides stability and support, ensuring the fireplace remains secure and durable over time. Building a solid foundation is an essential step in the construction process.
Here is a step-by-step guide on how to build the foundation for your indoor fireplace:
- Start by marking the outline of the fireplace on the floor using a pencil or tape measure. This will serve as a guide for laying the foundation.
- Using a masonry saw, cut through the flooring materials along the marked outline. Remove any excess flooring or subflooring to create a clean and even surface.
- Next, lay a layer of fireproof insulation within the marked area. This insulation serves as a protective barrier between the fireplace and the surrounding flooring, minimizing heat transfer and ensuring safety.
- Prepare the mortar mix according to the manufacturer’s instructions. Apply a layer of mortar onto the insulation, using a trowel to spread it evenly.
- Place firebricks on top of the mortar, following the outline of the fireplace. Press the bricks firmly into the mortar, ensuring they are level and securely set.
- Continue laying the first row of bricks, ensuring proper alignment and spacing. Use a level to check for horizontal and vertical accuracy.
- Apply additional mortar between the bricks, using a trowel to fill in any gaps. Smooth out the mortar with a jointing tool to create a neat and cohesive appearance.
- Repeat the process for subsequent rows, staggering the joints for added strength and stability. Check for levelness and plumbness regularly.
- Allow the mortar to dry and cure according to the manufacturer’s instructions. This usually takes a few days, so be patient and avoid disturbing the foundation during this time.
By following these steps, you will be able to create a solid foundation for your indoor fireplace. Once the foundation is complete, you can move on to the next step: constructing the firebox.
When building an indoor fireplace, be sure to check local building codes and regulations to ensure compliance with safety standards. It’s important to use fire-resistant materials and to have proper ventilation to prevent the risk of fire or smoke damage.
Read more: How To Build A Corner Fireplace
Step 5: Construct the Firebox
The firebox is the heart of your indoor fireplace, where the actual fire will be contained. Constructing a well-built firebox is essential for both safety and functionality, as it will withstand high temperatures and provide a controlled environment for the fire.
Follow these steps to construct the firebox for your indoor fireplace:
- Start by laying a layer of fireproof insulation on the foundation you built in the previous step. This insulation will provide an additional layer of protection against heat transfer.
- Next, prepare the mortar mix according to the manufacturer’s instructions. Apply a layer of mortar to the sides and back of the firebox area using a trowel.
- Place firebricks on the mortar, focusing on the sides and back of the firebox. Press them firmly into place, ensuring they are level and aligned.
- Continue stacking the bricks until you reach the desired height. Use a level and a tape measure to ensure the firebox is symmetrical and the dimensions meet your specifications.
- For the front of the firebox, you have several options. You can use firebrick for a consistent and traditional look, or you can choose a different material like stone or tile for a more decorative touch. Depending on your design preferences, cut and attach the chosen material using a suitable adhesive.
- Ensure that the front of the firebox is well-supported and aligned. Use a level to check for any adjustments needed.
- Allow the mortar to dry and cure according to the manufacturer’s instructions. This usually takes a couple of days, so be patient and avoid disturbing the firebox during this time.
Once the firebox has dried and cured, you can move on to the next step: installing the chimney.
Note: It’s important to follow local building codes and regulations when constructing the firebox. Ensure proper clearances from combustible materials and consult with professionals if needed.
Step 6: Install the Chimney
The chimney plays a vital role in safely venting the smoke and gases produced by your indoor fireplace. Installing a chimney ensures proper ventilation, preventing the buildup of harmful fumes while maintaining good air quality within your home. Follow these steps to install the chimney for your indoor fireplace:
- Consult with a professional to determine the appropriate type, size, and materials for your chimney. Factors such as the height of the chimney, the distance from combustible materials, and the specific requirements of your local building codes should be considered.
- Create an opening in the back or the top of the firebox to accommodate the chimney flue. Use a masonry saw or appropriate tools to create a clean and precise opening.
- Insert the chimney flue liner into the opening, ensuring a secure fit. The flue liner should extend above the roofline to ensure proper ventilation. Cut the liner to the desired height if necessary.
- Apply a layer of heat-resistant mortar around the base of the chimney flue liner to provide stability and insulation. Use a trowel to spread the mortar evenly.
- While the mortar is still wet, place a chimney cap on top of the flue liner. The cap helps to prevent rain, debris, and animals from entering the chimney while still allowing for proper airflow.
- Allow the mortar to dry and cure completely before proceeding. This may take a few days, so be patient and avoid disturbing the chimney during this time.
Once the chimney is installed, it is crucial to perform regular maintenance and inspections to ensure its proper functioning. Clear any blockages or debris that may accumulate over time, and consider professional chimney cleaning to maintain optimal performance.
With the chimney in place, you’re ready to move on to the next step: installing the flue and cap.
Note: It is highly recommended to consult with professionals regarding the specific installation requirements and regulations for chimneys in your locality.
Step 7: Install the Flue and Cap
The installation of the flue and cap is a crucial step in the construction of your indoor fireplace. The flue serves as the pathway for smoke to exit the chimney, while the cap protects the flue and chimney from the elements and wildlife. Follow these steps to properly install the flue and cap:
- Measure the diameter of the flue opening on top of the chimney. This will help you select the appropriate size of flue pipe.
- Choose a flue pipe that matches the diameter of the flue opening. Avoid using smaller or larger pipes, as it can hinder proper ventilation and create hazardous situations.
- Slide the flue pipe into the flue opening, ensuring a tight and secure fit. Apply a layer of heat-resistant sealant or mortar around the joint to prevent any leaks or gaps.
- Connect the other end of the flue pipe to the collar or damper plate of the firebox. Again, use sealant or mortar to create a tight seal.
- With the flue securely installed, place the chimney cap on top of the flue pipe. The cap serves as a protective barrier, preventing rain, debris, and animals from entering the chimney.
- Ensure that the chimney cap is properly fitted and securely attached. Depending on the type of cap you have, this may involve screws, brackets, or clamps.
- Inspect the flue and cap installation to ensure everything is properly aligned and functioning as intended. The flue should be clear of any obstructions, and the cap should allow for proper airflow while providing protection.
It’s important to note that the installation of the flue and cap may vary depending on the specific design and requirements of your indoor fireplace. Always consult with professionals and follow local building codes and regulations to ensure proper installation and compliance with safety standards.
With the flue and cap installed, you’re almost ready to enjoy the warmth and beauty of your indoor fireplace. The next step involves adding the finishing touches to complete the project.
Step 8: Add Finishing Touches
Now that you’ve built the foundation, constructed the firebox, installed the chimney, and added the necessary components, it’s time to add the finishing touches to your indoor fireplace. These final details will enhance the overall aesthetics and functionality of the fireplace, ensuring a beautiful and functional addition to your home.
Here are some key steps to consider when adding the finishing touches:
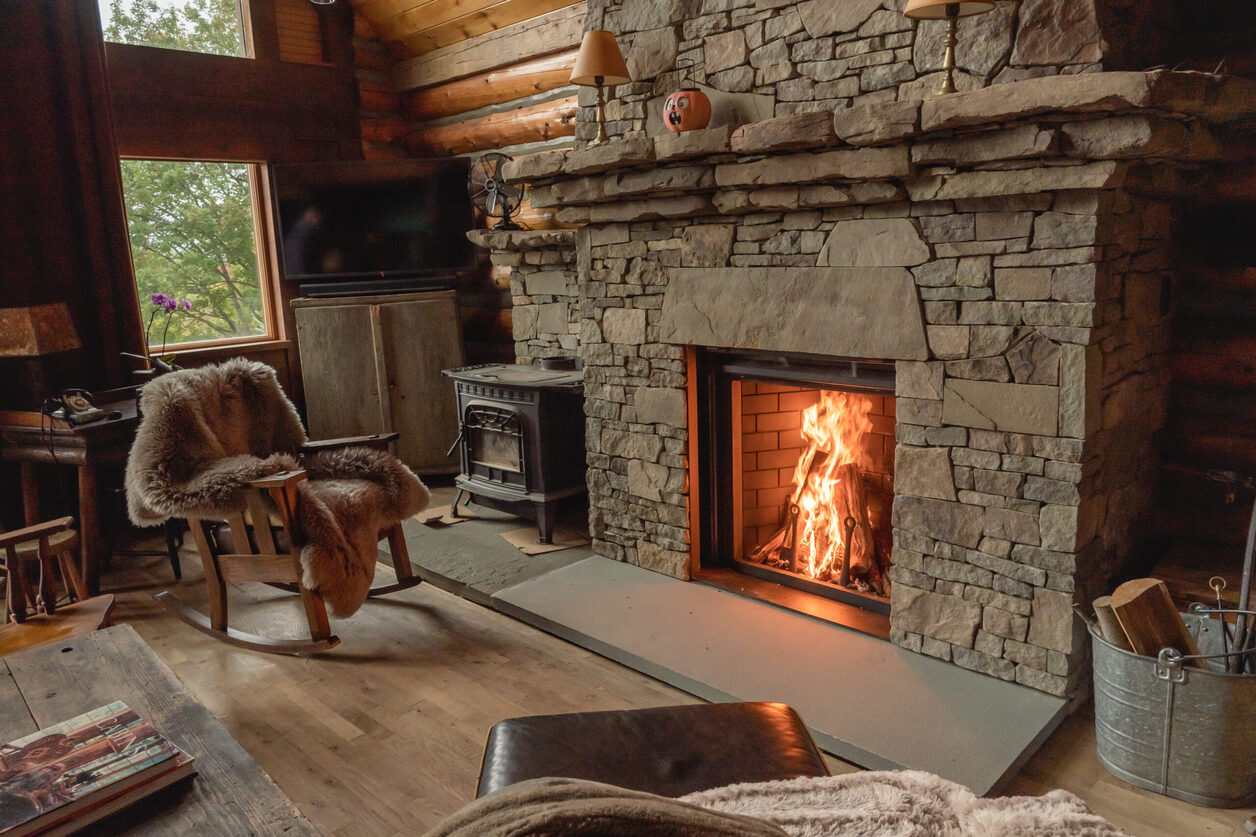
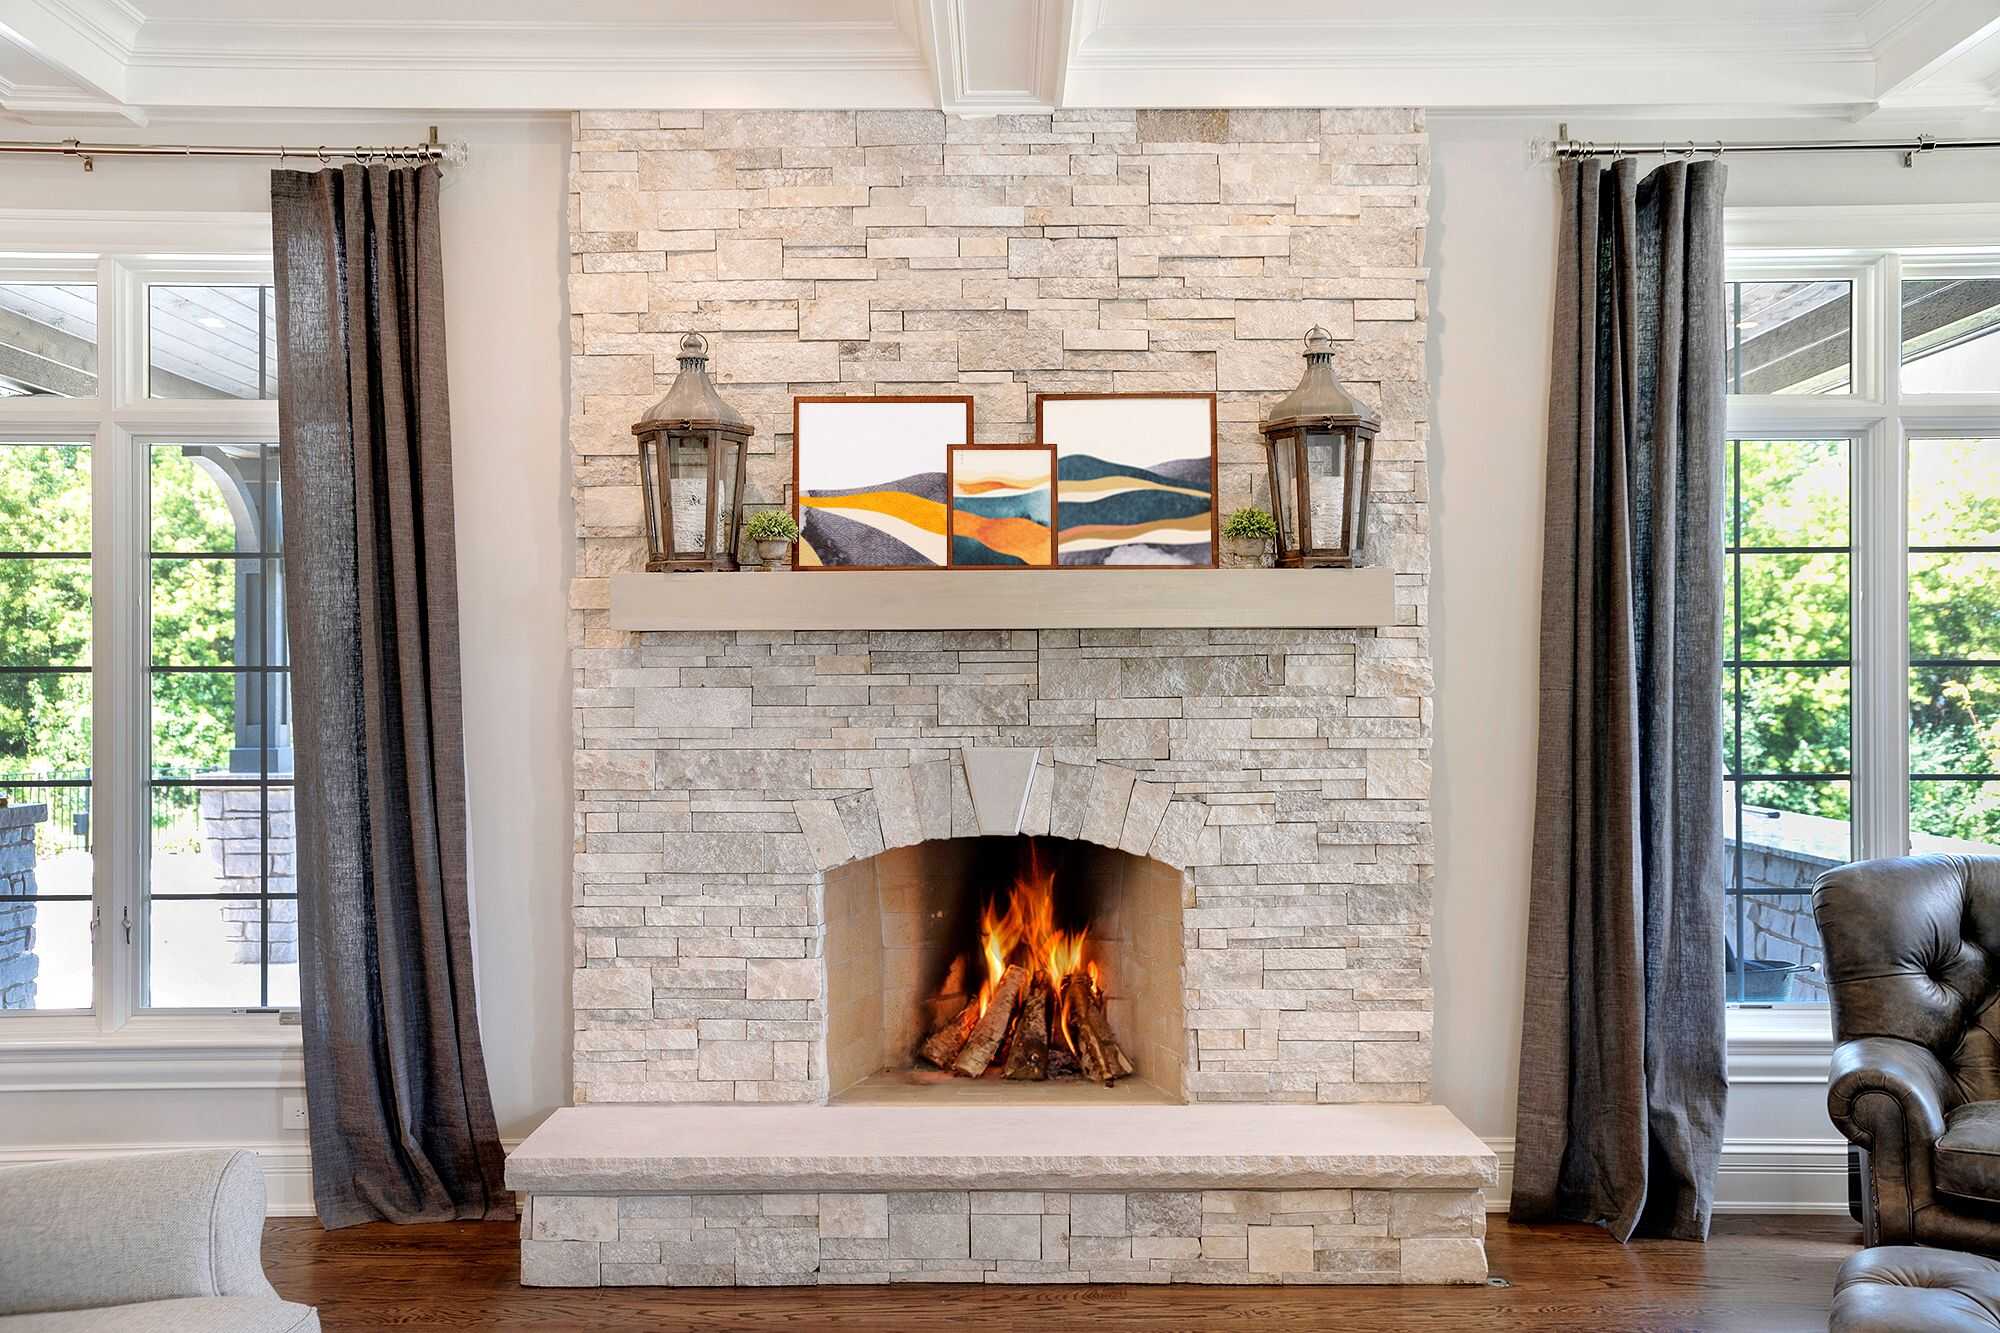
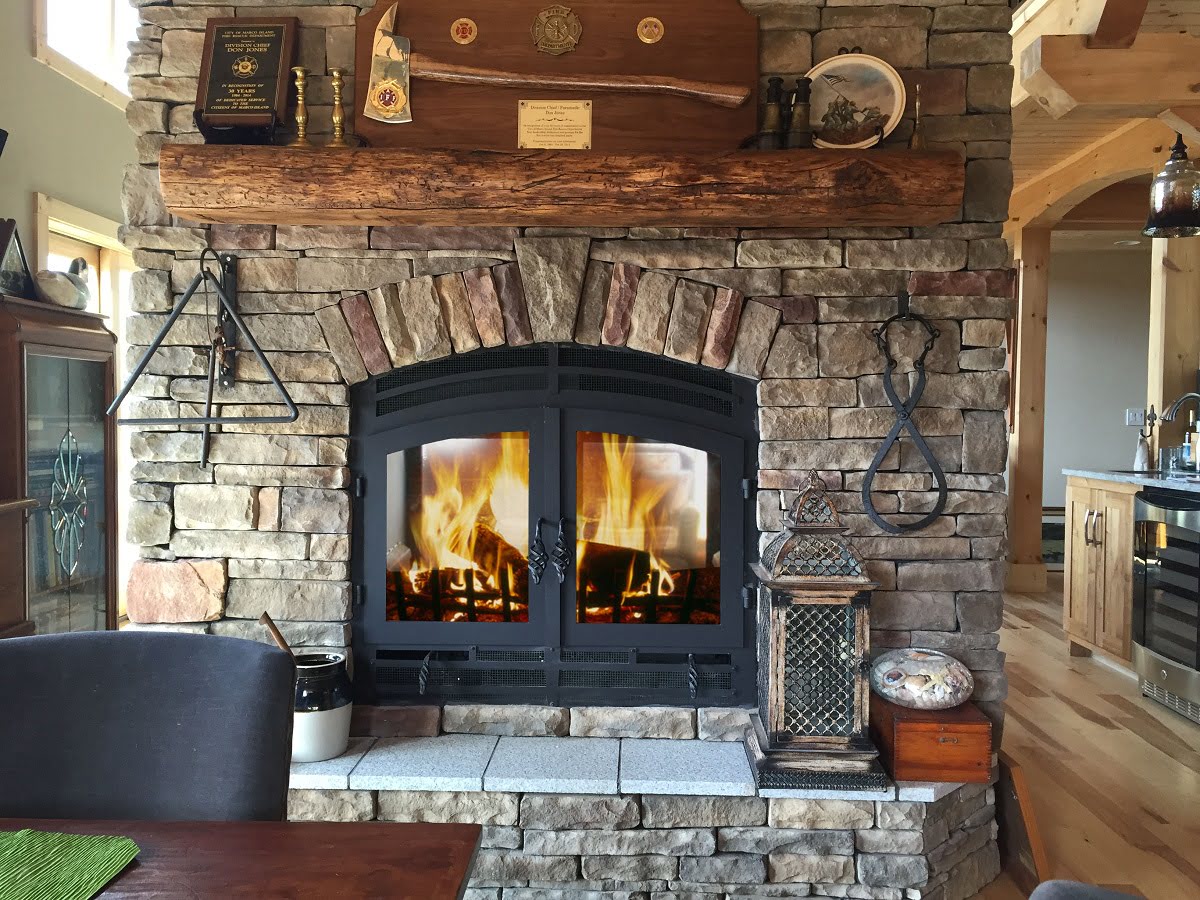
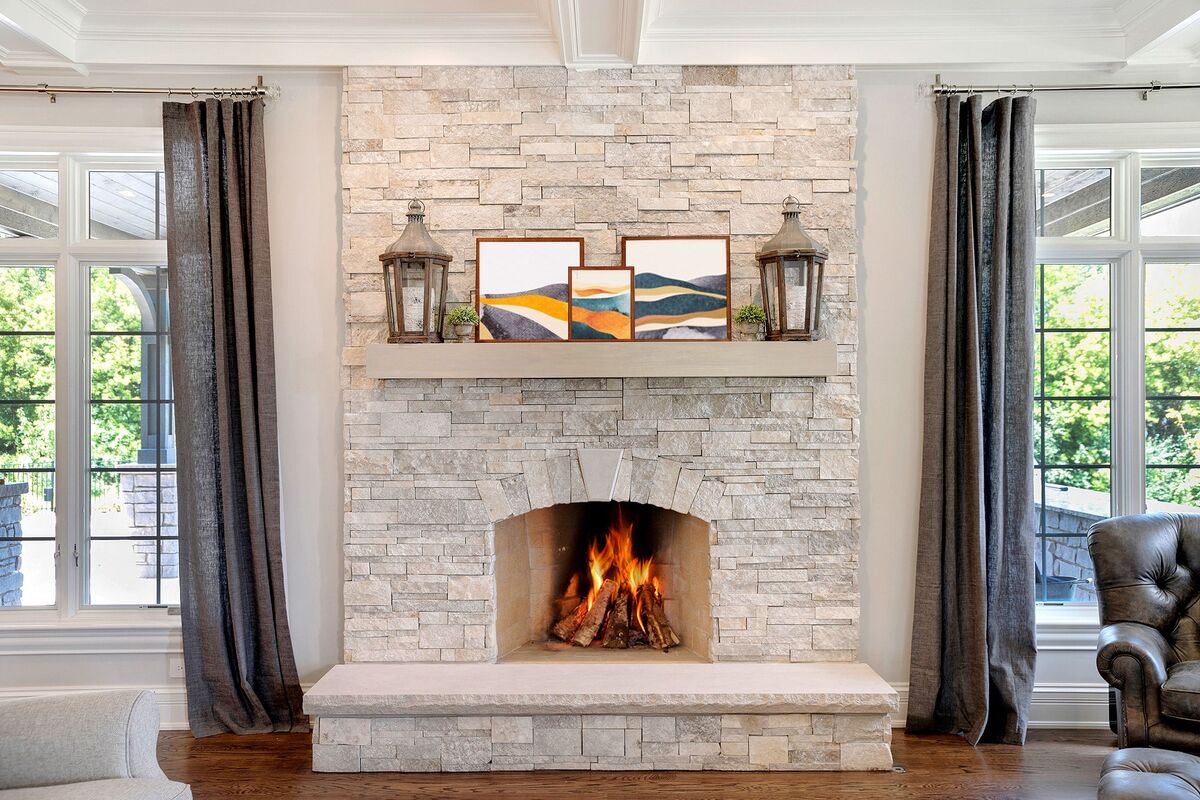
- Choose a mantel or surround: A mantel or surround can provide a focal point for your indoor fireplace and add a touch of beauty and elegance. Select a material that complements the overall design and style of the room, such as wood, stone, or tile. Install it securely above the firebox using appropriate hardware.
- Add a hearth: A hearth not only adds a decorative element but also serves as a safety barrier between the firebox and the surrounding area. Install a non-combustible hearth material, such as stone or tile, in front of the fireplace to protect the flooring and create a seamless look.
- Incorporate a fireplace screen or doors: If desired, install a fireplace screen or doors to enhance safety and prevent sparks or embers from escaping. Choose a style that complements your interior design and ensure it is properly fitted and secure.
- Create a firewood storage area: Consider adding a designated space for storing firewood near your fireplace. This can be in the form of a built-in firewood nook, a decorative log holder, or a freestanding firewood rack. Make sure it is located in a convenient and accessible area.
- Install lighting and accessories: Enhance the ambiance of your indoor fireplace by adding appropriate lighting fixtures, such as sconces or recessed lighting. Additionally, consider adding accessories like fireplace tools, decorative accents, or artwork to personalize the space and make it more inviting.
With these finishing touches, your indoor fireplace will be complete. Sit back, relax, and enjoy the warmth and cozy atmosphere it brings to your home.
Remember to follow safety guidelines and consult with professionals when necessary to ensure proper installation and compliance with building codes and regulations. Regular maintenance and cleaning will also contribute to the longevity and efficiency of your indoor fireplace.
Congratulations on successfully building your own indoor fireplace. It’s a stunning addition that will provide years of comfort, enjoyment, and lasting memories.
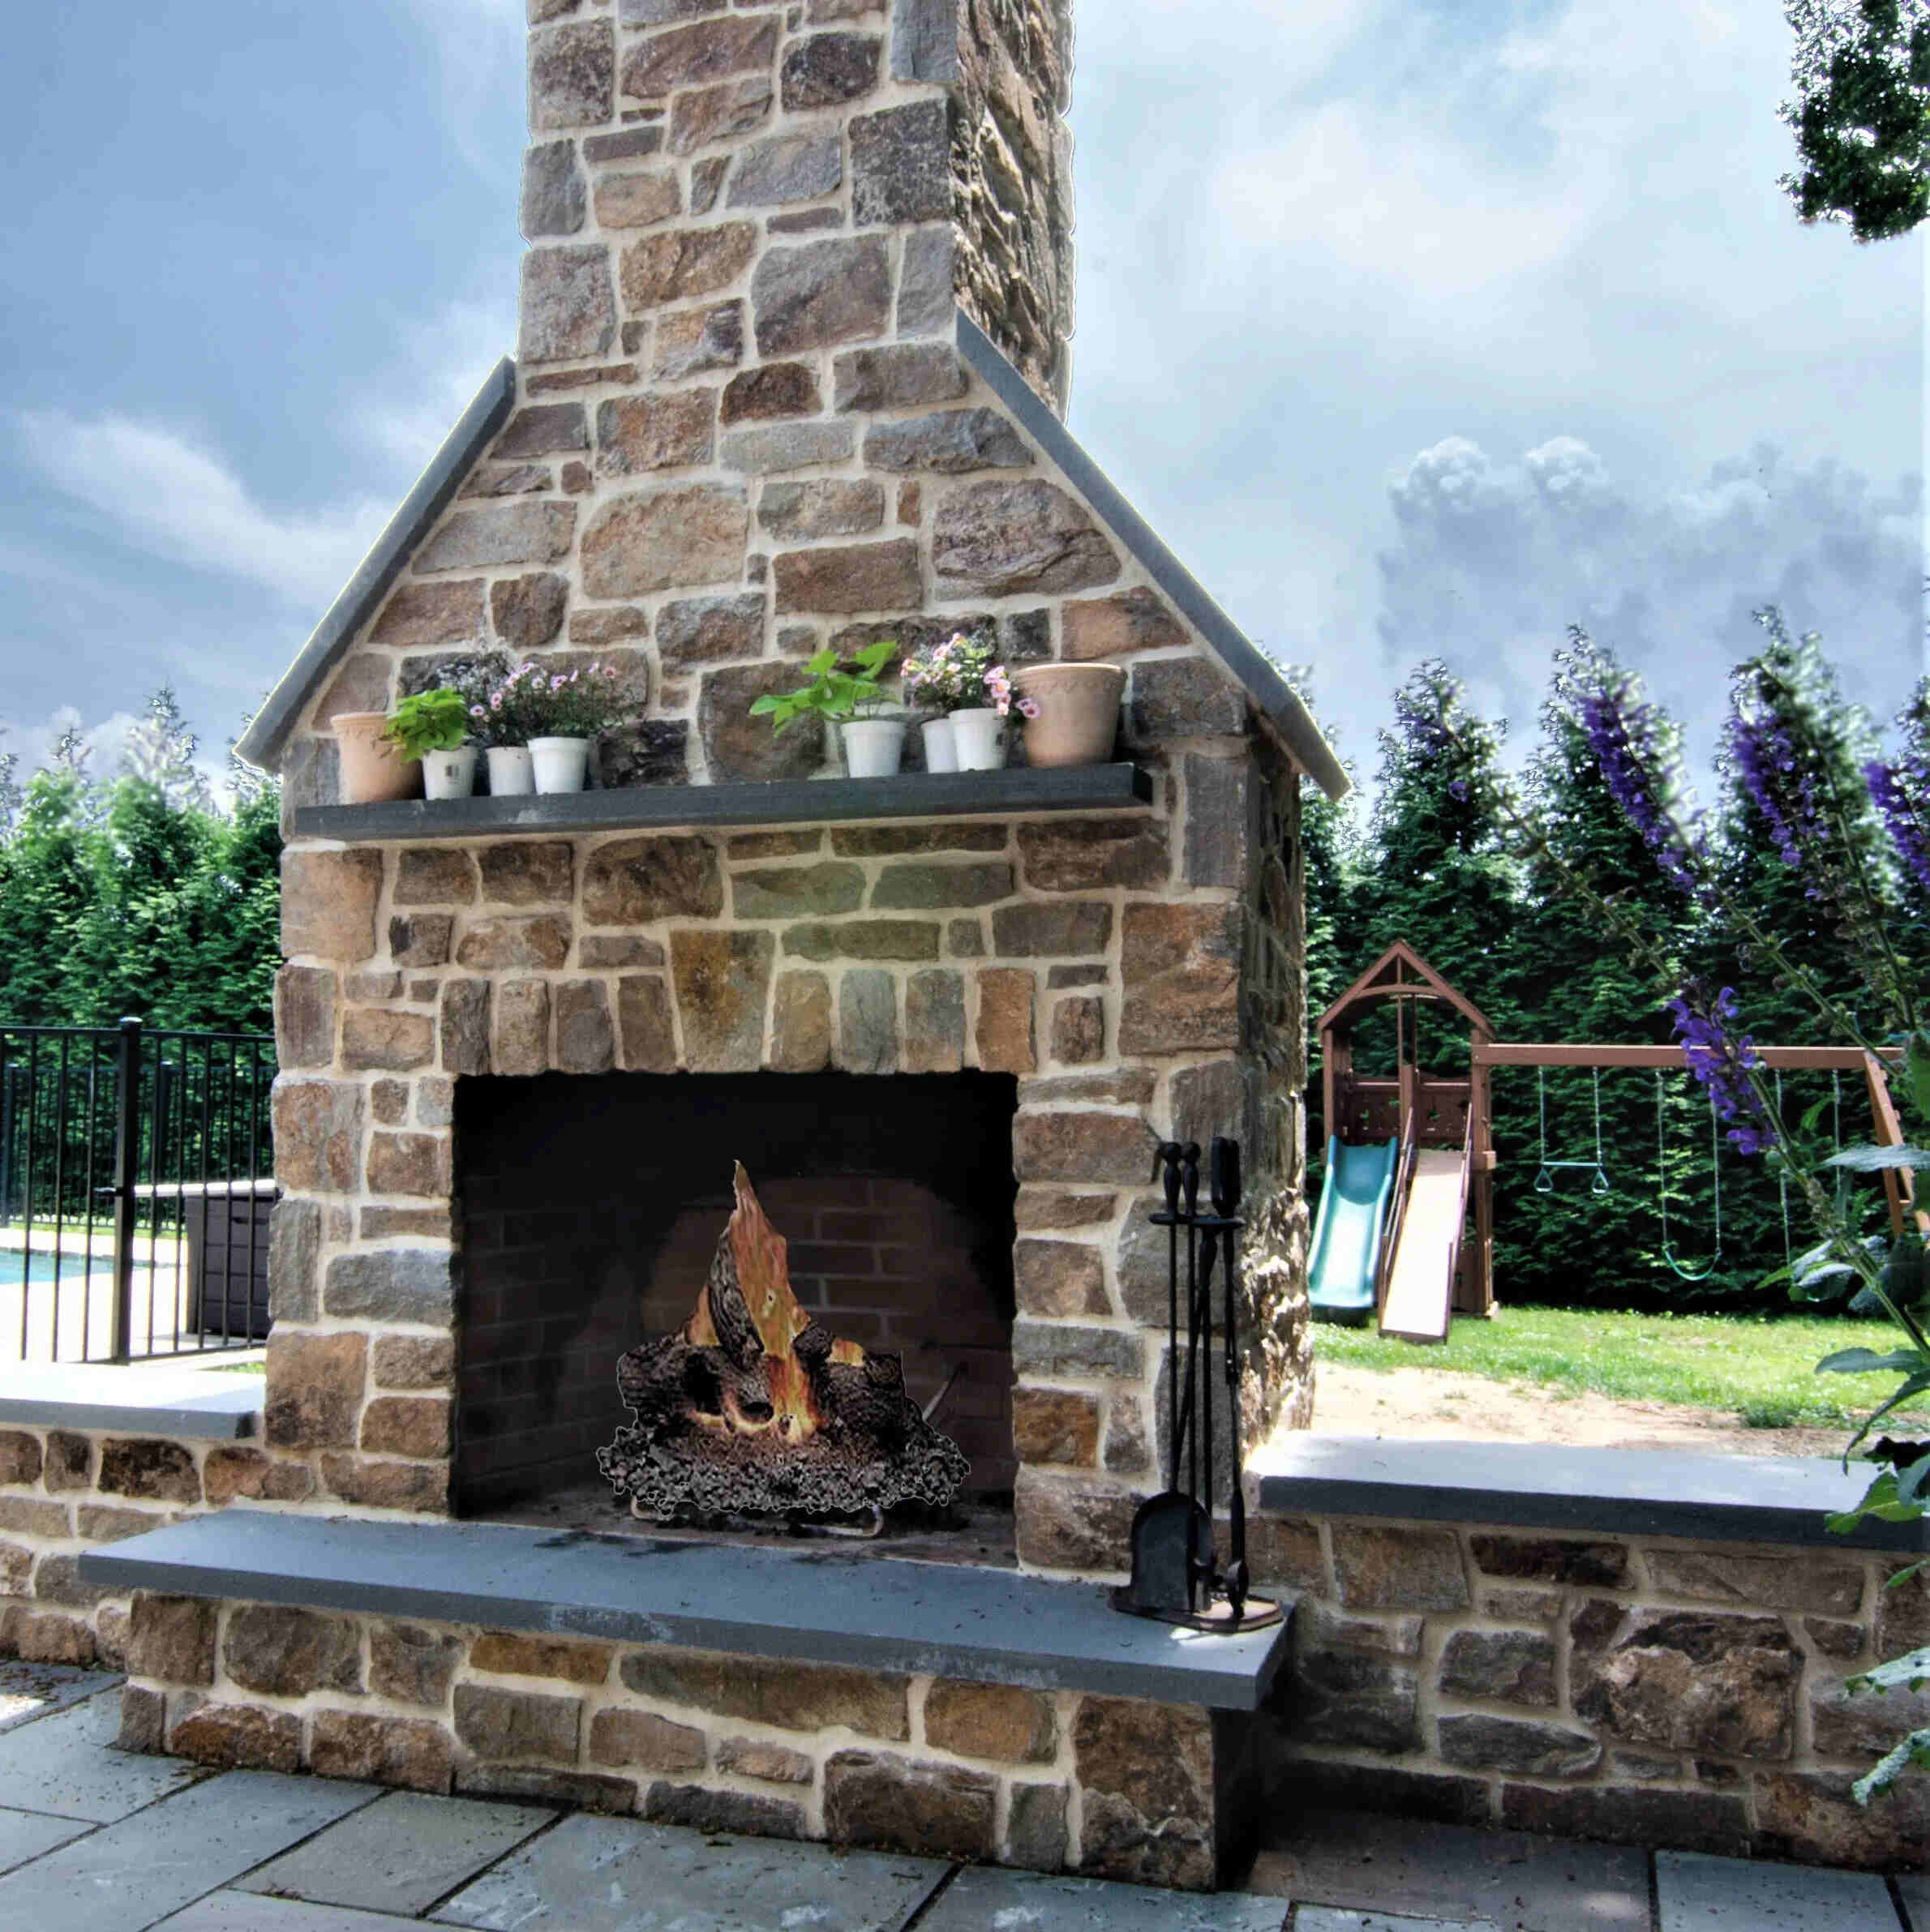
Read more: How To Build A Stone Fireplace
Conclusion
Building an indoor fireplace is a rewarding and fulfilling project that brings warmth, beauty, and a cozy atmosphere to your home. By following the step-by-step process outlined in this guide, you can create your own indoor fireplace and enjoy the many benefits it provides.
From choosing the perfect location to gathering the necessary tools and materials, from preparing the area to constructing the firebox and installing the chimney, each step is essential in ensuring a safe and functional fireplace. By paying attention to details and adhering to local building codes and regulations, you can create a beautiful and reliable indoor fireplace that will become the heart of your home.
Remember to take the time to choose high-quality materials and consult with professionals when needed. Safety should always be a top priority in fireplace construction. Once your fireplace is complete, add the finishing touches that will enhance both the functionality and the aesthetics, such as a mantel, hearth, fireplace screen, and lighting.
With your indoor fireplace ready, you can now enjoy cozy evenings by the fire, create beautiful memories with family and friends, and experience the comfort and charm that only a fireplace can provide. Just make sure to perform regular maintenance, such as cleaning the chimney, inspecting the flue, and checking for any required repairs or adjustments.
Building an indoor fireplace is not only a practical addition to your home, but it is also an investment in creating a warm and inviting space that you and your loved ones will cherish for years to come. So gather your tools, roll up your sleeves, and get ready to embark on this exciting journey to build your perfect indoor fireplace.
Frequently Asked Questions about How To Build Indoor Fireplace
Was this page helpful?
At Storables.com, we guarantee accurate and reliable information. Our content, validated by Expert Board Contributors, is crafted following stringent Editorial Policies. We're committed to providing you with well-researched, expert-backed insights for all your informational needs.


0 thoughts on “How To Build Indoor Fireplace”